Picture Rail Ideas: 6 Stylish, Practical Ways to Hang Art
A picture rail earns its place twice: it gives a room a crisp architectural line, and it lets art move without leaving a trail of holes behind. The best picture rail ideas do more than copy a period-house look. They use height, spacing, paint, and hanging hardware as one composition, so the display feels intentional instead of busy.
Before choosing a look, confirm that the moulding is functional. A true picture rail has a shaped upper lip that accepts hooks; decorative trim may not. Check how securely it is fixed, respect the hook and cord weight ratings, and use discreet removable stabilizers at the lower frame corners in hallways or other high-traffic spots. With that practical groundwork done, these six approaches can suit everything from a formal sitting room to a compact rental.
Build a collected living-room gallery
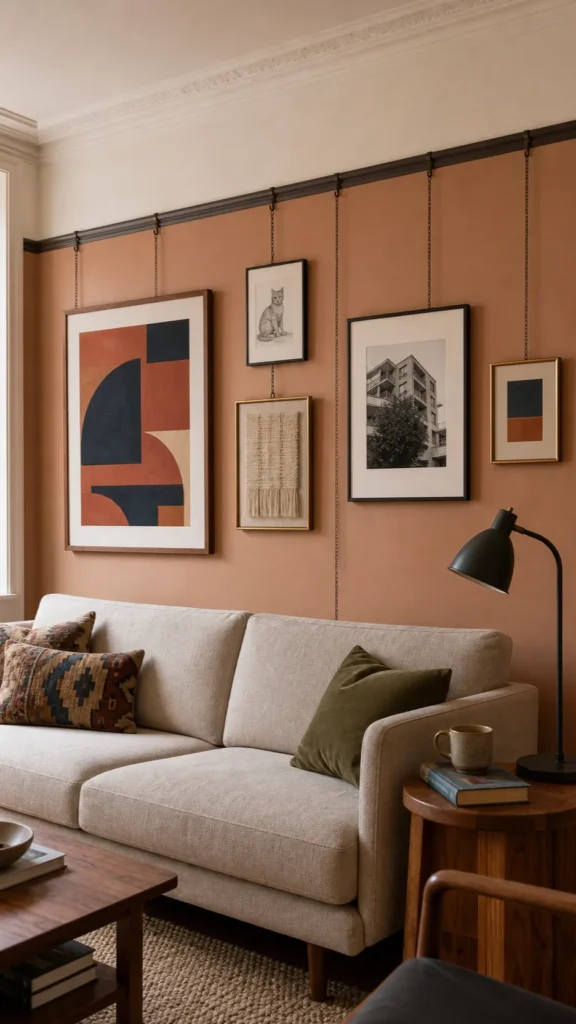
For a picture rail living room, begin with one frame that has enough scale to hold the wall—usually the piece above the sofa or console. Add smaller works to either side, but resist filling the entire run. Negative space is what separates a collected display from visual clutter. Vary frame heights and widths while repeating one or two finishes, such as dark wood and aged brass, to keep the mix coherent.
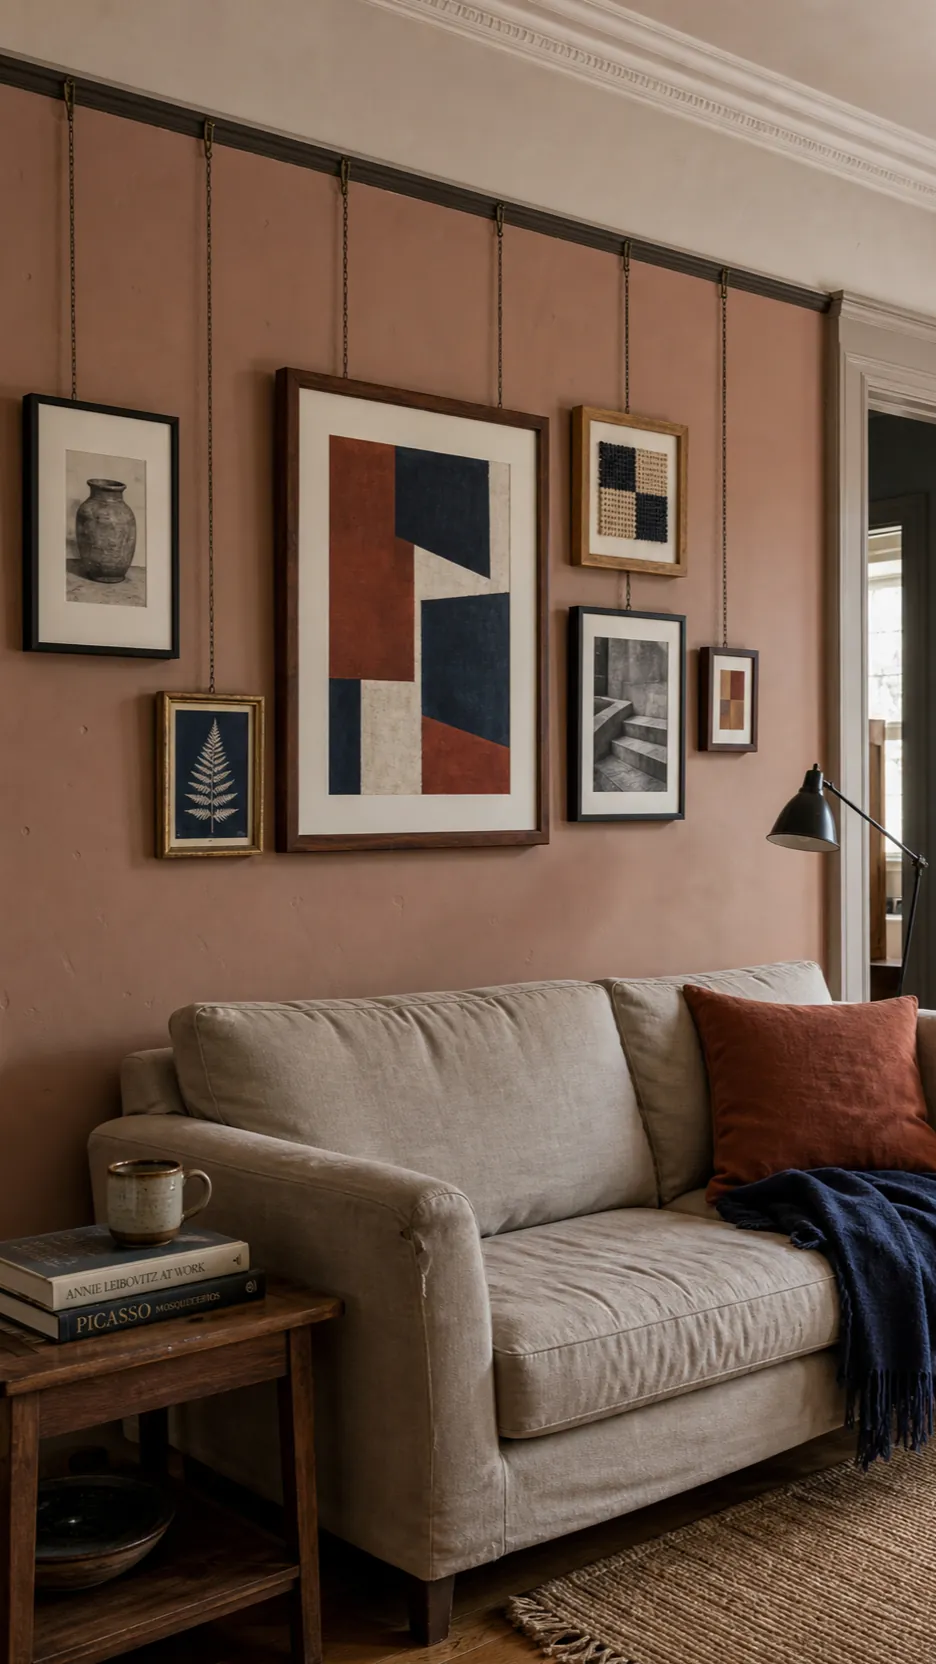
Treat visible cords as part of the design. Fine brass chain feels tailored; dark cord recedes against deeper paint; pale cord is quieter on light walls. Two cords steady a wide or heavy frame better than one. If wires are the feature you dislike, shorten the drops and align the upper edges of the largest frames so less hardware is exposed.
Turn a narrow hallway into a calm photo line
Hallway photo wall ideas often fail because viewers are close to the frames and every misalignment becomes obvious. A single, disciplined row works better than a dense salon hang in a narrow passage. Choose frames of similar depth, align their lower edges, and let the photographs share a visual theme. The result reads as a sequence rather than a storage wall.
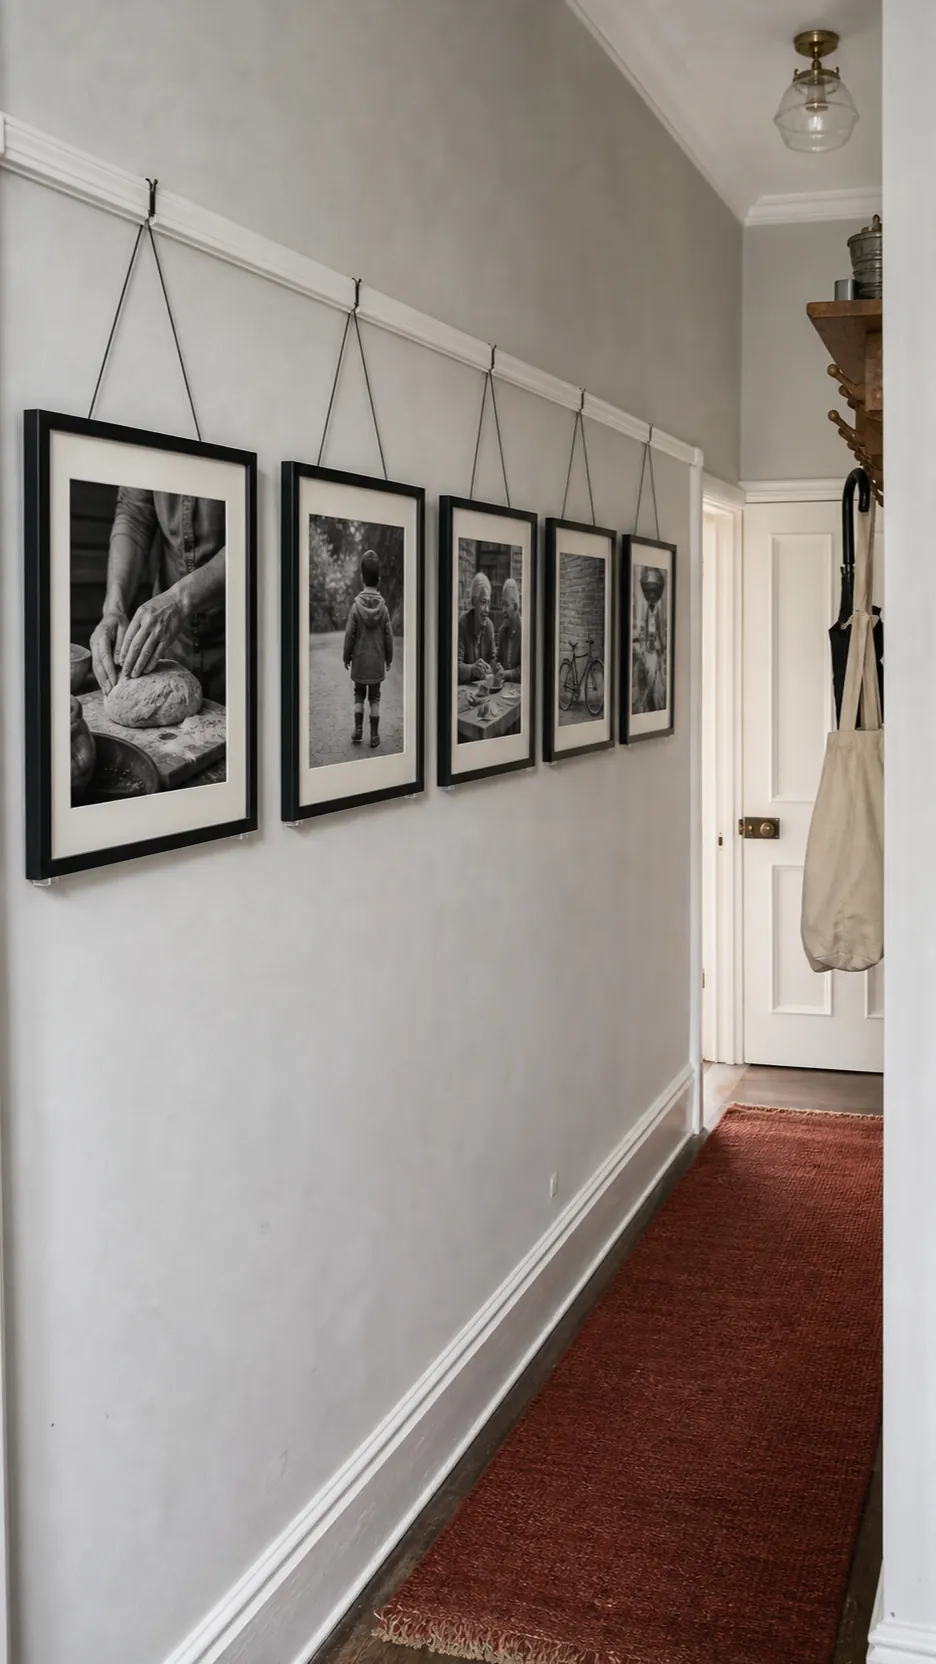
Keep projection to a minimum so bags and shoulders do not catch the frames. Lightweight glazing and slim profiles help. In an active hall, picture rail hanging should carry the vertical load while removable hook-and-loop tabs at the bottom corners prevent swinging. Those tabs are stabilizers, not substitutes for correctly rated hooks.
Use tonal paint to make the rail architectural
A picture rail does not need contrasting white paint. Painting the rail and lower wall one deep color, then carrying a paler version above it, makes the room feel layered without adding more objects. In a bedroom, the quieter upper zone also gives suspended art room to breathe. For low ceilings, keeping the rail close in color to the wall reduces the horizontal stop; in a tall room, contrast can emphasize proportion.
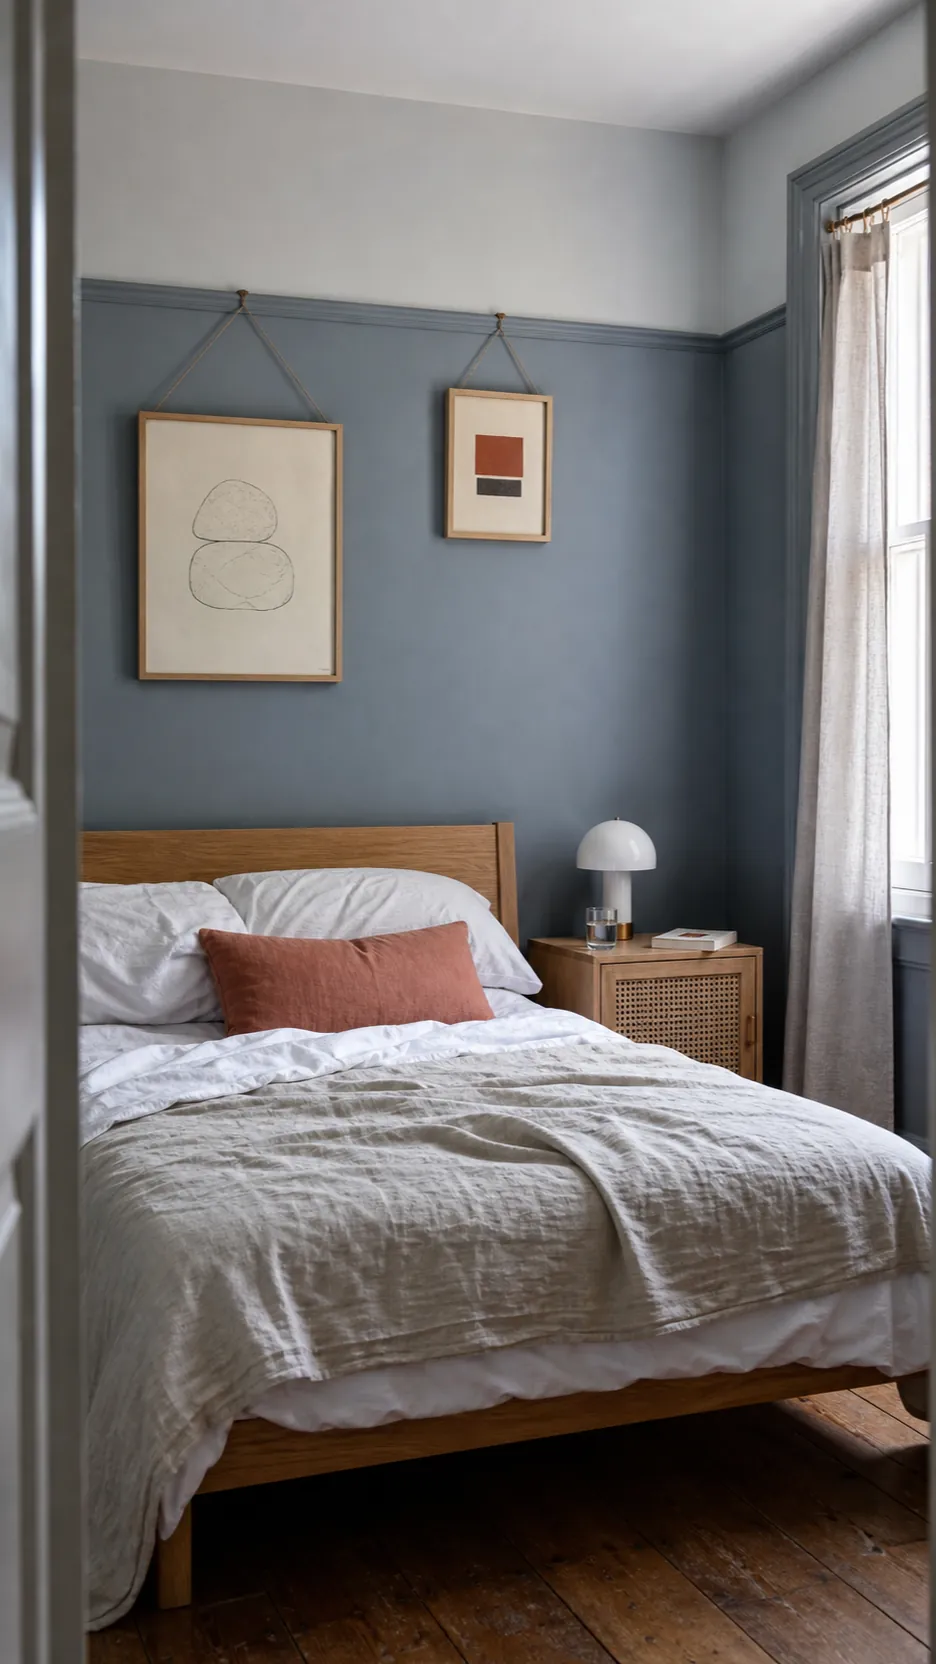
Test the line in relation to doors and windows before installing new trim. In many rooms, aligning the rail near the top of the casings looks more deliberate than measuring a fixed distance down from an uneven ceiling. Painter’s tape around the room gives a much better preview than a small color swatch.
Pair a picture rail with patterned wall treatment
The rail can become a clean boundary between paint and pattern. A restrained wallpaper or hand-painted motif above the rail draws the eye upward, while a solid lower wall keeps furniture and artwork grounded. Alternatively, place pattern below and use a plain upper zone when the room already has strong cornicing. Choose one area to carry detail and let the other act as relief.
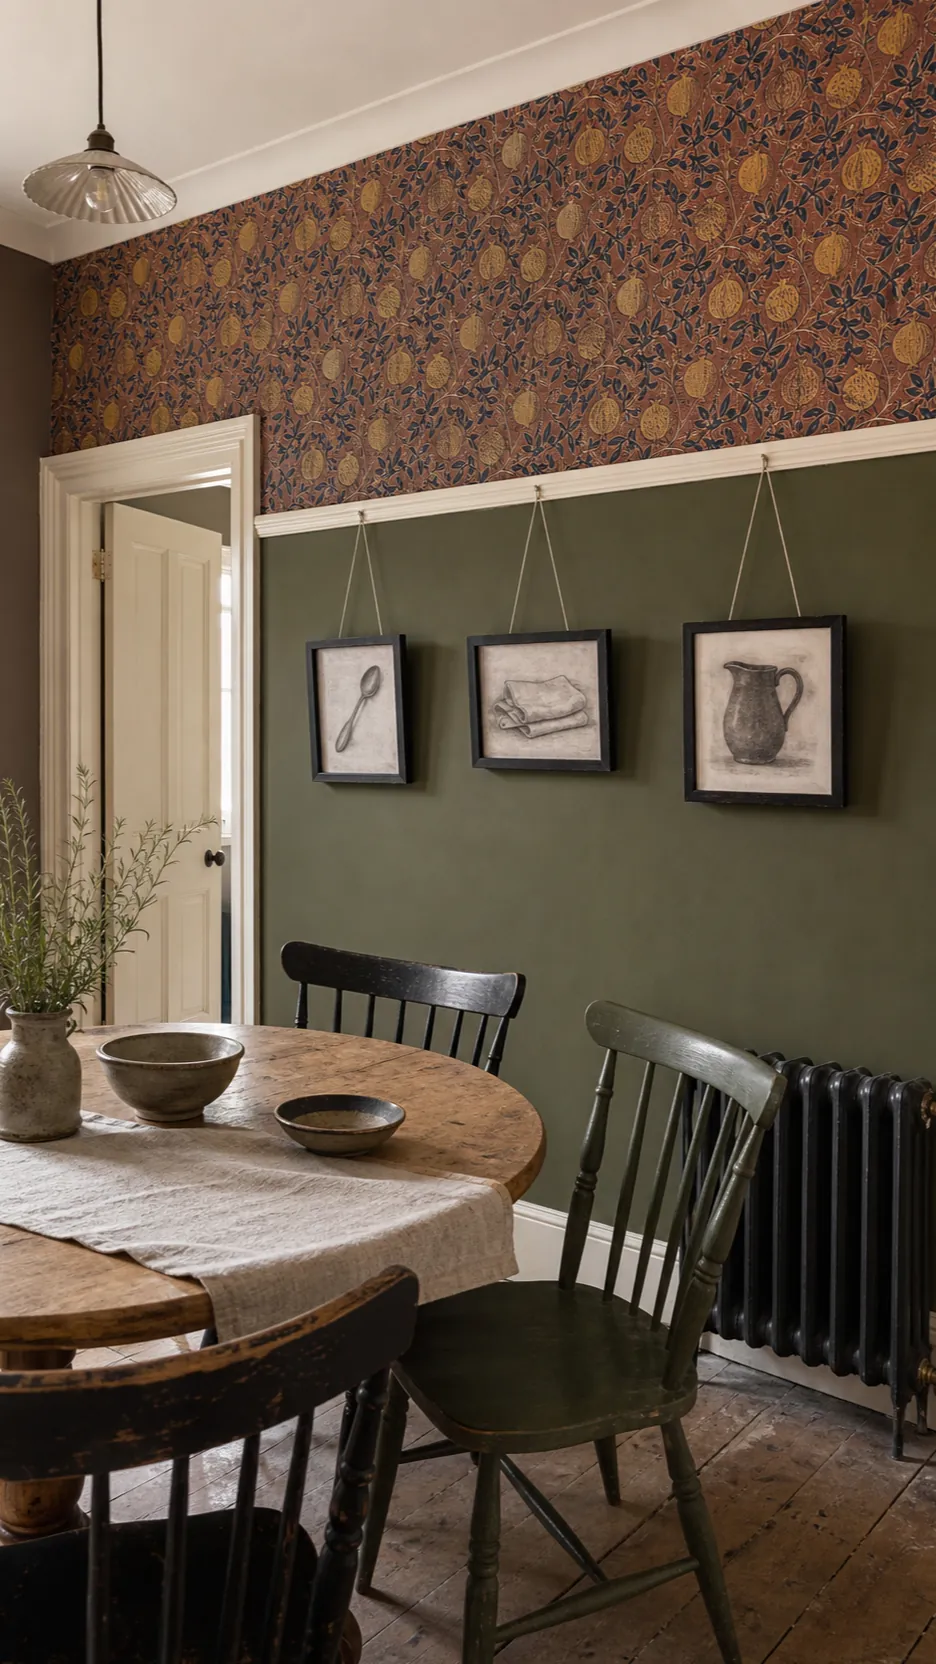
If framed pieces sit against pattern, simplify the art and matting. A small group of charcoal studies or monochrome photographs has enough contrast without competing motif for motif. This approach also makes a modest amount of premium paper go farther because the rail defines a smaller installation zone.
Follow the rise of a staircase
A staircase is ideal for a flexible family gallery, but it needs a stronger organizing rule than a level wall. Let the frame centers climb at a consistent rhythm parallel to the handrail. Start with paper templates, view the arrangement from the landing and the foot of the stairs, and leave extra clearance where people naturally reach for the banister.
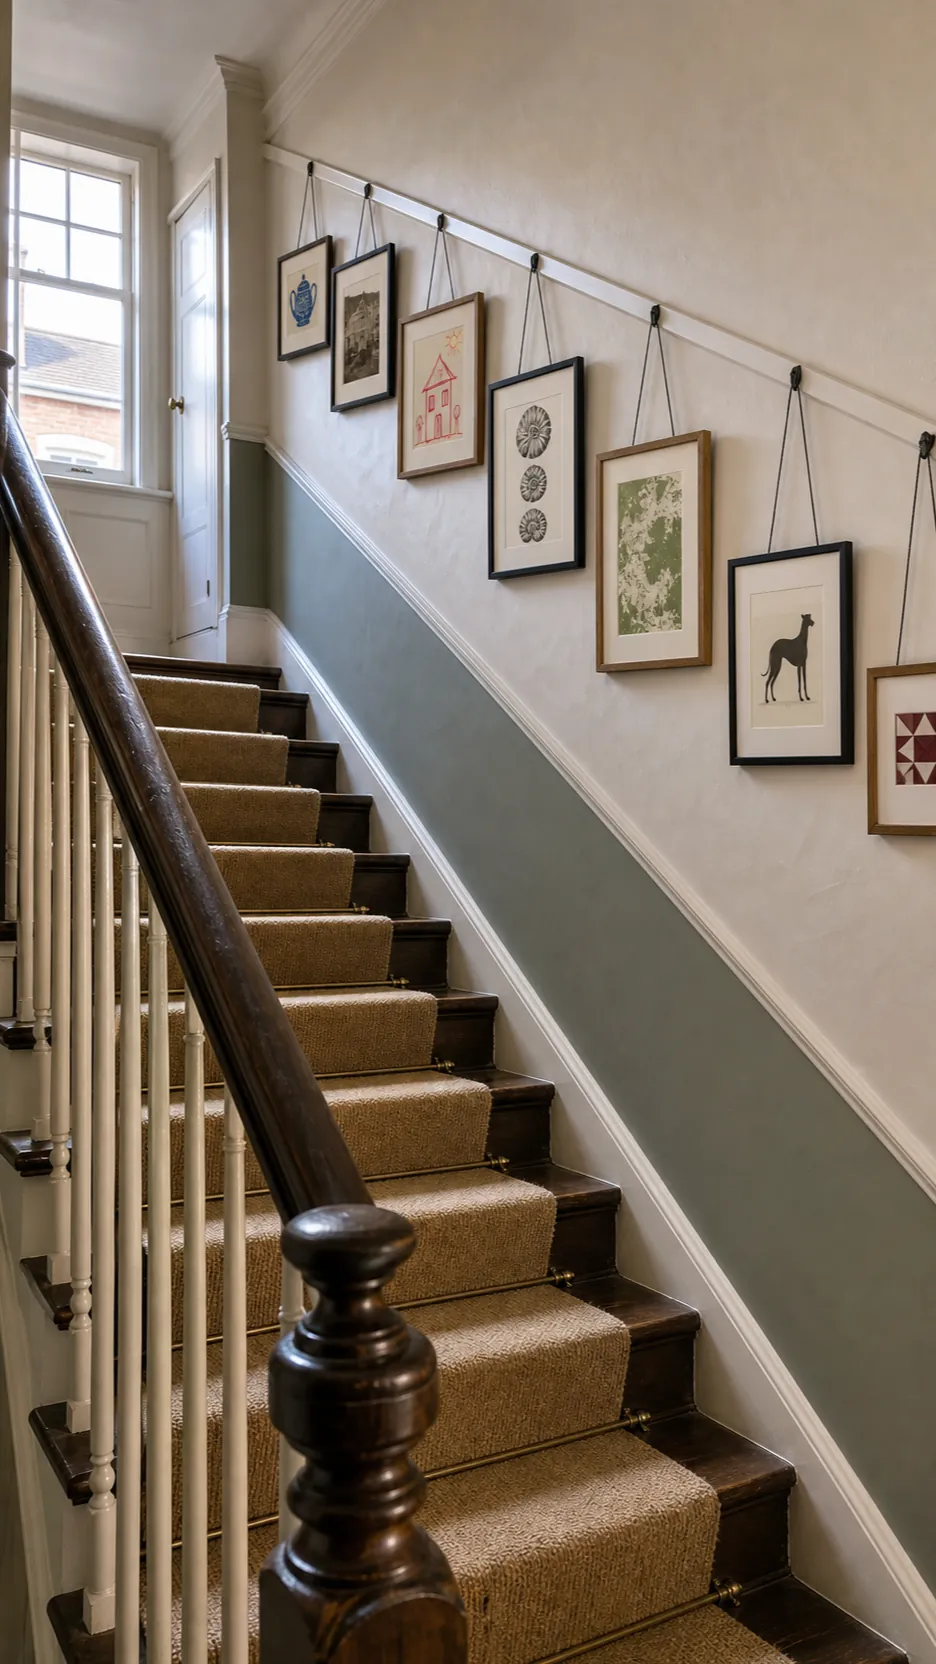
Keep the lowest edges safely away from heads and hands. Smaller, lighter frames are more forgiving on stair walls, and paired cords reduce twisting. A consistent mat color can unite school portraits, travel snapshots, and small works on paper without making every frame identical.
Choose a picture ledge when you want less hardware
A picture shelf is not the same as traditional picture-rail moulding, but it solves a related problem: easy rotation with fewer individual wall fixings. It is especially useful above a desk, in a rental where approved anchors are limited, or when visible cords feel too formal. Layer only a few pieces, overlap their edges slightly, and include one small object or trailing plant for depth.
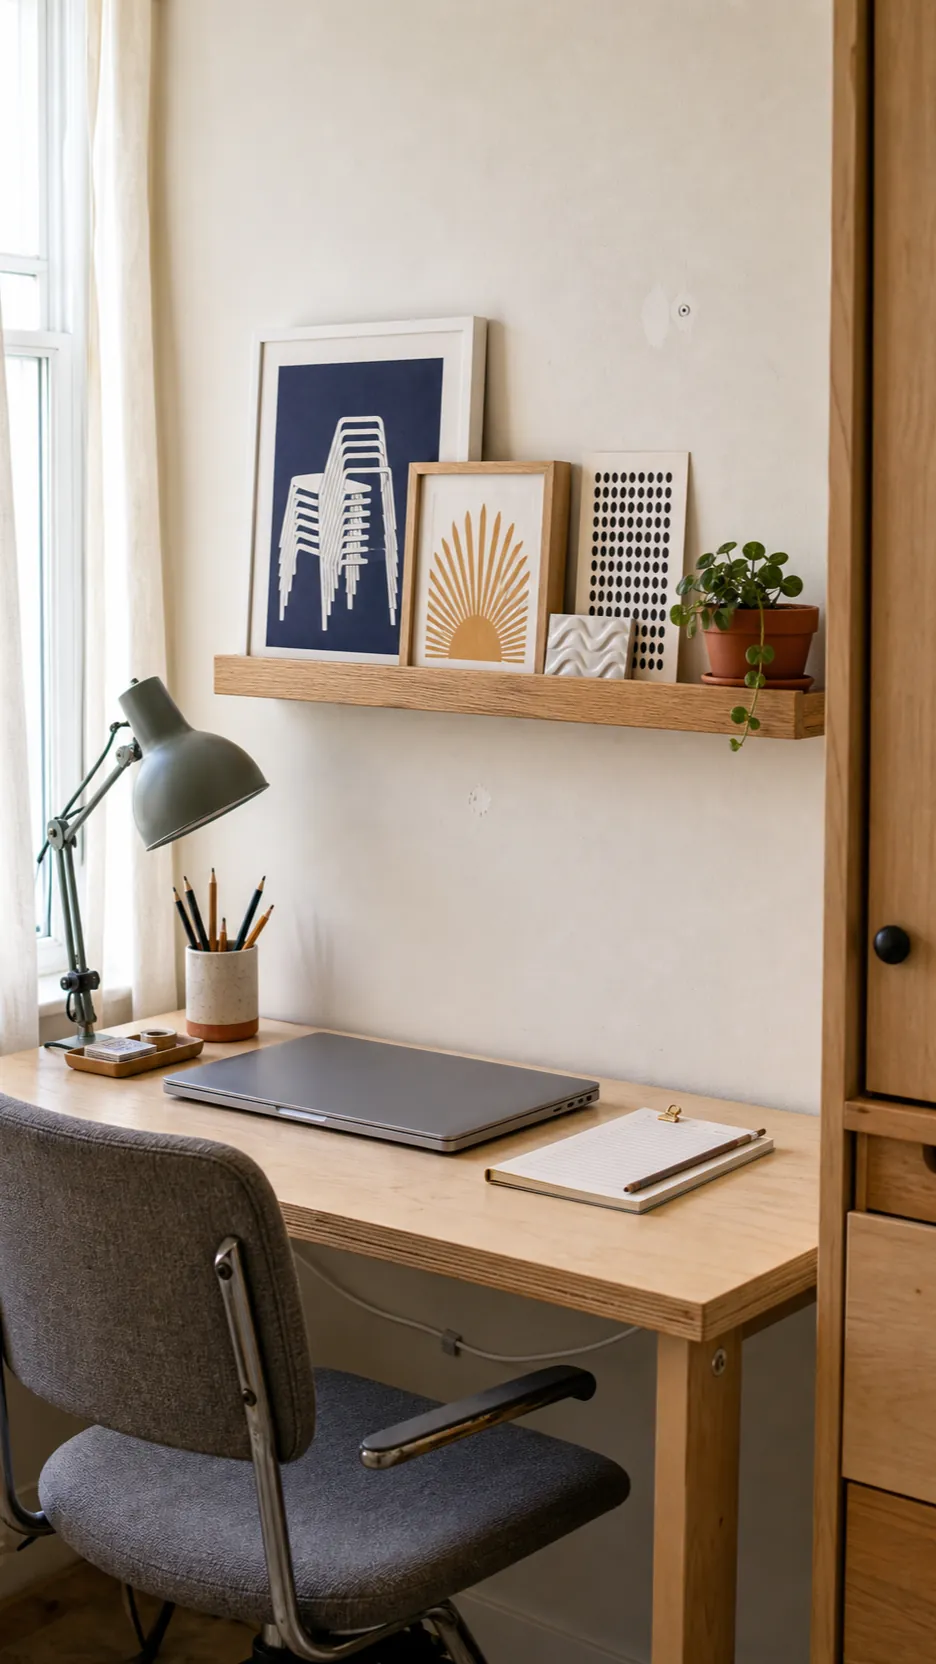
Mount a ledge into suitable structure with hardware rated for the combined load, and avoid stacking heavy glass frames where they could slide. If you already have functional period moulding, preserve it rather than confusing the two systems. A ledge is the modern alternative; a hooked rail is the better choice when protecting original plaster and changing displays frequently are the priorities.
A simple plan before you hang anything
- Check the rail: verify that the upper profile accepts a hook and that the moulding is firmly fixed.
- Map the room: note door casings, curtain rods, switches, furniture width, and traffic paths.
- Lay out the art: arrange frames on the floor or use paper templates before cutting cord.
- Choose a visual rule: repeat a frame finish, mat color, baseline, center line, or subject theme.
- Hang and stabilize: use rated hardware, two drops for wider pieces, and lower-corner stabilizers where movement is likely.
- Edit: remove one piece if the arrangement feels crowded; more empty wall often improves the whole display.
The most convincing picture rail is not the one holding the most art. It is the one that makes the room easier to change while still looking settled today. Start with fewer pieces than you think you need, live with the spacing for a week, and let the collection grow only when a new piece deserves the wall.