Best Surfaces for Wall Decals: Walls, Glass, Tile, Wood & Doors
The best surface for wall decals is not simply “a wall.” It is a smooth, clean, dry, stable, relatively nonporous finish that the specific vinyl is designed to use. Smooth painted walls, glass, mirrors, glazed tile, sealed wood, and finished doors can all work—but their installation and removal risks are different.
Always read the decal maker’s surface list and test a spare piece in an inconspicuous spot. A decal that bonds beautifully to glass may be too aggressive for weak paint, while one formulated for walls may lift from a low-surface-energy cabinet coating. The real question is not only “Will it stick?” but also “What will happen when it comes off?”
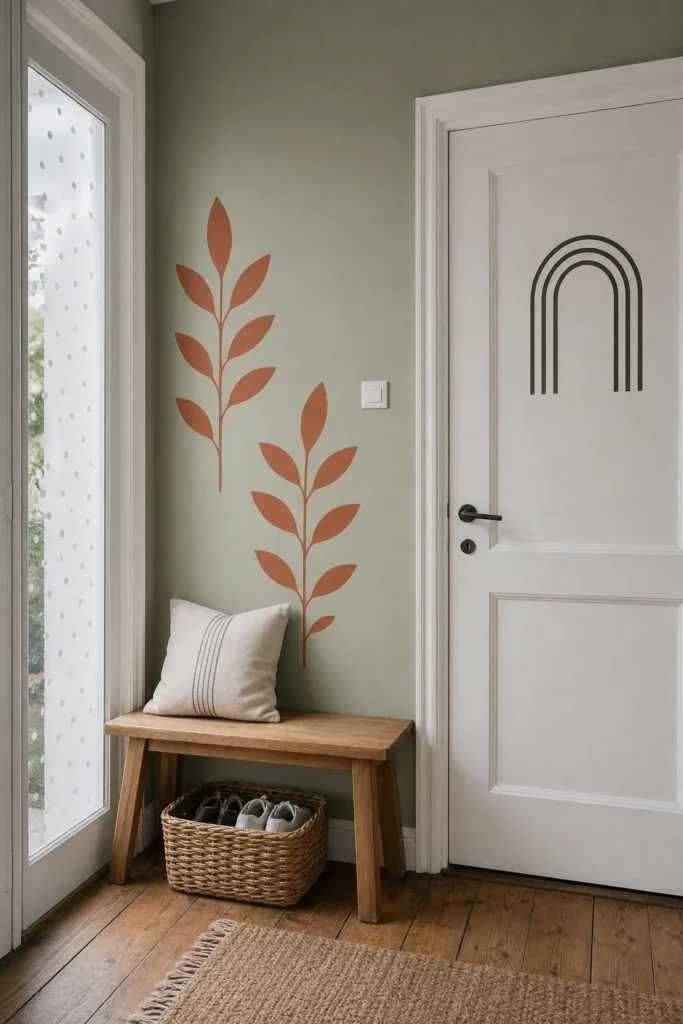
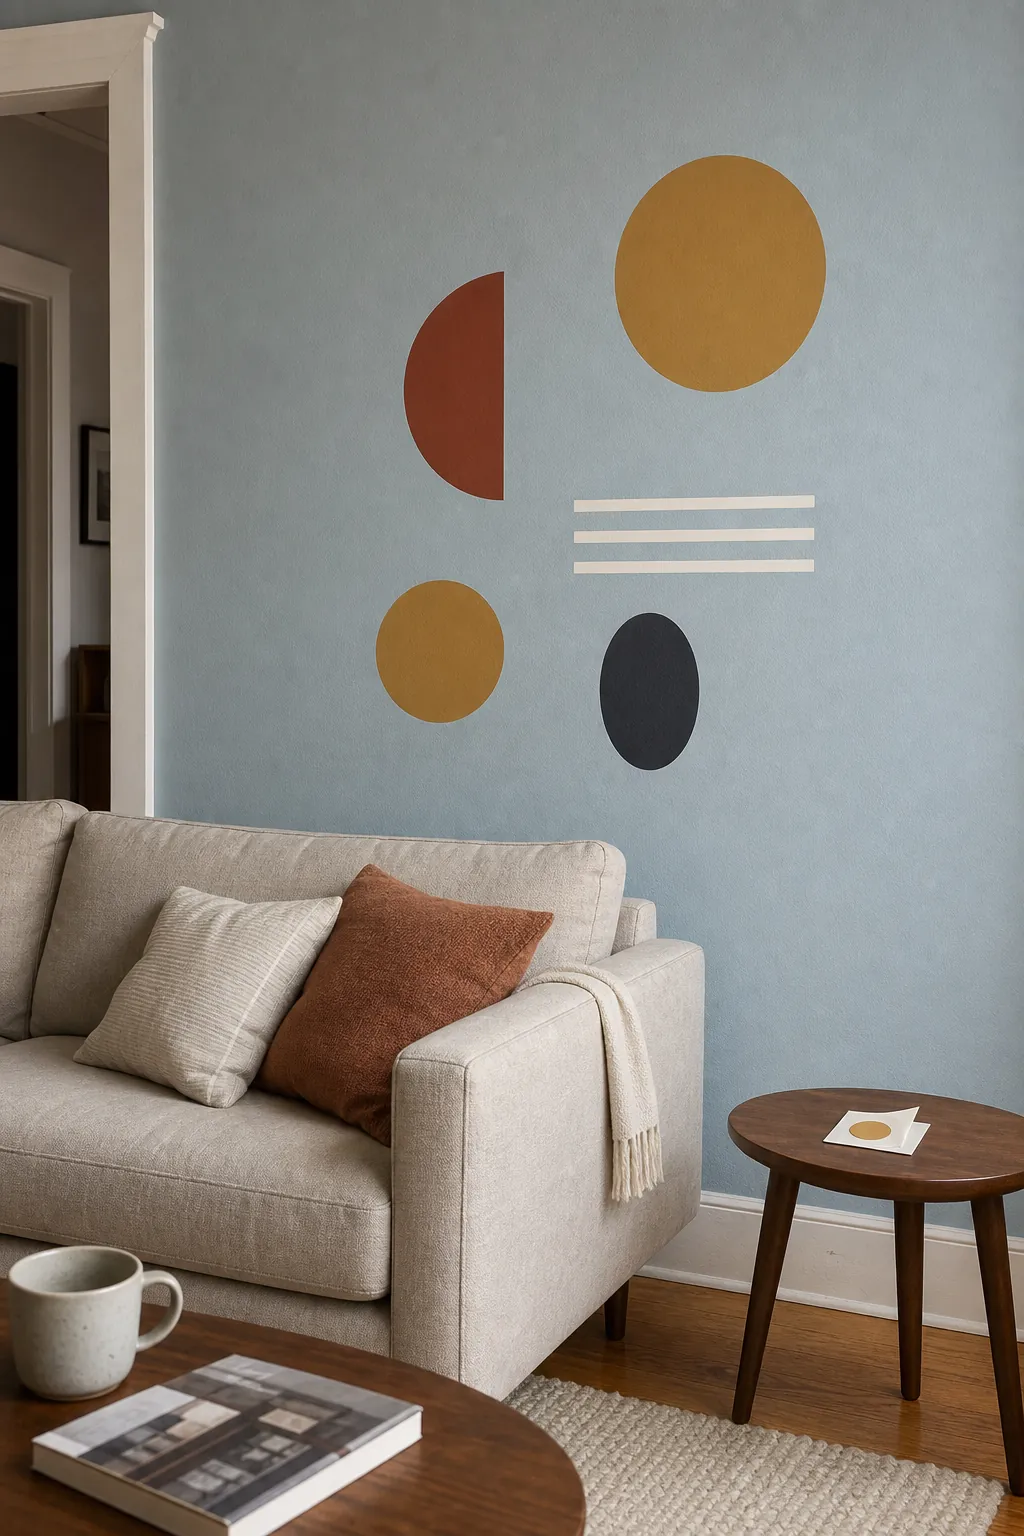
Smooth cured painted walls are the most familiar choice
Sound painted drywall gives wall decals a broad, predictable surface, especially with a smooth flat, eggshell, satin, or semi-gloss finish approved by the decal manufacturer. The paint must be fully cured, firmly bonded, and free of dust, grease, cleaner residue, and dampness.
Texture reduces contact area. Light orange peel may work with a flexible product made for it, but heavy knockdown, rough plaster, brick, and deep texture often create visible gaps and lifting edges. Modern easy-clean or low-VOC paints can also behave differently with pressure-sensitive adhesive. Test adhesion and low-angle removal rather than assuming the sheen name guarantees success.
Glass and mirrors offer smooth strong contact
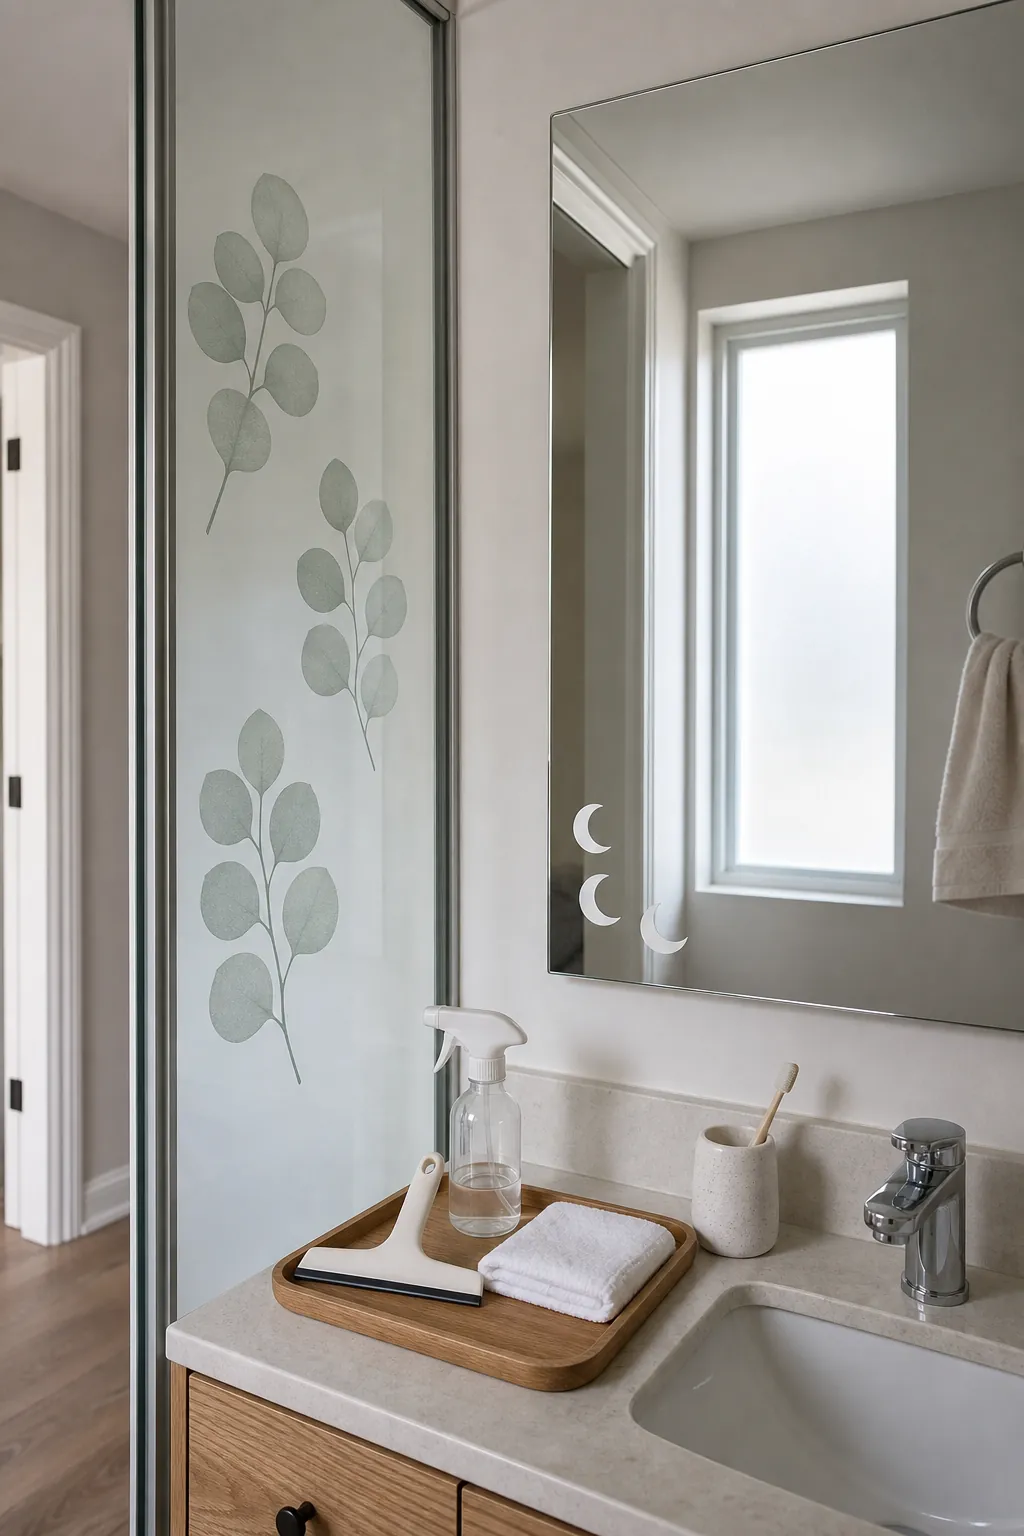
Glass and mirrors are smooth, nonporous, and easy to clean, so many decals form strong contact. They are useful for privacy motifs, seasonal window designs, labels, and renter-friendly decoration that avoids painted drywall. However, every film is different: some large glass graphics require a wet-install method, while wall decals may be dry-application only.
Remove dust, fingerprints, and cleaner film, then let the surface dry. Avoid installing across a window seal, damaged edge, heating element, or moving hardware. Remember that a strongly bonded decal can leave adhesive residue, and razor removal is not appropriate for every coated, tinted, acrylic, or specialty glass surface. Follow the glazing and decal instructions.
Glazed tile works best when grout is avoided
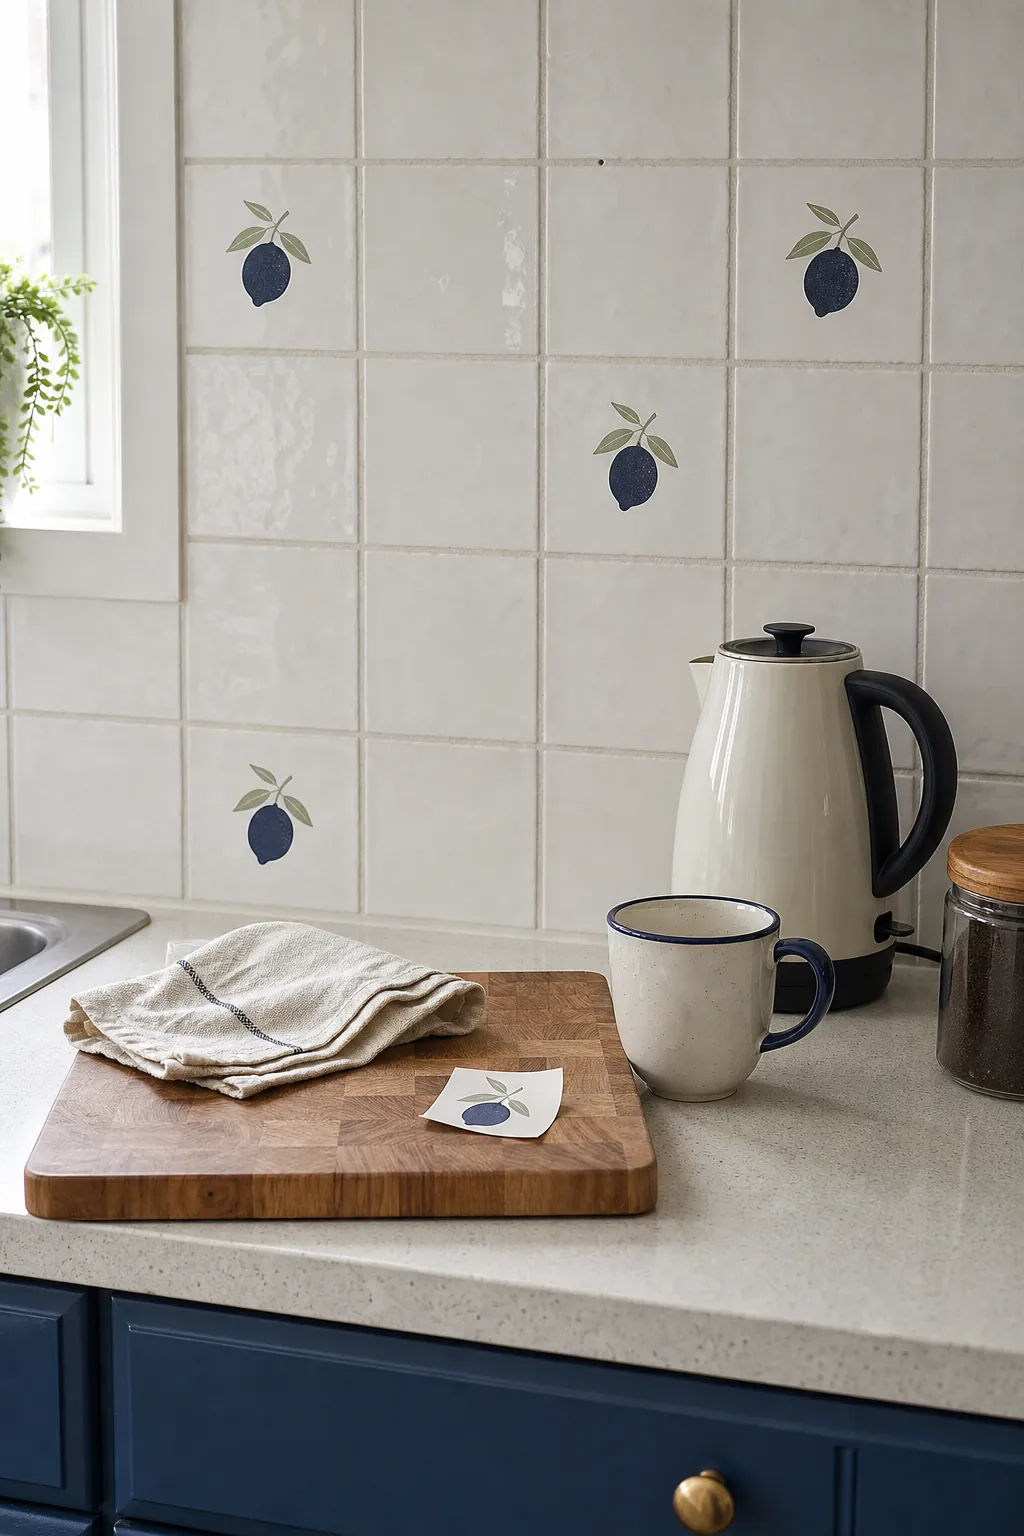
Wall decals on tile can work well on clean glazed faces. The problems are usually joints and water: grout sits lower, absorbs contamination, and interrupts contact; shower spray, steam, and splashes can reach an edge and encourage lifting. Place small decals within individual tiles or choose a product explicitly rated for the room and moisture exposure.
Do not bridge deep grout lines with ordinary flat vinyl. Keep decals away from direct flame, high heat, standing water, and flexible caulk joints. Degrease a kitchen backsplash with a cleaner approved for both tile and decal, rinse away residue, and allow complete drying before application.
Sealed wood and finished cabinets need a finish test
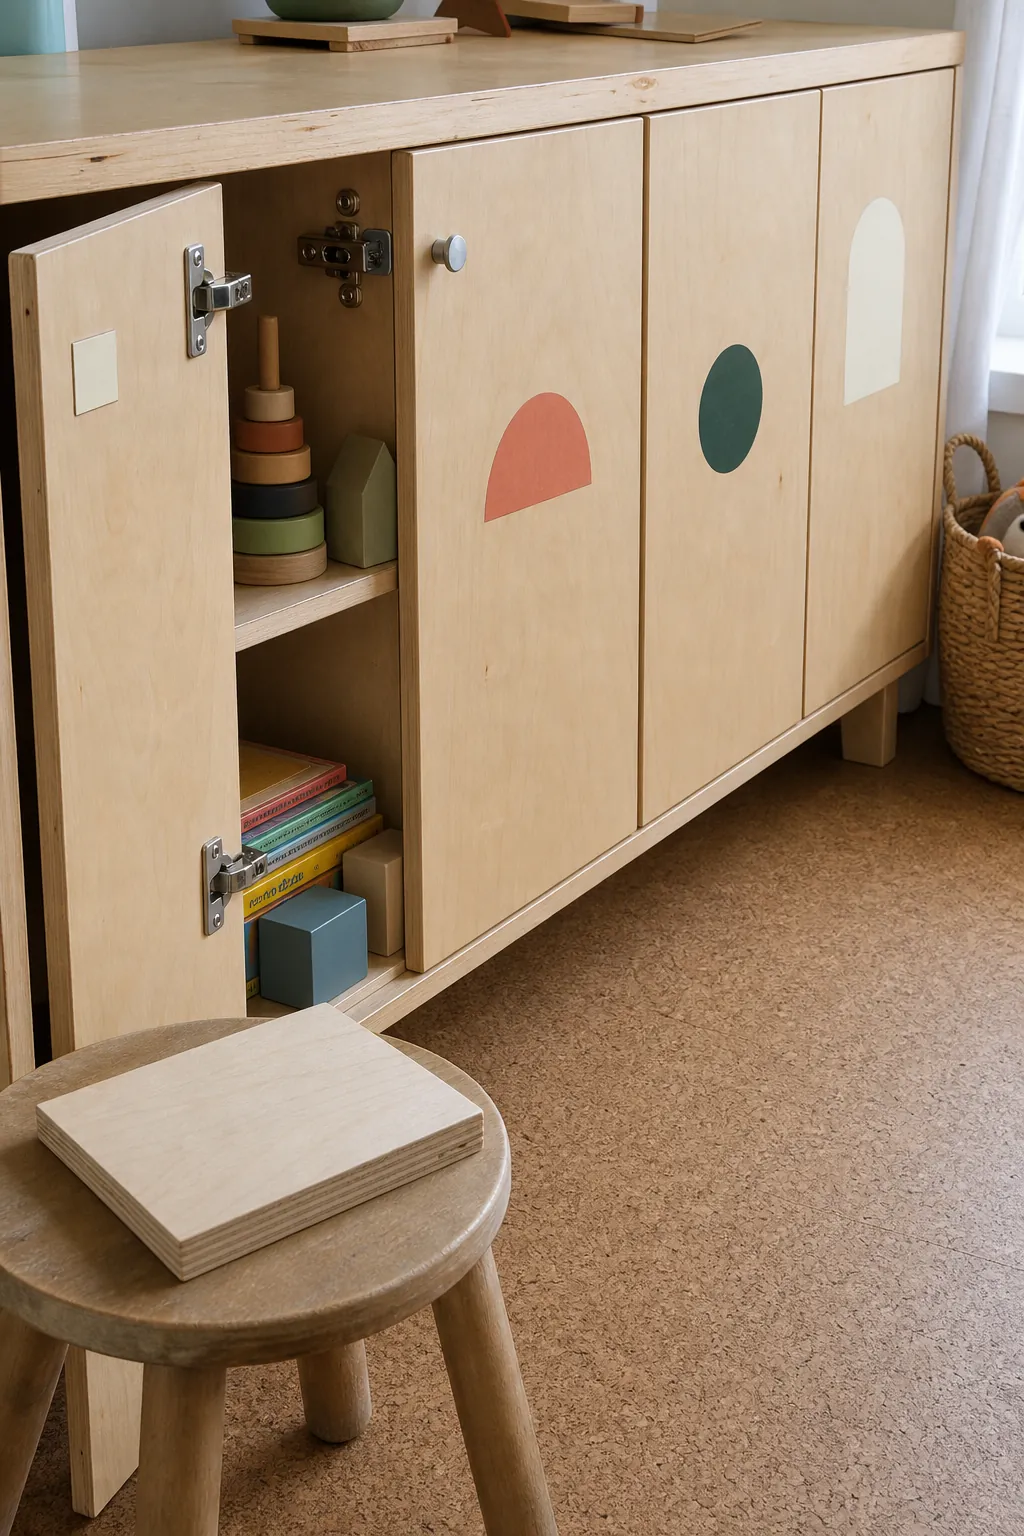
Raw wood is porous, fibrous, and uneven, so ordinary smooth-surface wall stickers often fail or become difficult to remove cleanly. Sealed, varnished, painted, or laminated wood offers more contact, but the decal bonds to that finish—not directly to the wood. If the finish is weak, uncured, waxed, oily, or silicone-rich, it may lift or reject adhesive.
For wall decals on wood, cabinets, or furniture, test inside a door or on a hidden back edge. Confirm that the product is suitable for finished furniture and that removal will not change sheen, pull coating, or leave a darker protected patch after surrounding areas fade. Keep graphics clear of knobs, hinges, edges, and surfaces that are scrubbed or handled constantly.
Finished interior doors can be excellent decal surfaces
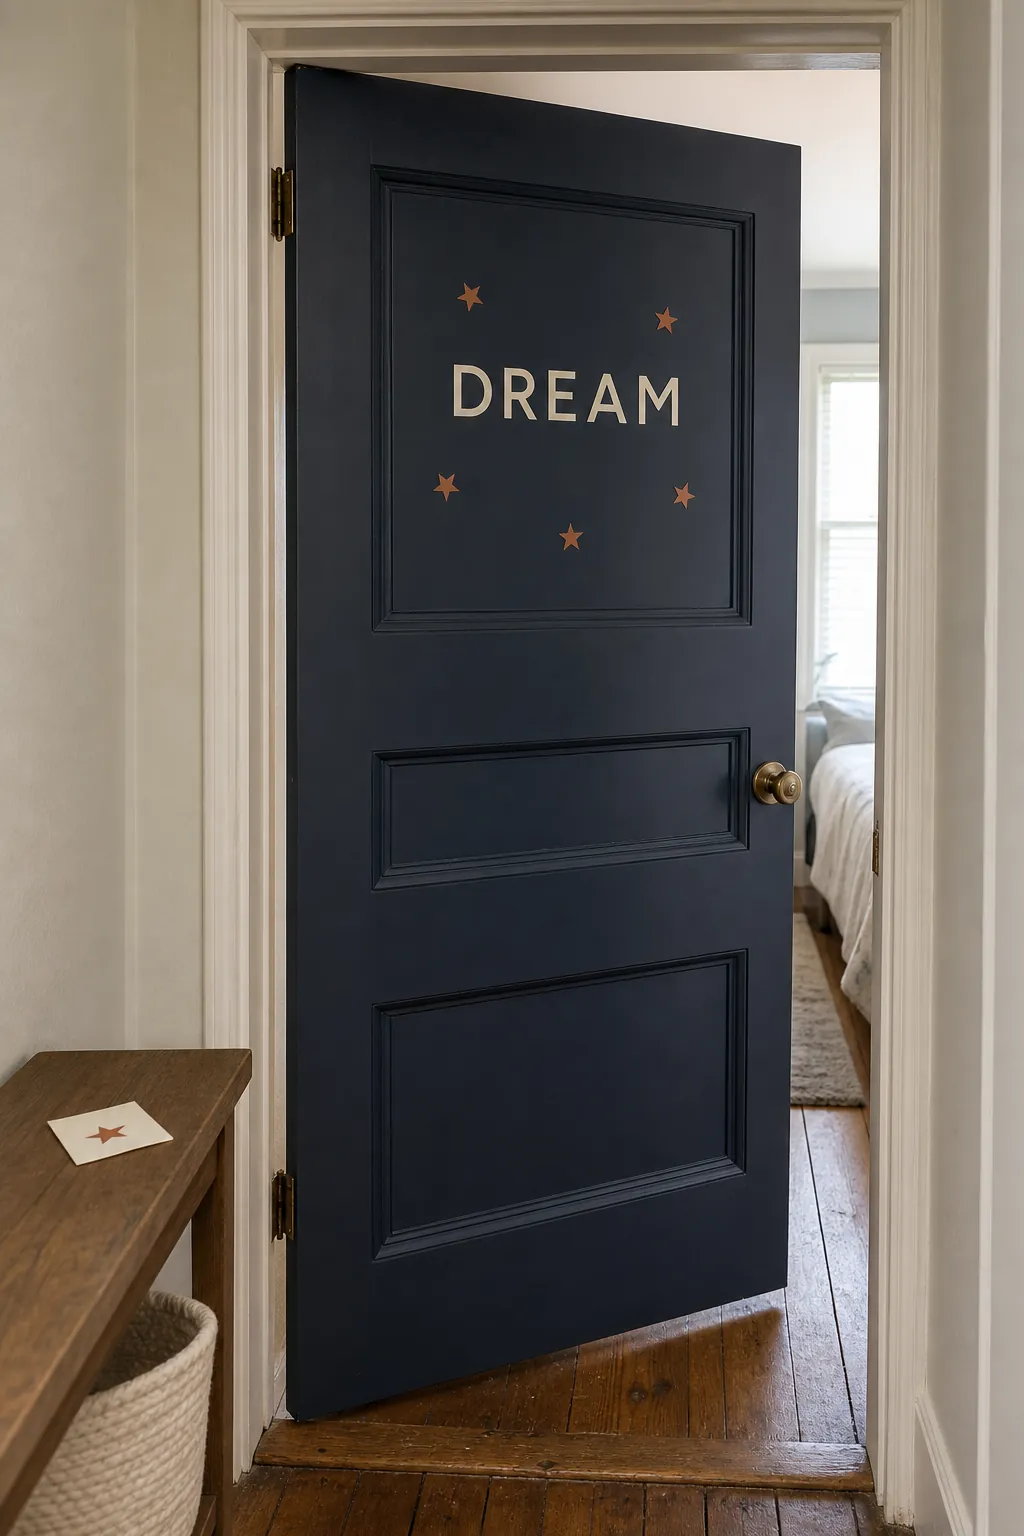
A smooth painted or sealed interior door provides a flat decorative zone, making wall decals on doors useful for names, room themes, pantry labels, and temporary seasonal designs. Doors also move, flex, and receive hand contact, so placement matters more than on a quiet wall.
Apply only to a fully cured, sound finish. Keep vinyl away from the latch edge, hinge barrel, weather stripping, door sweep, and areas struck by handles or fingers. On paneled doors, place separate decal pieces inside flat panels instead of forcing one sheet across molding profiles.
Know which surfaces usually need a different product
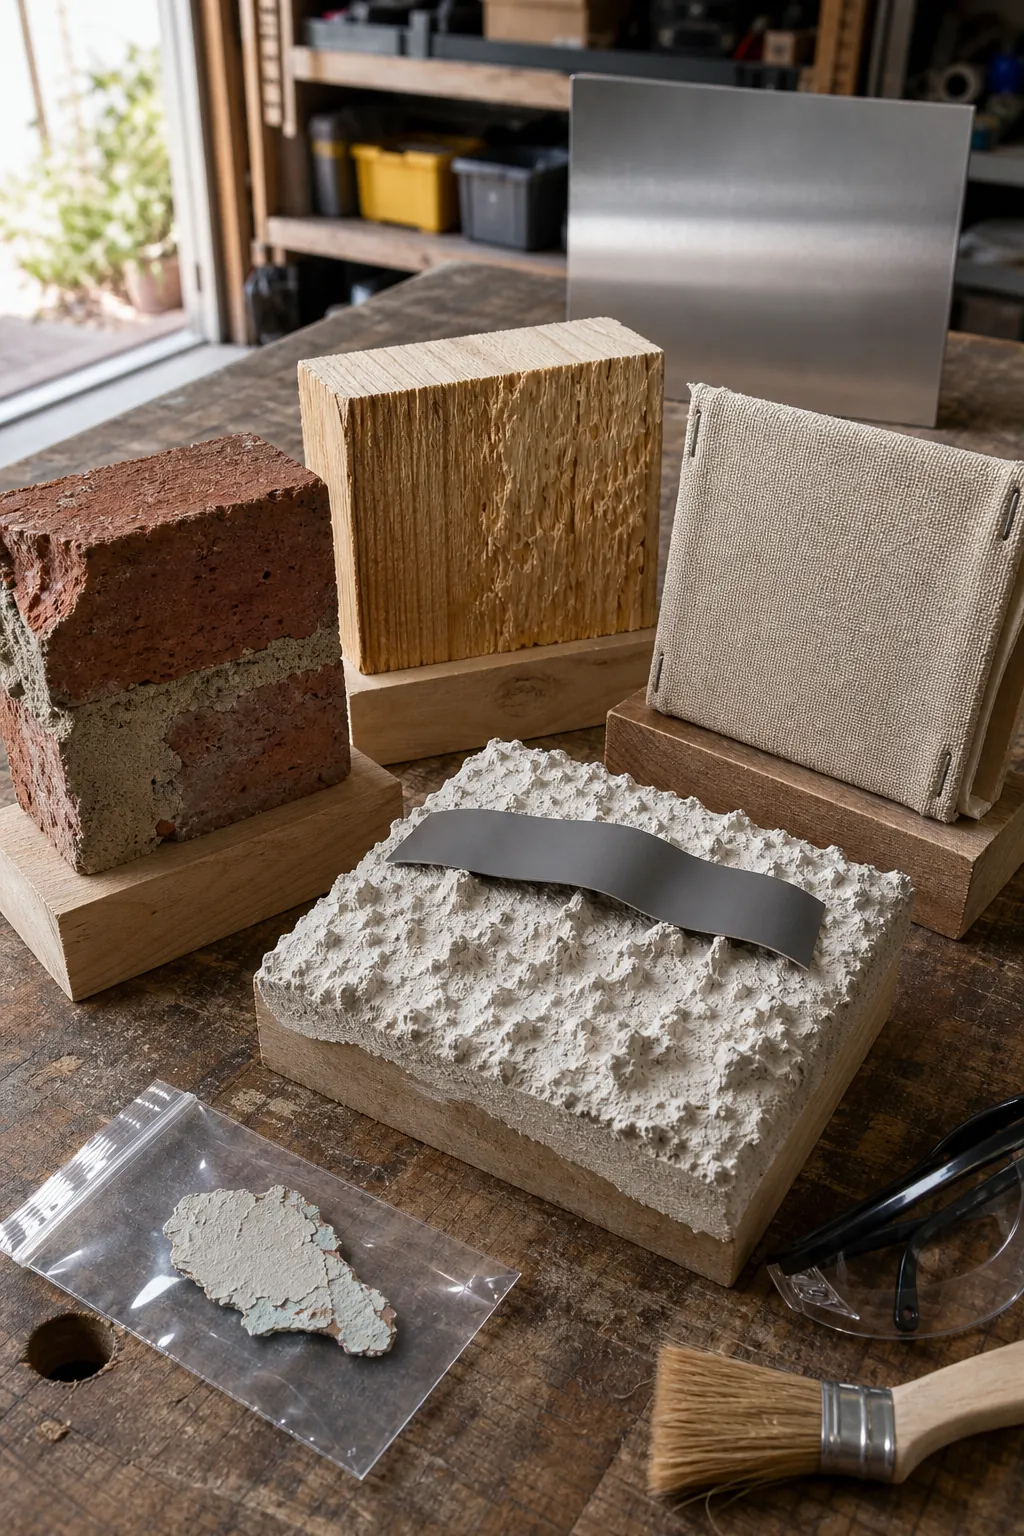
Ordinary indoor wall decals are poor matches for unfinished wood, dusty masonry, fabric, damp surfaces, flaking paint, fresh paint, deep texture, dirty grout, chalkboard coatings, and flexible or crumbling finishes. Wallpaper is also risky: the decal may damage the printed face or pull the wallcovering from its substrate even if the vinyl itself is removable.
Specialty graphic films exist for some textured walls and outdoor conditions, but they use different adhesives and installation methods. Do not treat those as interchangeable with decorative removable wall stickers. If a manufacturer cannot confirm compatibility, mount the decal on a suitable removable panel or choose another location.
Choose the location by contact, conditions, and removal risk
Start with the smoothest stable surface that fits the decal maker’s instructions. Check whether it is cured or sealed, clean it without residue, let it dry, and test a spare piece. Then consider what the surface experiences: steam, sunlight, scrubbing, fingerprints, moving hardware, or temperature swings can turn an otherwise compatible material into a poor location.
For easy contact and predictable cleanup, glass or glazed tile can outperform a questionable painted wall. For a cohesive room design, sound cured paint or a finished door may look more natural. Sealed wood can work when its coating is strong and compatible. The best indoor wall decal surface is ultimately the one that passes both sides of the test: the decal stays flat during use, and the finish remains intact after careful removal.