How to Fix Peeling Wall Decals: A Lasting Repair Guide
A wall decal that looked perfect yesterday can feel like a lost cause when its corners curl overnight. The good news is that a small lift is often repairable. The bad news is that pressing harder is not a diagnosis. A lasting repair starts by finding out whether the problem is dust, texture, paint, moisture, temperature, or worn-out adhesive.
This guide shows you how to fix peeling wall decals without turning a neat edge into a wrinkled, glue-smeared patch. It also explains when a repair is worth attempting and when the wall or decal is telling you to stop.
Diagnose the Lift Before You Touch It
Start with the shape and location of the failure. One lifted corner usually points to weak edge contact, accidental handling, or tension in the vinyl. Several loose letters or shapes suggest a surface-preparation problem. A whole panel dropping from the wall usually means the product is incompatible with the paint or texture, not that you missed a spot with the squeegee.
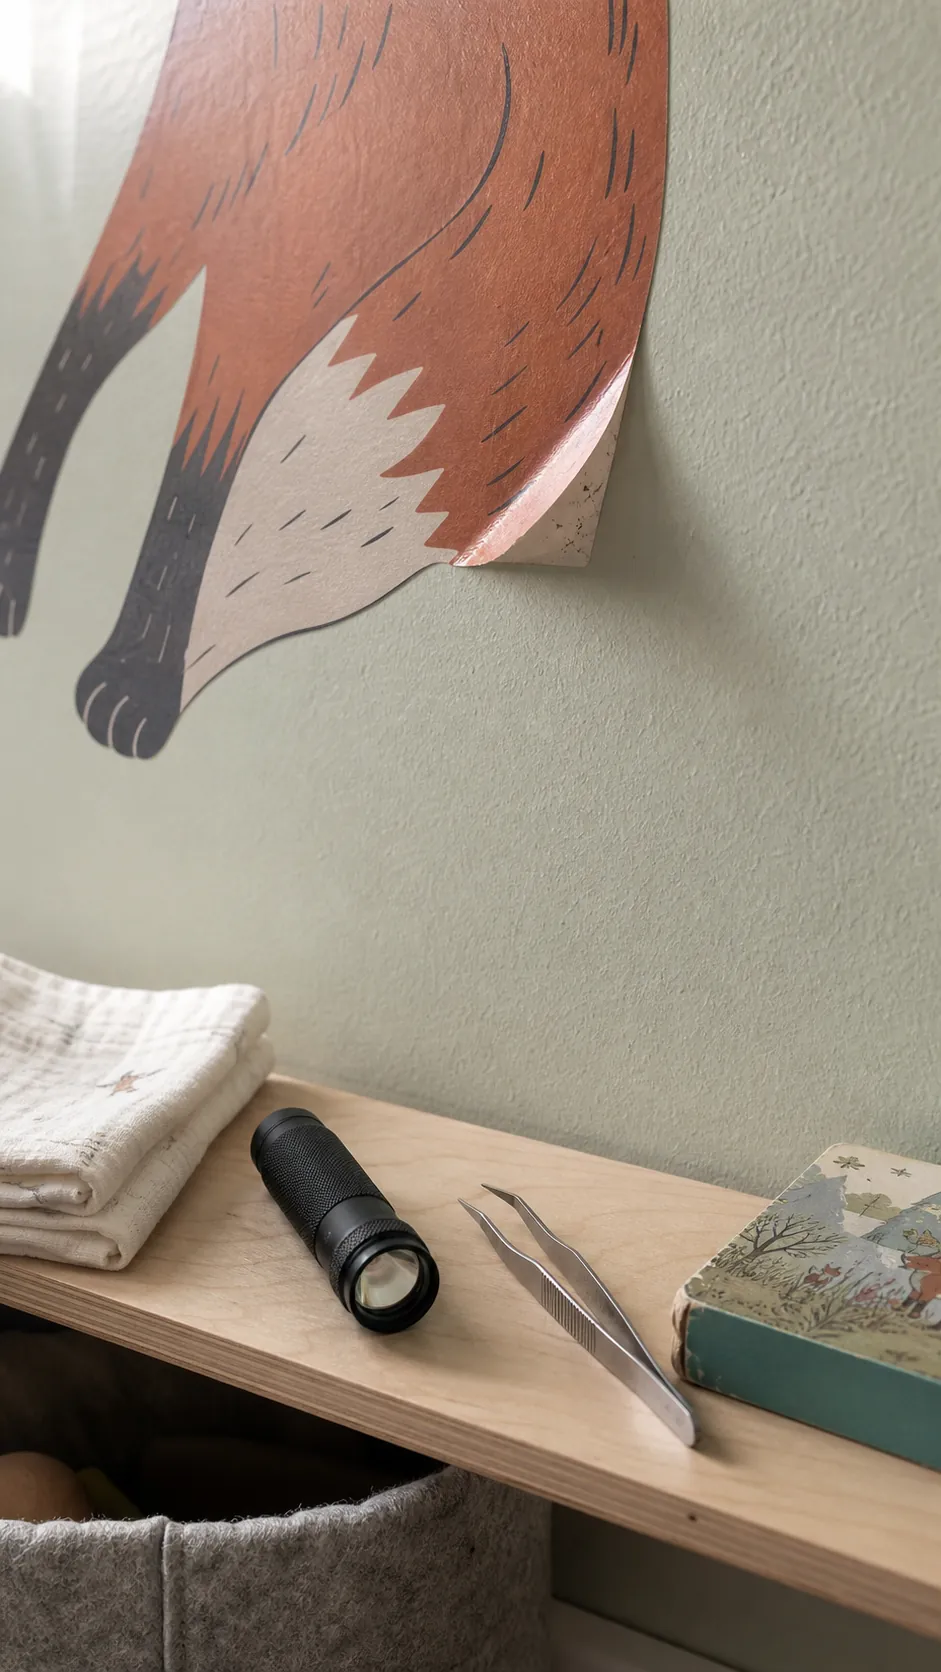
Look closely at the exposed wall and the back of the decal. Dust or lint on the adhesive indicates contamination. A pebbled imprint with large untouched areas indicates that the adhesive only contacted the high points of a textured wall. A greasy or glossy surface can prevent bonding even when it looks clean. If paint comes away with the decal, the weak layer is the paint finish itself.
Do not keep peeling back a large area just to investigate. Every extra lift exposes more adhesive to dust, stretches thin vinyl, and makes alignment harder.
Clean the Wall and Adhesive Contact Area
For a small loose edge, hold the decal away from the wall with clean, dry fingers. Remove visible lint from the adhesive with clean tweezers rather than rubbing it deeper into the glue. Wipe the exposed wall with a barely damp, lint-free cloth and let it dry completely. If the manufacturer permits diluted isopropyl alcohol on the painted surface, test it in a hidden spot first; some flat or poorly cured paints can mark or transfer color.
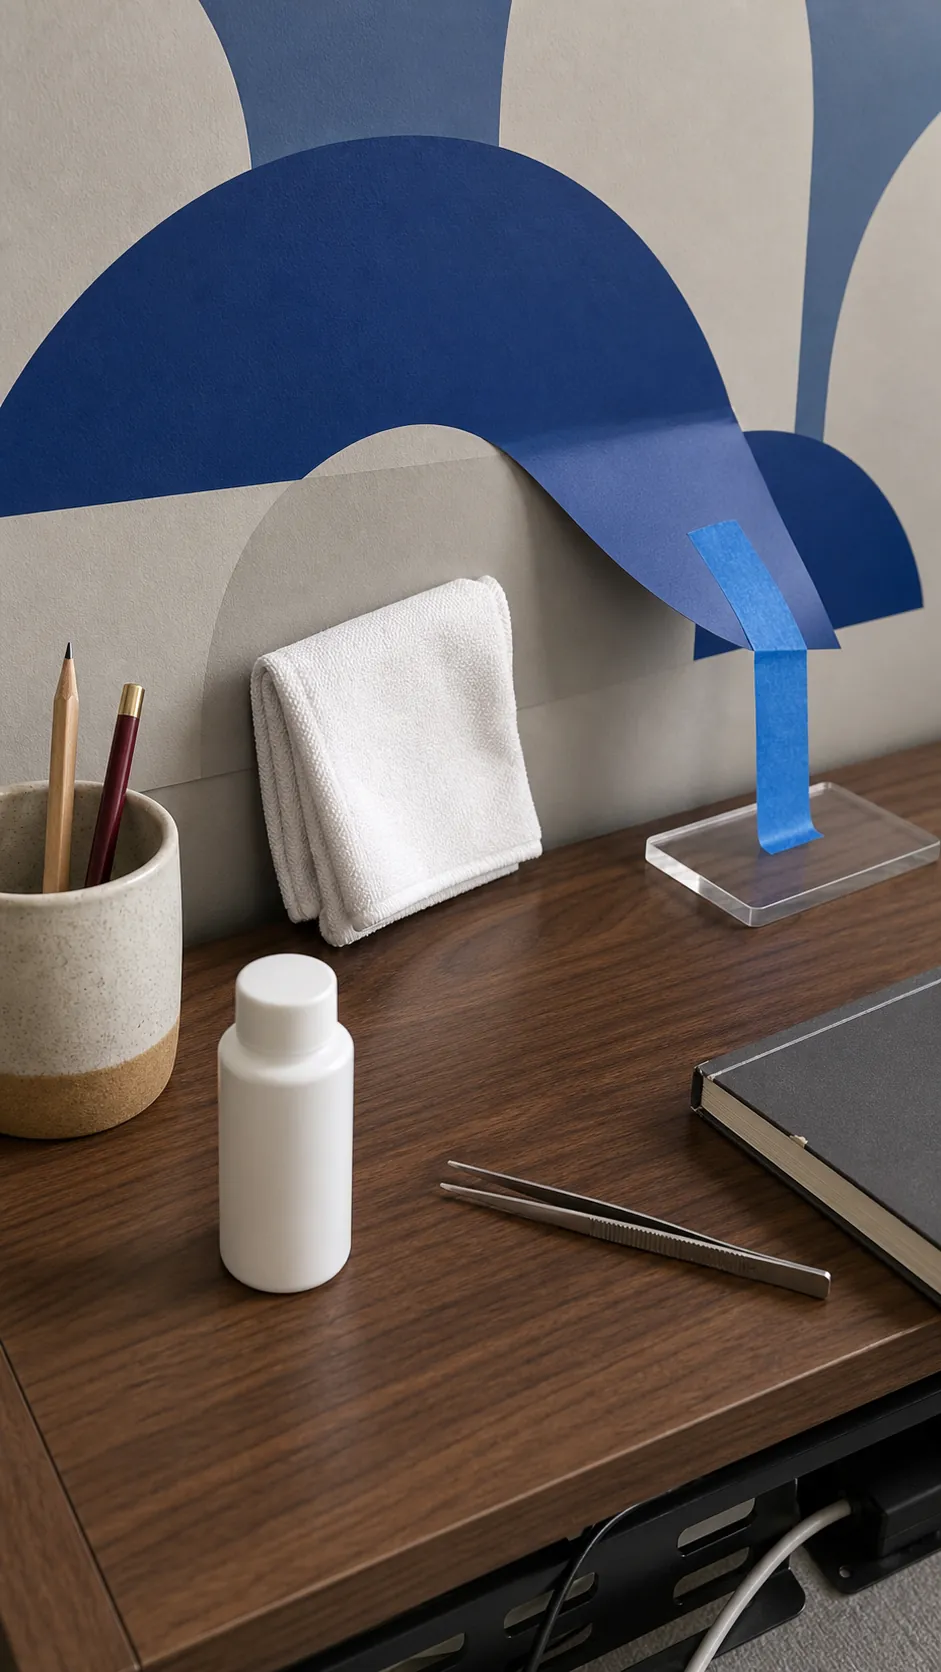
Kitchen residue, aerosol polish, smoke film, and even skin oils can cause wall decal adhesive failure. Water alone may move dust without removing oily residue. However, soaking the wall creates a new problem: moisture trapped beneath vinyl. The repair surface should be clean, room-temperature, and fully dry before the decal touches it again.
If the wall was freshly painted, check the paint maker’s cure time and the decal maker’s instructions. Paint can feel dry long before it has finished curing. Applying or repairing a decal too soon can trap moisture, weaken adhesion, or pull away paint later.
Warm and Press a Corner That Still Has Tack
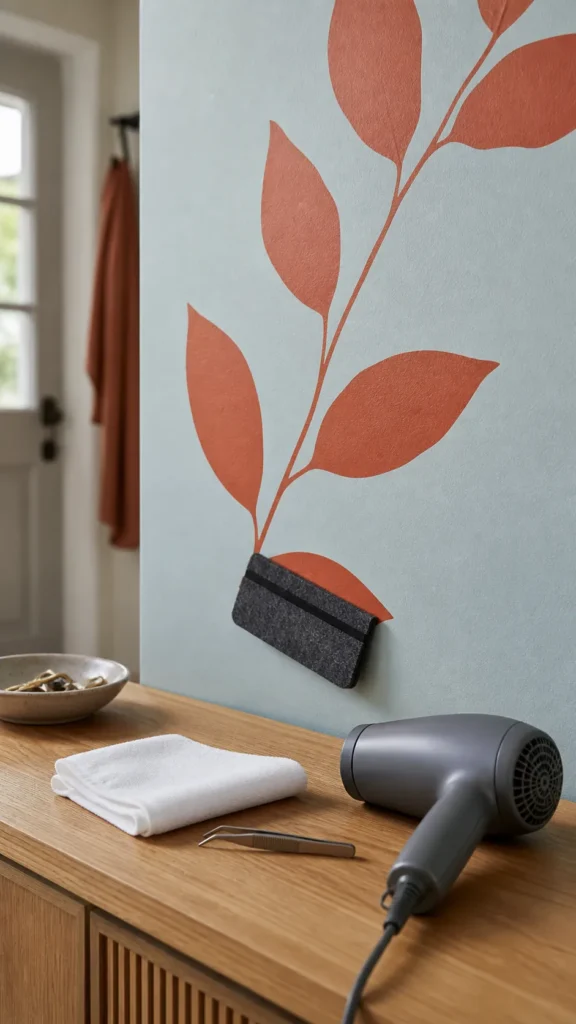
If the back still feels tacky and the wall is suitable, gentle warmth can make some pressure-sensitive vinyl more conformable. Use a hair dryer on low heat, keep it moving, and warm the area briefly from a safe distance. The decal should feel flexible, never hot. Excess heat can shrink, stretch, gloss, or permanently distort the material.
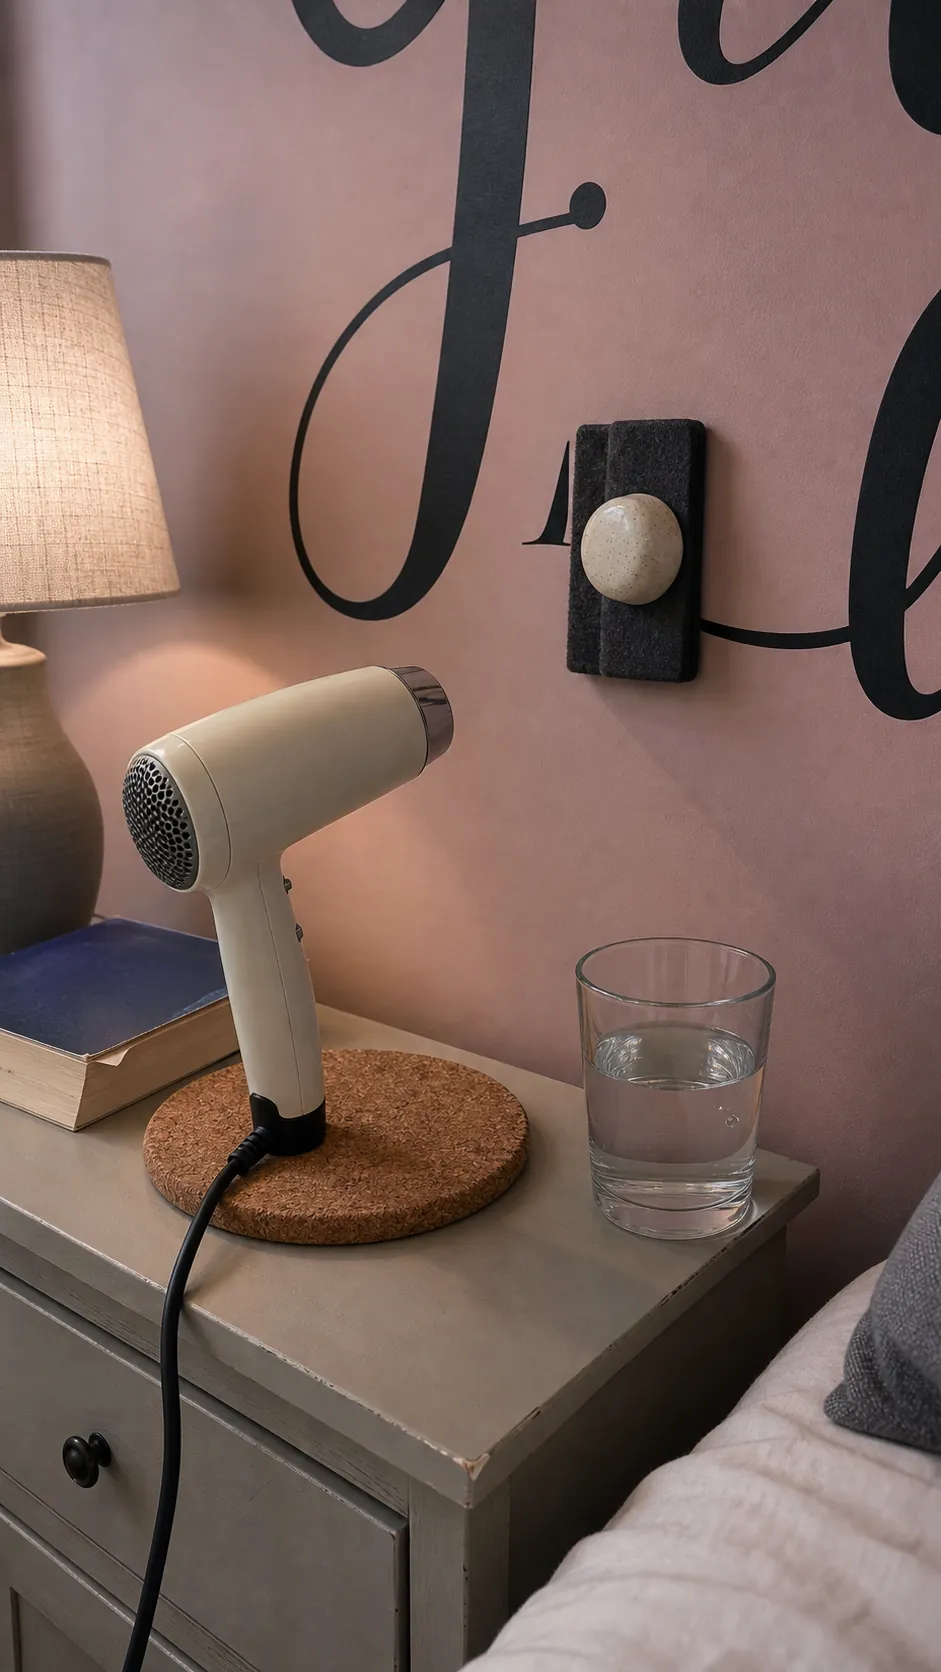
Lay the decal down from the attached area toward the loose edge, pushing air outward. Use a felt-edged squeegee, a clean microfiber cloth wrapped around a rigid card, or the rounded side of a clean tool. Press firmly but do not scrub back and forth. For separate letters, support the surrounding vinyl so your pressure does not shift their spacing.
Hold pressure on the repaired section for 20 to 30 seconds, then leave it alone. Repeatedly lifting the corner to “check” it breaks the bond you are trying to create. Inspect it after several hours and again the next day.
Use Extra Adhesive Only as a Controlled Repair
When a tiny edge is clean but no longer tacky, a manufacturer-approved vinyl or wallpaper seam adhesive may rescue it. This is a precision repair, not an invitation to coat the whole back. Put a pinhead-sized amount on a disposable surface, transfer a very thin film beneath the lifted area with a fine artist’s brush or micro applicator, then press the decal flat. Immediately remove any squeeze-out according to the adhesive instructions.
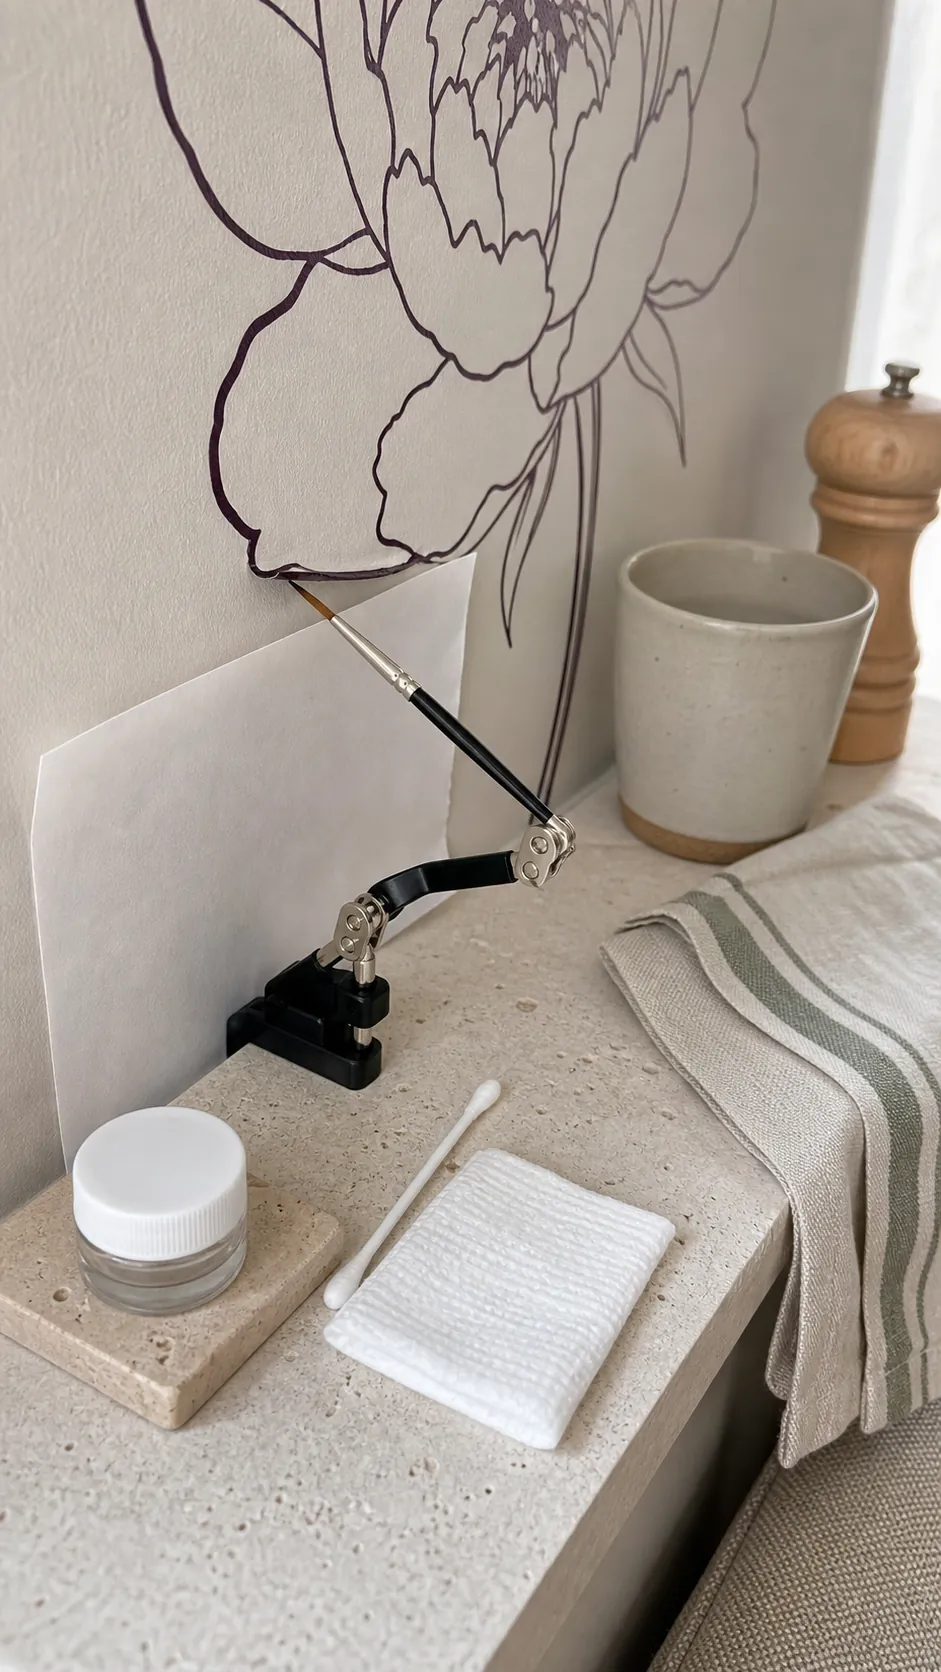
Test first in an inconspicuous area. Extra glue may discolor paper decals, leave a glossy halo on matte paint, make a removable product permanent, or pull paint during removal. Avoid super glue, hot glue, spray adhesive, and thick craft glue unless the decal manufacturer specifically recommends them for that exact wall finish.
If you are renting, the safest repair may be no added adhesive at all. A removable decal with a failing edge is usually cheaper to replace than a painted wall. Never trade a minor curl for a security-deposit repair.
Handle Bubbles, Wrinkles, and Large Loose Areas Differently
A bubble near an open edge can often be guided outward with slow squeegee strokes. A wrinkle should be lifted only as far as needed, relaxed without stretching, and reapplied from the last smooth point. Large loose areas are more difficult because vinyl can distort as you pull, especially after it has been warm on the wall.
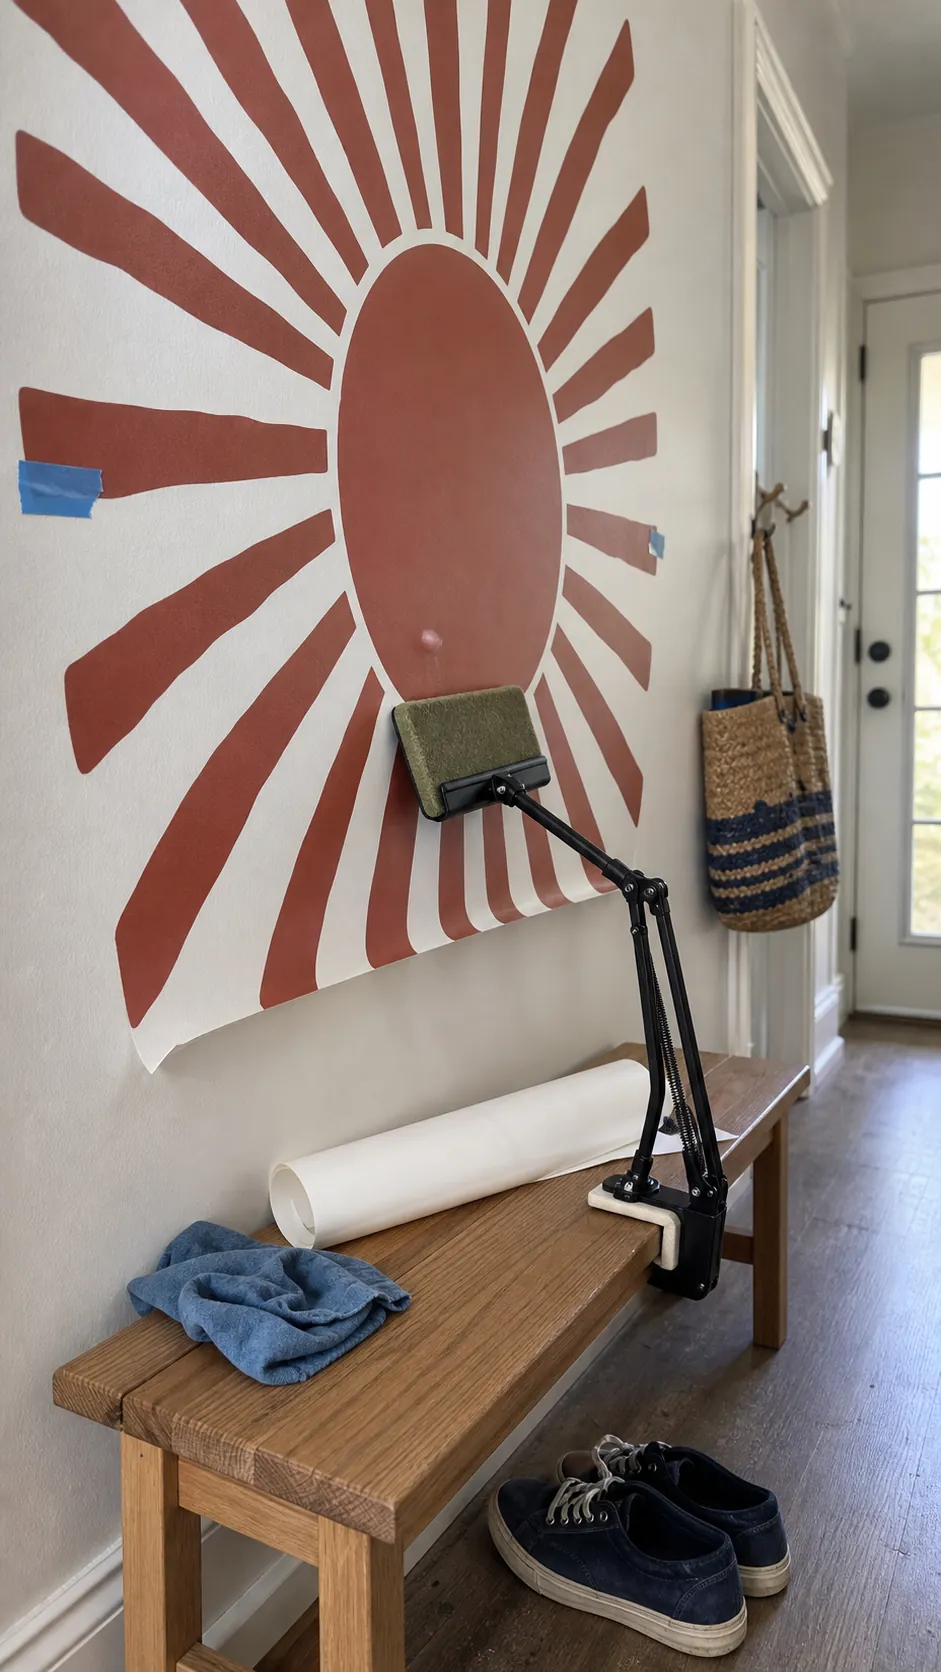
Do not puncture a bubble as your first move. A hole can remain visible, invite dirt, and create a path for adhesive to seep through. If the bubble is caused by heavy wall texture, flattening it may only move the void somewhere else. On large graphics, have a second person support the loose material so its weight does not enlarge the failure.
For a decal that will not stick to the wall across a broad area, stop and compare the surface with the product requirements. Orange-peel, knockdown, brick, chalky paint, stain-resistant coatings, and high-sheen oil-based finishes may all be poor candidates. In those cases, replacement with a product designed for textured surfaces—or mounting the design on a smooth removable panel—can be more reliable than repeated wall sticker repair tips.
Prevent the Same Edge From Lifting Again
After the repair, reduce the forces working against it. Keep the decal away from direct HVAC airflow, steam, cooking grease, and repeated contact from doors, furniture, bedding, or hands. Sharp inside points and thin letter strokes lift more easily than broad rounded shapes, so press those areas carefully during installation.
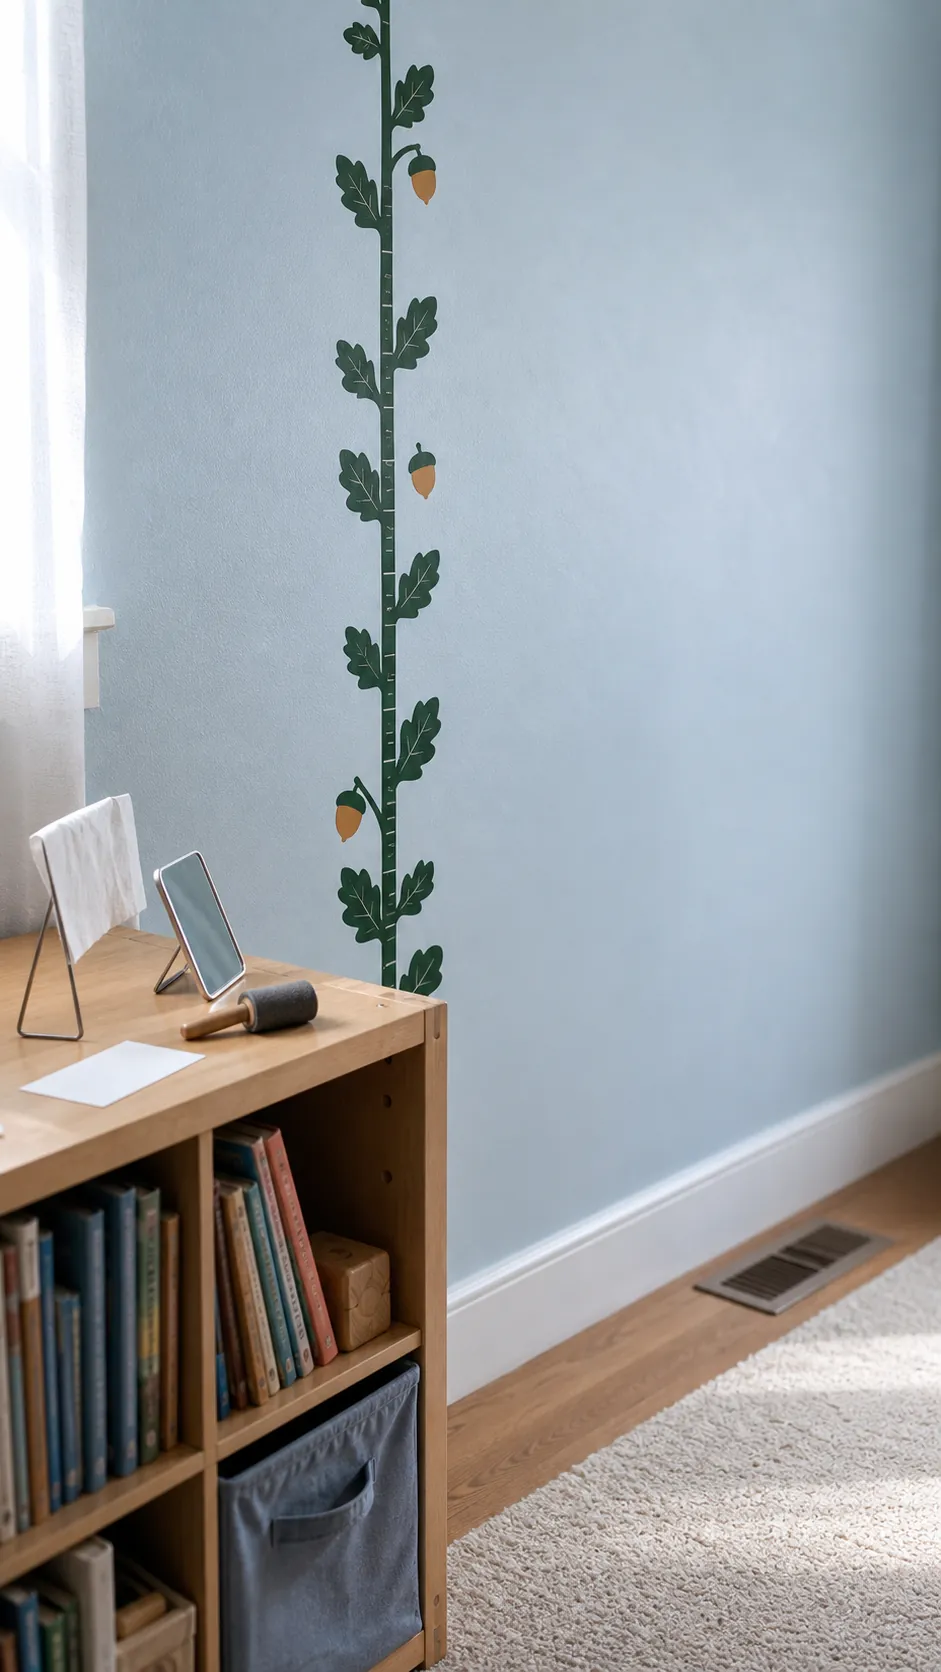
For future installations, wash the wall as directed, allow it to dry, wait for newly painted walls to cure, and test one small decal for several days. Position the design with low-tack guide tape before exposing the adhesive. Apply from one side while removing the backing gradually, then use overlapping squeegee passes. This method prevents trapped air and creates even contact.
Pressure matters because pressure-sensitive adhesive needs intimate contact with the surface. A quick palm swipe may secure the center while leaving the perimeter barely attached. Finish by tracing every edge and corner with a clean felt tool.
Know When Replacement Is the Better Fix
A decal is a replacement candidate when the adhesive is covered with dust, the vinyl has stretched, the printed layer is cracking, multiple repairs have failed, or the wall surface is visibly incompatible. It is also time to stop when the paint begins to lift. No amount of pressing can make a decal more secure than the coating beneath it.
The most useful rule is simple: repair a clean, small lift; replace a contaminated or distorted decal; change the mounting surface when the wall itself is the problem. That distinction prevents endless re-pressing and gives long-lasting wall decals the clean, stable surface they actually need.