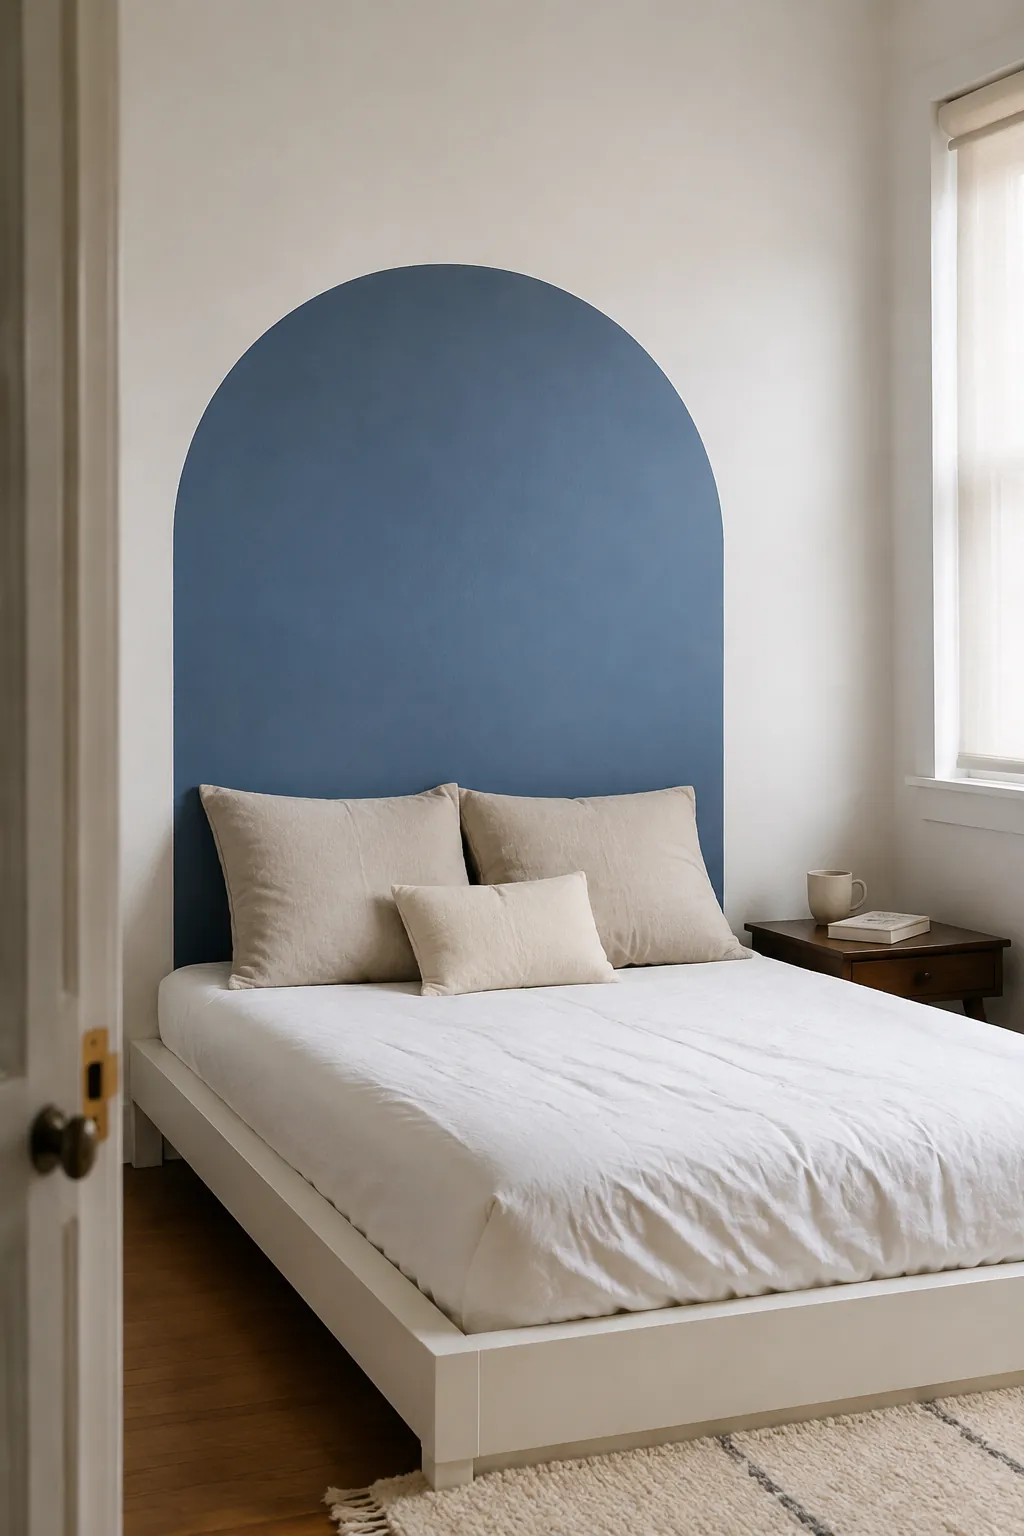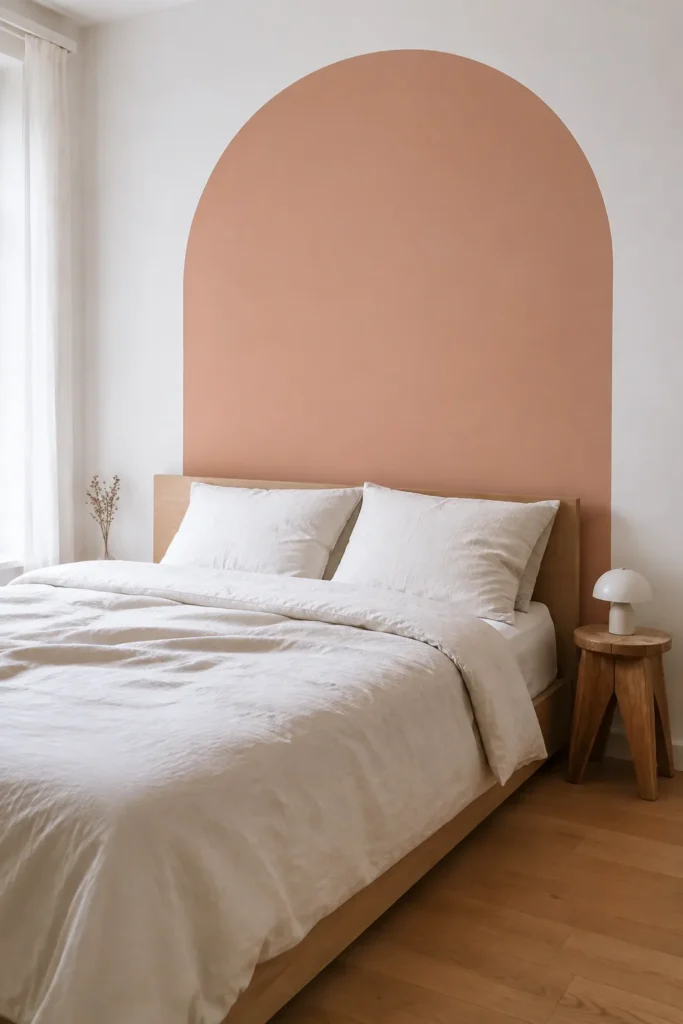
How to Position an Arch Wall Decal Behind a Bed
A curve that looks balanced on an empty wall can almost disappear once the pillows go back. Plan the visible part of the arch with the bed in place, then check the surface before exposing the adhesive. That prevents both an awkward position and a difficult correction after installation.
Decide whether the arch frames the bed or replaces a headboard
An arch behind an existing headboard works as a coloured backdrop. Without a headboard, the same shape can suggest one visually, but it provides no padding or support for sitting up. Decide which job you want it to do before choosing its width and height. A faux headboard wall decal should be positioned around the bed you use, including the normal pillow arrangement.
For a backdrop, test an arch that extends beyond the headboard enough for its straight sides to remain visible. For a tighter headboard effect, try a width closer to the bed and compare the outline from the doorway. There is no universal measurement that makes either approach correct. The important question is whether the visible curve and sides form a deliberate shape after the furniture covers the lower part.
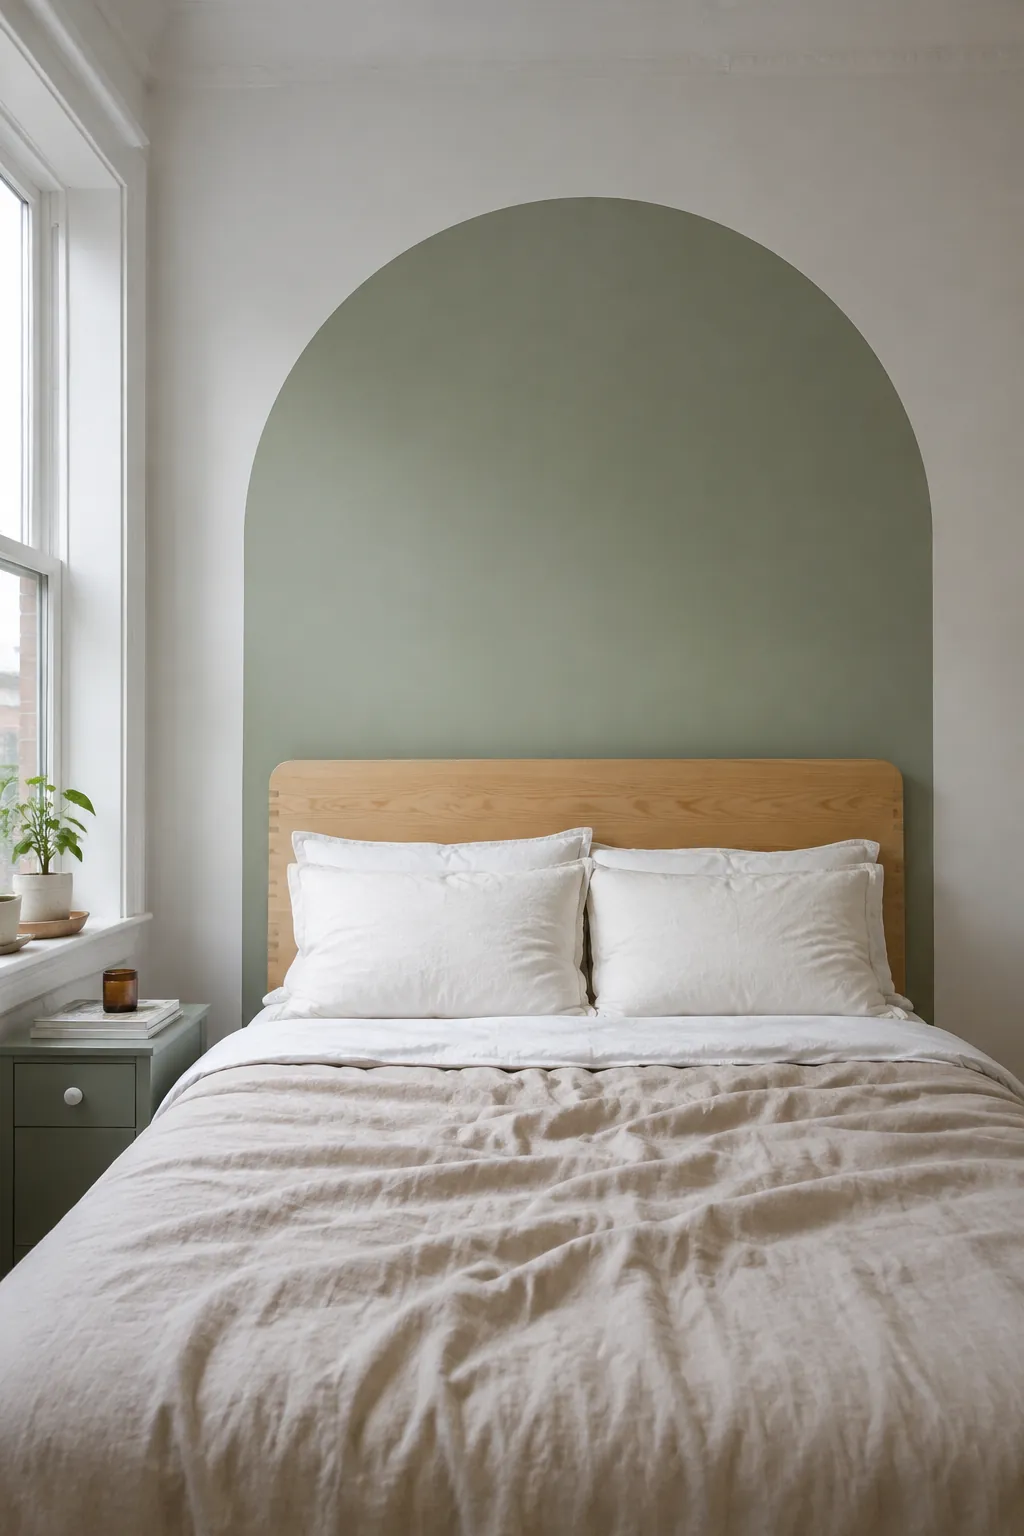
Find the bed center before marking the wall
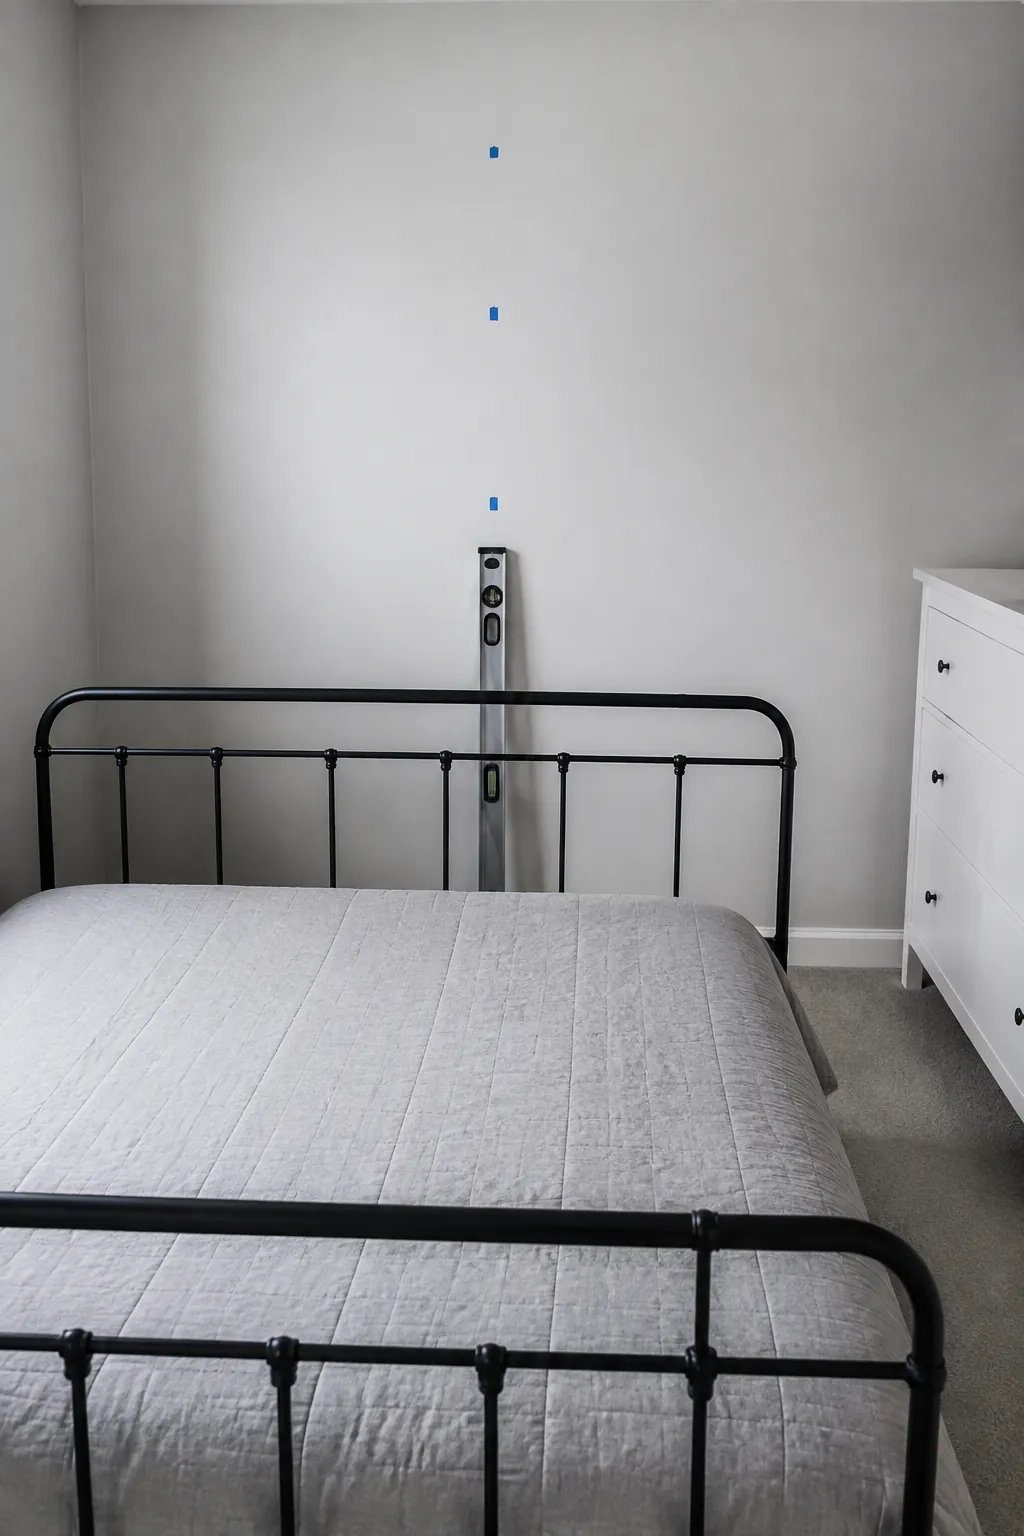
Place the bed in its intended long term position, allowing access to drawers, sockets and the usual walkway. Measure the midpoint between the outer sides of the bed or headboard and transfer that position to the wall with small removable marks. Centering on the whole wall can leave the arch looking misplaced if the bed sits to one side. Use a level to establish a vertical reference through the bed midpoint rather than relying on a door frame or ceiling line.
Check the decal’s finished dimensions and any alignment marks supplied by the manufacturer. On a symmetrical arch, its centerline runs through the highest point of the curve and the midpoint of its bottom width. Line that axis up with your bed reference when planning the placement. If the arch arrives in several panels, keep the numbered panel order and planned seam positions visible while you work.
Choose the top height by previewing the visible curve
Measure from the floor to the desired arch top, then compare that height with the top of your headboard and pillows. Leave enough of the curved portion visible for the arch to read clearly. If the curve begins behind a tall headboard, you may see only a shallow cap of colour rather than a complete arch shape. Raising the decal may help, but check that its lower edge and available wall height still work.
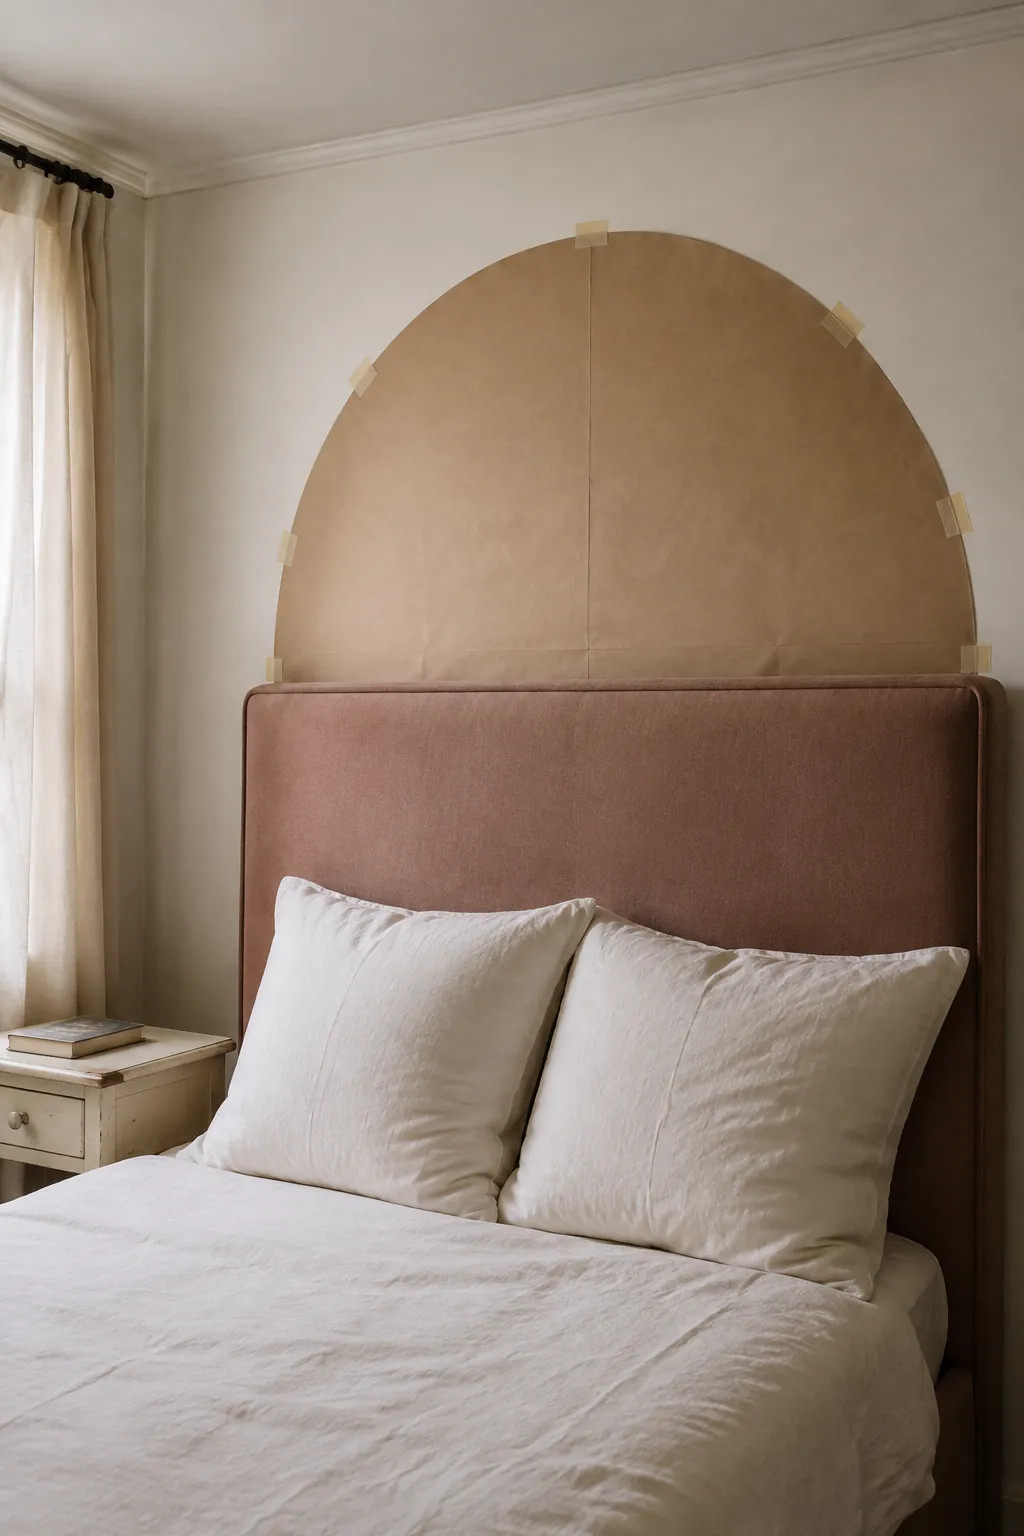
A paper mockup or the product’s intact backing can help you judge the full silhouette before peeling anything. If using the backing as a template, handle it according to the product instructions and keep the adhesive covered. Step back to view the top margin below the ceiling and the space at each side of the bed. Mark the chosen top point and a level reference for the lower edge so the curve does not end up leaning.
Check the wall and test adhesion before committing
A removable arch wall decal still needs a surface compatible with its adhesive. Read the instructions for your exact product, including limits for textured walls, paint finishes and freshly painted surfaces. Follow the stated paint curing time rather than assuming paint is ready as soon as it feels dry. A painted arch behind bed and an adhesive arch can look similar, but their preparation and removal requirements differ.
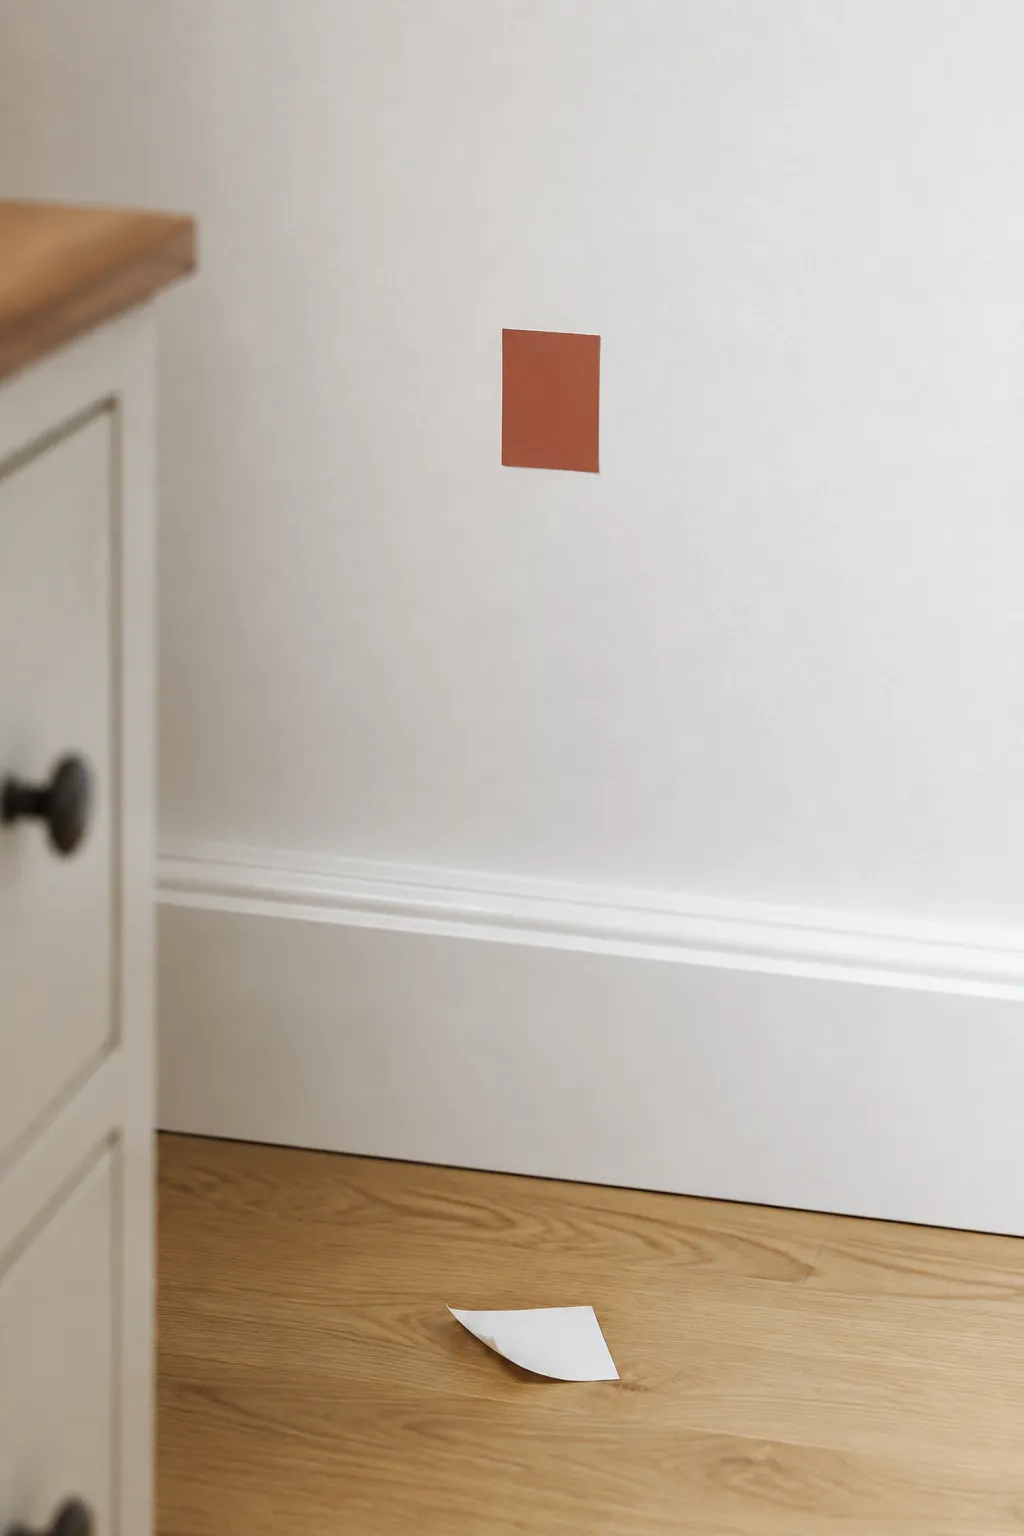
Test the supplied sample, if available, in an inconspicuous area and leave it for the recommended period. Check both adhesion and removal behaviour because a sample that sticks may still lift weak paint when removed. Clean the wall using the method the decal maker recommends and allow it to dry fully. Avoid applying over damp patches, loose paint or a surface that the product explicitly excludes.
Apply gradually while keeping the centerline true
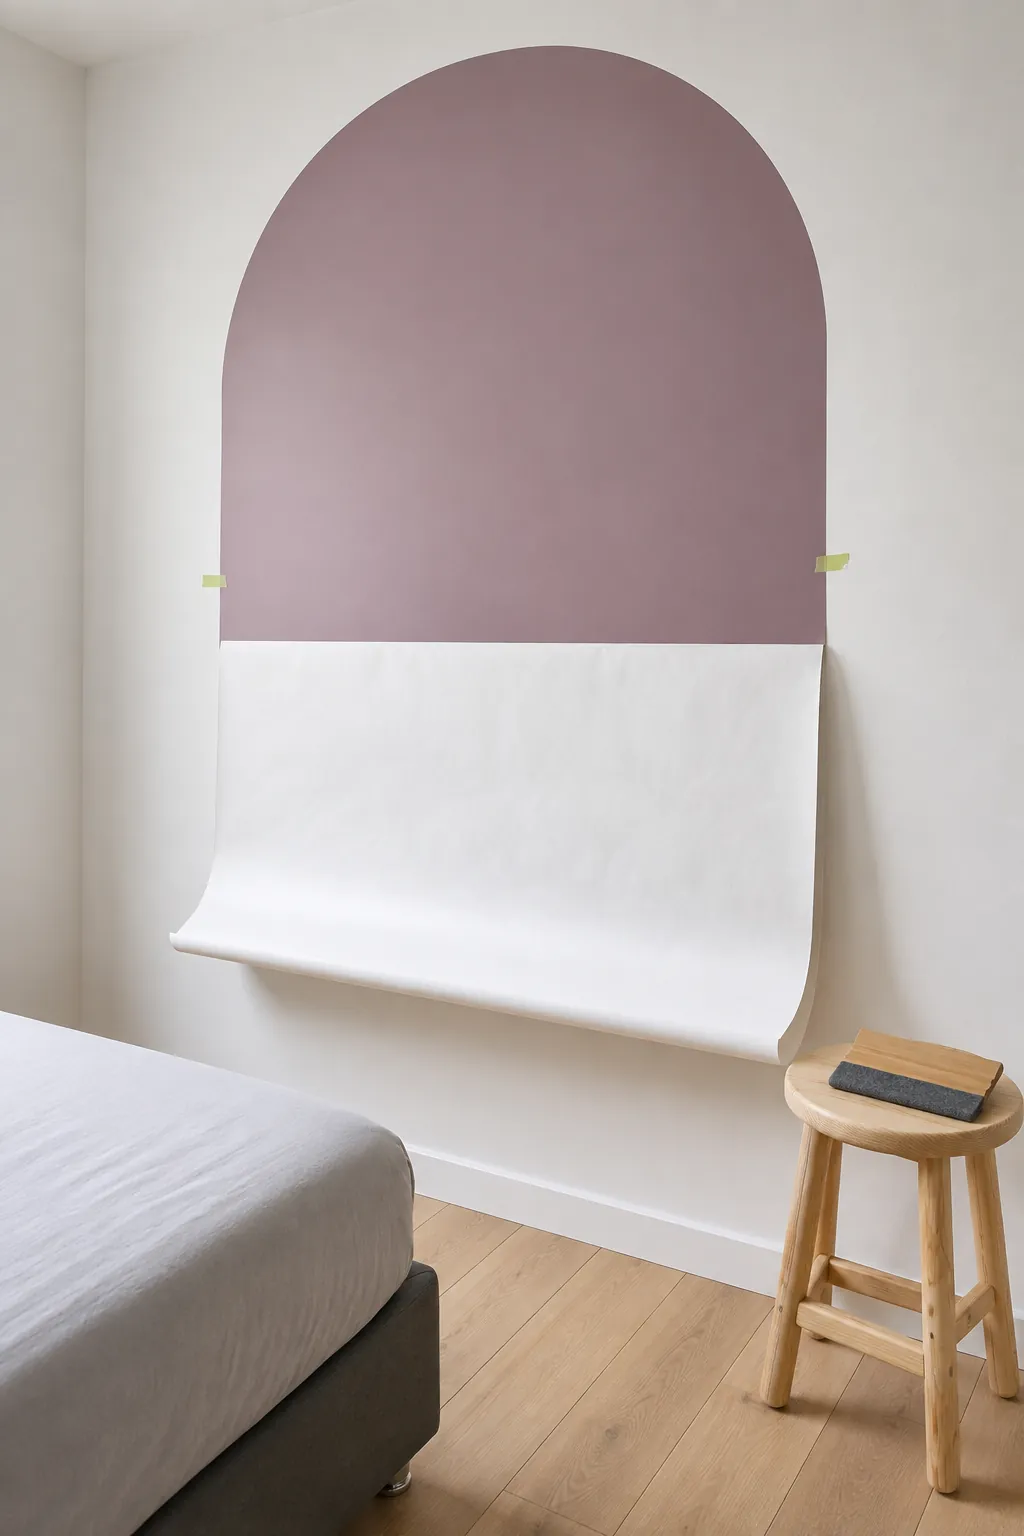
Move the bed far enough forward to reach the entire installation area without standing on the mattress. Follow the supplied hanging method, including any tape hinge, panel overlap or backing removal sequence specified for your decal. Large flexible pieces are easier to control with a second person, especially near the curved top. Peel only the amount of backing the instructions recommend, keeping the remaining material supported.
Smooth with the approved tool and pressure as you work, keeping the decal aligned with your reference marks. Do not stretch the material to correct a crooked edge, since that can distort the curve and encourage later lifting. If repositioning is allowed, lift and reset only as directed for that adhesive and wall finish. For bubbles or wrinkles, use the manufacturer’s correction method rather than automatically puncturing, heating or trimming the decal.
Return the bed and inspect the arch in daily use
Once the product’s installation or settling guidance allows it, return the bed to the planned position and restore the pillows. Check the arch from the doorway and at the bedside, looking at the visible side widths and the top curve. Keep furniture edges and pillows from rubbing repeatedly against exposed decal edges where practical. Do not cover switches, sockets or ventilation openings with the material.
Inspect any seams and curved edges again after the recommended settling period. If an edge lifts, check the product’s repair guidance and surface compatibility before adding glue or pressing harder. Save the installation and removal instructions so the wall can be treated correctly when the room changes. The finished arch should look centered with the bed in use, not only while the wall stands empty.