How to Plan an Entryway Gallery Wall
The frames look good on the floor, but on the wall the collection suddenly feels scattered. That usually means the arrangement has no clear boundary, the gaps are doing different jobs, or the wall is being judged from too close. Plan the group as one composition before deciding where the first hook goes.
Pick the part of the wall people actually see
Walk in through the front door and notice which section of wall you see first. That is often a better location for a foyer gallery wall than the largest blank surface. Check the door swing, coat hooks, switches, thermostat and any panel that needs access before marking your display area.
A long hallway does not need pictures from one end to the other. A compact group beside a console or across from the arrival route gives the eye a destination without turning every available inch into a project. In a narrow passage, choose frames with modest depth so shoulders and bags are less likely to catch them. Leave the route and any required access clear even if that means using fewer pieces.
Give the collection one visible connection
Start with the pieces you want to live with, then choose one connection that will help them belong together. It could be a repeated frame finish, similar mat colour, a shared subject or a restrained palette within the images. You do not need all four at once. A varied collection often feels more personal when only one or two elements repeat.
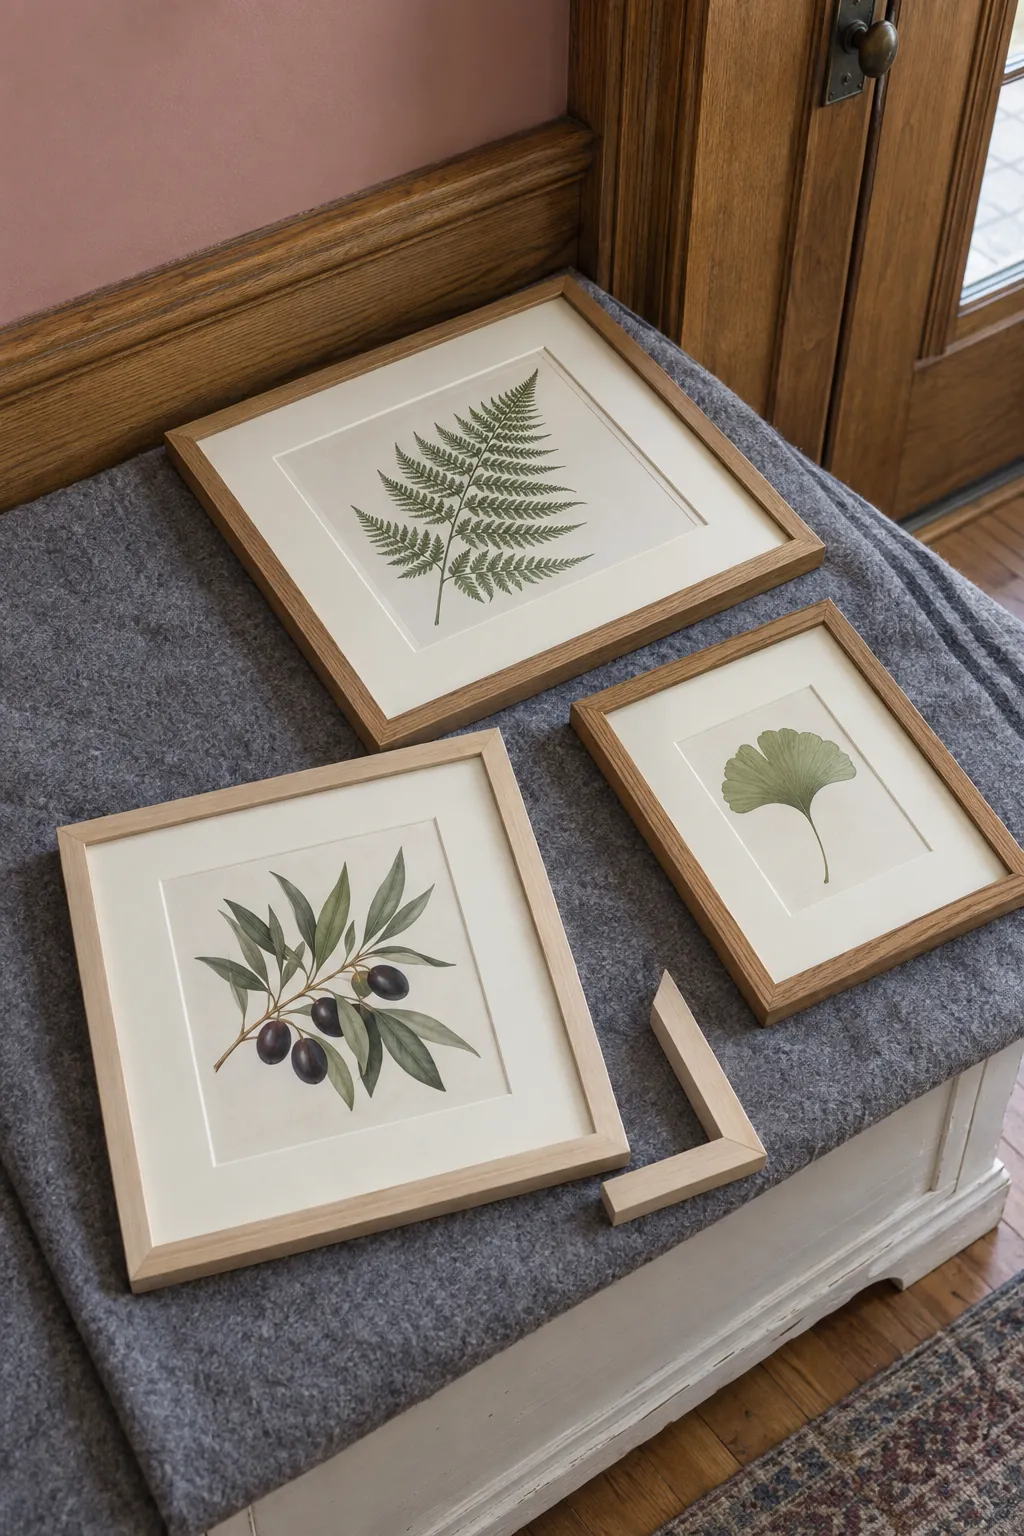
Lay a frame beside the entry trim before buying a full set. Thin black frames can add definition, but a wall with substantial dark woodwork may already have plenty of visual weight. Pale mats create breathing room around dense photographs, while a wider frame makes a small image feel more substantial. Spend on the frames you need to connect the collection, rather than replacing everything simply to make it match.
Choose between a clear grid and a loose cluster
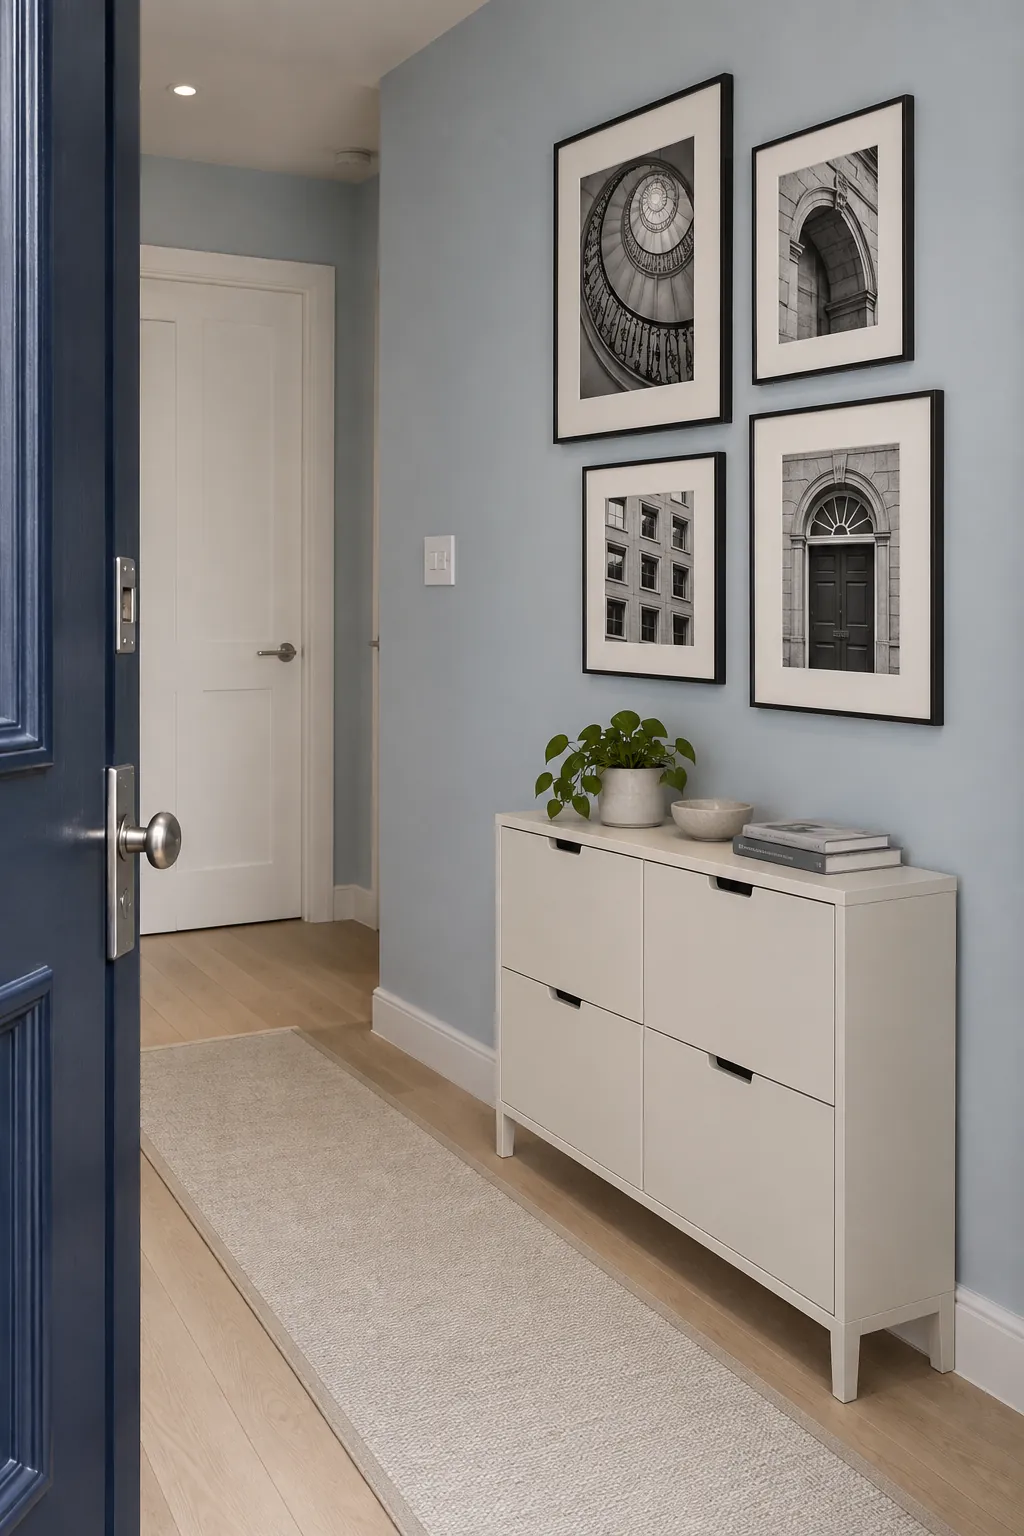
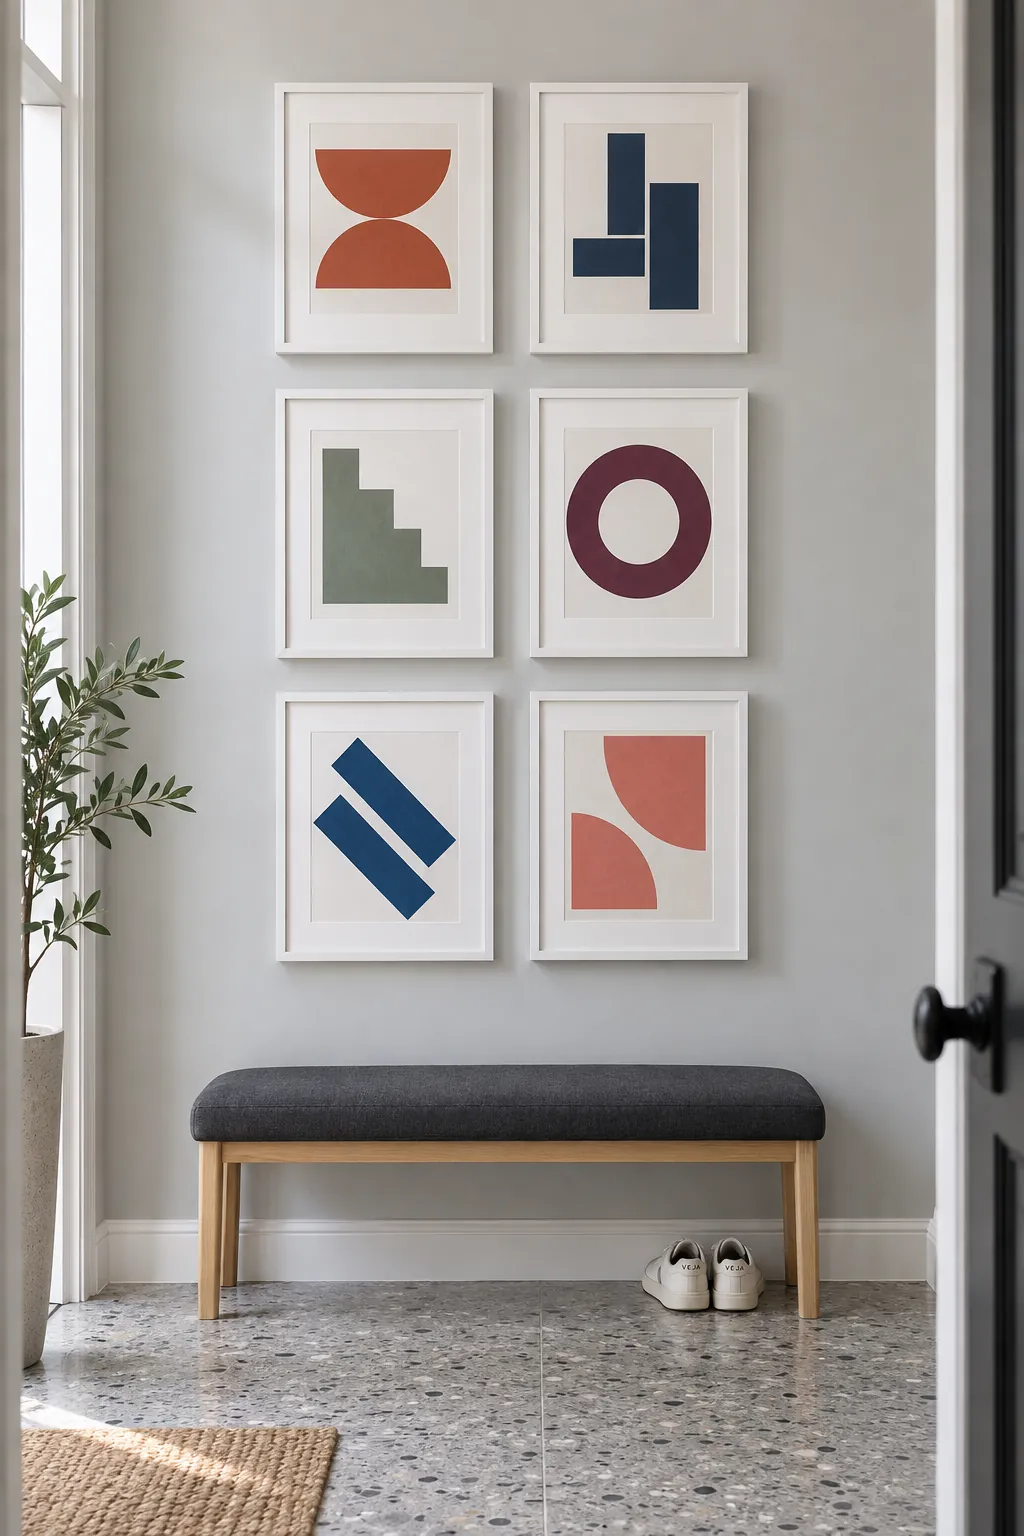
A grid suits pieces with identical outside dimensions and gives a busy entrance a calm structure. Measure the outside frame sizes, not the print sizes, because different borders can turn nominally equal pictures into unequal objects. For a small entry gallery wall, four or six substantial frames can be easier to read than many tiny ones.
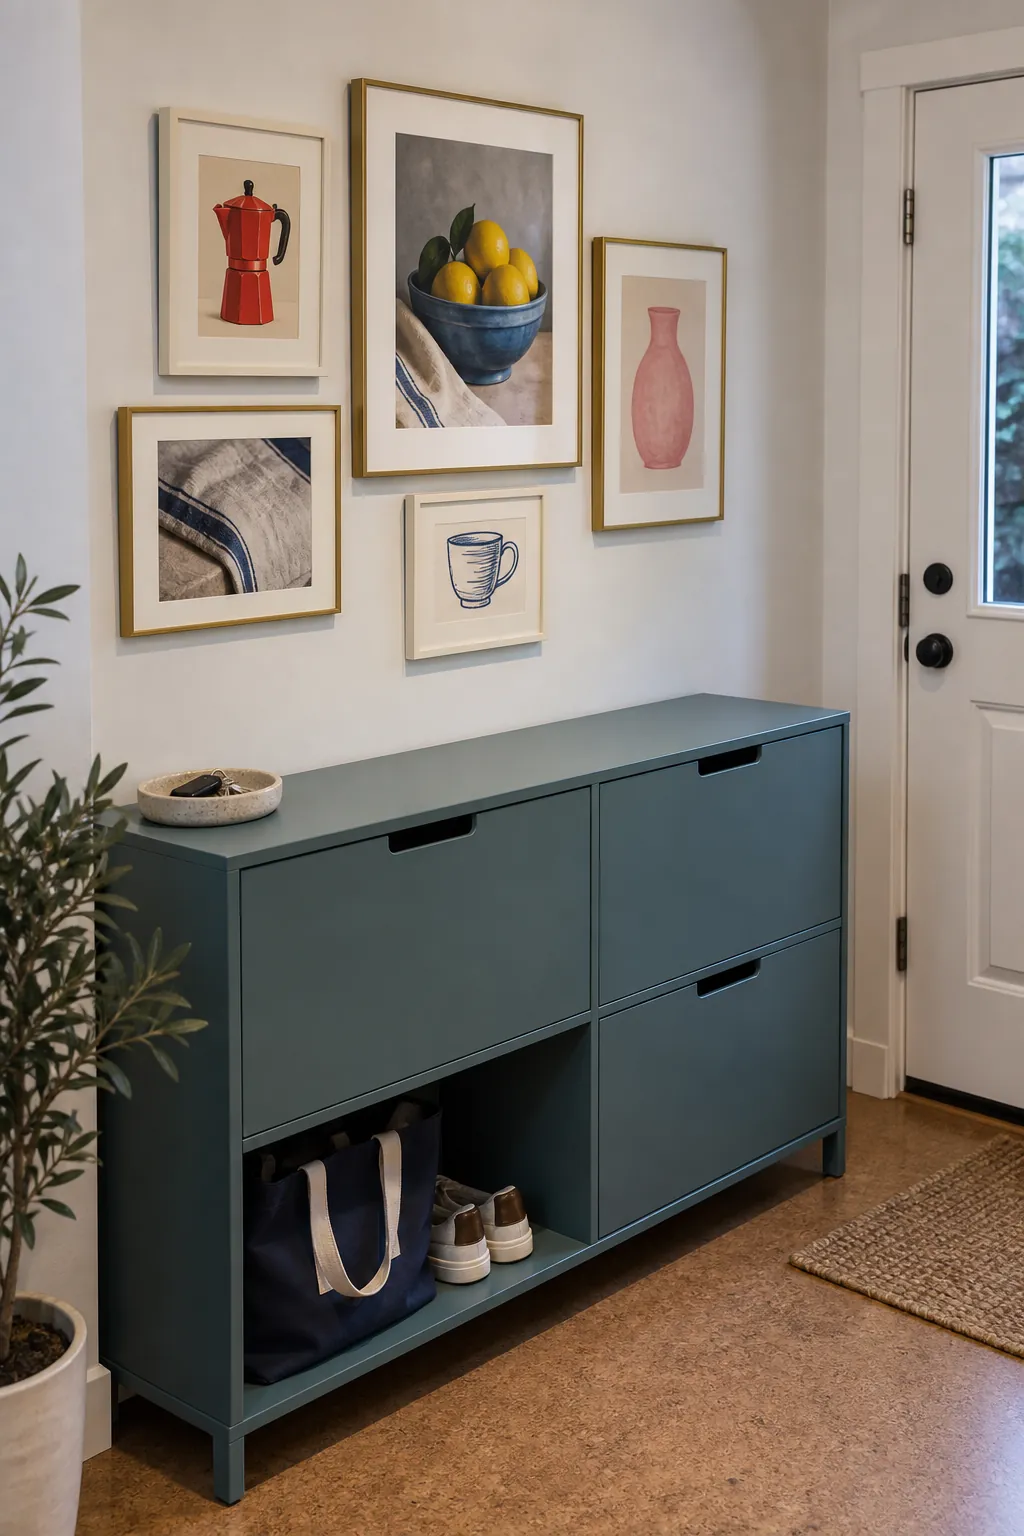
An informal cluster works better when your collection contains mixed sizes. Place the largest or visually strongest piece slightly away from the exact centre, then build around it while keeping the outer boundary reasonably compact. Align a few neighbouring edges or centres to create order, rather than forcing every frame onto the same line.
A grid asks for precision; a cluster asks for balance. Do not buy extra small frames solely to plug every remaining hole. An intentional patch of wall can prevent the display from becoming visually congested.
Test the whole group at full size
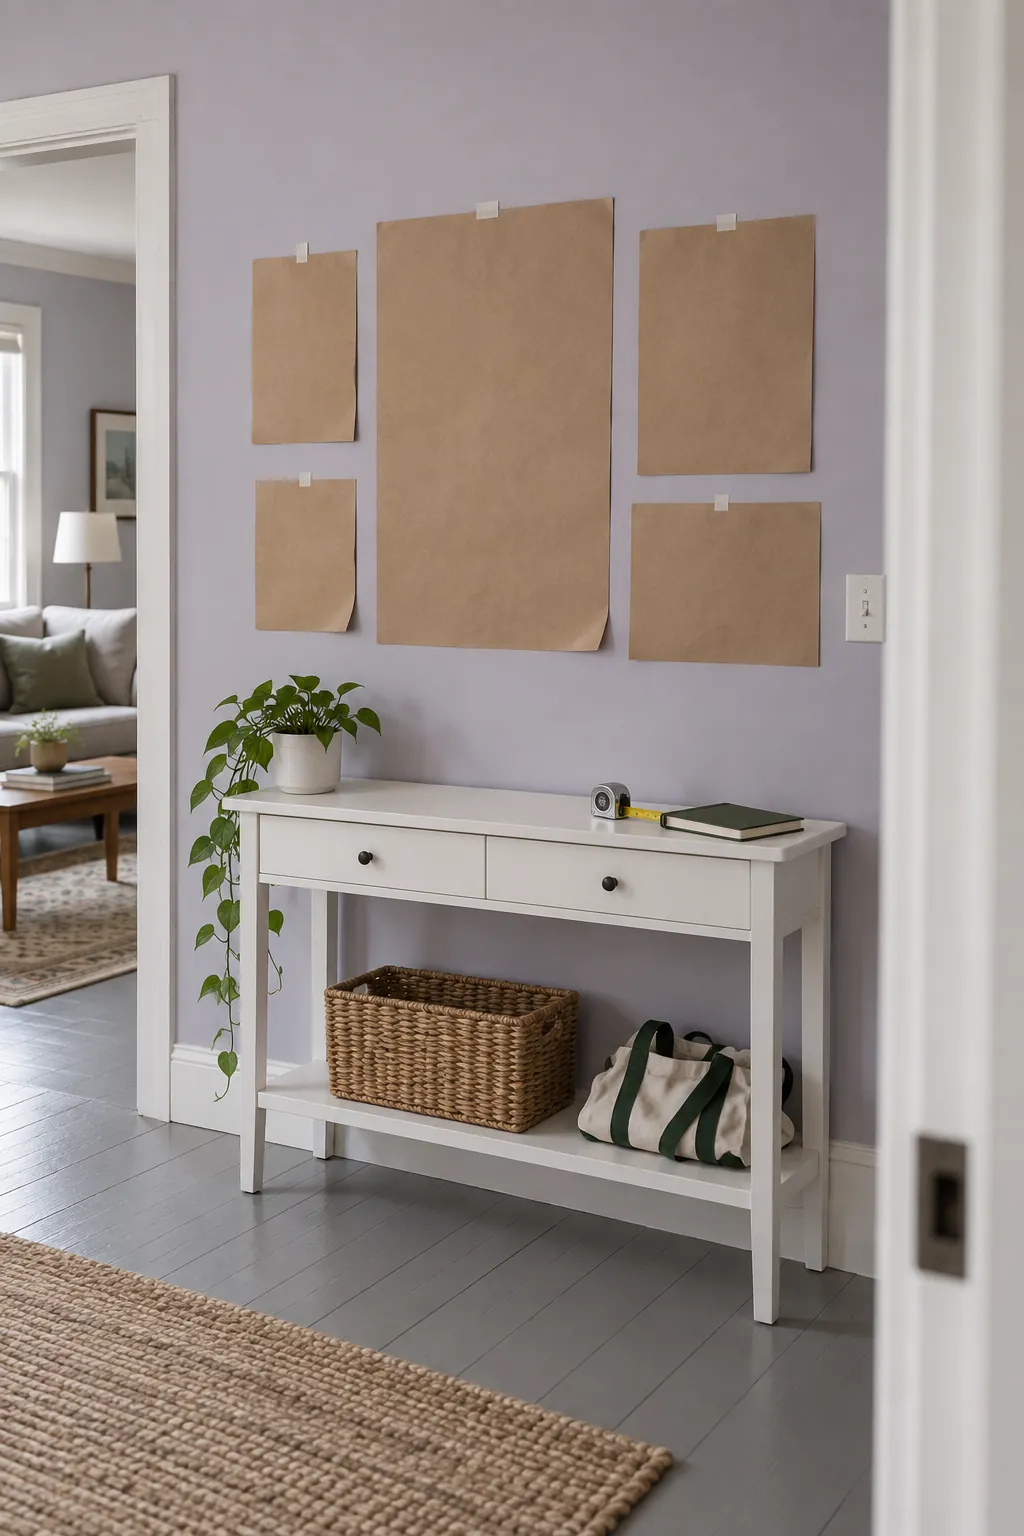
Trace each outside frame onto plain paper and cut out its exact shape. Arrange those templates on the wall with a temporary fixing method suitable for the paint or surface, testing an inconspicuous spot first. Photograph the arrangement from the doorway at normal standing height. A quick phone photo often reveals a drifting edge more clearly than staring at the wall while holding a frame.
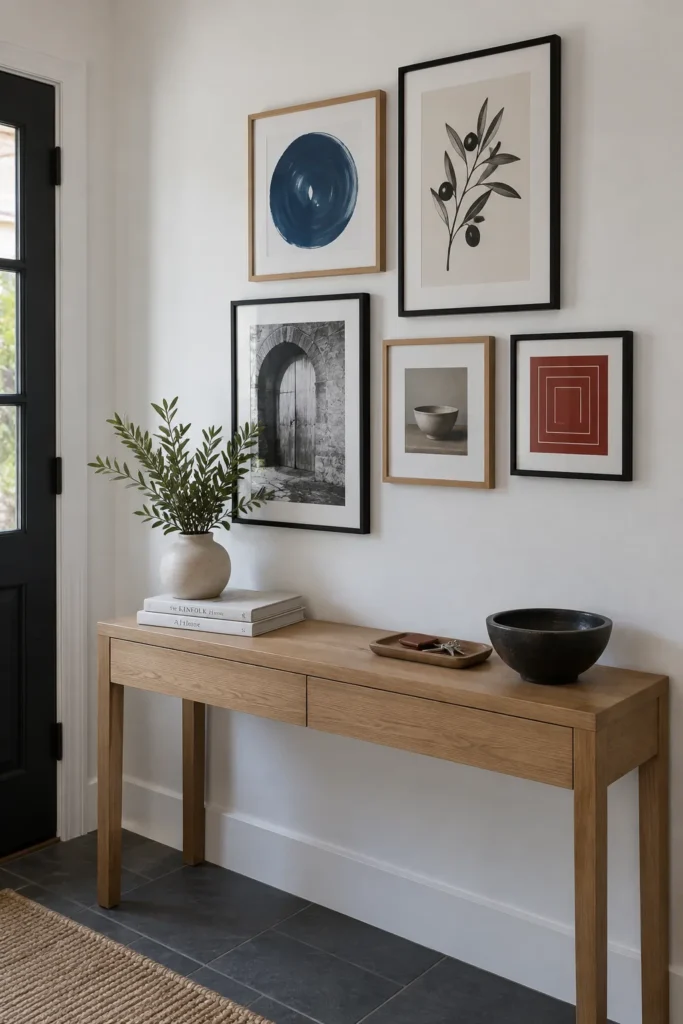
For a gallery wall above a console, begin with a group narrower than the furniture and test a lower edge roughly 6 to 8 inches above the top. On an open wall, a group centre around 57 to 60 inches from the floor is a common starting point, not an instruction to hang every frame centre at that height. Adjust for the people viewing it, ceiling shape and nearby furniture.
Leave the paper in place long enough to walk past it in normal use. Open the door, carry a bag through and look from the adjoining room. If the group needs to shift, moving paper is much easier than repairing a row of holes.
Make the gaps consistent before touching the drill
Test gaps of about 2 to 3 inches between outside frame edges as an initial spacing choice. Small frames may need a tighter interval and oversized pieces may need more breathing room, but consistency usually matters more than a particular number. In a mixed cluster, compare the narrowest distances between neighbouring frames so an accidental wide channel does not split the group in two.
Once the layout is settled, mark the actual fixing position for each frame on its paper template. Measure the distance from the frame top to the hanging point, including the way a hanging wire rises under load. A top edge mark alone will not tell you where the hook belongs.
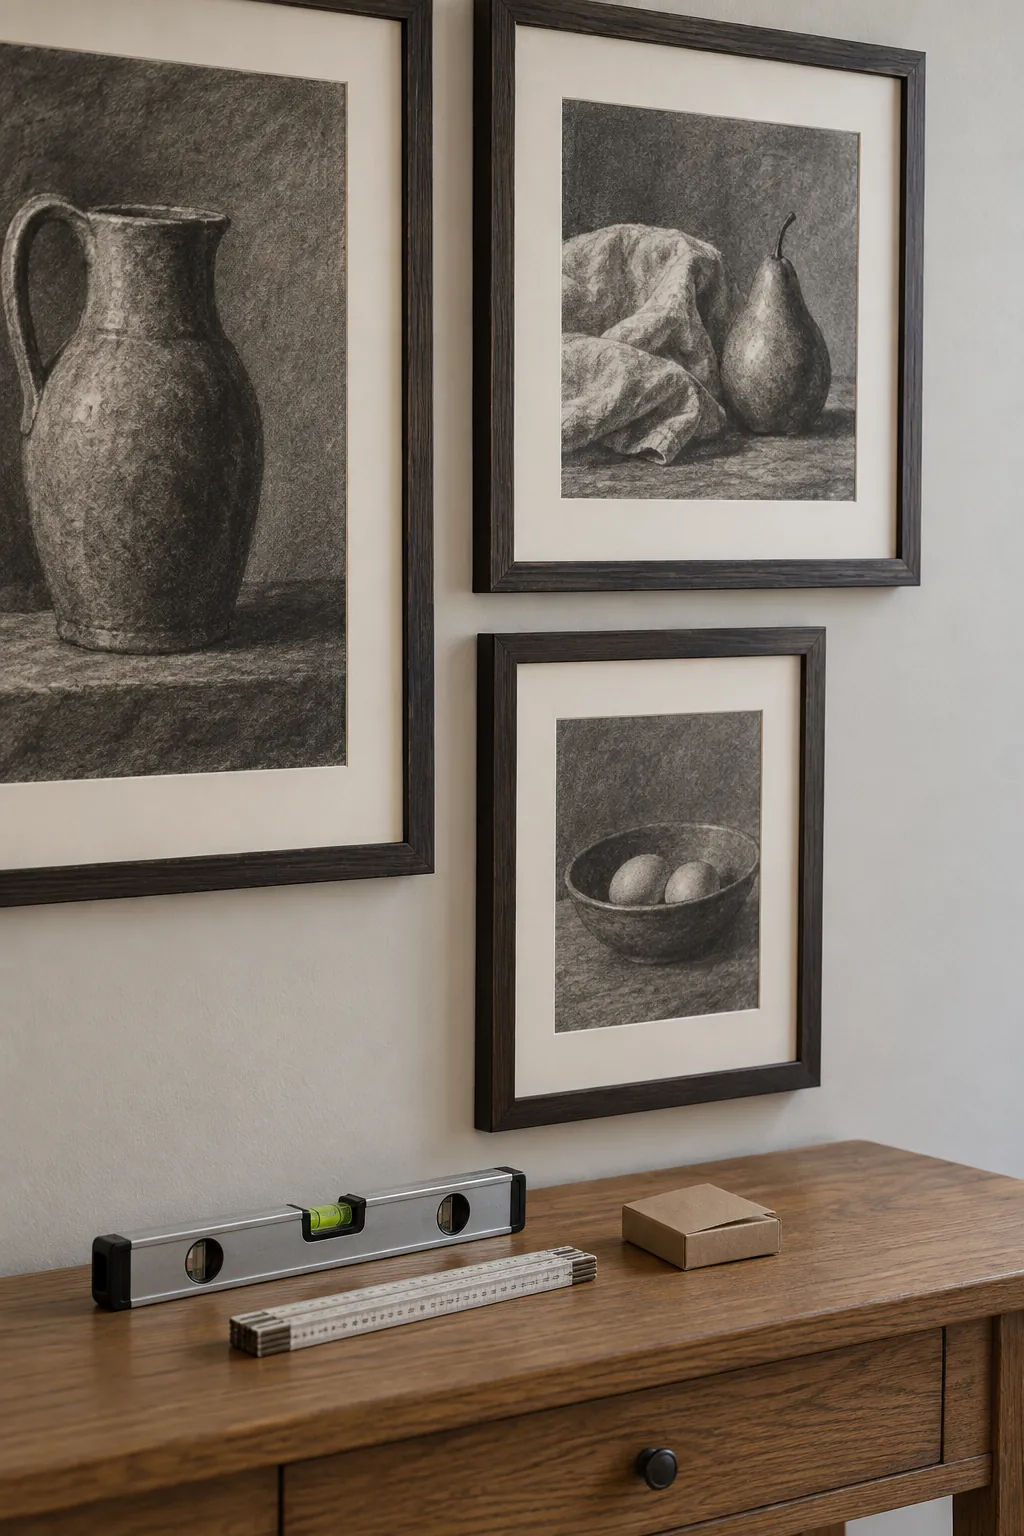
Use fixings appropriate for the wall construction, frame weight and manufacturer instructions. Check for concealed services before drilling, particularly around switches and outlets, and seek qualified help when the wall construction is uncertain. Hang the anchor piece first, confirm it with a level, then work outward while checking the gaps again.
Let the entry stay useful after the pictures go up
An entryway picture wall is easier to enjoy when the furniture below it is doing its job. Keep a landing spot for keys and avoid building a tall arrangement that hides the lowest picture. If you want to combine entryway mirror ideas with the display, treat the mirror as one deliberate shape within the group and check its reflection before fixing the surrounding frames.
Look at the finished collection in daylight and after the entry light comes on. Glare may call for a different light angle or glazing choice, and valuable or sensitive pieces should be kept out of damaging direct sun. Recheck the frame alignment after a few days of doors opening and closing. If one small picture still makes the group feel restless, take it down and judge the quieter arrangement before adding anything else.