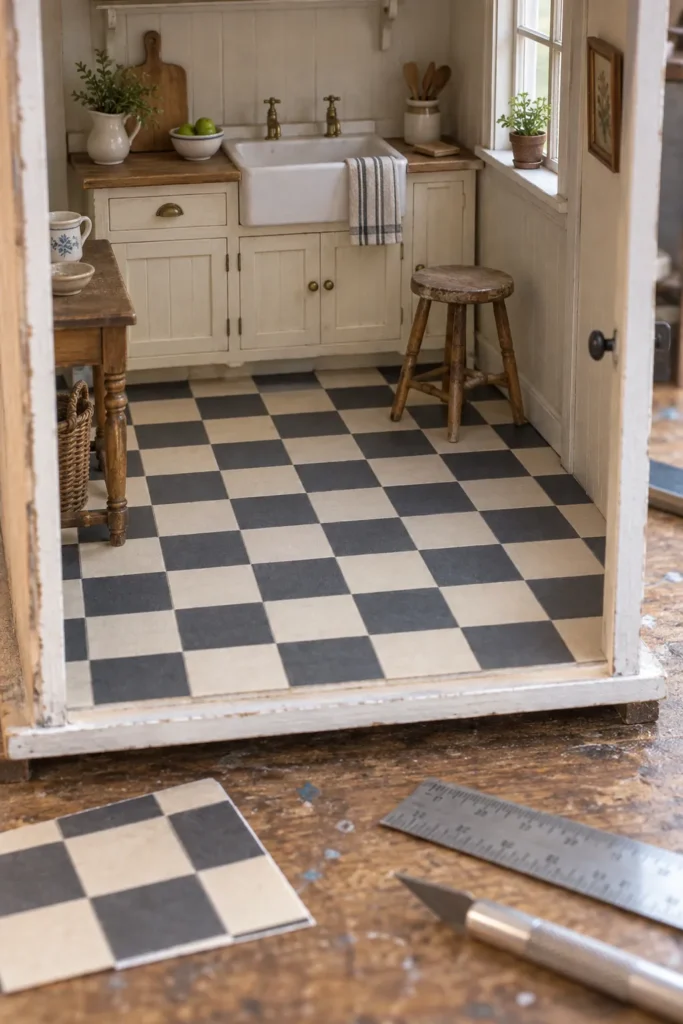
Dollhouse Tile Flooring Printable in 1:12 Scale
A paper floor is most convincing when the grout lines look small beside the furniture and the pattern stays square to the room. This simple checkerboard lets you test that relationship before you commit to cutting individual miniature tiles. Its quiet charcoal and warm ivory colors also leave room for colorful cabinets, rugs, or painted trim.
Open the preview or the button below in a new tab, then save the full size image from that tab. Use the saved image for your test print so a small preview does not soften the tile edges.
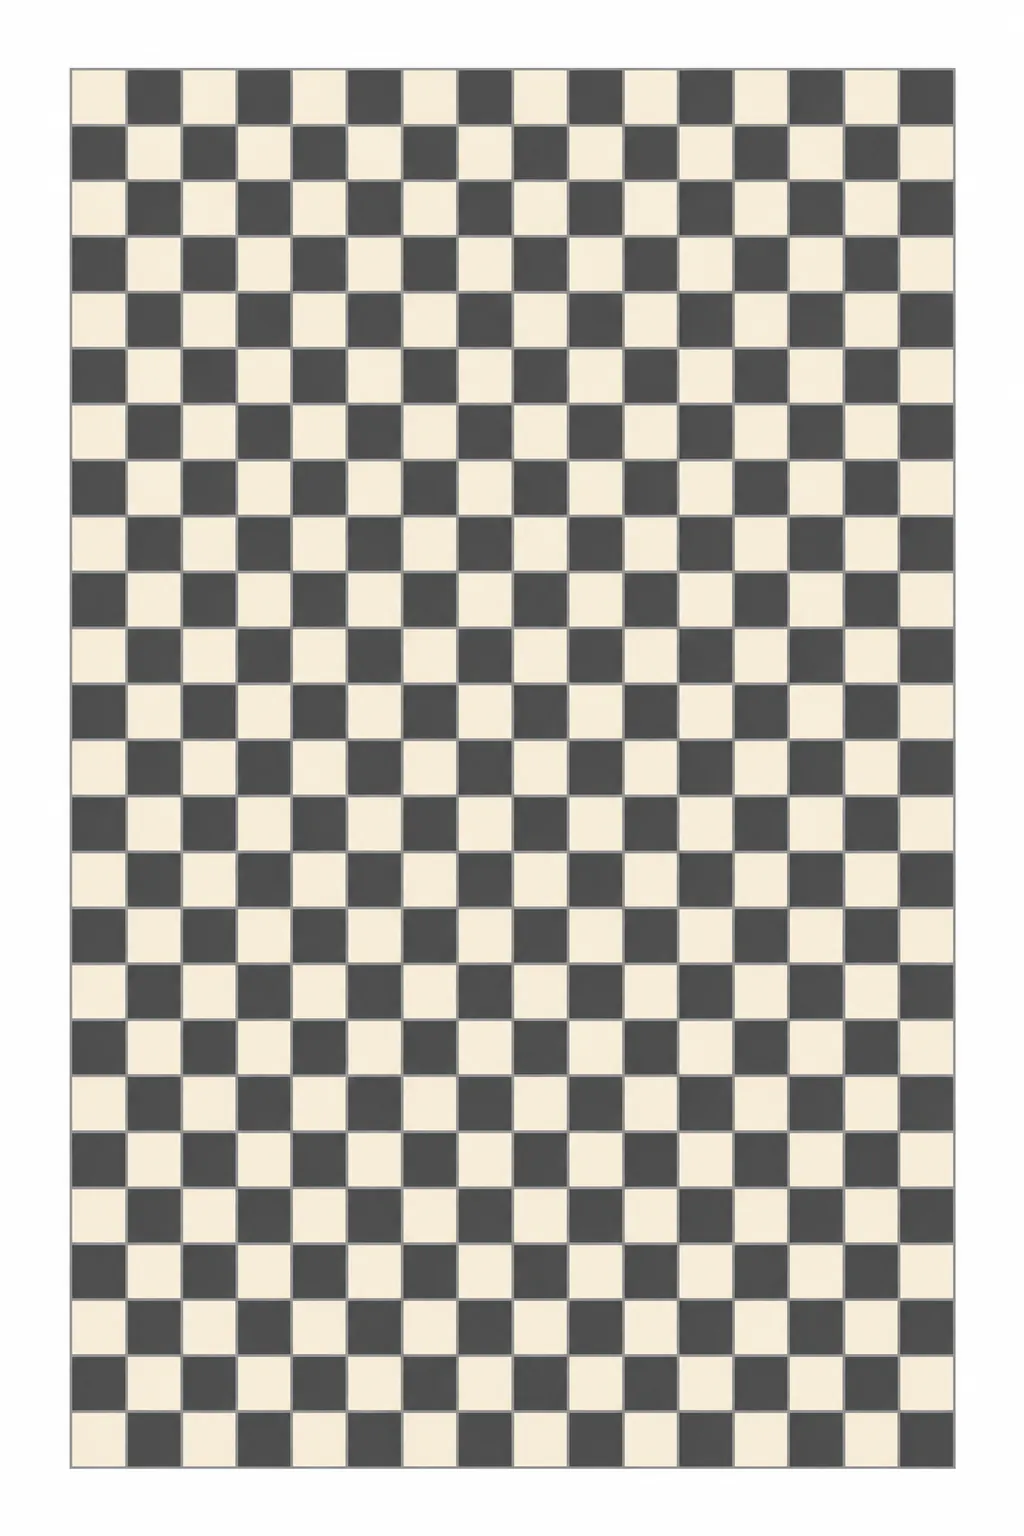
Download high-resolution printable
Plan the tile size around your room
In one twelfth scale, a six inch real floor tile represents a half inch square in the miniature. Print a corner of the sheet and measure a run of four squares rather than trusting one tiny edge. Adjust the printer percentage until those four squares span about two inches, then compare the result with your dollhouse doorway and furnishings.
Turn off settings that automatically fit the image to the paper. A browser, photo app, and printer driver can each apply a different default size to the same file. A ruler and a small proof are the dependable way to set the scale for your particular setup.
Lay out the checkerboard before cutting
Make a plain paper template of the room floor, including chimney breasts, stairs, and awkward corners. Set the printed pattern underneath it and choose where the center line should fall. A full dark or light square at the main doorway often looks calmer than a narrow sliver of tile beside the threshold.
Mark the back of the print with the room front and the direction of the tiles before trimming. That small note prevents a quarter turn from changing the alignment when the piece goes into the dollhouse. Dry fit the sheet and cut gradually around fixed features so the grout lines stay parallel to the walls.
Give a paper floor enough support
Thin printer paper can show bumps from old glue or a rough base. Mount the dry print on smooth card first if you want a removable floor panel, and keep the card thin enough to clear the door. Press it under a clean flat weight while the adhesive dries, then test the panel in the room before securing an edge.
A satin protective finish can suggest ceramic, but try it on an offcut because wet coating may blur home printer ink or curl paper. Matte is a sensible choice when the room already has shiny fixtures. If you want actual grout relief, score a spare coated sample very gently along the printed lines instead of risking the finished floor.
Join sheets without a wandering grid
For a large room, print both copies with identical settings and check that their squares measure the same. Trim each at the center of a grout line, align two full rows on a flat surface, and tape the back temporarily while you inspect the seam from above. Place a permanent join under a table, rug, or cabinet only after the lines read as one continuous grid.