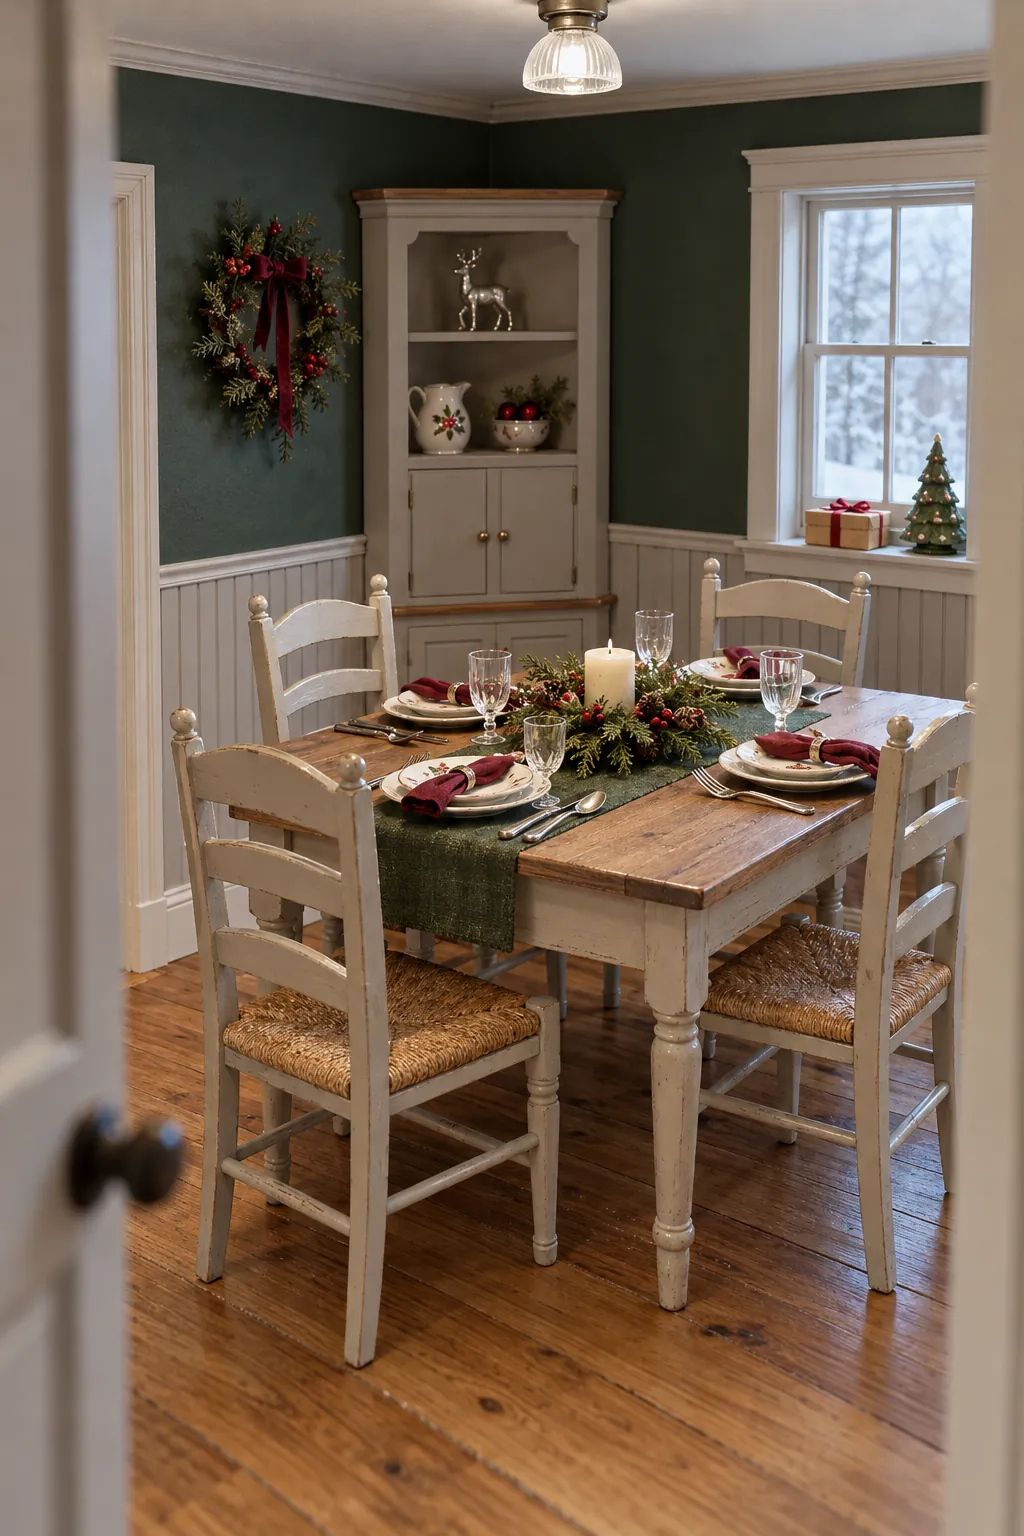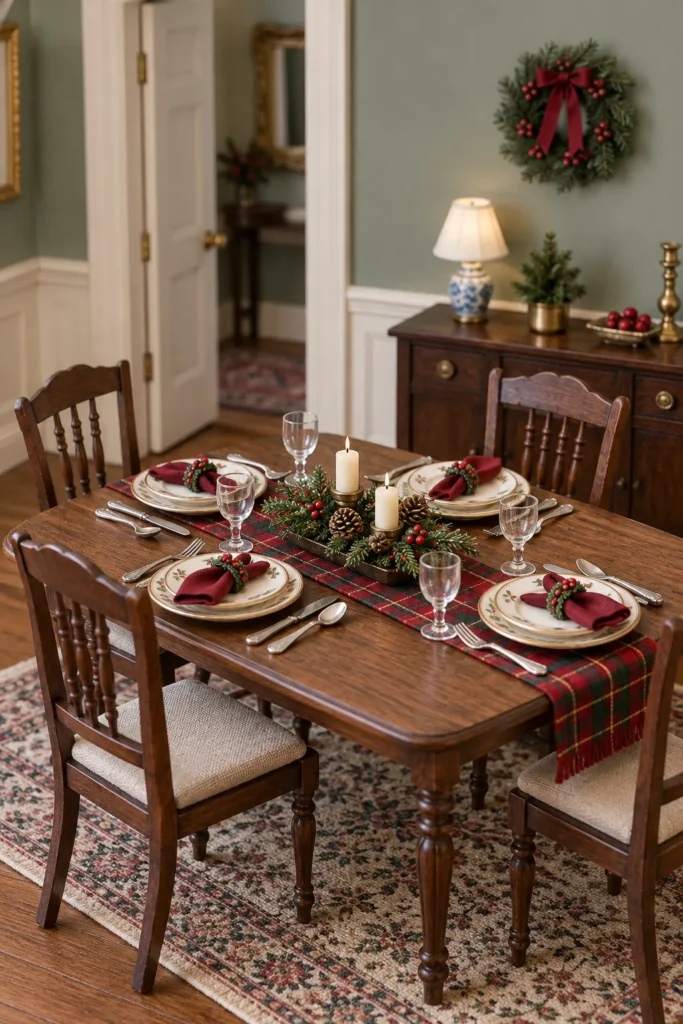
A festive miniature table can look convincing at first glance and still feel wrong when a chair cannot tuck in, a plate crowds the edge, or the centerpiece hides every place setting. The cure is not more decoration. It is a clear scale plan, restrained layering, and a final check from the viewpoint of a dollhouse visitor.
Start With One Reliable Scale Rule
In 1:12 scale, one inch in the miniature represents one foot in real life. A real dining table that is about thirty inches high becomes roughly two and one half inches high. Use the same conversion for plates, runners, candles, and serving pieces so items bought from different sources still look related.
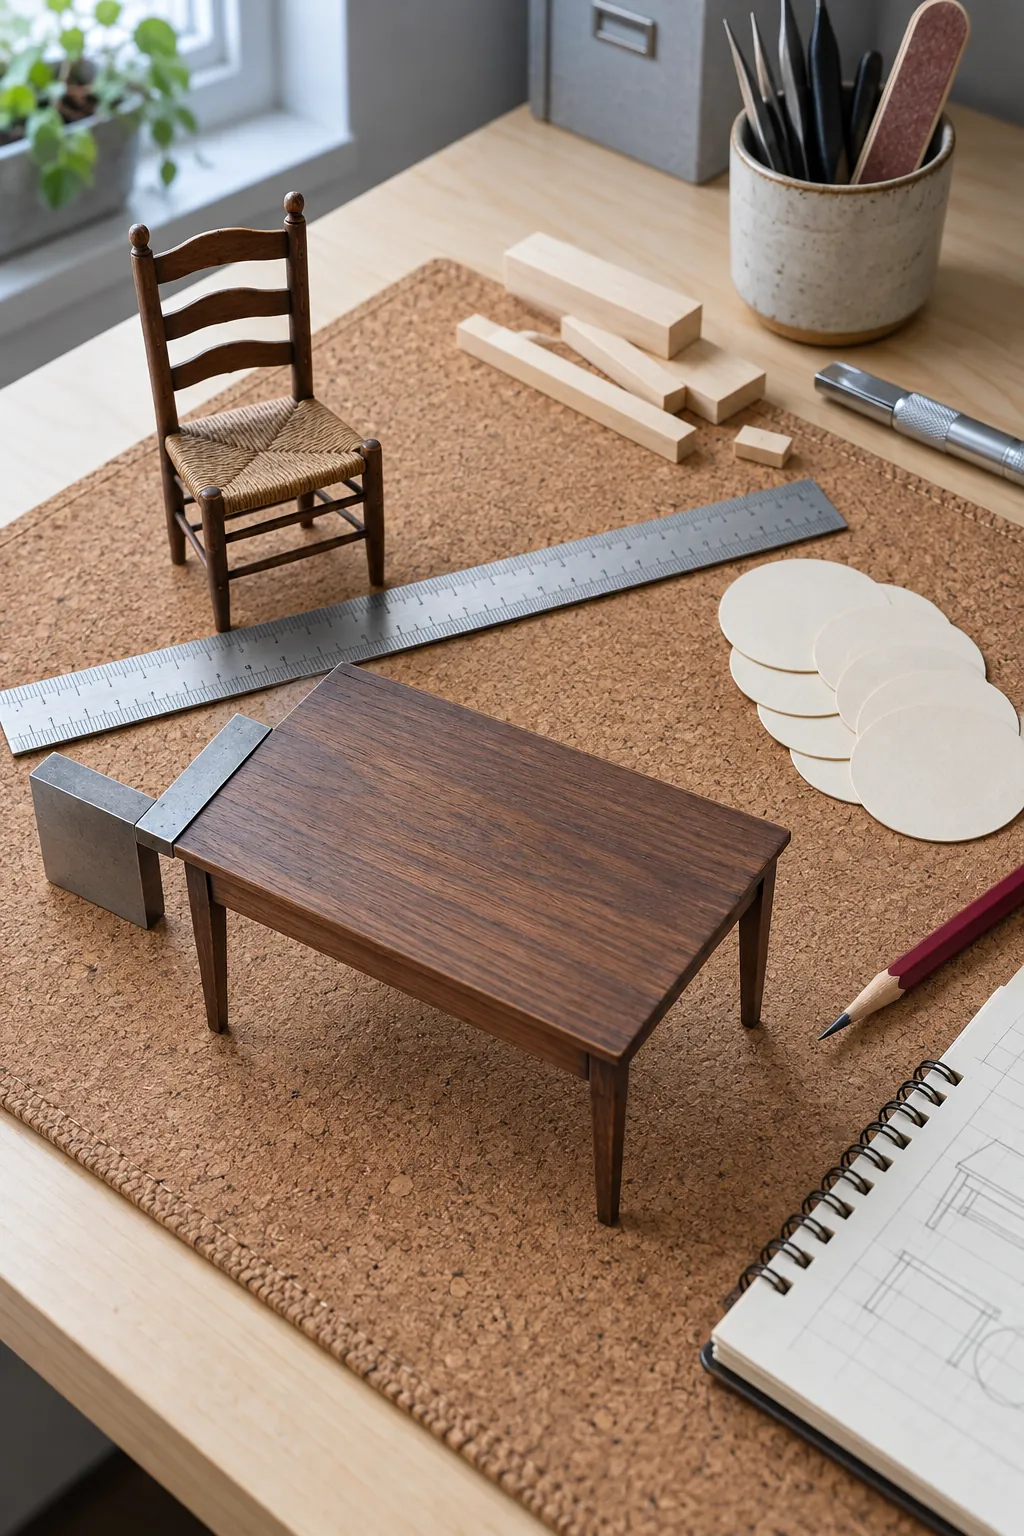
Beginners often discover that labels are less reliable than a ruler. Measure the table, chair seat, and largest dish before you commit to a layout. Keep a small paper figure or a known scale chair beside the project as a visual reference when a measurement feels abstract.
Map Each Place Before You Glue
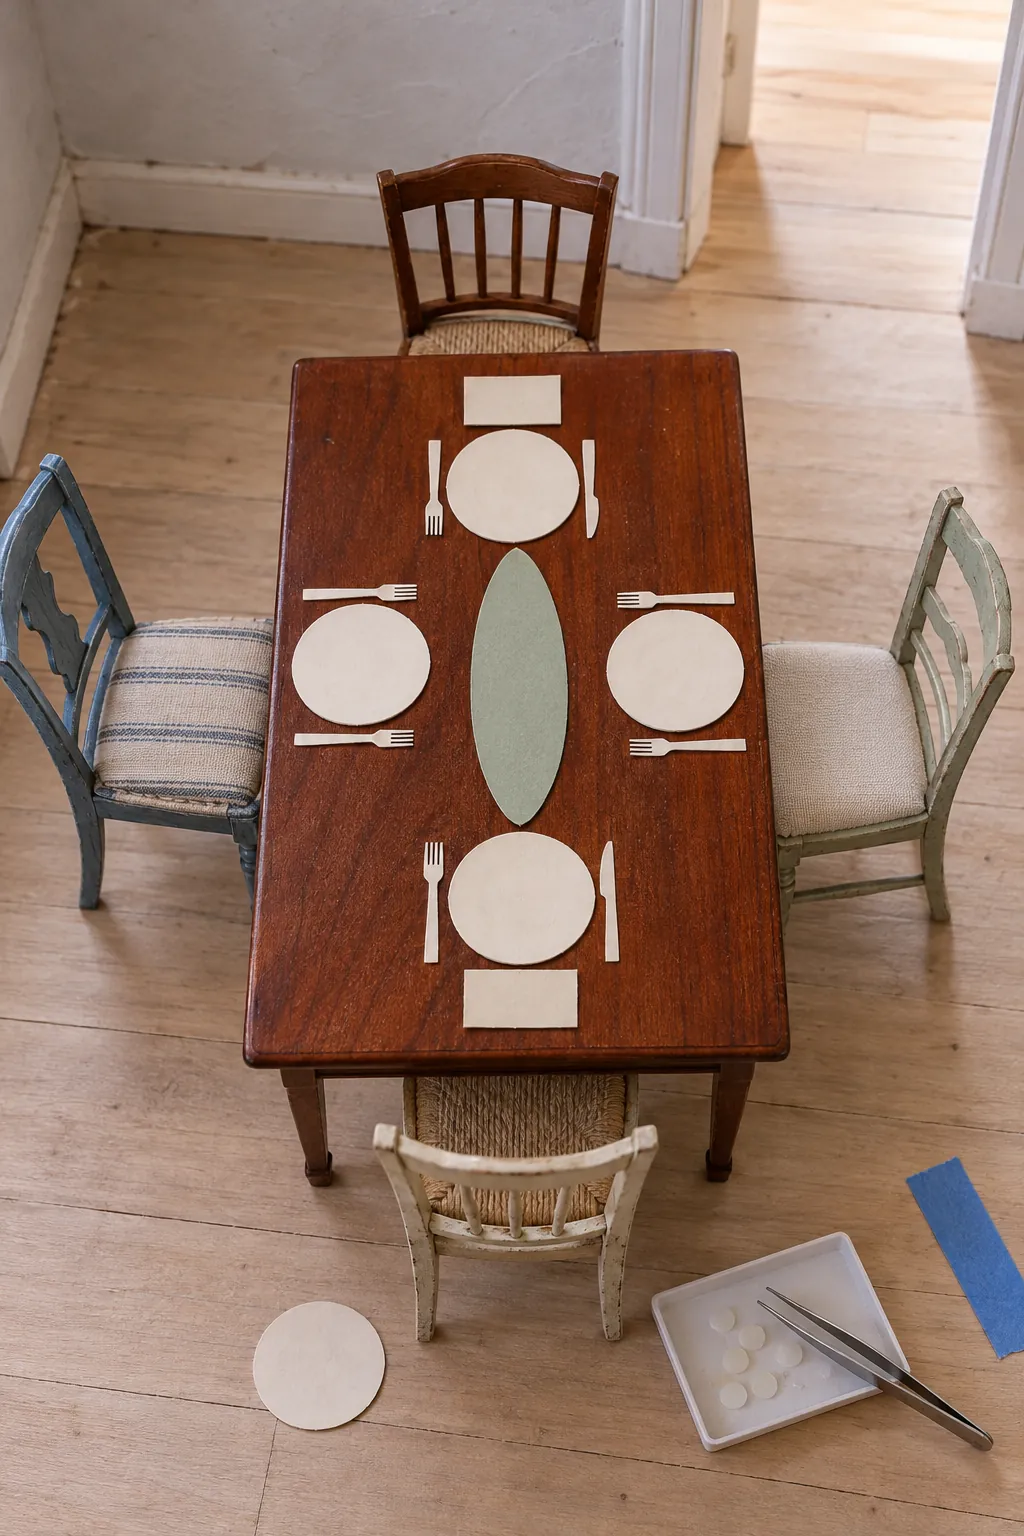
Cut paper circles in the diameter of your plates and place them around the bare tabletop. Add paper rectangles for serving dishes and the centerpiece. This quick rehearsal exposes crowding while every choice is still easy to change.
Leave a narrow but visible strip of tabletop between neighboring settings. Check that each chair aligns with a plate and that the chair backs clear nearby furniture. If the room is tight, four well spaced settings will look more believable than six compressed ones.
Choose Linens That Behave at Small Scale
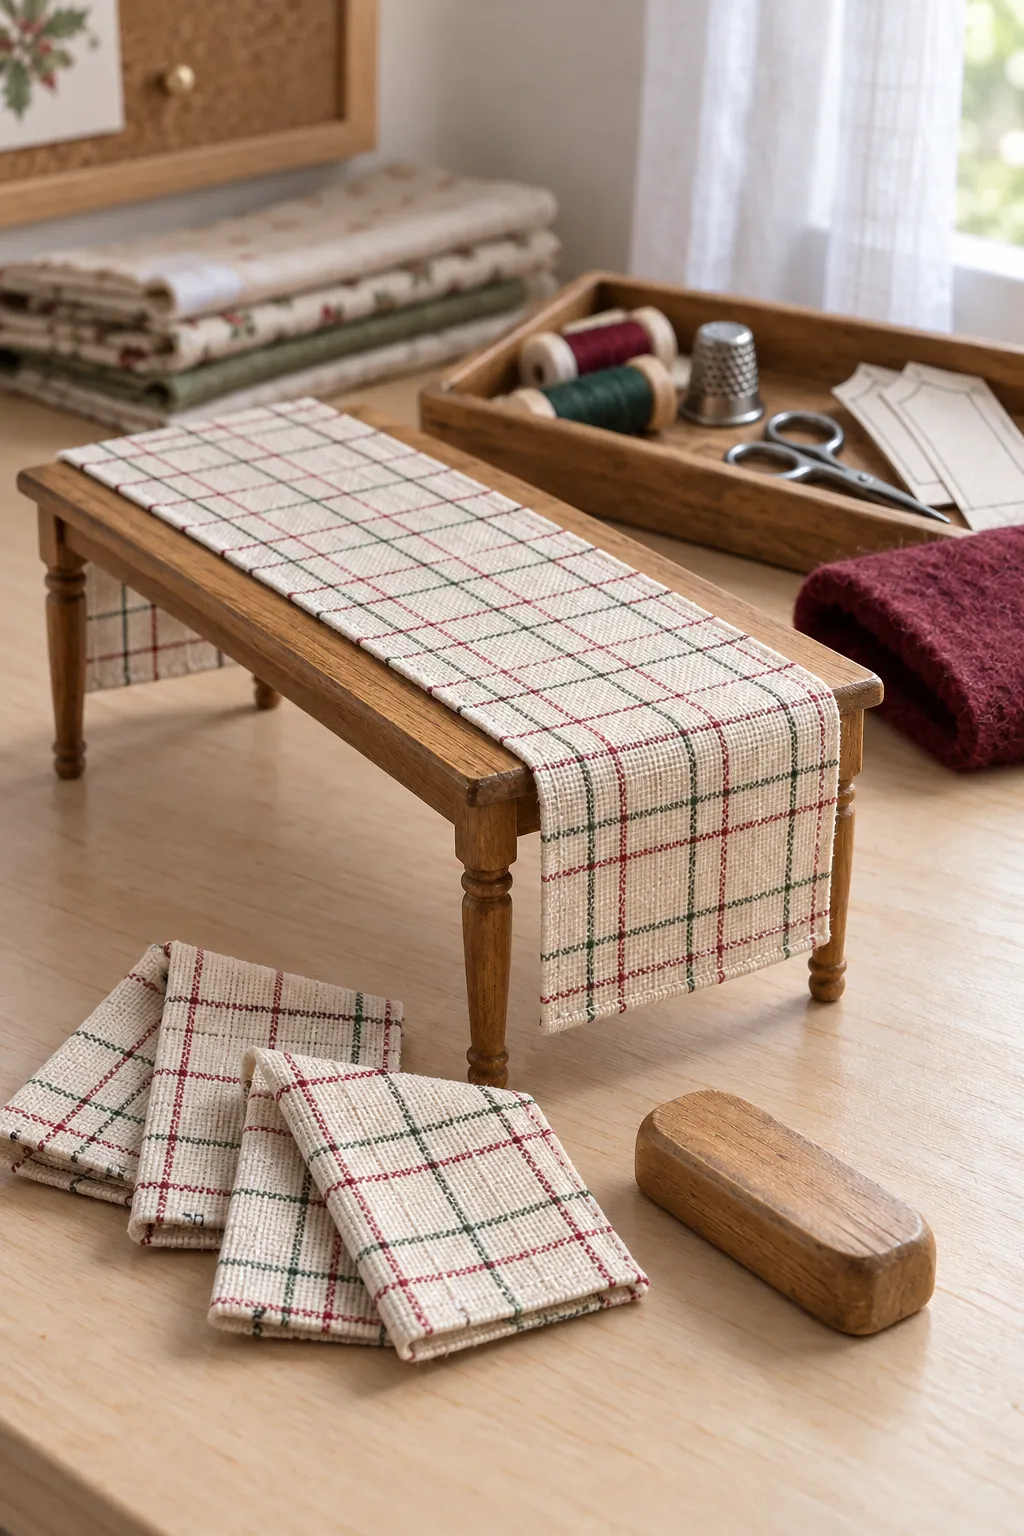
Thin cotton lawn, fine linen, or smooth paper usually hangs better than bulky craft felt. Test a scrap over the table edge before cutting the finished cloth. A fabric that looks delicate in your hand can become a heavy blanket in a miniature room.
Press folds with a warm tool suitable for the material, then set the shape with a very small amount of diluted fabric stiffener if needed. A runner is forgiving because it shows the wood surface and needs only two clean hanging ends. Keep patterns small enough that several repeats remain visible across the table.
Build Each Setting From the Plate Out
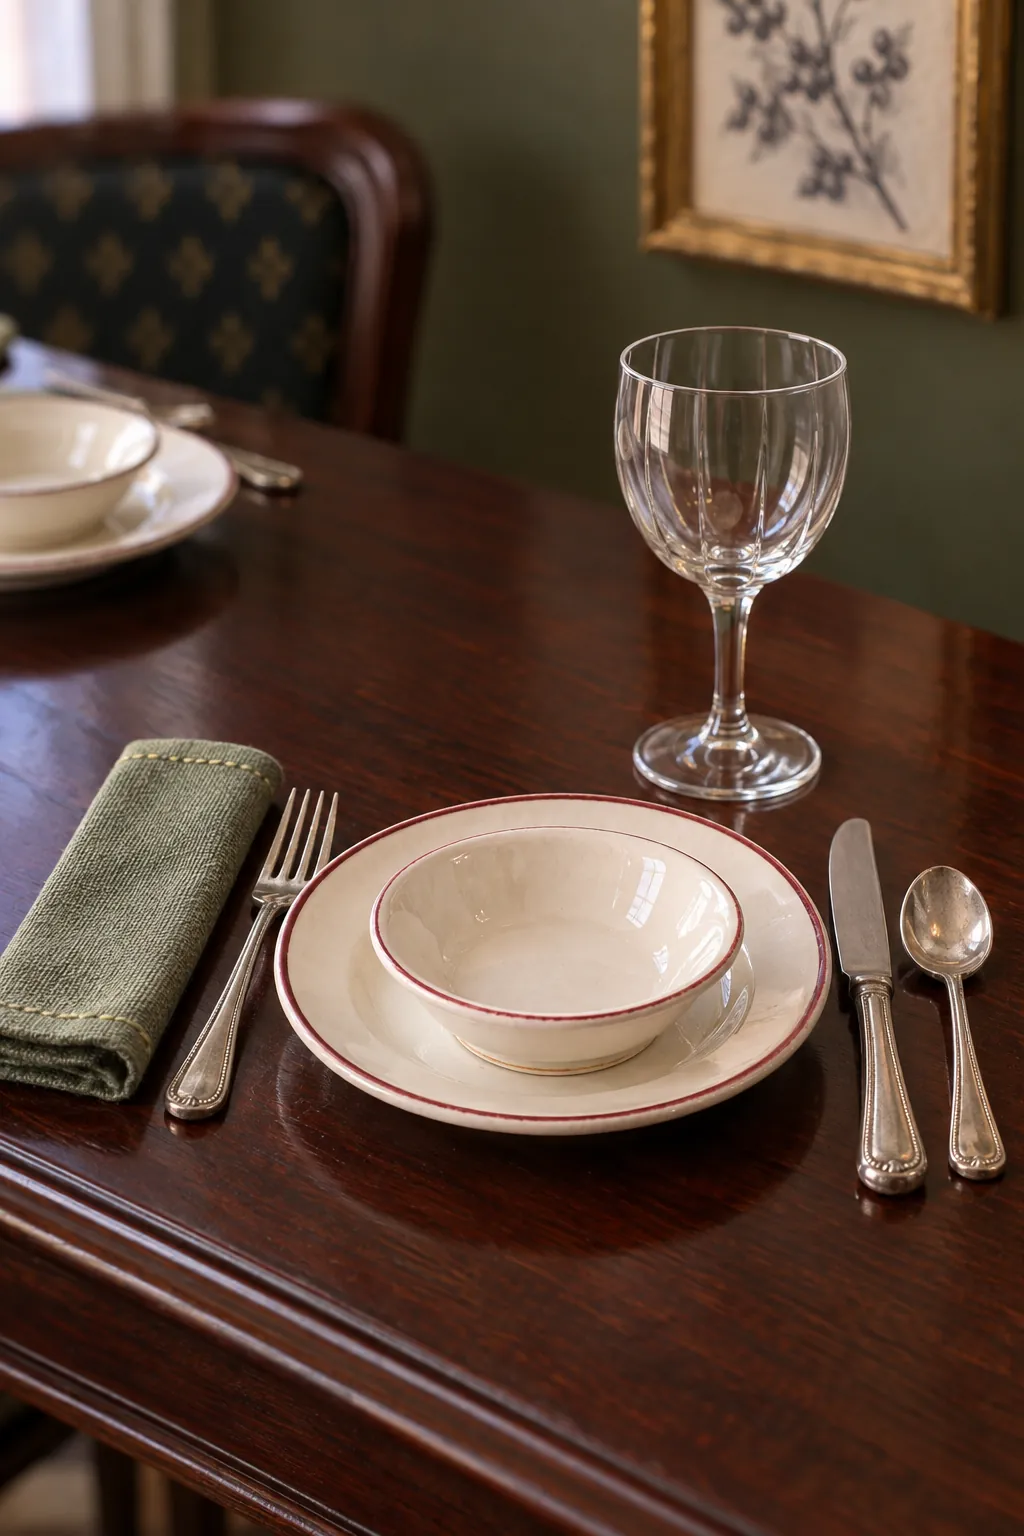
Begin with one dinner plate centered on each chair. Add a smaller plate or bowl only when the stack stays low enough to look usable. Tiny Christmas plates can carry a narrow painted rim, but thick decoration around every piece quickly makes the table busy.
Place cutlery parallel to the plate and keep each piece close enough to read as one setting. Clear beads can suggest simple stemware when their bases sit flat. Use removable museum wax under fragile holiday miniature tableware when you want to restyle the scene later.
Keep the Centerpiece Low and Narrow
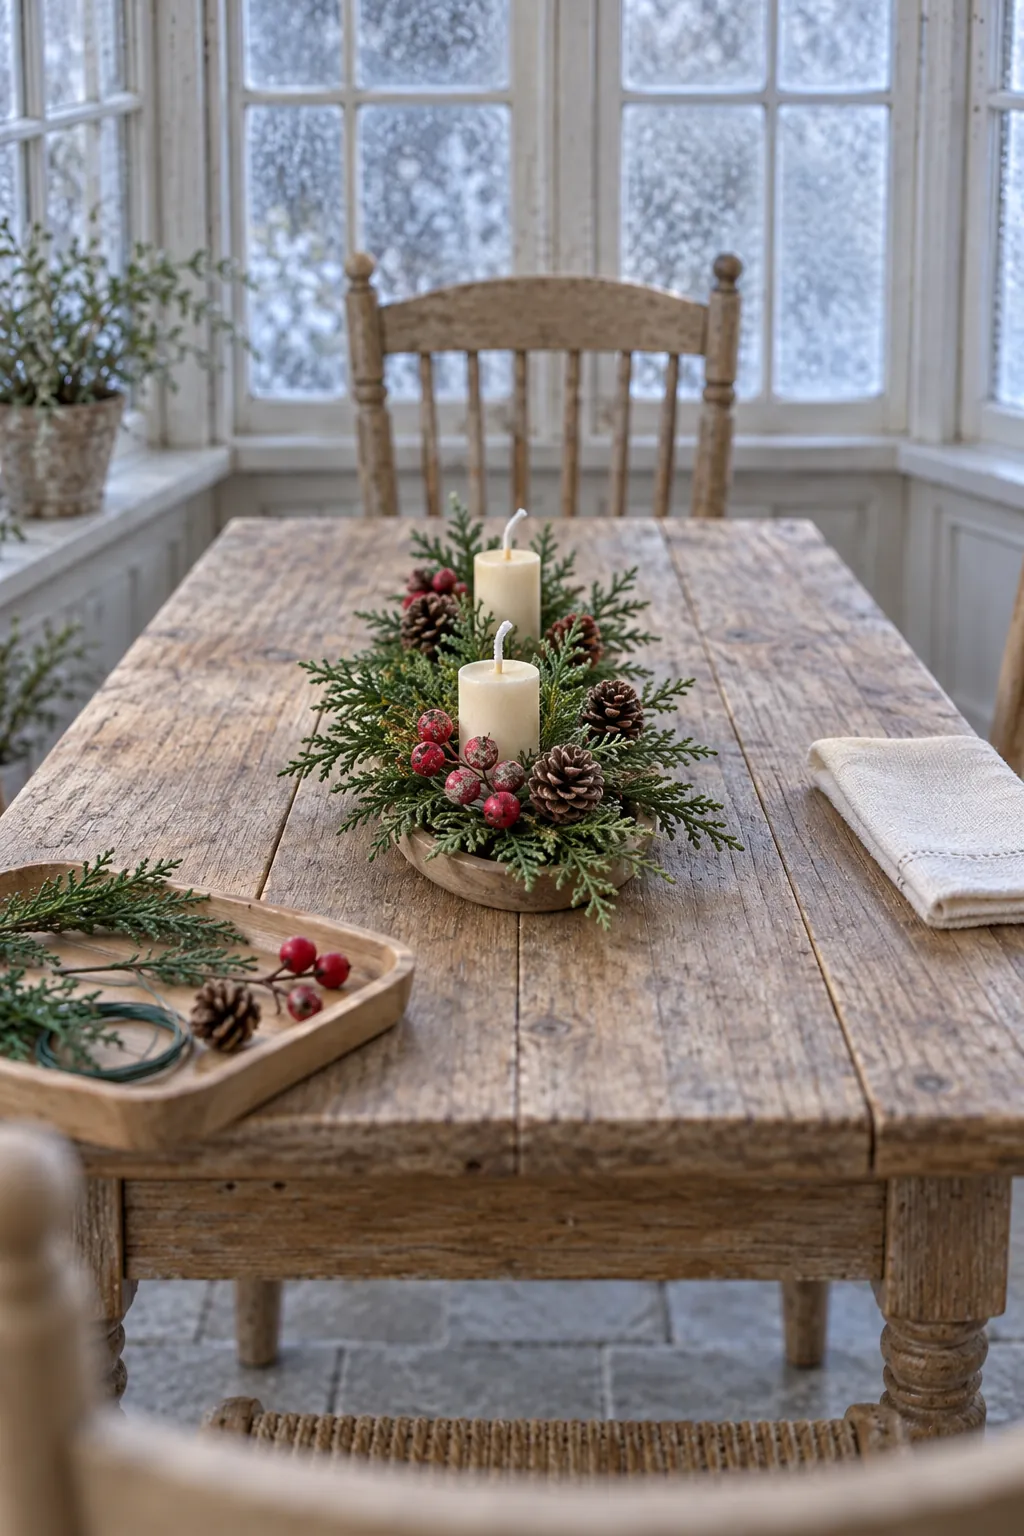
A dollhouse festive centerpiece should support the meal rather than consume it. Build a shallow base from card, thin wood, or a small metal finding. Arrange clipped faux greenery, two short candles, and a few red berries along the length of the table.
View the arrangement from chair height before fixing anything. Guests should appear able to see across the table. If branches touch plates or candle tops rise above seated eye level, shorten the design and remove one element instead of squeezing it tighter.
Fold Napkins With Crisp Simple Shapes
Mini napkin folds work best when the shape is clear and the fabric is thin. A narrow rectangle, a soft fan, or a simple triangle is easier to read than a complex full size fold reduced beyond what the material can hold. Make all napkins together so their size and crease direction match.
Use fine tweezers to position each napkin on the plate or beside it. A tiny paper ring can hold a roll without adding visible bulk. Let glue dry away from the finished table so accidental shine does not mark the plates.
Finish the Room Around the Table
The table should feel connected to the room. Repeat one or two table colors in a wreath, a shelf ornament, or a small ribbon on the chair backs. Keep mini Christmas ornaments away from chair paths and leave enough floor visible to show the true size of the dining area.
Light the scene from the side and slightly above, then inspect it through the dollhouse opening. Side light reveals fabric folds and plate rims without flattening the scene. Turn on any miniature lamps only after checking their heat and wiring, and never let a bulb touch fabric, paper, or dried greenery.
Take one photograph from standing eye level and another from the height of a seated miniature guest. The lower view is the honest test. If every place reads clearly, the centerpiece leaves a sightline, and the chairs can approach the table, your Christmas dining table DIY is ready for the room.