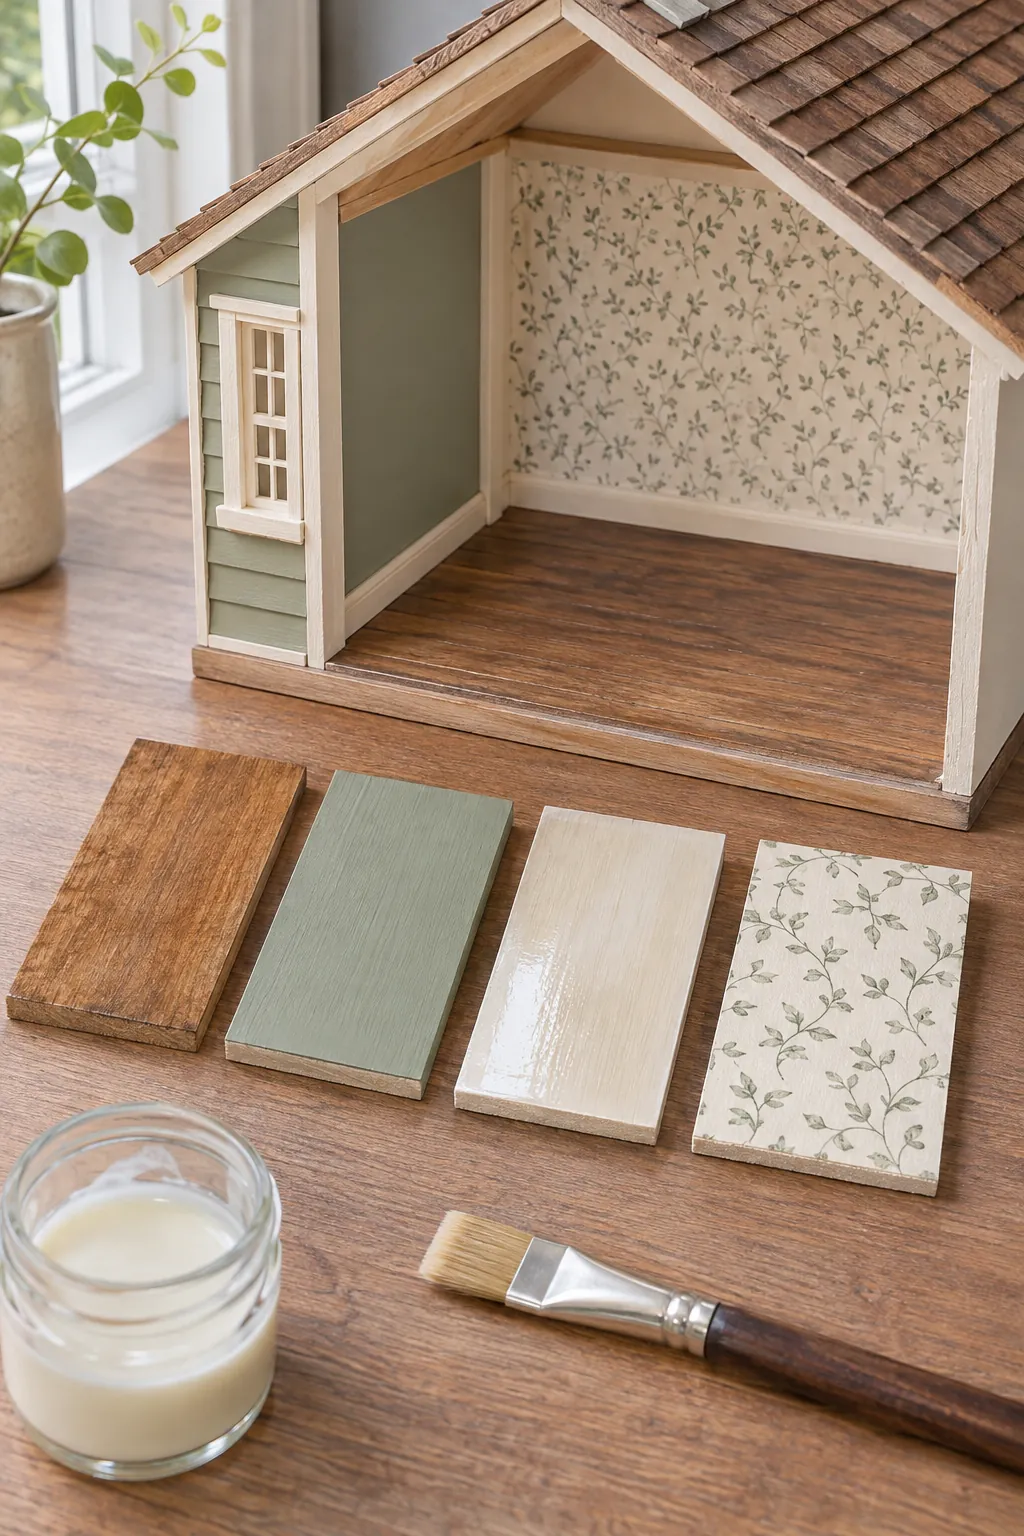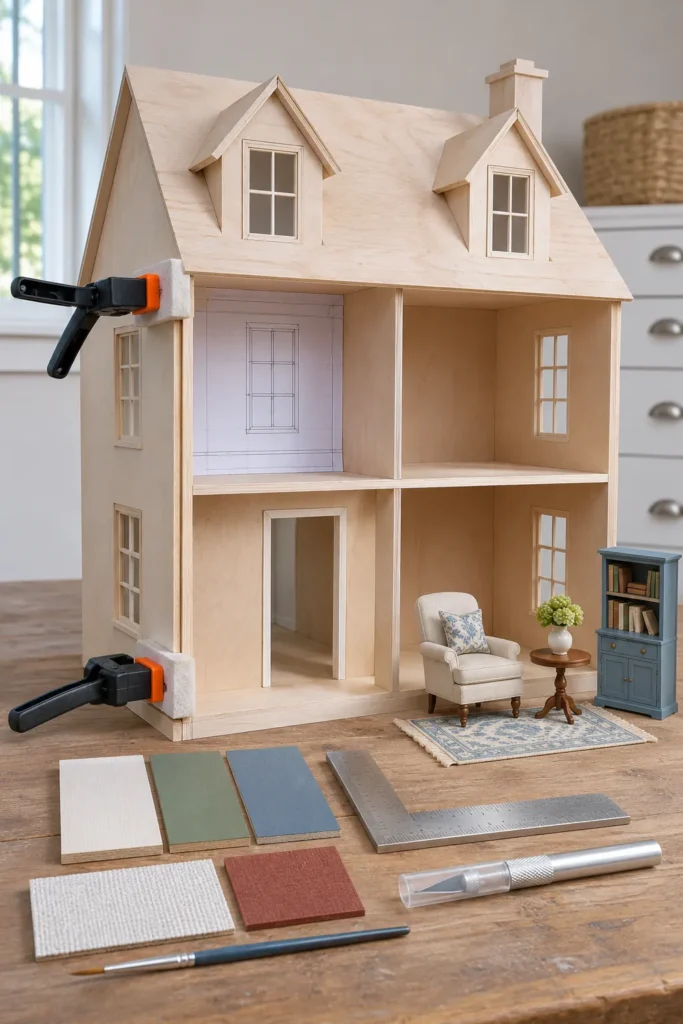
A first miniature build rarely fails because the maker lacks talent. Problems usually begin with one unchecked assumption, then become harder to correct after paint, wallpaper, or trim hides the evidence. A five minute test at the right stage can save hours of careful repair.
Keep the goal realistic: straight structure, consistent scale, safe methods, and finishes that support the story. Handmade variation is welcome. Unstable walls, trapped wiring, and furniture that cannot pass through a door are planning problems you can prevent.
Choosing the Wrong Miniature Scale
Listings often say miniature without naming a ratio, so attractive pieces may not belong in the same world. Confirm the house scale from a known door or ceiling measurement, then keep that ratio in your shopping notes. Test one chair beside a doorway before buying a full furniture set.
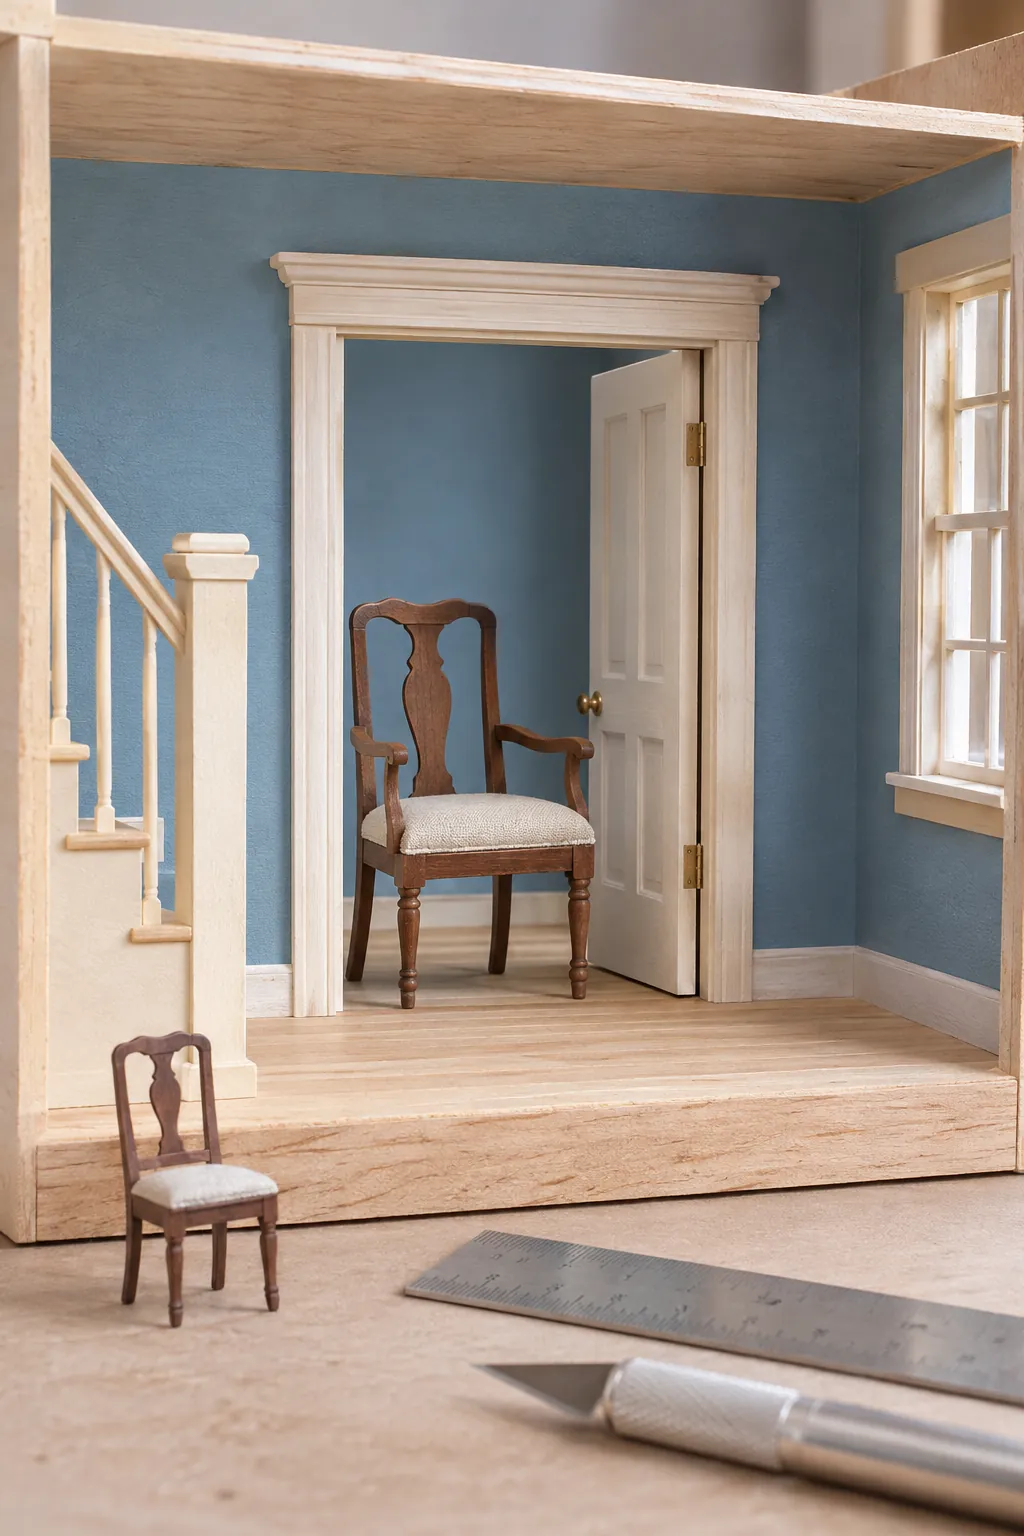
Skipping a Complete Dry Fit
Kit tabs can appear interchangeable until the roof or stair opening exposes an error. Assemble the shell without glue, use removable tape where needed, and confirm every panel orientation against the instructions. Mark hidden faces lightly so you can return each part to the same position.
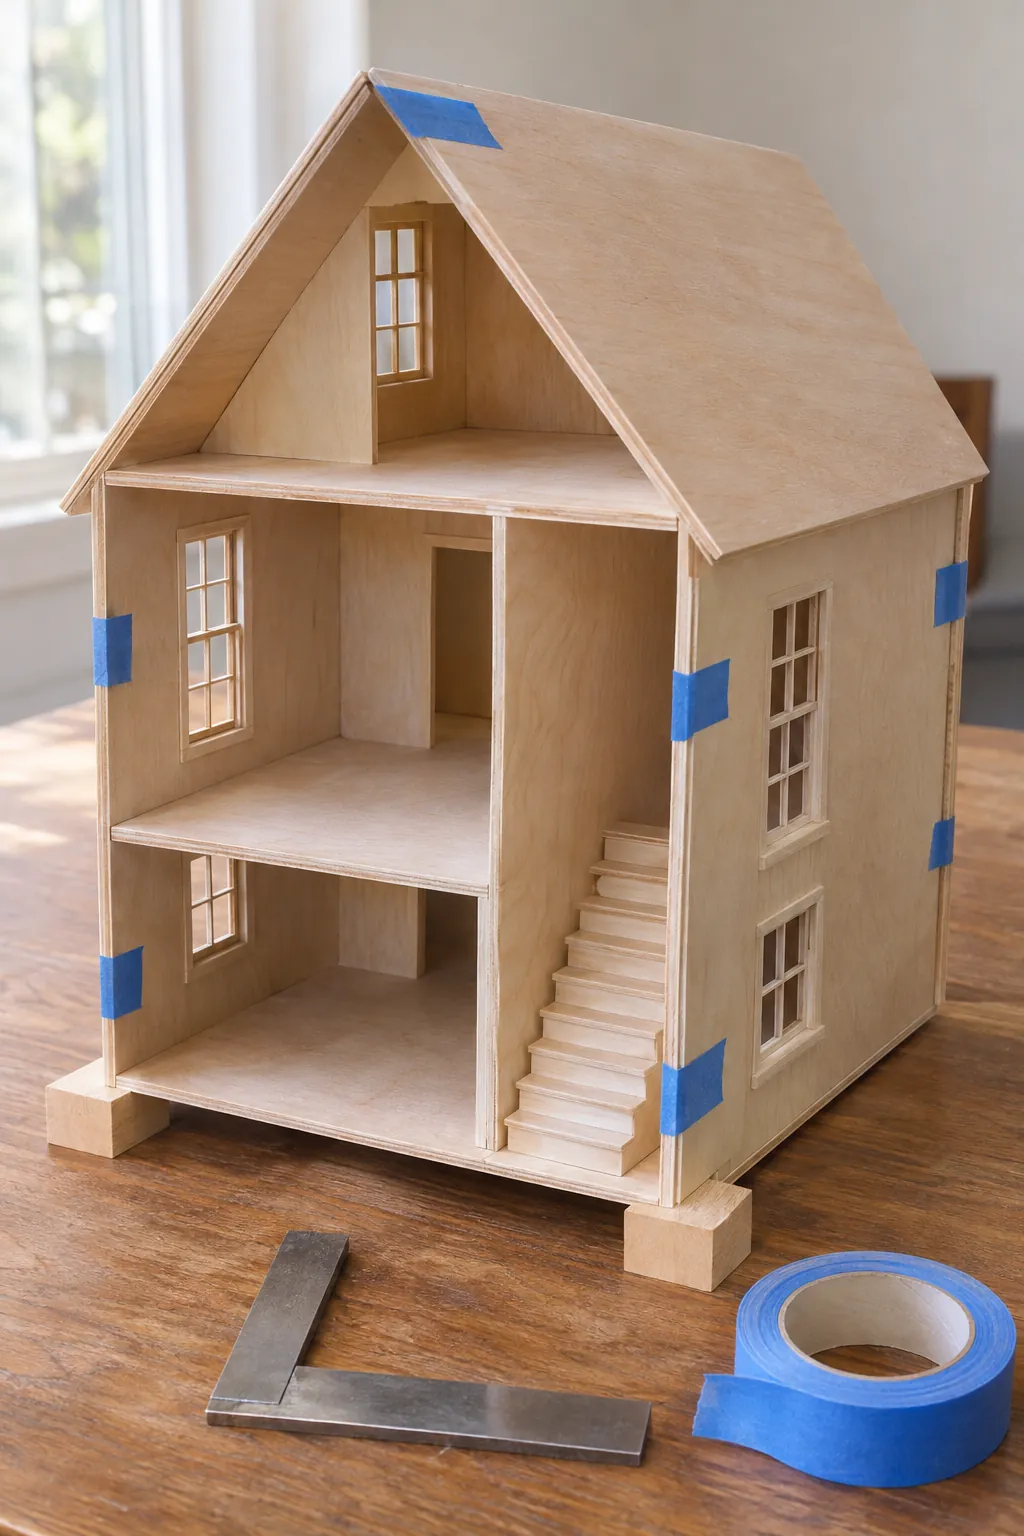
Ignoring the Assembly Order
A beautiful floor can block a later wall joint, while installed trim can make wiring impossible to reach. Read the full sequence before beginning and note every step that becomes inaccessible after assembly. Finish hidden surfaces early, but delay fragile details until the structure is stable.
Building a Weak Structural Shell
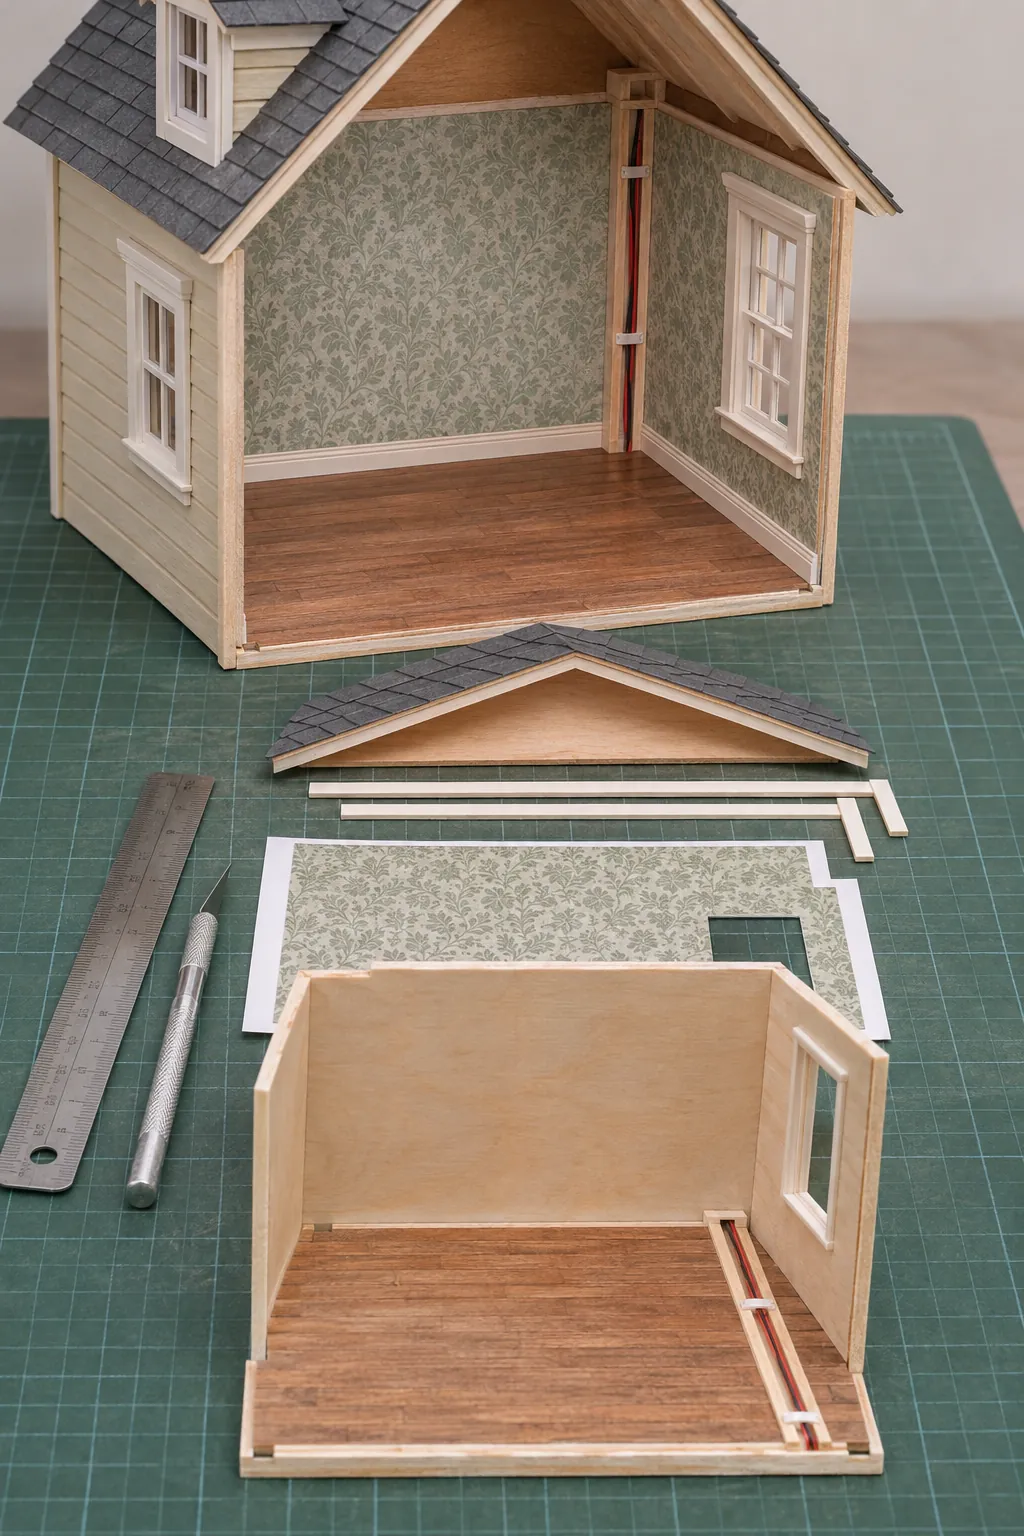
Light foam board is useful for room boxes and prototypes, but a tall house may need stronger material or internal bracing. Match the sheet material to the span, expected weight, and how often the house will move. If a wall flexes during the dry fit, reinforce it before adding decorative finishes.
Using Too Much Glue
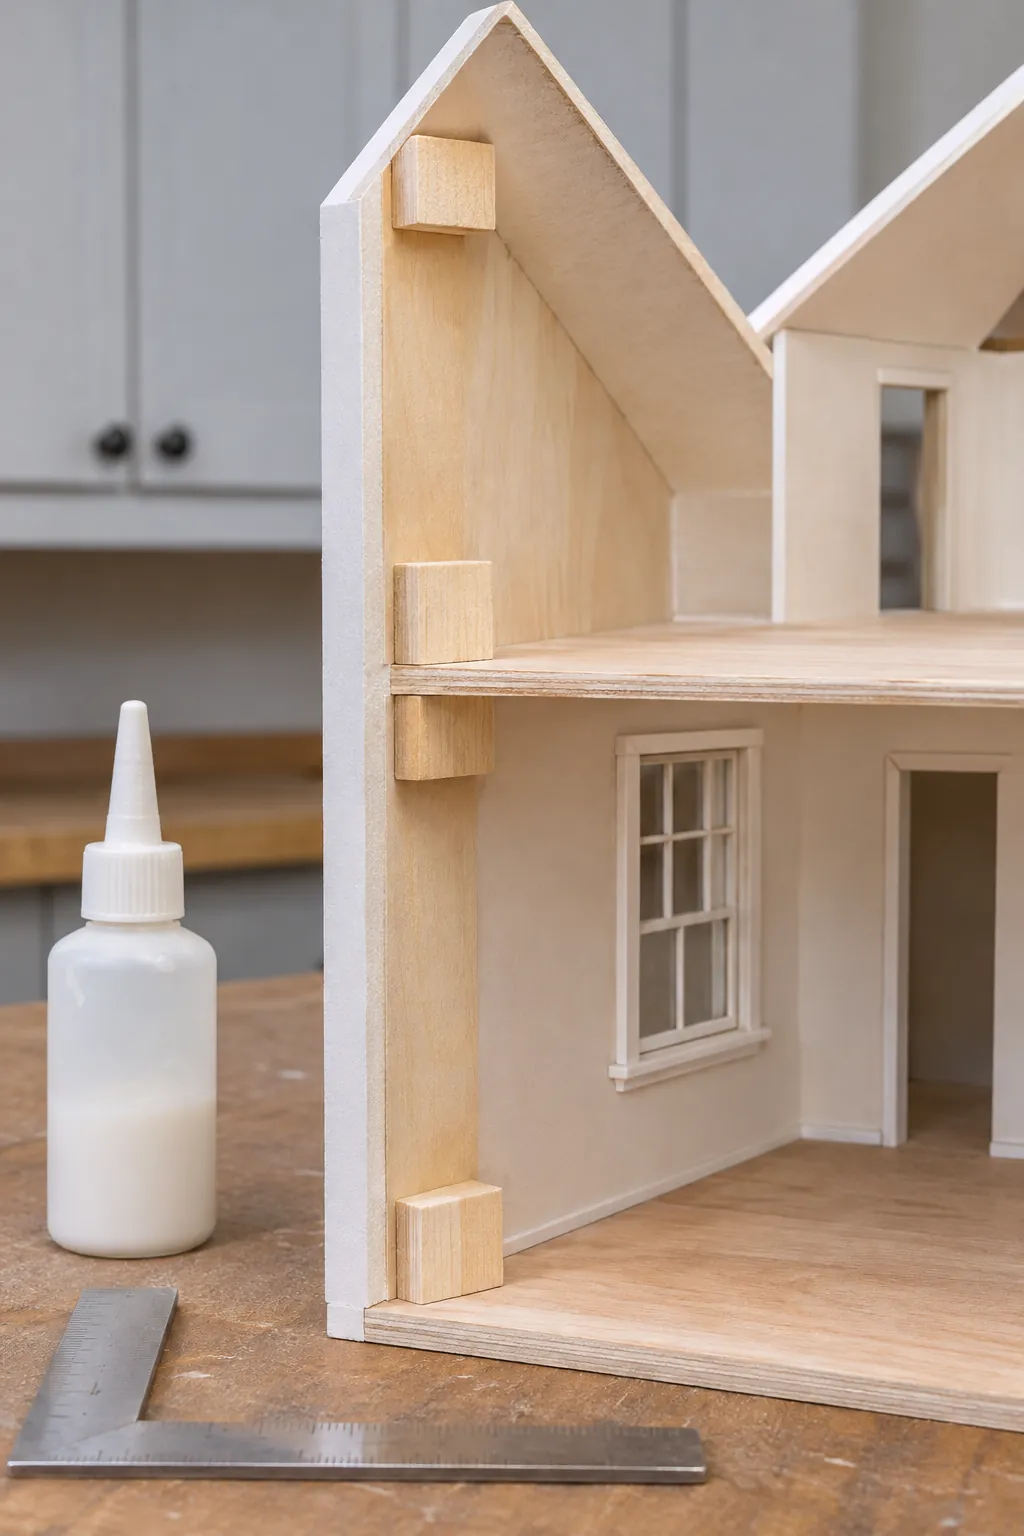
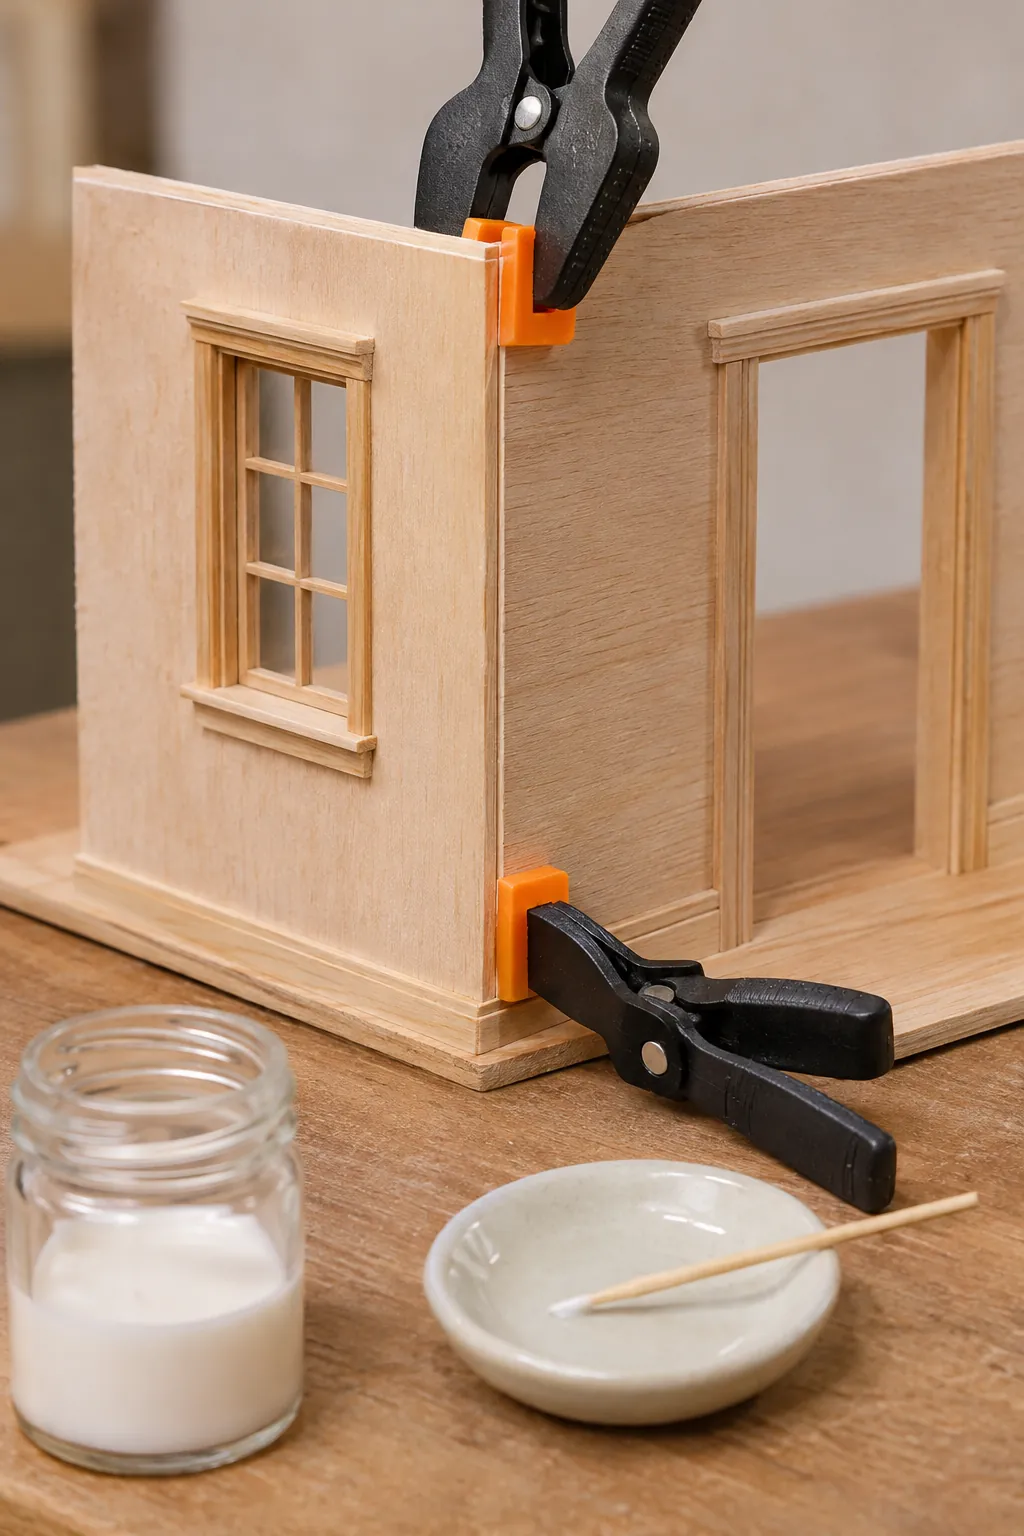
Extra glue does not correct a poor joint and often creates shiny squeeze out that resists stain or paint. Apply a thin controlled bead to clean mating surfaces, align the parts, and clamp with even pressure. Remove fresh excess with the method recommended for that adhesive before it hardens.
Cutting With a Dull Blade
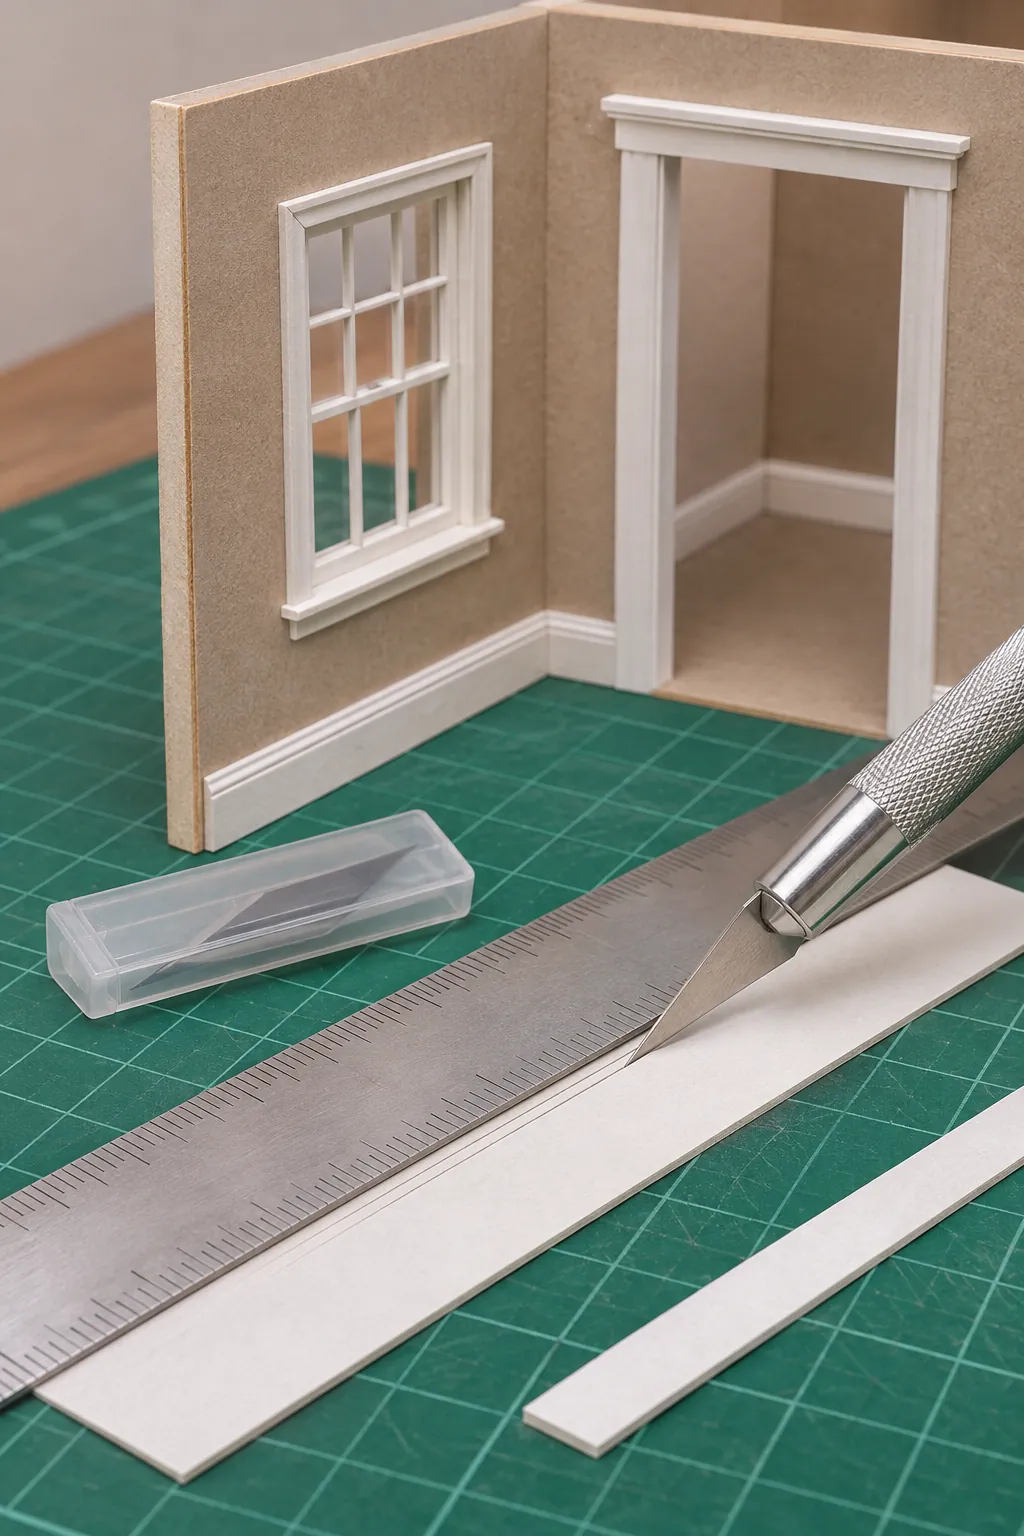
A dull blade crushes card, tears paper, and encourages dangerous extra force. Replace the blade when a clean test cut starts to drag, then make several light passes instead of one deep cut. Use a metal rule, suitable cutting surface, and a hand position that stays outside the cutting path.
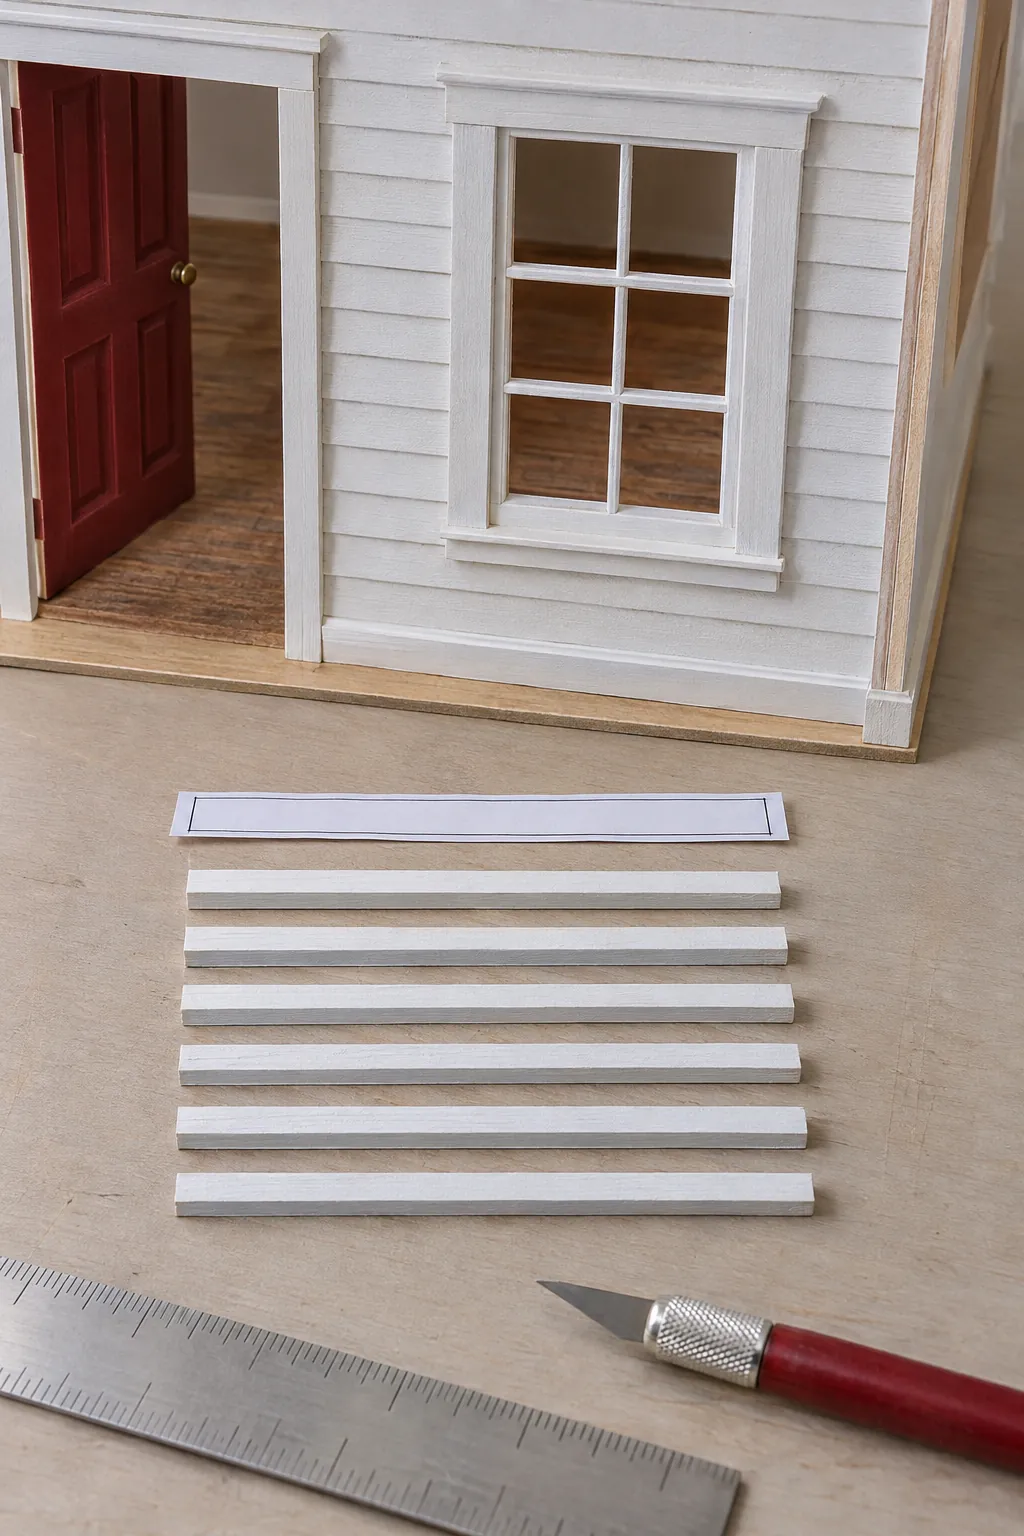
Copying Each New Measurement From the Last Cut
Small measuring errors multiply when every new piece is copied from the previous one. Return to the original dimension or a master template for repeated boards, tiles, and trim. Stack completed parts only for a final comparison, not as the measuring standard.
Forgetting to Seal Porous Surfaces
Raw card, fiberboard, and some woods absorb paint unevenly and can swell under wet adhesive. Test a compatible sealer on scrap, coat exposed faces as the material requires, and let them dry flat. Use thin layers so the protective step does not soften crisp miniature edges.
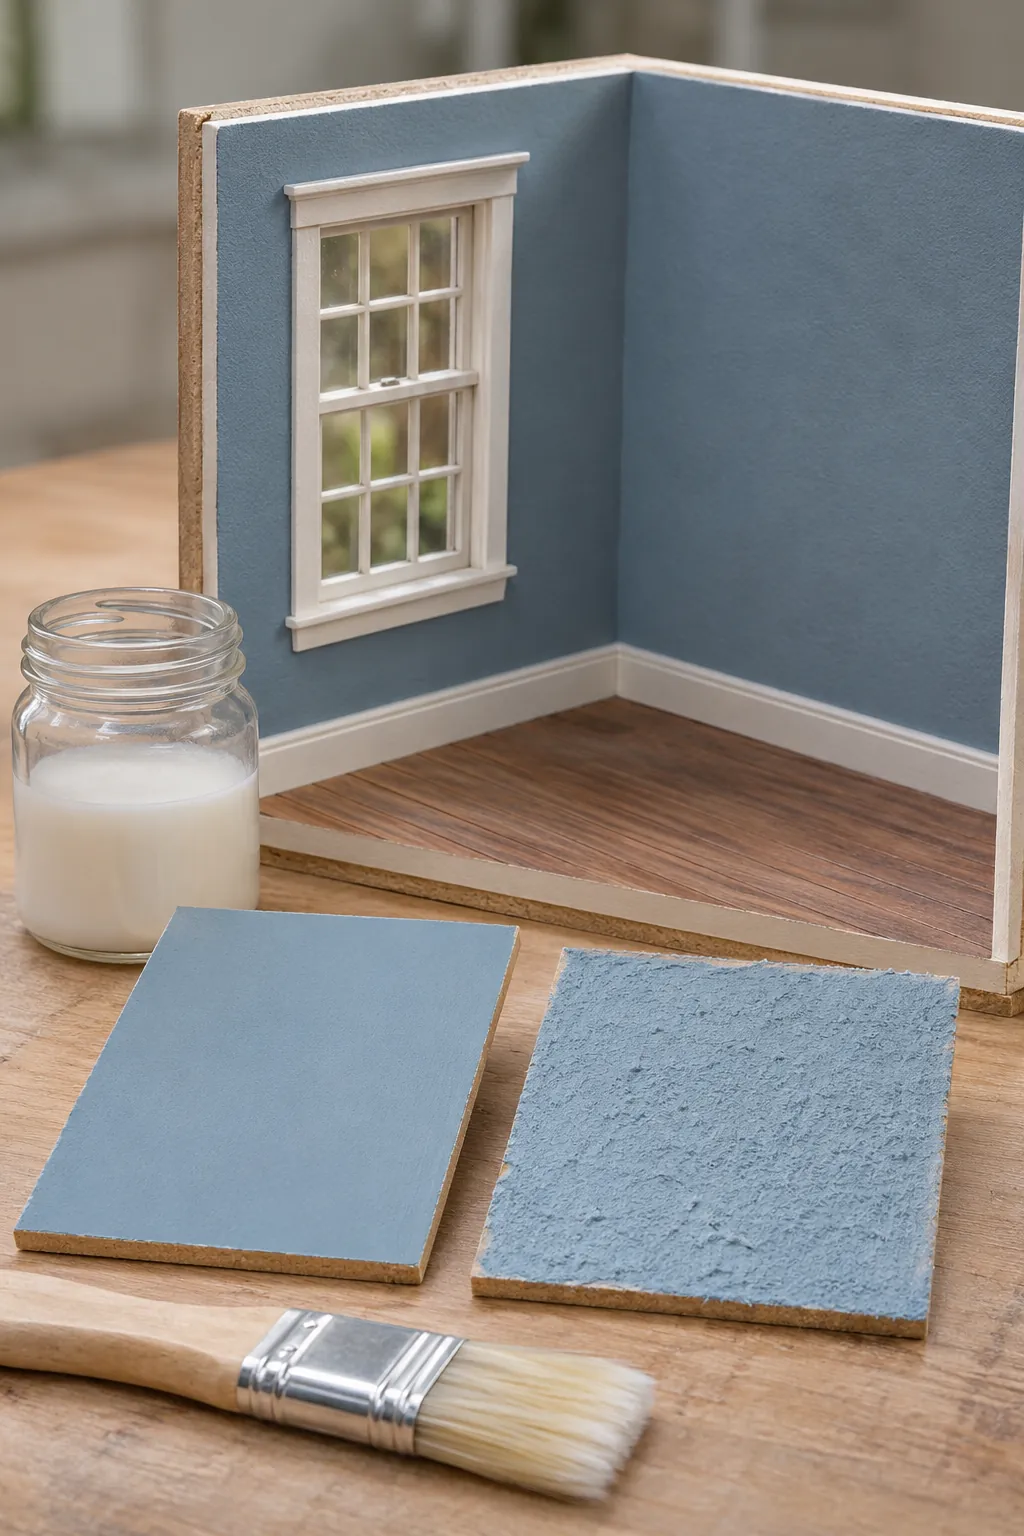
Applying Paint Too Thickly
Heavy paint fills engraved lines, rounds trim, and forms ridges that look enormous at scale. Use several thin coats with adequate drying time, lightly smoothing only when the finish system allows it. Paint a spare molding piece first to see whether the detail remains sharp.
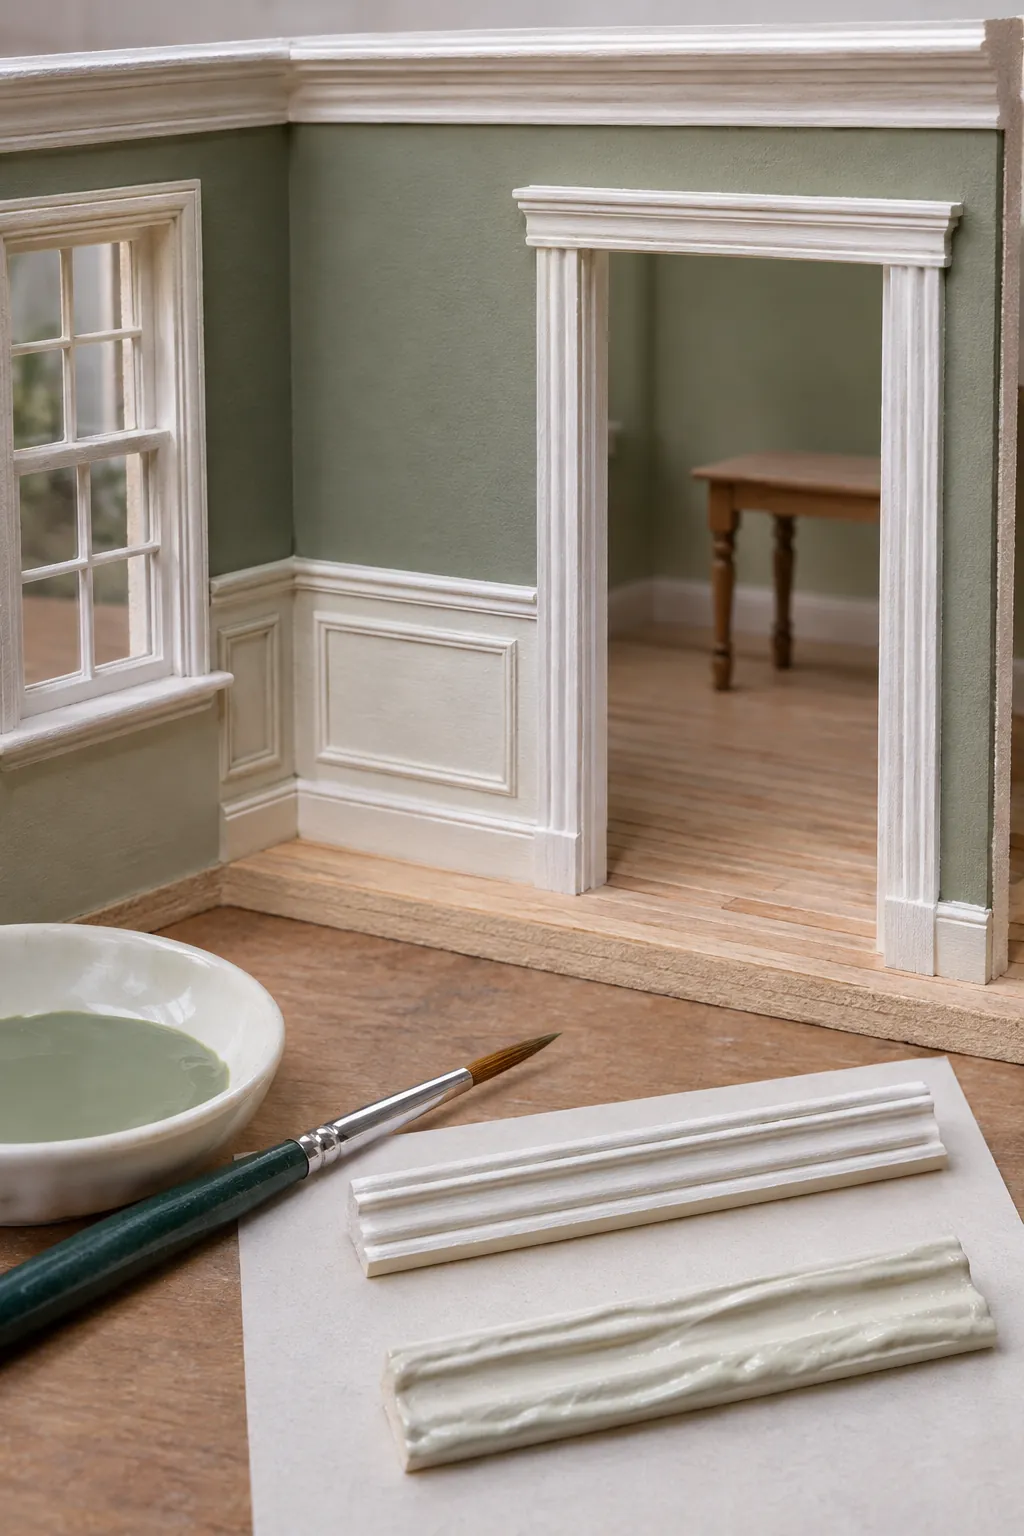
Planning Electricity After Decoration
Wires, channels, connectors, and access points need space before wallpaper and flooring close the walls. Draw the lighting route, test the complete system with compatible components, and keep connections accessible for maintenance. Follow the product instructions and never improvise with unsuitable full size electrical parts.
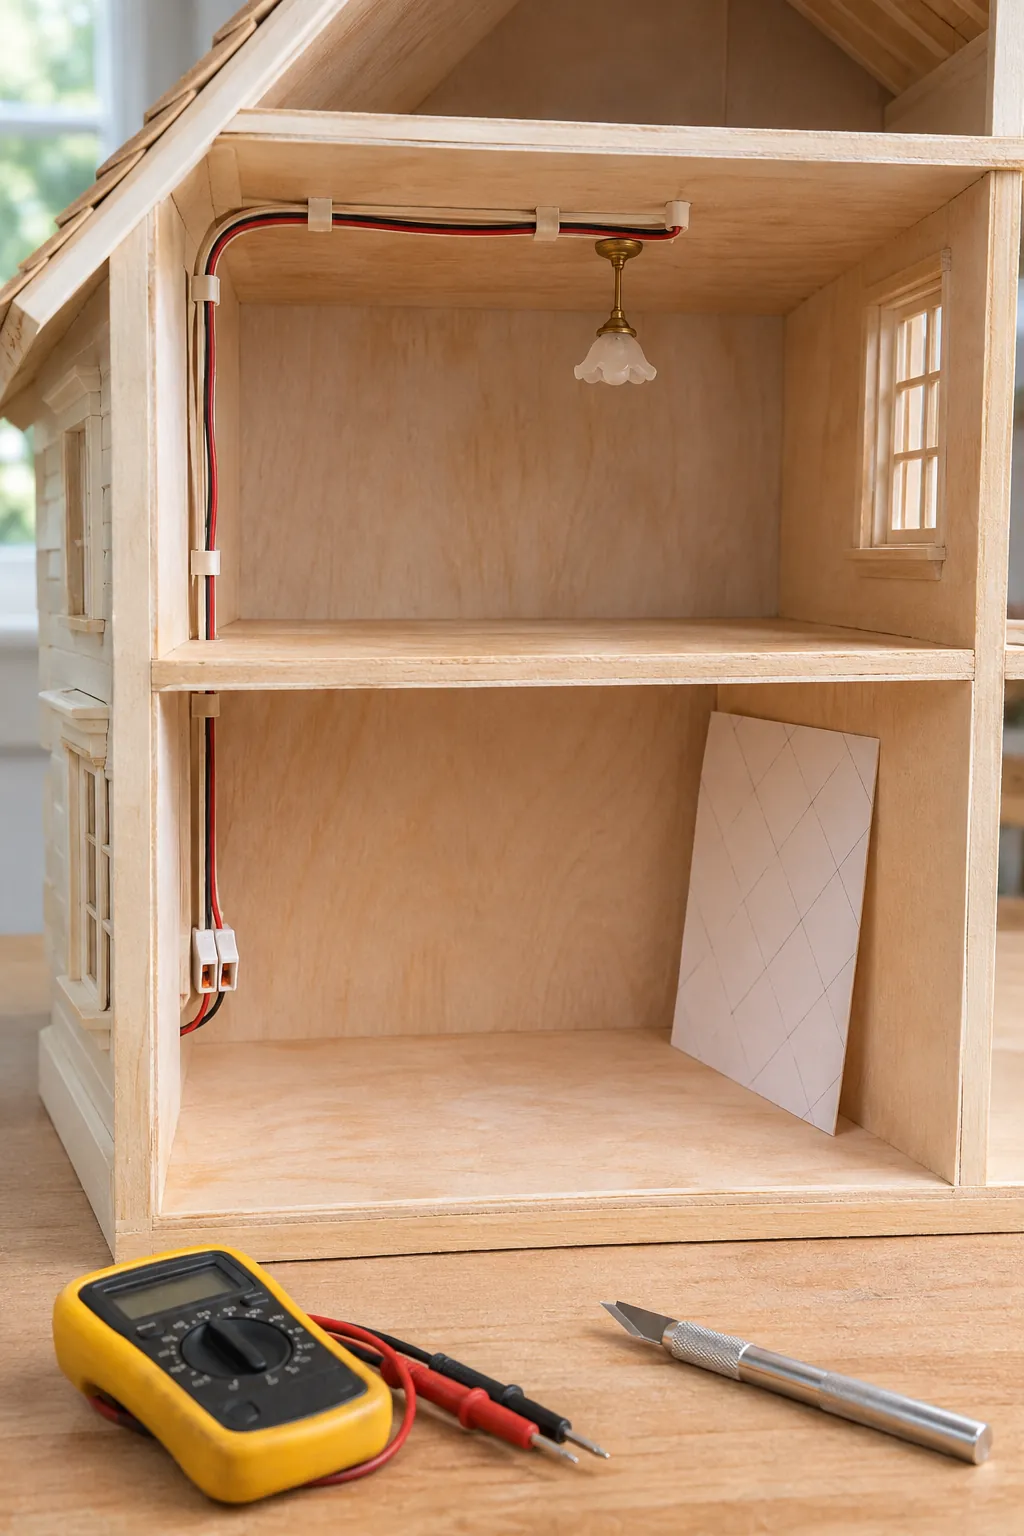
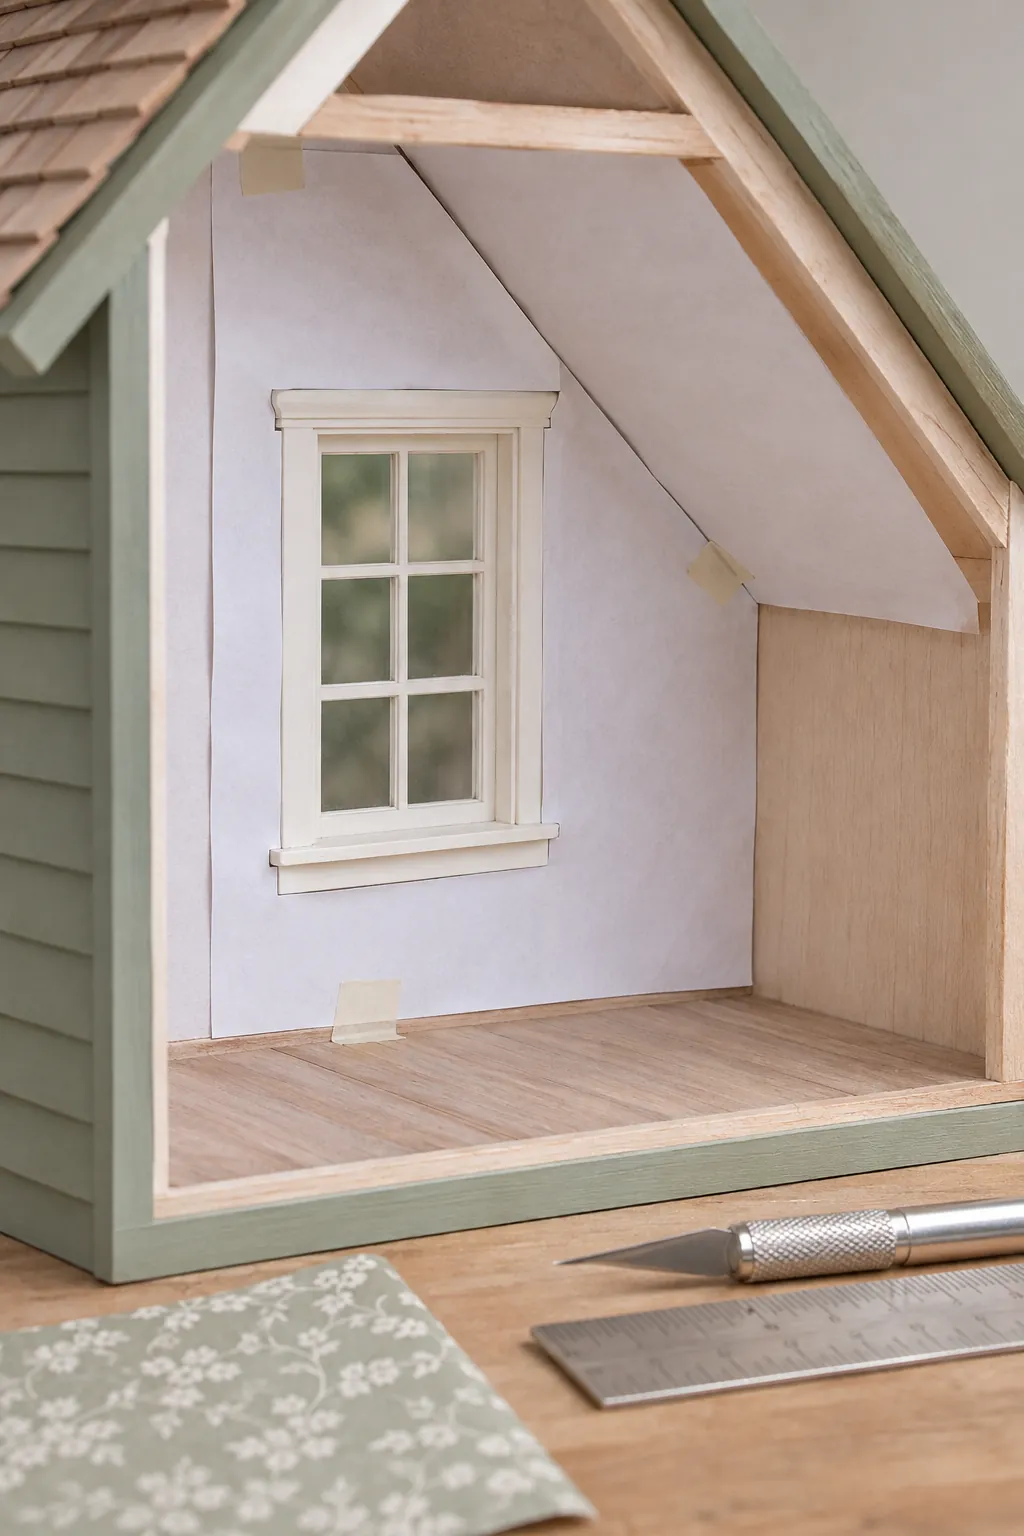
Wallpapering Without a Paper Template
Cutting decorative paper directly from wall measurements invites errors around windows and sloped ceilings. Make a plain paper template, fit it dry, and transfer the final outline only after every edge sits correctly. Note the pattern direction before cutting the expensive sheet.
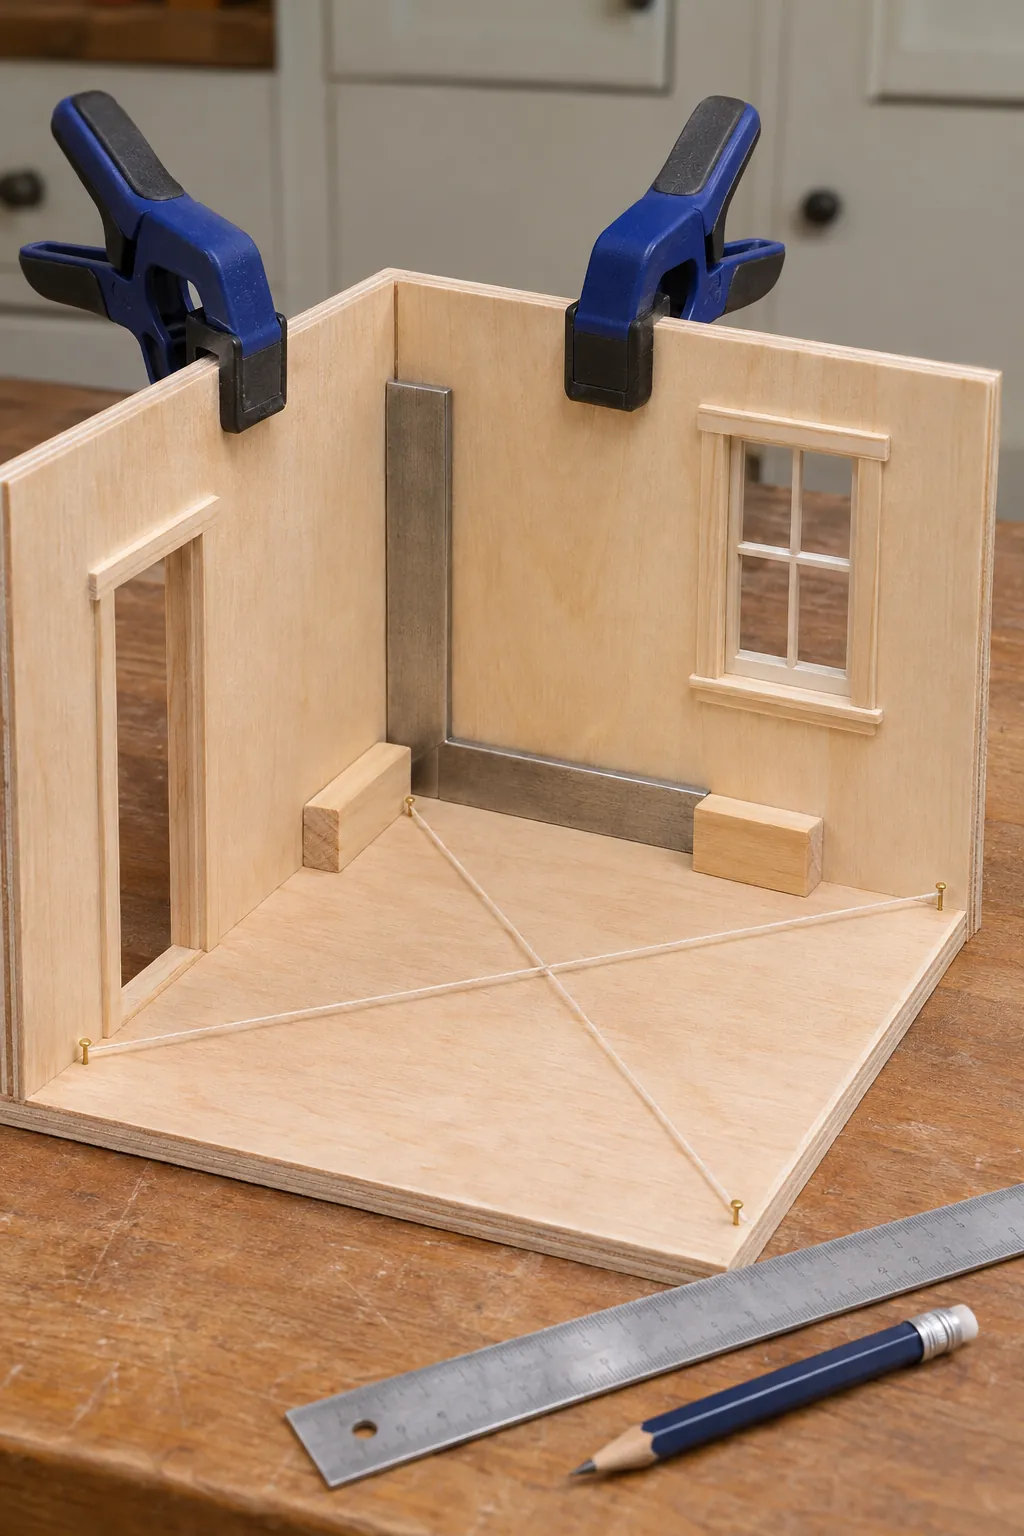
Letting the Shell Dry Out of Square
A small angle error at the base becomes a visible roof or trim gap later. Check corners with a square during dry fitting and again after clamping, then measure matching diagonals when the shape allows it. Leave the assembly supported until the adhesive reaches the required strength.
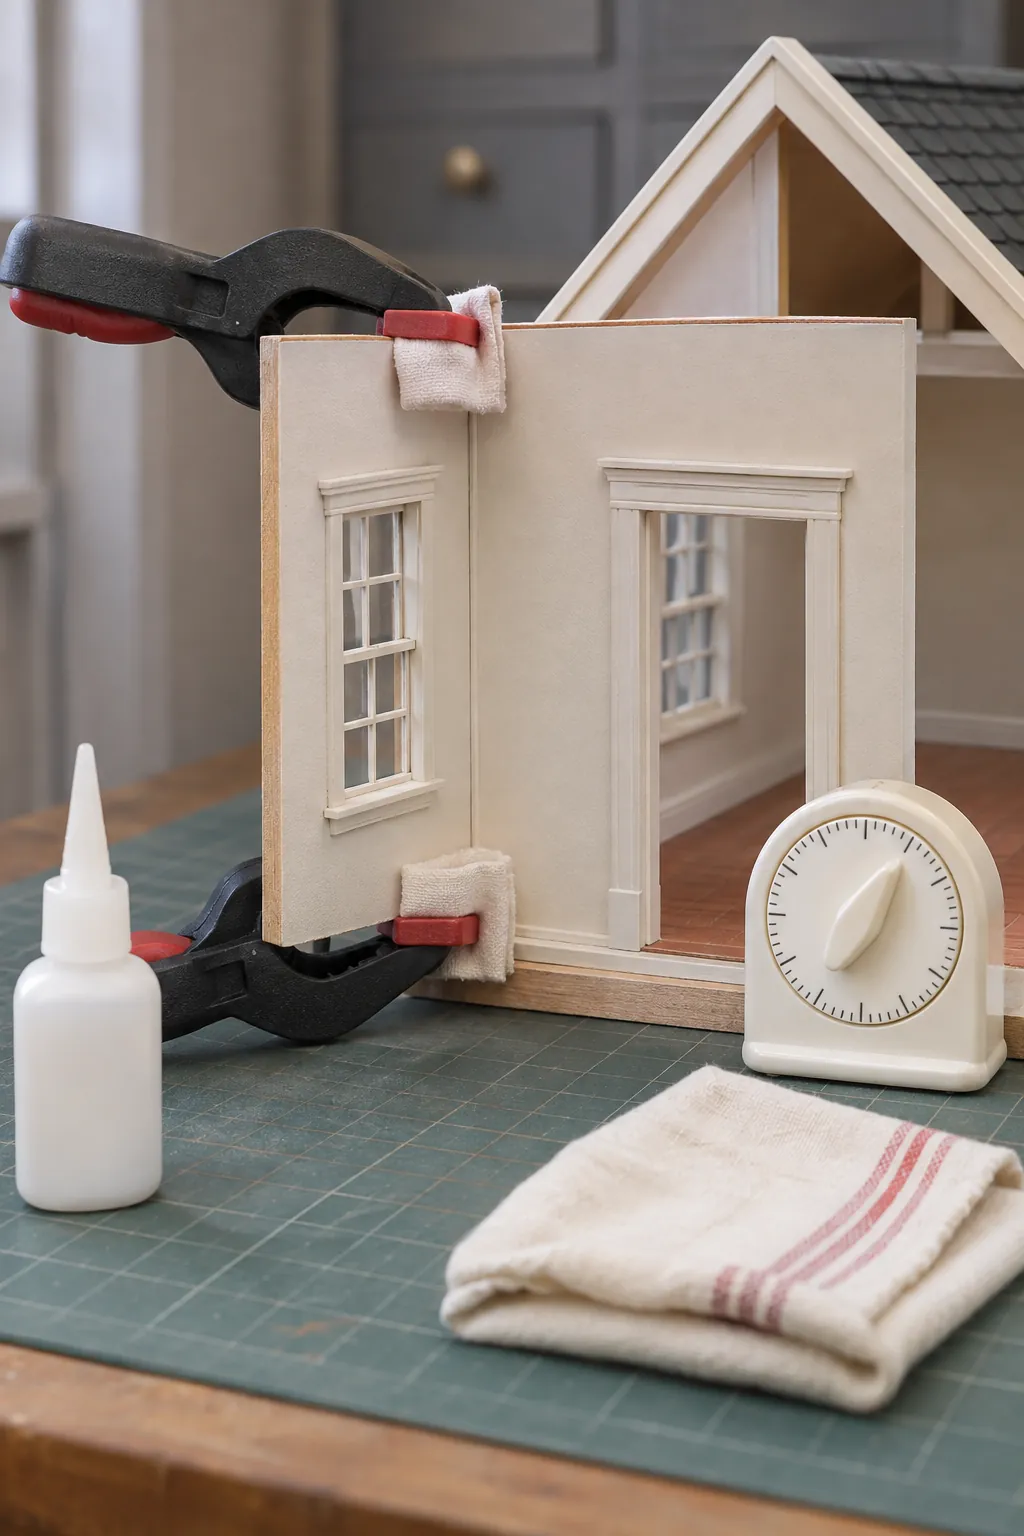
Rushing Adhesive and Finish Drying
A joint can feel firm at the surface while remaining weak inside, and paint can mark when handled too soon. Follow the stated drying and curing times, allow for humidity, and schedule another small task while you wait. Moving a clamped wall early often creates more repair work than the saved time is worth.
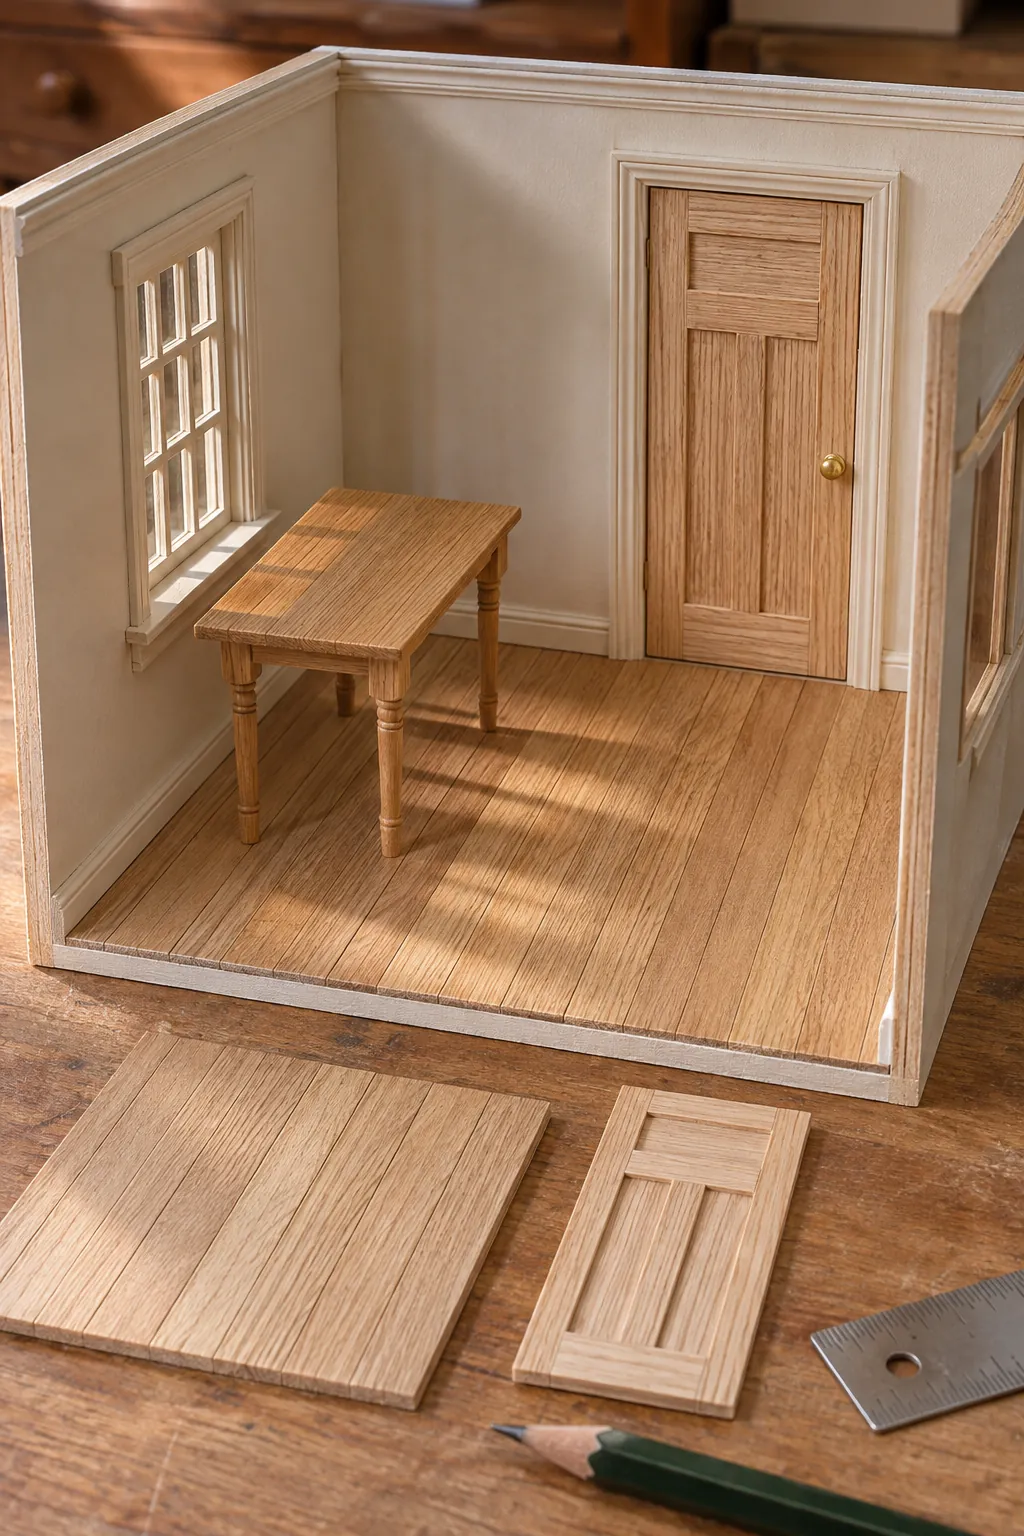
Ignoring Wood Grain Direction
Floorboards, doors, and furniture look confusing when grain runs against the way the object would be built. Mark direction on hidden faces and arrange all pieces before staining. At miniature scale, fine straight grain usually reads more convincingly than dramatic full size figure.
Overfilling Every Room
Miniature accessories are tempting because each one seems to require little space. Place the largest furniture first, protect circulation and door clearance, then add details only where they support the room story. Photograph the room and remove the object that competes with the intended focal point.
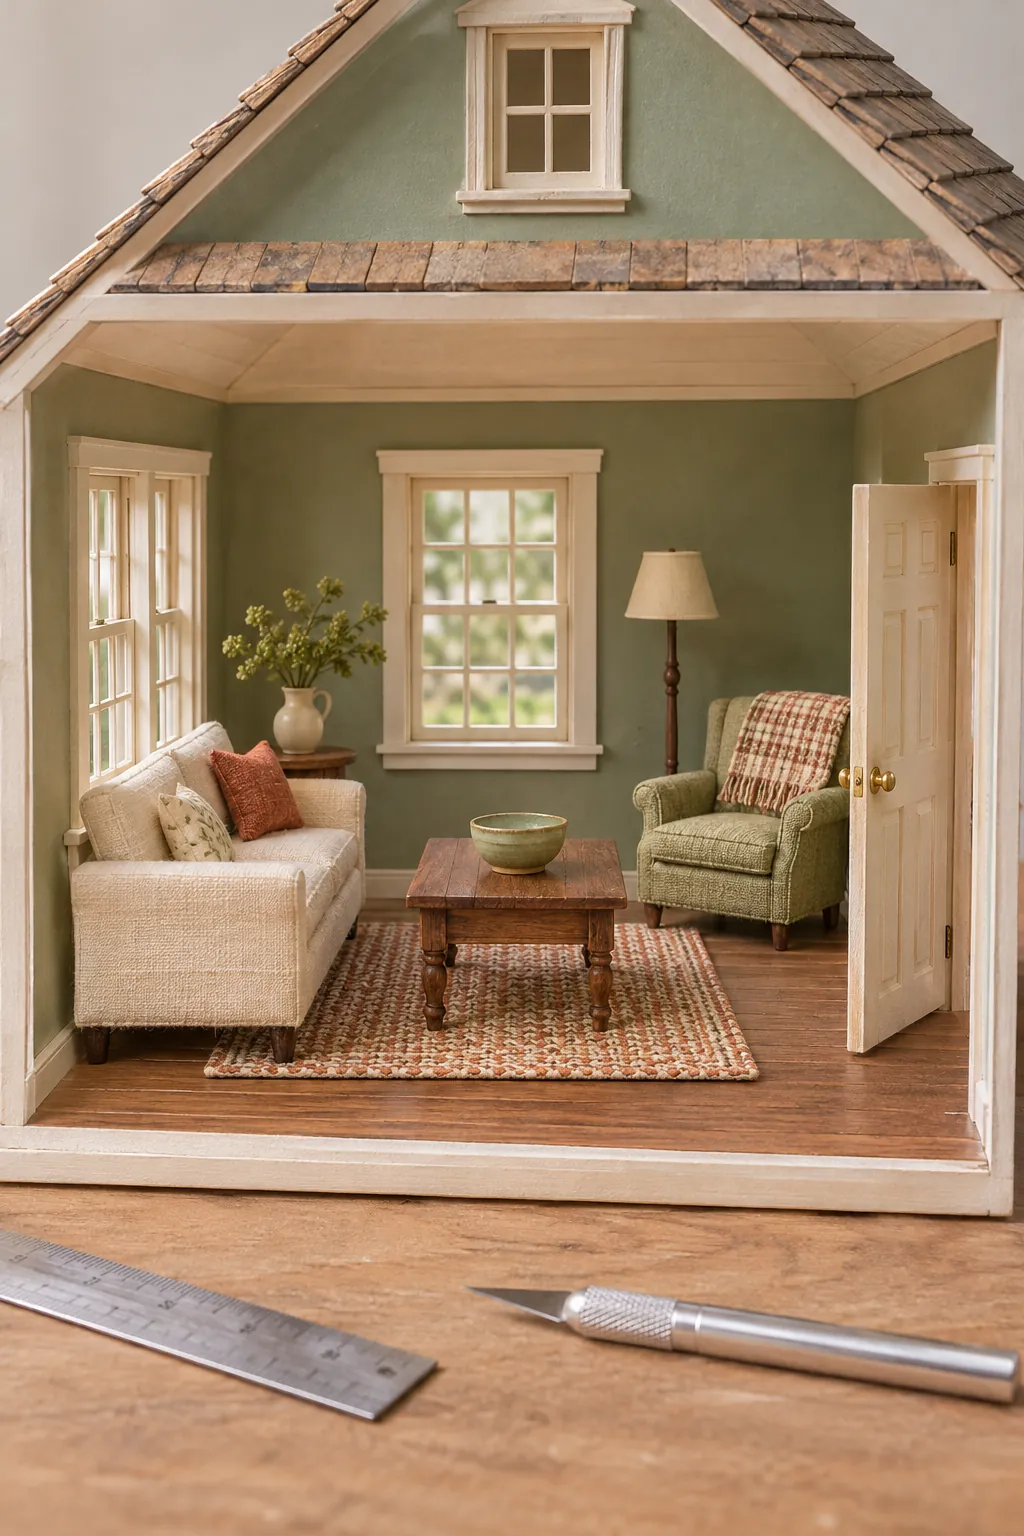
Mixing Unrelated Color Temperatures
Very cool paint, orange wood, and strongly yellow lamps can make a tiny room look disconnected. Test finishes together under the light that will display the house, then repeat one neutral or material to create a bridge. Warm and cool elements can coexist when one is dominant and the contrast is deliberate.
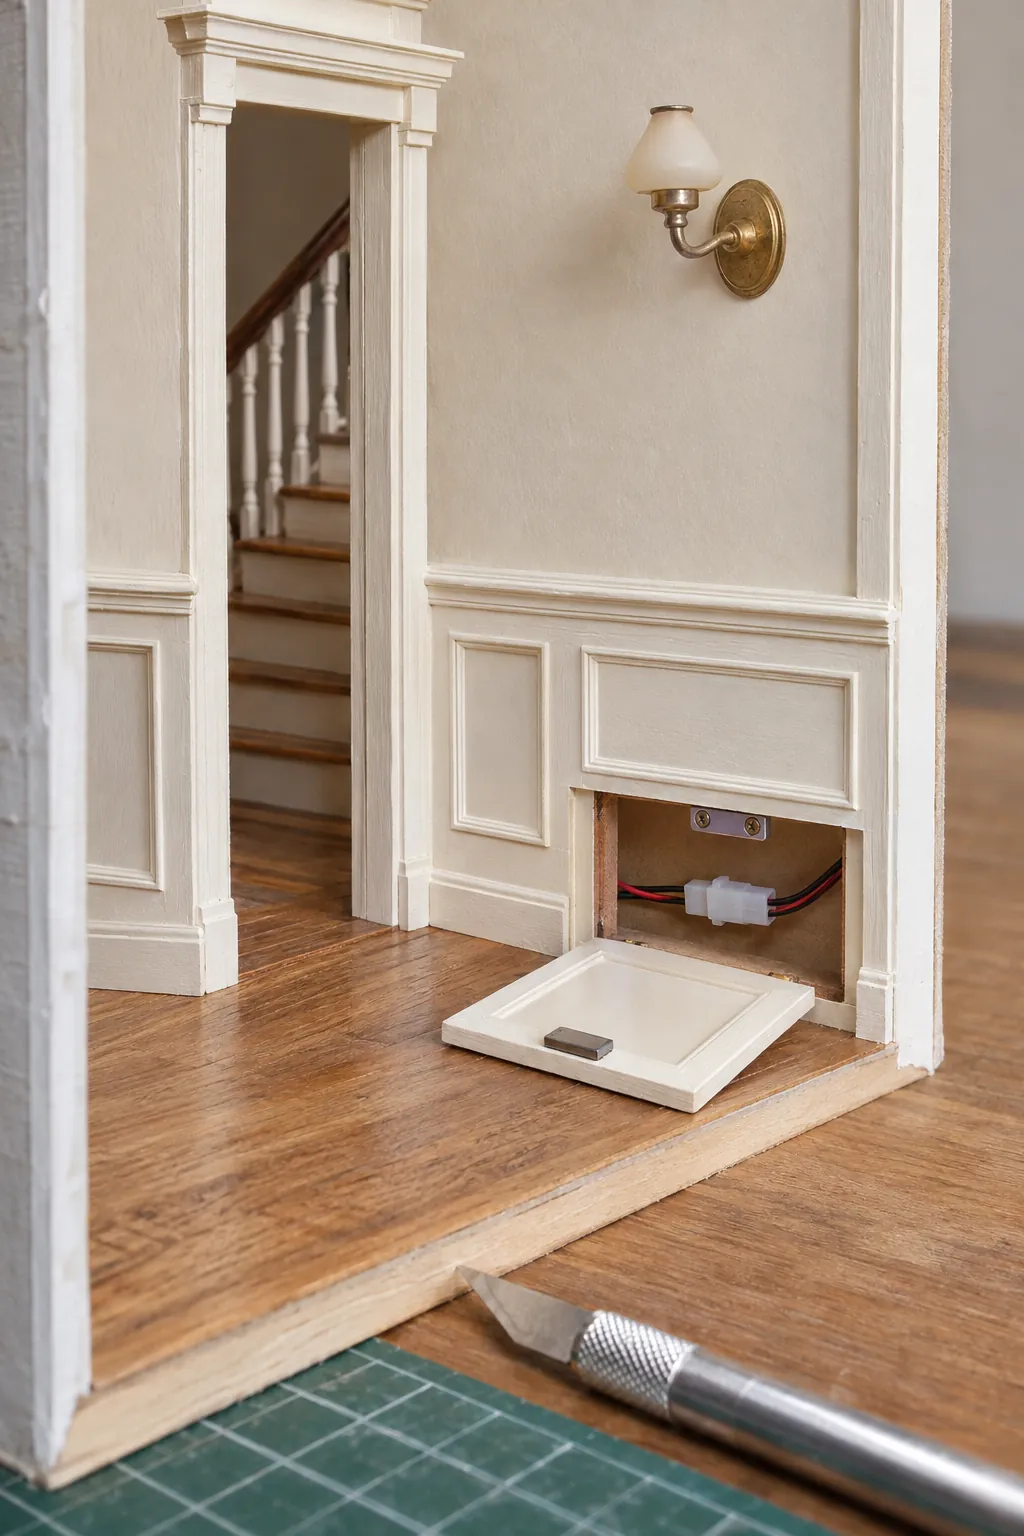
Closing Off Future Repair Access
Lights, batteries, removable roofs, and fragile stairs may need attention after the house is finished. Decide which panel or floor section must remain removable and disguise its seam within the design. Test the access path with furniture in place before fixing the final trim.
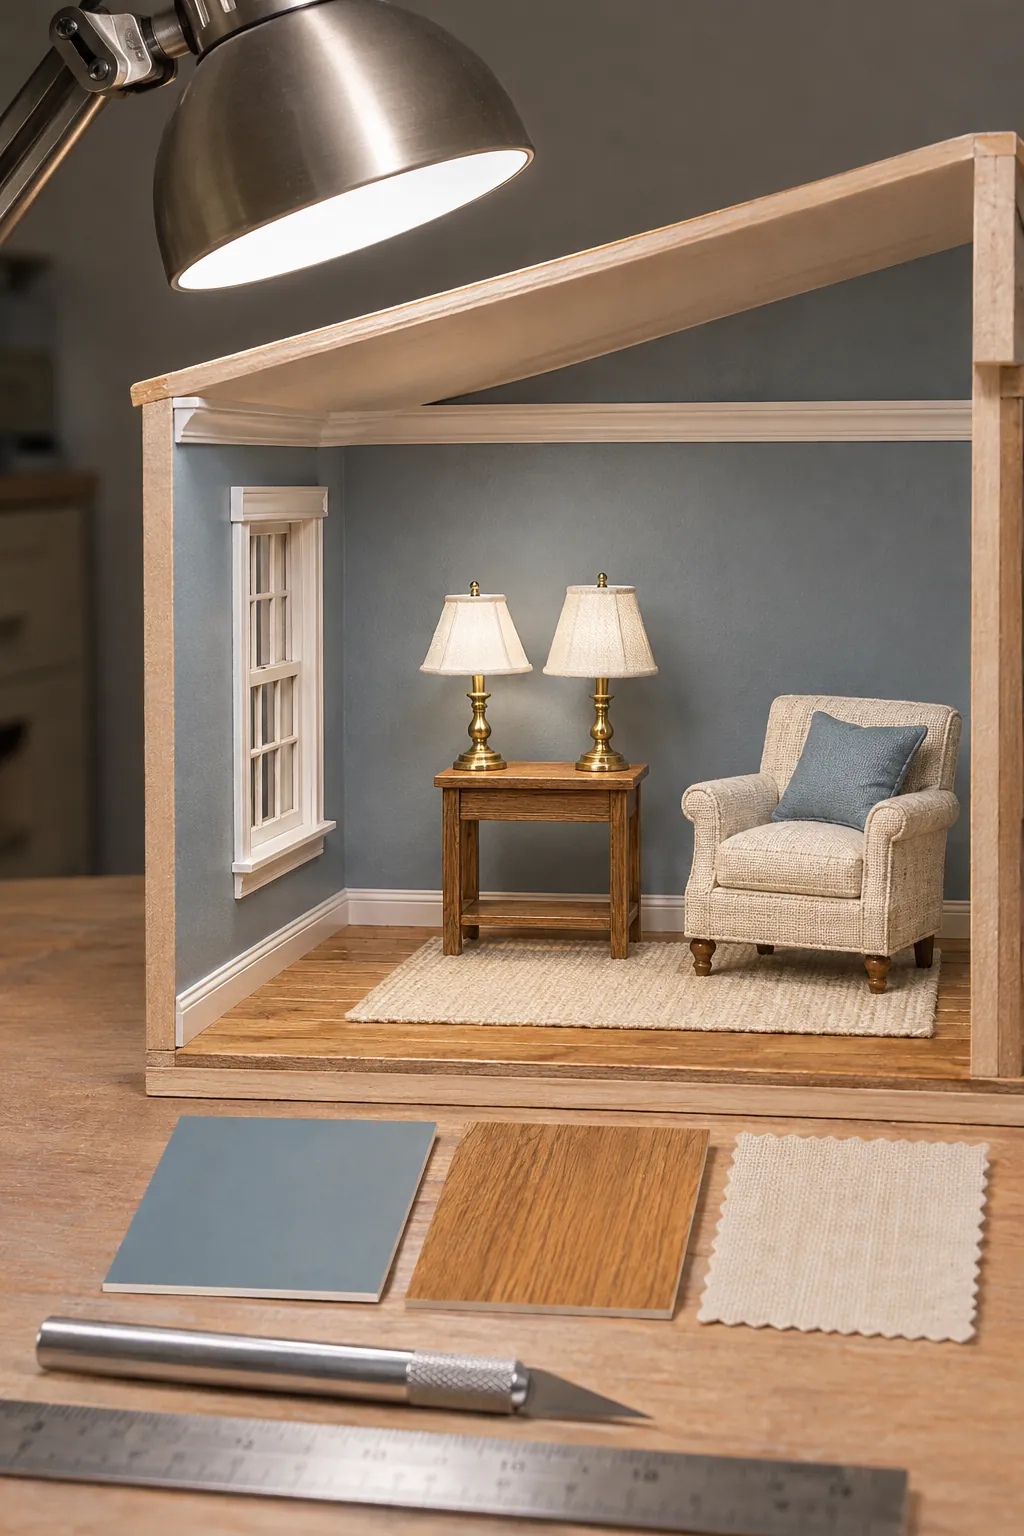
Skipping the Test Piece
New glue, stain, sealer, paper, or clay can behave differently from the material you used before. Make a small sample with the same layers and let it dry completely before applying the process to the house. Keep successful samples with a brief note outside the display so later rooms can match them.