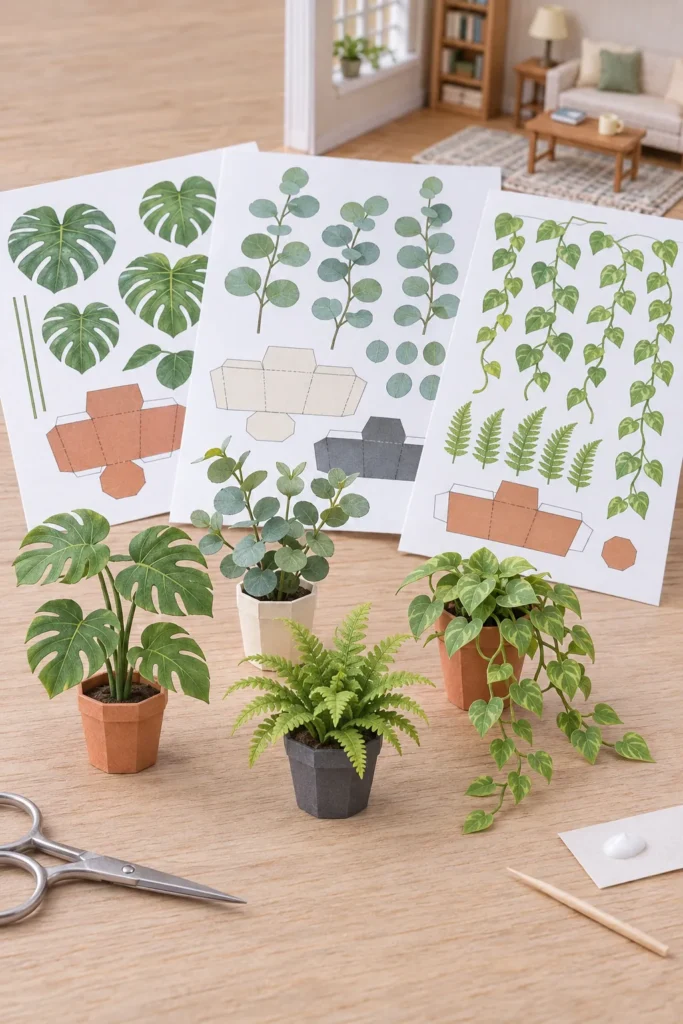
A tiny room can feel unfinished when every shelf and corner has the right furniture but no living detail. Full size craft foliage often looks bulky beside dollhouse pieces, and many small leaves are too fragile to cut cleanly. This set gives you connected paper shapes that stay manageable while still reading as real plants at one twelfth scale.
You can click any preview to open the full size image, or use the download button beneath it to open the file in a new tab. Save the image from that tab, then print it at actual size or 100 percent. Turn off options that fit or shrink the page, because those settings change the scale.
Choose the scale before you cut
The sheets are planned for one twelfth scale. A six inch houseplant therefore becomes about one half inch tall before you add the pot. If your dollhouse uses one sixth scale, print at 200 percent only when your printer can keep every piece inside the page.
Print a plain paper test first and place one leaf beside a chair, window, or figure in your room. This quick comparison catches the common problem of greenery that looks enormous beside the scene. Use matte presentation paper for stronger color, or ordinary copy paper when you want leaves that curl easily.
Cut connected leafy stems
Download high-resolution printable
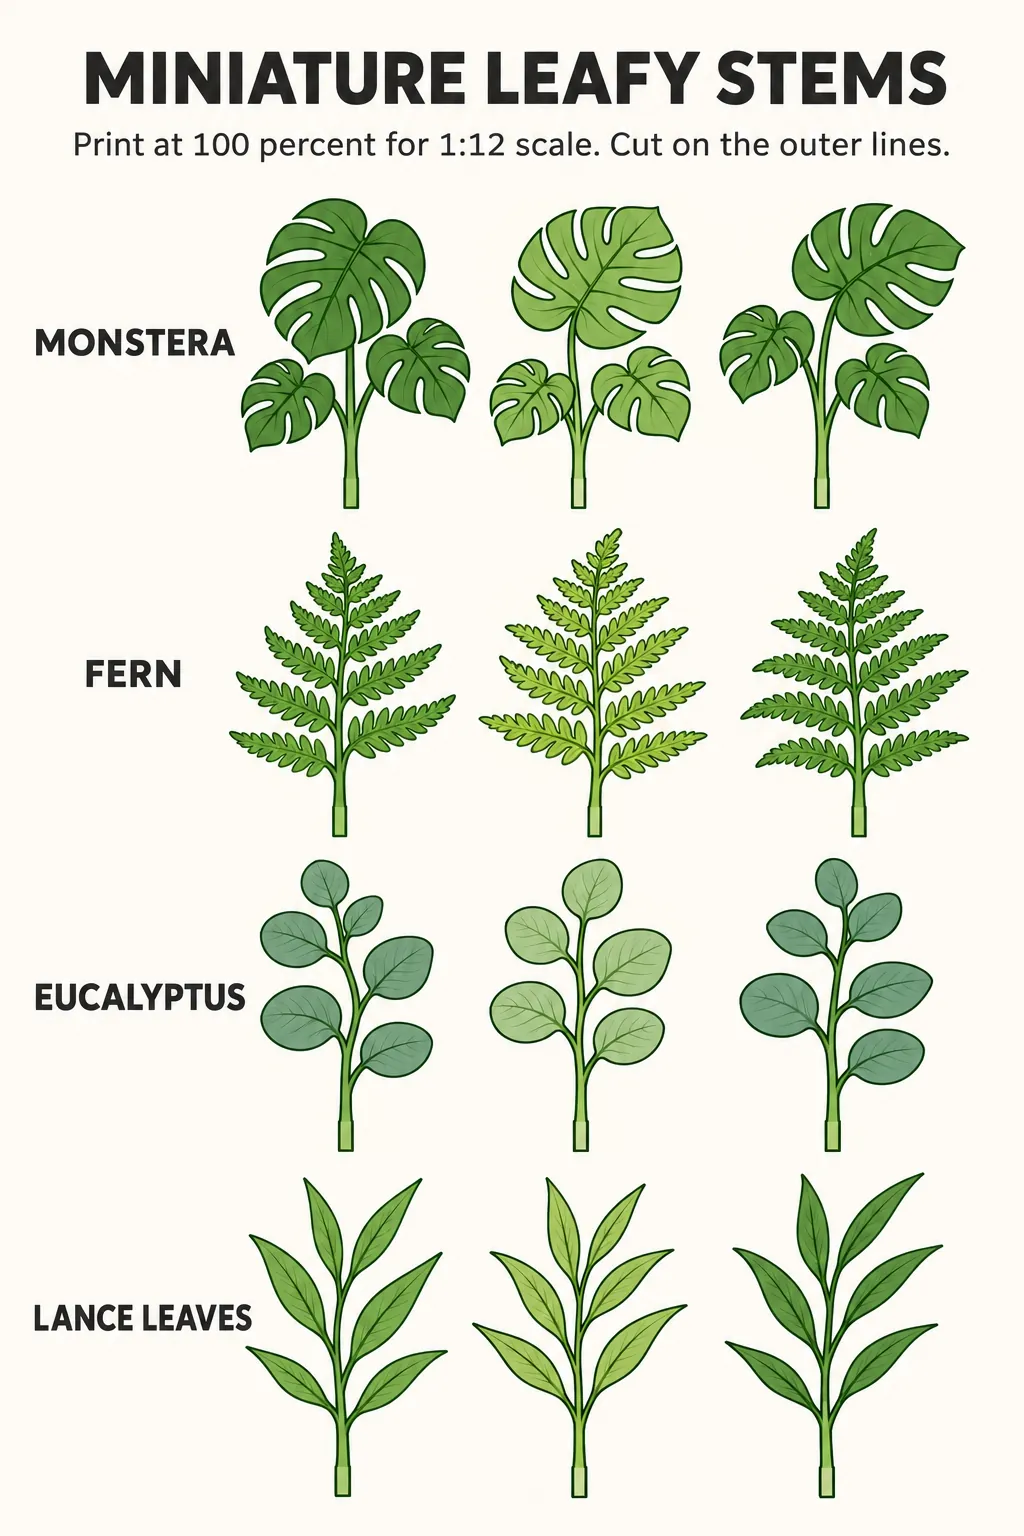
Cut each stem as one connected shape instead of separating every leaf. Turn the paper as you cut and keep the scissors pointed in roughly the same direction. This method makes tight curves smoother and protects the narrow joints where a leaf meets its stem.
Shape each leaf with the rounded side of a toothpick on a soft scrap of craft foam. A shallow center crease and a gentle upward curl create enough depth without making the paper look crushed. Mix two or three plant types in one room so the greenery feels collected rather than repeated.
Fold sturdy miniature pots
Download high-resolution printable
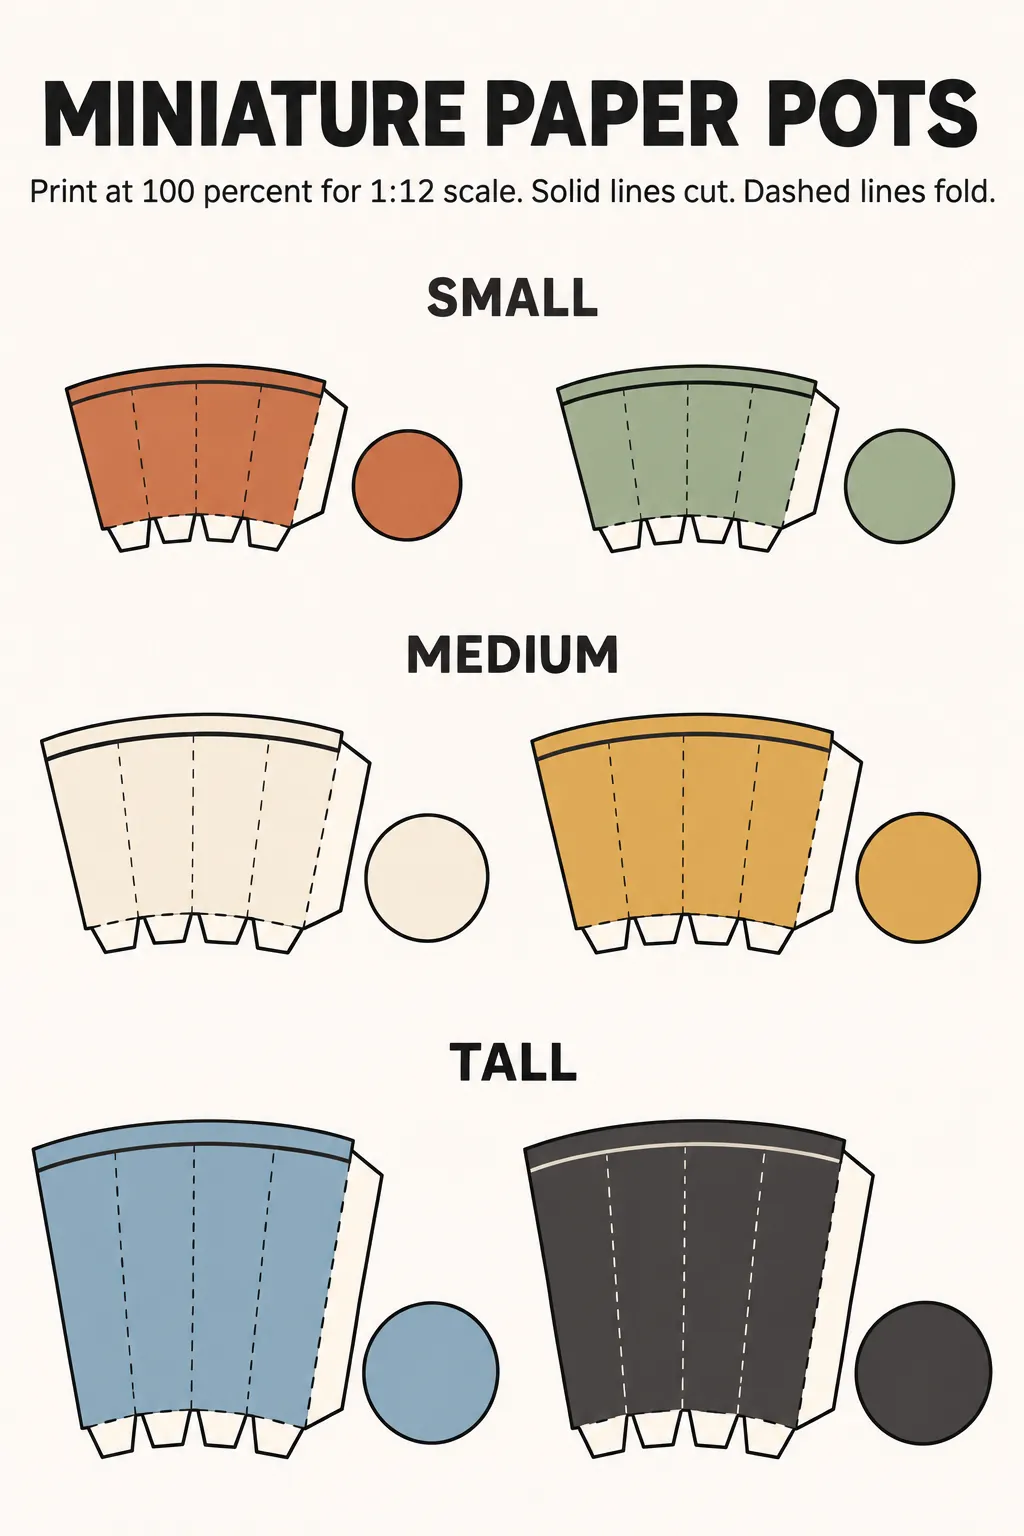
Score every dashed fold line before you cut out the pot. A blunt needle, empty ballpoint pen, or small embossing tool creates a controlled bend without slicing the fibers. Work on a magazine or cutting mat so the pressure leaves a groove instead of a tear.
Curve the pot body around a toothpick, glue the side tab, then fold the lower tabs inward. Add the matching circle last to close the base. A tiny coil of scrap paper inside the pot gives the plant stems something firm to grip and avoids a visible puddle of glue.
Add trailing vines and filler sprigs
Download high-resolution printable
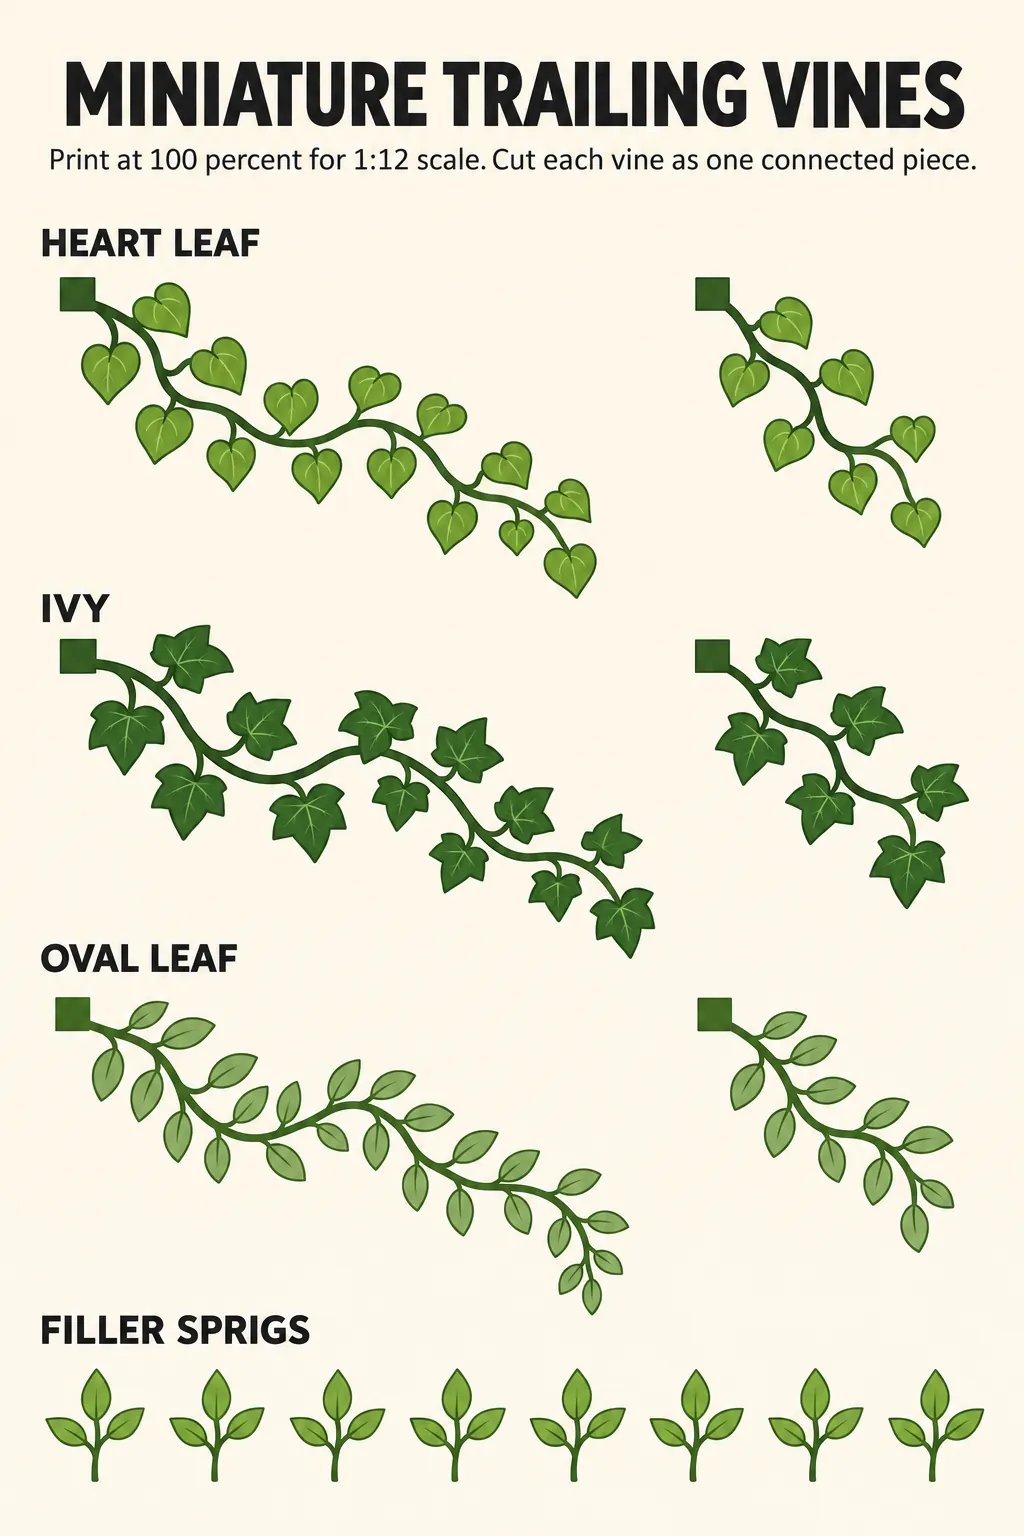
Keep each vine attached to its printed stem. Start with the open outer curves, then trim the smaller spaces between leaves. If the paper begins to soften, set the piece down for a minute instead of pulling it through the blades.
Fold the square attachment tab behind a shelf edge or glue it inside a hanging pot. Bend the vine over a rounded tool in two or three places so it hangs with an irregular path. The small filler sprigs can cover a visible glue point or fill a gap where two larger stems meet.
Assemble the plants without bulky glue
Use a pin or toothpick to place a dot of tacky glue inside the pot, then insert the tallest stem first. Add shorter stems around it while the glue remains movable. Leave a little open space between leaves because a dense clump can make a miniature plant look like one flat block.
Let the plant dry upright before you adjust the final curves. Touch up exposed white paper edges with a matching colored pencil rather than wet paint, which can swell the fibers. Place the finished greenery beside a familiar dollhouse object and make one last scale check before fixing it permanently in the room.