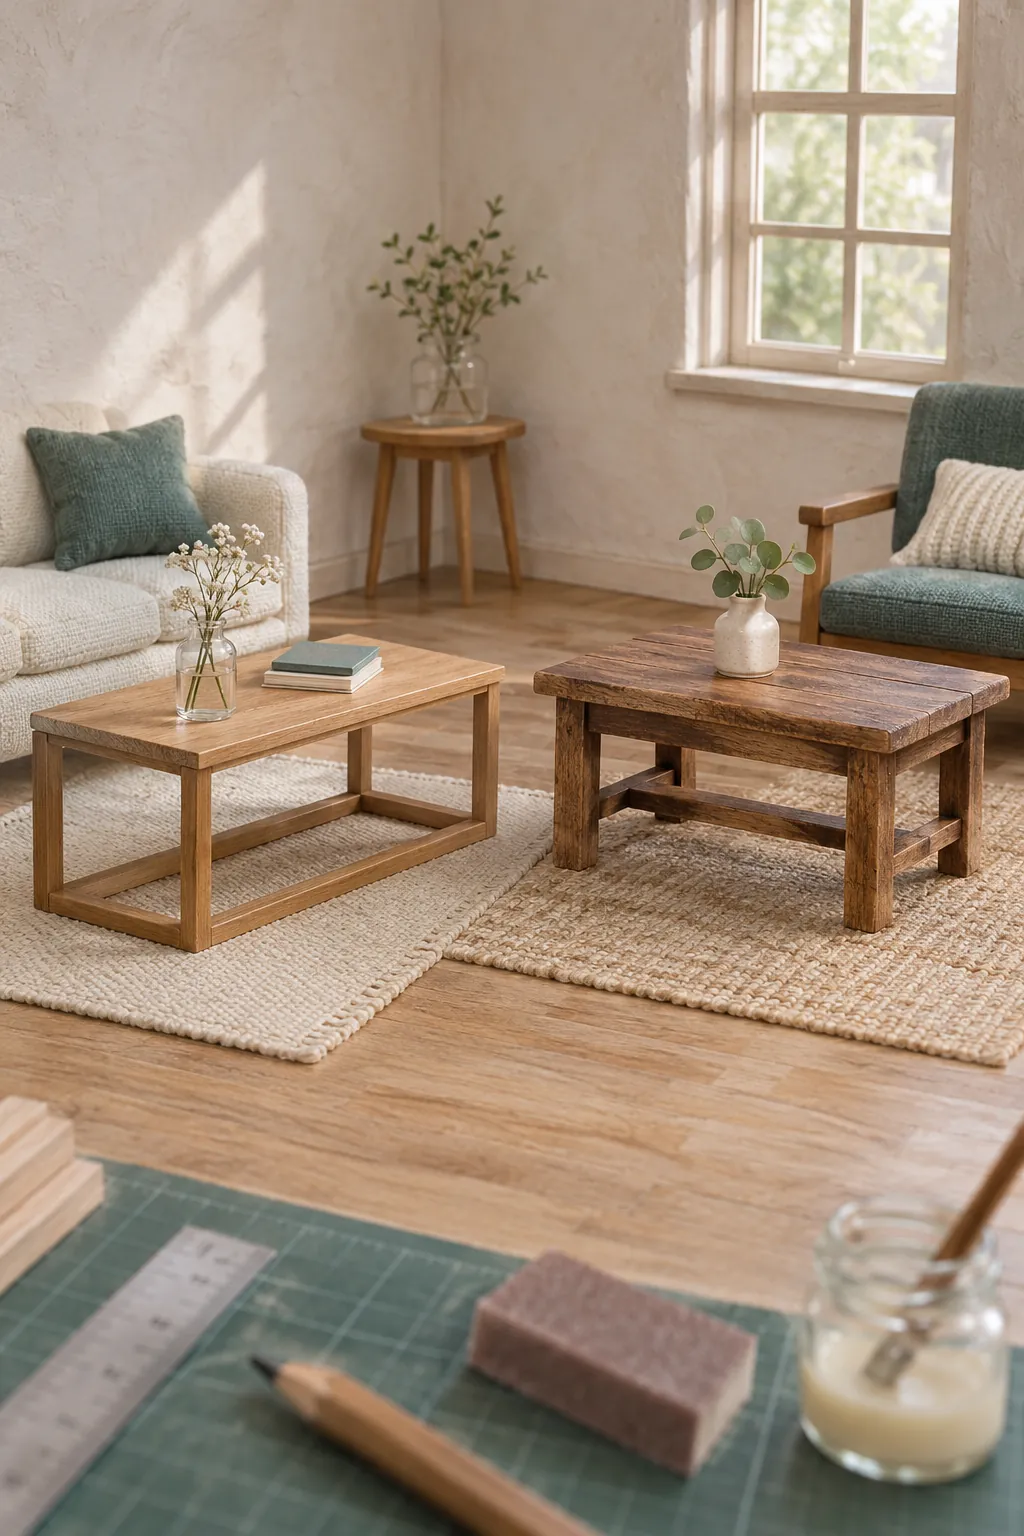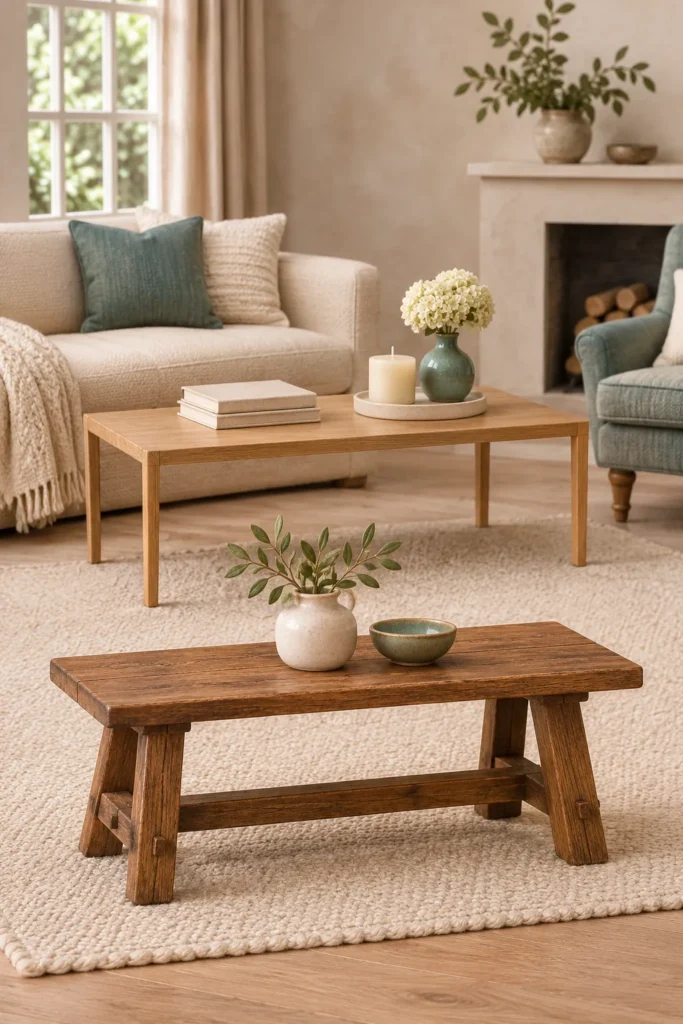
A miniature coffee table is a useful first furniture project because the parts are simple and every error is easy to see. Legs that differ by a fraction, a bowed top, or an oversized footprint can make the whole dollhouse room feel wrong. A paper test, flat assembly surface, and controlled finish solve most of those problems before they become permanent.
Choose scale and test the footprint
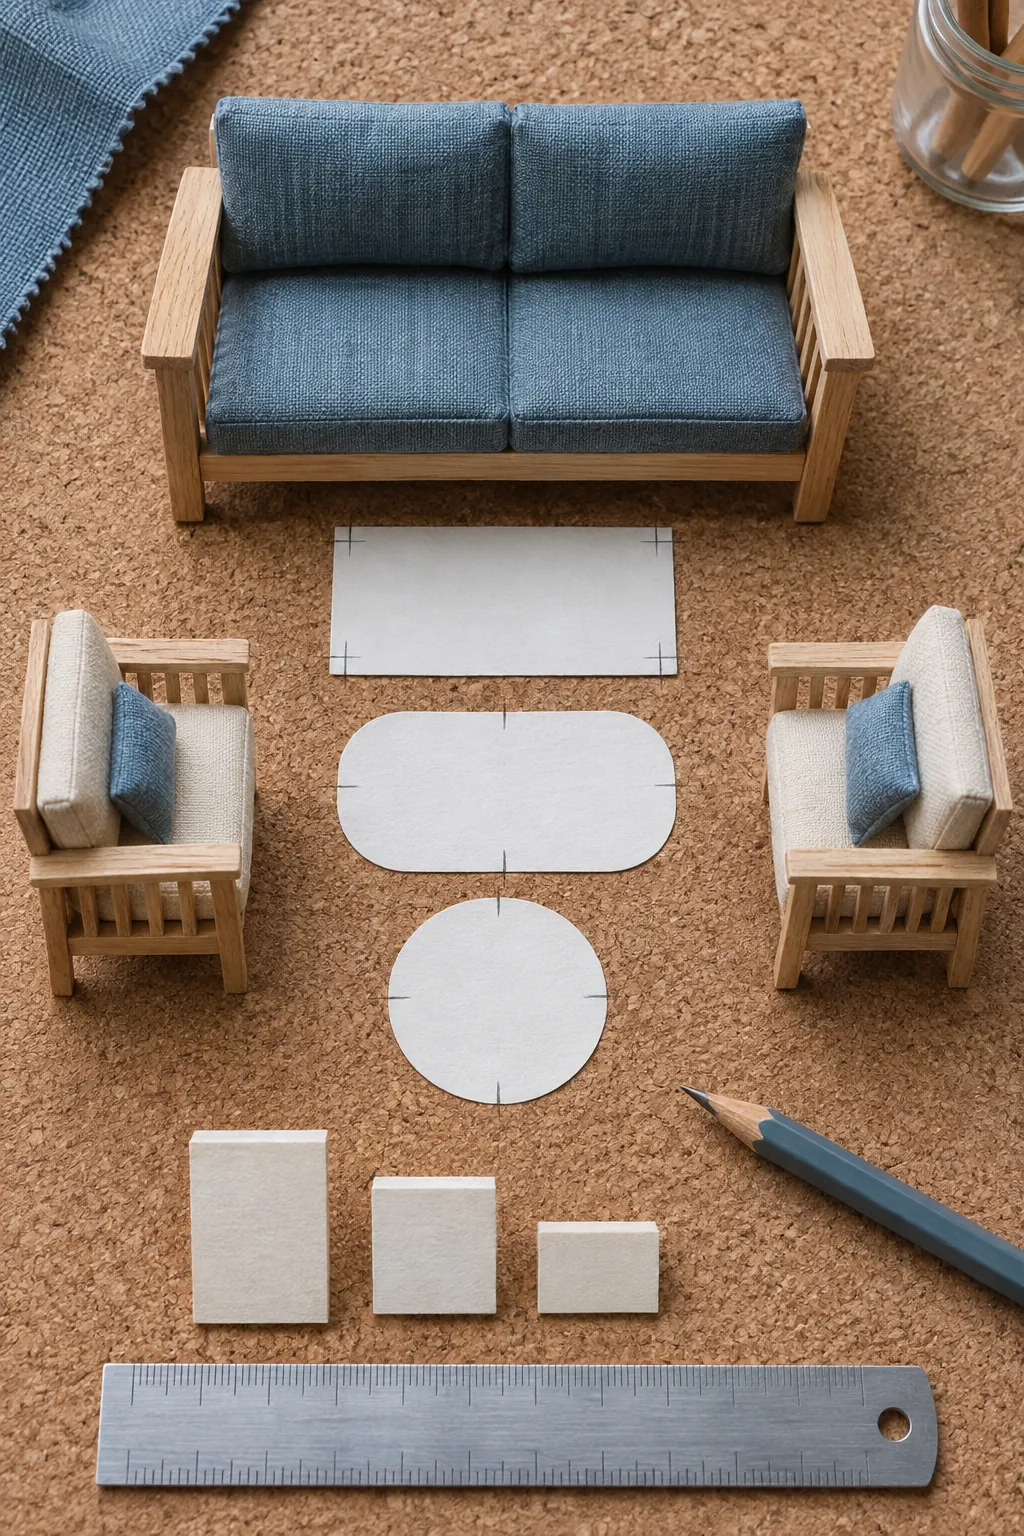
A 1:12 coffee table often works at about 1 1/4 to 1 1/2 inches high. Start with a paper rectangle placed between the sofa and chairs. Leave a believable walkway and enough surface for the accessories you plan to display. A table can match full size proportions and still feel too large in a compact dollhouse room.
Mark the top, apron, shelf, stretcher, and leg positions on the paper plan. Check leg clearance from every side. A simple card mockup exposes an awkward height or footprint before any wood is cut. Keep the modern and rustic versions on the same tested scale so their style differences do not distort the room.
Prepare a flat miniature tabletop
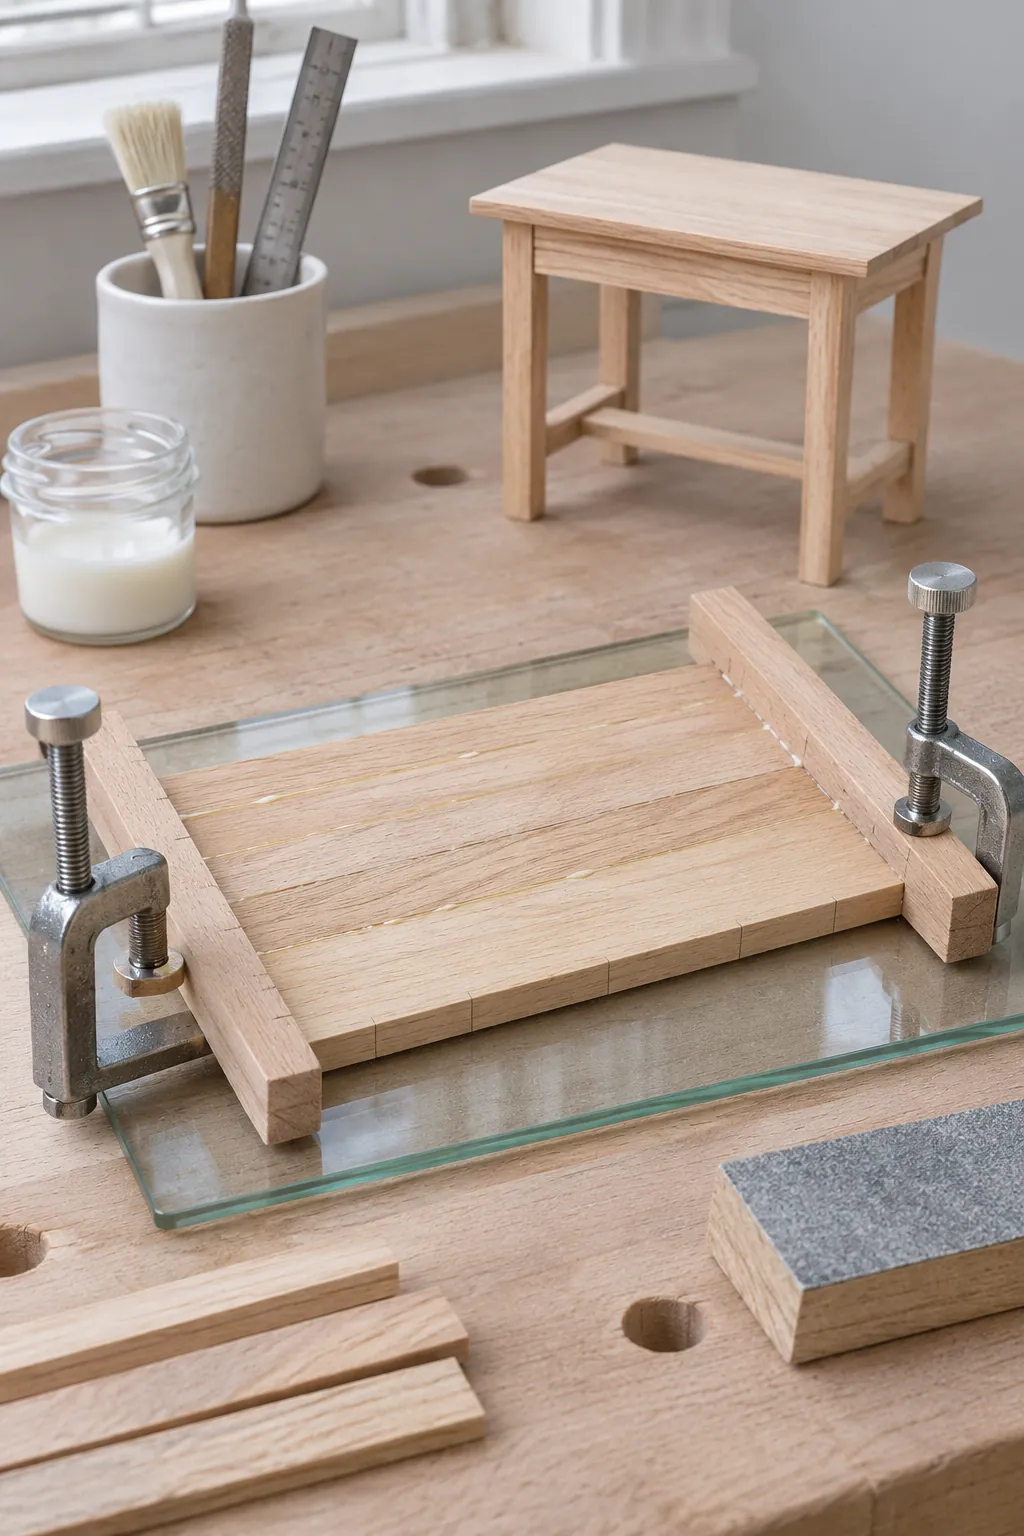
Use straight basswood, thin craft board, or tightly grained veneer over a firm core. Cut the top slightly oversized, square its corners on a sanding block, and finish to the exact dimension. For a plank look, join narrow strips on a flat covered surface and alternate the grain where possible.
Clamp with light pressure between straight scraps so the top remains flat. Heavy pressure can dent soft wood or squeeze the panel out of alignment. Sand both faces evenly. A thin sealed underside helps resist later movement when stain or paint is applied to the visible face.
Build the modern frame
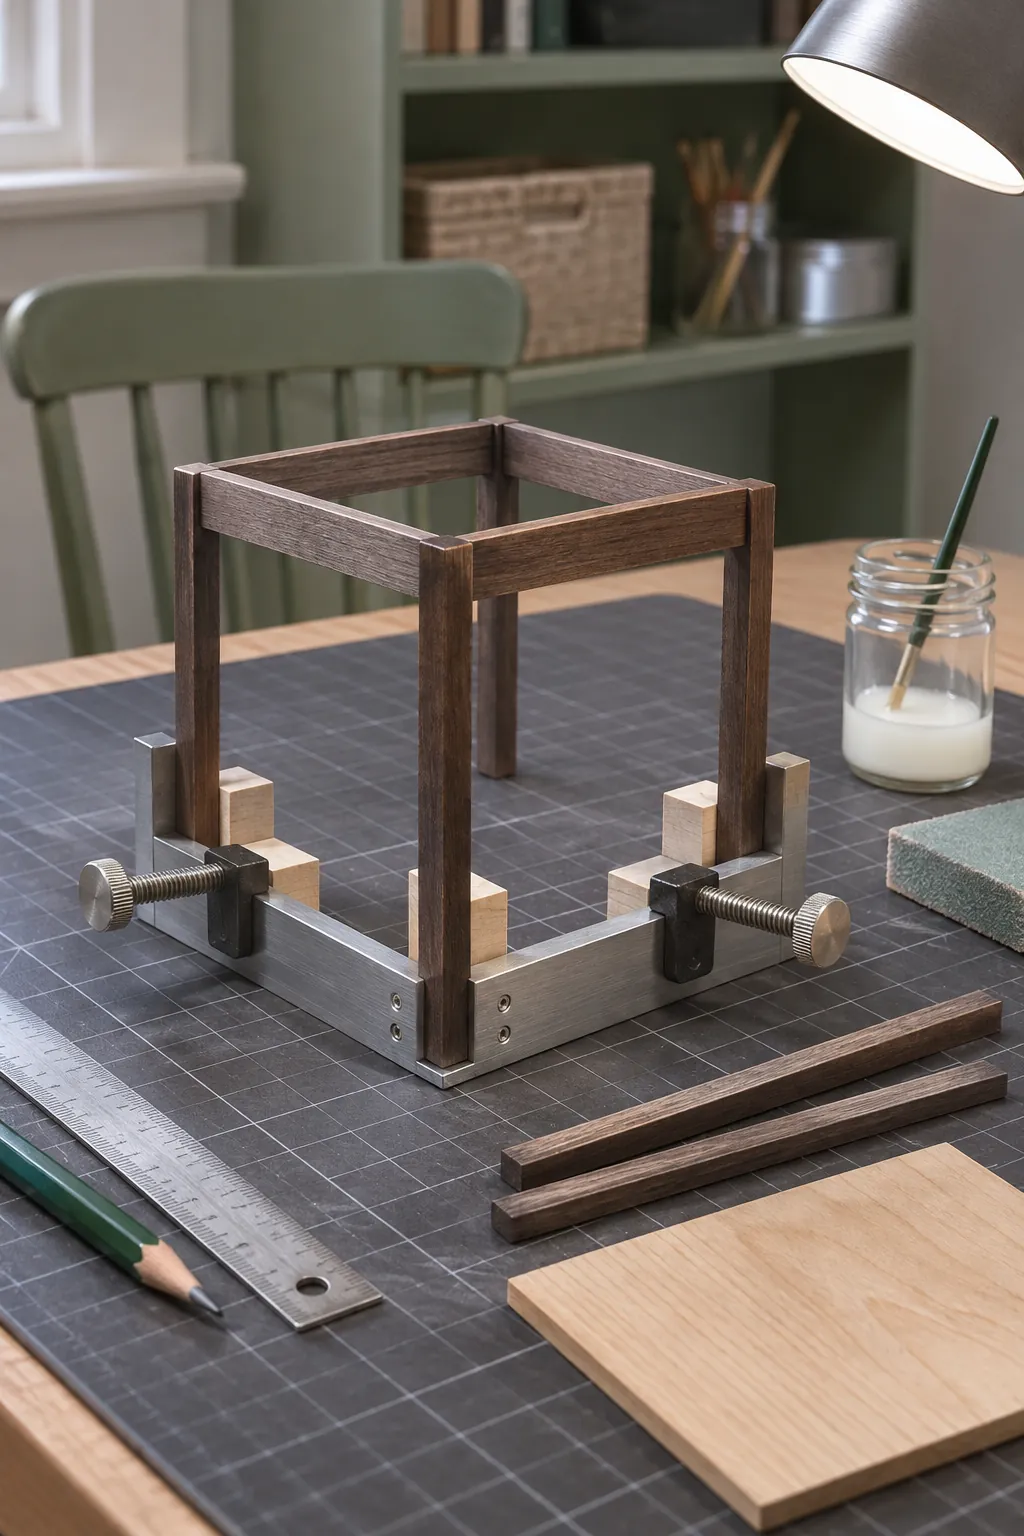
A modern table looks convincing when the legs are slender, equal, and square. Cut all four legs together with a stop block or length guide. Make a simple assembly jig that holds two legs while one apron dries between them, then join the two completed end frames.
Keep the apron set slightly inward from the tabletop edge. This shadow line makes the top appear lighter and hides minor joint differences. Add a lower stretcher only when the design needs it. Dry fit the complete base and correct any rocking before attaching the top.
Add rustic plank and trestle details
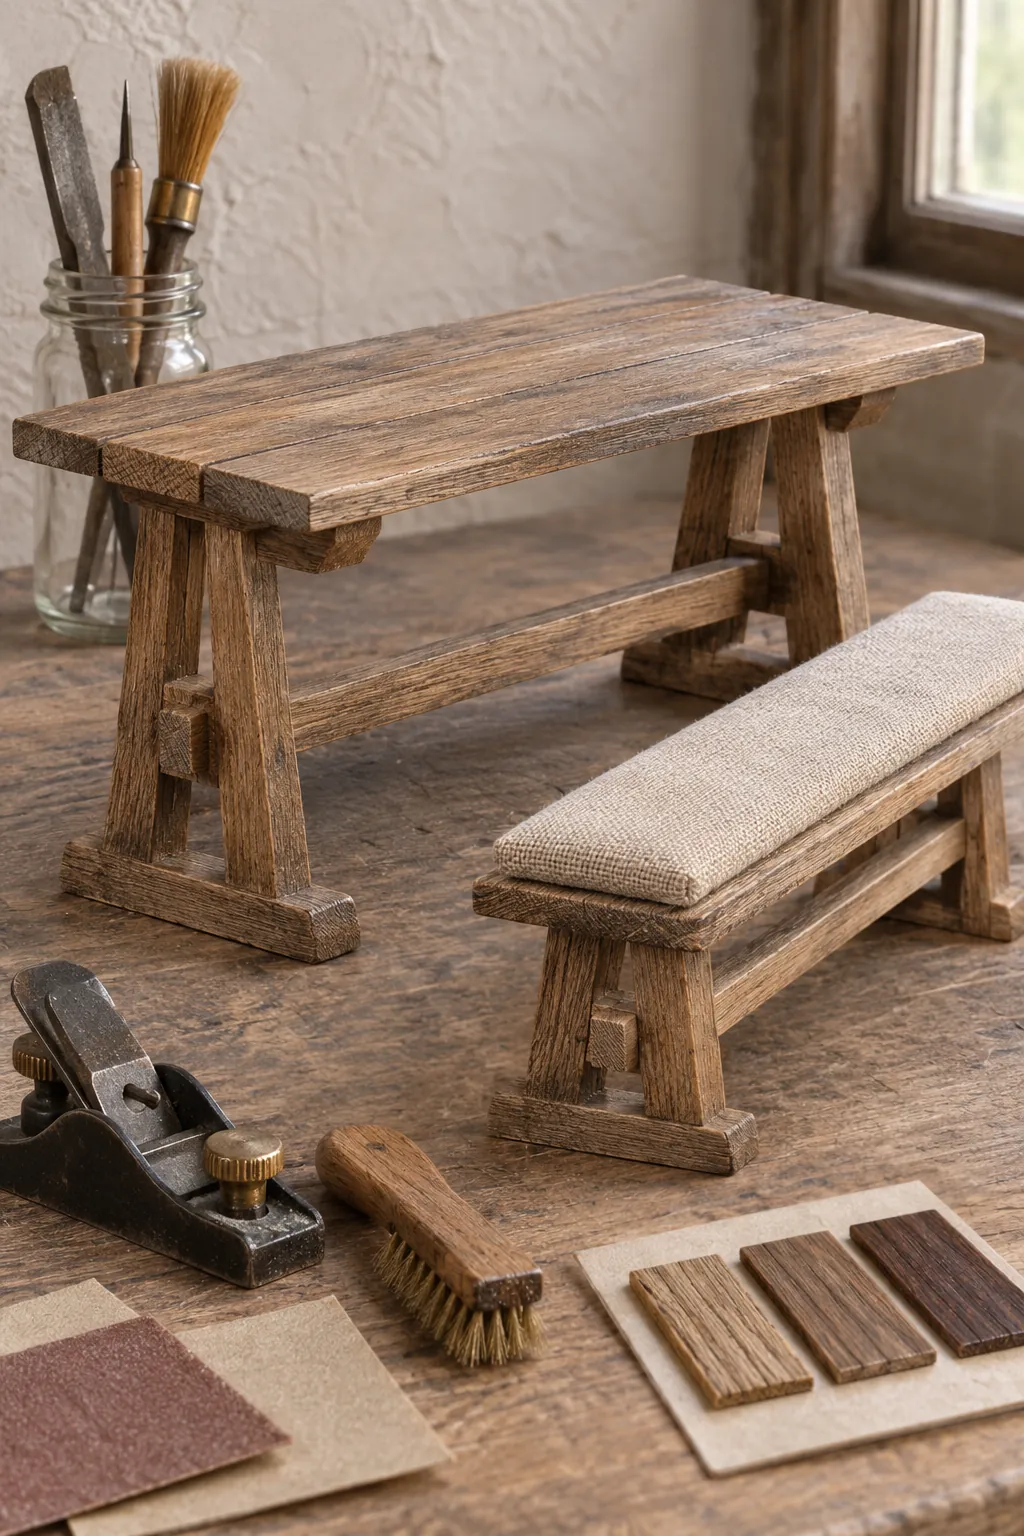
For a rustic design, use a thicker looking plank top, simple trestle ends, and one central stretcher. Create thickness with a neat edge strip instead of using an oversized solid slab. Lightly soften the visible corners, but keep the mating surfaces square.
Texture should follow the grain. Draw shallow lines with a stiff brush or blunt point, then sand away sharp fibers. Add knots sparingly with stain or paint rather than deep holes. The table should look used and handmade, not broken, splintered, or heavily distressed.
Finish wood without losing scale
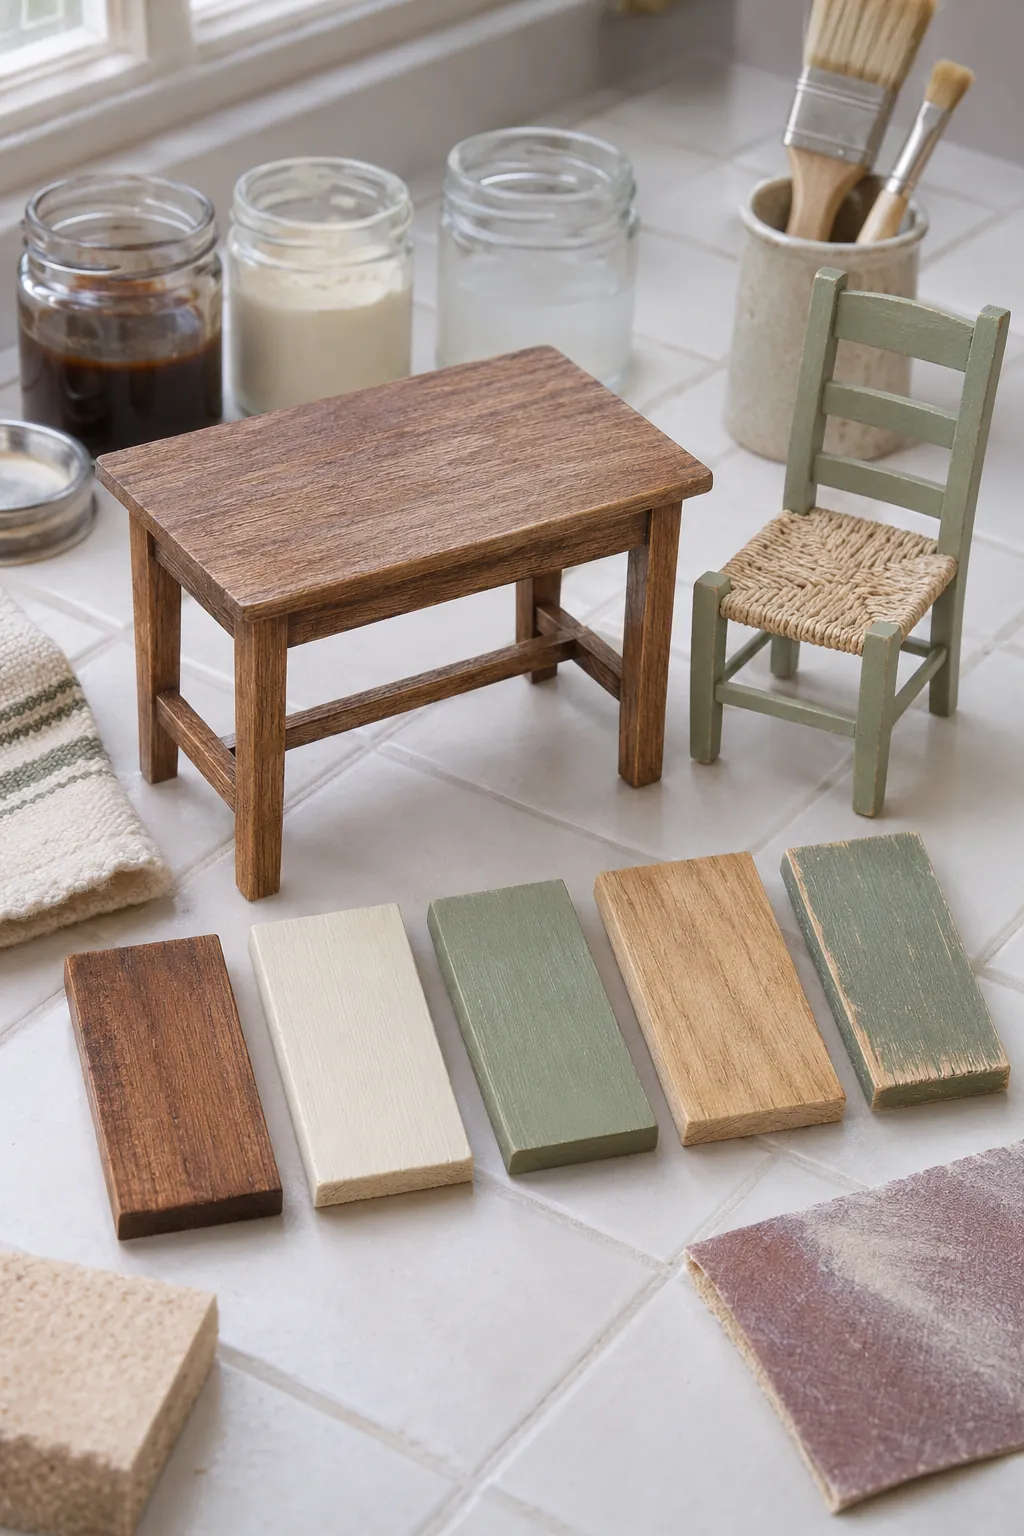
Fine grain and restrained color preserve the miniature illusion. Apply stain conditioner or a very thin wash, then build color slowly. Wipe excess from corners before it dries. Paint can be equally effective when thin coats leave the joints and leg profiles clear.
Seal the tabletop and base with a low sheen finish. Gloss exaggerates small surface flaws and can make wood look like plastic. If you want wear, place it where hands and objects would touch: the top edge, one corner, and a small area near a leg. Keep the underside clean.
Assemble and correct any rocking
Attach the top while the base rests on a flat glass plate. Measure the overhang on all sides and apply weight directly above the joints rather than across the center. After the adhesive sets, test the table on the dollhouse floor with its intended accessories.
A rocking table usually has one long leg or a twisted frame. Mark the high point, sand only the necessary foot, and test again. Add tiny felt or paper pads only when the floor itself is uneven. The final table should sit flat, suit the seating height, and carry a few objects without looking crowded.