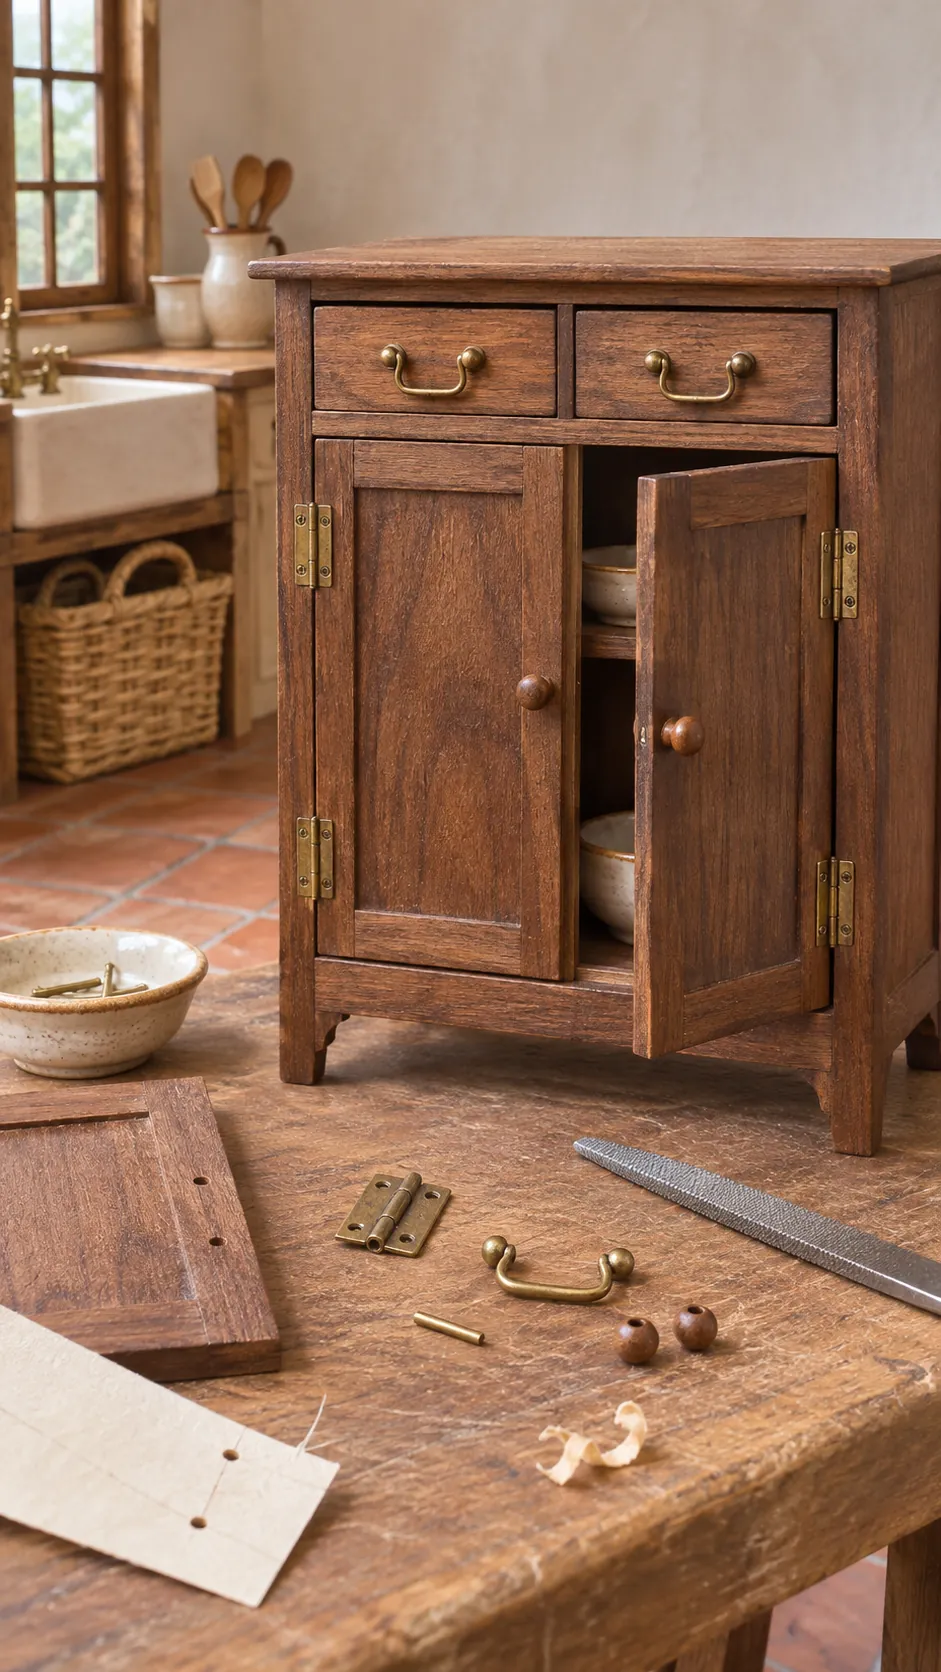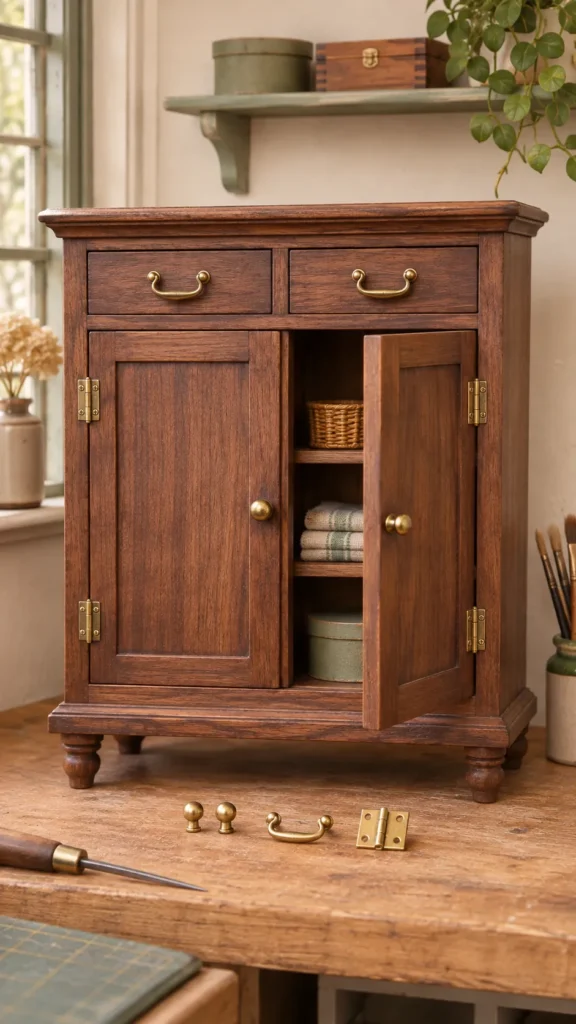
Miniature furniture can be carefully built and still lose its illusion when the hardware is too thick, too bright, or slightly crooked. A tiny handle must suit the scale of the door, but it also needs enough surface area to stay attached. The best solution is not always the smallest part. It is the part that reads correctly, fits the material, and survives normal handling.
This guide covers one twelfth scale knobs, pulls, and hinges made from accessible craft materials. It also explains when to use a working hinge and when a fixed imitation gives a cleaner result. Test every method on scrap from the same furniture project before you drill, glue, or bend the final piece.
Choose Hardware by Scale and Function
Begin with the full size object you want to suggest. In one twelfth scale, a three inch cabinet pull becomes one quarter inch long, while a one inch knob becomes about one twelfth inch wide. These conversions give you a starting point, but visual weight matters too. A thick wire pull can look oversized even when its length is correct.
Decide whether the part must move. A display cabinet that stays closed may need only convincing hinge leaves, while a door used during play requires a strong pivot and reinforced attachment. Functional hardware adds thickness and can expose pins or fasteners. Fixed hardware is often more convincing on very thin card, veneer, and delicate display pieces.
Make Tiny Knobs From Beads and Pins
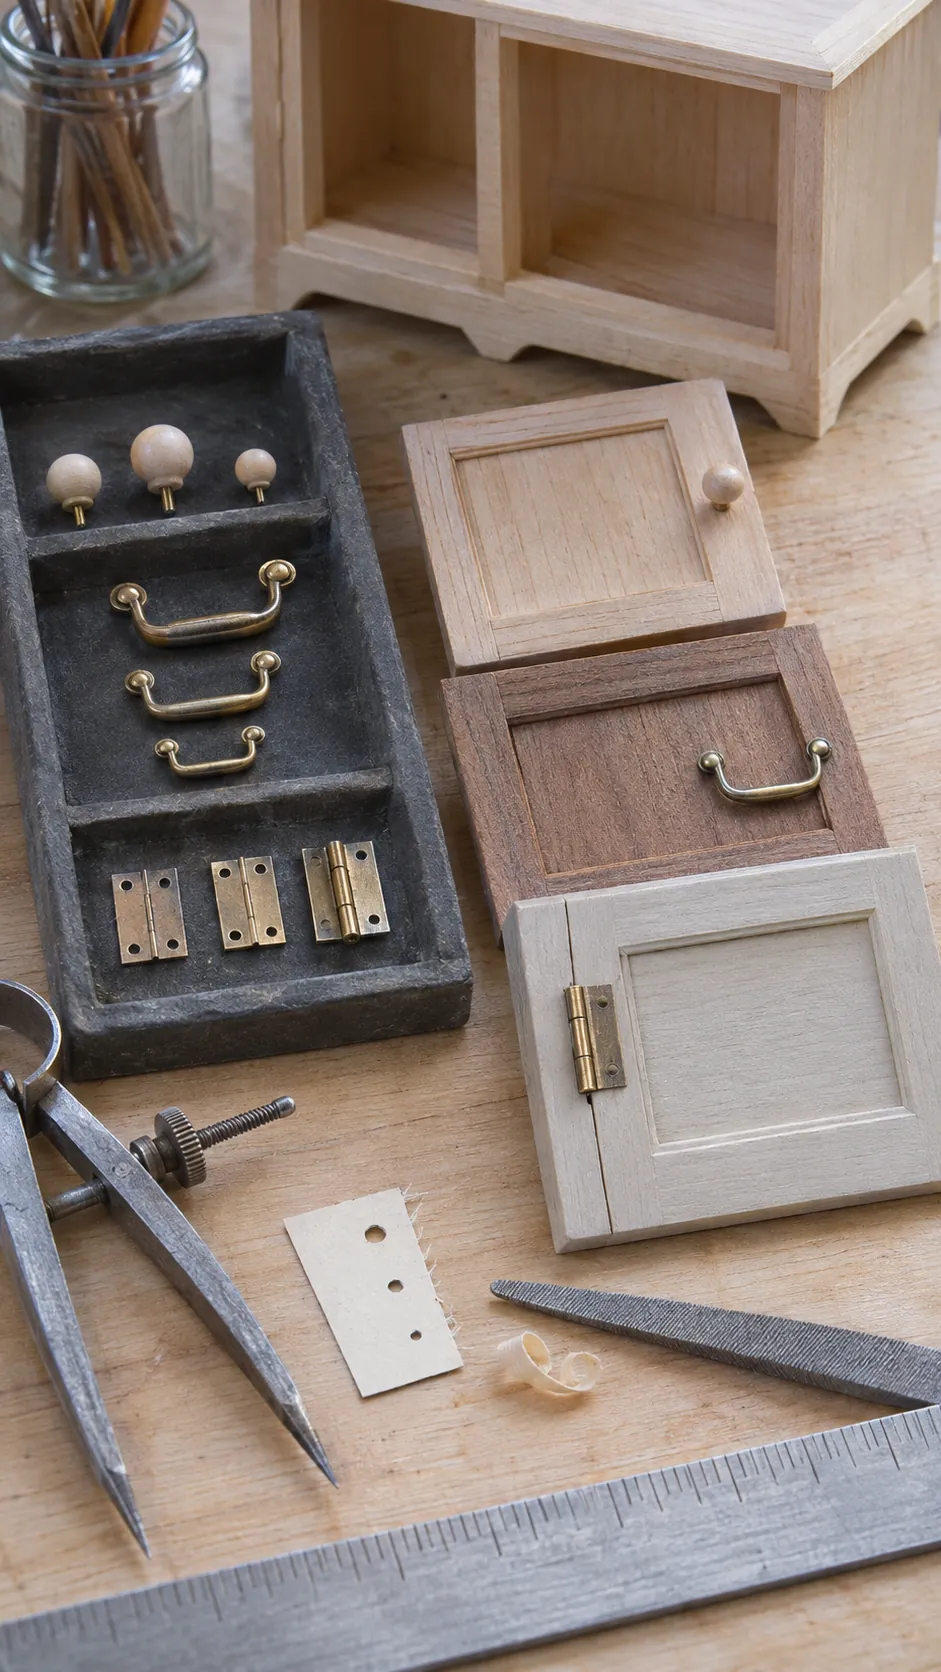
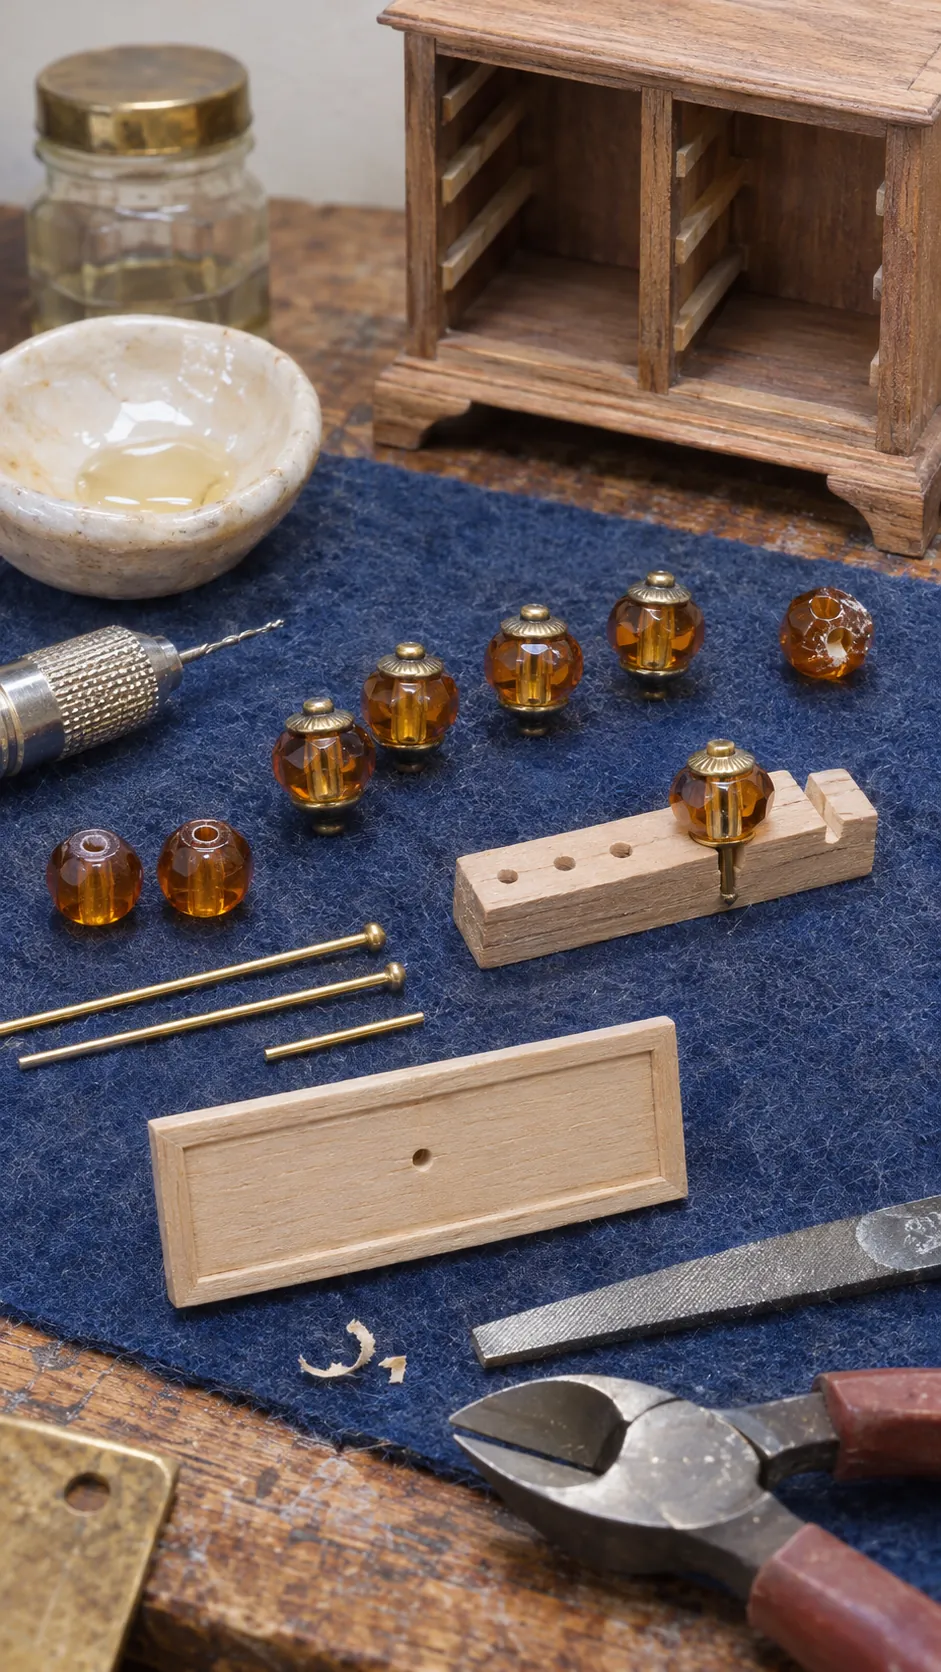
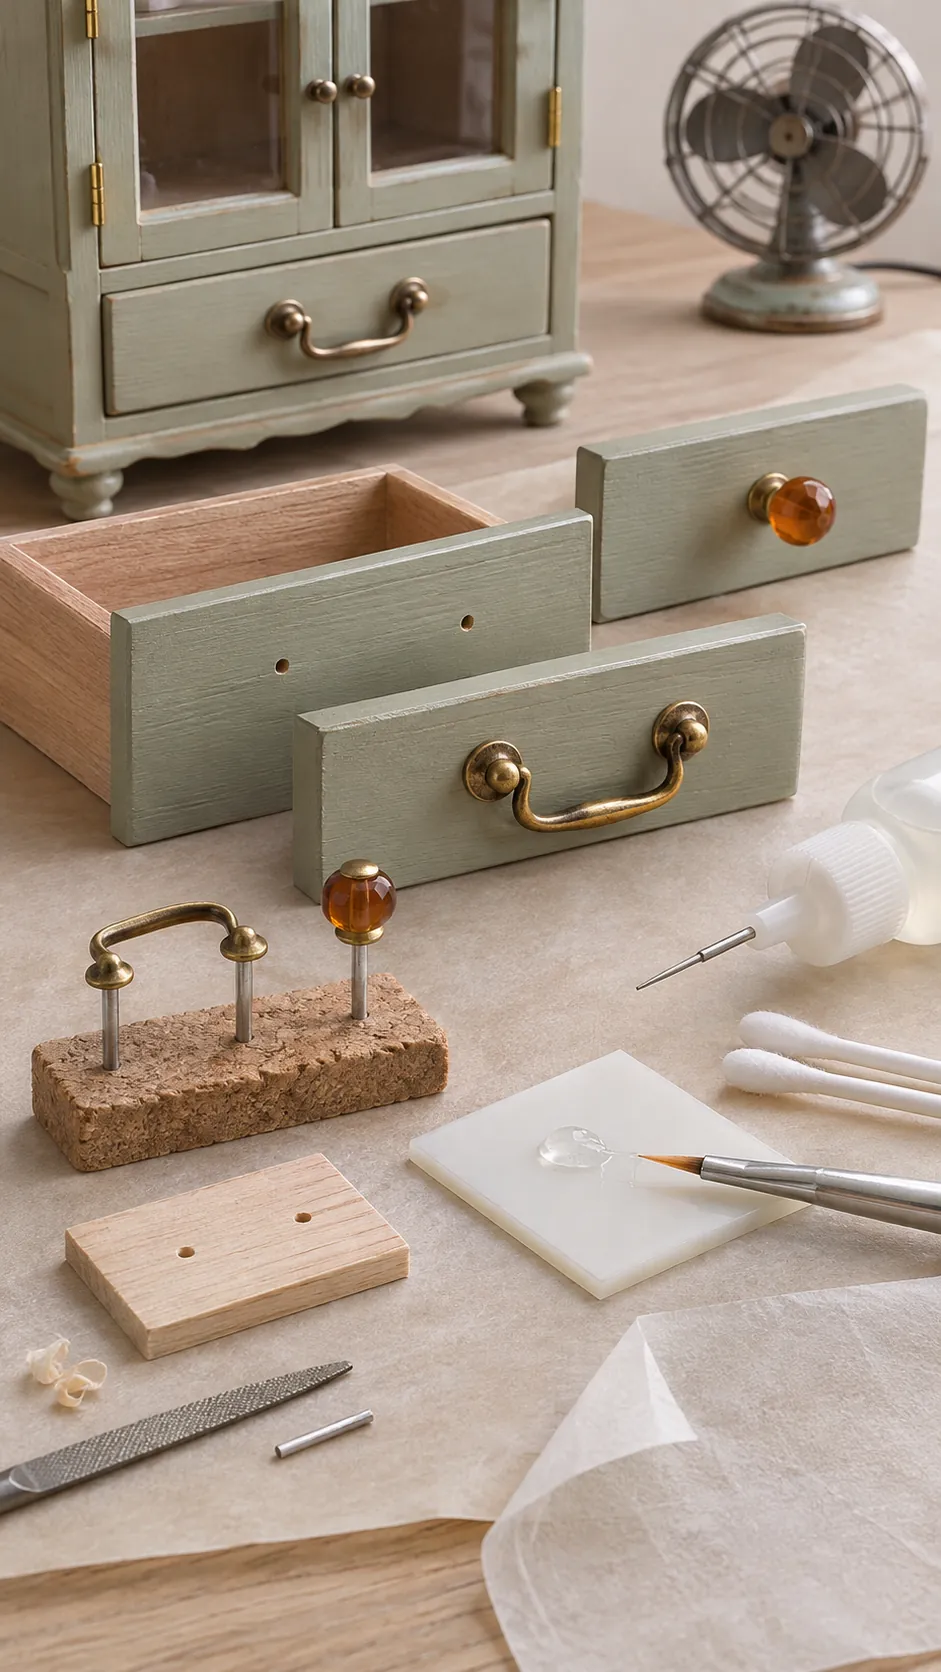
Small round beads make reliable furniture knobs when their holes are centered and their surfaces are smooth. Choose glass, metal, or unfinished wood beads with a diameter that matches the furniture. Slide a short head pin through the bead, trim the wire with suitable cutters, and bend or roughen the hidden end so adhesive has more to grip.
For a fixed knob, drill a shallow pilot hole that is narrower than the pin. Place a tiny amount of compatible adhesive inside the hole with a fine wire, then insert the stem. Avoid flooding the bead because excess adhesive can climb around it and leave a visible halo. Support the drawer front flat until the bond cures.
Bend Matching Wire Handles
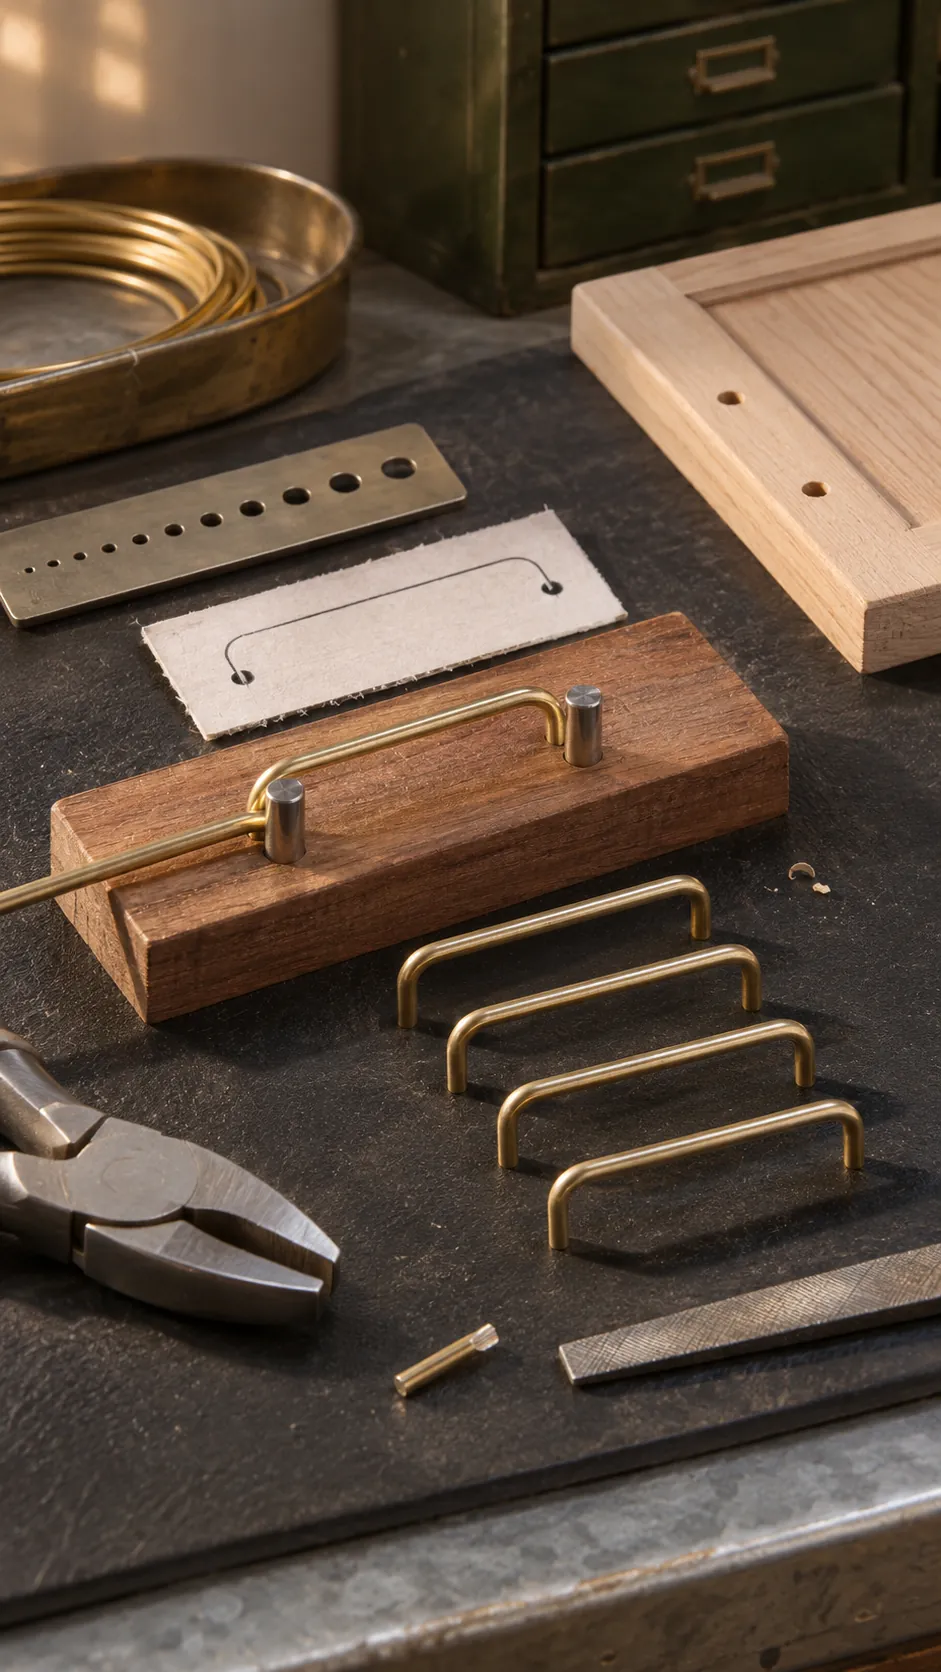
Wire handles look neat when every bend follows the same jig. Mark two holes in a scrap block at the required spacing and insert sturdy pins. Wrap soft brass, copper, or coated craft wire around the pins to form a shallow arch, then trim both legs to equal length. Make all handles for one cabinet before changing the jig.
Transfer the hole spacing with a paper template or a simple marking gauge. Drill from the finished face with the part supported on scrap wood, using the smallest bit that accepts the wire. Dry fit every handle and check the height from the side. A straight row of modest pulls looks more realistic than elaborate hardware with inconsistent placement.
Build Simple Working Hinges
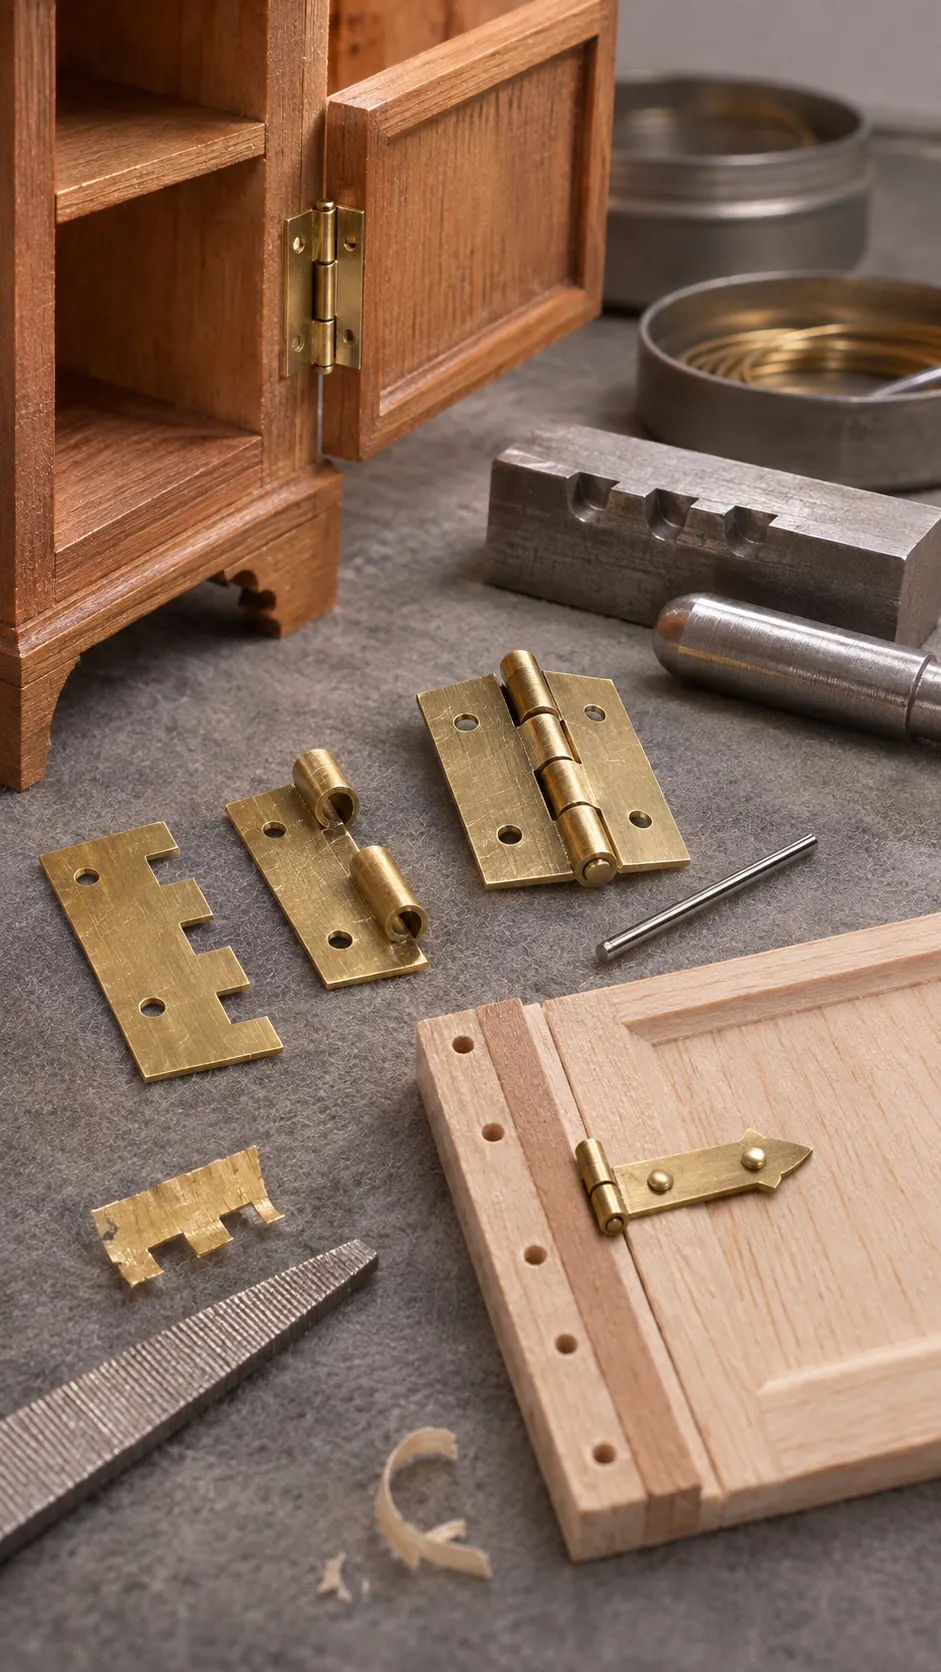
A basic working hinge needs two thin leaves and one straight pin. Cut the leaves from thin brass sheet or clean metal from a suitable container, then smooth every edge. Roll narrow alternating tabs around a fine wire to create the knuckle. The two leaves should interlace without binding when the pin slides through them.
Test the hinge before attaching it. It should open to the angle your cabinet needs and close without lifting the door. Very small hinges often work better when the leaves are inset into shallow recesses. On soft or thin material, add a hidden reinforcement behind the mounting area so pins and glue do not tear through the surface.
If the rolled knuckle becomes bulky, stop and make a fixed version from flat metal strips. A clean false hinge can look more accurate than a working hinge that dominates the door. Function should support the miniature, not become the first thing the viewer notices.
Attach Hardware Without Stains or Bloom
Choose adhesive for both the metal and the furniture material. Thick tacky craft adhesive can suit fixed decorative parts on porous wood, while a small amount of two part epoxy gives a strong bond on metal. Fast setting cyanoacrylate can leave white bloom on nearby finishes, especially when too much is used or air circulation is poor. Test it away from the final piece before relying on it.
Mechanical attachment is stronger when the scale permits it. A pin stem set into a pilot hole resists a sideways knock better than a bead glued directly to paint. For hinges, combine shallow recesses with tiny pins or carefully placed adhesive. Remove excess immediately with the correct clean tool rather than wiping it across the finish.
Finish and Align the Complete Set
Raw metal can look too bright against aged miniature furniture. Darken or paint the hardware before installation, then protect the finish with a compatible clear coat if needed. Keep moving hinge joints free of paint buildup. A restrained patina at recesses and edges is enough to reduce glare without making the pieces look corroded.
Lay the furniture on its back and use one template for every matching door or drawer. Check the row from the front, then inspect it from above to catch handles that project at different angles. Open each working part several times after the adhesive has fully cured. Correct a stiff hinge before placing the furniture in the dollhouse, where access will be harder.
The finished hardware should be visible without overpowering the furniture. Consistent spacing, clean attachment, and believable thickness do more for realism than extra ornament. When those three details are right, even a simple bead knob or bent wire pull can look purpose made.