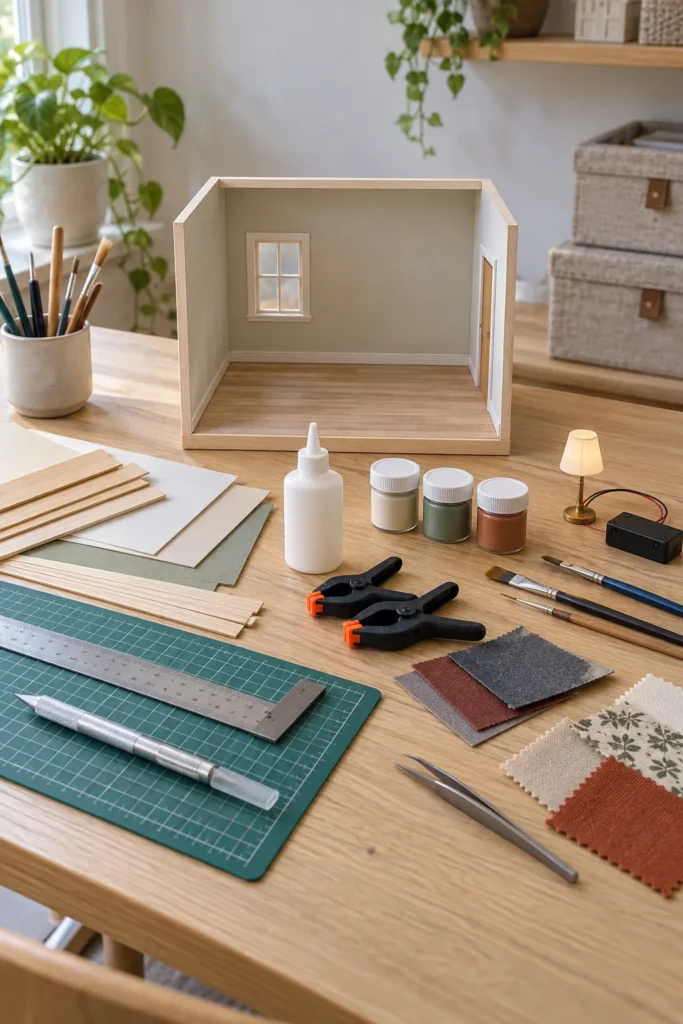
A beginner supply list should make the first project easier, not turn one hobby decision into a workshop purchase. The right starter set depends on the shell material, scale, and tasks you plan to do next. Buy for confirmed work, then add a tool when a real problem appears.
This checklist covers the tools and materials used in many wooden, board, and room box projects. Read the instructions for your specific kit before shopping. Some kits include cut parts, wire, fixtures, or finishing material, while others provide only the structure.
Begin with measuring and cutting tools
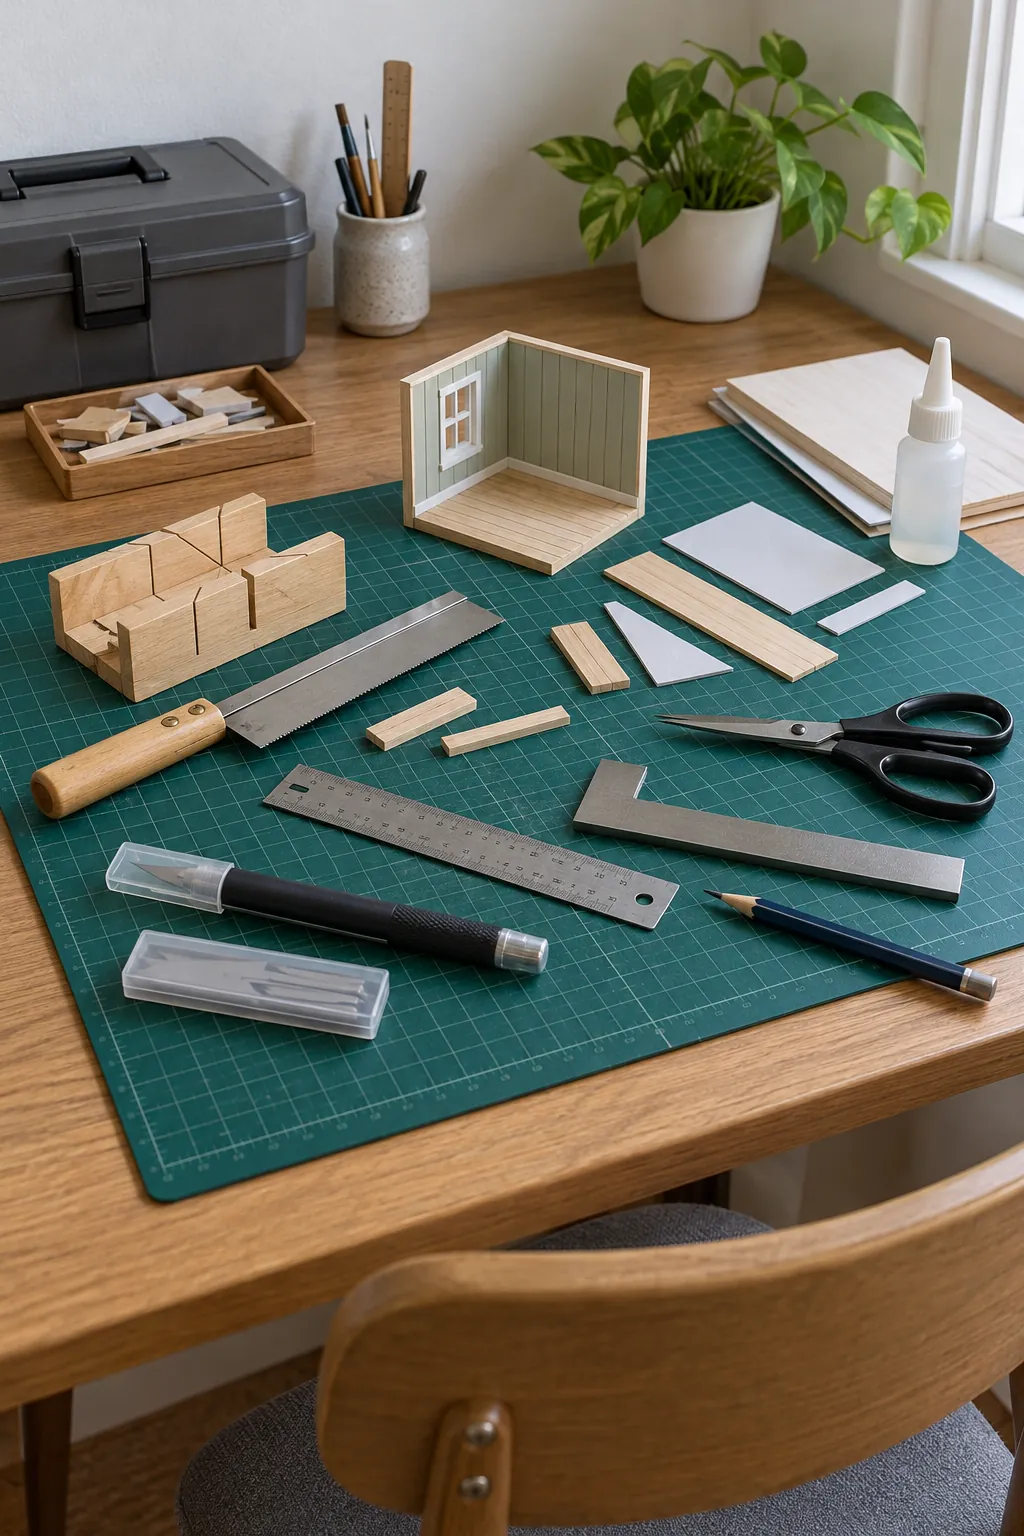
Start with a self healing cutting mat, metal ruler, sharp craft knife with spare blades, pencil, small engineer square, and pointed scissors. The mat protects the table and gives the blade a stable surface. A metal ruler guides cuts without being damaged by the knife.
Use repeated light passes rather than forcing a blade through thick material. Replace a blade when it drags, tears paper, or needs extra pressure. Add a fine saw and miter box only when the project includes wood strips or thicker stock that a knife cannot cut safely.
Match the adhesive to the material
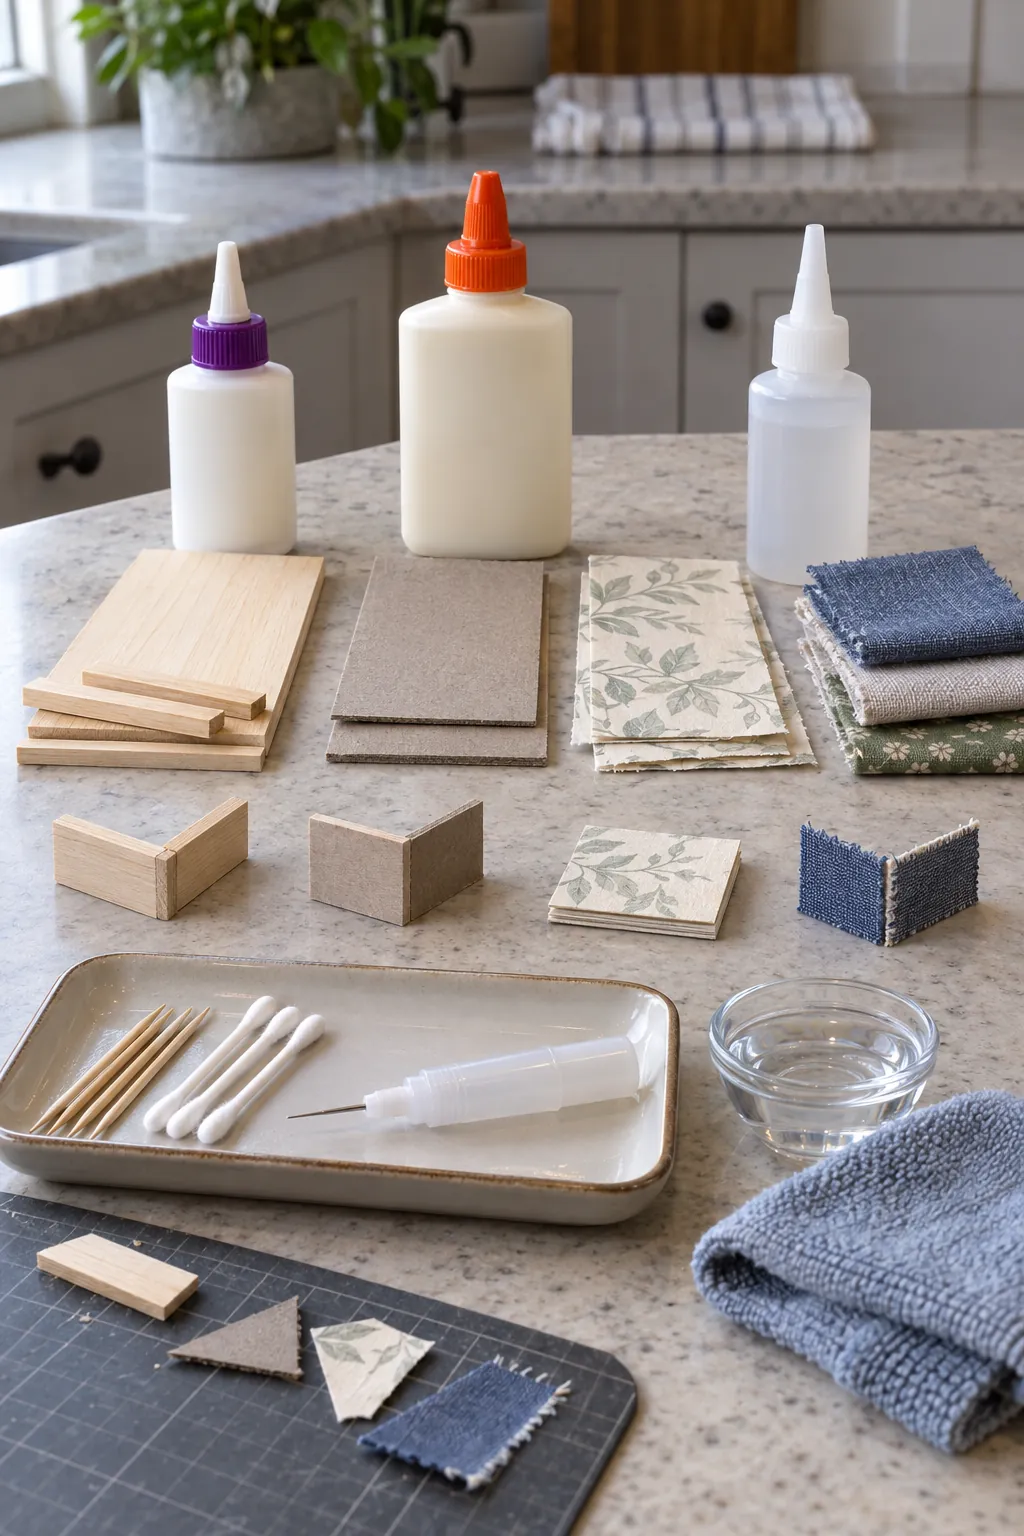
A general tacky craft adhesive works for many porous materials such as wood, card, and fabric. Wood glue is useful for structural wood joints. A glue stick can help with some paper tasks, while a clear drying paper adhesive may suit wallpaper. Test every adhesive on scrap because color, moisture, and drying behavior can change the finish.
Use a fine tip bottle, toothpicks, cotton swabs, and a damp cloth to control small amounts. More adhesive does not make a cleaner joint. Keep instant adhesive and hot glue out of the starter kit unless a specific material requires them and you understand the safety and finish risks.
Choose shell and building materials
Common shell materials include plywood, medium density fiberboard, book board, mat board, and foam board. Use the material specified by a plan or kit when possible because thickness affects every opening and joint. Thin basswood strips are useful for trim, furniture, framing, and simple structural details.
Keep scrap card for patterns and mockups. It is one of the most useful first miniature craft supplies because you can test stairs, cabinets, room layouts, and furniture proportions before cutting better stock. Store useful offcuts by thickness so a tiny repair does not require a new package.
Add clamps, tape, and sanding supplies
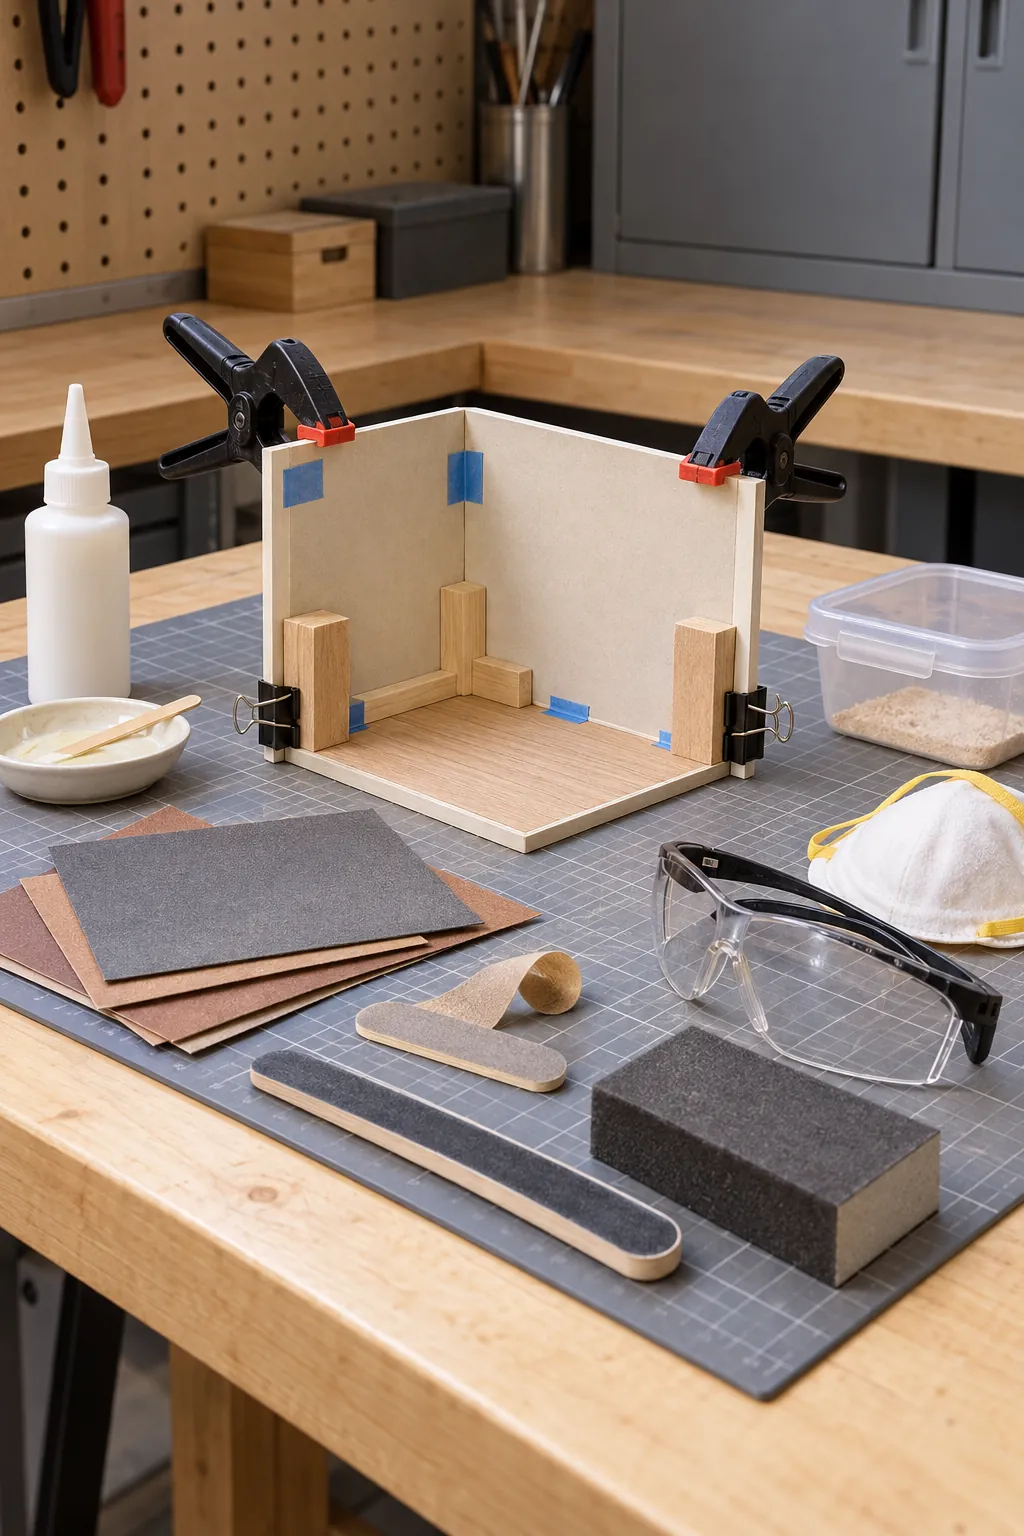
Small spring clamps, binder clips, low tack painter tape, and square blocks can hold parts while glue cures. Use scrap material between a clamp and a finished surface when pressure could leave a mark. Check alignment before tightening because a strong clamp can preserve a wrong angle just as effectively as a correct one.
Fine sandpaper and small sanding blocks smooth cut edges and prepare paint. A set of fine grits is more useful than one aggressive sheet. Wear appropriate protection for dust and use ventilation when the material instructions require it. Keep sanding residue away from paint, adhesive, and electrical contacts.
Prepare paint and surface finishes
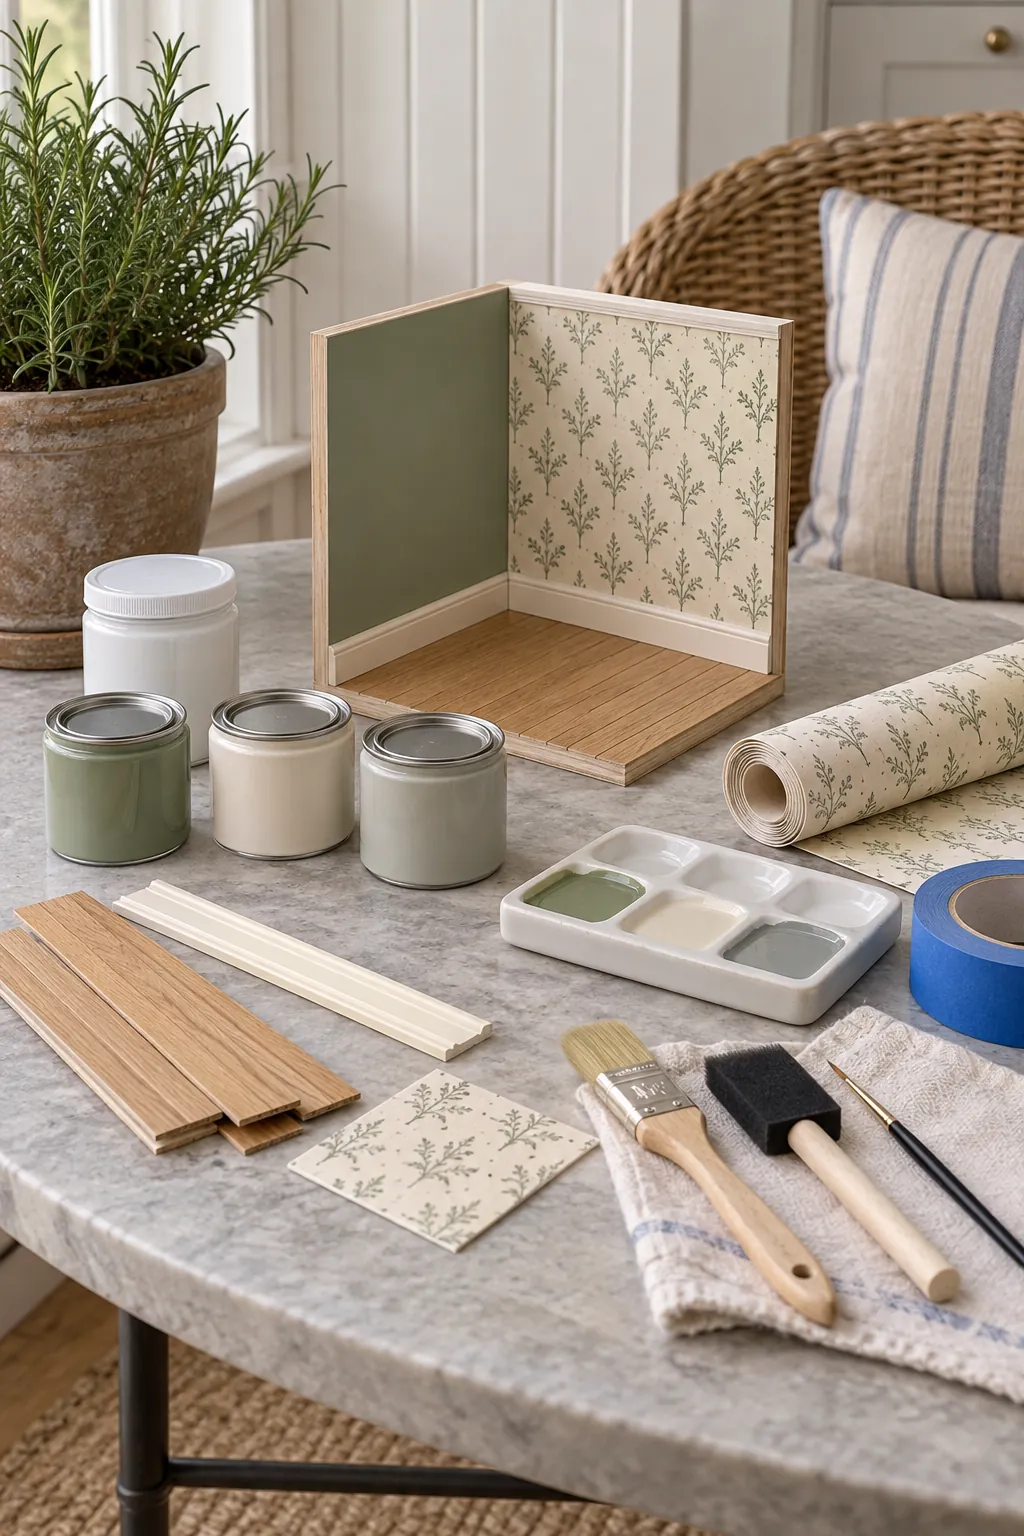
Useful finishing supplies include primer suitable for the shell, water based craft paint, small flat brushes, foam brushes, a fine detail brush, palette, painter tape, and lint free cloth. Choose a limited palette for the first project so colors can repeat across rooms and leftover paint remains useful.
For floors and walls, consider printed paper, thin wood strips, paper tile, or material made for the chosen miniature room scale. Measure complete surfaces before buying. Include baseboard and molding in the calculation because unfinished edges can consume more trim than expected.
Keep furniture making tools simple
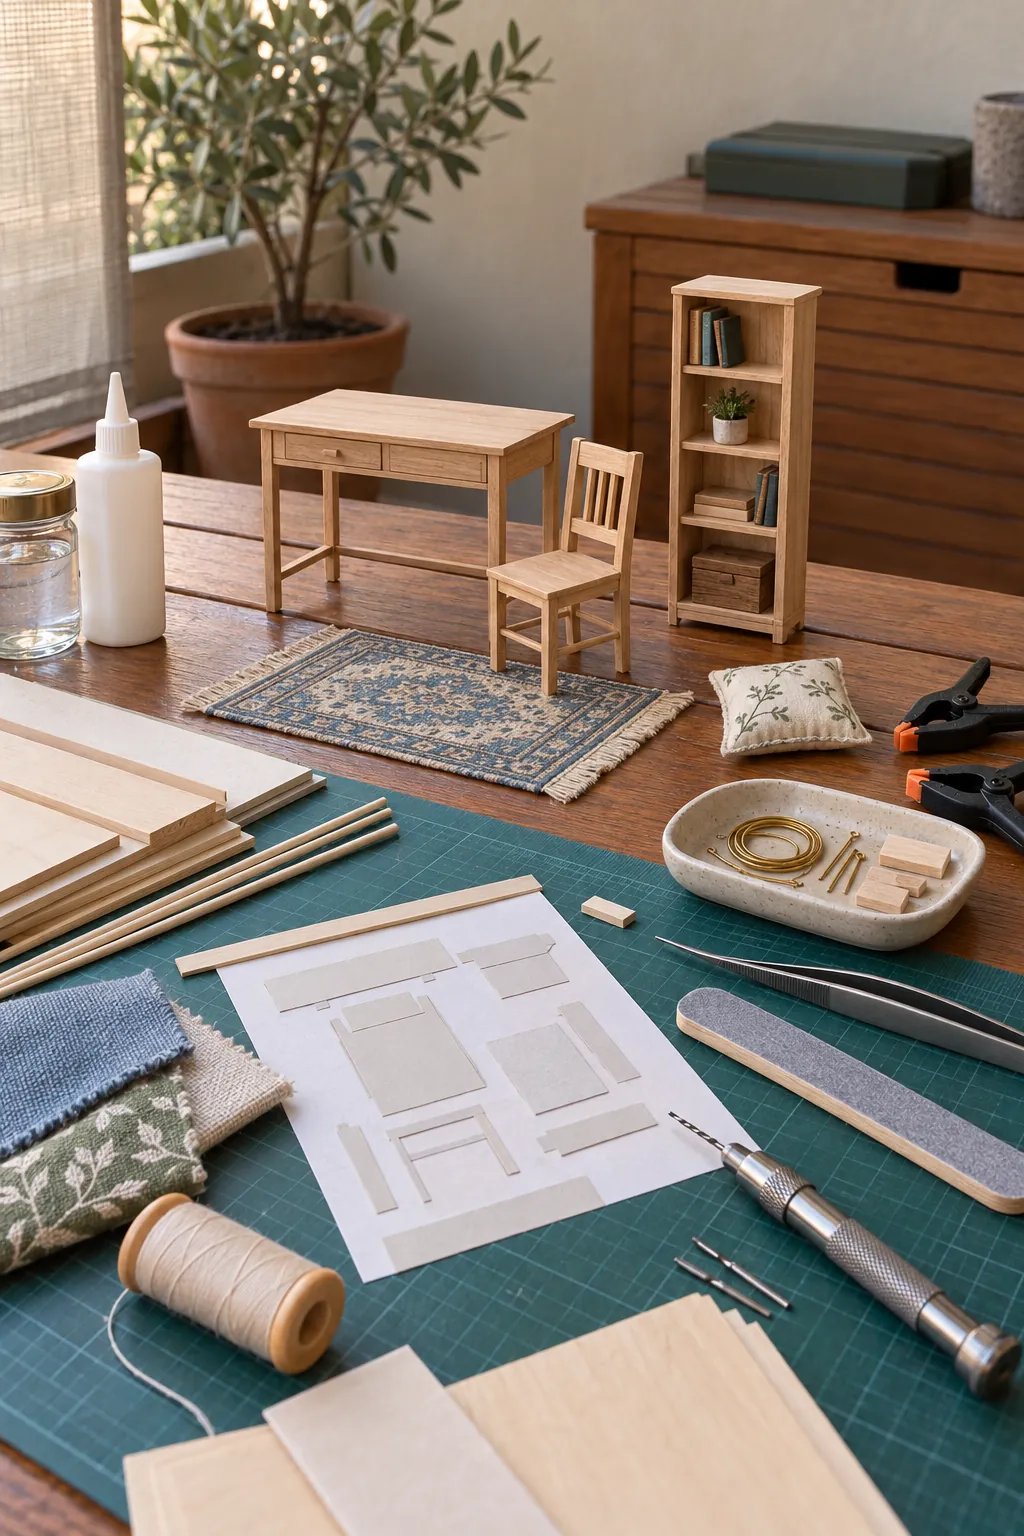
Card, basswood, thin dowels, fabric scraps, neutral thread, and fine wire cover many beginner furniture tasks. Add tweezers, small clips, a fine sanding stick, and a pin vise when a project needs controlled holes. A cutting template made from card helps repeated parts match.
Do not buy every specialized miniature tool before choosing what you enjoy making. A person who loves upholstery needs different supplies from someone who builds cabinets. Make one practice piece, notice the slow or inaccurate step, and purchase the tool that improves that exact task.
Plan lighting before buying electrical parts
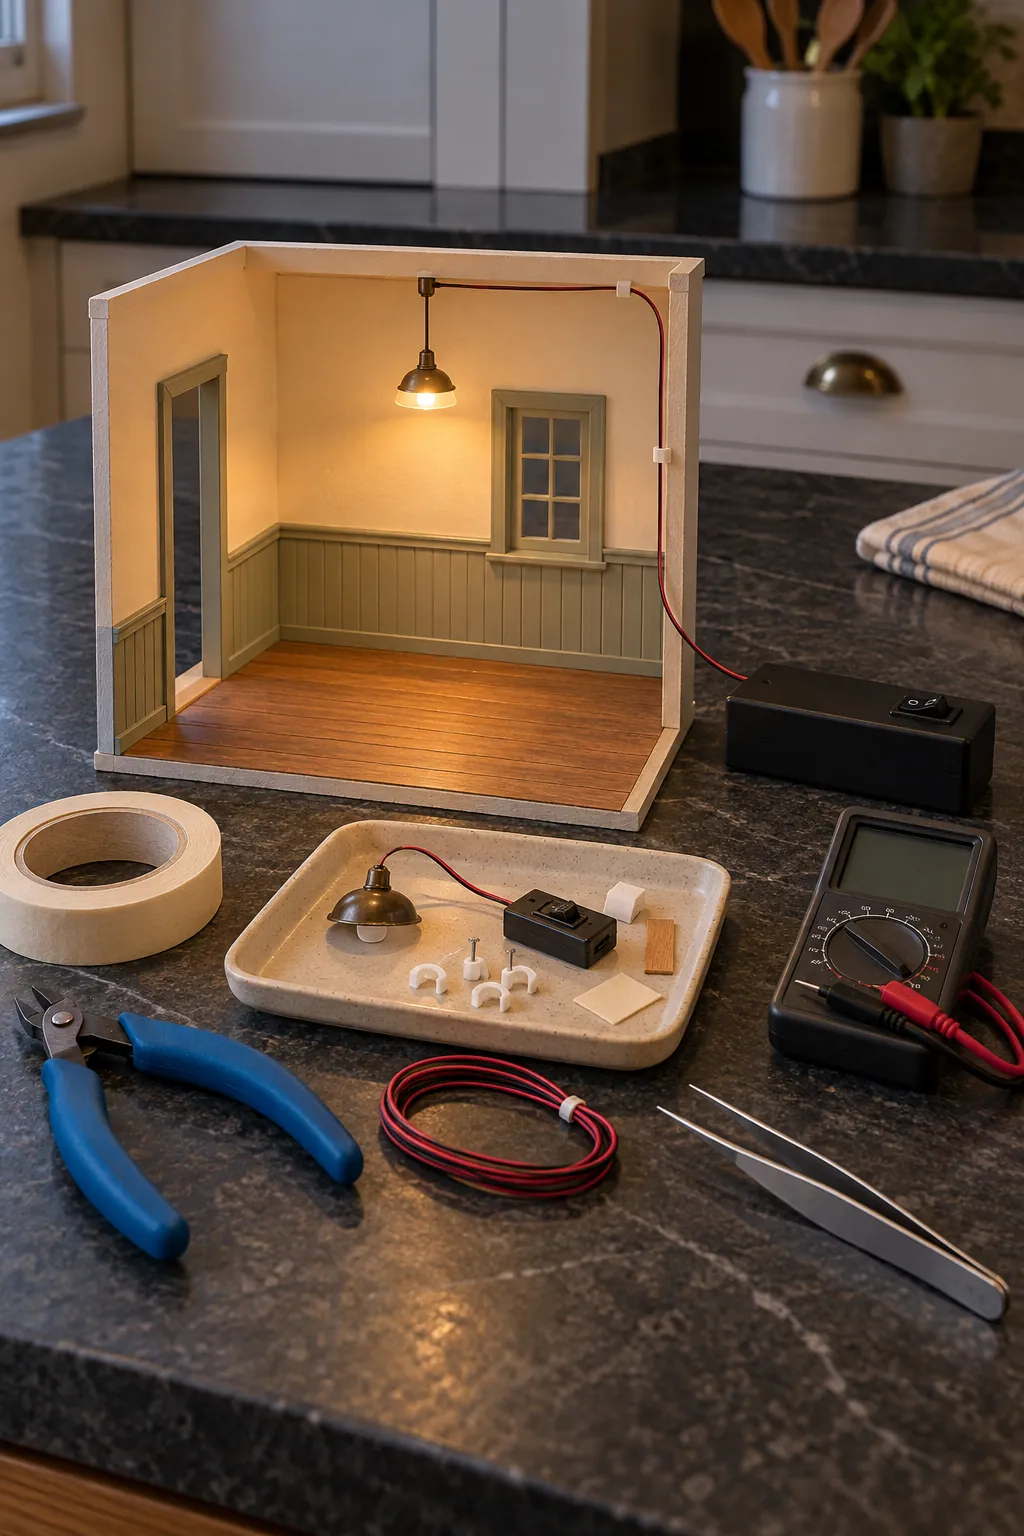
A simple battery lamp may need only the fixture, battery holder, switch, insulated wire, removable clips, fine tweezers, and suitable cutter. A wired house can require a transformer, distribution system, connectors, and testing equipment. Follow the system instructions and do not mix incompatible components.
Test every fixture before installation and keep batteries accessible. Plan wire routes before wallpaper and trim hide them. Lighting is optional for a first project. A stable shell with clean finishes is a better outcome than rushed electrical work that cannot be maintained.
Store tools safely and review before shopping
Use a lidded container for blades, needles, and small electrical parts. Store adhesives upright, keep paint away from heat, and label full size containers according to their original safety information. A shallow tray for the current task prevents miniature pieces from disappearing across the table.
Before buying, place the kit instructions, material list, and tools you already own together. Check off measuring, cutting, adhesive, holding, sanding, finishing, furniture, lighting, and storage needs only when the next project stage requires them. A focused starter dollhouse shopping list saves money and leaves more attention for learning the craft.