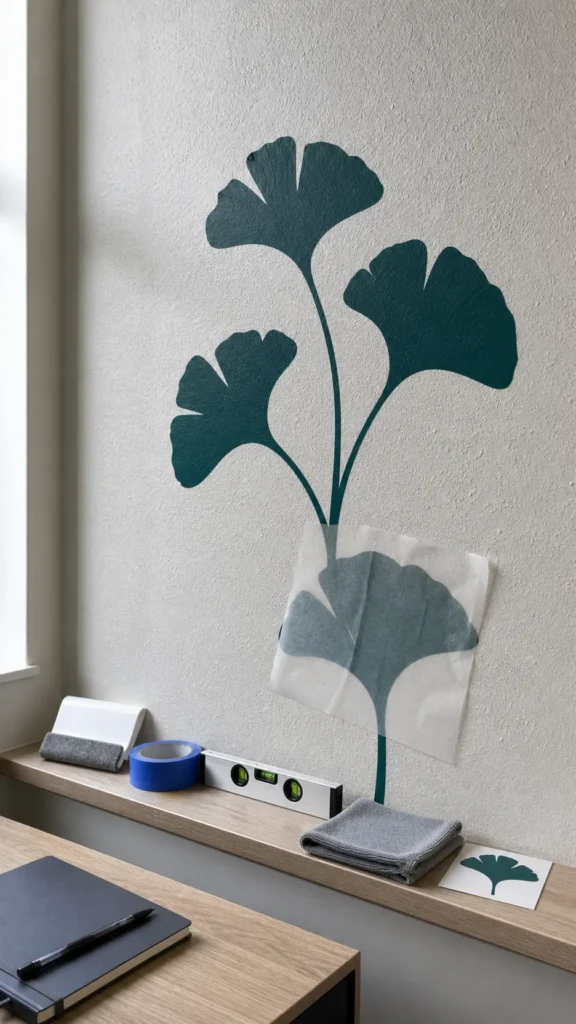
Can Wall Decals Stick to Textured Walls? An Honest Guide
Wall decals can stick to some textured walls, but “textured” covers everything from faint roller stipple to deep knockdown, brick, and raw cinderblock. A thin, flexible vinyl decal may hold on light orange peel if the paint is clean, fully cured, and compatible with the adhesive. On a wall with sharp ridges, deep valleys, dust, or open pores, the same decal may curl at the edges or fall within hours.
The useful question is not simply, “Can stickers stick to textured walls?” It is: how much of the adhesive can make continuous contact with this particular surface? The fastest way to answer is with a small sample on the actual wall. That test matters more than a product photo, a review from a different house, or a promise that a decal is “extra sticky.”
Why Wall Texture Changes the Result
Pressure-sensitive vinyl adhesive works best when it can spread across a clean, smooth surface. Texture reduces that contact area. On orange peel, the decal may touch the rounded high spots while bridging tiny low spots. On knockdown, it can span wider depressions and leave channels where air and dust reach the adhesive. On raw masonry, the problem is both roughness and porosity.
That is why two people can report opposite results with similar-looking walls. Their texture depth, paint sheen, paint age, humidity, decal thickness, and adhesive formulation may all differ. Even decal size matters. A small solid shape has fewer vulnerable edges than a large quote made from thin letters and delicate strokes.
Which Textured Walls Are Most Likely to Work?
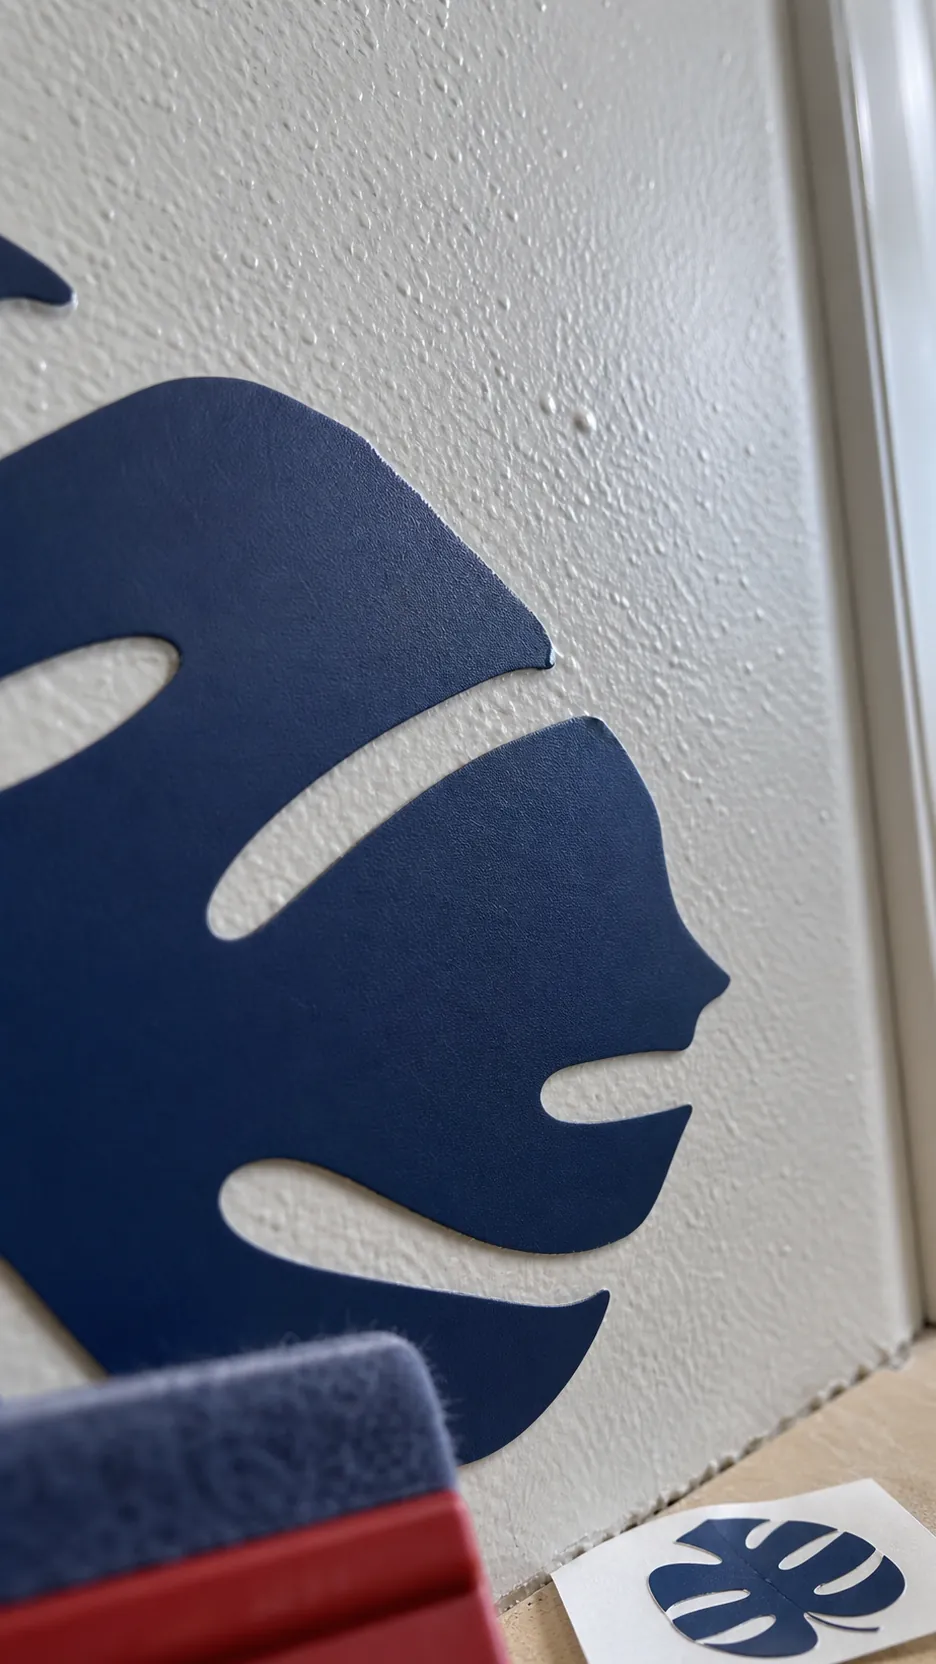
Light roller texture or shallow orange peel offers the best chance. If you can run your palm over the wall without catching pronounced peaks, a flexible decal may conform well enough to stay put. A smooth, sealed eggshell or satin finish is generally easier than chalky flat paint, although the decal maker’s surface guidance should always win.
- Light orange peel: often workable after a successful test patch, especially with simple, substantial shapes.
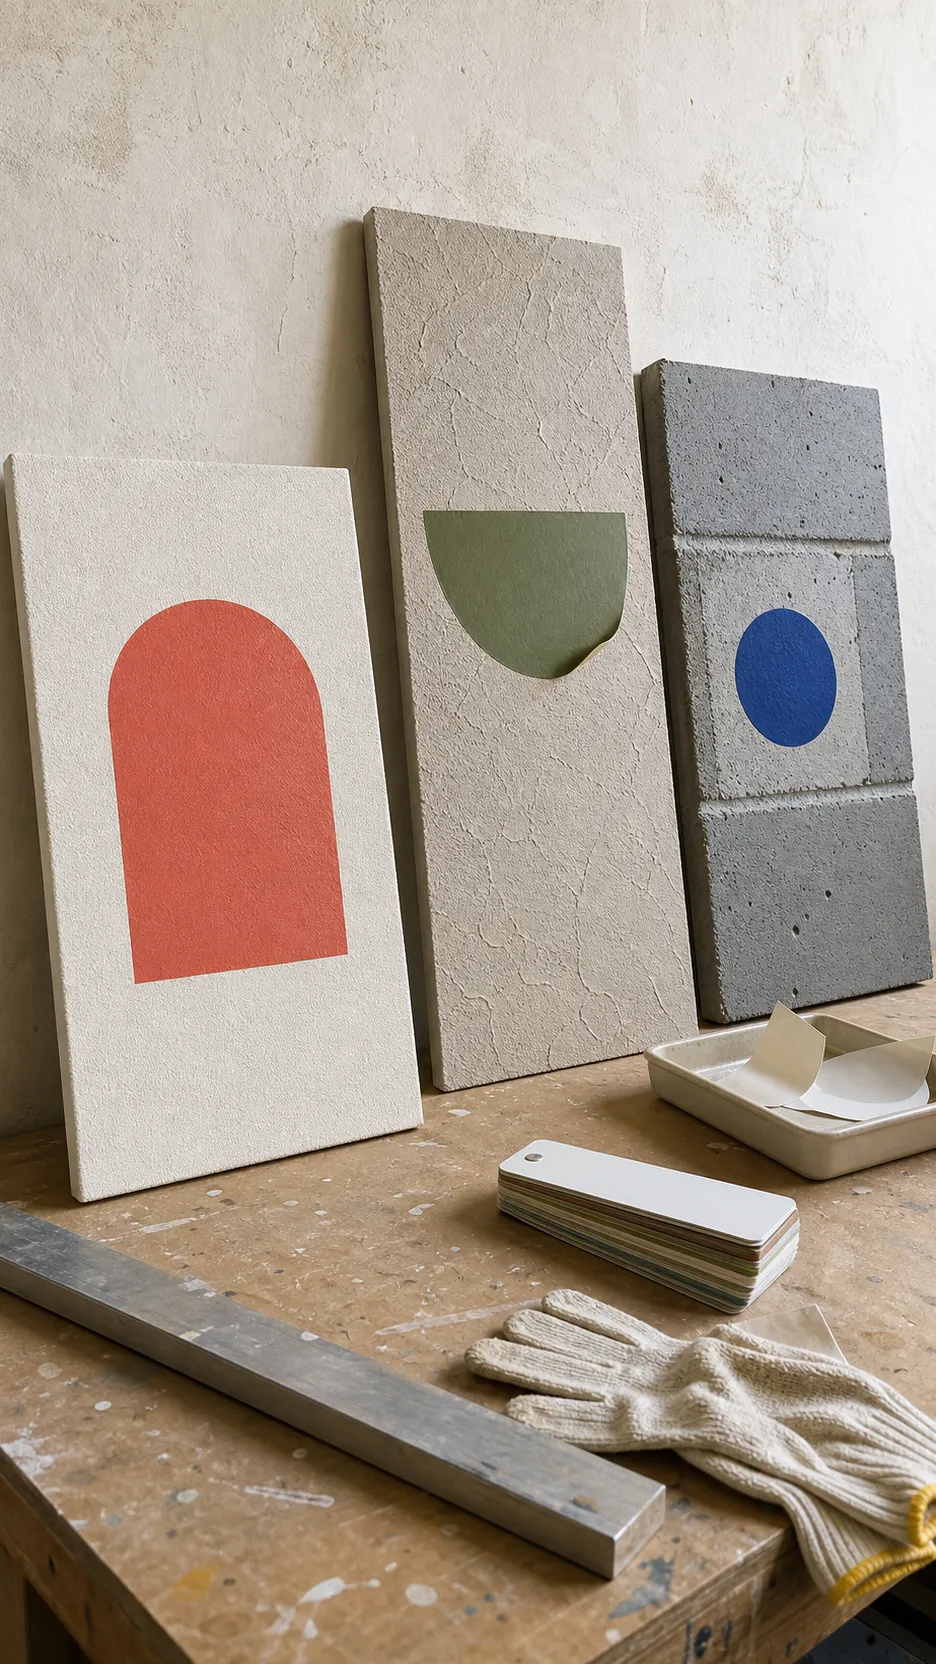
- Knockdown: unpredictable. Broad flat areas may hold, while the edges crossing recesses can lift.
- Heavy stomp or popcorn texture: usually unsuitable because the decal cannot bridge the dramatic relief securely.
- Painted brick or painted cinderblock: possible only when several sound paint coats have sealed and softened the surface; mortar joints remain weak points.
- Raw brick, raw concrete block, or dusty masonry: poor candidates. Rough pores and loose dust prevent dependable adhesion.
Fine lettering, tiny stars, narrow stems, and intricate linework are less forgiving than larger silhouettes. If you are shopping for the best decals for textured walls, look for a seller that explicitly approves light texture, offers a sample, and explains the suitable paint and cure time. “Permanent” adhesive is not automatically better indoors; it can raise the risk of paint damage without solving deep surface gaps.
Do a 24-Hour Test Patch Before Buying the Full Design
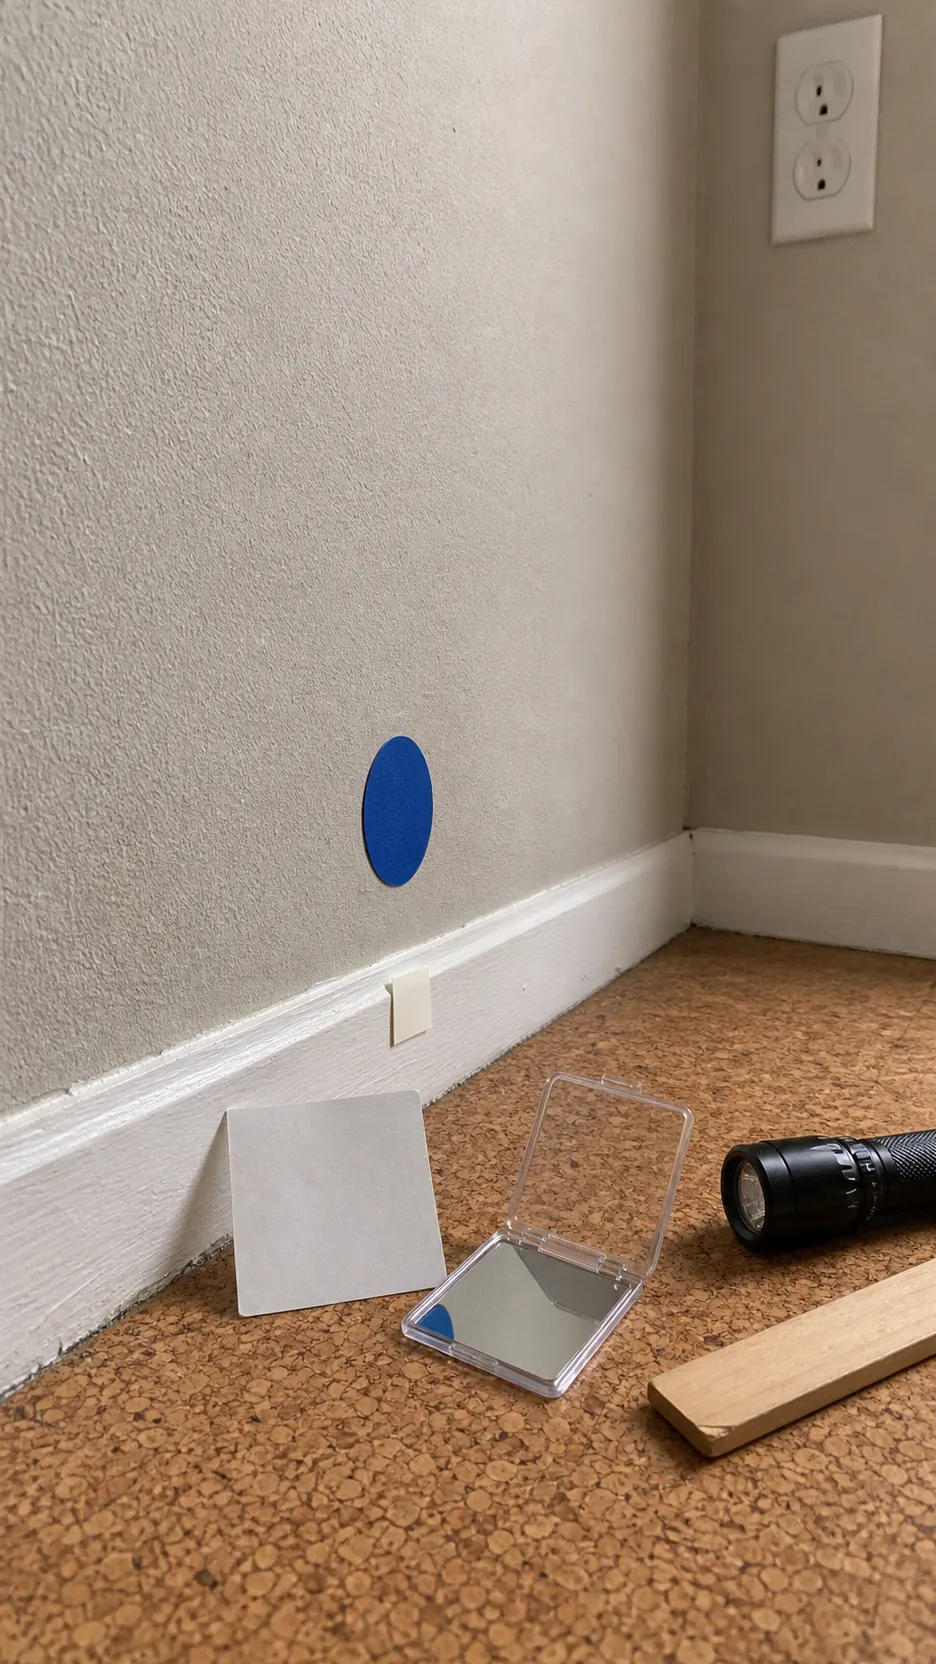
A test patch wall decal is the cheapest insurance in this project. Ask the seller for a sample made from the same vinyl and adhesive as the final design. A random household sticker does not produce a meaningful test. Put the sample on an inconspicuous area of the same wall—not on a smoother wall in another room.
- Clean and dry the test area exactly as you plan to prepare the full installation.
- Apply the sample with firm, even pressure, working it gently into the shallow texture.
- Leave it alone for at least 24 hours under normal room conditions.
- Check every edge and press lightly near a valley. Look for curling, bubbling, or sections that never bonded.
- Remove it slowly at a low angle and inspect the paint for softening, discoloration, or lifting.
A small sample has a more favorable edge-to-area ratio than a large decal, so passing is encouraging rather than a guarantee. If the full design is oversized, intricate, or will cross several deep grooves, ask whether the seller can provide a larger test piece. If the sample lifts by itself, do not try to rescue the main decal with an unapproved glue. Change the surface or the display method instead.
Prepare the Wall Without Leaving Adhesive-Killing Residue
Most “wall stickers not sticking to textured wall” problems are blamed on texture alone, but contamination can be the final push toward failure. Dust settles in the valleys. Cooking film, aerosol cleaners, hand oils, and bathroom residue reduce tack. Fresh paint can also release moisture and solvents long after it feels dry to the touch.
- Follow the decal manufacturer’s cleaning directions rather than improvising with furniture polish or a fragranced multipurpose spray.
- Use a lint-free cloth and allow the wall to dry completely, including the recesses.
- Repair loose paint, powdery patches, nail holes, and crumbling texture before testing.
- Wait for new paint to cure for the full period specified by the paint and decal manufacturers; this may be much longer than its dry-to-touch time.
- Avoid applying over walls that feel damp, greasy, chalky, or cold with condensation.
Do not sand a wall casually just to help a decal. Sanding can change the finish, expose porous material, create dust, and make a rental repair more obvious. Homes built before 1978 in the United States can contain lead-based paint, so disturbing old coatings requires appropriate safety guidance. When smoothing is truly necessary, treat it as a wall-finishing project rather than a decal trick.
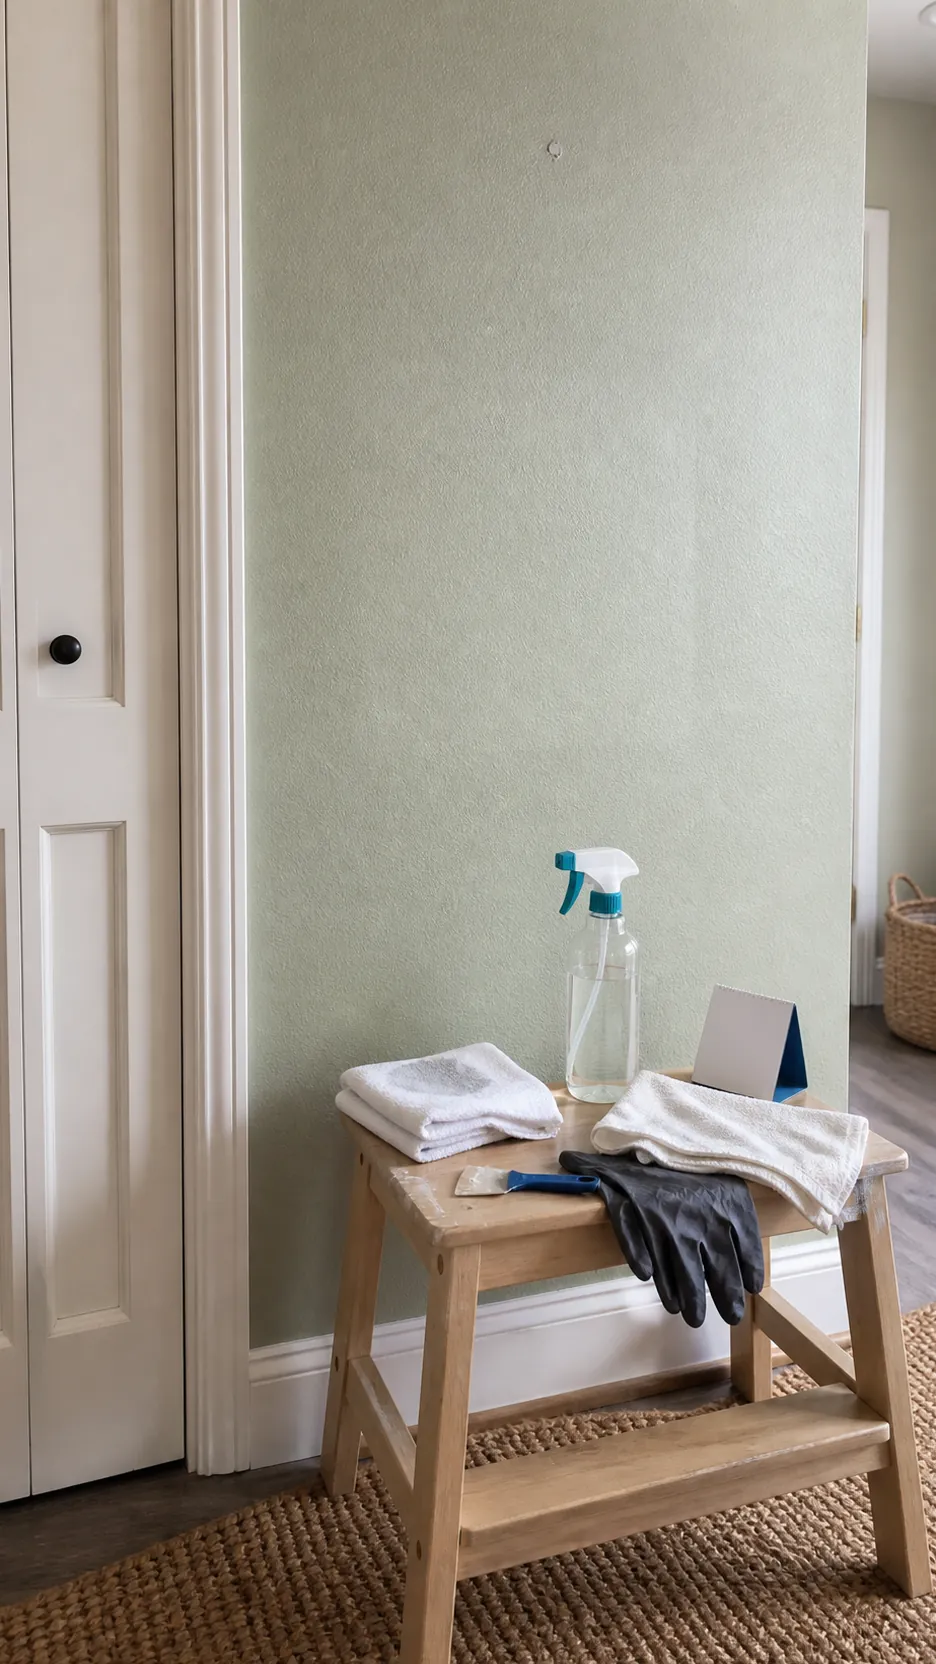
How to Apply a Decal on Light Orange Peel
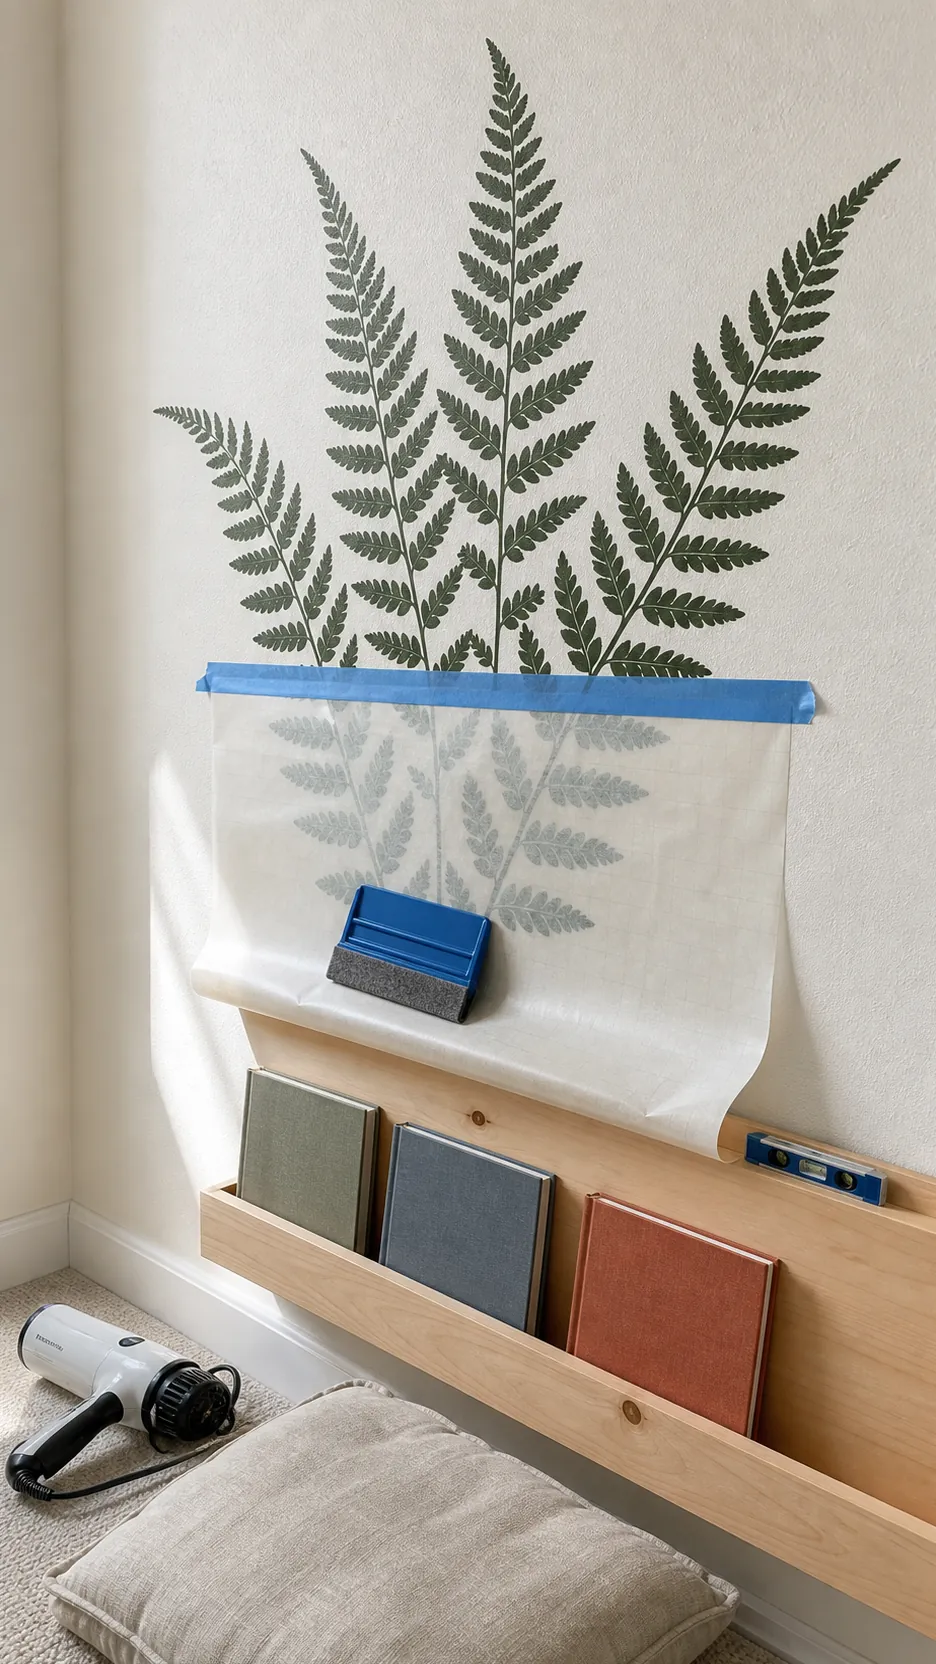
Start by letting the rolled decal relax flat at room temperature. Position it with a level and low-tack painter’s tape, then step back to check placement. A hinge method can keep a larger design aligned while you expose the adhesive gradually. Do not pull all the backing away and hope to steer a large sticky sheet into place.
Work from the center outward in small sections. Use the applicator recommended by the seller—often a felt-edged squeegee, soft cloth, or your fingertips—to press the vinyl over the high spots and into shallow dimples. Keep the motion controlled so thin elements do not stretch. If transfer tape is involved, peel it back slowly and nearly parallel to the wall rather than lifting it straight toward you.
Some decal makers recommend gentle warmth from a hair dryer on a low setting to soften the vinyl, followed by rolling with a soft tool such as a clean tennis ball. Only use heat when the decal manufacturer permits it. Keep the dryer moving, use the minimum warmth needed, and never heat questionable paint aggressively. Too much heat can distort vinyl, weaken paint, or make removal less predictable.
What to Do When the Edges Keep Lifting
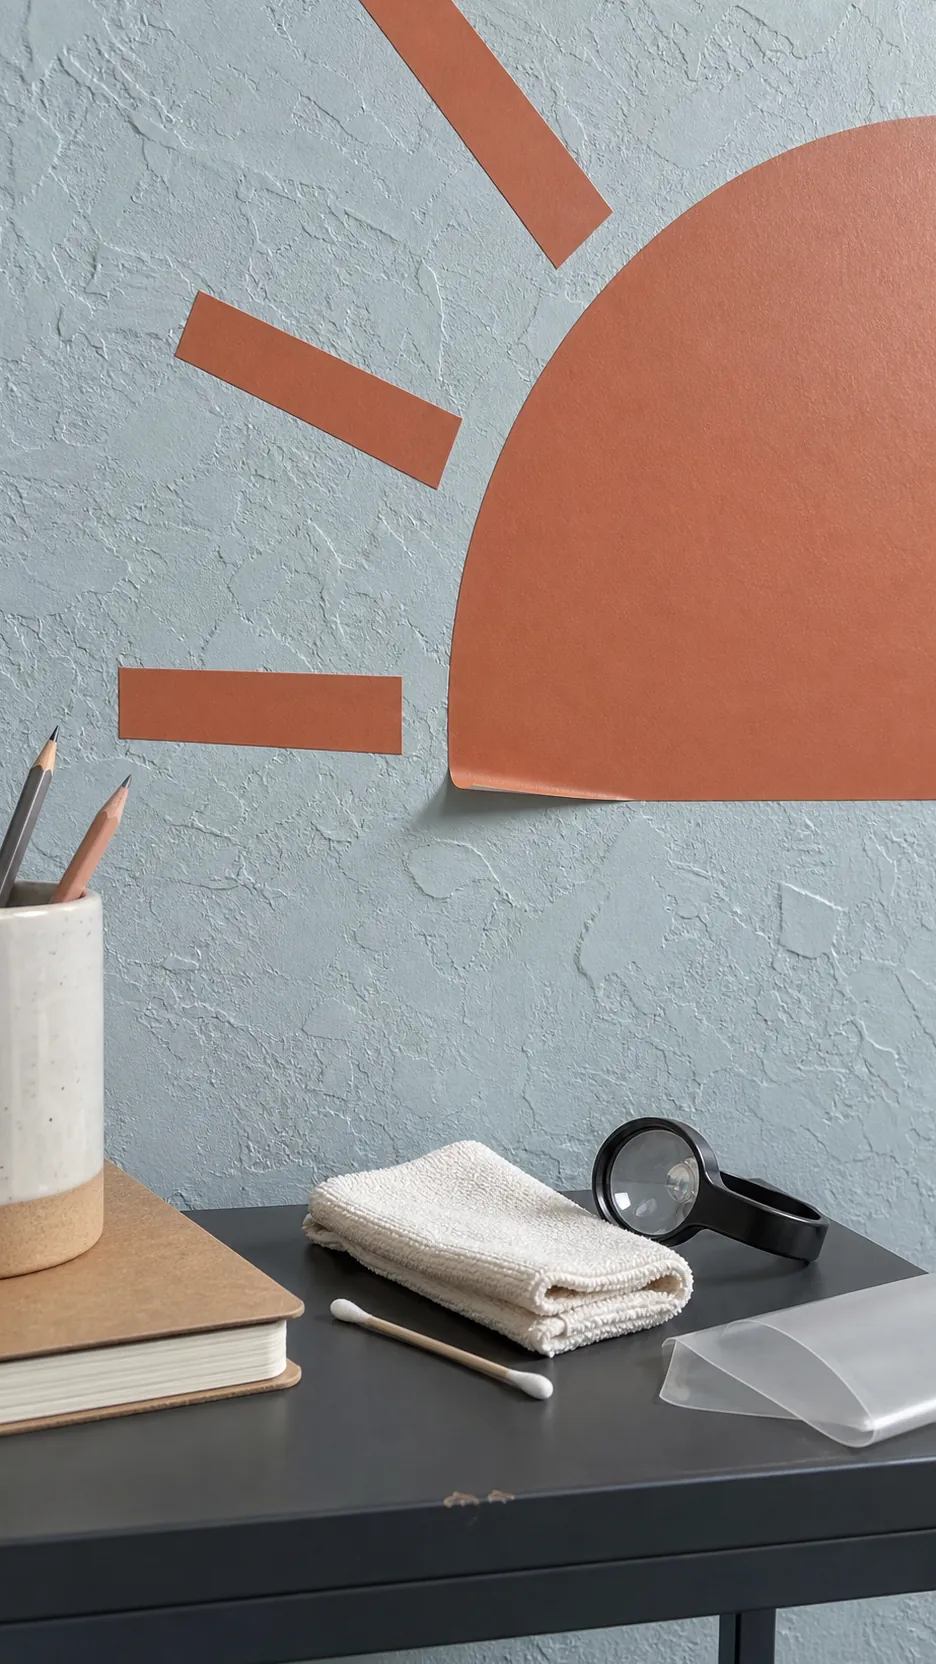
First, stop repeatedly peeling and re-sticking the same edge. Every cycle can collect dust, stretch the vinyl, and reduce the chance of a neat bond. Check whether the lifted area crosses a deep recess, sits above contamination, or has been pulled tight around texture. Gently pressing it down once with an approved tool may help; constant rubbing usually does not.
Be cautious with seam repair adhesive, craft glue, spray adhesive, or double-sided tape. A decal seller may recommend a specific compatible edge product for a permanent installation, but that changes the removal risk. In a rental, an adhesive “fix” can turn removable decor into damaged paint. Never inject glue behind a failing decal without confirming compatibility with both the vinyl and the wall finish.
If one tiny tip lifts while the rest is secure, trimming that isolated tip may be less visible than forcing it down. If many edges or broad areas lift, the wall-decal combination has failed its real-world test. Take it down before it folds onto itself, attracts lint, or falls onto furniture. Saving the wall is usually worth more than saving a decal that is fundamentally mismatched to it.
Better Options for Rough Brick, Cinderblock, and Deep Texture
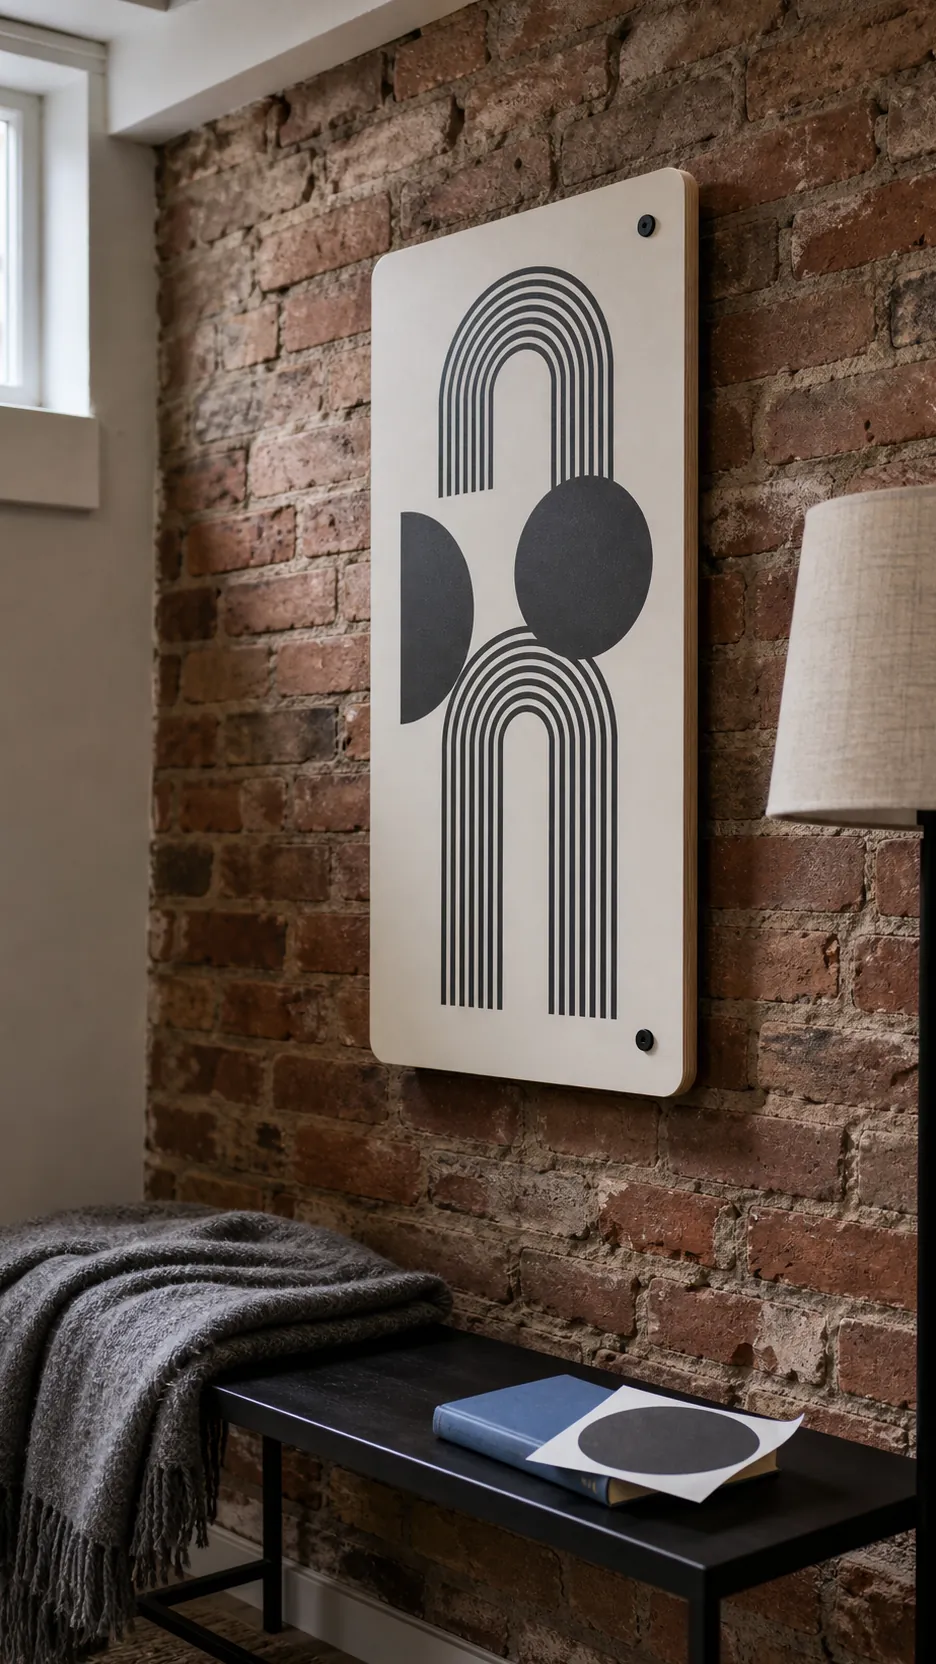
Rough wall wall decals are rarely a satisfying match when the surface is raw brick, porous cinderblock, or heavy stomp texture. Rather than adding stronger adhesive, create a smooth removable display surface. Apply the decal to a sealed painted board, acrylic panel, foam board, or other substrate approved for the vinyl, then mount that piece with hardware suitable for the wall and its weight.
This approach gives intricate lettering a flat plane, protects the design from mortar joints, and lets renters choose a mounting system separately from the decal adhesive. A framed smooth panel can look intentional instead of improvised. For classrooms or basements with painted cinderblock, test the mounting method too; a hook or strip that works on drywall may not be rated for masonry or a dusty coating.
If you own the property and want a full-wall treatment, professional skim coating or another correctly specified smoothing system creates a more dependable base. Traditional pasted wallcovering, lining systems, and products designed specifically for textured surfaces may also be more appropriate than a standard removable decal. Confirm the wall preparation with the product manufacturer before committing.
So, Will a Wall Decal Stick to Your Textured Wall?
Probably, if the texture is shallow, the paint is sound and fully cured, the decal is flexible and suited to light texture, and a same-material sample remains secure for at least 24 hours. Probably not, if the wall has deep peaks and valleys, powdery flat paint, unsealed pores, dampness, loose texture, or mortar joints that interrupt the bond.
The test patch is the decision point. If it holds and removes cleanly, proceed patiently with a simple design and the maker’s installation method. If it curls, bubbles, or pulls paint, believe the test. A smoother display panel or a wall treatment designed for that surface will look better and create far less frustration.
Texture does not make every decal impossible; it makes generic promises unreliable. Let the actual wall, actual vinyl, and actual sample settle the question before the expensive piece ever leaves its backing.