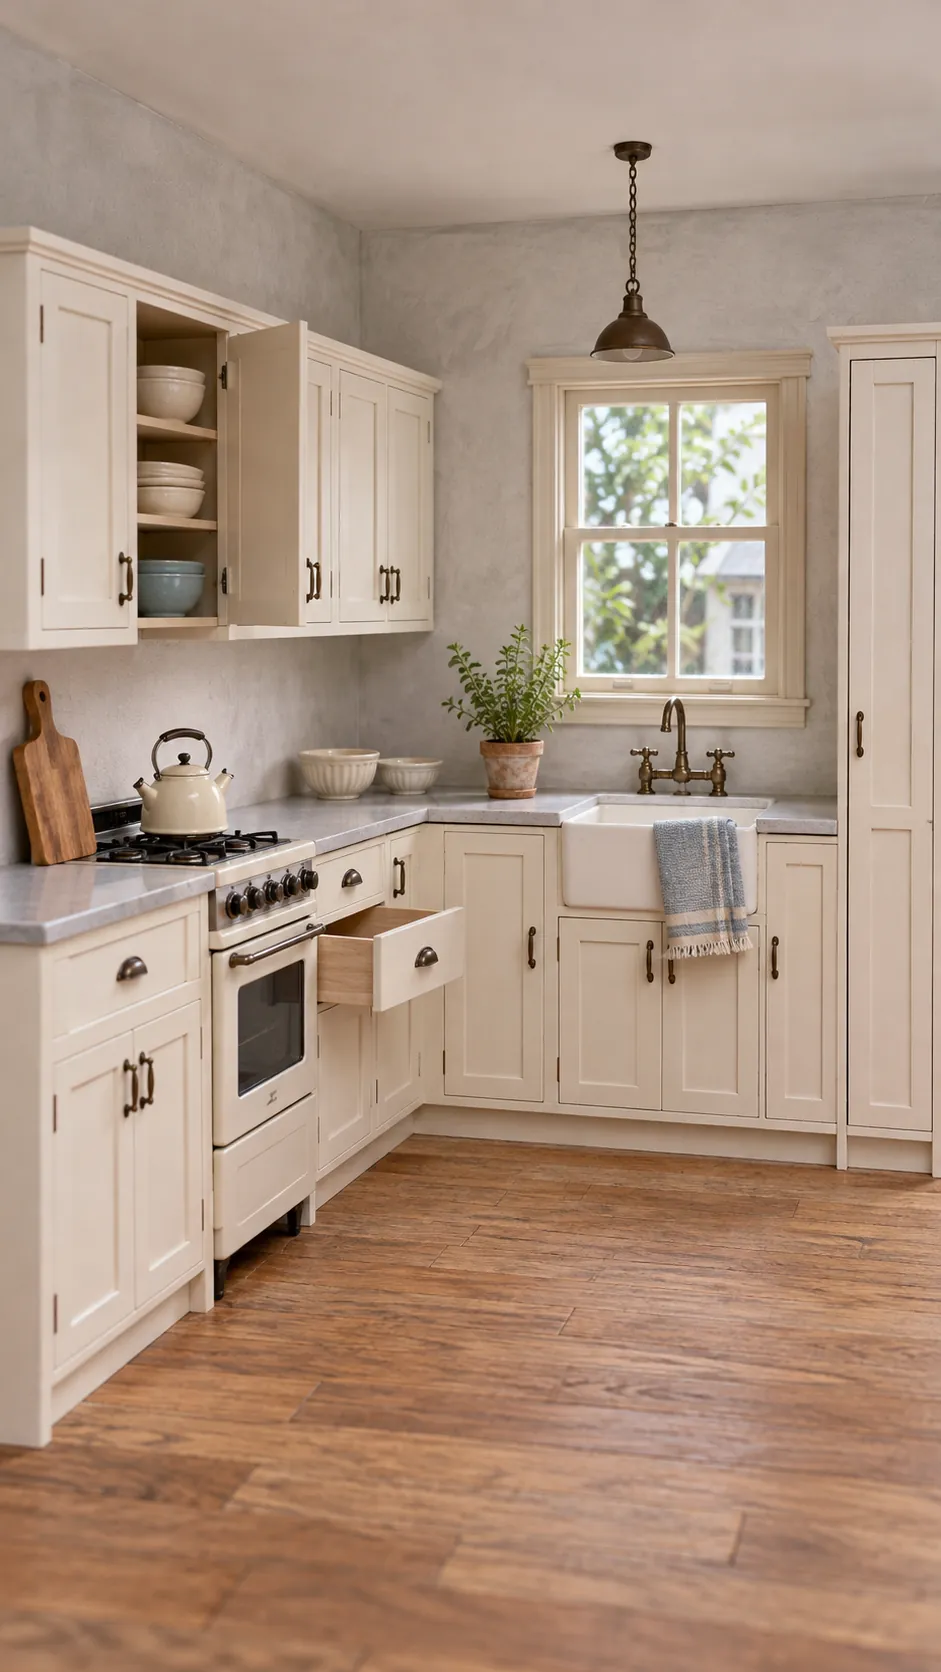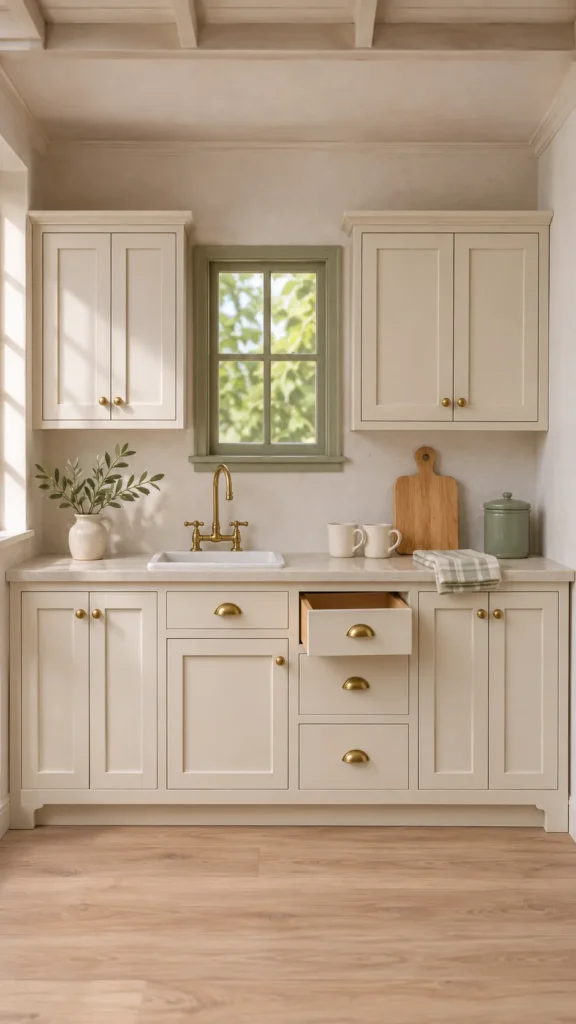
A miniature cabinet can look square on the cutting mat and still fail inside the dollhouse. A door catches, a drawer opening narrows, or a counter sits too high because the material thickness was never included in the plan. Foam board makes correction inexpensive, but accuracy still matters. The reliable approach is to settle the scale, build one tested cabinet box, and use that box as the reference for every later piece.
Choose the scale and cabinet dimensions
At 1:12 scale, one inch in the miniature represents one foot in a full size room. A practical base cabinet can be about 2 3/4 inches high before the counter, 2 inches deep, and any width that fits your kitchen plan. These are useful starting dimensions, not a rule. Compare the cabinet with the dollhouse ceiling, windows, appliances, and any figures before cutting a full set.
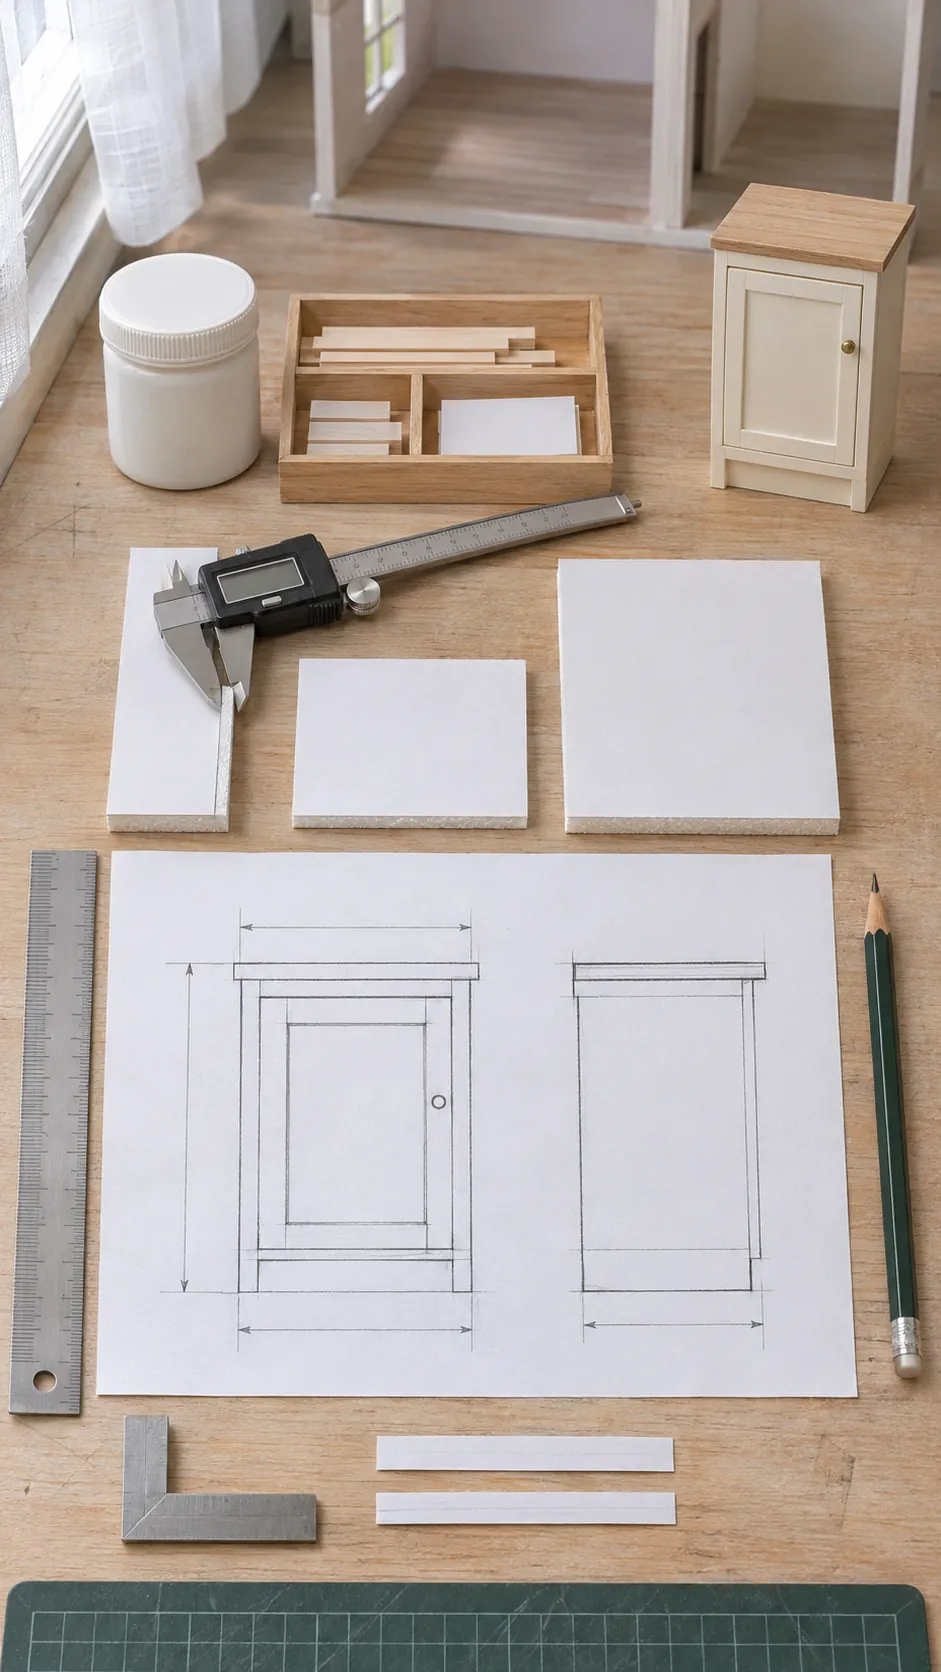
Draw the cabinet front at full miniature size on paper. Mark the outside width and height first, then mark door and drawer openings. Measure the actual foam board with a ruler or caliper because nominal thickness can differ. Every side wall, divider, and facing strip consumes space, so calculate the clear opening from the pieces that will surround it.
Gather clean cutting and assembly tools
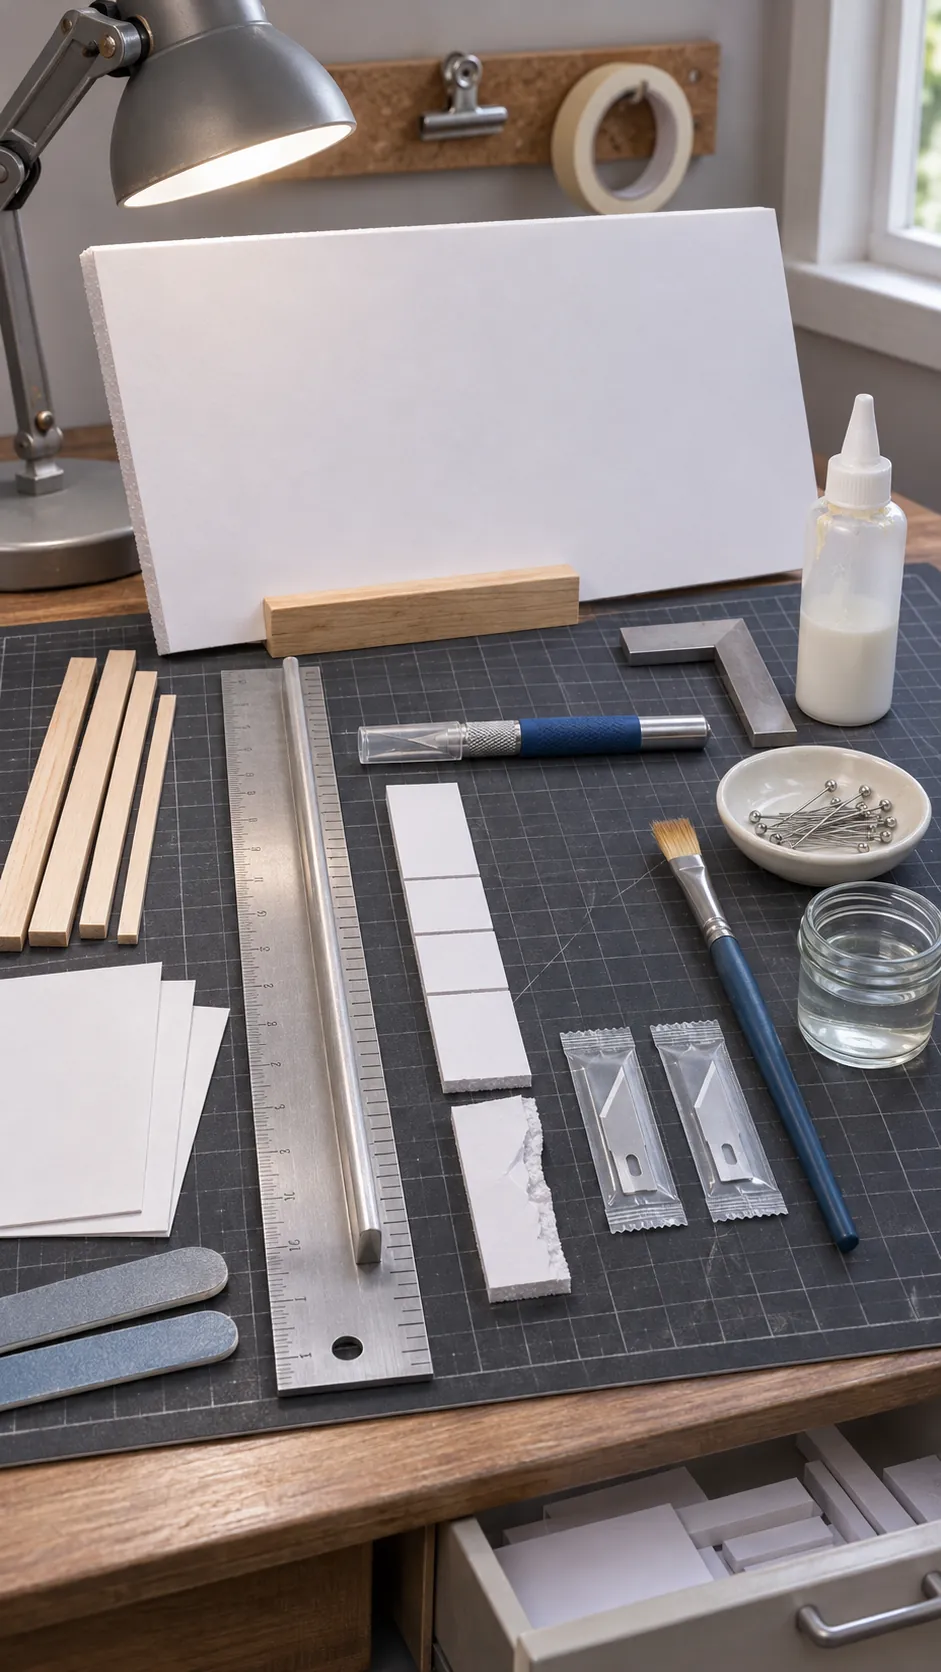
Use dense foam board with flat paper faces, a metal ruler, a sharp craft knife, a cutting mat, tacky glue, fine sandpaper, and small squares or blocks for alignment. A dull blade crushes the foam and pulls the paper edge, which makes joints look wider after paint. Replace the blade as soon as a cut needs extra pressure.
For visible trim, thin basswood strips or layered cardstock create firmer edges than exposed foam. Straight pins can hold a joint while glue sets, but insert them gently so they do not buckle the panel. Keep a damp brush nearby for removing a small glue bead before it dries. Test every adhesive on a scrap because solvent based products can damage exposed foam.
Cut a square cabinet box
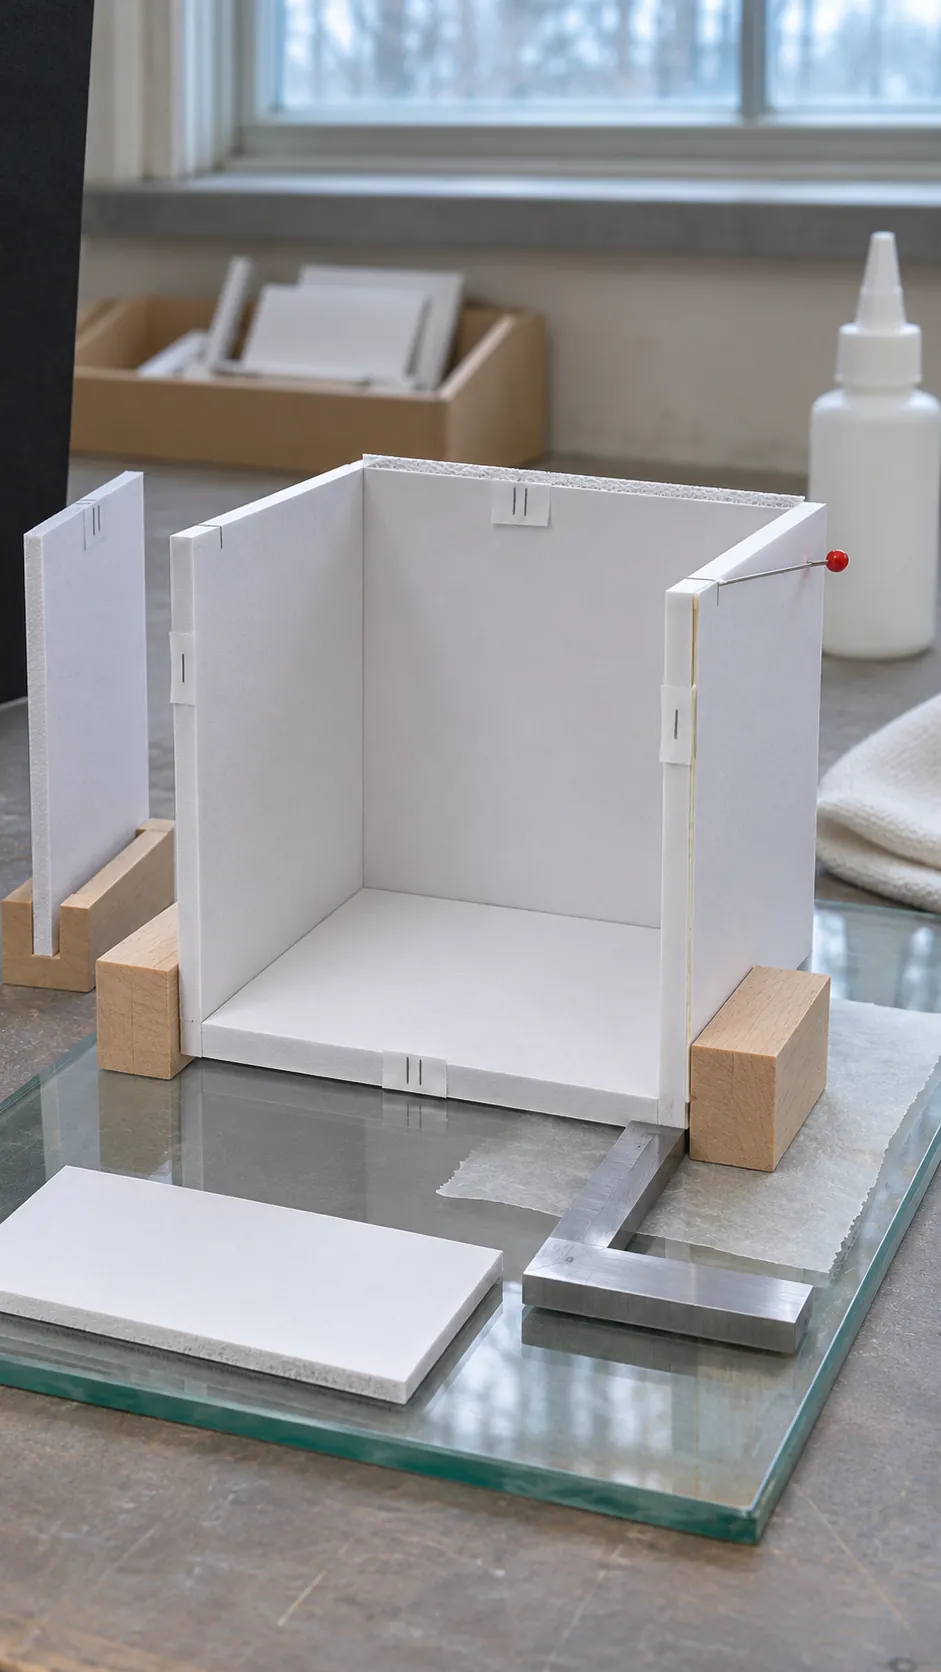
Cut the back first, then cut two matching sides. Decide whether the top and bottom fit between the sides or cover their edges, and keep that choice consistent. If the pieces fit between the sides, subtract two material thicknesses from their width. Make several light knife passes against the metal ruler instead of trying to cut through in one stroke.
Dry fit the box on a flat surface. Check both diagonals across the front opening; equal diagonals indicate a square box. Apply a thin glue line, press the pieces against a square block, and let the first joints become firm before adding force. Excess glue creates a rounded interior corner that can interfere with shelves or drawers.
Build doors that keep an even reveal
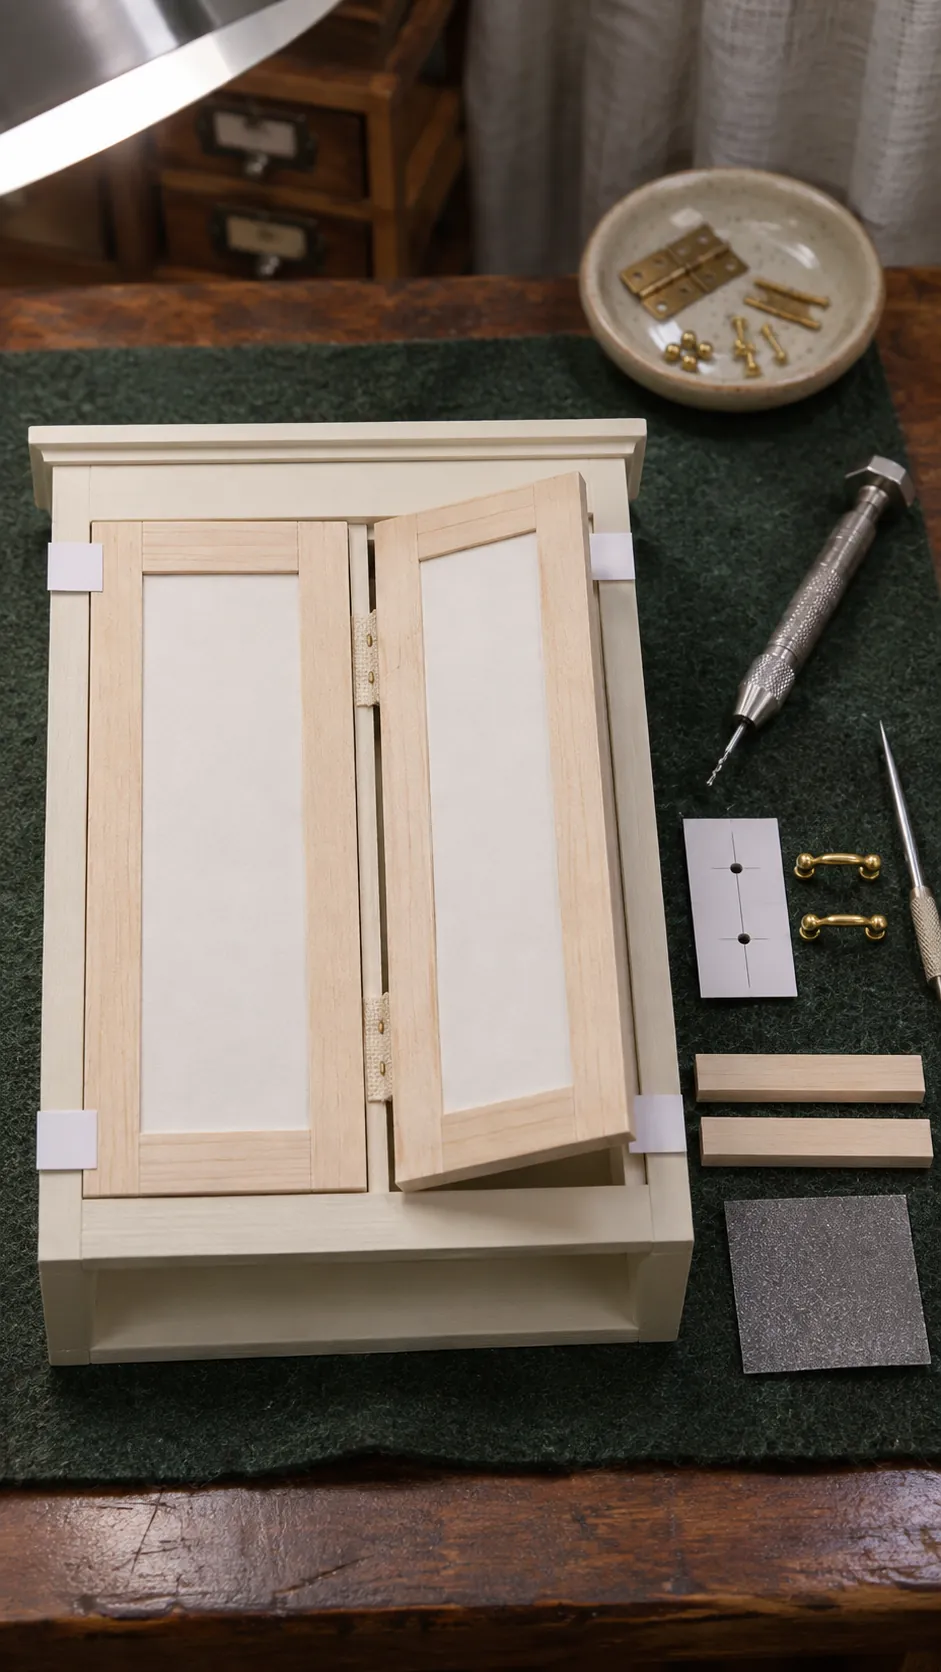
Overlay doors sit in front of the cabinet opening and are easier to fit than inset doors. Cut each door slightly larger than its opening, then place thin paper spacers around it to establish a consistent reveal. For a Shaker look, add four narrow cardstock or basswood rails around a flat center. Cut opposite rails together so their lengths match.
Tiny fabric tape, paper hinges, or miniature metal hinges can make the doors move. Test hinge placement on scrap before committing to the finished front. If you prefer a fixed display cabinet, glue the doors with equal gaps and focus on alignment. Small beads, clipped wire, or commercial miniature pulls work as handles, but drill or pierce their holes before final paint.
Fit a working miniature drawer
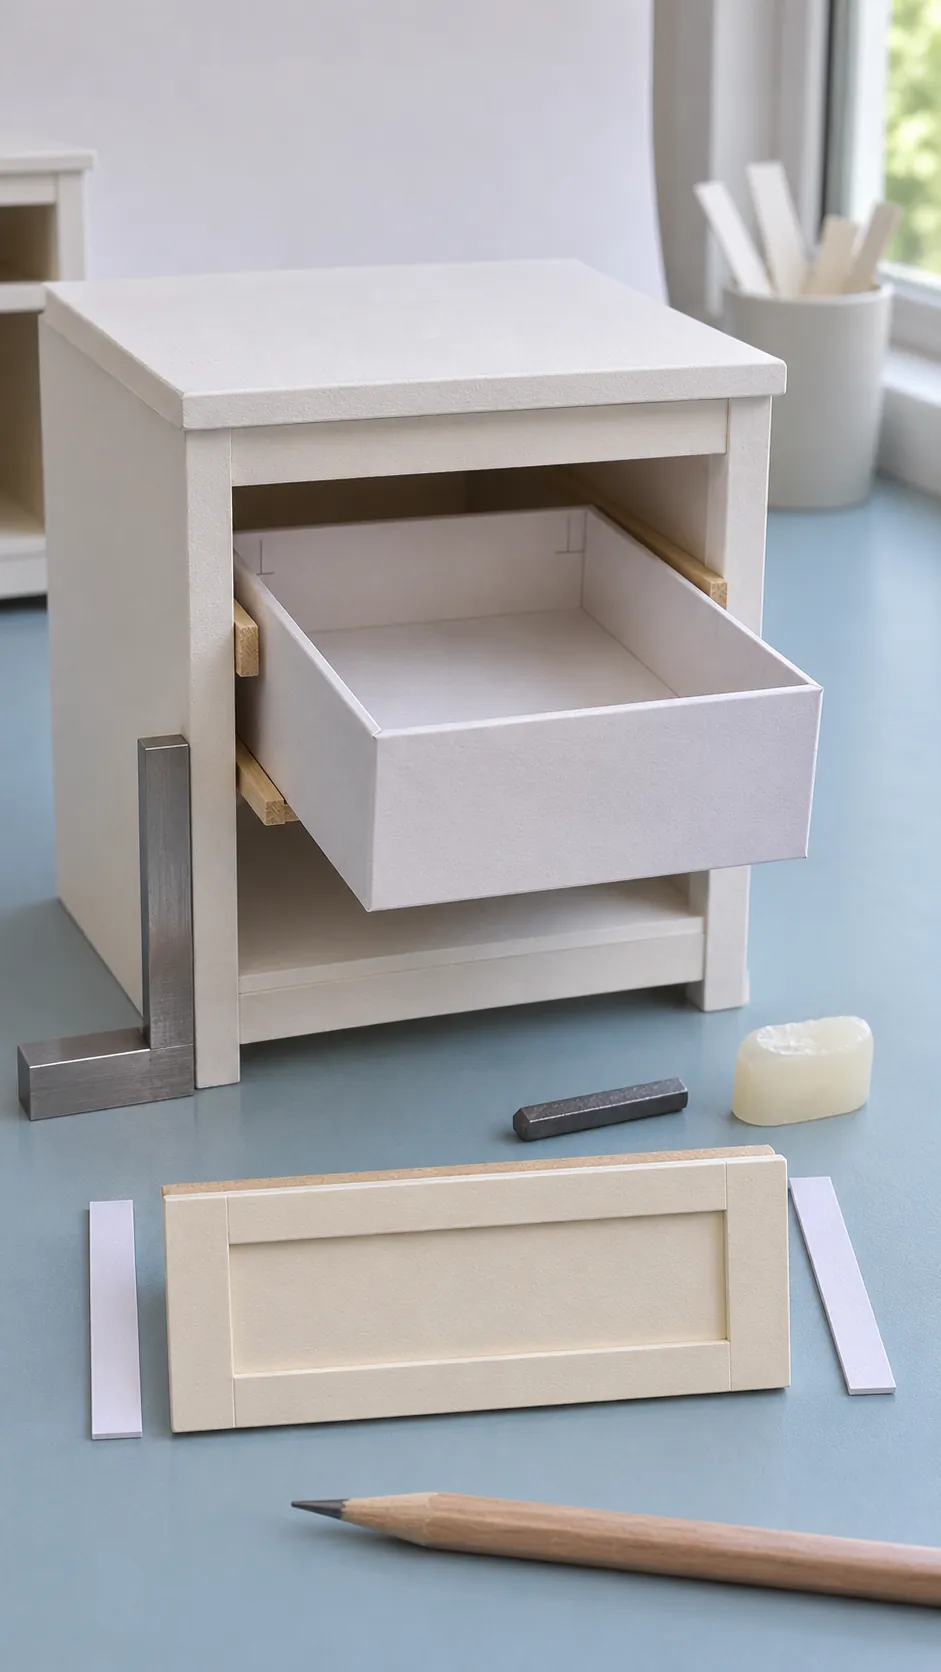
A working drawer needs clearance as well as a square opening. Measure the clear width inside the cabinet after assembly. Build the drawer box narrower than that opening and test it before attaching the decorative front. Thin cardstock often works better than foam board for the drawer sides because it preserves more interior space and reduces friction.
Simple runners can be narrow cardstock or basswood strips fixed level on both cabinet sides. Rub a tiny amount of plain candle wax on the contact surfaces if the fit remains tight after paint. Attach the drawer front only after the box slides freely. Use temporary paper spacers to center the front, then glue it in place without letting adhesive reach the runners.
Seal, paint, and install the cabinet run
Seal exposed foam edges with lightweight filler, paper strips, or narrow wood trim. Sand only the filler or trim, not the paper face of the foam board. Apply thin coats of acrylic paint with a soft brush or small foam applicator. Heavy wet coats can warp a panel and fill the carefully planned door gaps.
Make the counter from layered card, basswood, or a foam board strip with a finished front edge. Dry fit every cabinet in the dollhouse before joining the run. Shim beneath a low unit with thin card, then connect neighboring boxes and add one continuous toe kick. The finished group will look more convincing when counters align, gaps repeat, and every door can open without touching the next cabinet.