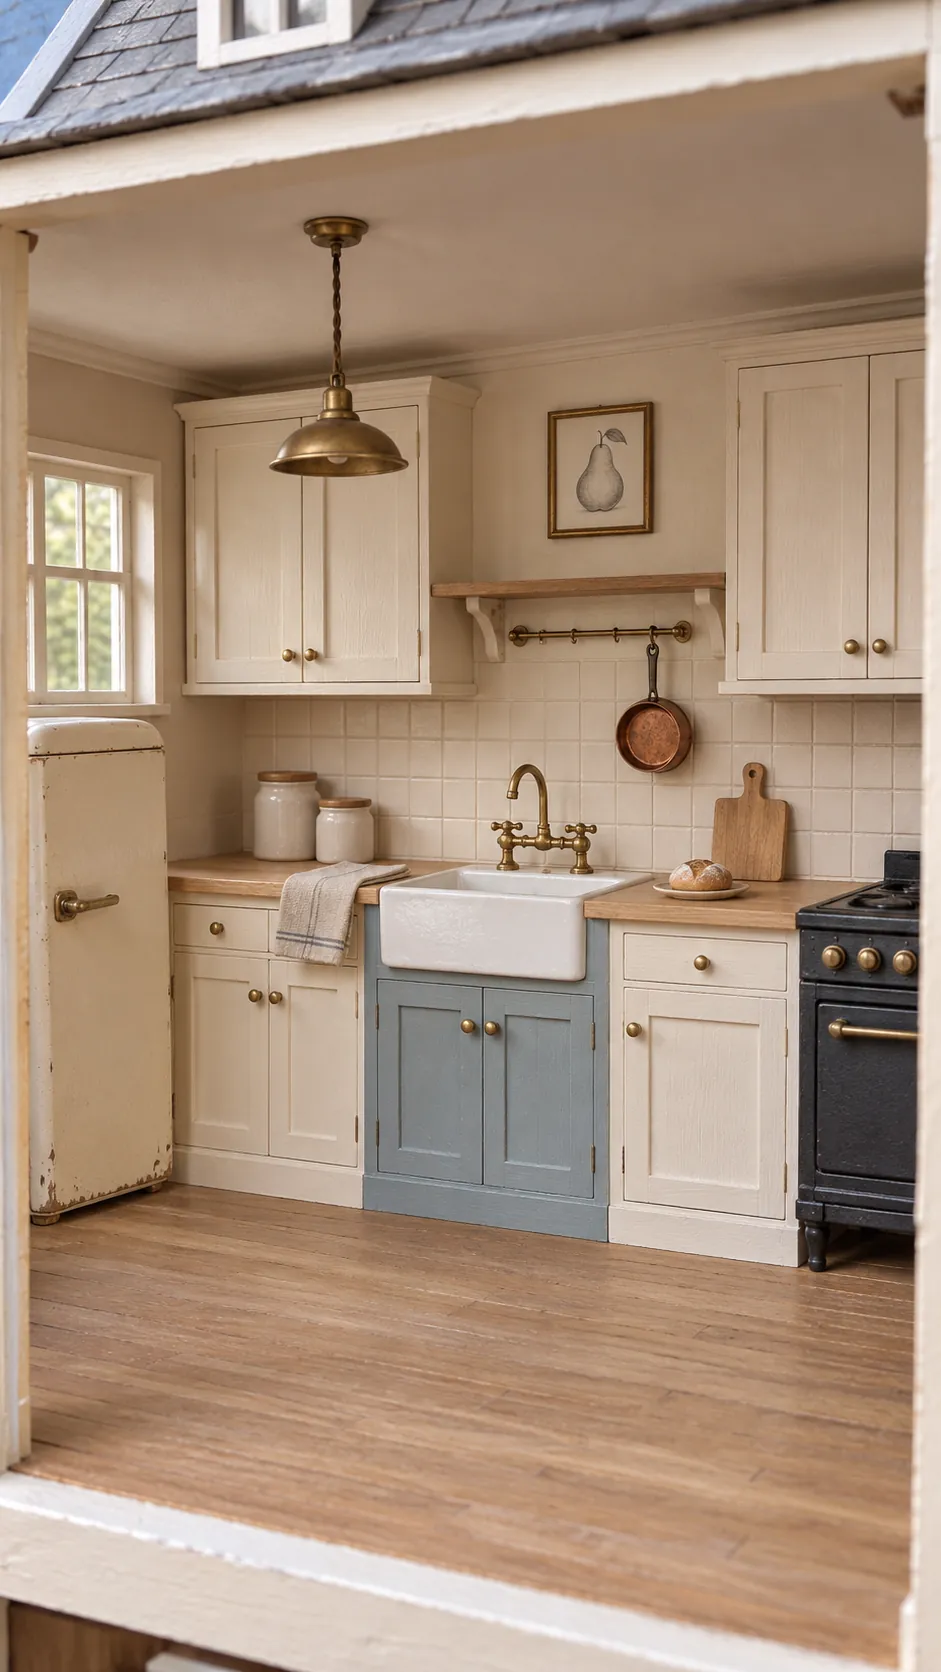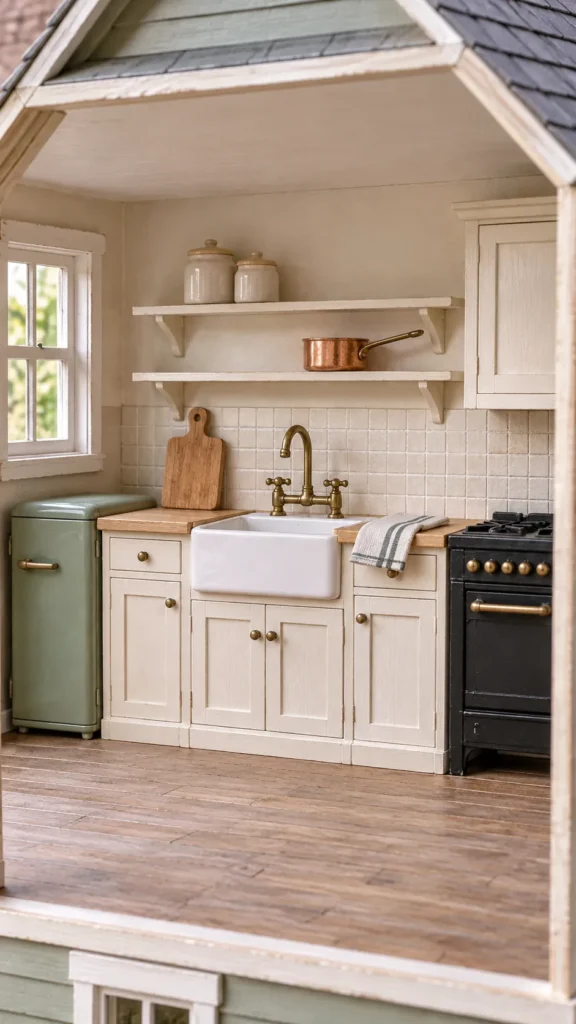
A tired miniature kitchen can absorb money quickly because every small purchase feels harmless. The real savings come from deciding what the room needs before buying anything. Keep the pieces that fit, improve the surfaces that attract attention, and spend only where a tiny detail changes the whole scene.
Set a budget and choose one focal change
Start by removing loose accessories and taking a straight photograph of the room. List what is actually damaged, what only needs paint, and what already works at the correct scale. Choose one focal change, such as fresh cabinets, a new backsplash, or a better sink wall, then let the other choices support it.
A simple spending plan keeps the makeover coherent. Reserve most of the budget for the material that will be hardest to imitate, then use paint, paper, thin wood offcuts, and saved hardware for the rest. Measure every wall and cabinet face before shopping because one accurate sheet of material is cheaper than several attractive pieces that do not fit.
Prepare old cabinets before painting
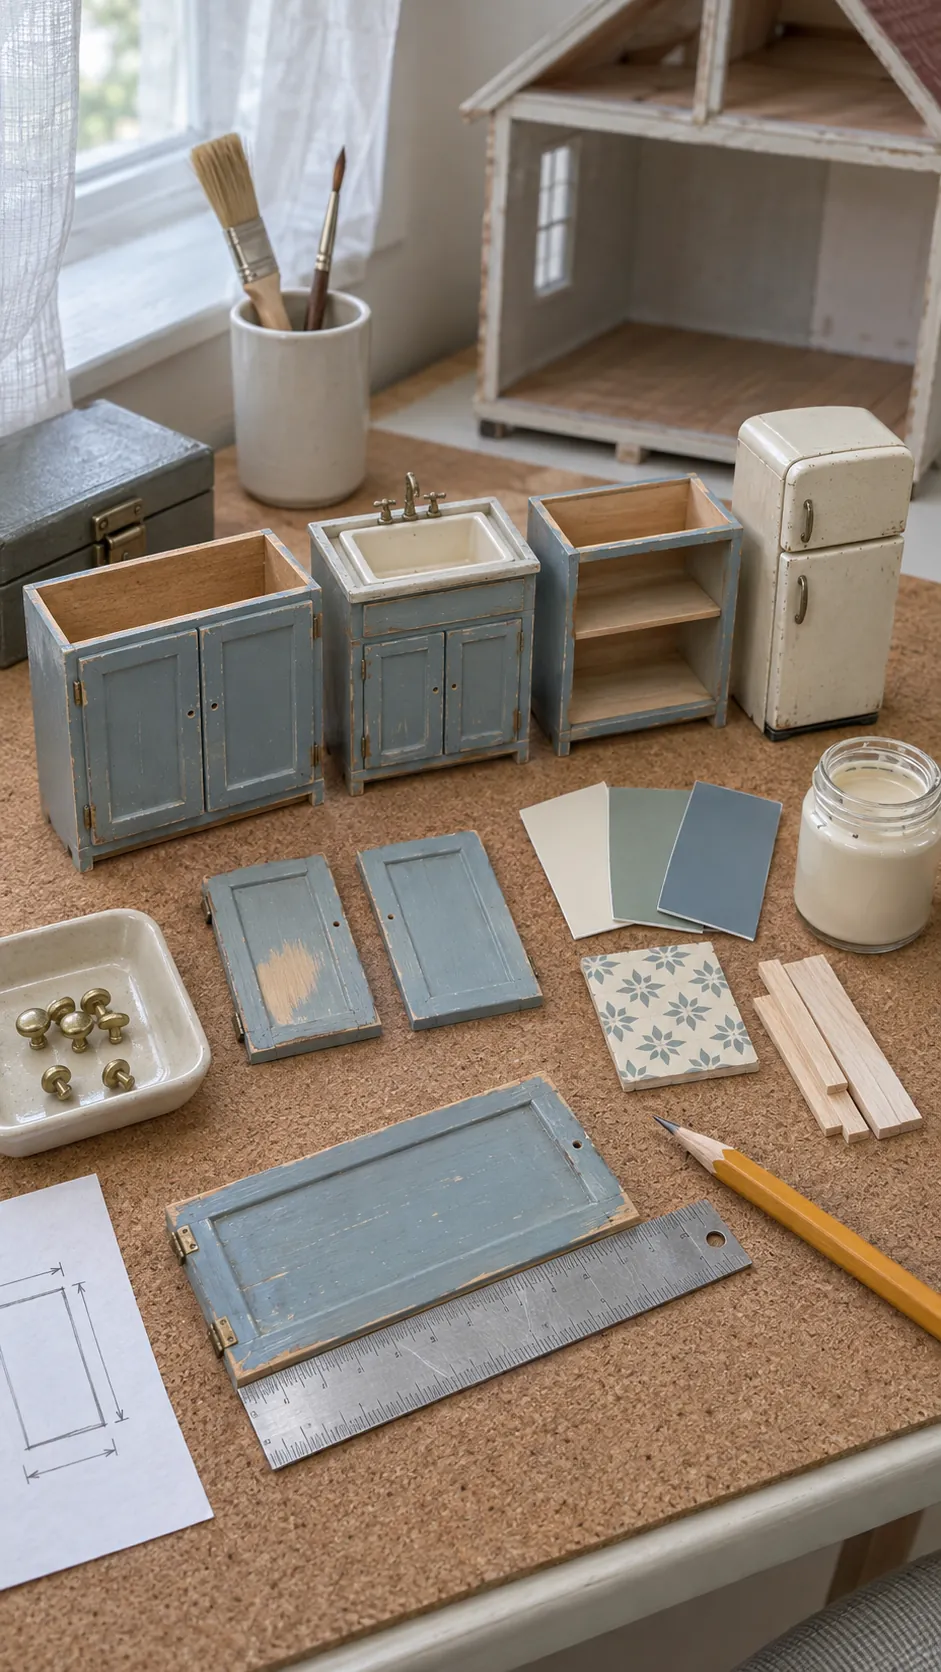
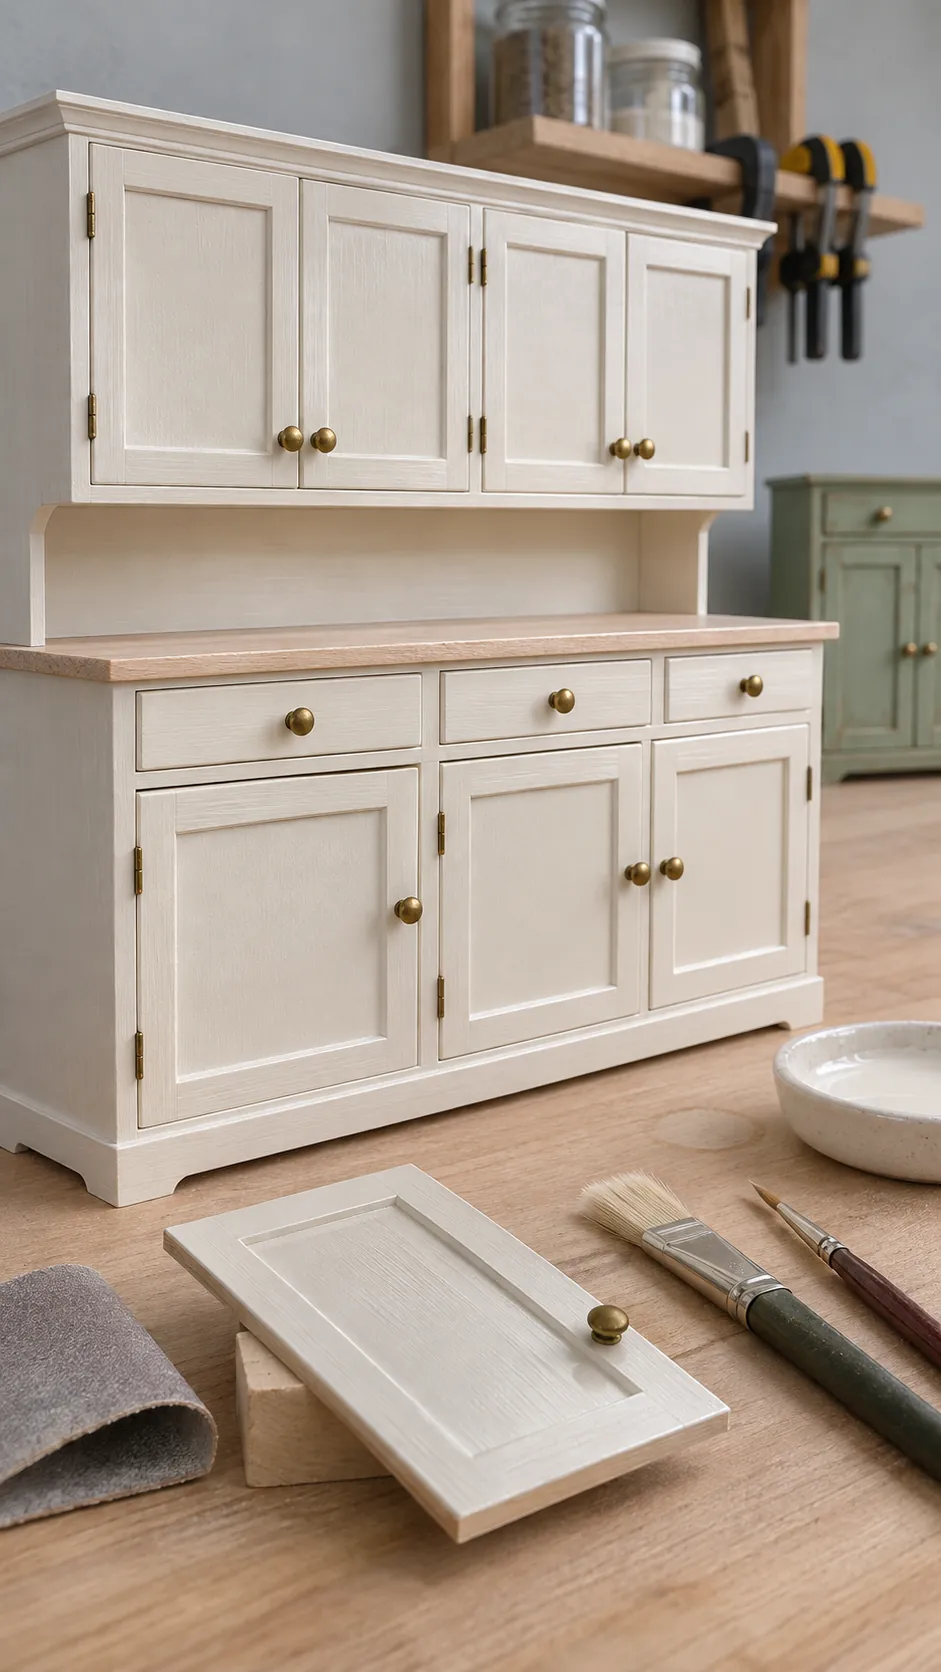
Preparation matters more than the paint brand. Remove knobs when possible, clean away dust and old adhesive, and smooth rough edges with a fine abrasive. Test the finish on the back of one door so you can see whether the original coating repels water based paint.
Use several thin coats instead of one heavy coat that fills door lines and hinge details. A small flat brush can level broad faces, while a pointed brush reaches corners without flooding them. Let each layer dry fully before turning the cabinet because fingerprints look enormous at miniature scale.
Make a convincing backsplash from inexpensive material
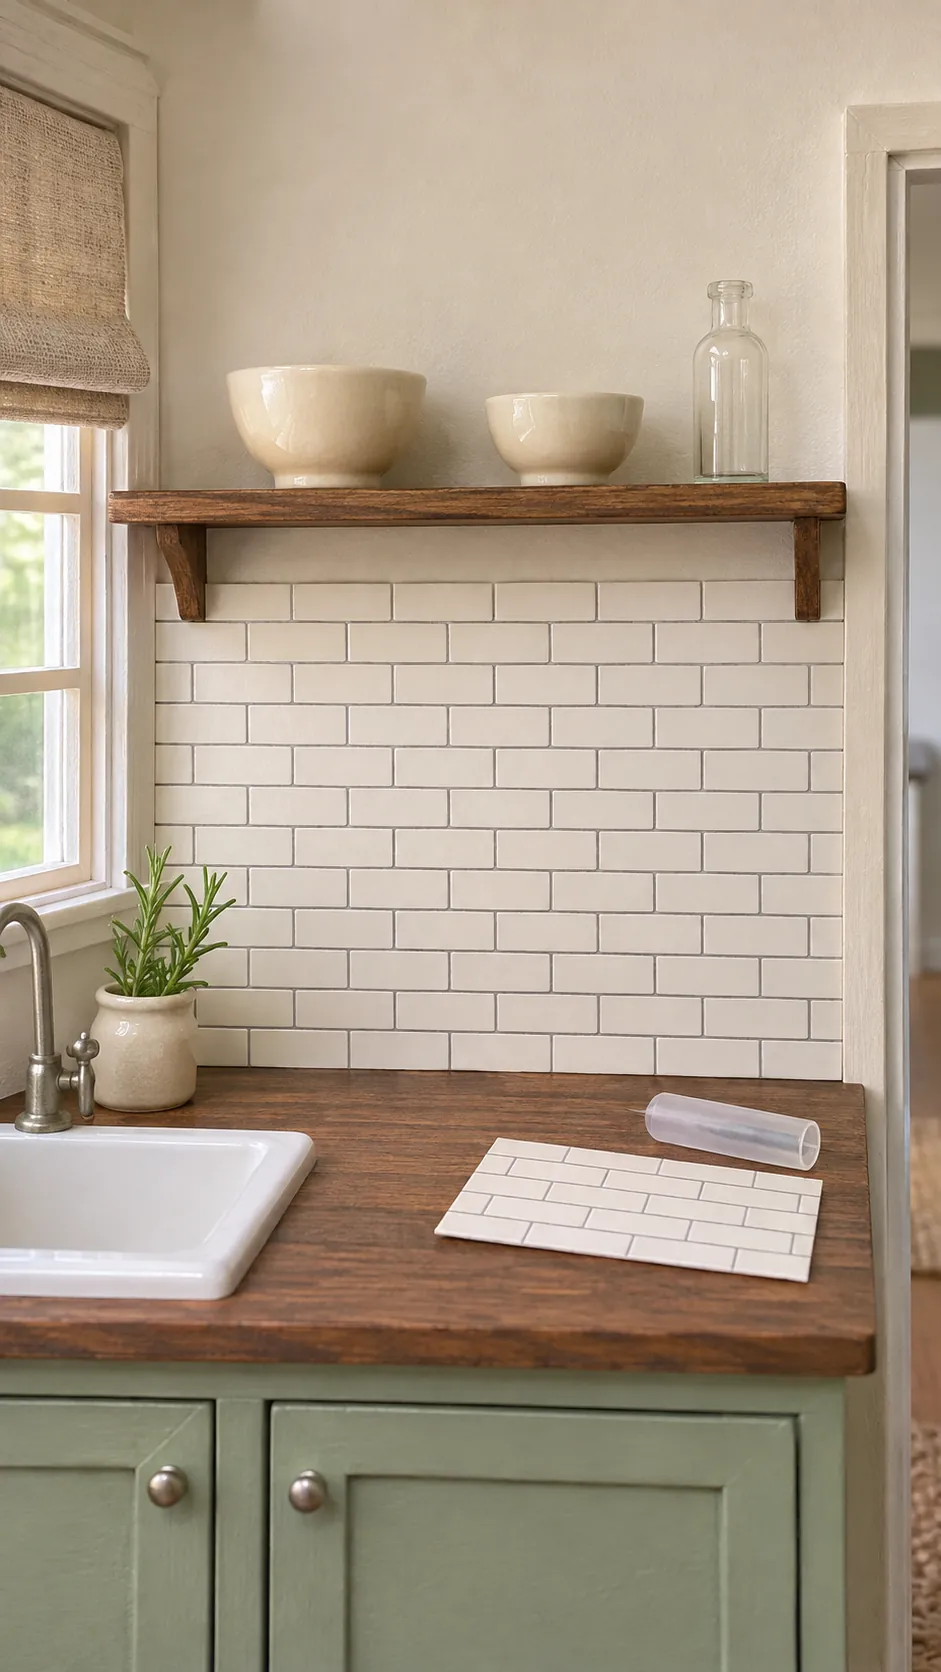
A backsplash adds pattern at eye level, so it can make plain cabinets feel intentional. Printed paper is the least expensive option, but seal it lightly before installation if ink smears when damp. Thin card can also be scored into tile lines, painted, and finished with a restrained satin sheen.
Keep the pattern proportional to the room. Large real world tiles become small rectangles in a one to twelve scale kitchen, while an oversized print makes the wall resemble wrapping paper. Cut one test strip, place it behind the counter, and view the whole room from normal display distance before covering the wall.
Build a sink and worktop from saved scraps
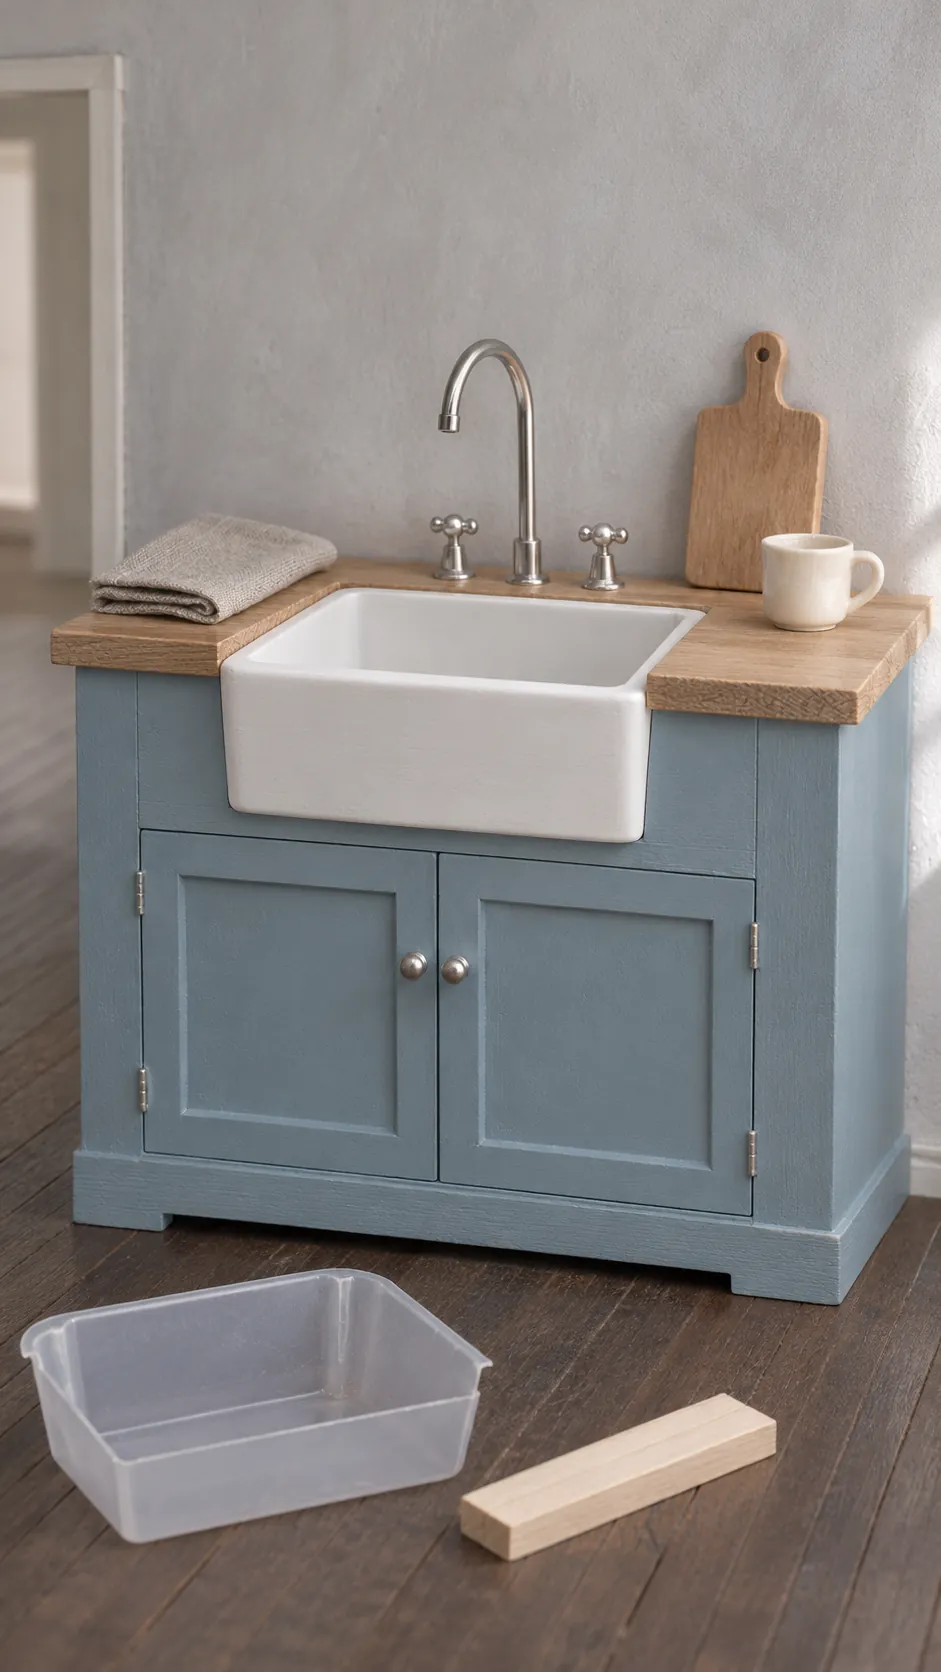
Household packaging often contains useful shapes, but the final piece should still look designed. A shallow plastic tray can become a Belfast style sink after careful trimming, sanding, primer, and paint. Thin craft wood or sturdy card can form a worktop when its front edge is neatly wrapped or capped.
Check the sink against the cabinet and a miniature figure before gluing it in place. The bowl needs enough depth to read clearly without consuming the whole base unit. Add a simple faucet from bent wire or a purchased fitting only after the worktop sits level, since a crooked counter will make every later detail look wrong.
Improve the layout without replacing everything
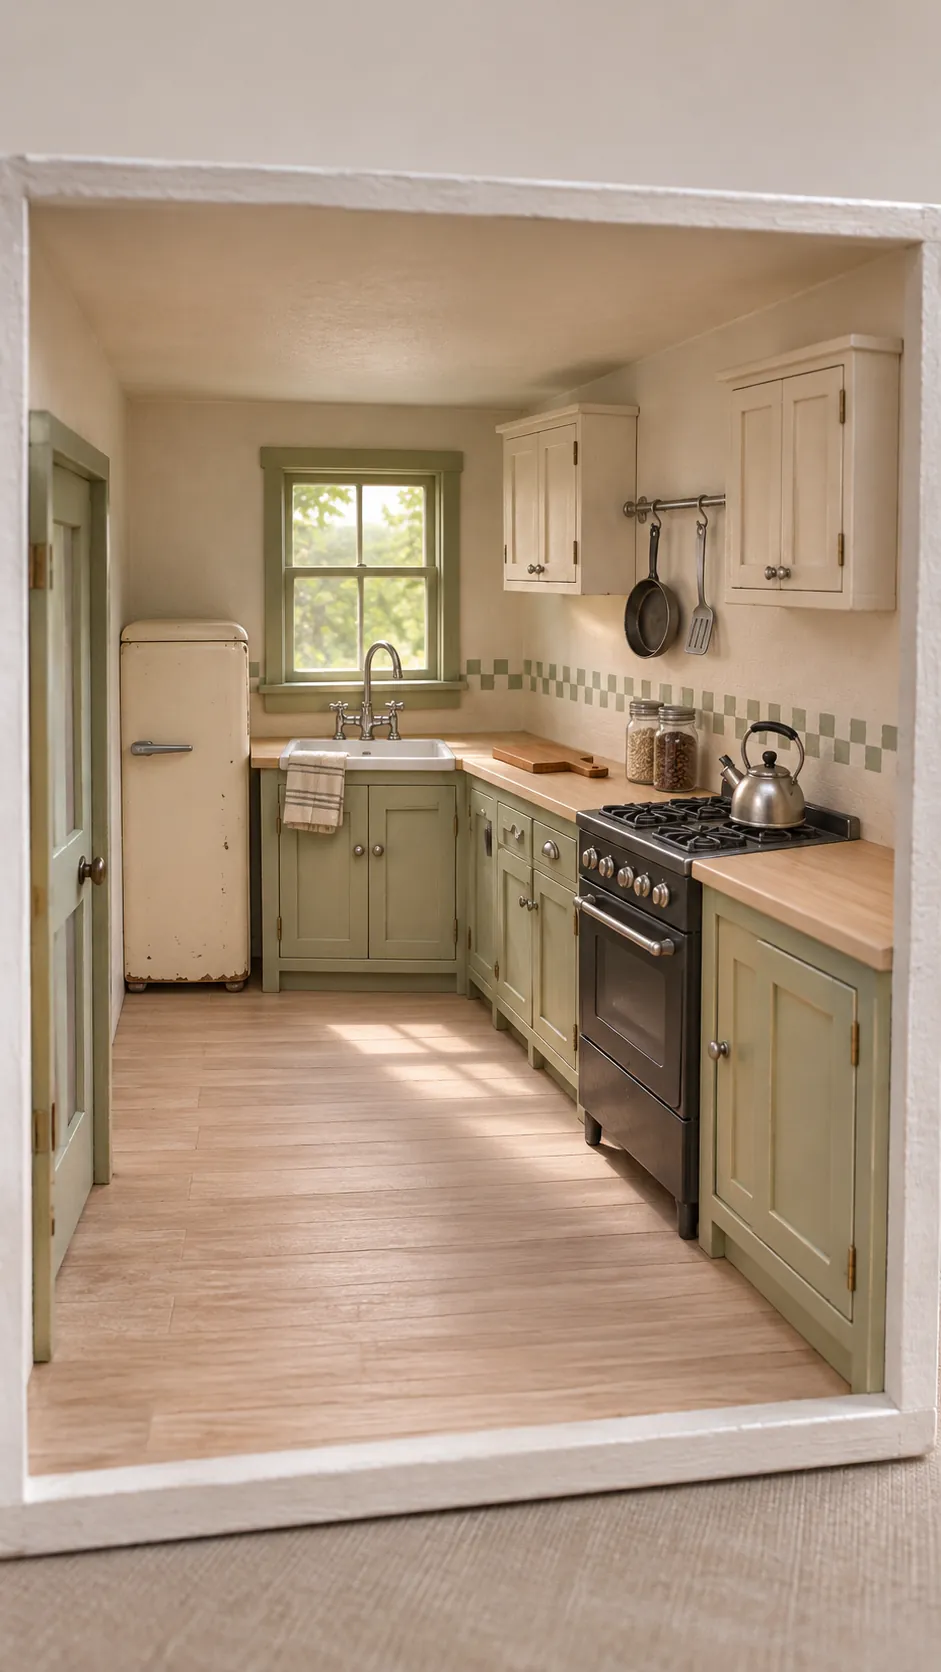
Before fixing furniture permanently, arrange the refrigerator, sink, and cooker so each remains visible from the open side of the dollhouse. Leave a believable path through the center and avoid placing a tall piece where it blocks a window. In a narrow room, one uninterrupted counter often looks calmer than several isolated units.
Use height to gain detail without crowding the floor. A shallow shelf, rail, or narrow upper cabinet can hold two or three useful objects and create a finished wall. Keep doors and drawers able to open if they are functional, and check that handles do not collide at inside corners.
Finish with a few scale accurate details
Accessories should explain how the kitchen is used, not fill every surface. Choose a cutting board, one pan, a folded towel, and a small group of pantry items that share the same scale. Repeating one metal finish across knobs, faucet, and light fitting also makes mixed budget materials feel related.
Step back after every addition and photograph the room again. Remove anything that hides the new cabinet lines or makes the counter impossible to use. The strongest before and after result usually comes from cleaner proportions, better color balance, and careful preparation rather than the greatest number of new objects.