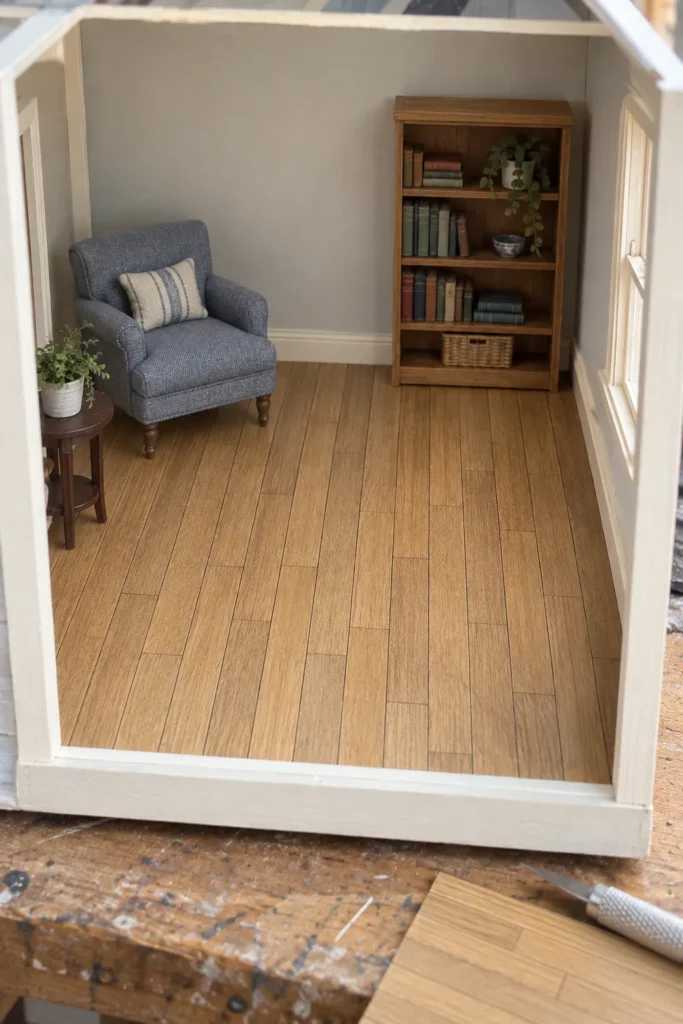
Dollhouse Wood Flooring Printable in 1:12 Scale
The direction of the boards changes a tiny room as much as the stain color does. Long planks can pull the eye toward a window, while short lengths across the doorway can make the floor feel busy. This printable uses narrow honey oak boards and staggered end joints so you can test a wood look before cutting individual craft sticks.
Open the preview or the button in a new tab and save the full size image from there. The sheet is a complete flat plank pattern. Print a small portion first to decide whether the board width suits your one twelfth scale furniture.
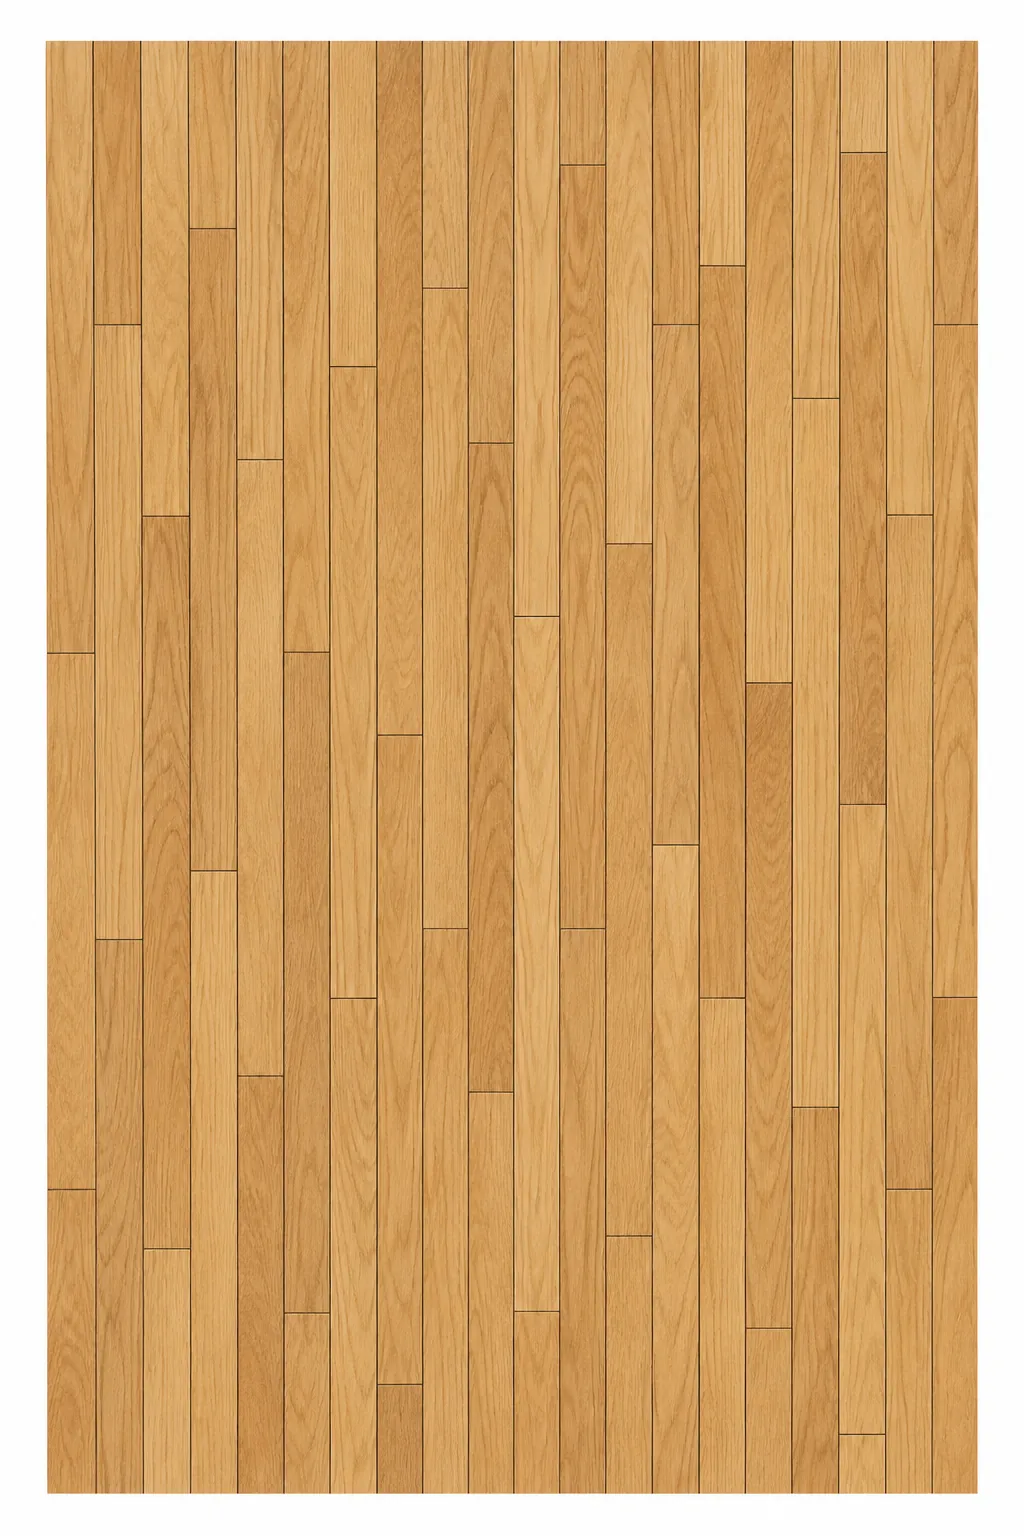
Download high-resolution printable
Set a believable board width
A five inch real plank becomes a little over two fifths of an inch at 1:12 scale. Measure several printed boards together and divide by the count, since one dark joint can mislead your ruler. If the result looks too wide beside a miniature chair leg, reduce the print percentage in small steps and run another proof.
Use the same app and printer settings for the final sheets as for the proof. Automatic fit settings can change the dimensions, even when the saved image itself has not changed. Check both board width and the relative size of the end joints before cutting.
Choose which way the planks should run
Place a plain paper floor template on the sheet and rotate it in the room opening. Boards running from the door toward the back wall often lead the view into a narrow room. In a wider room, running them along the longest wall may be calmer. Choose the direction while you can still move the template, not after adhesive touches the floor.
Keep the printed board joints from lining up in long crosswise stripes. The sheet has staggered end joints, so trim with the pattern direction in mind and avoid joining two copies where end joints meet awkwardly. A rug can cover a necessary seam, but it should not have to hide an entire misaligned floor.
Build a smooth removable floor
Cut the print a little beyond the template, then mount it on a thin smooth card and press it flat while it dries. Trim the mounted piece to the room shape only after the bond has set. This produces a lift out panel that can be replaced later, a useful choice if you are still deciding between paper and real wood strips.
Test glue and any protective coating on an extra strip. Wet products may buckle printer paper or alter the honey color. A matte finish suggests worn domestic boards; a restrained satin finish can suggest recently polished wood if your miniature room calls for it.
Make the edges look intentional
Fit the panel under baseboards when possible and keep a neat line at the doorway threshold. If your room needs two printed pieces, align the long plank edges first and place the join where furniture will interrupt the view. Look from the normal dollhouse viewing angle before fixing the panel; the final test is whether the floor supports the room instead of announcing itself as a printed sheet.