How to Add Wall Molding to a Hallway: Layout, Fitting and Finish
A crooked rectangle is easy to spot in a corridor because you see it beside door frames every day. The most valuable work happens before cutting: choosing a shallow profile, resolving the spacing and checking what the wall will accept. With that plan settled, installation becomes a sequence of small assemblies you can check one at a time.
Choose the molding before drawing the boxes
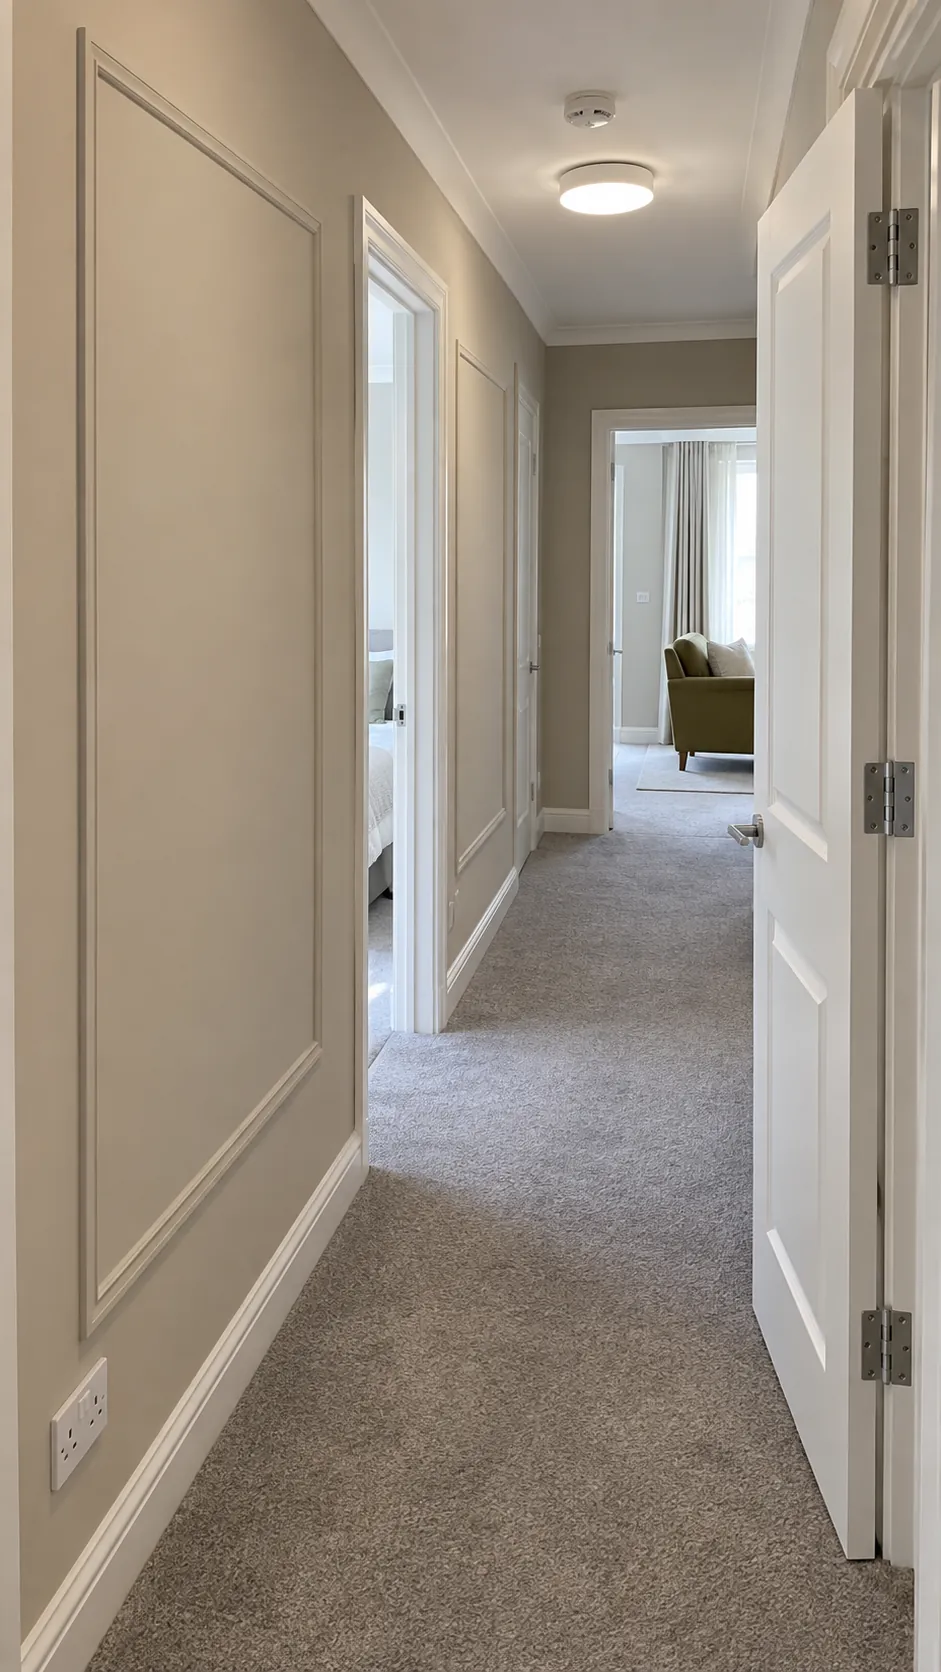
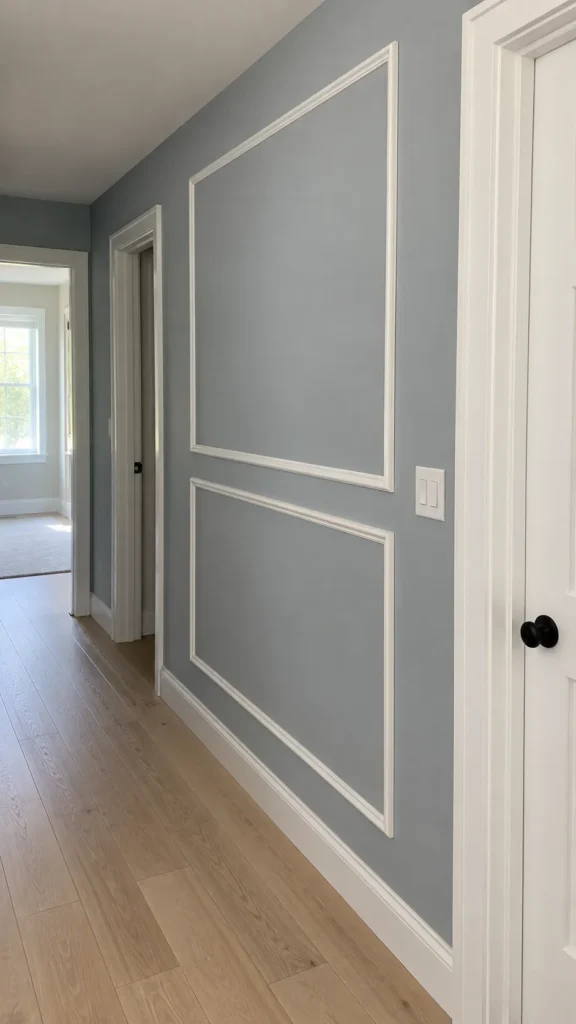
Start with the simplest version of this project: applied picture frame molding on a sound painted wall. This creates shallow rectangles with the existing wall visible inside them. It differs from full wainscoting in hallways, which may involve backing panels, rails and a larger build out. Decide which construction you want before buying material, because the thickness and installation work are different.
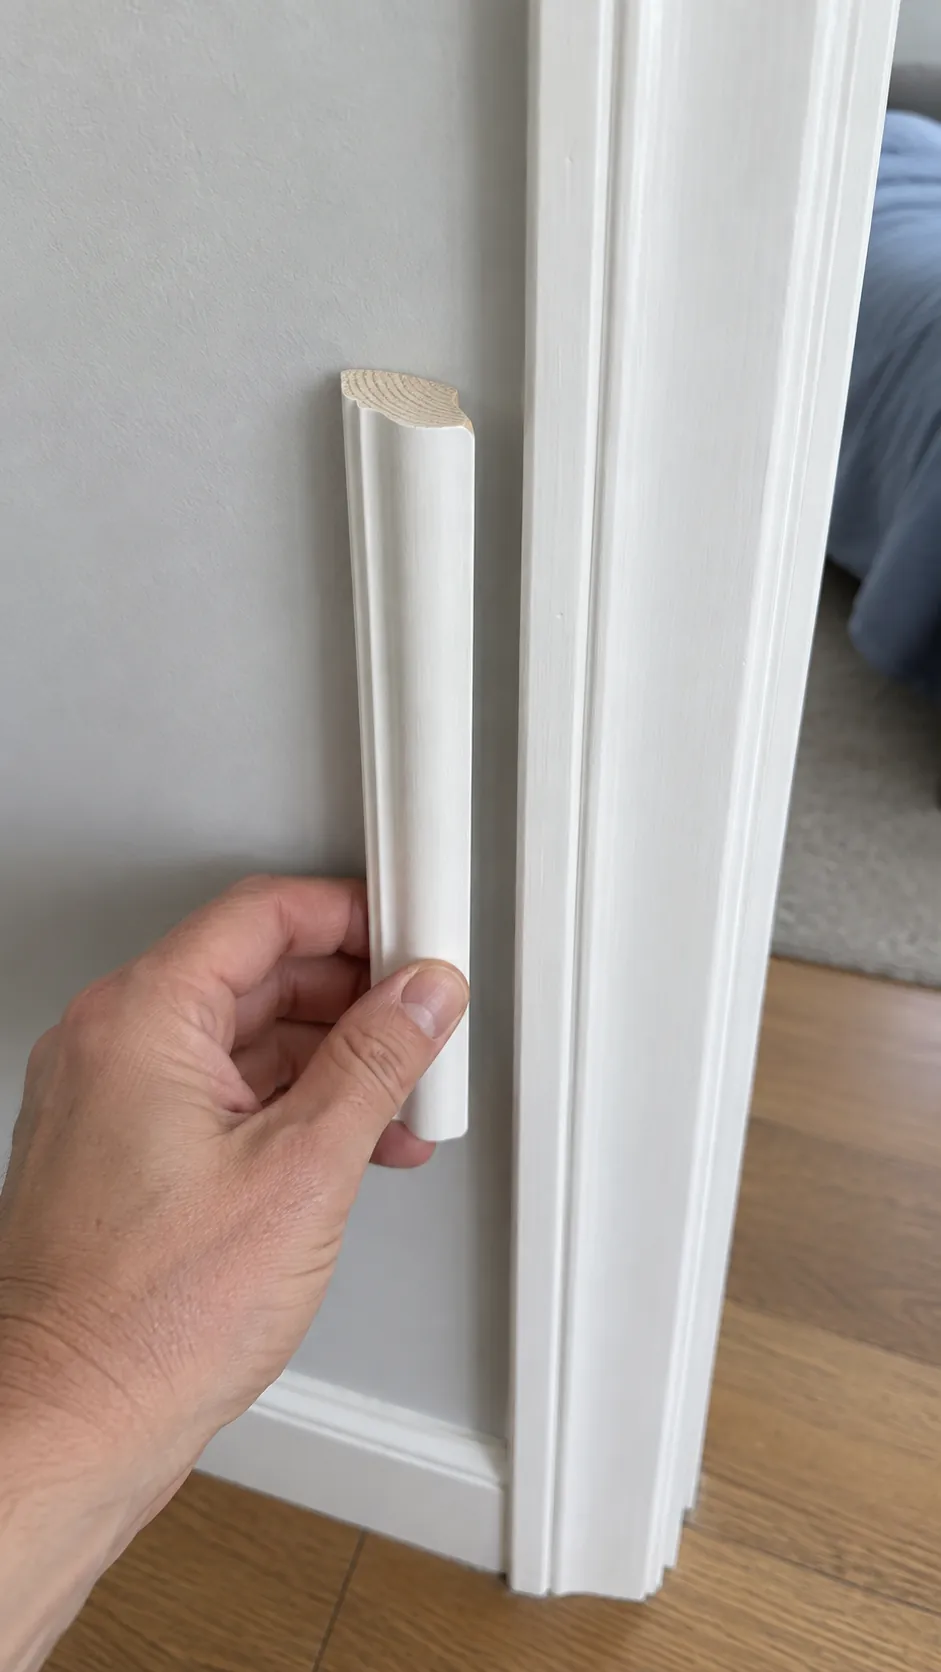
Hold a short sample beside the existing door casing and skirting. A profile that looks delicate in the shop may stand proud of thin apartment trim or catch a shoulder in a tight passage. For wall trim for narrow hallway projects, judge the complete projection and walk past the sample carrying your usual bag. Primed MDF can be convenient in dry interiors, while timber and other products have different moisture, fastening and finishing requirements.
Read the selected molding and adhesive instructions together. Confirm the substrate, suitable fixings, acclimation requirements and paint system rather than assuming every lightweight profile installs the same way. If you rent, get any required permission before attaching trim, since adhesive and nails can both leave repairs.
Map the wall around doors and controls
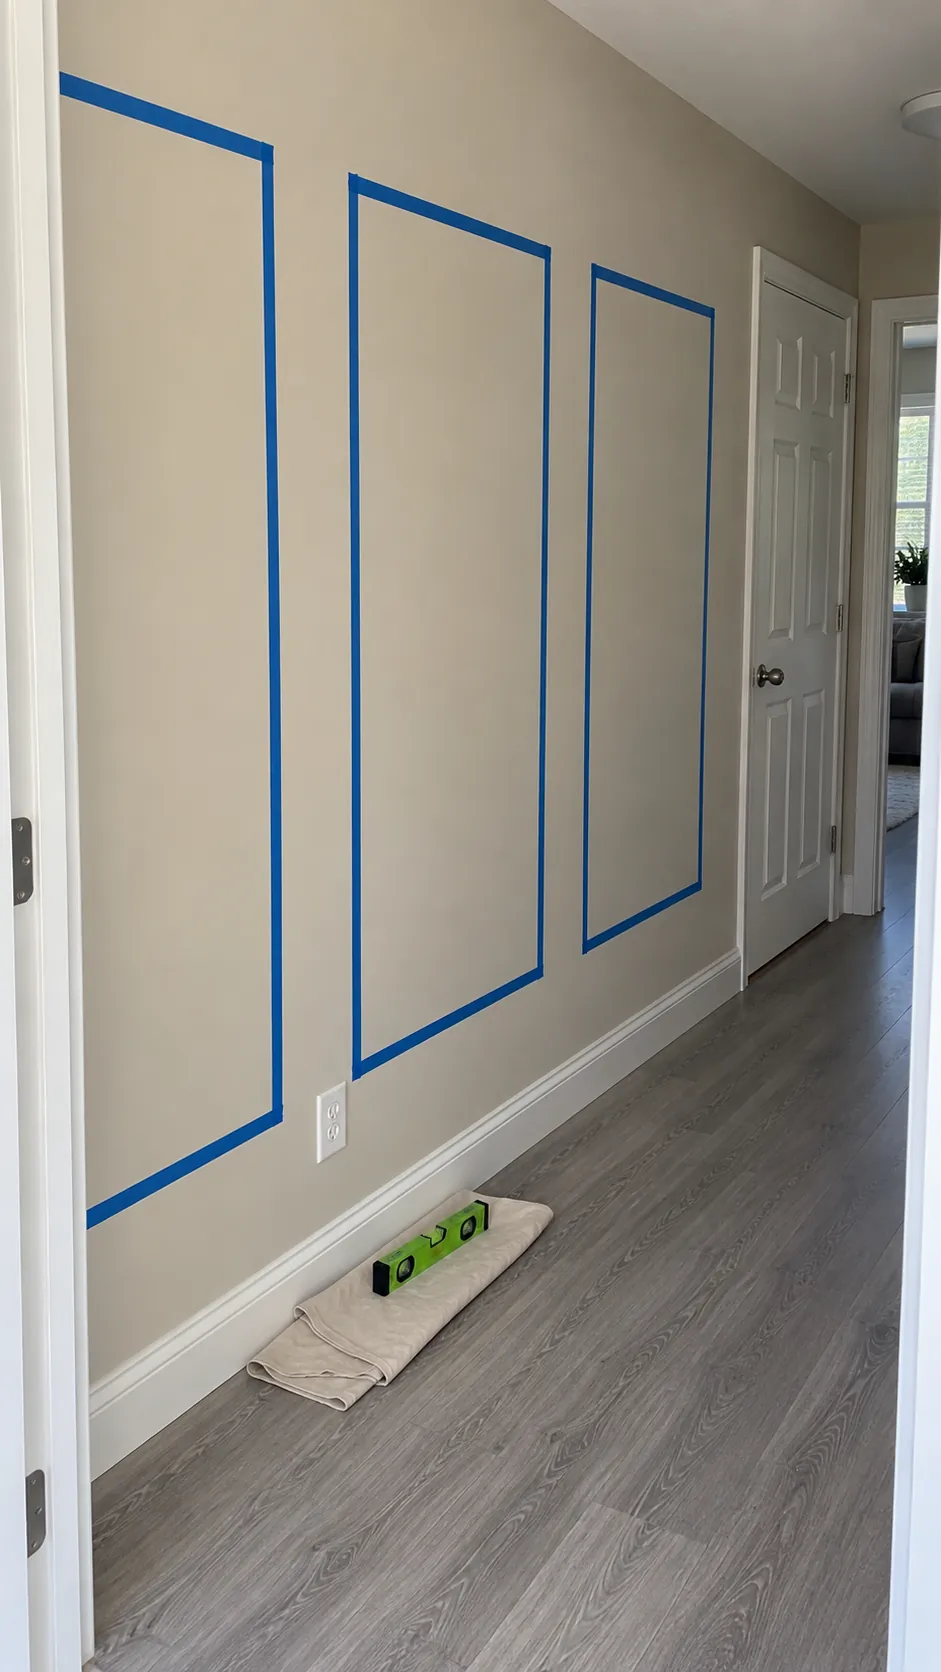
Measure each uninterrupted wall section separately, recording its width and the positions of sockets, switches, thermostats, radiators and door trim. Check the wall at more than one height if the building is uneven. Mark planned outer molding edges with a surface appropriate removable tape, then view the arrangement from both ends of the corridor. Keep controls fully accessible and leave enough space to remove their faceplates later.
For equal boxes on one clear wall, subtract the two outside margins and all gaps between boxes from the usable width, then divide the remainder by the number of boxes. For example, a 120 inch wall with two 4 inch outside margins and two 4 inch gaps leaves 104 inches for three boxes. Each outer box width is therefore about 34.7 inches. This example describes the outside edges of the molding, so use the same reference when making the cut list.
Do not force that width onto every other wall section. Consistent top and bottom lines and deliberate margins can connect the hallway picture frame molding even when individual boxes differ in width. Choose whether a chair rail is part of the design, and set its position in relation to the existing architecture rather than relying on a universal height. A taped preview is cheaper to change than a glued rectangle.
Use a level or laser to establish your main reference lines. Floors and ceilings may slope, so compare the level layout with those visible edges before fixing anything permanently. If a slope makes the gap look noticeably uneven, adjust the overall design or seek a finish carpenter's advice instead of quietly tilting every box.
Prepare the surface and make a measured cut list
Clean the wall as the adhesive and paint system require, repair loose or damaged areas and let repairs dry fully. Remove only the fittings needed for safe preparation, keeping electrical work within your competence and local requirements. Before sanding old painted surfaces, assess whether hazardous coatings may be present and use the appropriate testing and controls. Protect the floor and keep a usable route through the home.
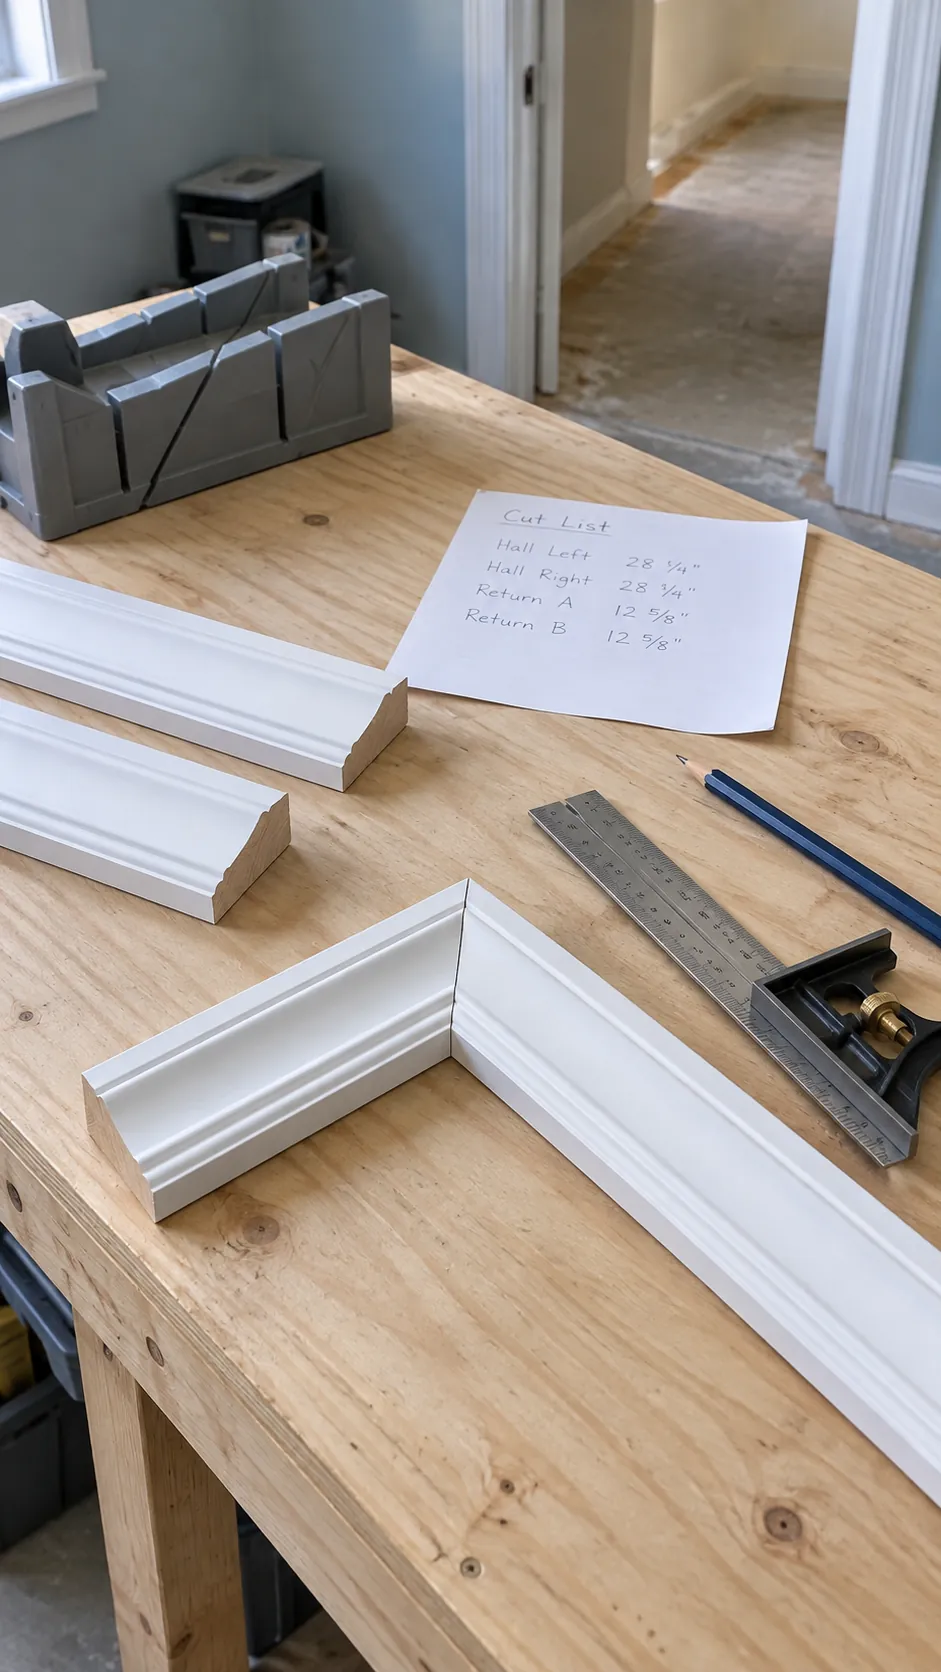
Label every rectangle and record its outside width and height. Standard square picture frames commonly use four 45 degree miter cuts, but the cut orientation matters as much as the number. Mark the visible face and the long point of each piece, and include saw kerf and reasonable waste when estimating stock. Recheck the actual profile against your chosen measurement reference before cutting a batch.
Set up a stable cutting station away from the narrow passage. Use the saw maker's guards, work support and protective equipment, and control dust for the material you are cutting. Cut a test corner first, then dry fit one complete rectangle on a flat surface. A repeated measurement is useful only after the first assembly proves it is correct.
Fit and fasten one rectangle at a time
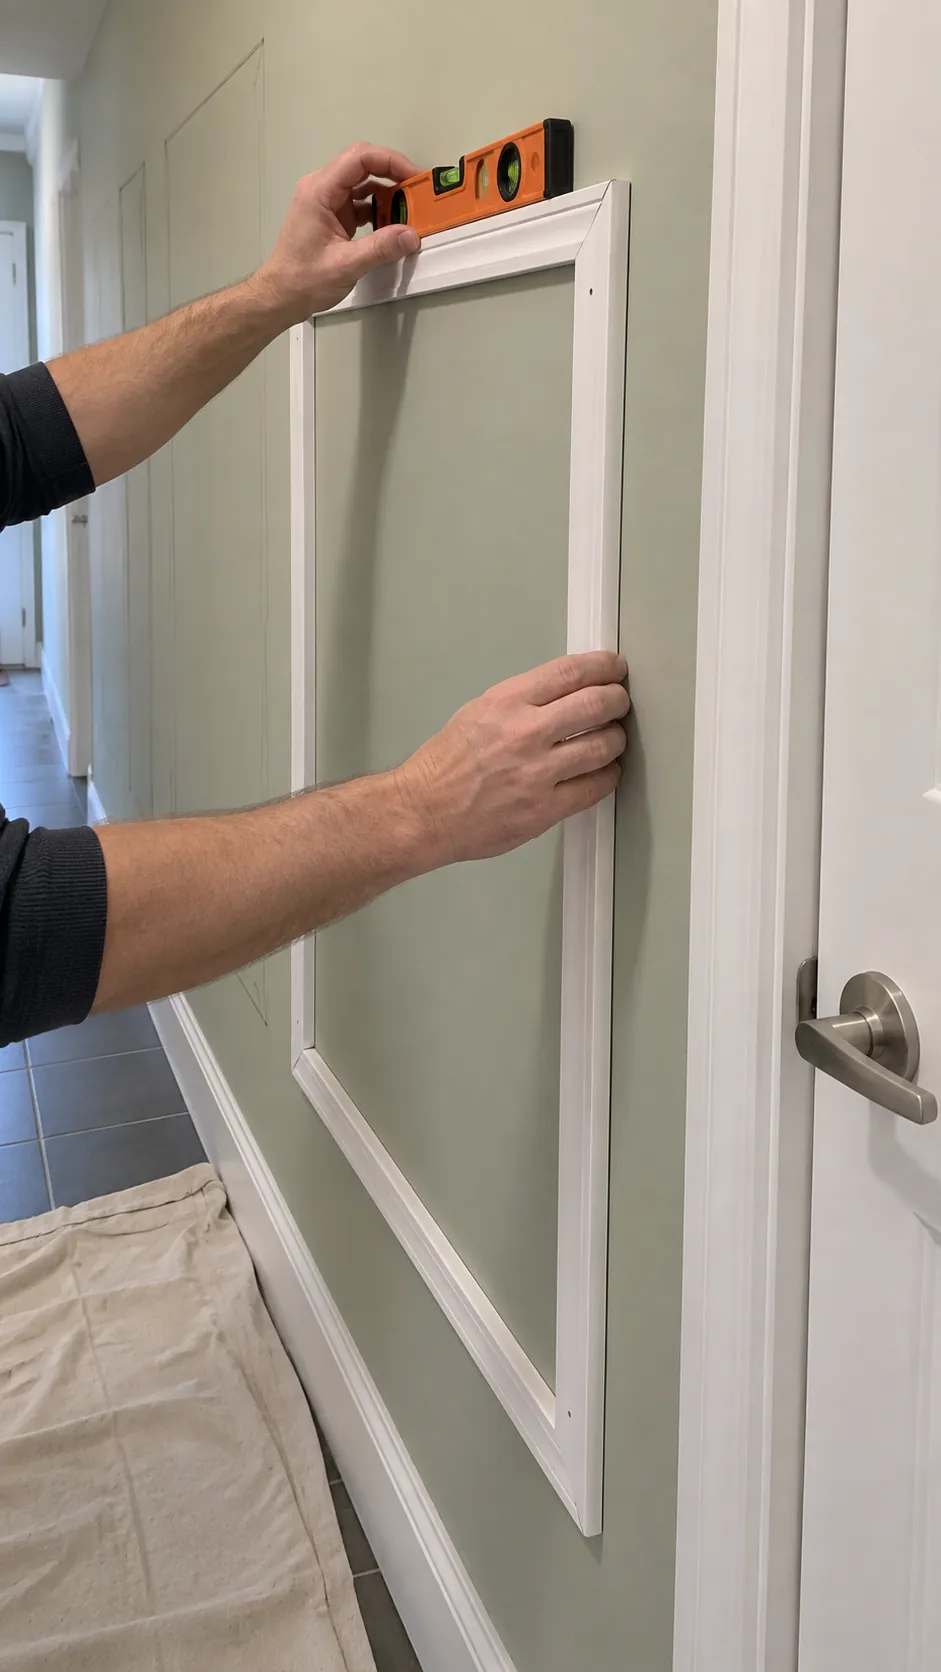
Transfer the approved layout to light reference marks and dry fit the pieces against the wall. Start with one rectangle that establishes the main horizontal line, checking level, plumb and corner fit as you go. Walls that bow can leave small gaps behind straight trim, but forcing the molding hard against every hollow may distort the finished rectangle.
Use the attachment method specified for the molding and wall. A compatible adhesive may need temporary support or suitable mechanical fixings while it cures; nails alone are not automatically appropriate for every profile or substrate. Locate concealed services before driving fasteners, and choose their length and position for the actual assembly. Do not rely on decorative trim to support later hanging loads.
Apply adhesive in the amount and location the manufacturer specifies, then seat the piece without spreading excess across the visible wall. Keep miter faces aligned and wipe away compatible adhesive squeeze out promptly according to its instructions. Recheck the complete rectangle before moving to the next one, since a small error at the start becomes obvious when repeated along a long corridor. Leave any required expansion or movement provision for the chosen material.
Fill small defects and paint the complete surface
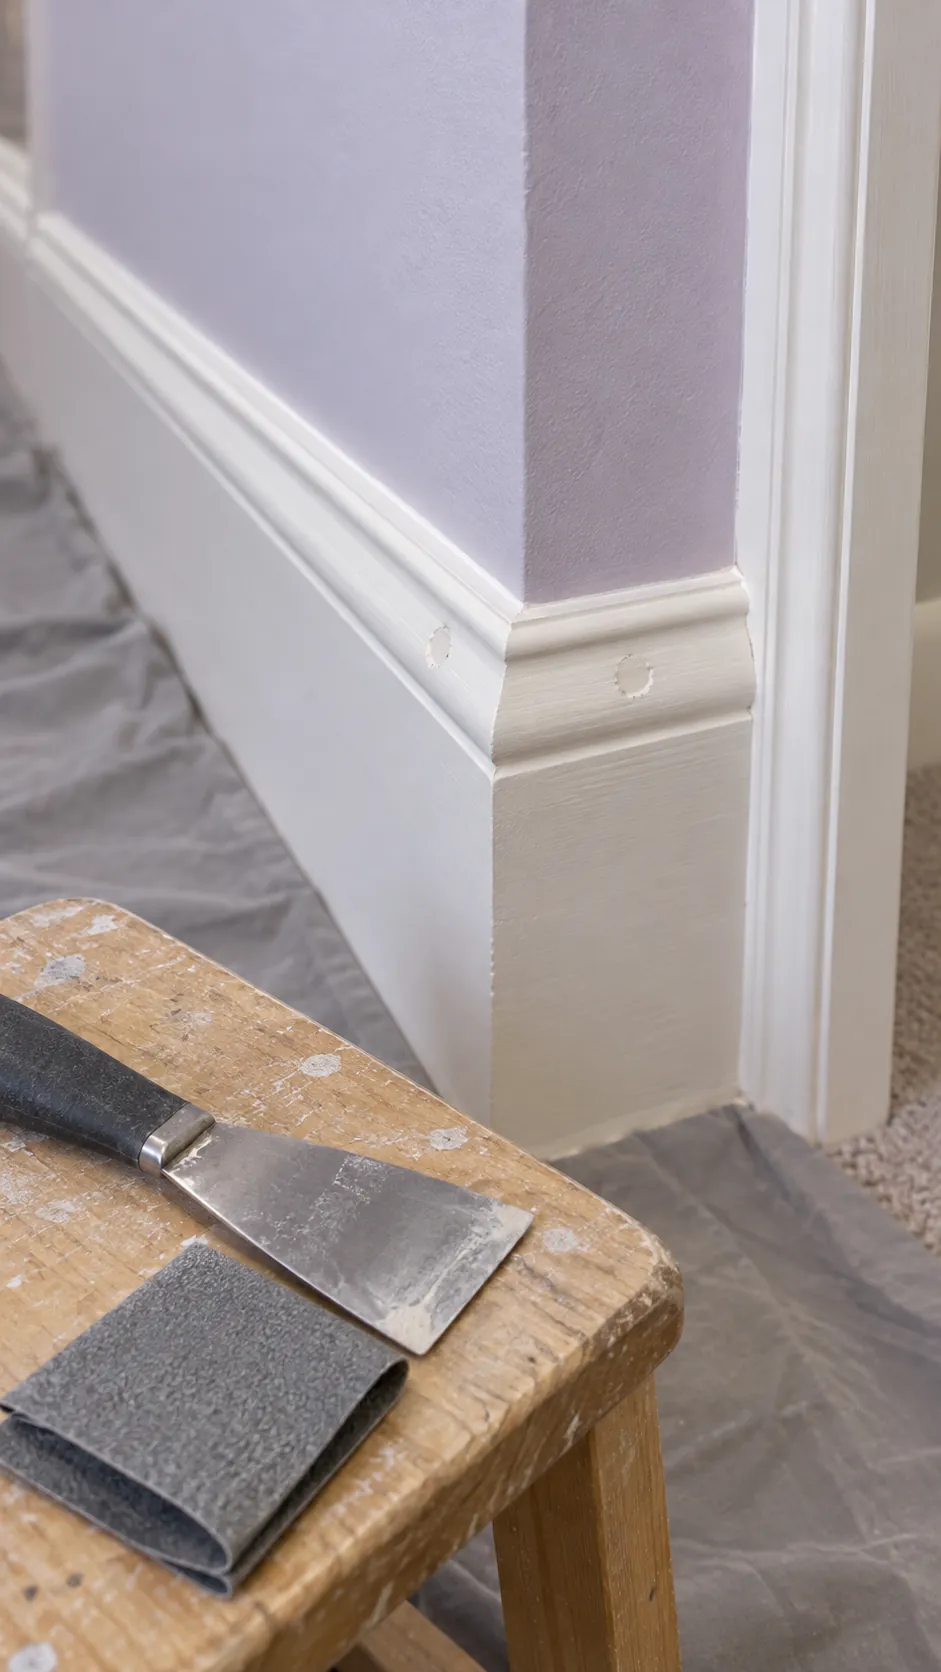
Let the attachment system cure before finishing. Use a suitable filler for nail holes and small miter imperfections, then sand the repair smooth without flattening the molding profile. Paintable flexible caulk is generally used for small trim to wall gaps where the product system allows it, while a badly fitting corner needs correction rather than a large cosmetic bead.
Prime bare material and repaired areas as required by the paint system. Cut in around the profile with a brush that fits its shape, then coat the larger wall areas with an appropriate roller. Painting the molding and wall the same color makes shallow shadows the main detail; contrasting trim makes every alignment more prominent. Follow drying and recoating times, and do not assume a surface that feels dry has reached full cure.
Check the hallway in everyday use
Inspect the finished wall with the normal ceiling lights on and with daylight entering from adjoining rooms. Grazing light can reveal raised filler, missed paint and small gaps that were invisible from directly in front. Open every door fully, confirm that switches and sockets remain accessible, and check the route with a laundry basket or shopping bag.
Save the profile name, paint details and a short offcut for future repairs. Clean only as the finish manufacturer permits after full cure, especially around edges where repeated wiping can leave marks. If a joint opens later, identify whether movement, loose fixing or surface failure caused it before filling it again. Good panel molding in a corridor should look settled into the architecture and let the household move through the space without thinking about it.