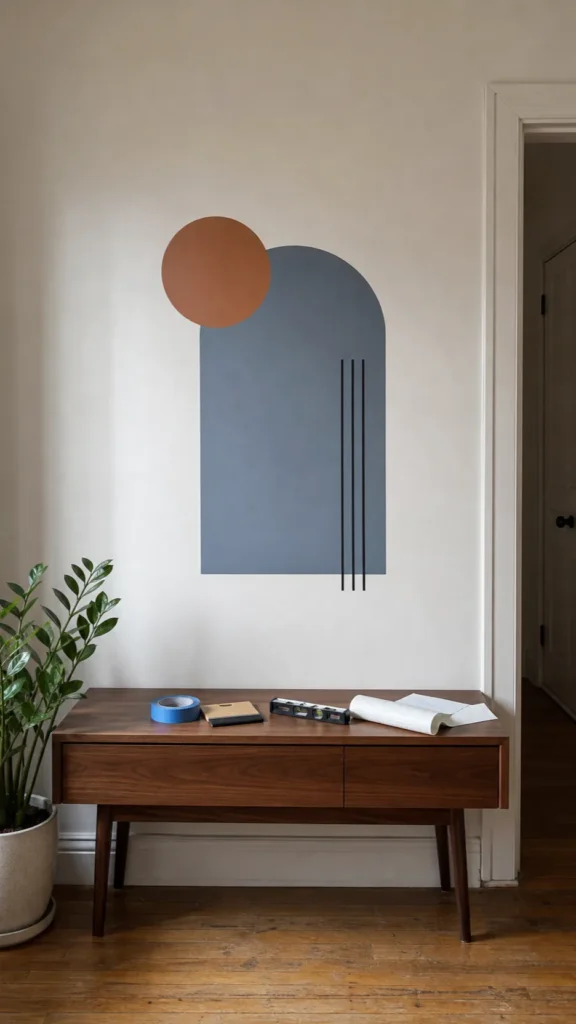
How to Apply Wall Decals Without Bubbles or Wrinkles
The secret to applying wall decals without bubbles or wrinkles is simple: never let a large area of adhesive touch the wall before you can control it. Clean and test the surface, position the design while the liner is still attached, then expose the adhesive a few inches at a time while smoothing from the center toward an open edge.
Most bad installations are not caused by a lack of hand strength. They happen because the wall, decal, or sequence was wrong before the squeegee ever moved. This guide covers both peel-and-stick decals and designs supplied with transfer tape, including how to handle large pieces and fix small trapped bubbles.
Check the Wall Before You Unroll Anything
Wall decals adhere best to a smooth, clean, dry, sound painted surface. Heavy texture leaves gaps under the film. Dust, grease, cleaning residue, and dampness interfere with the adhesive. Weak or uncured paint may lift when you reposition or eventually remove the graphic.
- Follow the paint manufacturer’s full cure time and the decal maker’s waiting period.
- Do not install over flaking paint, chalky surfaces, active moisture, or rough texture.
- Test a sample in an inconspicuous spot before committing to the full design.
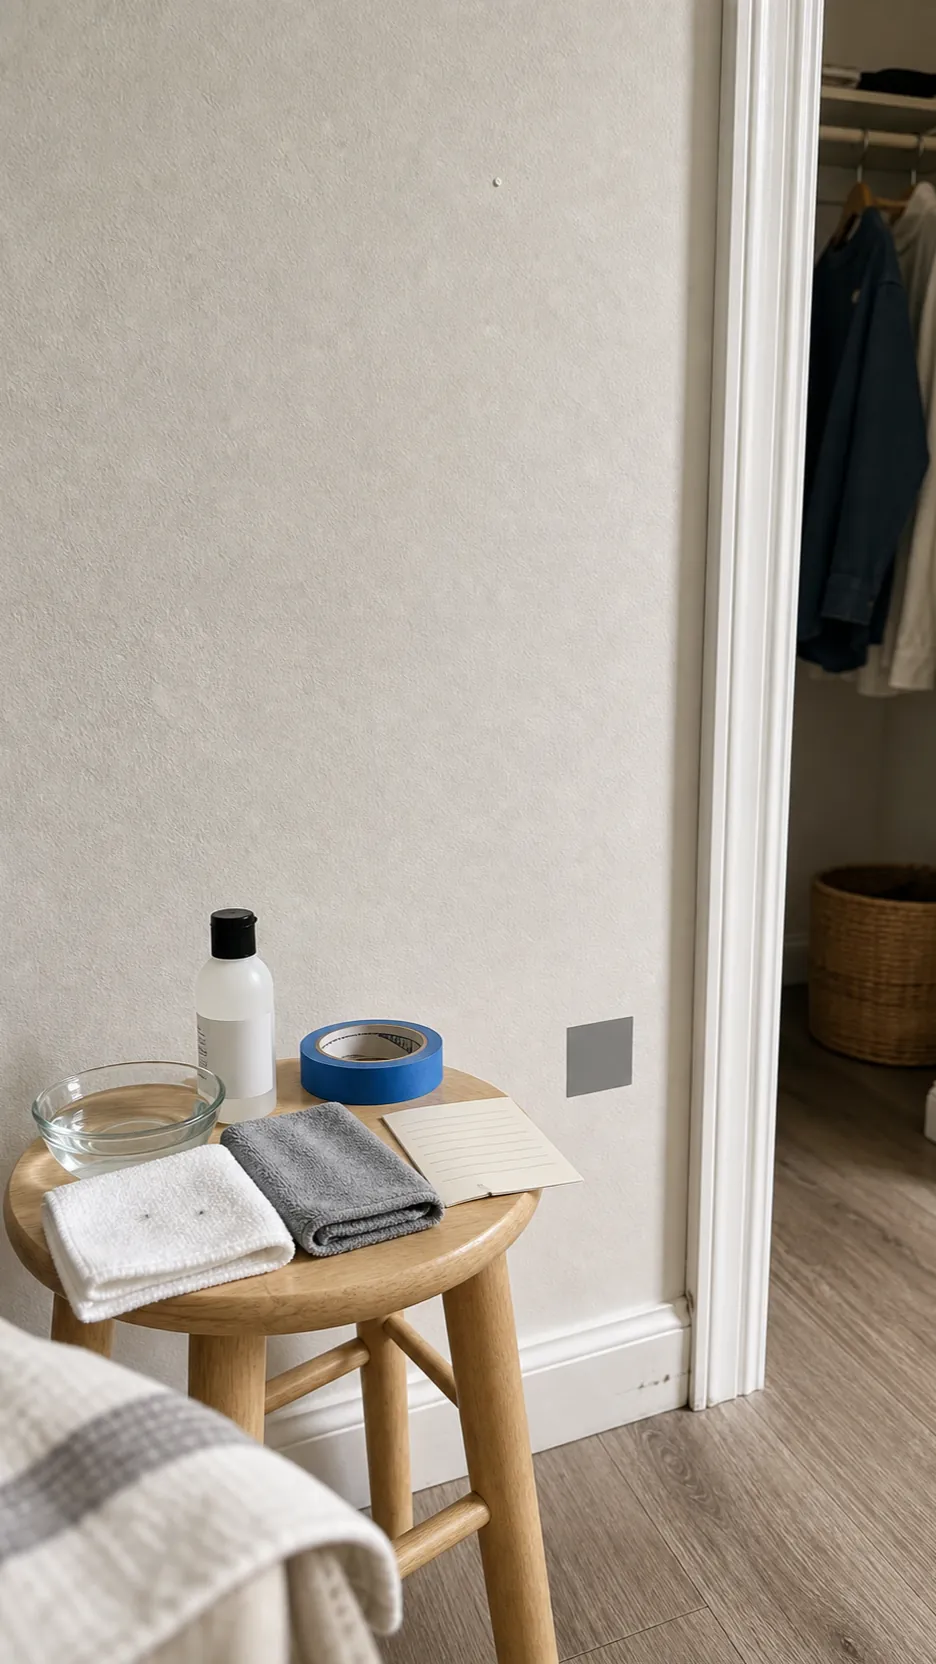
- Use the decal manufacturer’s cleaning instructions; different wall films and paints may require different cleaners.
- Let the wall dry completely before installation.
Gather the Right Tools and Let the Decal Relax
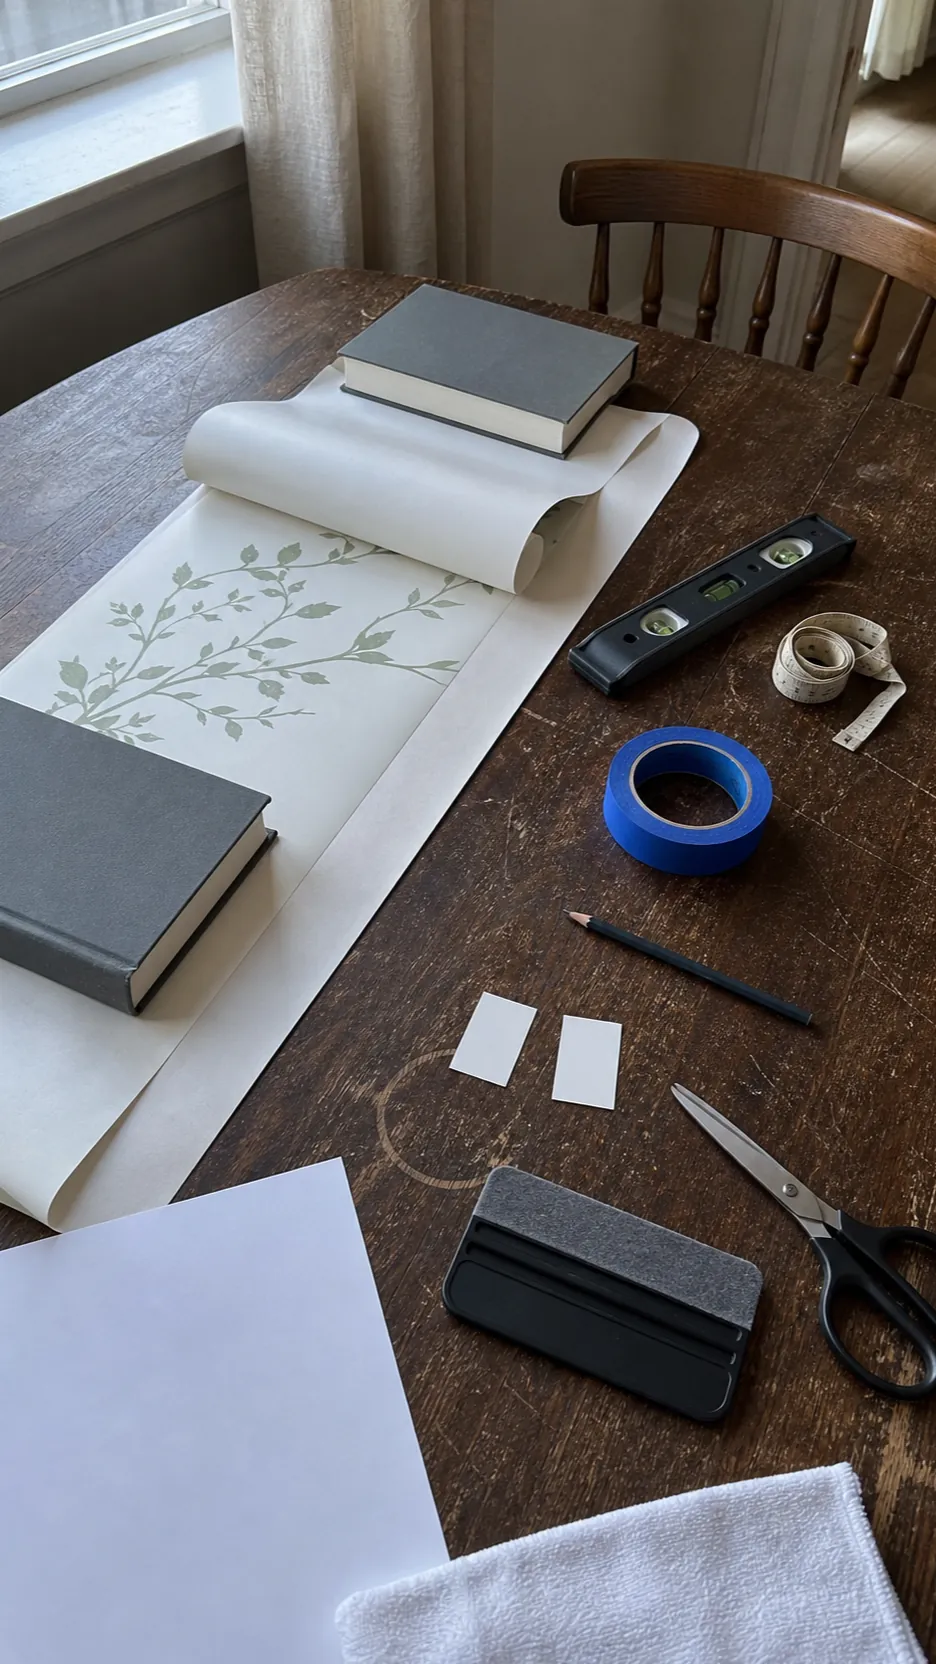
You need a tape measure, level, low-tack painter’s tape, clean lint-free cloth, and a felt-edged or soft plastic wall decal squeegee. A rigid card can work on some products, but sharp corners can scratch printed film or catch an edge. For a large decal installation, recruit a helper and use a stable step stool if necessary.
Bring the rolled decal into the room and let it reach room temperature. Lay it flat according to its instructions so shipping curl can relax. For a transfer-tape design, place it on a clean flat surface and burnish the transfer tape so every thin element is securely picked up before you lift the backing.
Position First, Stick Second
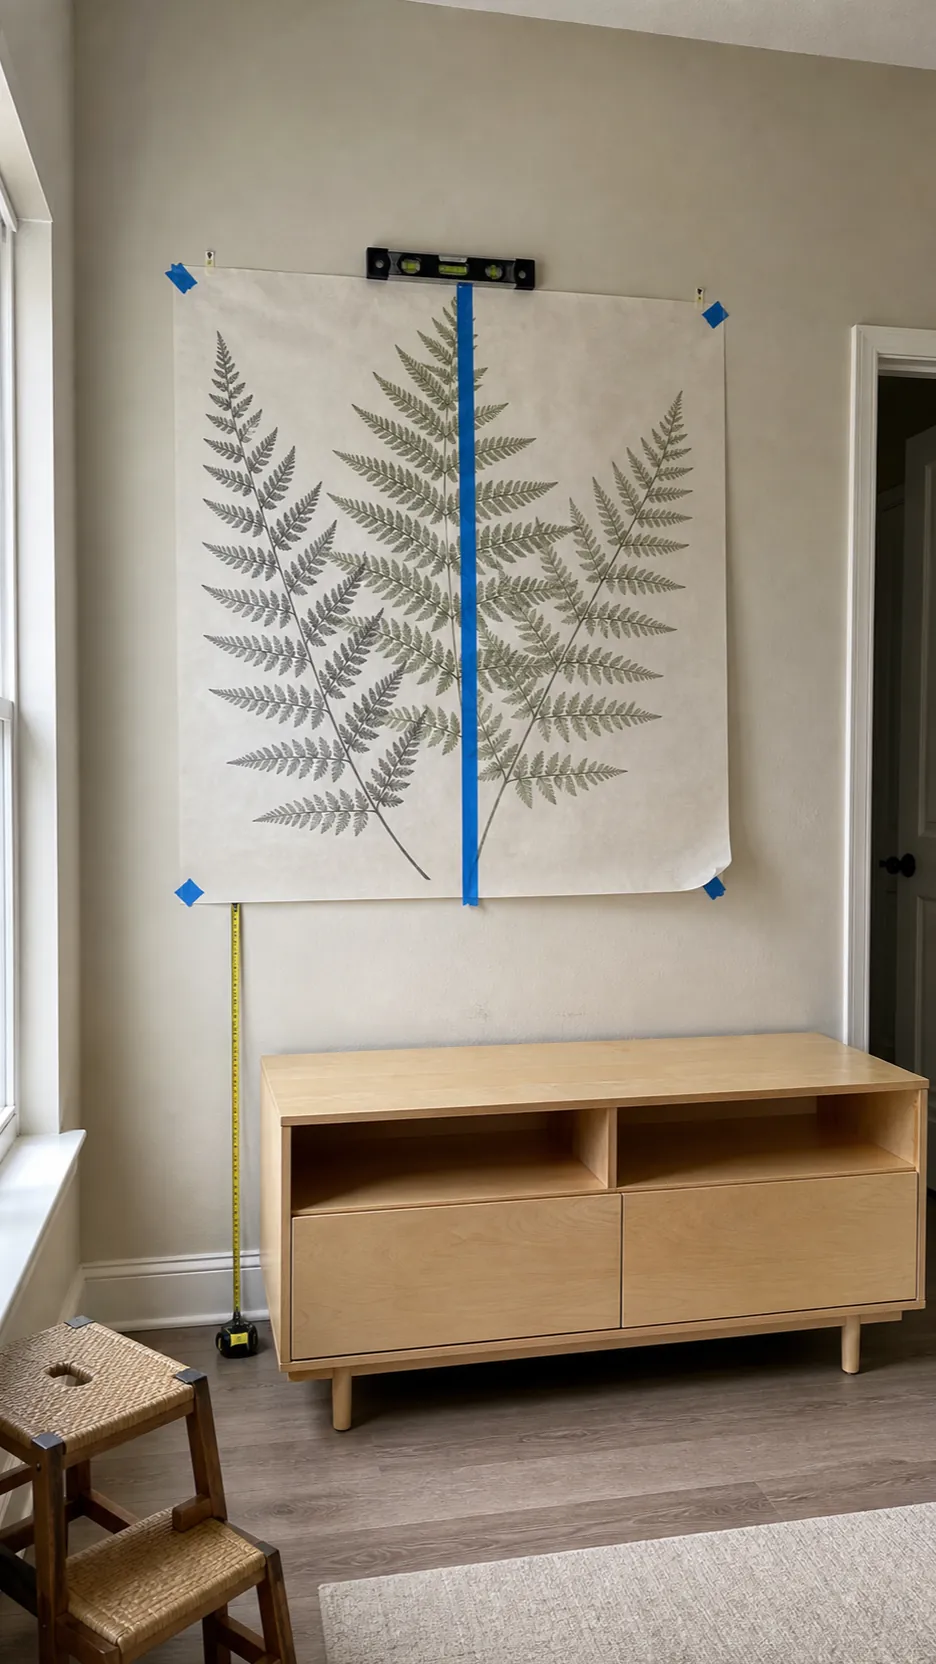
Leave the backing liner attached while you test the placement. Measure from a ceiling, corner, furniture line, or other reliable reference, then confirm with a level. Do not trust the edge of the backing paper to be square with the artwork.
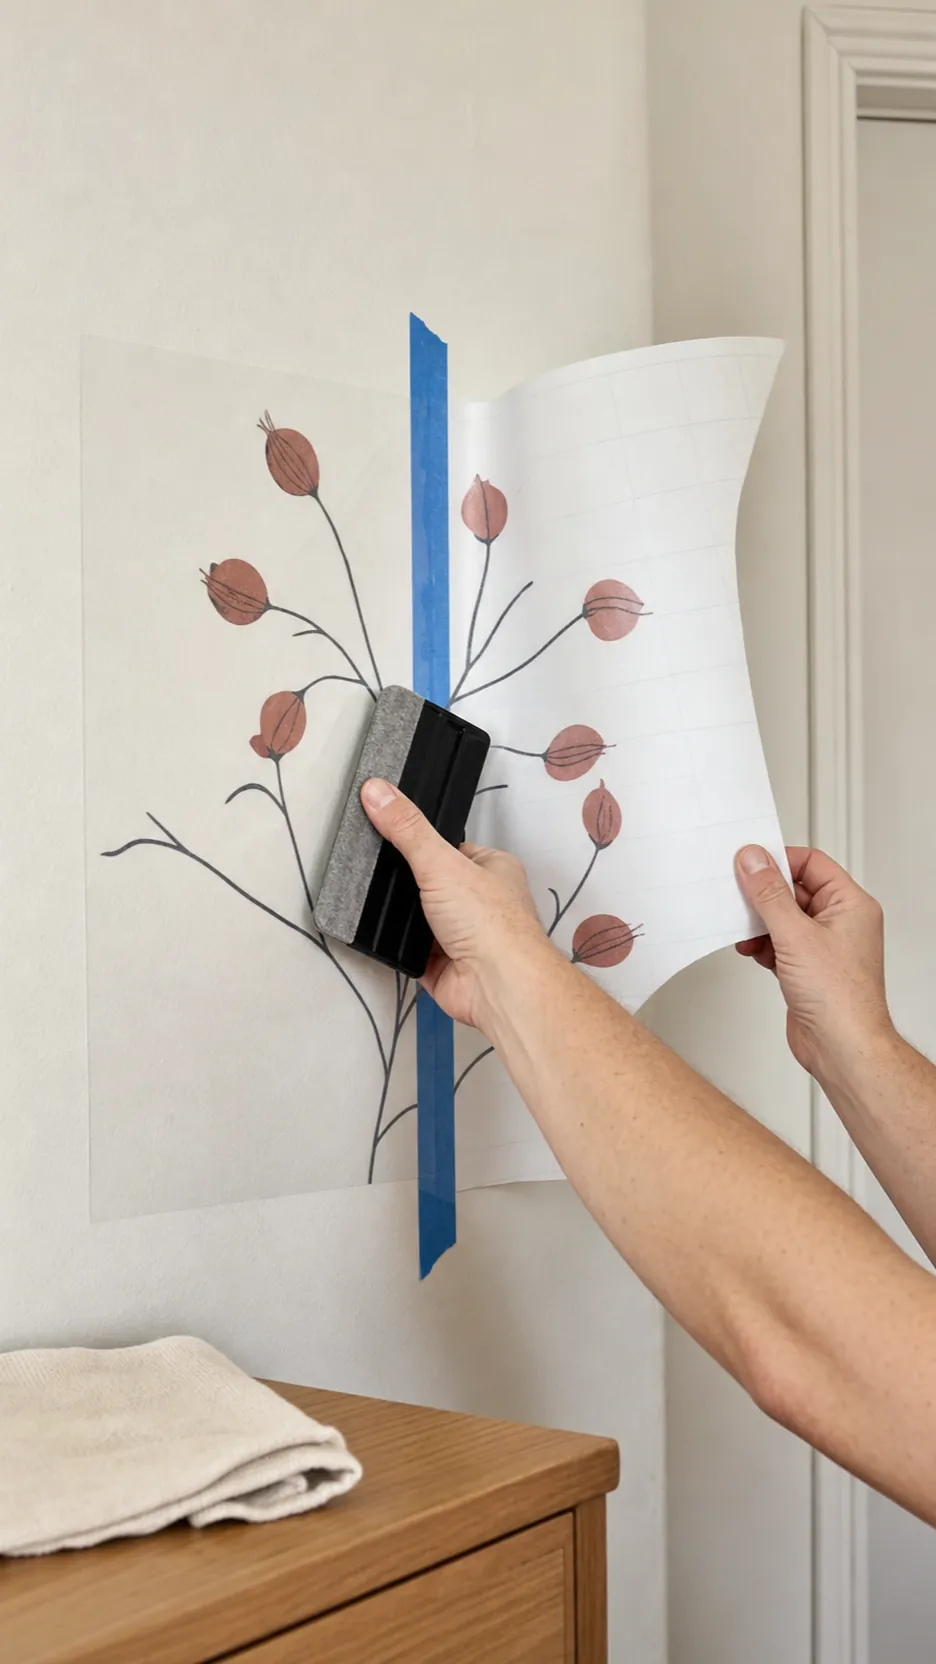
When the position is right, run a strip of painter’s tape vertically or horizontally through the center to create a hinge. Add small registration tabs at the corners. Step back from the doorway and check the visual height and alignment one last time. This is the easiest moment to correct a crooked design.
Apply a Transfer-Tape Wall Decal Smoothly
A transfer-tape decal has three layers: backing paper, the cut vinyl design, and transfer tape on top. With the taped hinge holding the layout, fold one half back. Peel the backing paper away from the transfer tape slowly. If a vinyl element stays on the backing, lower the layers, burnish that area again, and retry.
- Trim away the released backing paper without cutting the vinyl.
- Hold the transfer layer slightly away from the wall so the adhesive cannot grab ahead of you.
- Starting at the hinge, use overlapping squeegee strokes toward the free edge.
- Keep each stroke firm and consistent, but do not gouge or stretch the film.
- Remove the hinge and repeat on the other half.
- Burnish the full design again, paying special attention to thin details and outer edges.
- Peel the transfer tape back low and nearly parallel to the wall rather than pulling it straight toward you.
If vinyl lifts with the transfer tape, stop immediately. Roll the tape back down, press that section again, and continue at a sharper peel angle. Rushing here can pull fine lettering or narrow stems out of alignment.
Apply a Peel-and-Stick Decal Without Wrinkles
Peel-and-stick pieces have no transfer layer. For small individual shapes, peel one piece, hold it by the edges, touch down a controlled center area, and smooth outward. If the product is repositionable, lift and reset immediately when placement is wrong rather than forcing a diagonal wrinkle flat.
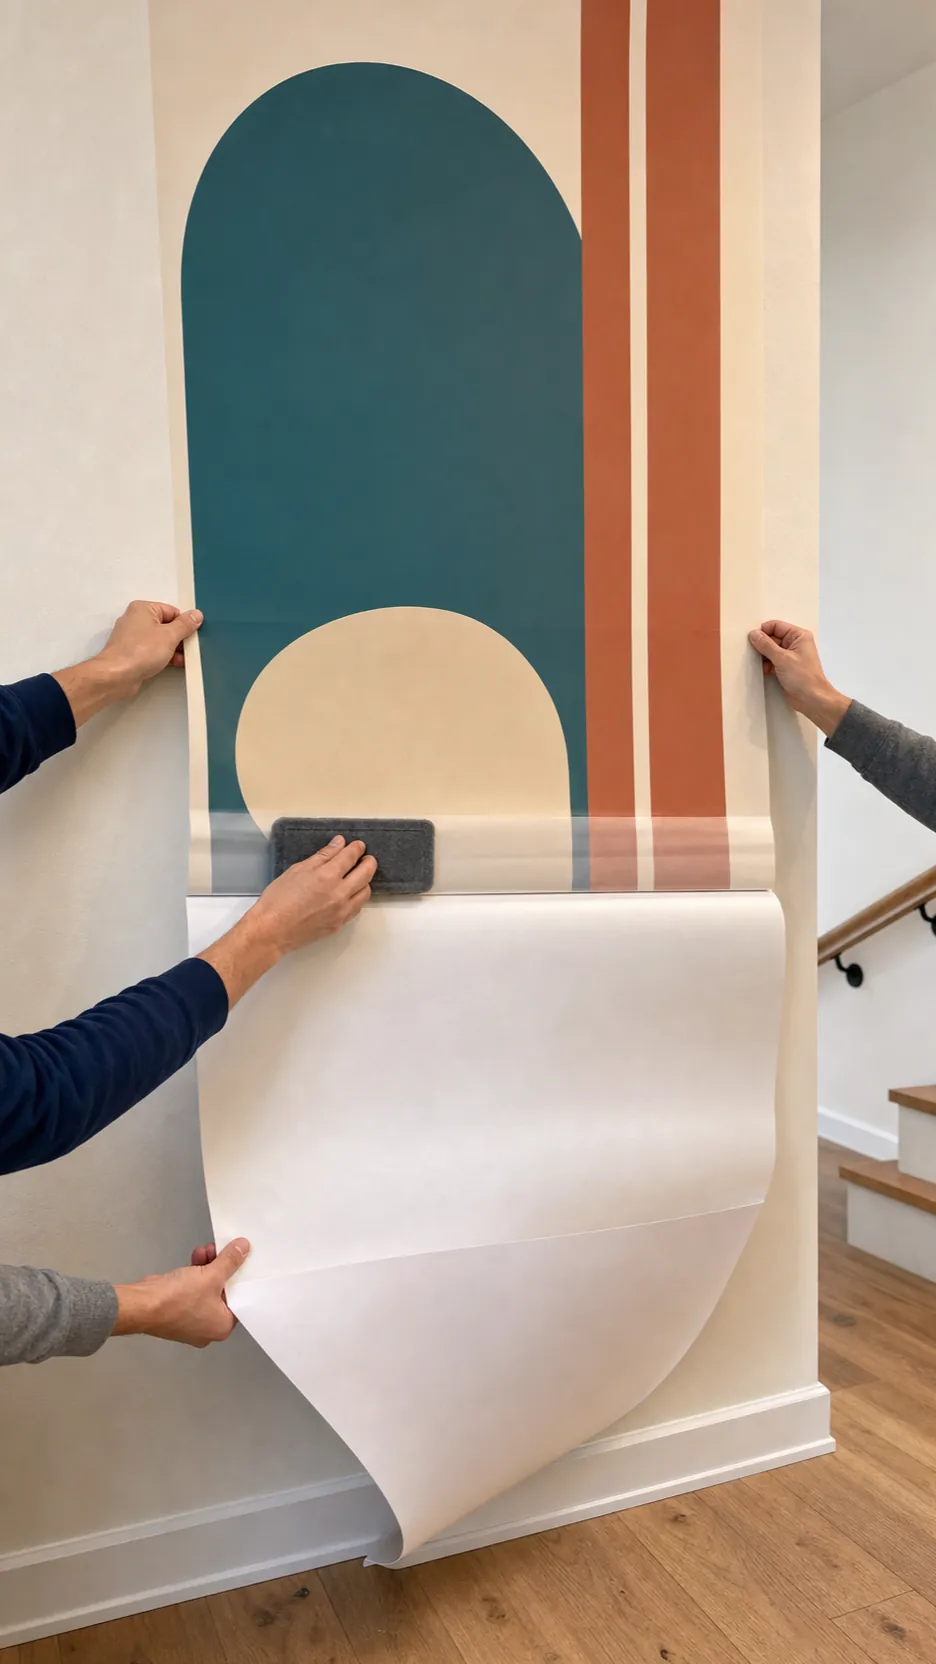
For a large sheet, expose only a narrow band of adhesive at the top. Fold the liner behind itself; do not remove it completely. Anchor the top band, then pull the liner downward in short increments while sweeping the squeegee across the newly exposed area. Keep gentle tension on the unapplied sheet so it does not sag into the wall.
Use overlapping strokes so every pass pushes air toward an edge. Avoid rubbing randomly in circles, which can trap air between already sealed zones. A second person should support the rolled or folded portion of a large decal—not stretch it.
How to Remove Air Bubbles From a Decal
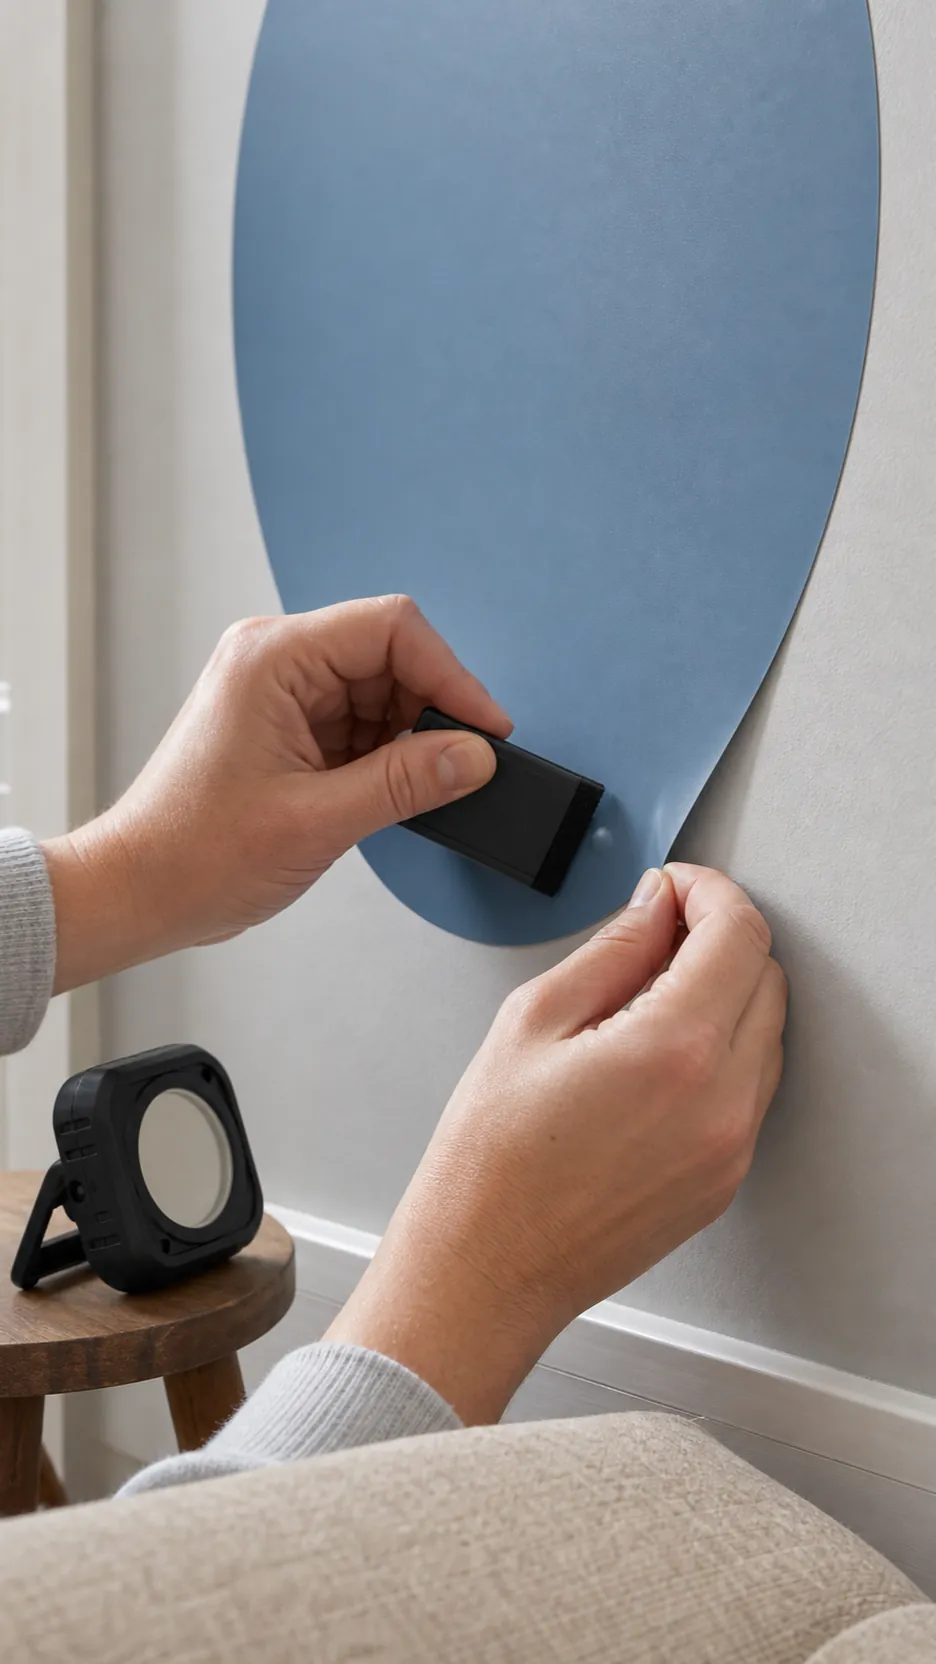
Fix a bubble as soon as you see it. If the nearby edge is still accessible and the material allows repositioning, lift only enough film to release the air, then reapply with controlled strokes. Do not yank a large area off the wall; that can stretch the vinyl and create a permanent crease.
For a tiny isolated bubble in fully applied film, first follow the product maker’s instructions. Some materials settle after installation. Some manufacturers permit a sterile fine pin to make a minute release point, followed by gentle pressure toward it; others do not. Heat is also product-specific. Excess heat can soften, shrink, gloss, or distort vinyl, so never improvise with a hair dryer unless the decal instructions allow it.
Why Bubbles or Wrinkles Appear Later
A decal that was smooth on day one but bubbles later may be reacting to surface contamination, moisture, textured paint, trapped cleaning solution, temperature changes, incompatible low-VOC paint, or adhesive that never achieved uniform contact. Repeatedly pressing it down treats the symptom, not the cause.
- Edges lift everywhere: suspect dust, texture, low surface energy, or incompatible paint.
- One crease stays sharp: the film may have been stretched or folded during application.
- Bubbles follow wall texture: the surface may simply be too rough for that film.
- Moisture keeps returning: stop and investigate the wall rather than sealing it behind vinyl.
The Bubble-Free Sequence to Remember
Prepare, position, hinge, expose, sweep, inspect. A clean compatible wall prevents adhesion problems. Careful positioning prevents desperate repositioning. A taped hinge preserves alignment. Gradual liner release keeps the adhesive controllable. Overlapping center-to-edge strokes give air somewhere to escape. Early inspection catches a bubble before it becomes a crease.
The slower method is usually the faster installation because it avoids lifting, stretching, and starting over. Control the contact line, and the decal will smooth onto the wall instead of fighting you.