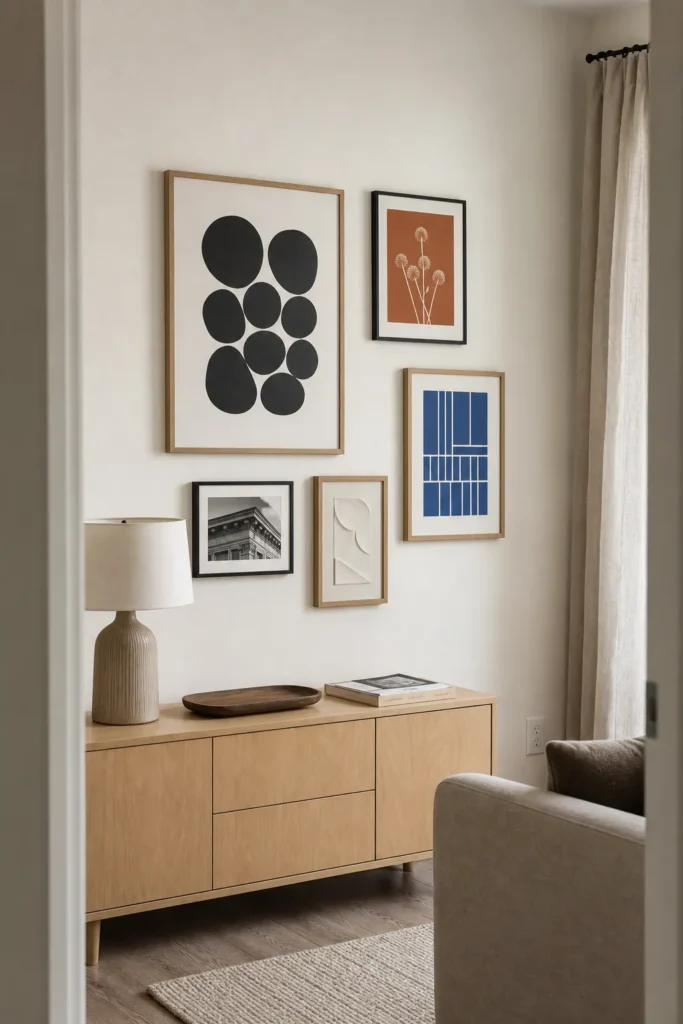
How to Hang Wall Art Without Nails in an Apartment
Hanging art without nails is not difficult, but it is less forgiving than it looks. Most failures come from one of five mismatches: the frame is too heavy, the back is unsuitable, the paint is incompatible, the waiting step is skipped, or the release tab is pulled outward instead of along the wall.
This method is for lightweight, flat-backed frames on sound, compatible surfaces. Read your lease and the hanging product’s current instructions before starting. Do not use removable picture strips on a surface the maker excludes, above a bed, or for valuable, fragile, or irreplaceable art. If the wall or frame is not a match, use a floor-supported display instead.
Weigh the complete frame and inspect the back
Weigh the frame with the art, glazing, backing, and hardware installed. Compare both its weight and dimensions with the exact product instructions; capacity can depend on the number and size of strip pairs. Staying under a headline weight limit is not enough if the frame is larger than allowed or the load cannot be distributed correctly.
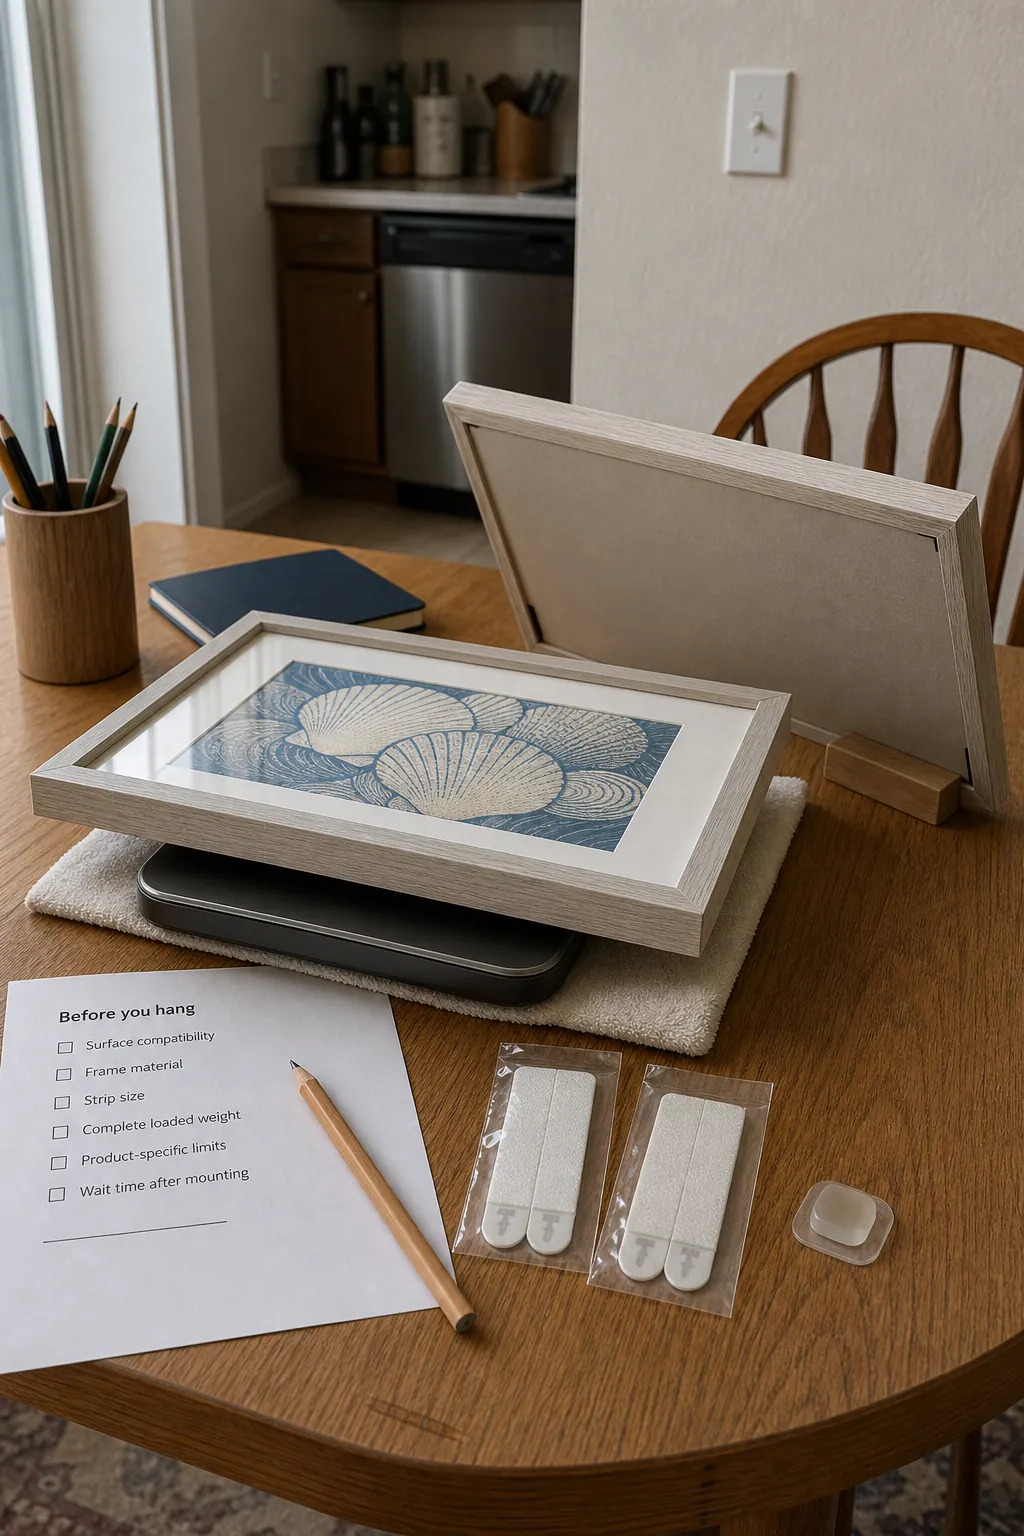
Choose acrylic instead of glass when possible. The back needs broad, solid, clean areas where the strip can bond; paper dust covers, fabric, deteriorating board, loose veneer, and protruding hardware may be unsuitable. Remove or reposition existing hardware only if the frame maker allows it. Do not add more strips to compensate for a bad contact surface.
Plan the gallery with paper before opening the strips
Trace each frame onto kraft paper, cut out the templates, and arrange them on the floor first. Then test the layout on a compatible wall with the smallest practical amount of suitable low-tack tape for a short planning session. This lets you fix spacing without repeatedly attaching and detaching the final picture strips.
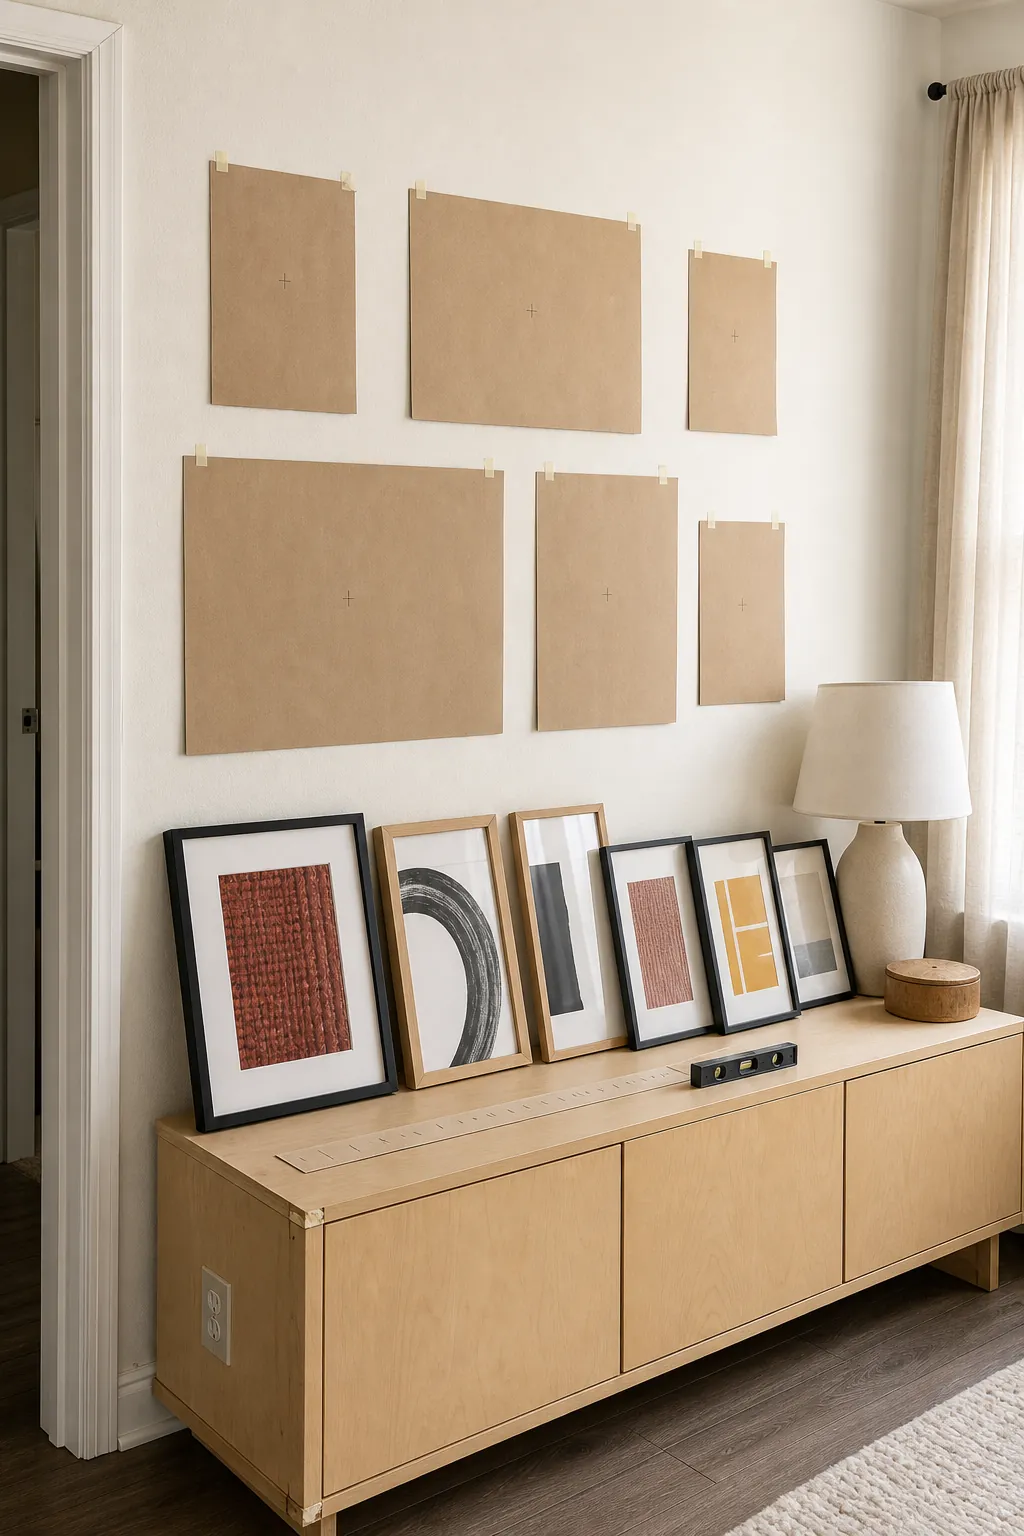
Keep the gallery away from beds, cribs, televisions, computers, and fragile objects. Check curtain movement, doors, switches, vents, and seated head clearance. Mark the frame corners only with a method your lease and surface allow, then remove the templates. Take a phone photo of the layout so you do not have to reconstruct it from memory.
Prepare the surface and pair the strips exactly as directed
Confirm the paint is fully cured and the wall material is listed as compatible. Clean it only with the method specified by the strip maker, then let it dry. Oils, dust, household cleaner residue, humidity, and poorly bonded paint can weaken the system or increase removal risk.
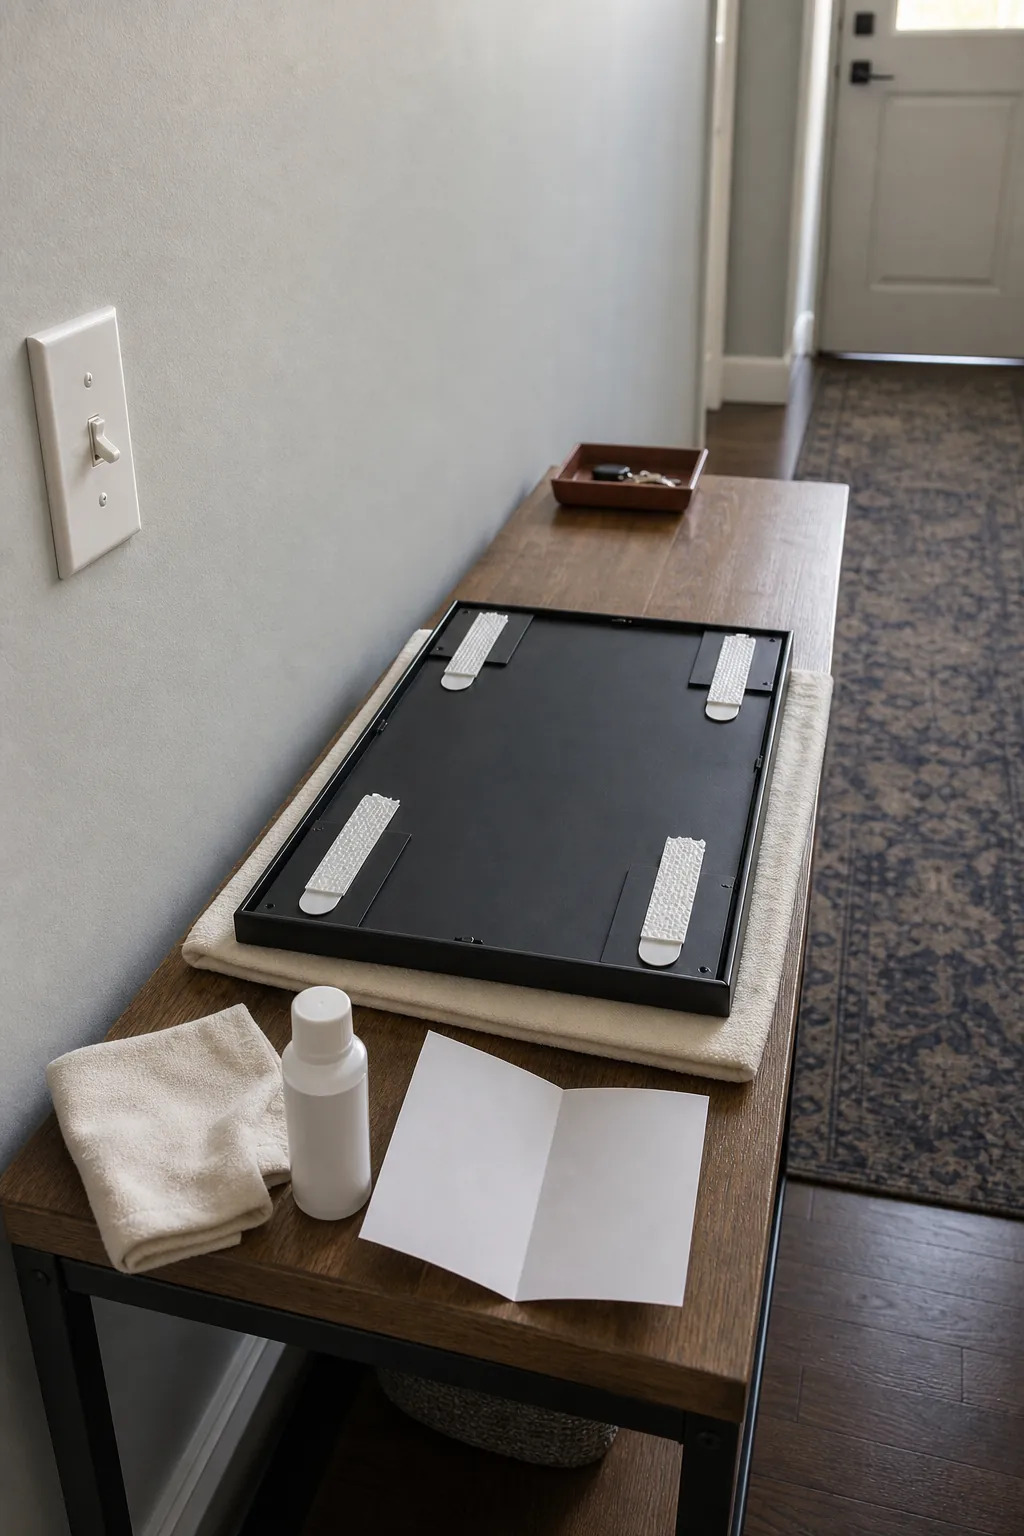
For interlocking picture strips, connect the pairs and place them on the frame’s solid flat areas in the pattern the instructions show. Keep every release tab accessible at the lower edge; a tab trapped behind molding or furniture cannot be removed correctly later. Do not touch exposed adhesive or add glue, tape, or generic double-sided pads.
Seat the frame, detach it, and respect the wait
Position the frame using your template photo, press it against the wall for the specified duration, then detach the frame in the direction the instructions require so the wall-side strips remain seated. Press those wall strips again if directed. Place the frame somewhere safe while the adhesive bonds.
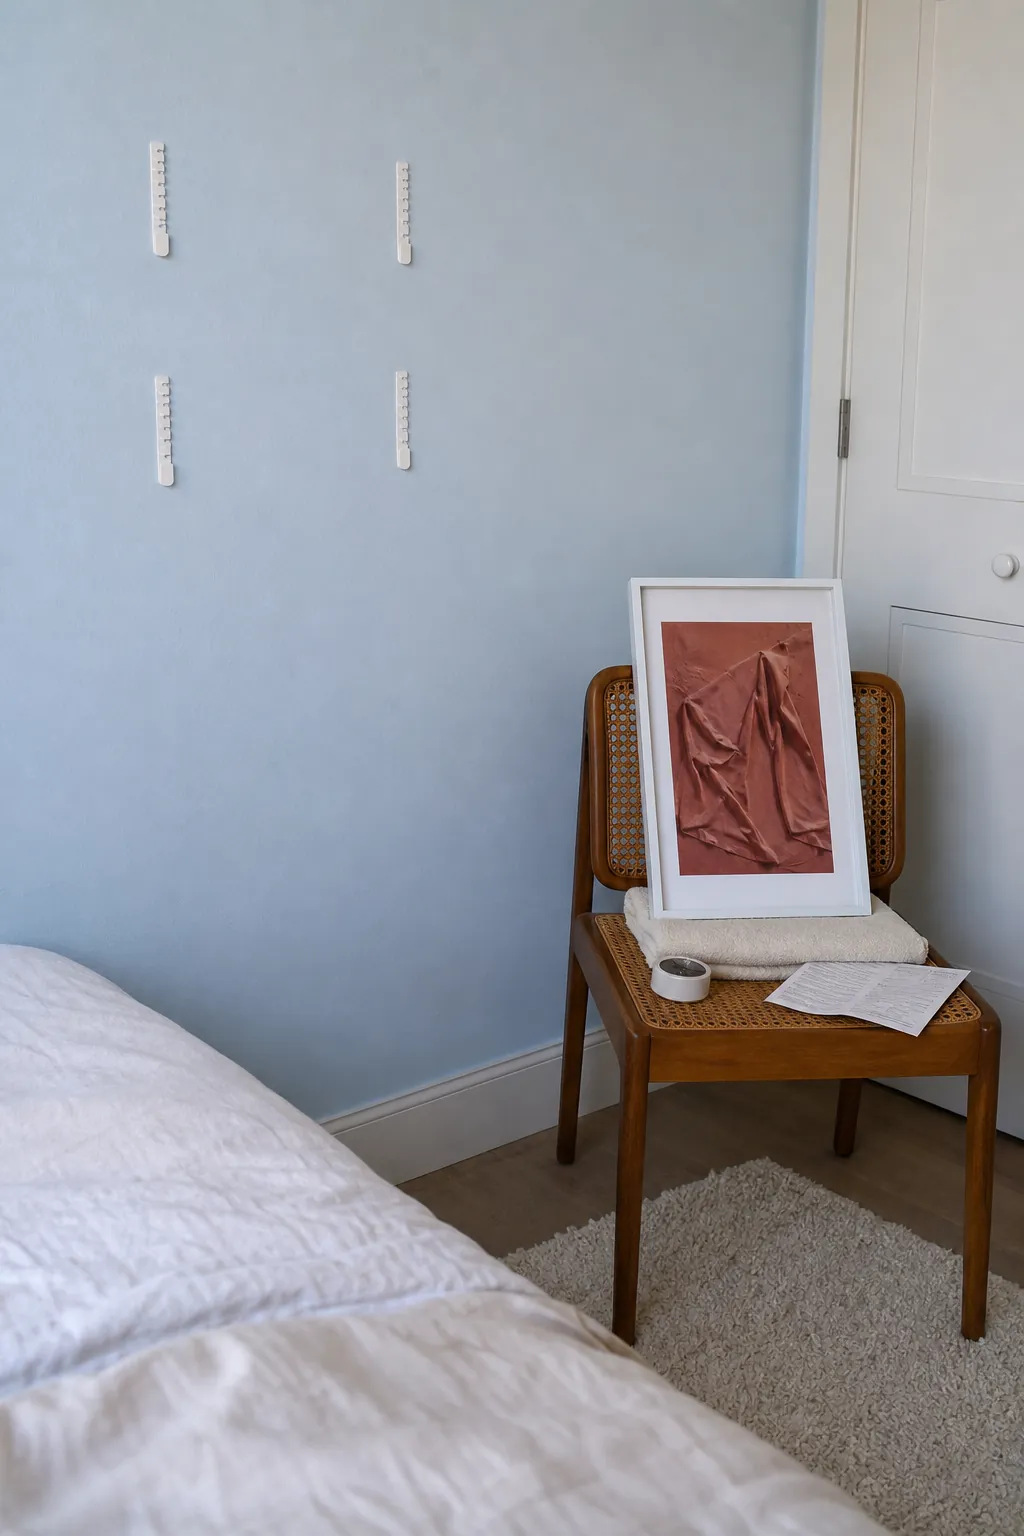
Do not invent your own waiting time. Follow the current package directions for that product and surface. Rehanging immediately can load the bond before it is ready. When the wait is complete, align the pairs and press until they are fully connected, without rocking the frame or trapping the release tabs.
Check the finished wall before calling it done
Confirm that every frame is level, fully engaged, and stable with a gentle check allowed by the product directions. Look from the side for a corner that has not seated or a frame back pressing unevenly against the wall. Compatible soft bumpers may reduce scuffing, but they do not provide structural support.
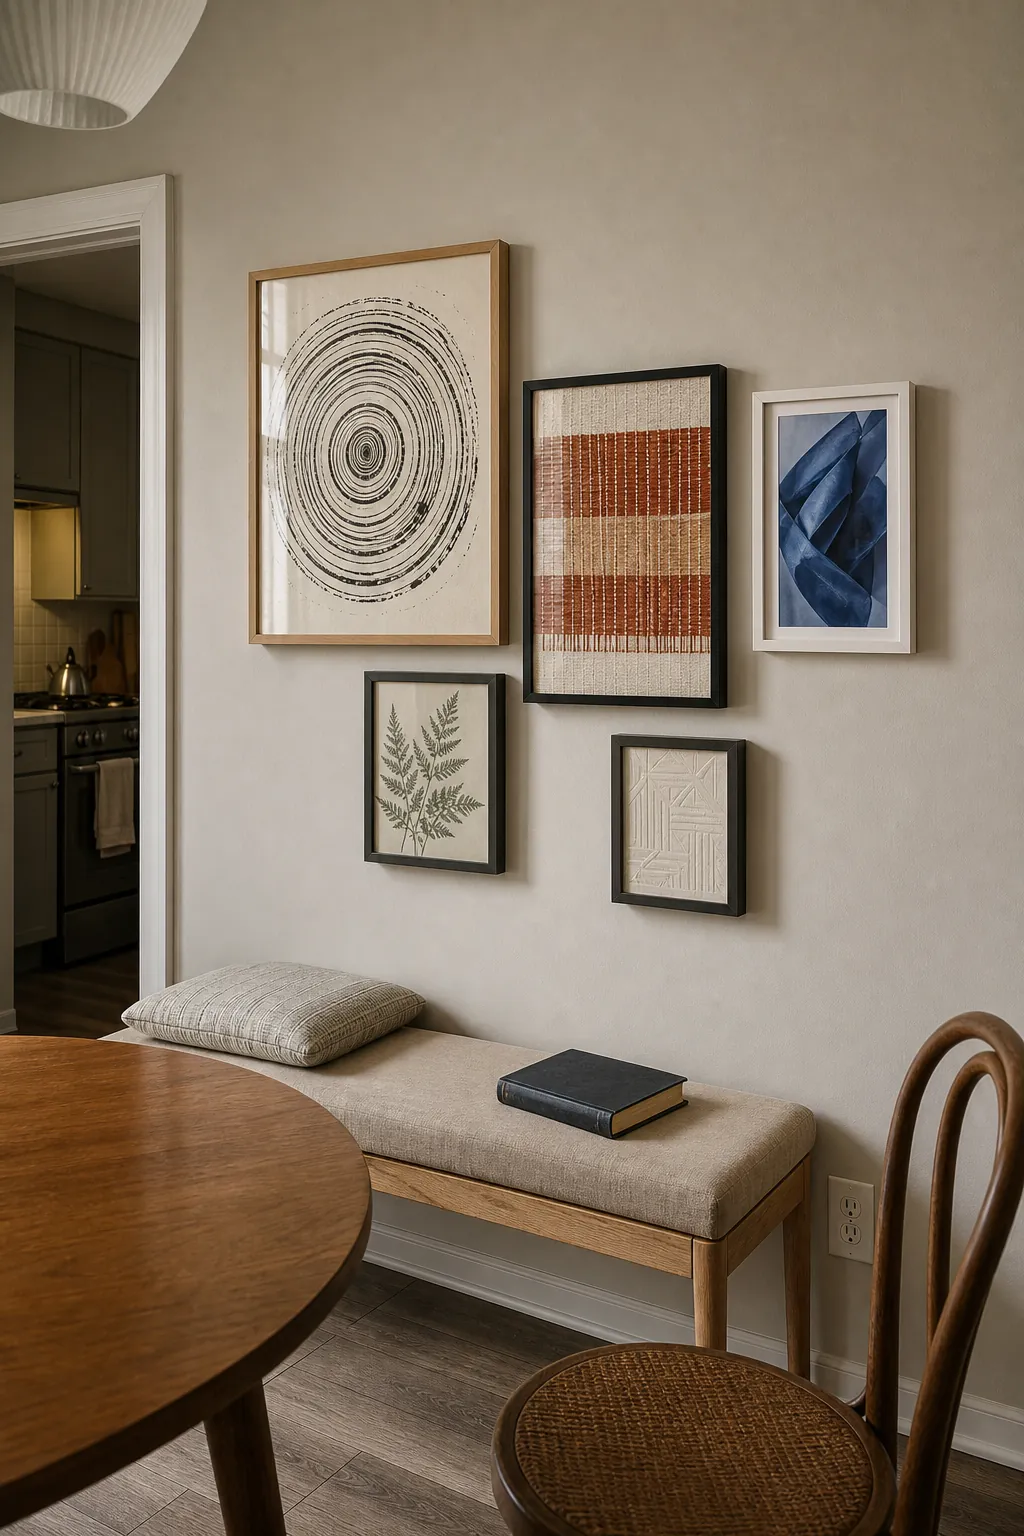
Recheck the gallery after the first day and occasionally afterward, especially through seasonal humidity changes. If a strip starts releasing, take the frame down rather than pressing it back and hoping. Replace the system according to its instructions or move the art onto furniture. Do not hang a shelf, heavy mirror, or valuable frame simply because lightweight apartment picture hanging worked elsewhere.
Remove the frame first, then release each strip slowly
At move-out, start before the final rushed hour. Detach the frame from paired strips and put it on a padded surface. Hold the wall-side base gently if the instructions direct it, then stretch the exposed release tab slowly in the specified direction—commonly straight down, kept parallel to the wall. Do not pull the tab outward toward yourself.
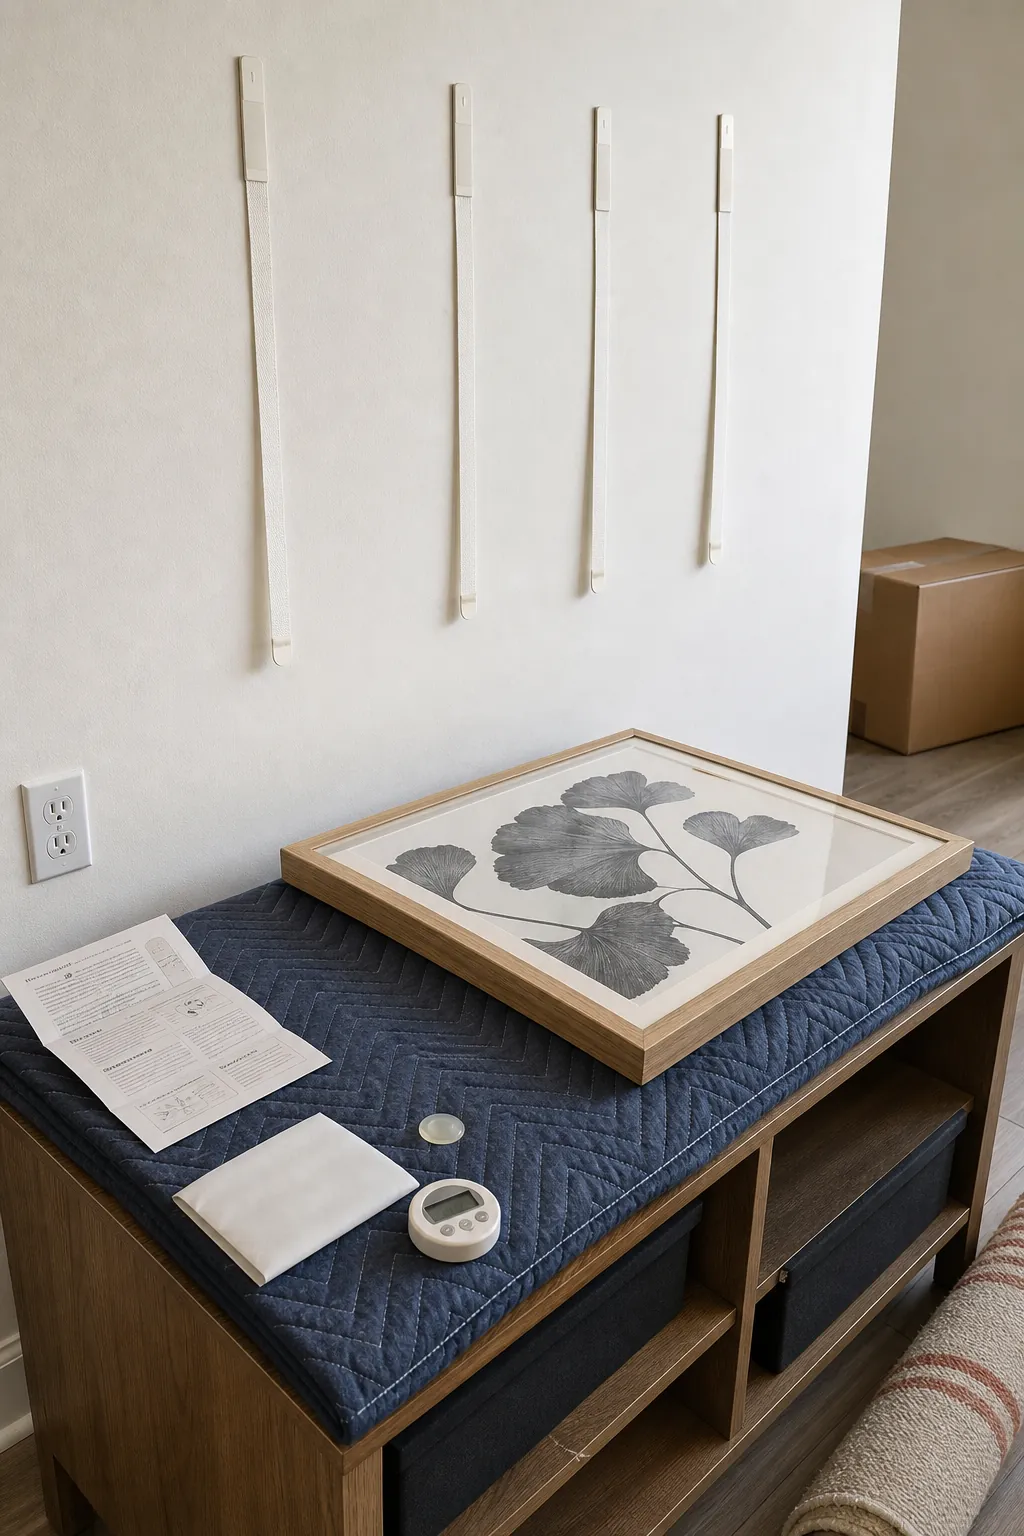
If the tab breaks, stop and use only the manufacturer’s documented broken-tab procedure; improvised heat, solvents, blades, or prying can damage paint and drywall. No-nail wall decor succeeds when the whole process—selection, placement, waiting, monitoring, and removal—fits the frame and the wall. When any part does not fit, leaning the art securely on suitable furniture is the better apartment solution.