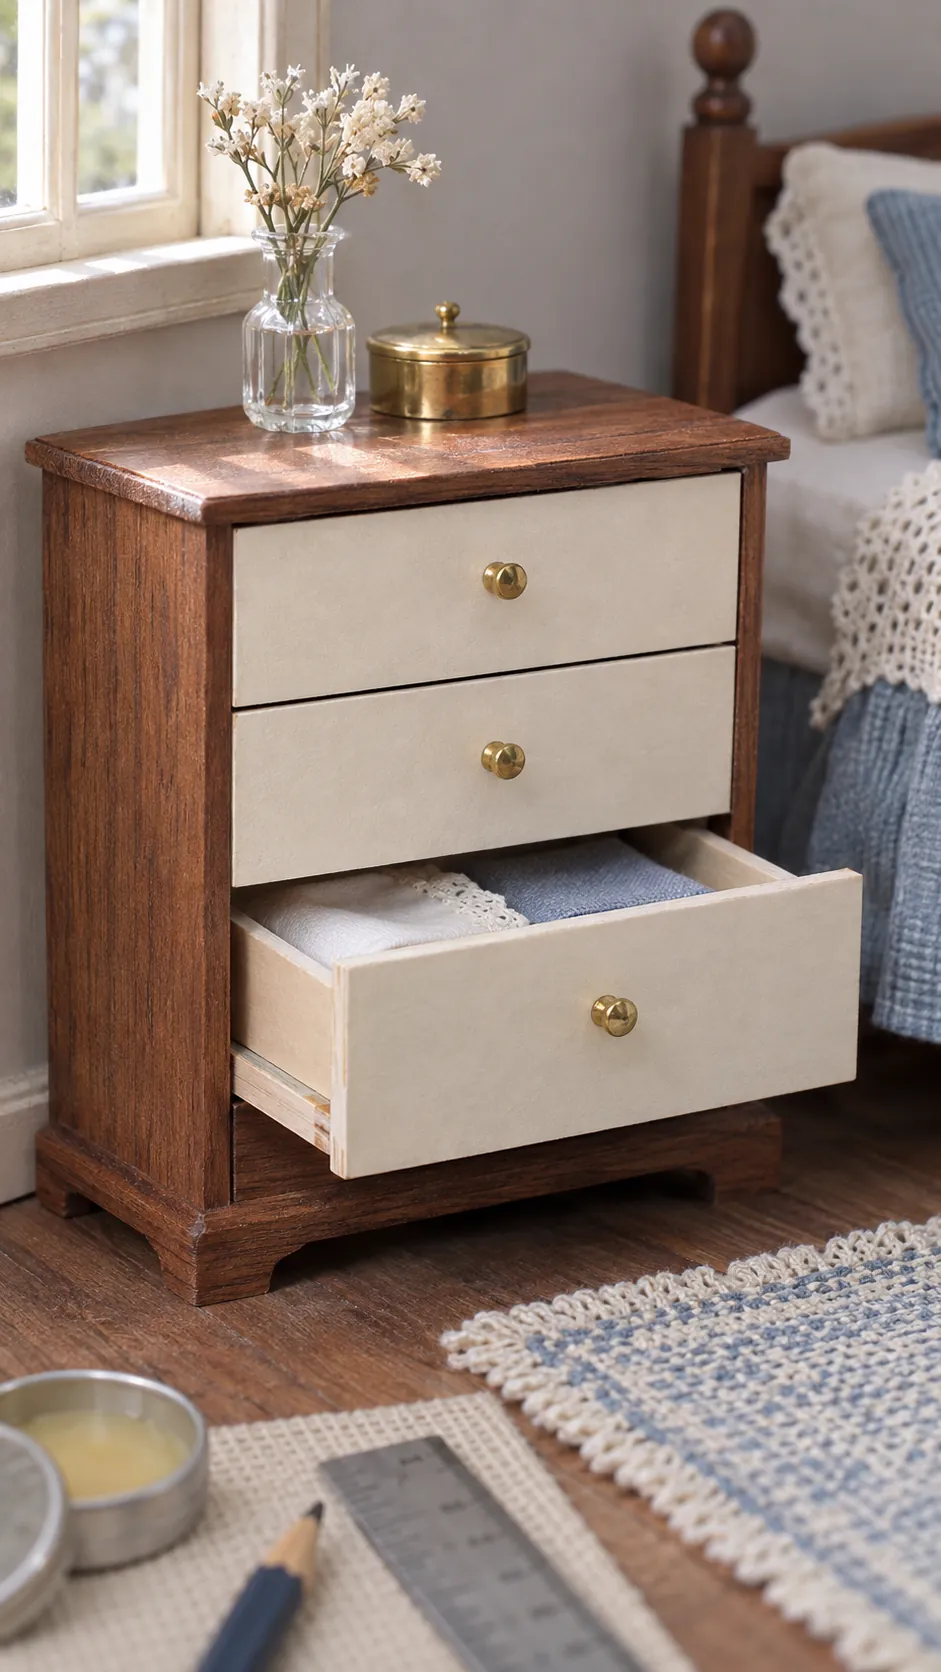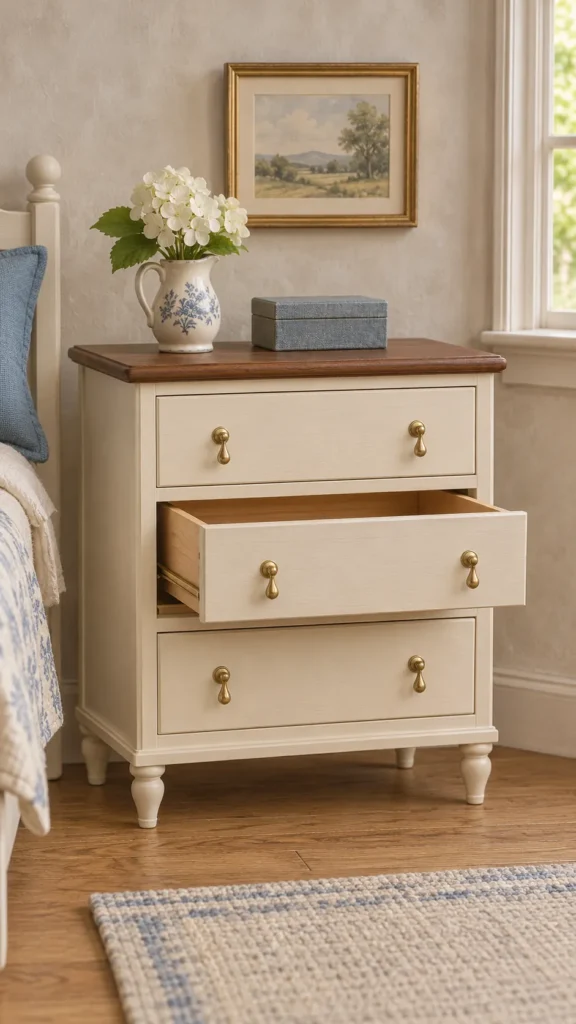
A miniature drawer often sticks for a reason that is easy to miss. The drawer box may be square, but the cabinet opening is not, or two runners differ by less than the thickness of a sheet of paper. Reliable movement comes from measuring the finished opening, building a light box with deliberate clearance, and postponing the decorative front until the slide works.
Start with a square cabinet opening
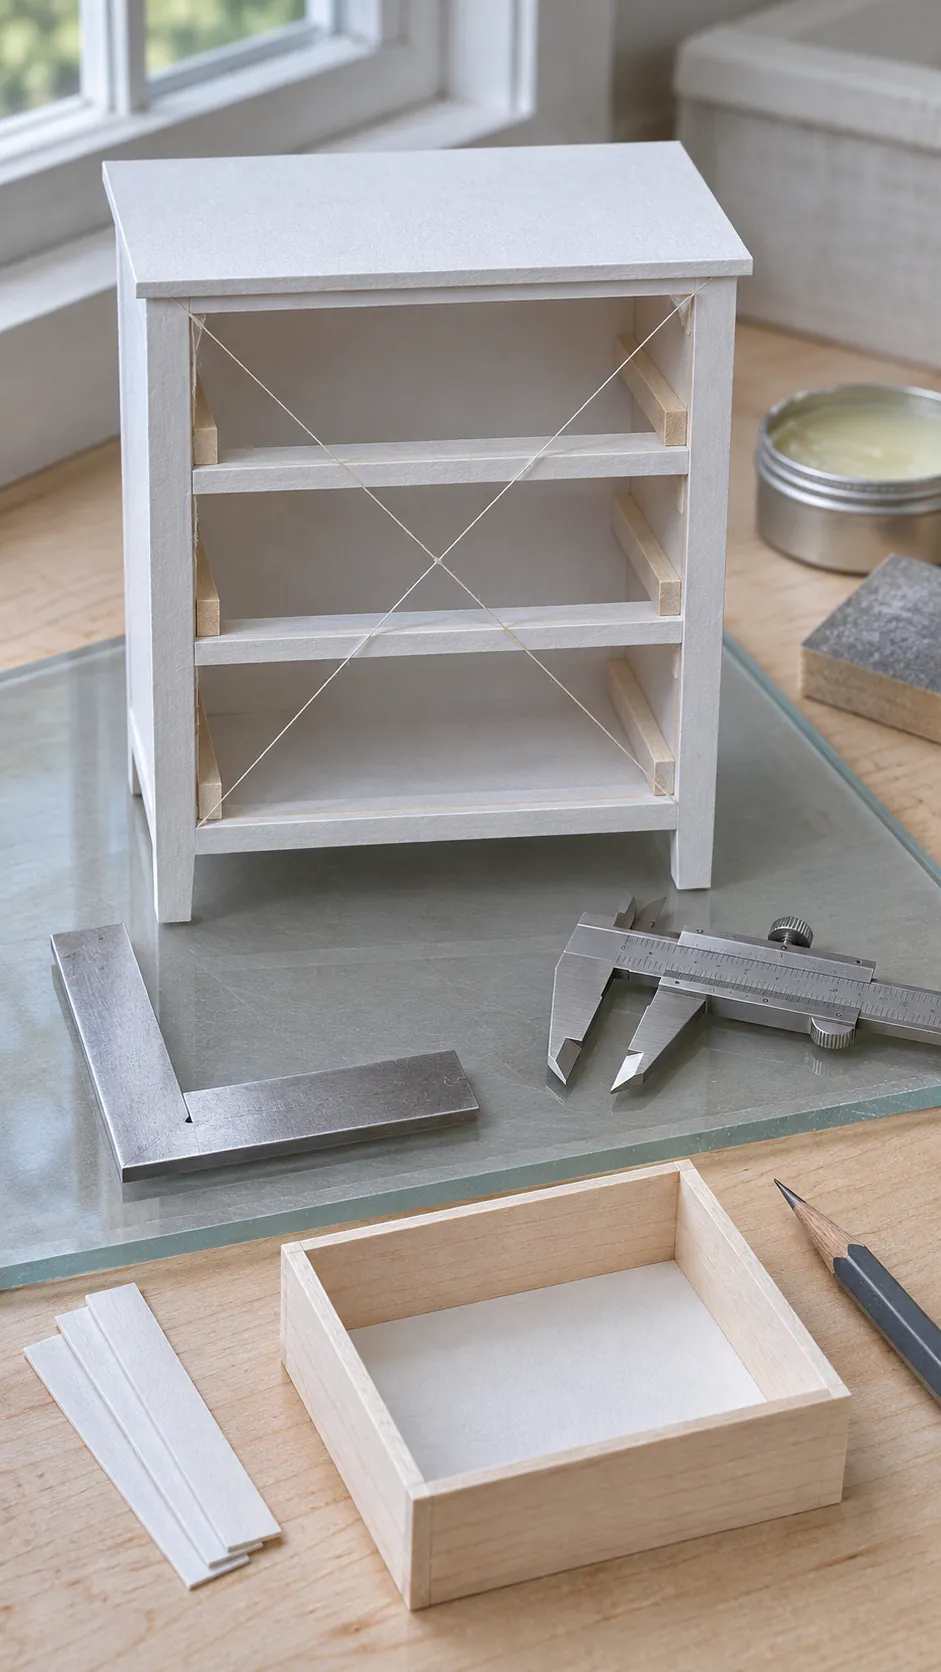
A working drawer cannot correct a twisted cabinet. Measure the clear width at the front and rear of the opening, then measure the height on both sides. If the values differ, square the case before making the drawer. Check both front diagonals and keep glue out of the interior corners.
Decide where the drawer will stop. A back rail can prevent the box from disappearing into the case, while a small front stop can keep it from pulling out completely. Plan these parts before calculating the drawer depth.
Calculate clearance from the actual material
Build from the measured opening, not the original drawing. For side runners, subtract the thickness of both runners plus a small sliding clearance from the drawer width. Thin cardstock or veneer sides preserve more interior space than thick foam board.
Make a quick test box from scrap card and slide it through the opening. Add one paper shim at a time until the fit is smooth but not loose, then use that result for the final parts. Paint and finish add thickness, so allow for them before assembly.
Build a light square drawer box
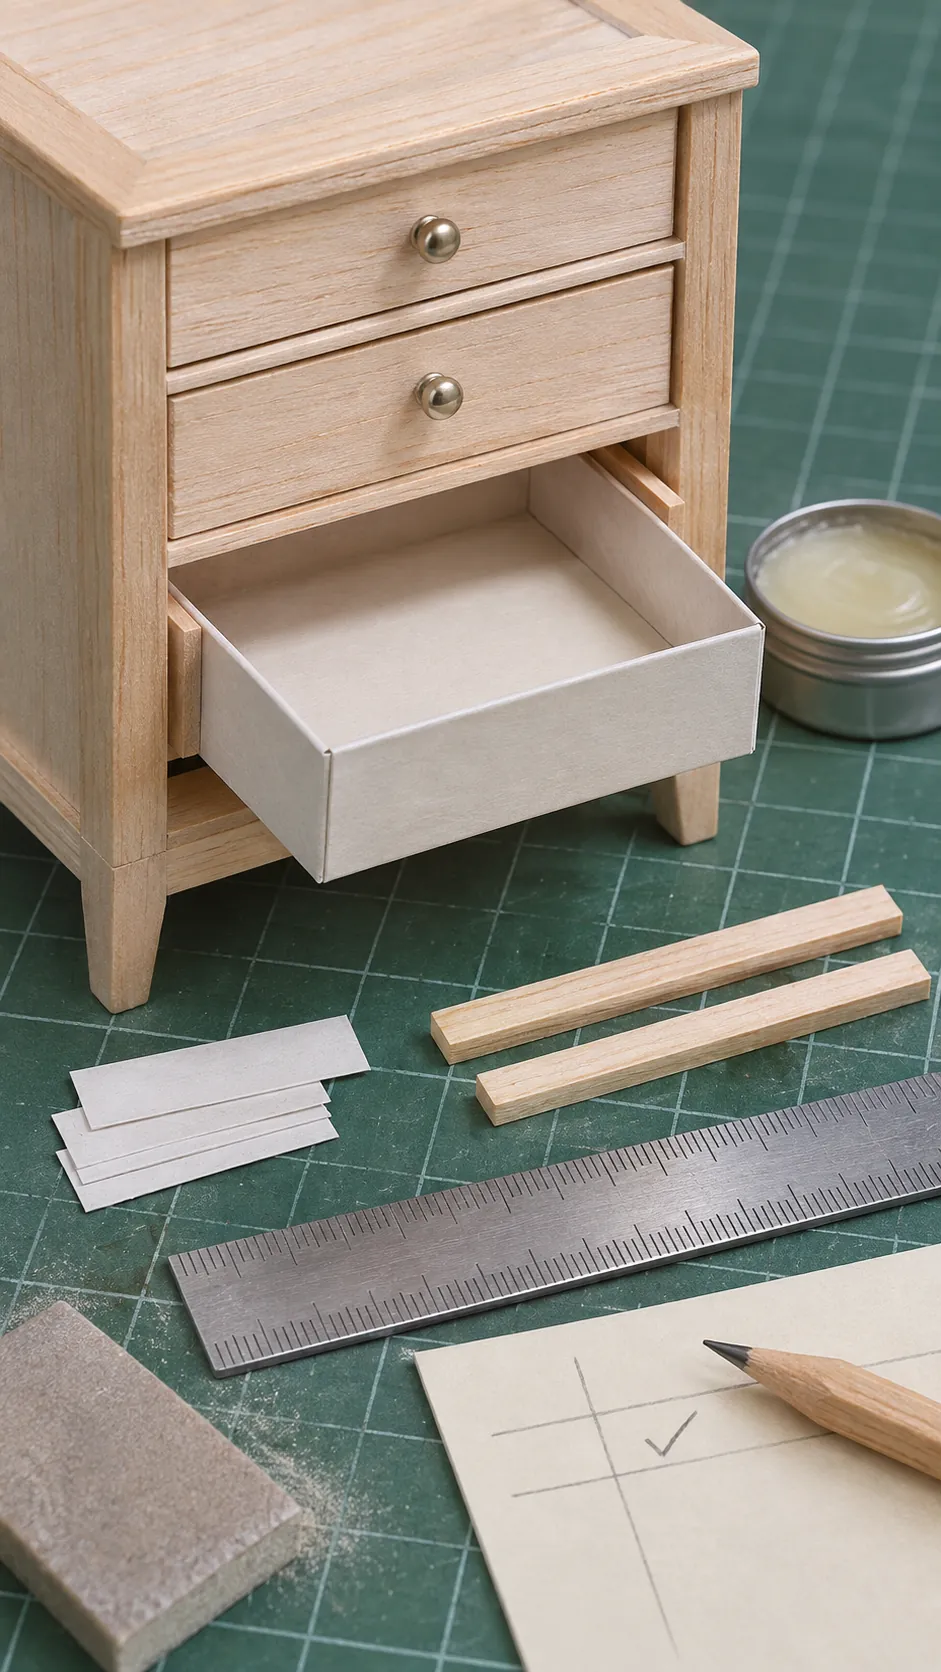
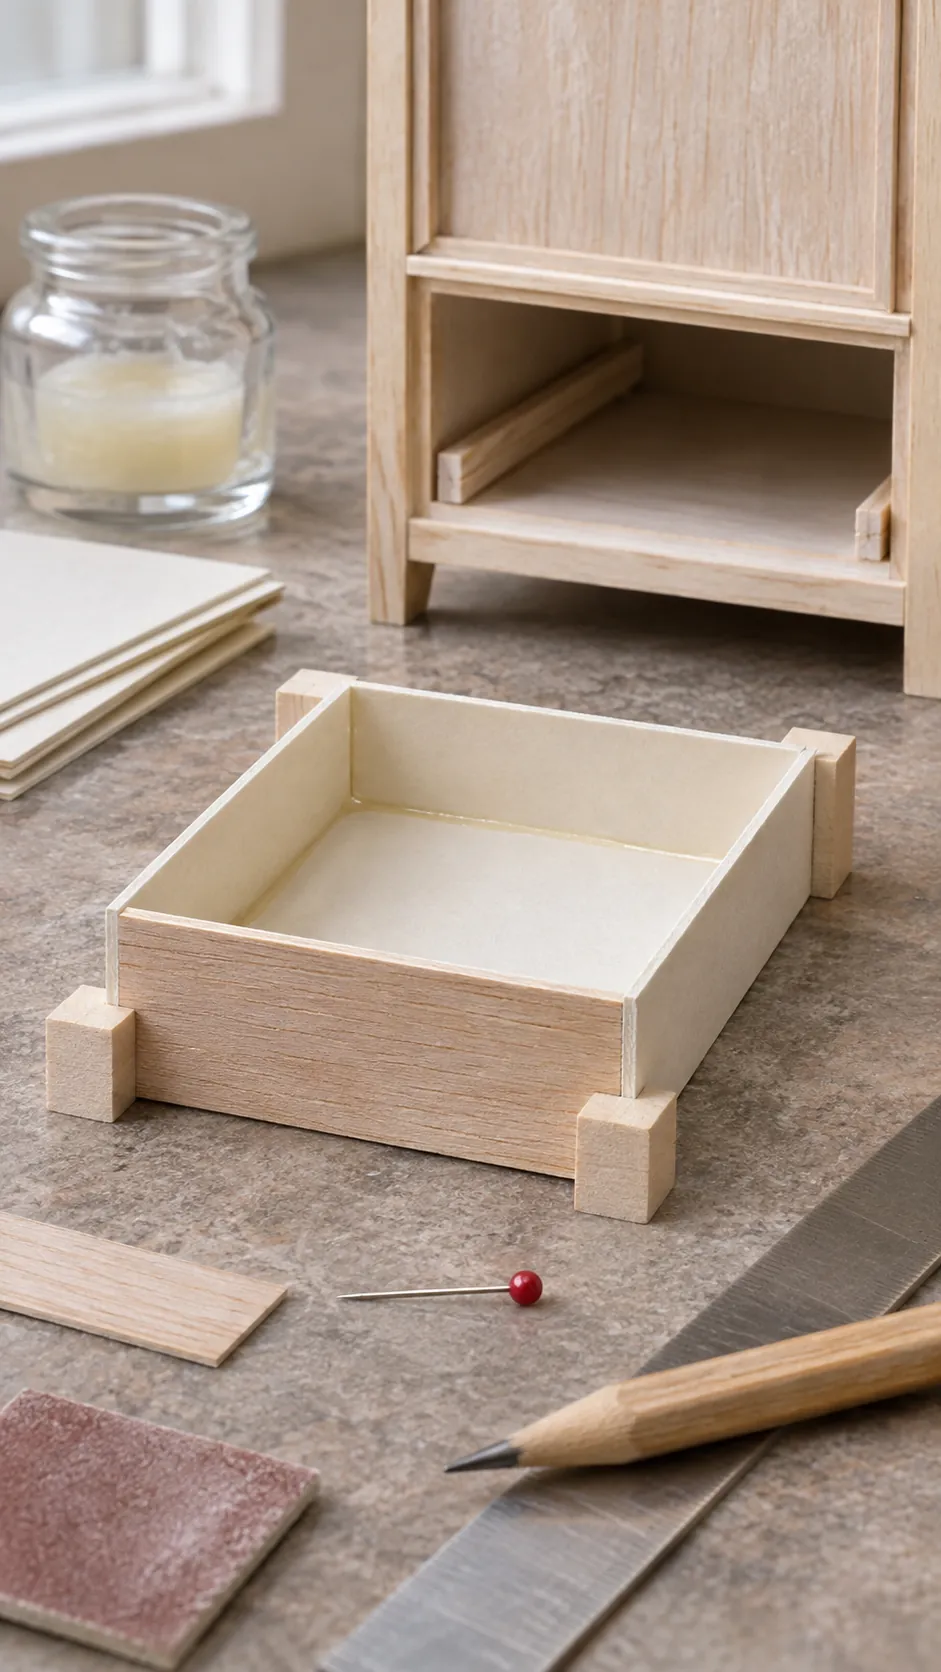
Cut the front, back, sides, and bottom with matched opposite pieces. Assemble the side walls around the bottom on a flat surface. Small square blocks help keep every corner upright while the adhesive sets.
Measure both diagonals across the open top. Equal diagonals show that the drawer box is square. Remove any glue bead along the lower edges because it can catch on the runners. Let the box dry before testing it in the cabinet.
Install parallel miniature runners
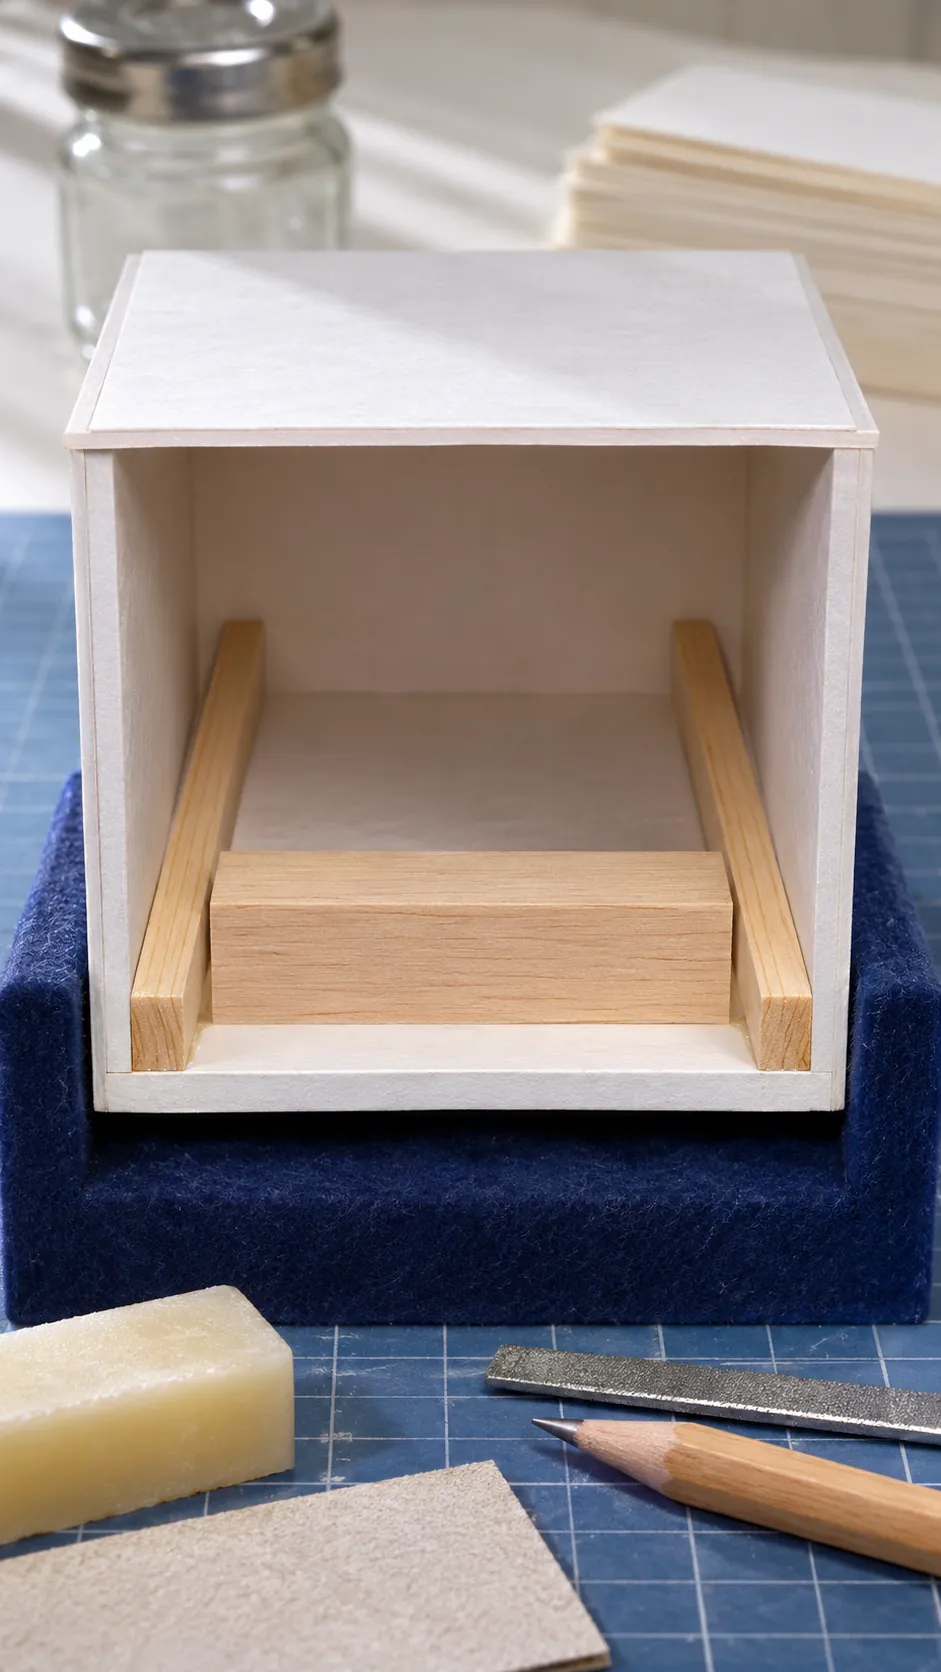
Use narrow basswood, cardstock, or smooth wood strips for simple runners. Cut the pair together and mark one reference height inside the case. A spacer block placed beneath each runner is more reliable than measuring the two sides separately.
Glue one runner, allow it to become firm, then use the same spacer for the opposite side. Check that both front ends align and that neither strip slopes inward. Test the drawer before the glue fully hardens, but remove it during final drying so it cannot become stuck.
Fit and smooth the sliding surfaces
Slide the bare drawer through its full travel and note the exact point of resistance. Sand only the contact area, then test again. Broad sanding can create a loose fit while leaving the true obstruction unchanged.
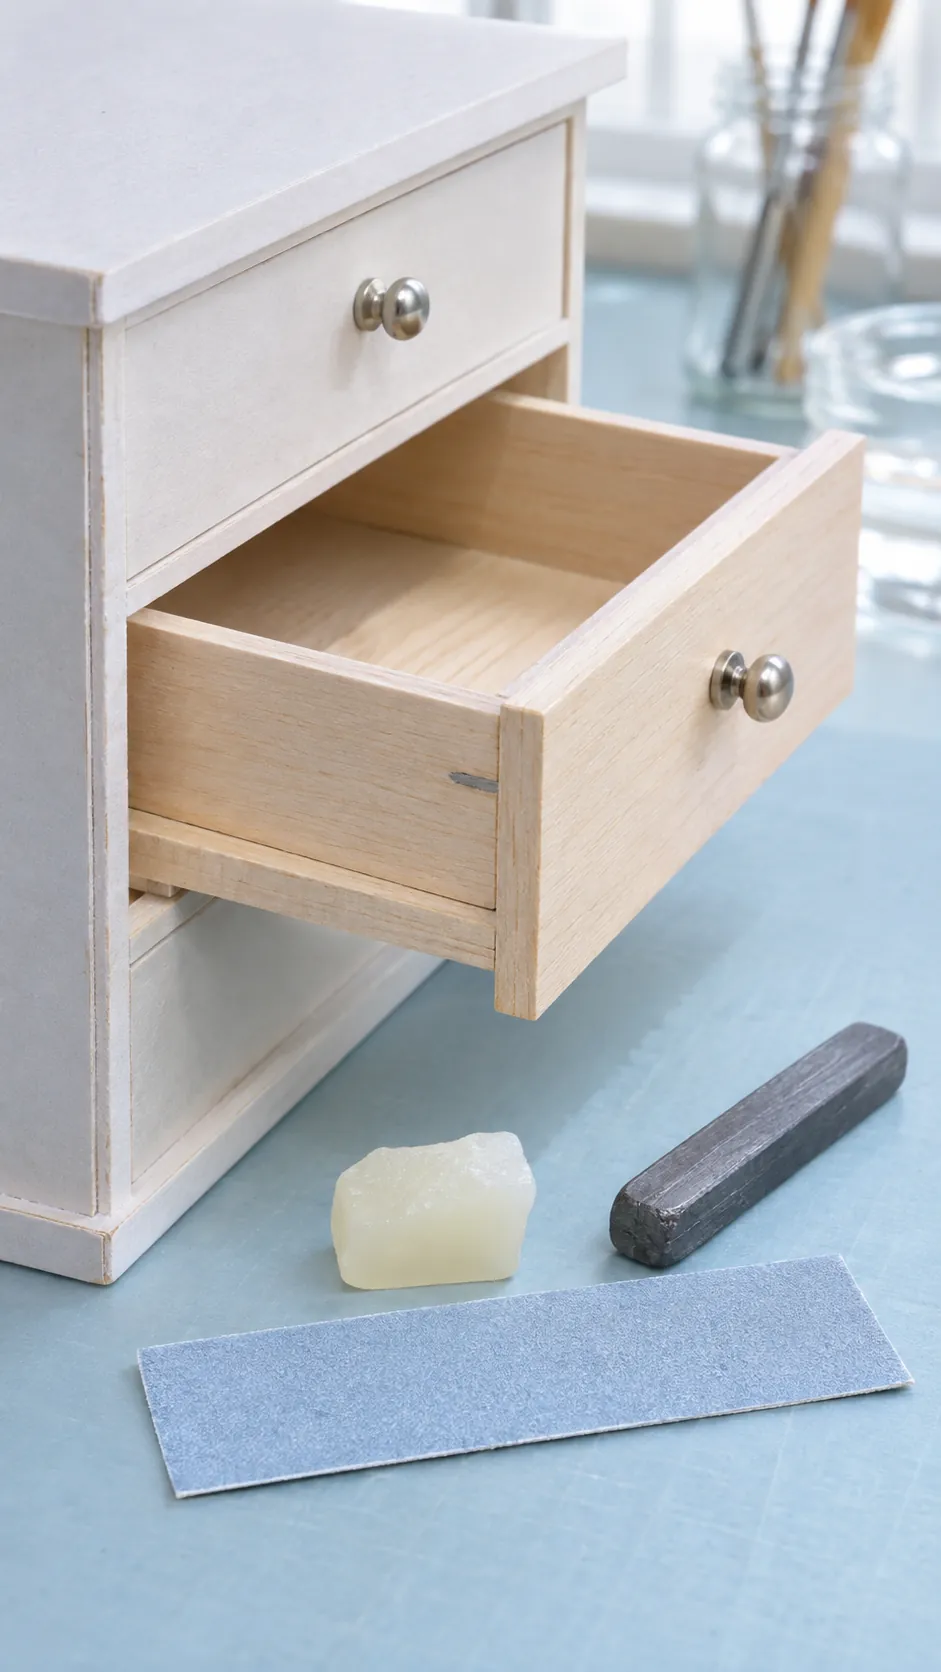
Rub a tiny amount of plain candle wax or dry graphite on clean runner contact surfaces when the geometry is already correct. Do not use wet oil, which attracts dust. Repeat the test after any paint or sealer has dried because a smooth raw fit can tighten under finish.
Attach the front and hardware last
Center the decorative front with paper spacers while the drawer box remains inside the cabinet. Apply adhesive only after all four gaps look even. This method hides small differences in the internal box without changing the sliding fit.
Pierce handle holes before the final finish and back the front with a scrap block to prevent tearing. Install the pull, add any stop, and test the loaded drawer. It should open without lifting, close without rubbing, and remain aligned with neighboring fronts.