How to Remove Wall Decals Without Damaging Paint
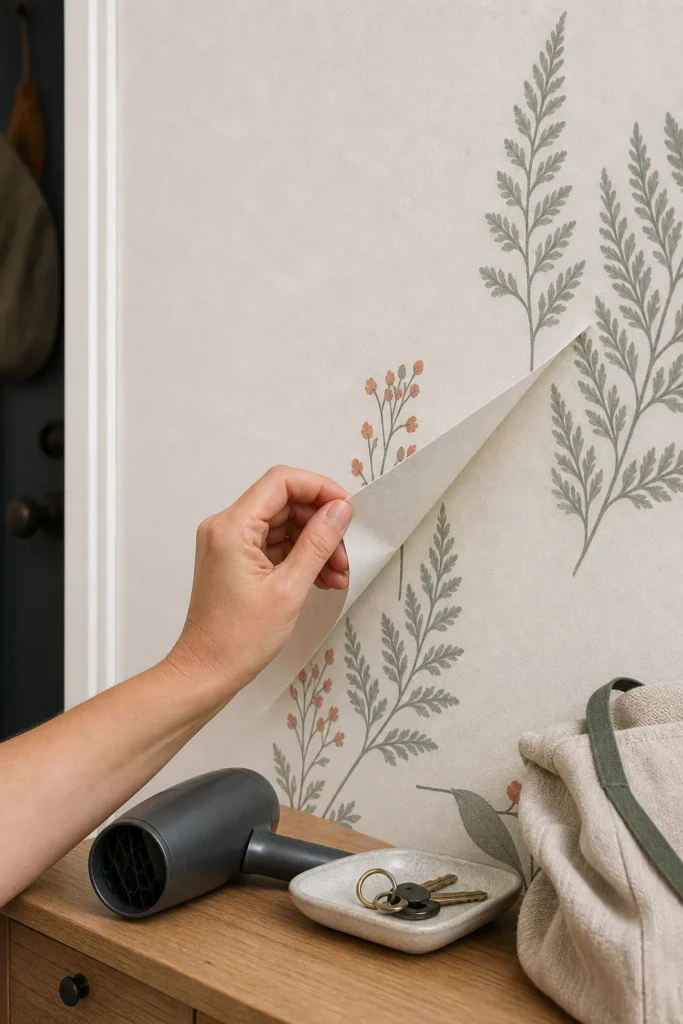
The safest way to remove a wall decal is not to pull harder. It is to make the adhesive release while placing as little outward force as possible on the paint. Start with a hidden corner, warm a small section with a hair dryer on low, and peel the vinyl slowly back against itself. If the paint lifts, cracks, or feels soft, stop immediately: the weak link is the paint bond, not your patience.
That distinction matters because “removable” describes the decal adhesive, not the condition of every wall. Old paint, fresh paint that never fully cured, unprimed drywall, moisture damage, and repeated repainting can all make paint easier to lift. The method below gives you the best chance of damage-free decal removal, while also showing when a flawless result cannot honestly be promised.
Check the wall before you touch the decal
Look closely at the paint around the decal. Flaking edges, bubbles, chalky residue, water staining, or a visible patch of raw drywall are warning signs. Press a clean fingertip gently near the decal. Paint should feel dry, firm, and continuous—not rubbery, powdery, or loose.
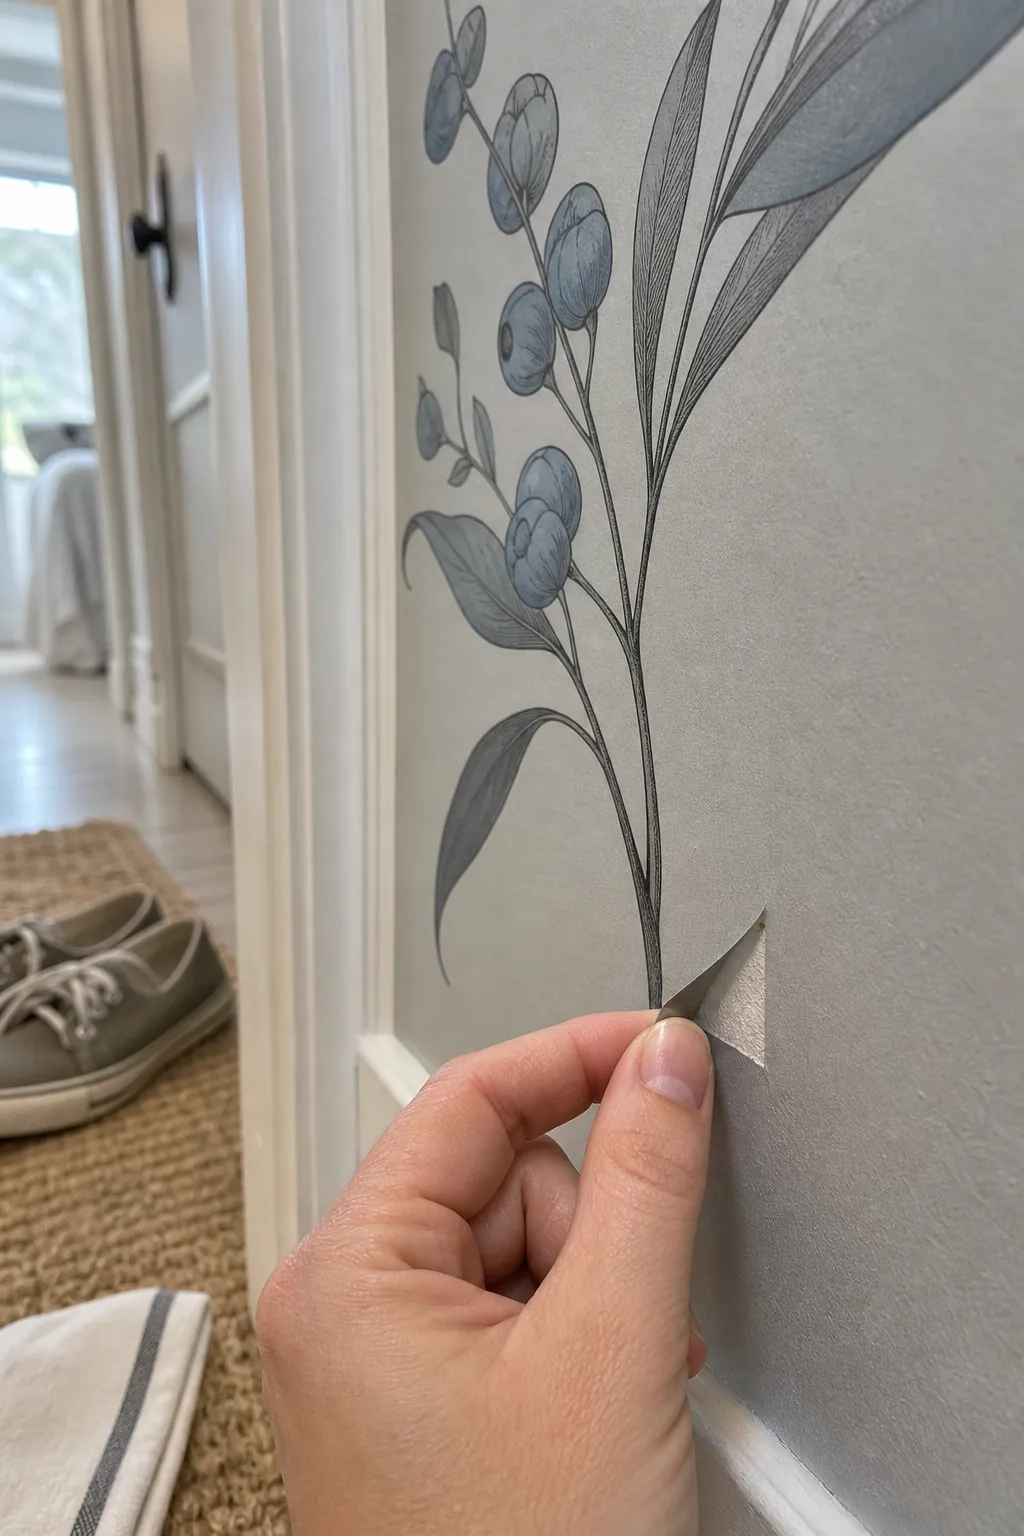
Next, test a corner in the least visible spot. A top corner is often easier to control because you can peel downward, but choose whichever edge is hidden by furniture or naturally shadowed. Lift only a few millimeters with a fingernail. Avoid a razor, metal putty knife, or anything that can score the paint film.
Pause if you see the paint flexing with the vinyl. A decal that has been installed for years can develop a stronger bond than expected. Likewise, a supposedly renter-safe decal cannot compensate for poorly primed drywall. The small corner test is your decision point: continue only if the vinyl separates without bringing paint with it.
Gather a deliberately gentle removal kit
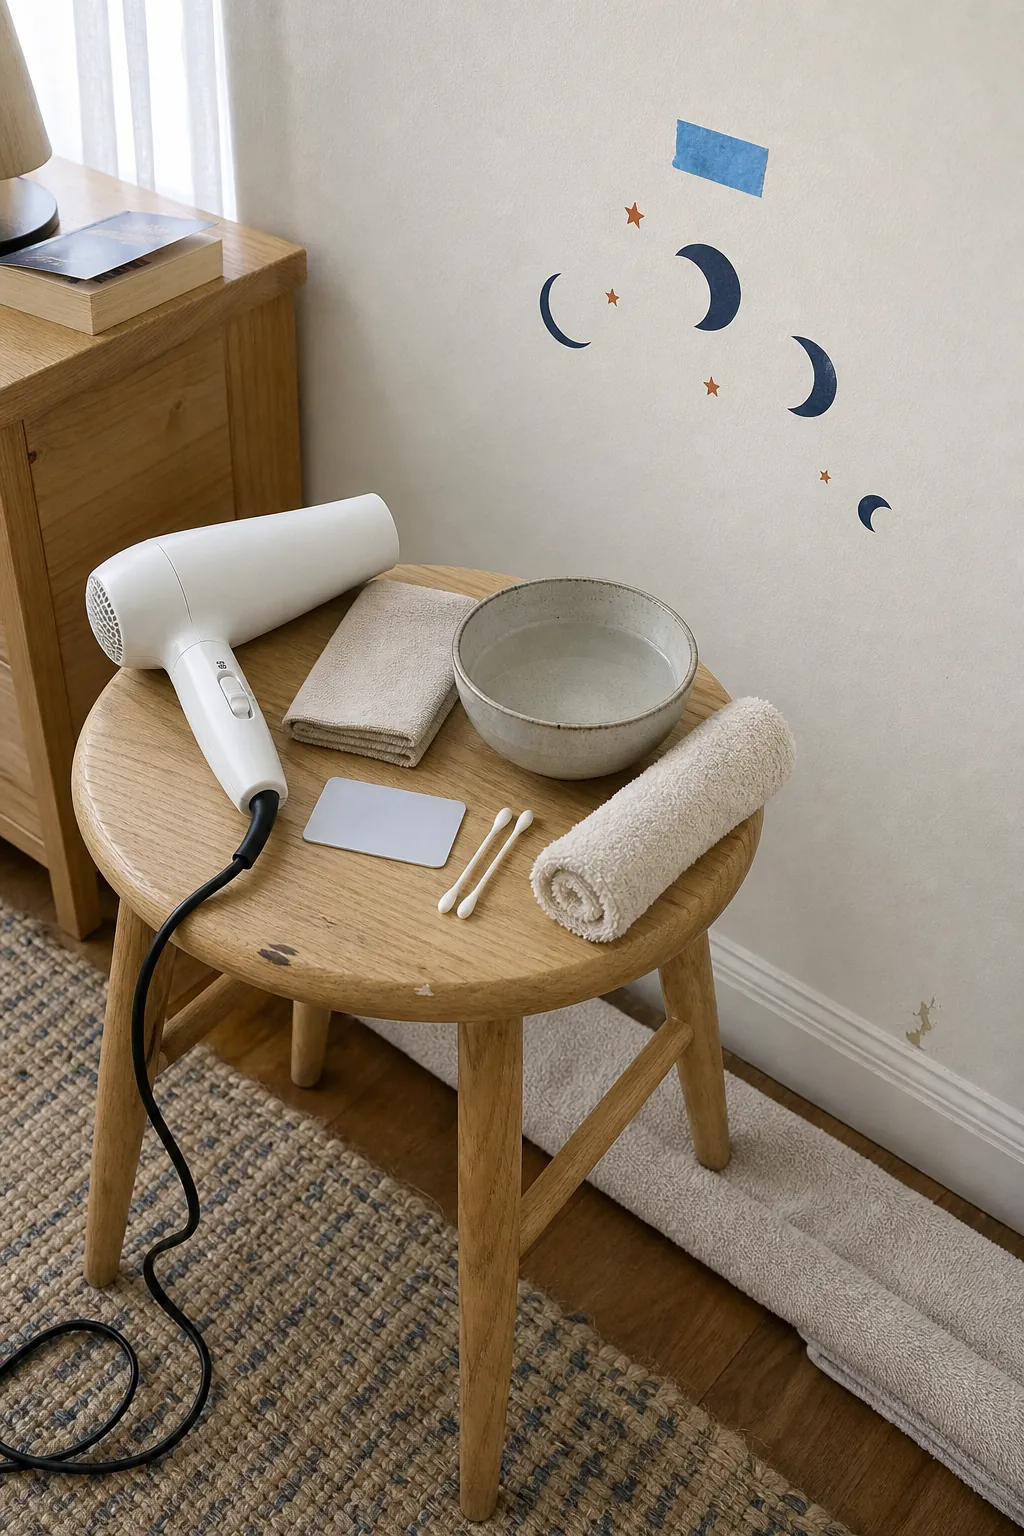
You need fewer tools than most internet lists suggest:
- A household hair dryer with a low or medium setting
- A clean microfiber cloth
- A flexible plastic card or plastic scraper
- A bowl of warm water with one or two drops of mild dish soap
- Cotton swabs for testing residue cleaners
- A clean towel to protect the floor and baseboard
Keep strong solvents, acetone, abrasive pads, melamine foam, and metal blades out of the first attempt. They may remove adhesive, but they can also dull, soften, stain, or physically scrape the paint. Even a product labeled for adhesive removal should be tested on an inconspicuous painted area before it reaches the visible wall.
Warm the adhesive, not the entire wall
A hair dryer helps because controlled warmth makes many pressure-sensitive adhesives more flexible. Use low heat first. Hold the dryer roughly 6 to 8 inches from the vinyl and keep it moving for 20 to 30 seconds over a hand-sized area. The decal should feel gently warm, never hot.
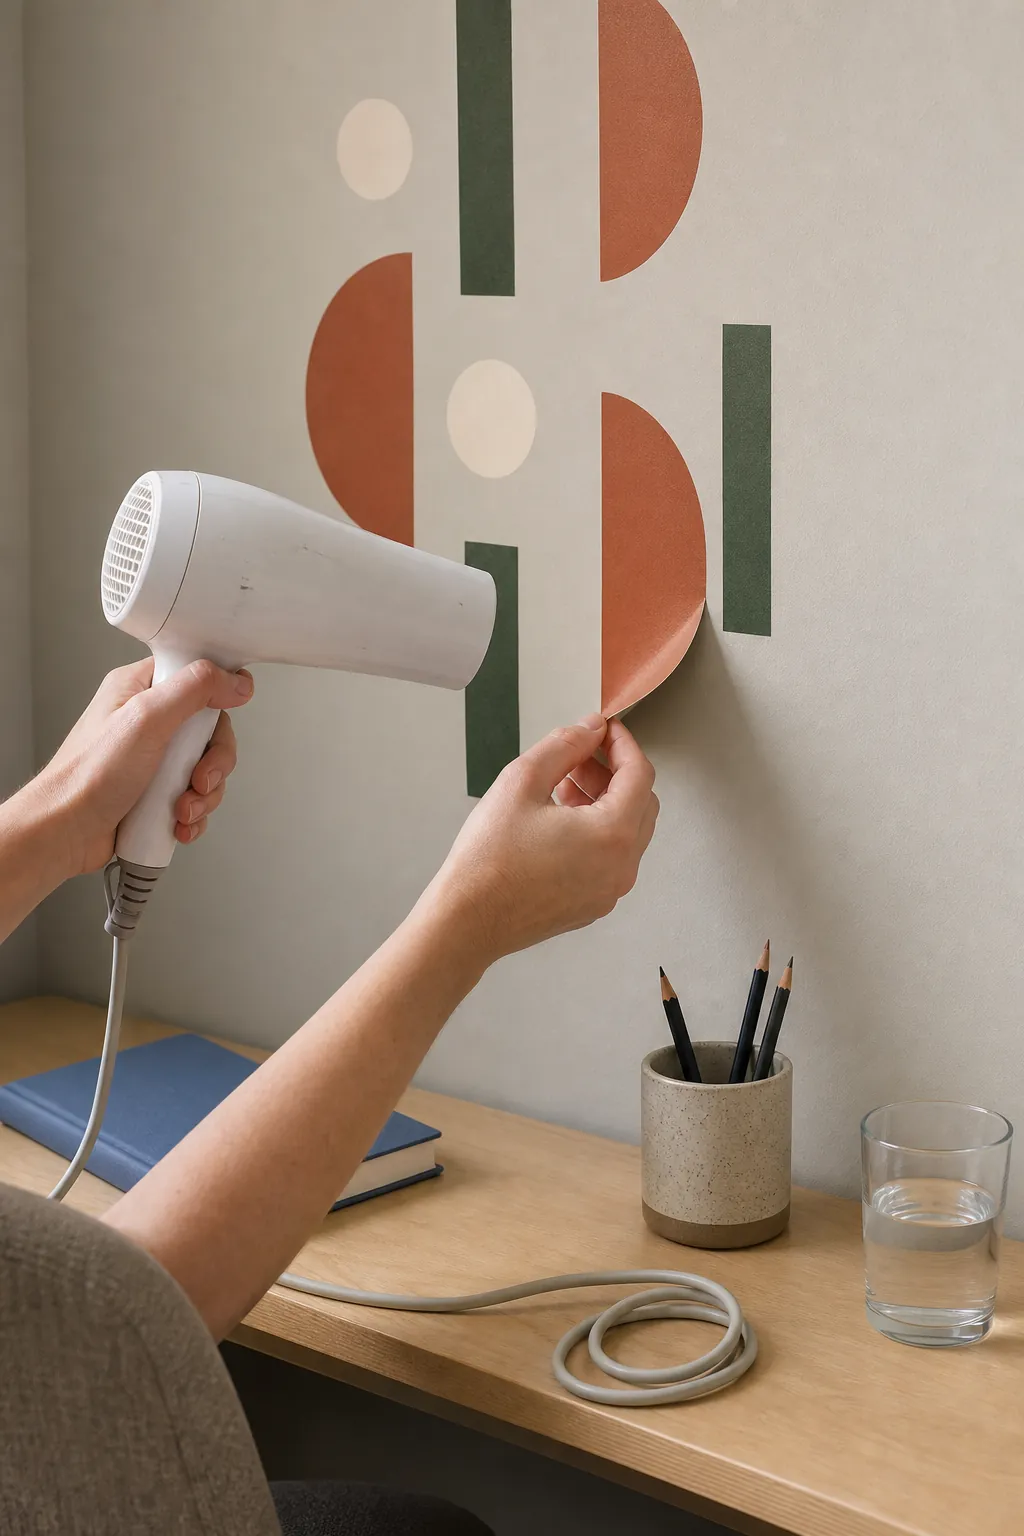
High heat is not automatically safer or faster. Too much can soften some paint finishes, stretch thin vinyl, and make adhesive smear. A heat gun is especially easy to overuse on interior paint. If you only need to know how to use a hair dryer to remove a wall decal, remember this rhythm: warm a small area, peel that area, stop when resistance rises, then warm the next area.
Cold rooms make vinyl and adhesive less cooperative. Bringing the room to a comfortable temperature before starting can reduce tearing. You are trying to maintain a mild, even release—not shock the surface with concentrated heat.
Peel low, slow, and close to the surface
Once the corner releases, fold the decal back so the loose vinyl stays close to the wall. Pull slowly along the surface rather than straight toward your body. This low peel angle reduces the outward load that can pull paint away from drywall.
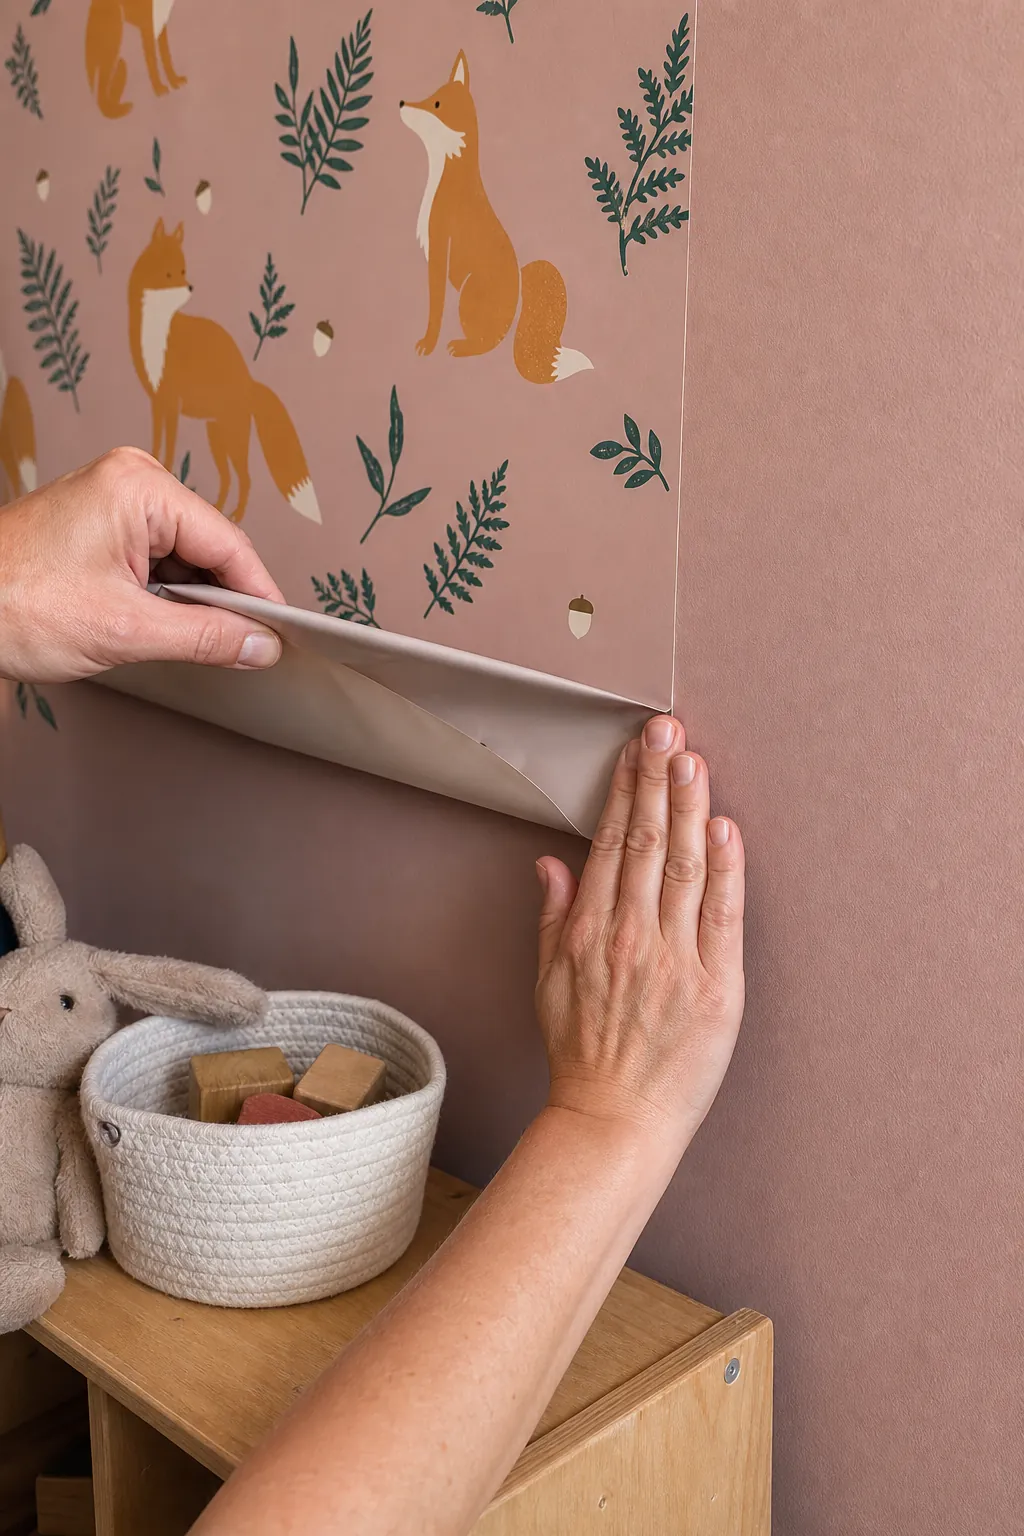
Use one hand to maintain gentle tension and the other to support the release line. For a large design, work in strips or sections instead of trying to control a wide sheet at once. If the vinyl tears, do not dig at the fragment. Warm it again, lift a fresh edge with your fingernail or a flexible plastic card, and resume.
Resistance is information. Do not yank through a stubborn patch. Stop, let the wall cool briefly if it feels hot, then reapply mild warmth to the adhesive line. If paint begins to come away, continuing with better technique will not restore the paint bond. Photograph the area and decide whether a small controlled repair is preferable to a larger peeled patch.
Remove sticky residue without stripping the finish
After the vinyl is gone, first determine whether the mark is actually adhesive. A decal can shield paint from sunlight, dust, and cleaning, leaving a cleaner or less-faded silhouette that feels dry. Cleaner will not erase that color difference. True residue feels tacky and may collect lint.
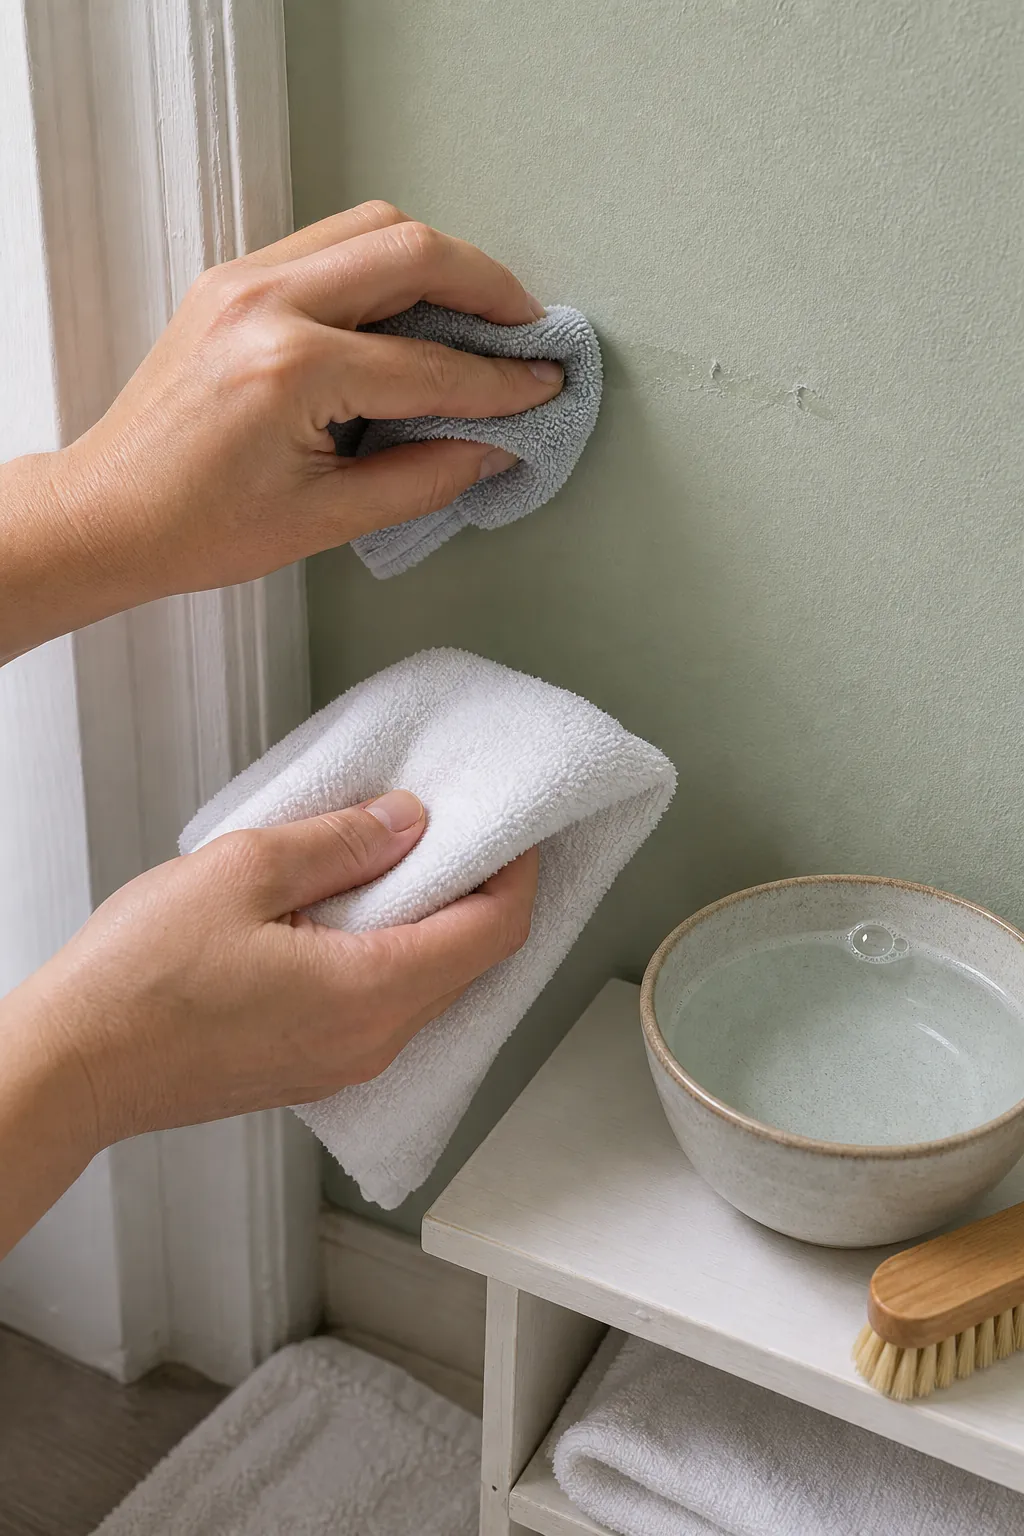
Begin with the least aggressive option. Dampen—not soak—a microfiber cloth with warm water and a tiny amount of mild dish soap. Blot and roll the residue rather than scrubbing a broad halo into the finish. Dry the area promptly. Flat and matte paints are especially vulnerable to burnishing, which creates a permanent shiny patch.
If mild soap does not work, test a paint-compatible adhesive remover with a cotton swab in a hidden spot. Check for color transfer, softening, gloss change, or staining after the recommended dwell time. Apply a minimal amount to the cloth instead of pouring it onto the wall. Follow the product label, ventilate the room, and wipe away cleaner residue afterward. Avoid improvising with acetone or strong solvent: internet advice that works on glass, metal, or automotive paint may be wrong for interior latex paint.
Handle old decals and fragile paint as a repair project
An old decal may come off in brittle chips, leave adhesive behind, or expose a crisp “ghost” where surrounding paint has aged. Work in smaller zones and accept that the final task may be surface preparation rather than simple cleaning. Do not paint directly over tacky residue; it can create uneven texture and poor adhesion under the new coat.
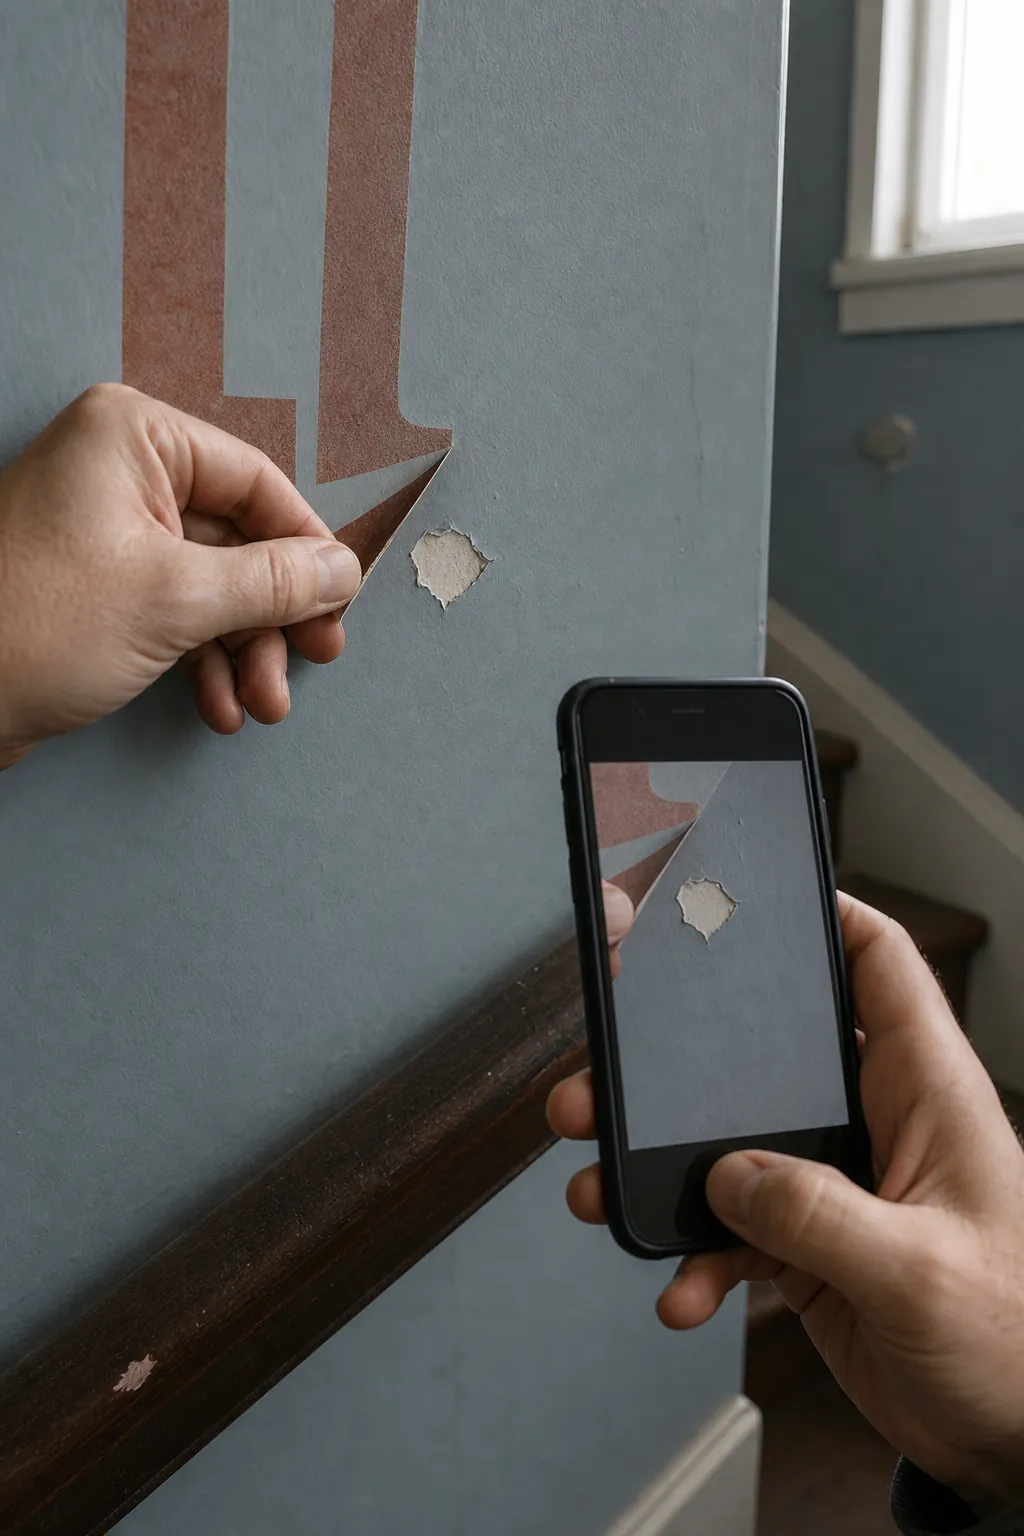
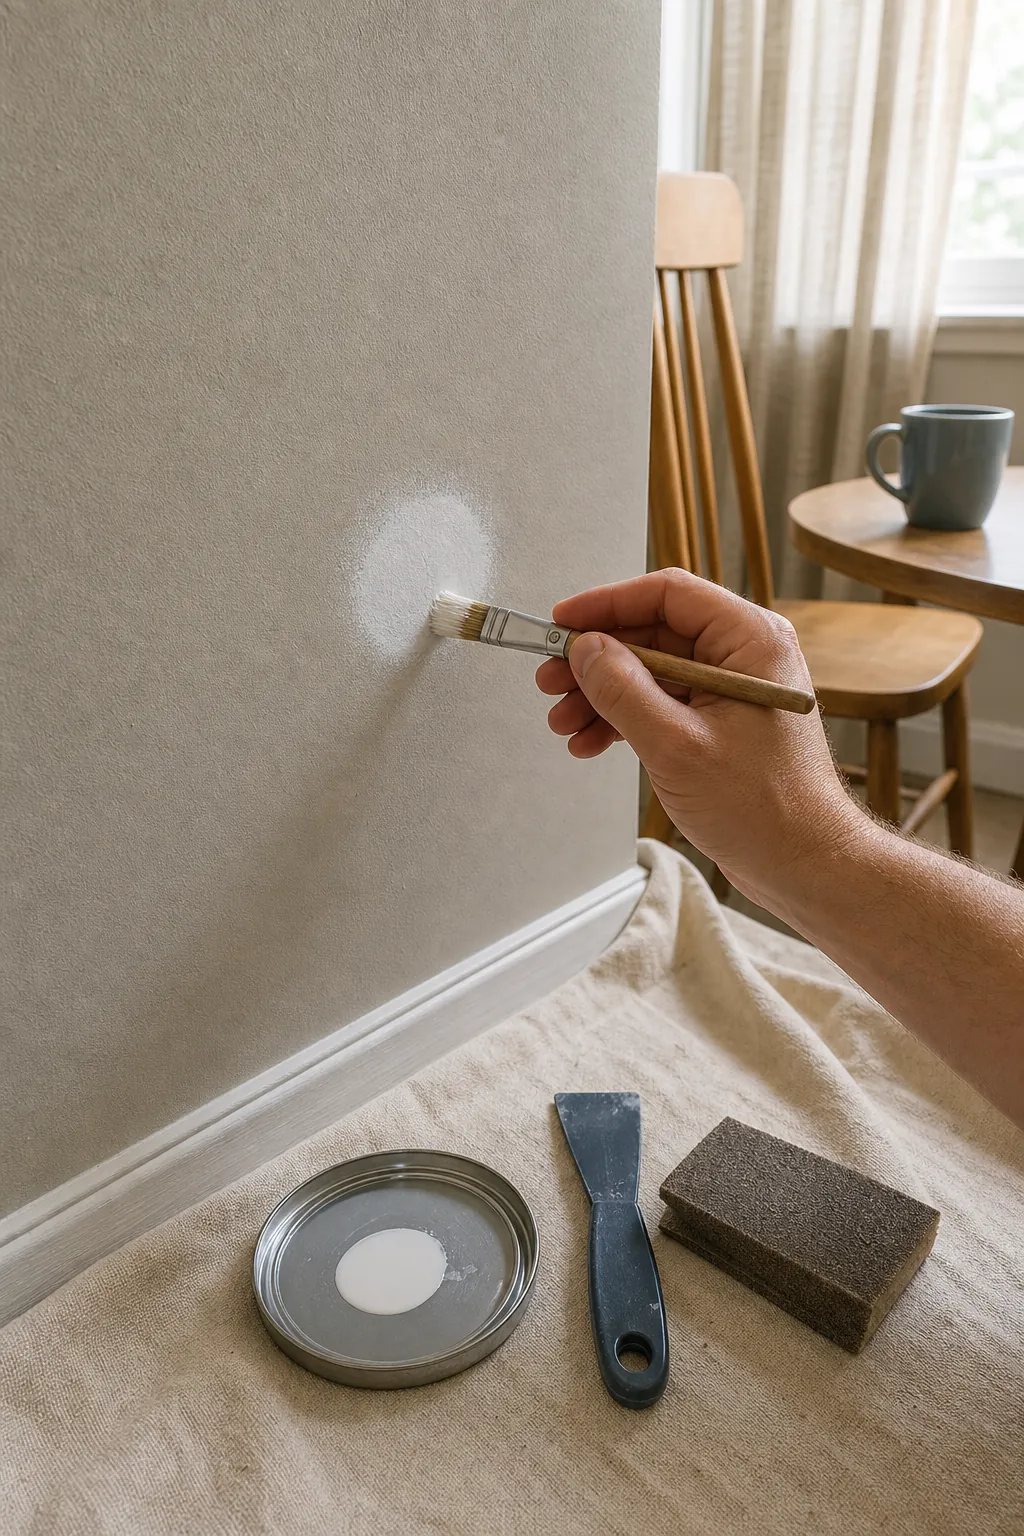
If a small paint chip lifts, stop the removal beyond that edge. Once the area is stable, remove loose paint without widening the damage, feather the edge carefully, patch exposed drywall paper if necessary, prime the repair, and touch up with matching paint. A stain-blocking or problem-surface primer may be needed where drywall paper is torn or residue has contaminated the surface.
Renters should document pre-existing flaking, moisture marks, and every place the paint lifts. A landlord may prefer to handle a larger or poorly bonded area. The most expensive mistake is turning a small warning corner into a full-width strip of missing paint because the decal “should” have been removable.
Know when to stop before a clean removal becomes damage
Safe wall decal removal is a controlled release process: test first, use mild warmth, keep the peel low, and treat residue with the gentlest compatible cleaner. The technique is simple, but the judgment matters. A decal that releases steadily can usually be removed one warm section at a time. Paint that flexes, flakes, softens, or follows the vinyl is telling you that the substrate needs repair.
Stop at the first sign of paint failure. That is not giving up; it is the step most likely to keep a coin-sized repair from becoming a wall-sized repaint. When the surface is sound, patience beats force. When it is not, careful documentation and a proper repair beat any miracle removal hack.