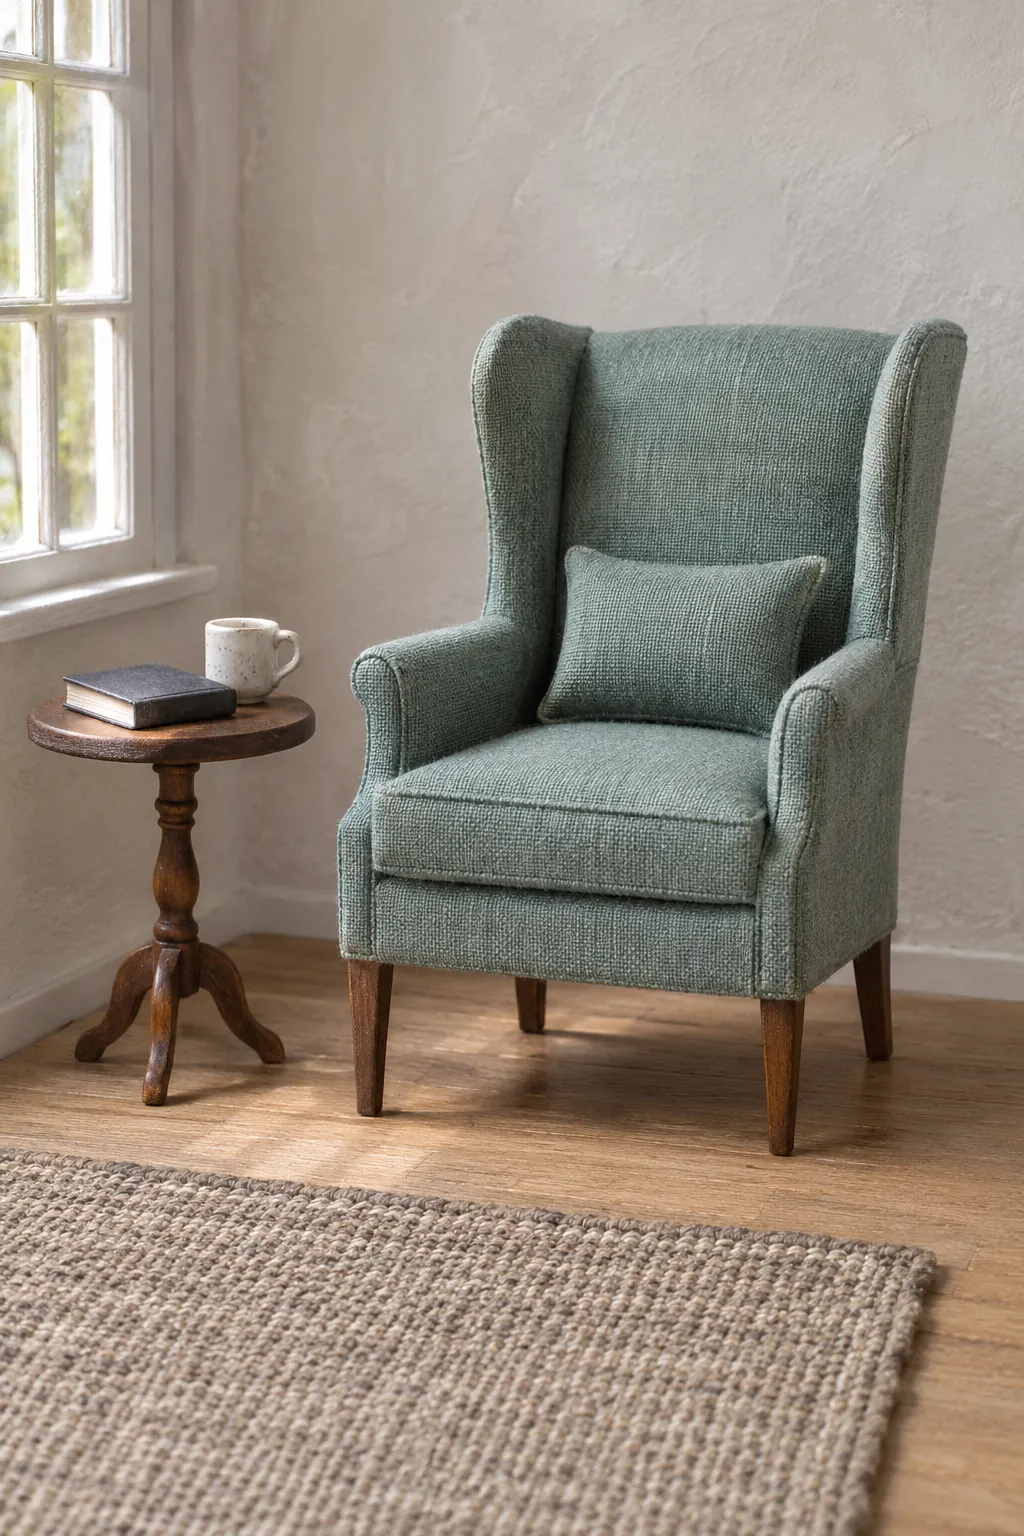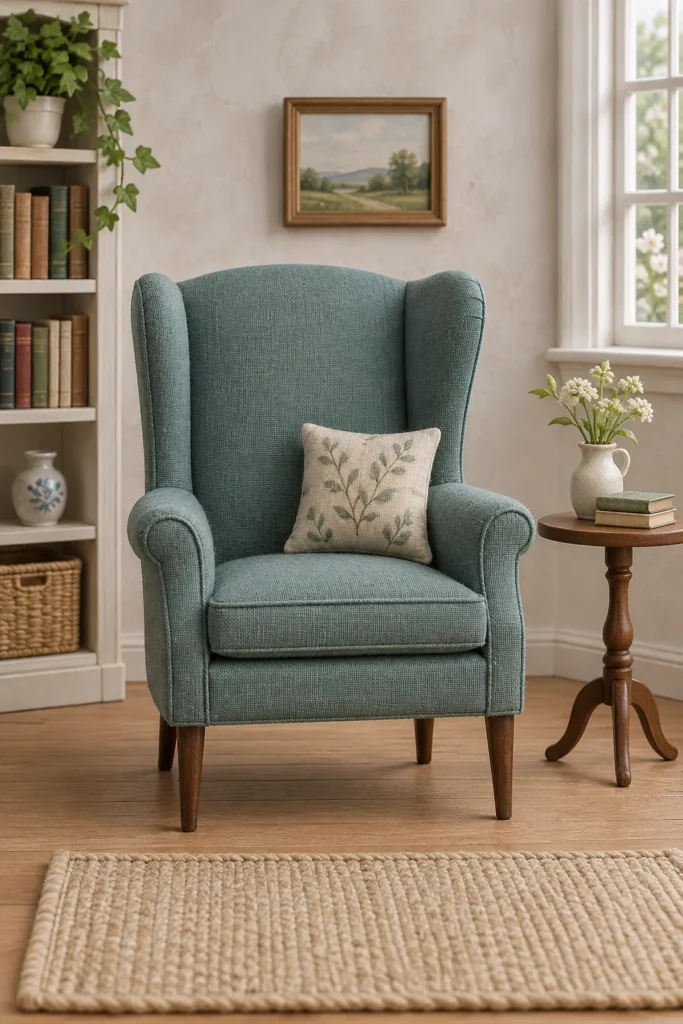
Miniature upholstery becomes difficult when full size methods are reduced without changing the materials. A fabric that drapes beautifully on a real chair can look stiff at 1:12 scale, and a thin foam offcut can make a tiny seat look overfilled. The best result comes from building a firm chair core, testing every layer on scrap, and adding only enough padding to soften the silhouette.
Set the chair size and make a paper pattern
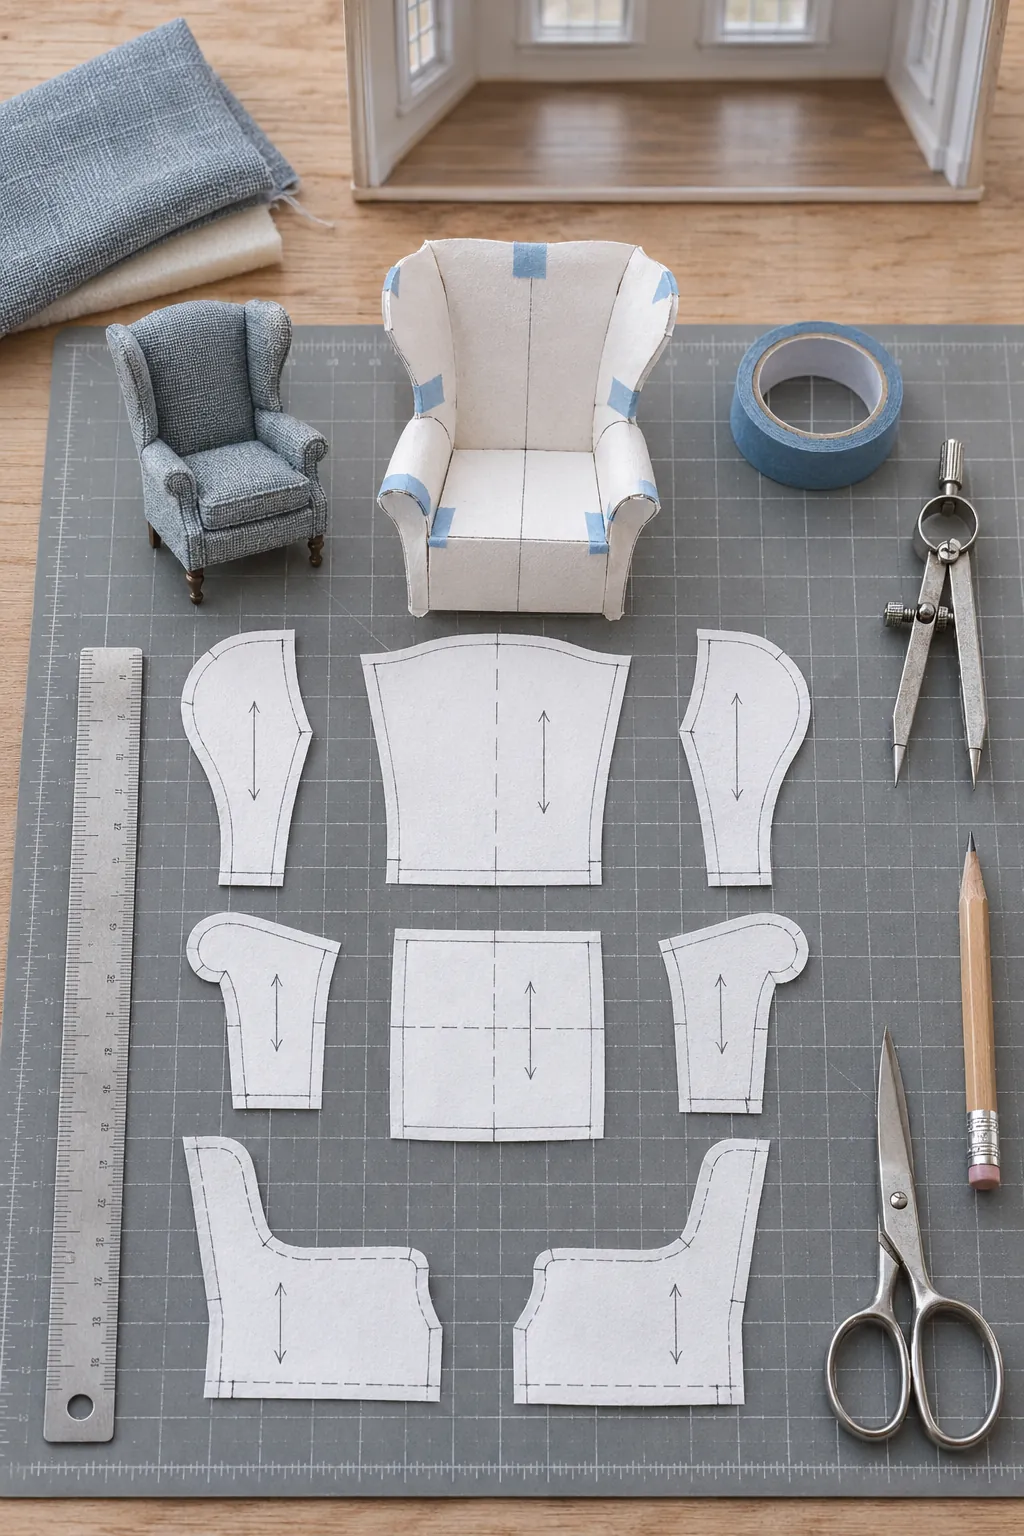
A typical 1:12 armchair can be about 3 inches high, 2 1/4 inches wide, and 2 inches deep, but the room and the intended style should decide the final proportions. Draw the front, side, seat, and back at full miniature size. Hold the paper shapes together with removable tape and compare the mockup with nearby dollhouse furniture before cutting the permanent core.
Separate patterns are useful for the outside back, inside back, seat, arm fronts, arm tops, and outer sides. Mark a center line and the direction of the fabric grain on each piece. Add a small turning allowance only where fabric must wrap around an edge. Oversized allowances create thick corners that are hard to hide.
Build a straight and rigid chair core
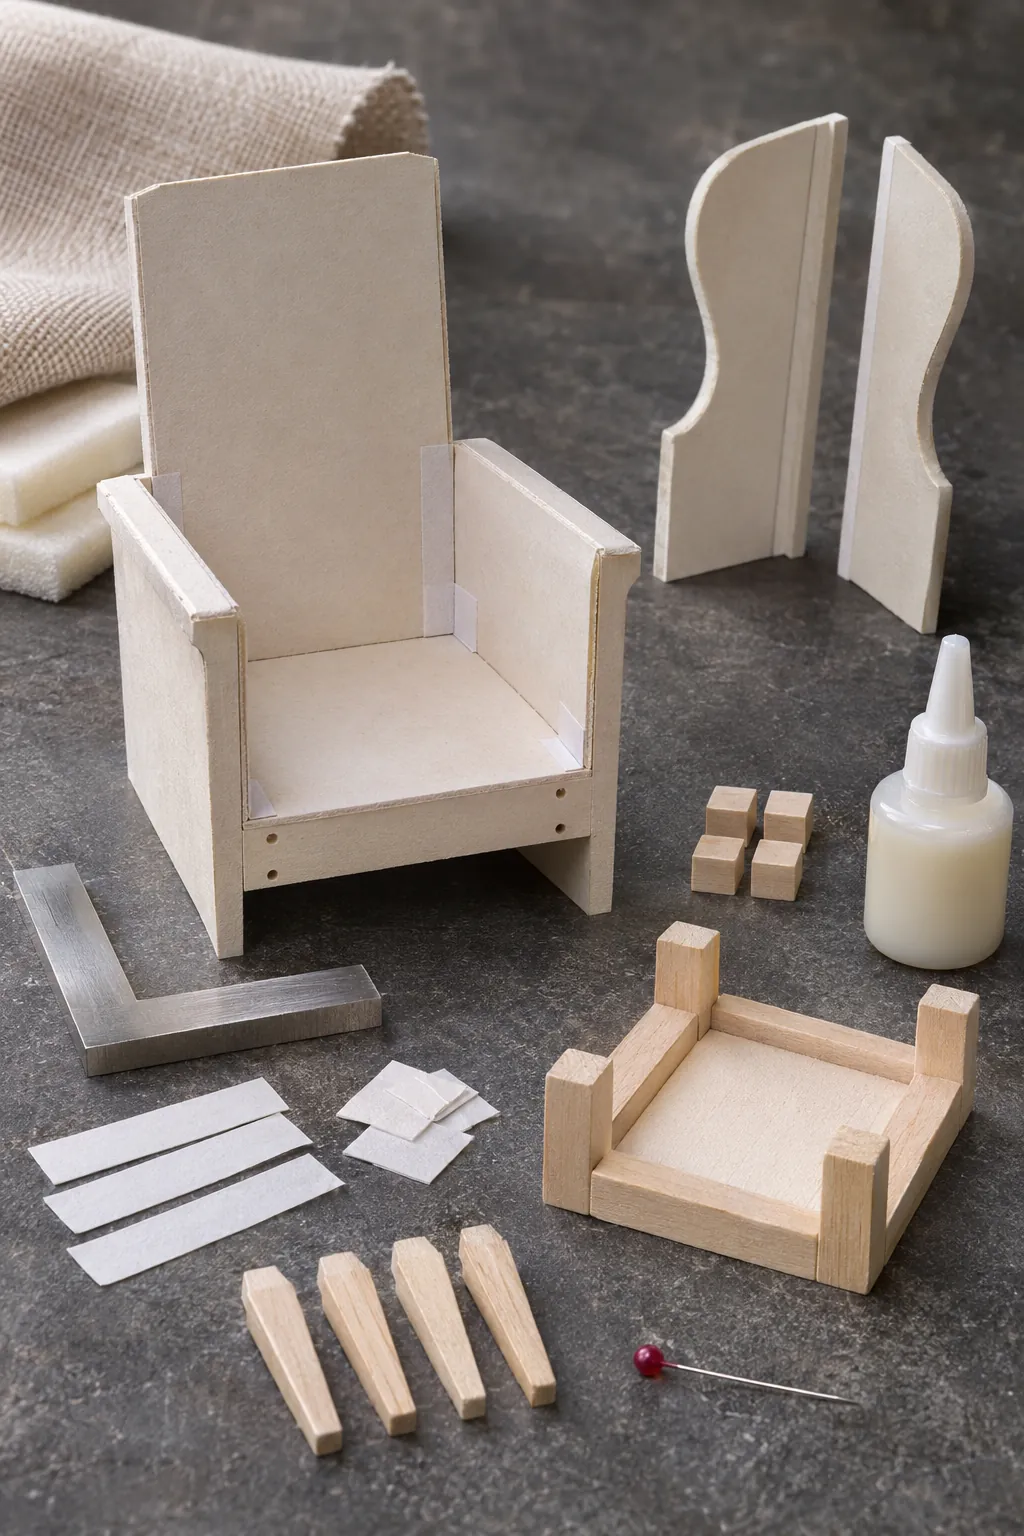
Cut the seat platform, back, and arm supports from dense illustration board, thin basswood, or another firm sheet material. Dry fit the pieces on a flat surface and check that both arms match in height and angle. A rigid core prevents the finished fabric from twisting the chair out of square.
For a wingback shape, add the wings after the main back is stable. Reinforce hidden joints with narrow paper strips rather than large glue beads. Let the core dry fully before padding. If the chair needs visible legs, drill or pierce their mounting points now so later pressure does not crush the upholstery.
Choose thin foam and scale friendly fabric
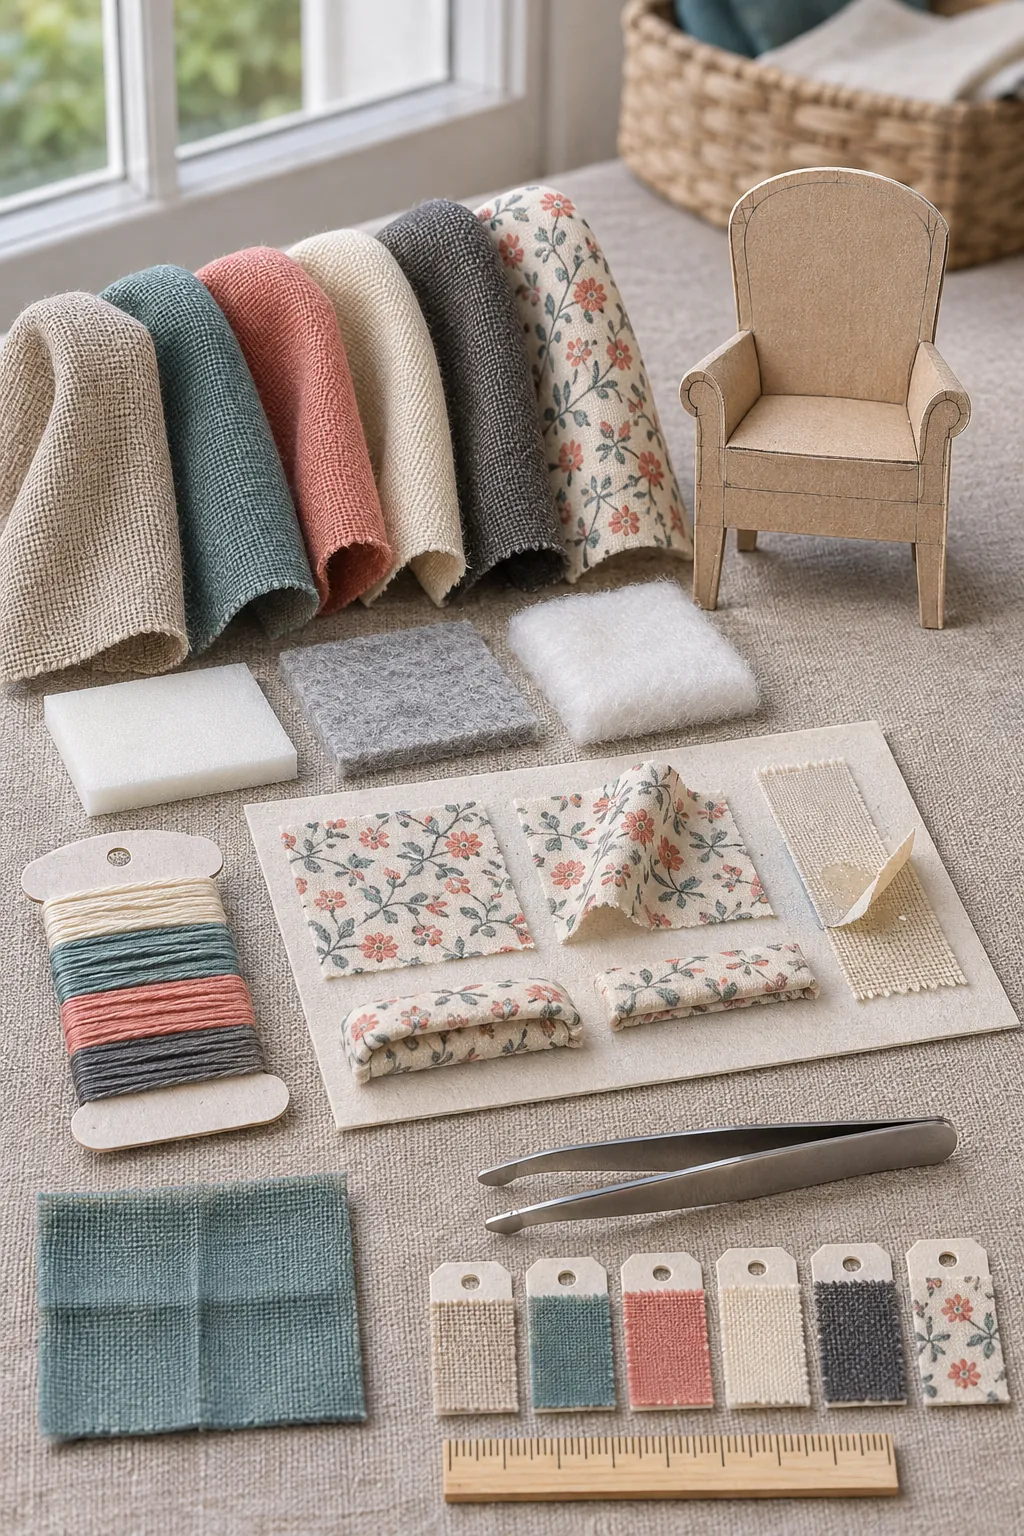
Use thin craft foam, felt, or a compact layer of batting for the padded areas. Thick cushion foam changes the proportions quickly and resists tight curves. Shape the padding slightly smaller than the surface it covers so the fabric can turn around the edge without creating a ridge.
Fine cotton lawn, lightweight linen, thin rayon, and tightly woven quilting cotton are easier to control than heavy upholstery cloth. Check the weave at miniature distance; a large texture can look like rope. Wash and press the fabric if it may shrink, then test glue on a scrap. Choose a tiny repeat or a plain fabric when pattern matching would dominate the chair.
Upholster the inside back and seat
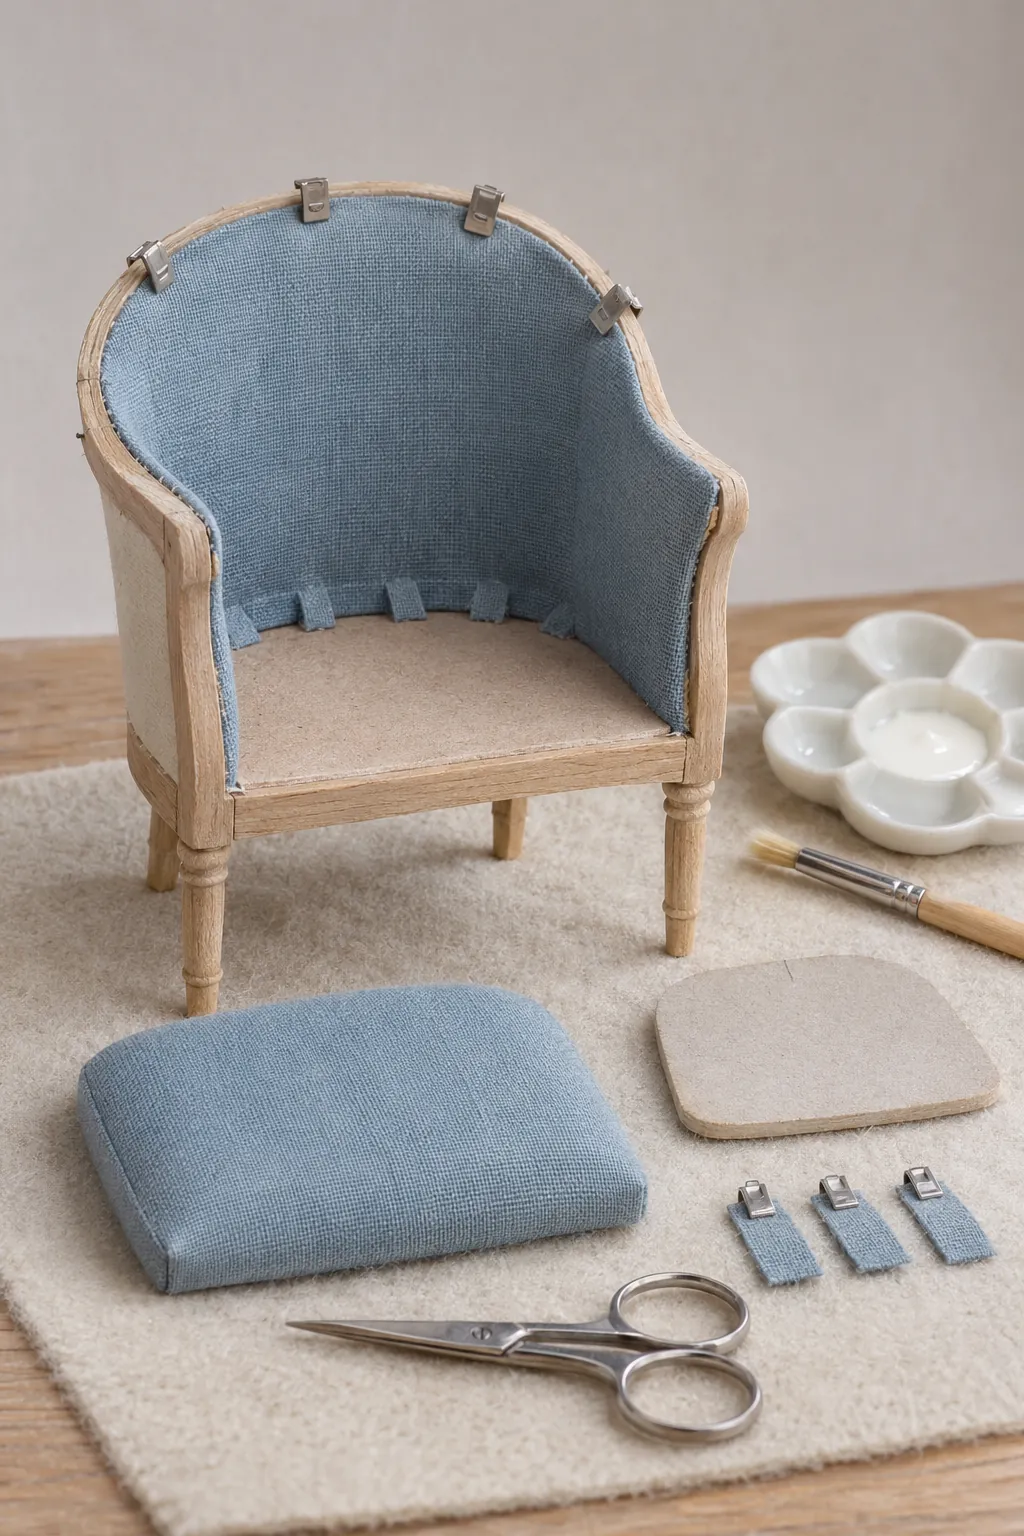
Cover the inside back before the arms block access. Apply a thin even adhesive layer to the rear of the fabric or to the hidden perimeter, not to the visible center. Smooth from the middle outward. Clip the allowance with small cuts around curves, stopping before the visible edge, then turn each tab separately.
Make the seat cushion as a separate pad when possible. Wrap fabric around its foam and card base, then secure the opposite sides before the corners. This sequence maintains even tension. Place the finished cushion in the chair without glue first and check that it does not spread the arms or cover too much of the inside back.
Wrap the arms and conceal the edges
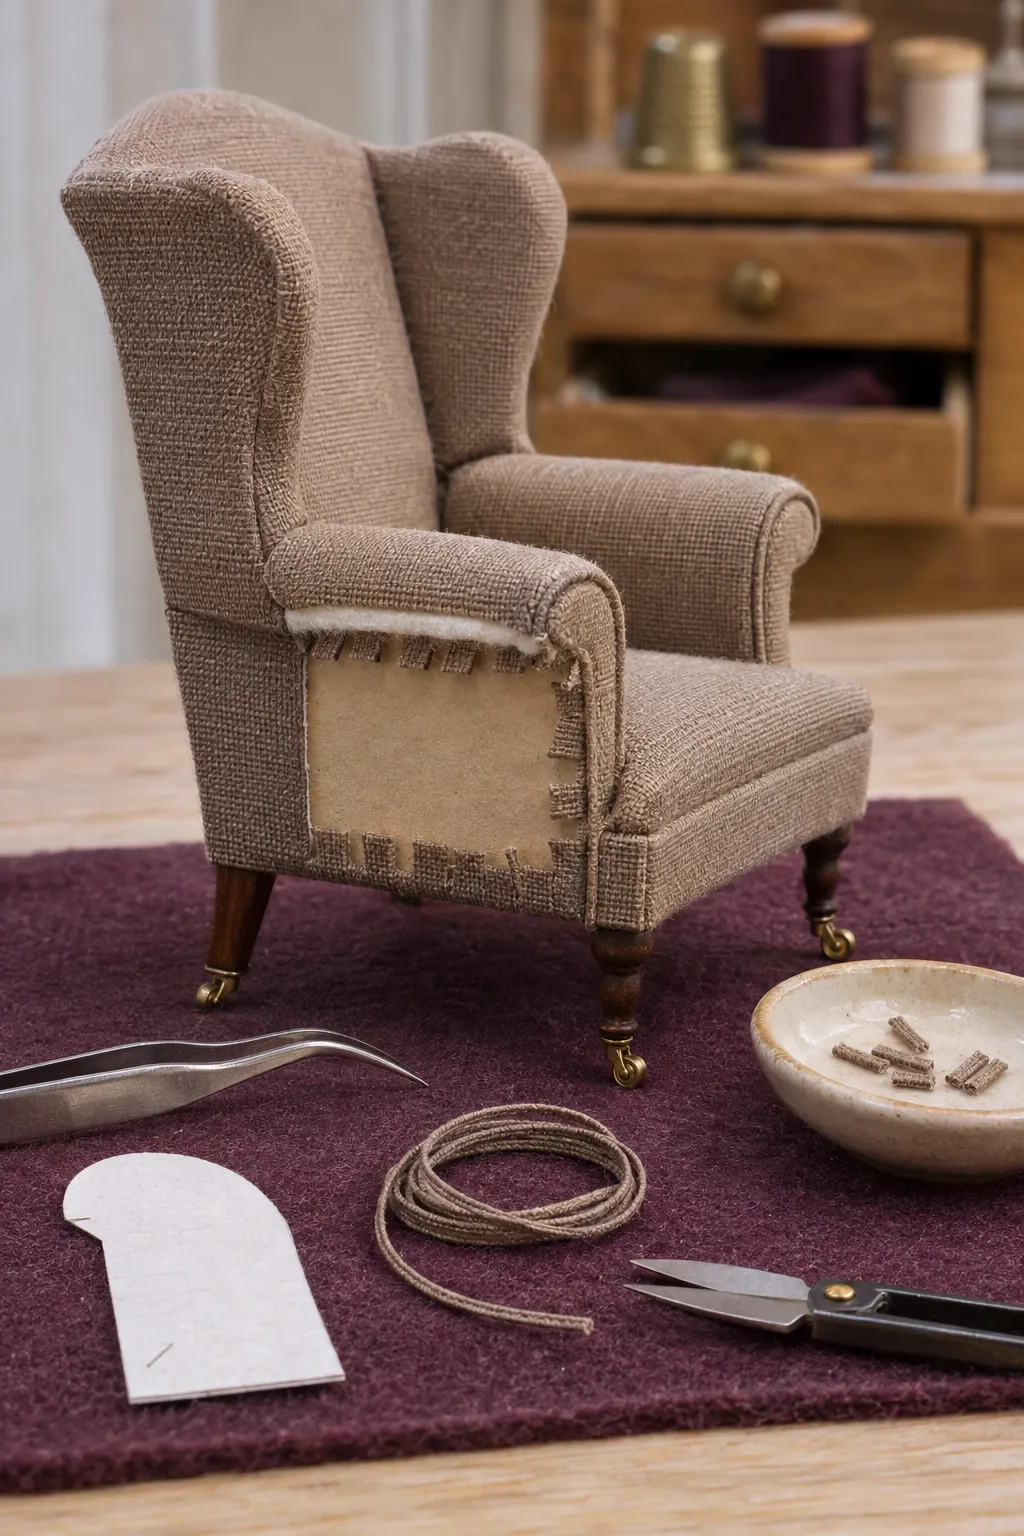
Cover each inner arm first, then the arm top, front panel, and outer side. Work on matching left and right pieces in the same order so their padding and tension stay consistent. At a rounded arm front, make several tiny clips and overlap the narrow tabs on the hidden face. Large folds create a lumpy outline.
Hide raw edges with a separate outer panel, narrow braid, or miniature double cord. Use the smallest amount of adhesive that holds the trim. Place the join at the lower rear where it attracts less attention. If glue marks appear through the fabric, stop and change the application method before completing the second arm.
Add the legs and complete the final fit
Paint or stain the legs before installation and make a simple spacing jig so all four sit at the same inset. Attach them to the rigid core rather than relying on fabric for support. Set the chair on a flat mirror or glass plate and correct any rocking before the adhesive becomes firm.
Finish with a loose cushion only if its thickness suits the seat. Brush the fabric gently to remove loose fibers and inspect every seam in strong side light. The chair should keep a clear outline, even arm height, and enough open seat space to look comfortable at miniature scale. A restrained layer of padding usually looks more convincing than a very soft bulky one.