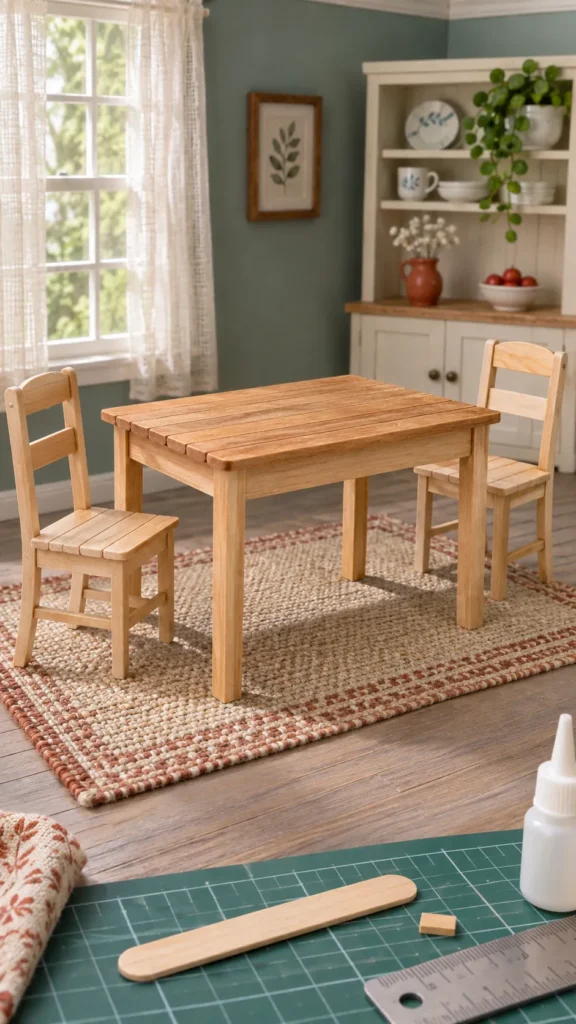
A craft stick table often fails in two places: the top curves while the glue dries, or the legs lean because they were attached without an apron. Both problems are easier to prevent than repair. Build the tabletop flat, add a square support frame below it, and treat the legs as one matched set.
This plan creates a simple 1:12 dining table with common craft sticks and square basswood for the legs. The dimensions can change to suit your room, but the order of assembly stays useful. A metal ruler, sharp knife, sanding stick, square guide, and patient drying time do most of the work.
Choose the table size and prepare the sticks
A common 1:12 dining table height is about 2.5 inches. A compact four place top can be around 3 by 5 inches, but the room and chairs should decide the final length and width. Cut a card footprint first and leave enough space to pull chairs away from the table.
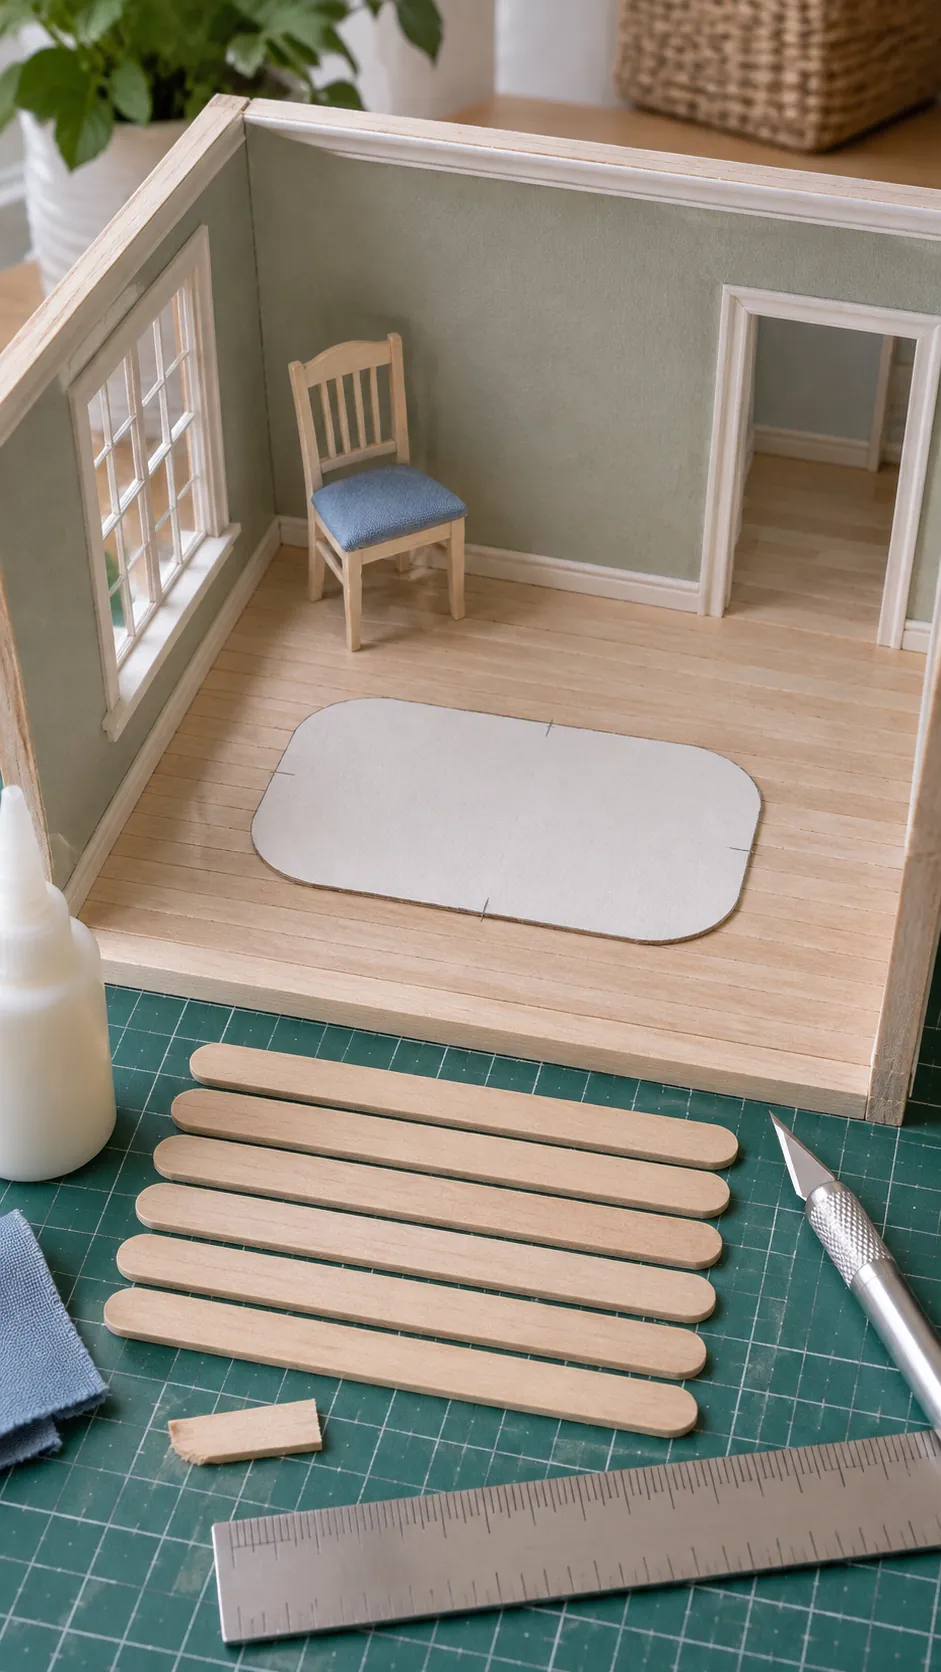
Sort the craft sticks before cutting. Choose pieces that are straight, close in thickness, and free from deep splits near the useful center. Lightly sand the faces and edges so glue can join them without raised fibers.
Build a flat craft stick tabletop
Trim the rounded ends and cut enough sticks to span the tabletop width. Align the pieces against a straightedge on wax paper, then place a thin line of glue along each meeting edge. Press the panel flat under a smooth board with light weights until the glue cures.
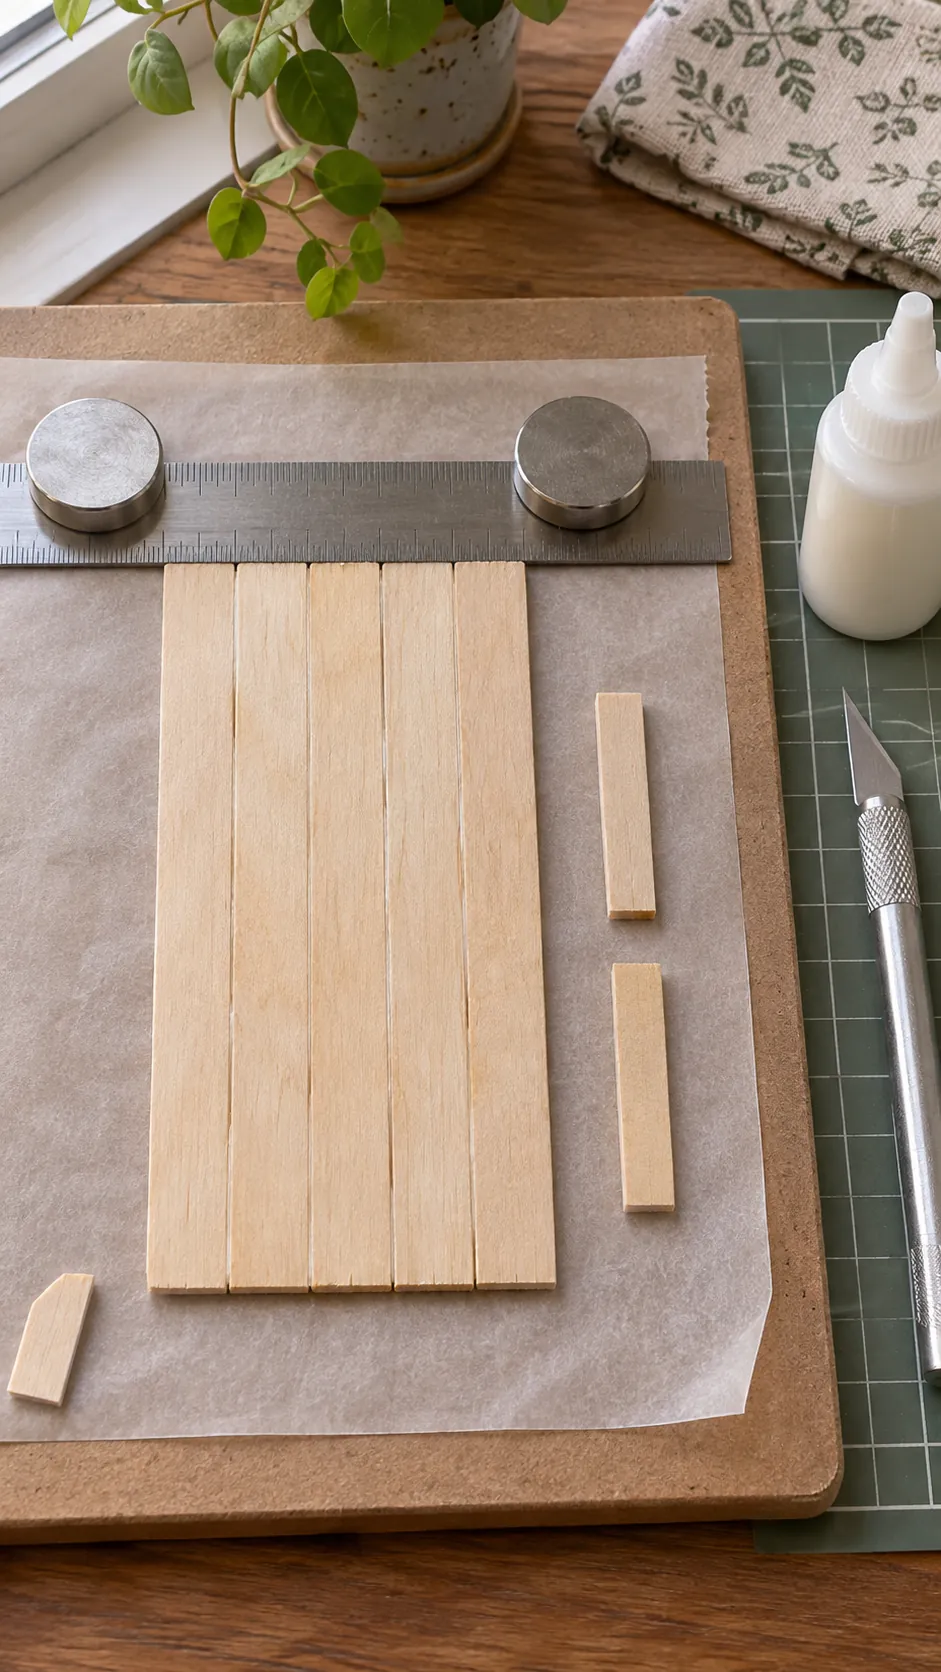
Glue two short braces across the underside, keeping them inside the future apron. The braces hold the sticks together and resist curling from moisture. Trim the completed panel square only after it is fully dry.
Make a square apron below the top
Cut two long and two short apron pieces so they form a rectangle inside the tabletop edge. The apron stiffens the top and provides broad surfaces for the legs. Keep it far enough from the edge to create a small believable overhang.
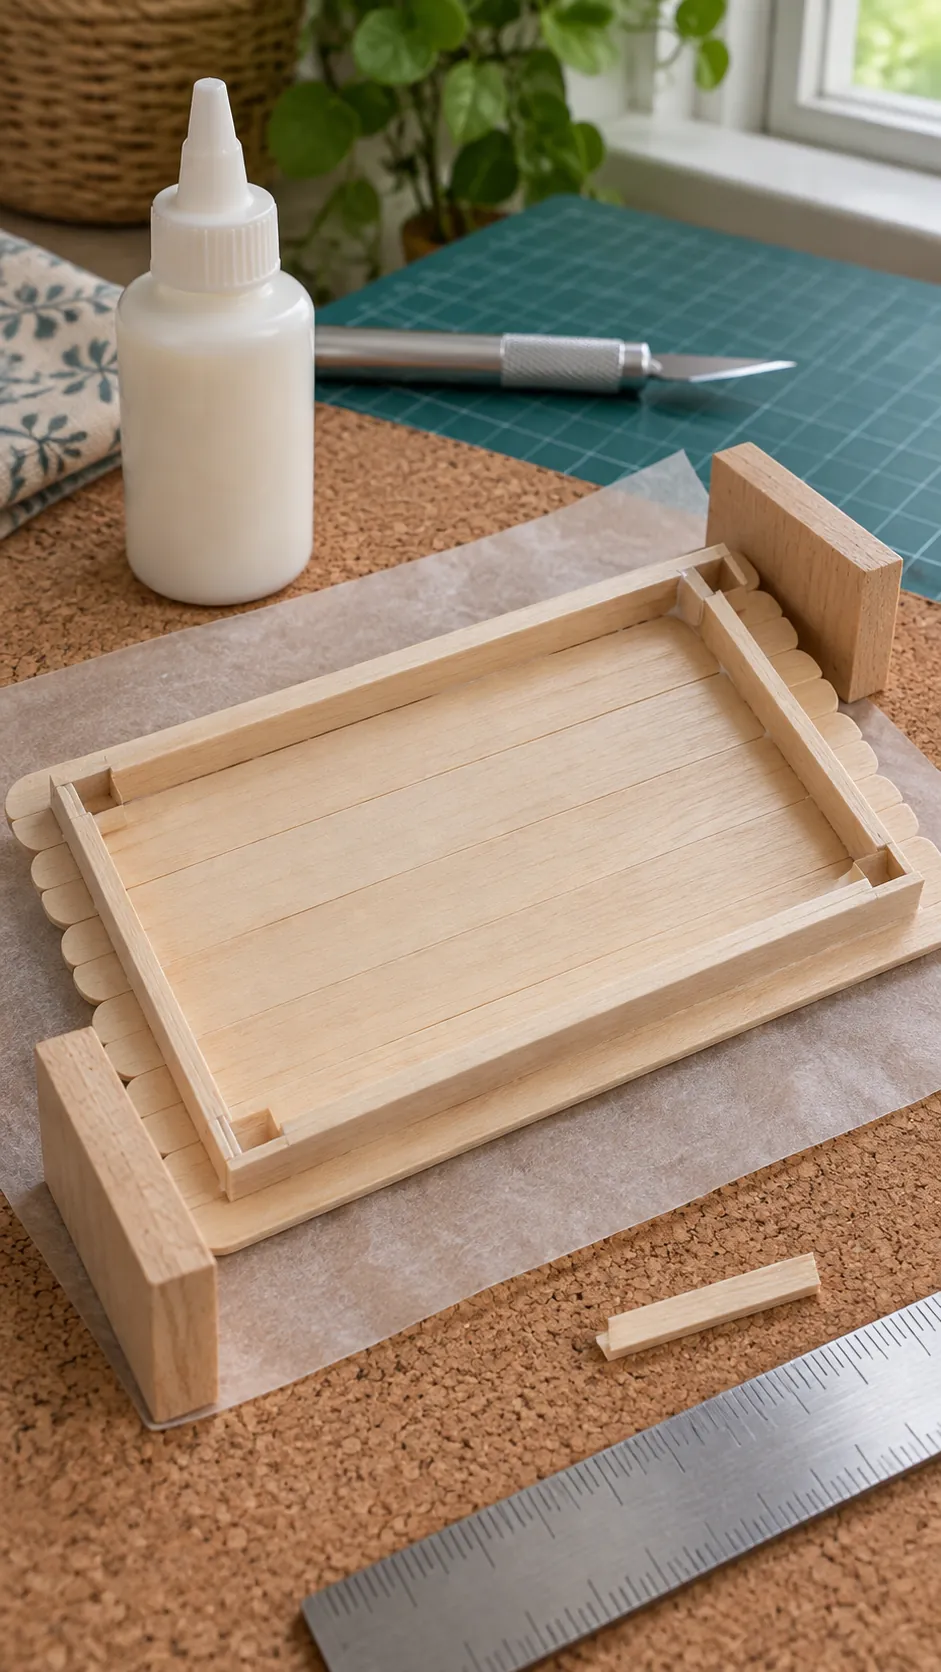
Assemble the apron against square guides and compare both diagonal measurements. Glue it to the underside only when the rectangle sits flat and square. Remove excess adhesive immediately with a fine tool before it hardens into a visible ridge.
Cut four equal miniature table legs
Cut all four legs from the same square basswood strip. Use a length stop or mark the first leg as a reference, then leave each piece slightly long. Hold the legs together and sand their ends as one set until every piece matches.
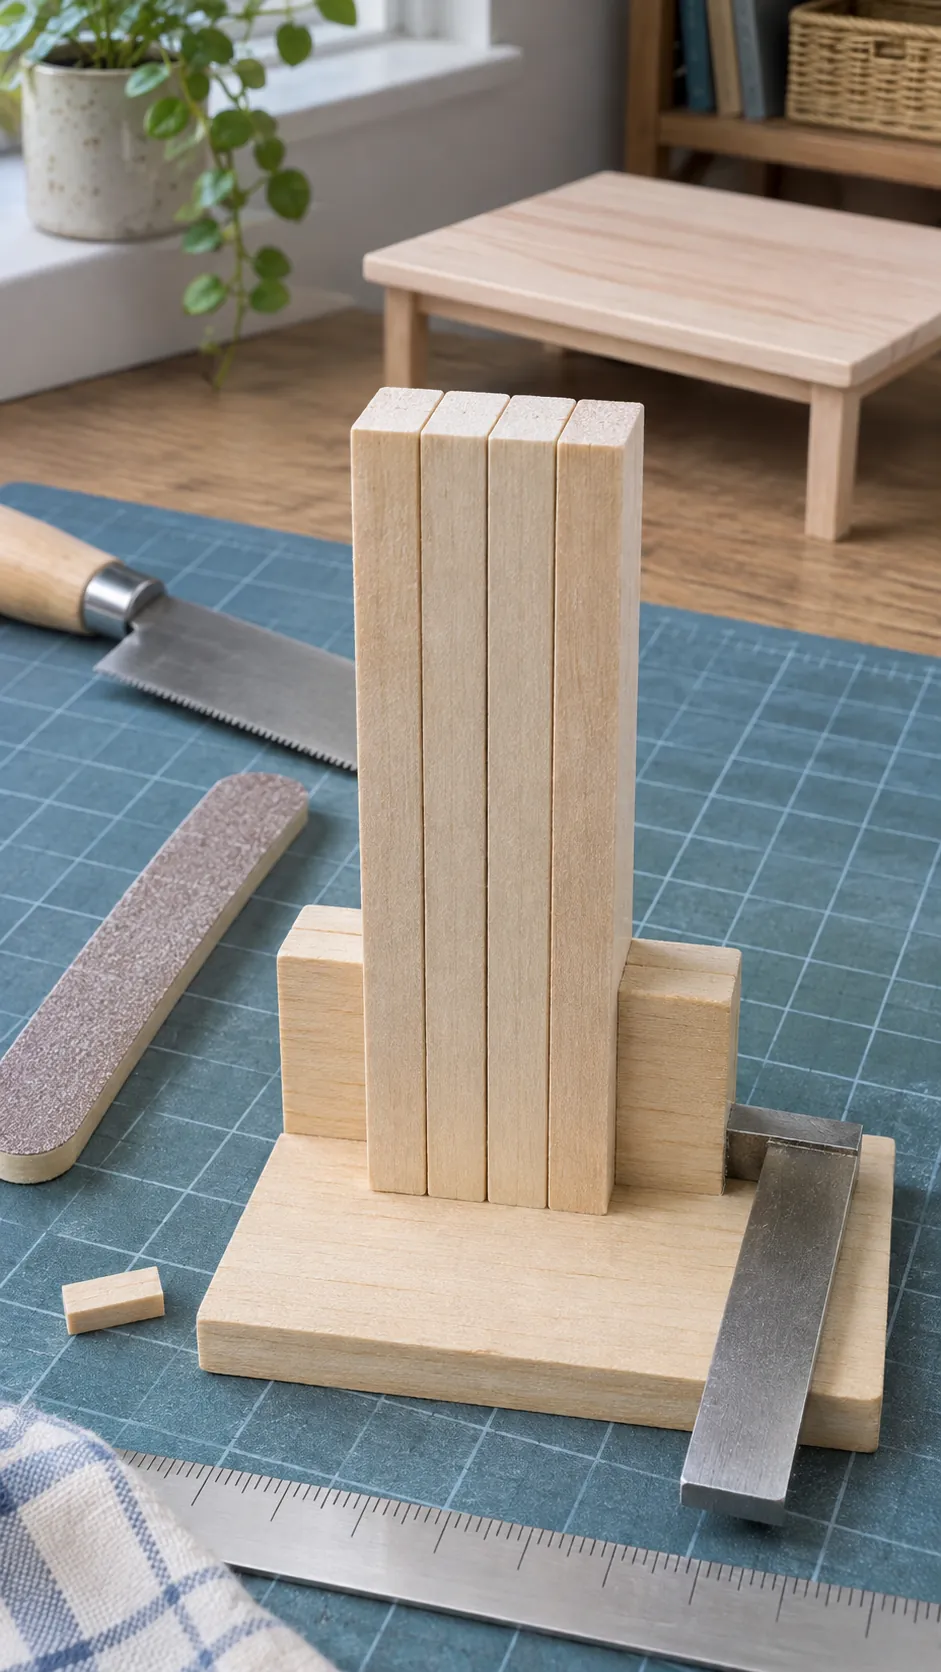
For a finished height near 2.5 inches, subtract the tabletop and apron thickness before cutting the legs. This keeps the underside clearance realistic for miniature chairs. Check that every leg has a square end because an angled cut will create a lean.
Attach the legs without a wobble
Turn the tabletop upside down on a protected flat board. Glue each leg inside an apron corner so it touches two support faces, then use square guides to hold it upright. Attach opposite legs in pairs and compare their spacing before the adhesive sets.
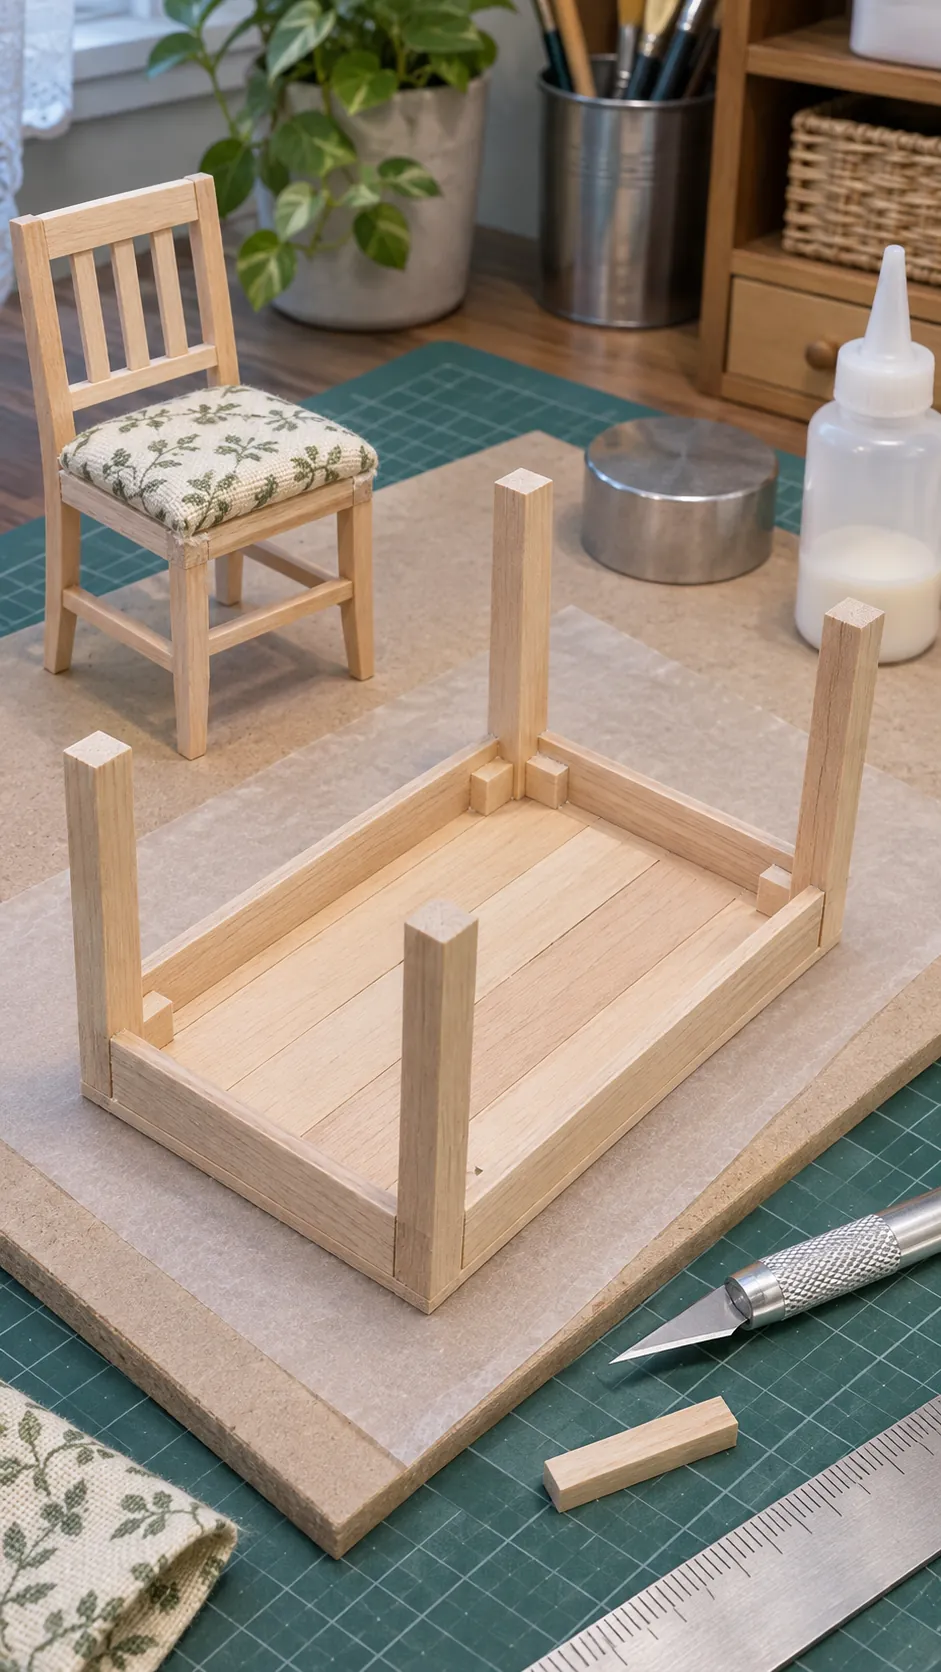
Let the table cure completely before turning it over. Place it on a hard flat surface and press gently at each corner to find a wobble. Correct a tiny height difference by sanding the longest leg, using only a few strokes before testing again.
Sand stain and finish the dining table
Sand the dry table with fine abrasive, following the wood grain and softening only the sharpest corners. Apply stain or thinned paint in light coats so glue residue and wood differences do not become heavy dark patches. Test the finish on an offcut from the same craft sticks first.
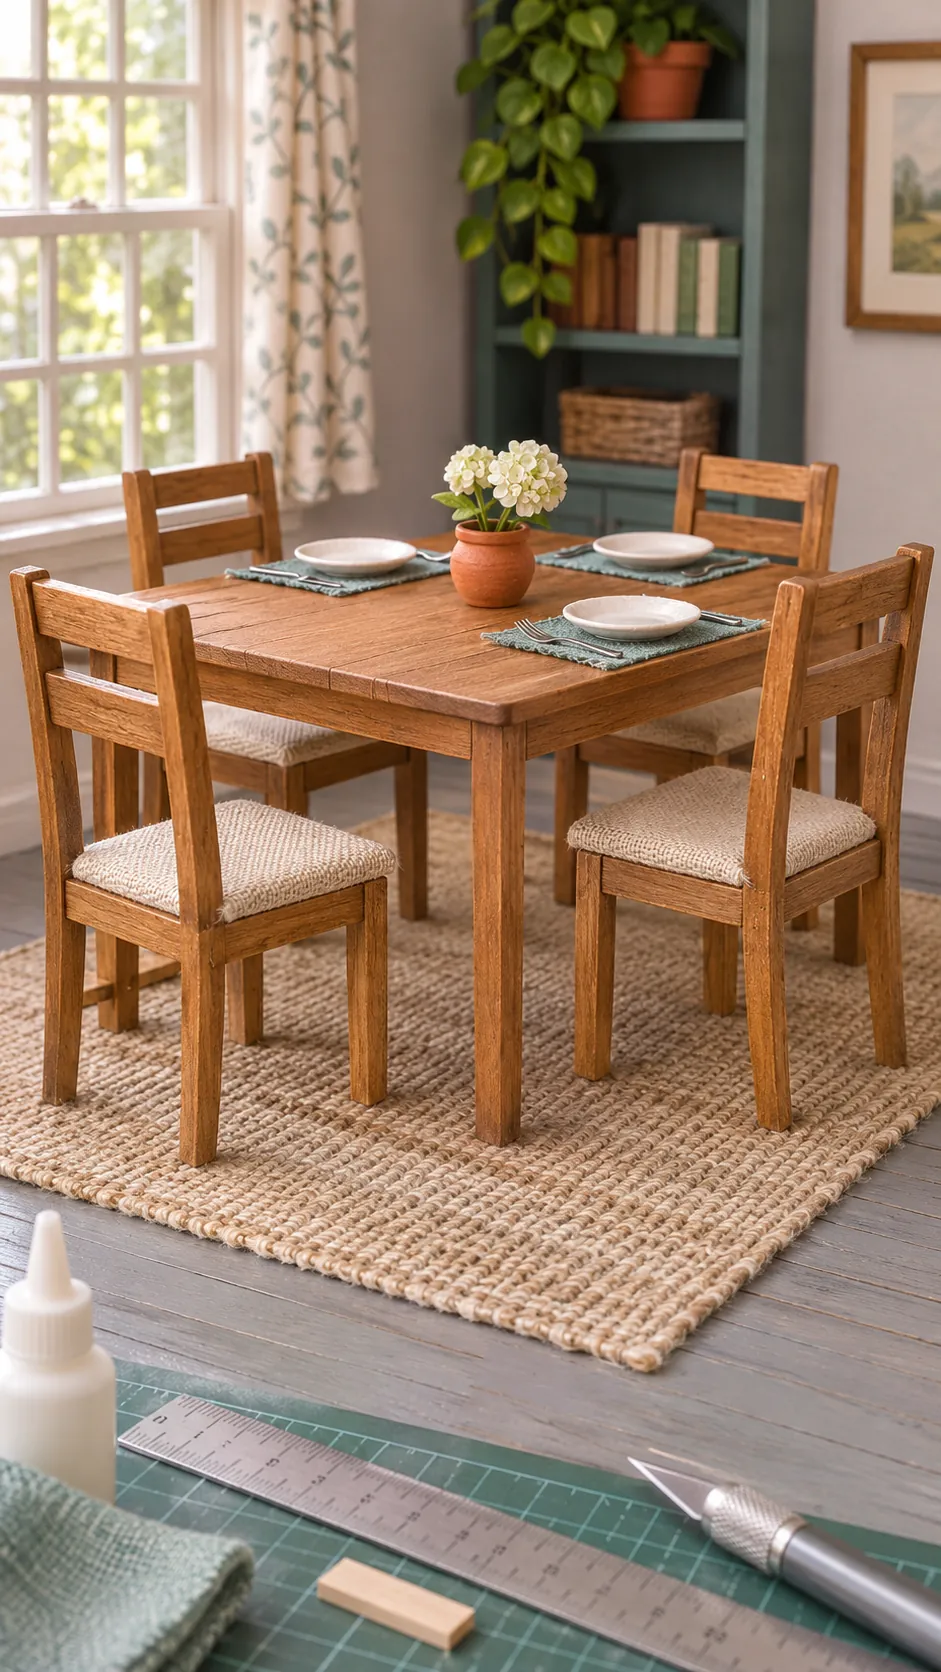
Use a matte clear coat only when the surface needs protection, since high gloss can look oversized at 1:12 scale. Return the table to the room and check chair clearance from every side. The finished wood craft stick furniture should look stable and simple before any dishes or centerpiece are added.