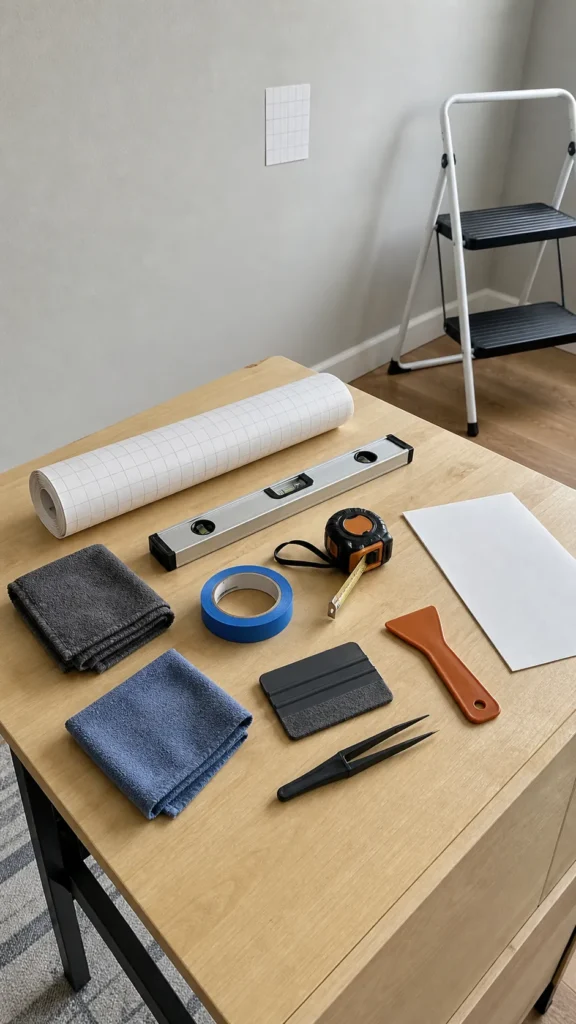
Wall Decal Installation Tools: What You Need to Start
Most wall decal failures are blamed on the vinyl, but many begin before the backing paper comes off. The wall was not tested, the level line was guessed, the squeegee had a sharp edge, or a large sheet was exposed all at once. The right wall decal installation tools do not make the job complicated; they make each risky moment controlled.
You do not need a professional sign shop. You need a clean surface-prep kit, reliable measuring tools, a soft applicator, low-tack positioning tape, and the support required for the size and type of decal you bought. This guide separates essentials from useful extras and explains what each tool actually prevents.
Start With the Manufacturer’s Instructions and a Surface Test
Your first tool is the product instruction sheet. Check approved wall finishes, paint cure time, temperature range, cleaning method, transfer-tape process, and whether heat is allowed. These rules take priority over generic installation advice because adhesives and face materials vary.
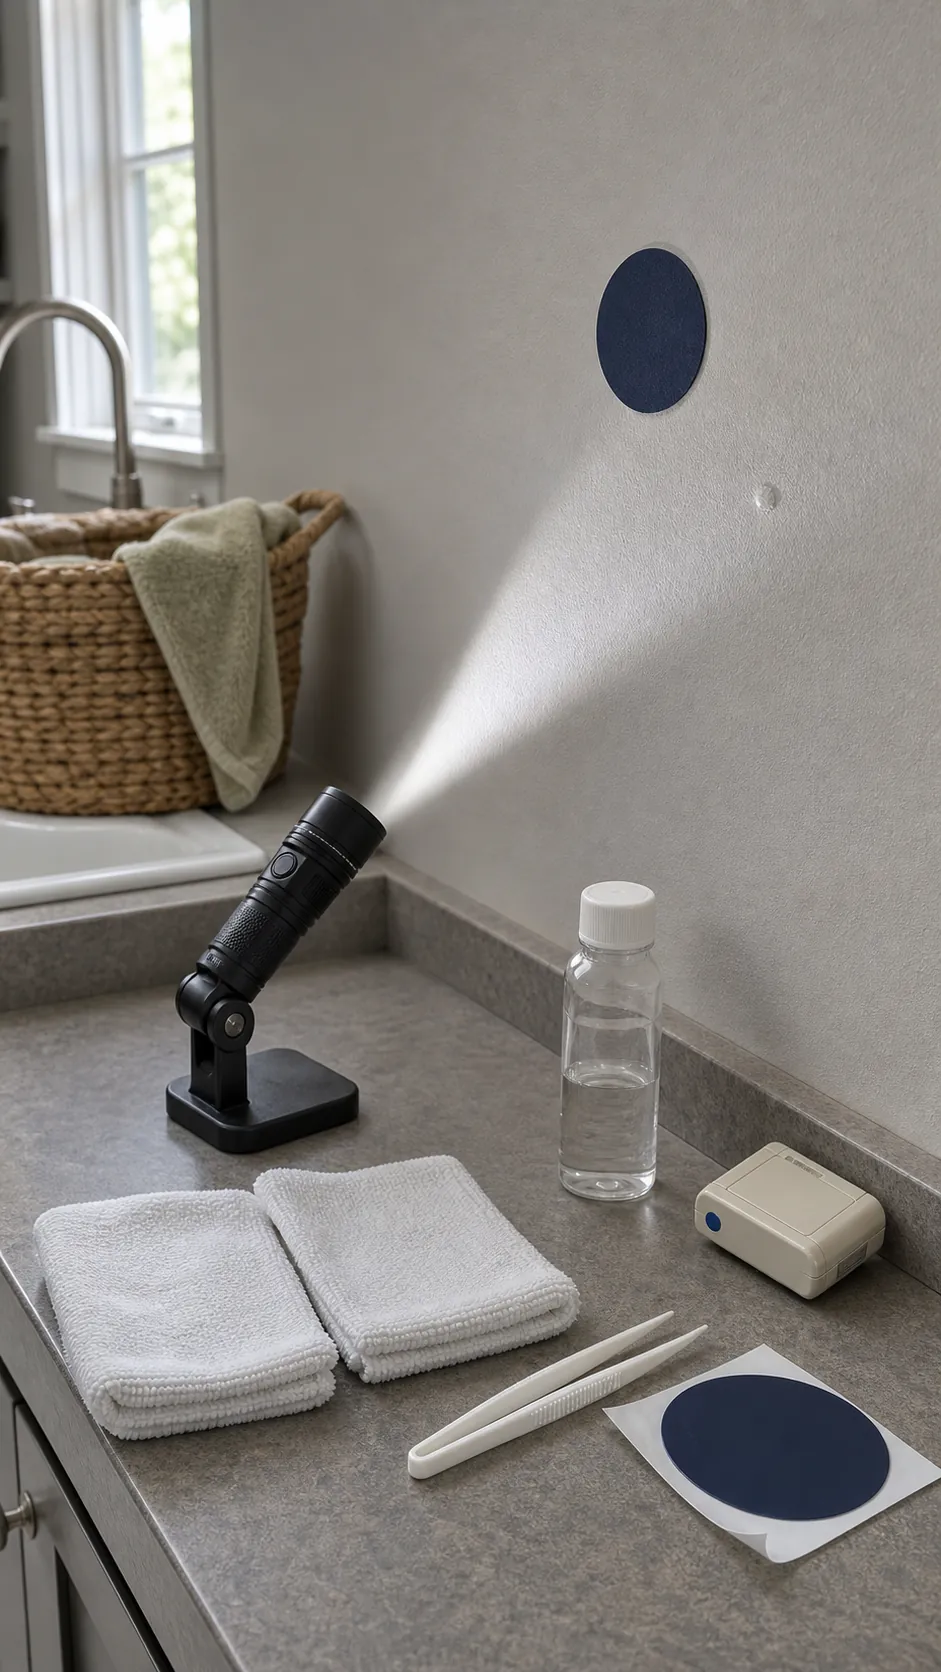
For surface prep, gather a clean lint-free cloth, the cleaner approved by the manufacturer, dry cloths, and a small test piece. Test both the cleaner and decal in an inconspicuous spot. The wall must be sound, cured, smooth enough for the product, and completely dry. A clean wall cannot compensate for loose paint or heavy texture.
A flashlight aimed across the surface helps reveal dust, bumps, patched areas, and texture. Do not install over a problem you can already see under side light. The decal will usually make it more obvious.
Measure With a Tape, Level, and Low-Tack Guides
A measuring tape establishes margins; a spirit level or laser level establishes direction. You often need both. Measure from stable architectural references such as ceiling, trim, or a cabinet edge, then confirm that the planned placement looks balanced from normal viewing distance. Rooms are not always perfectly square, so visual alignment and true level can differ.
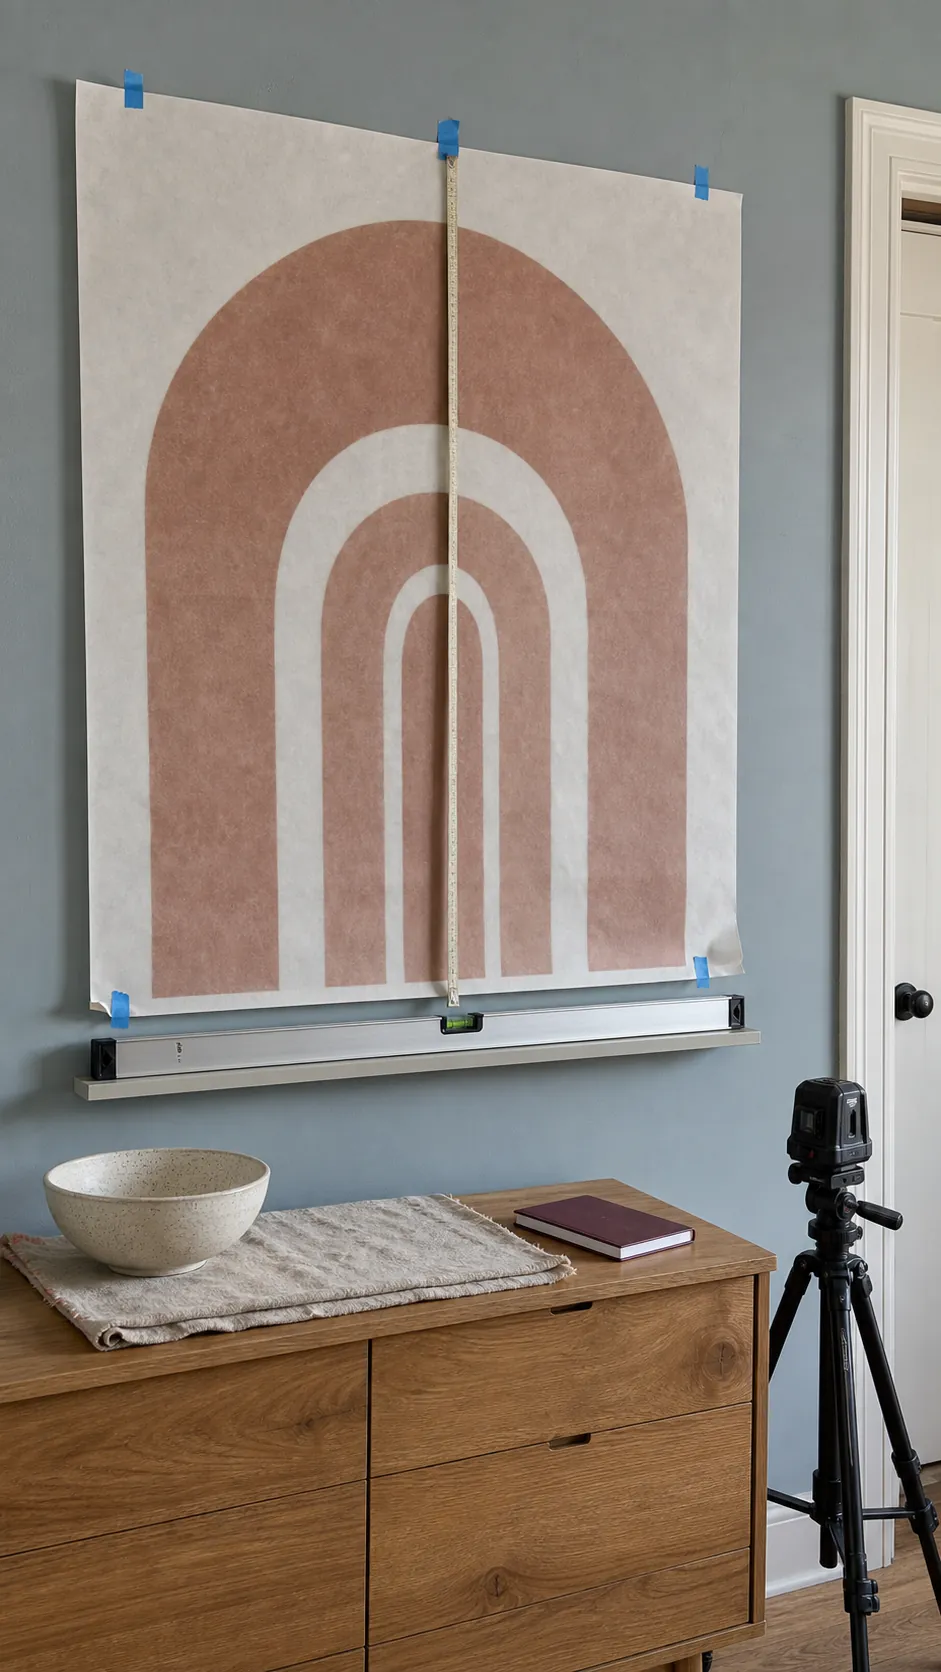
Use low-tack painter’s tape to mark the top, centerline, or corners without writing across the wall. A laser level is useful for long quotes, rows of shapes, or large decals, but it is optional for a small design. If you use one, stabilize it on a tripod or firm surface and verify its line with a physical reference.
Step back before exposing adhesive. Check spacing around switches, furniture, doors, vents, and corners. The cheapest placement correction is the one made while the decal still has its backing.
Choose a Squeegee That Will Not Mark the Decal
A wall decal squeegee creates even pressure, pushes air toward an open edge, and helps transfer small details. A felt-edged applicator is the safest general choice for printed or matte surfaces because the soft edge reduces scratching. A plain plastic scraper may work on transfer tape, but its edge should be smooth and used with controlled pressure.
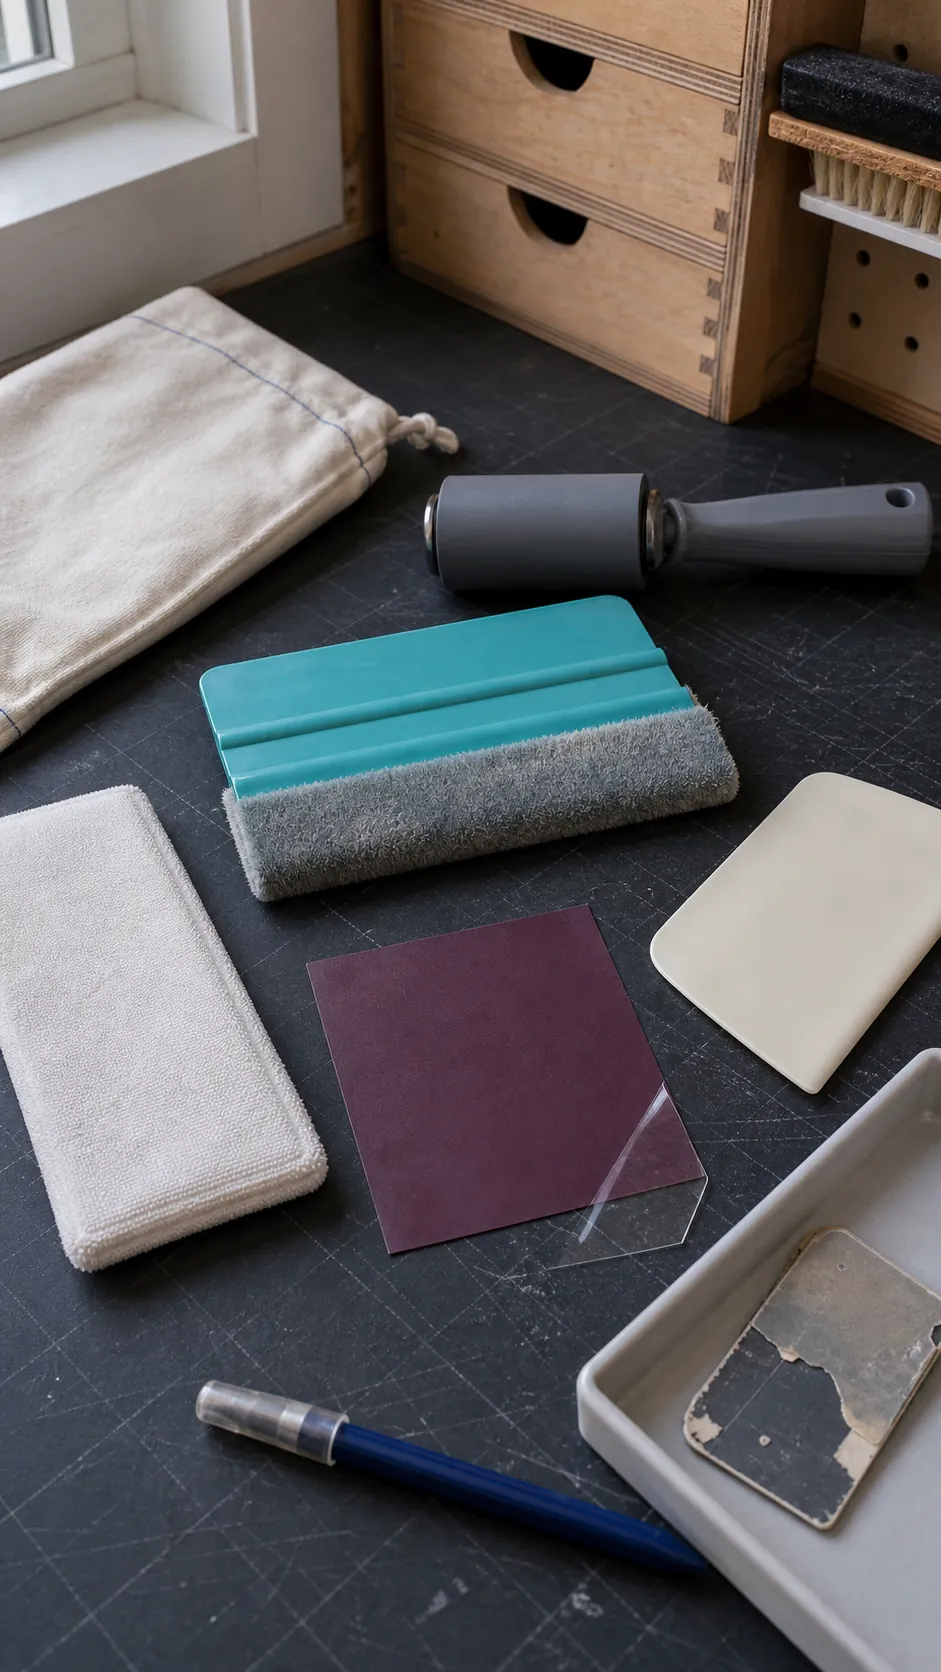
If you do not have a dedicated wall sticker applicator, wrap a clean microfiber cloth tightly around a rigid card. Test it on a scrap first. Avoid cards with chipped edges, printed ink that can transfer, or embossed numbers that create pressure ridges. A roller can help with some materials, but it does not replace outward strokes when air needs an escape path.
More pressure is not automatically better. Excess force can stretch soft vinyl, polish a matte finish, crease fabric, or force wrinkles into a large sheet. Use overlapping strokes and let the adhesive system do its job.
Match Transfer Tape to the Decal
Transfer tape keeps die-cut letters and separate shapes in their designed positions. It is not required for every peel-and-stick decal; many printed decals arrive as complete pieces on a liner. When transfer tape is included, keep it. When you supply your own, match its tack to the vinyl and follow the material maker’s recommendation.
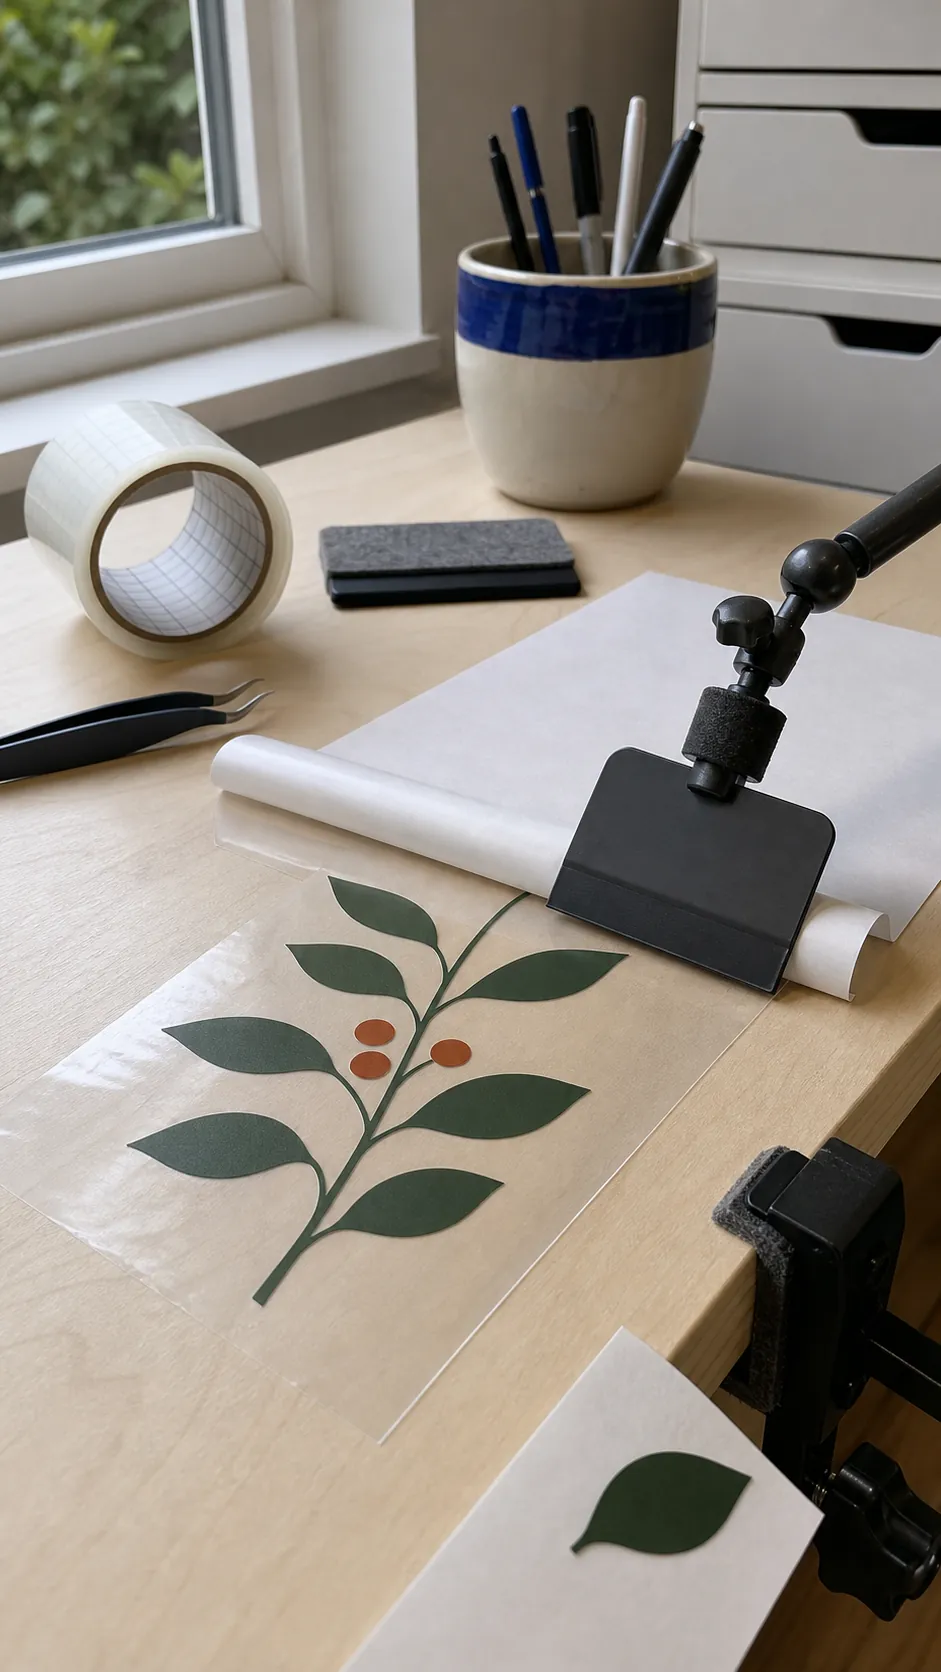
Before installation, burnish the transfer tape across every small element. Turn the assembly face down and peel the backing paper back over itself rather than lifting the transfer layer upward. On the wall, press the vinyl firmly, then remove the transfer tape at a low angle while keeping pressure on any letter that tries to follow it.
If the transfer tape pulls the whole design off the wall, stop. The tape may be too aggressive, the wall may be incompatible, the vinyl may need more pressure or dwell time, or the surface may not be clean. Repeatedly yanking at small letters usually stretches them instead of solving the cause.
Keep Cutting and Picking Tools Away From the Wall
A precision knife, scissors, and weeding pick can be useful before installation: trim excess backing, separate planned sections, or remove waste from a custom-cut design. Use them on a cutting mat or protected table, never freehand against a painted wall. One slip can score paint, drywall paper, vinyl, or fingers.
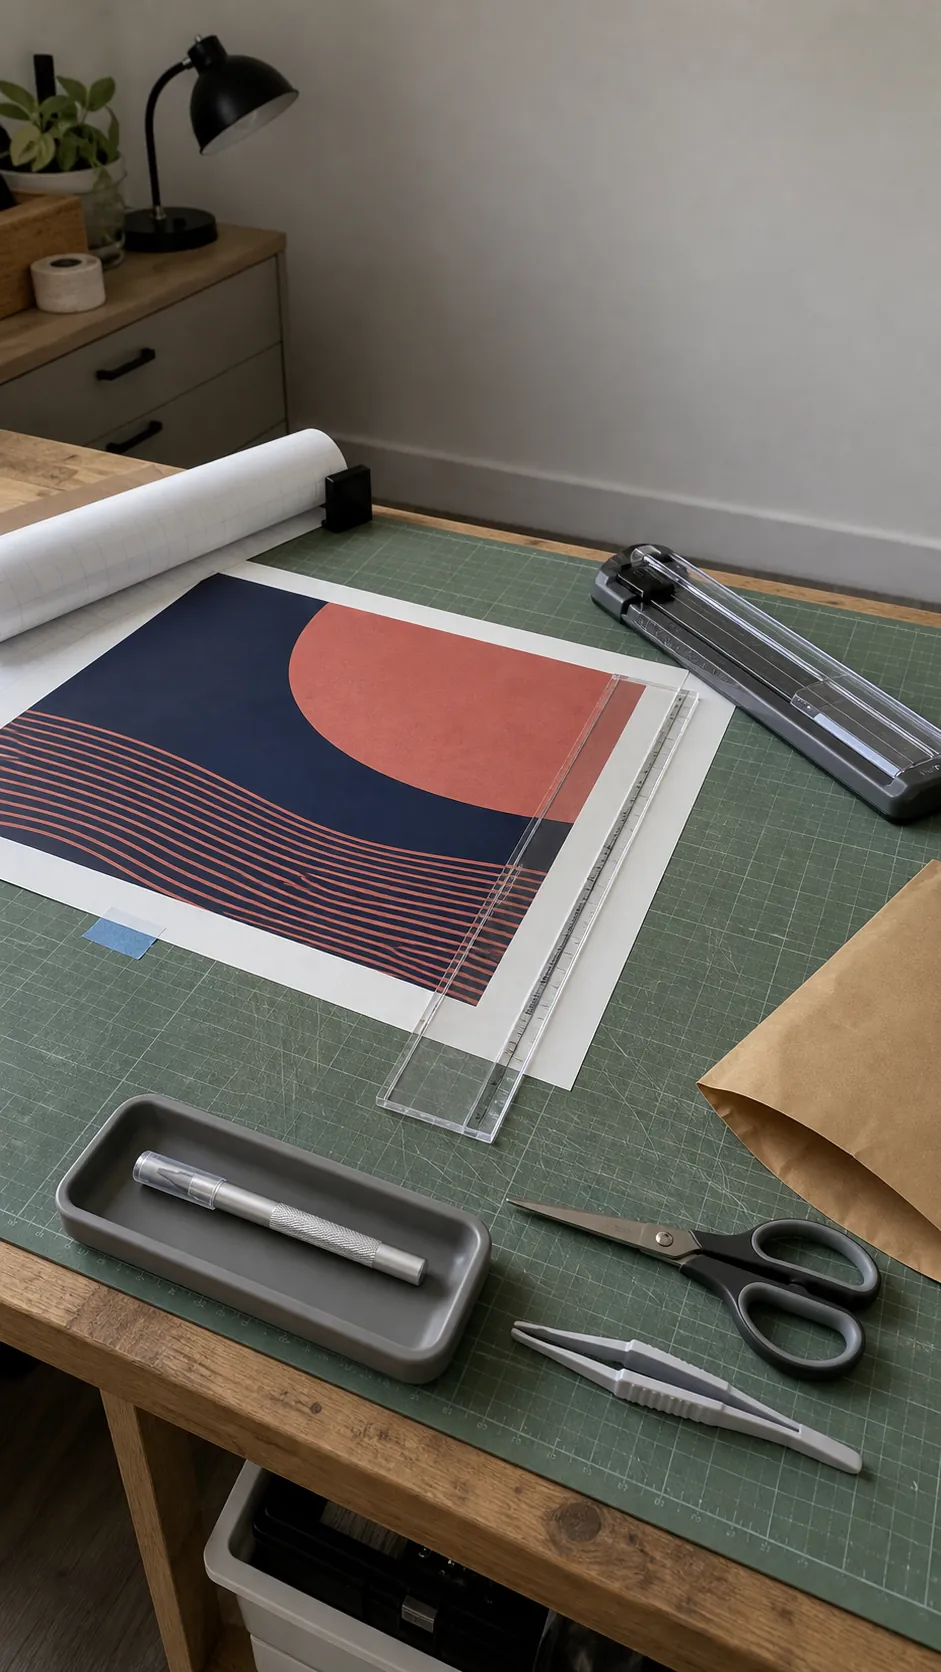
For a purchased decal, do not cut the graphic into pieces unless its instructions allow it. Registration, overlaps, and spacing may depend on the intact carrier. If you must divide a large backing sheet into manageable sections, mark the plan while the adhesive remains protected and leave enough carrier for alignment.
Plastic tweezers can help guide tiny elements without contaminating the adhesive. A pin may release a stubborn micro-bubble only when the manufacturer recommends that method. Neither tool should be the first response to a badly aligned large sheet.
Add Support Tools for Large Decals
Large decals need more support, not more exposed adhesive. Recruit a second person. Use low-tack tape to create a center or top hinge, spring clips to control a backed roll if approved, and a clean rigid board or table to keep unused sections supported. Remove backing in small stages while smoothing from the attached area toward the open edge.
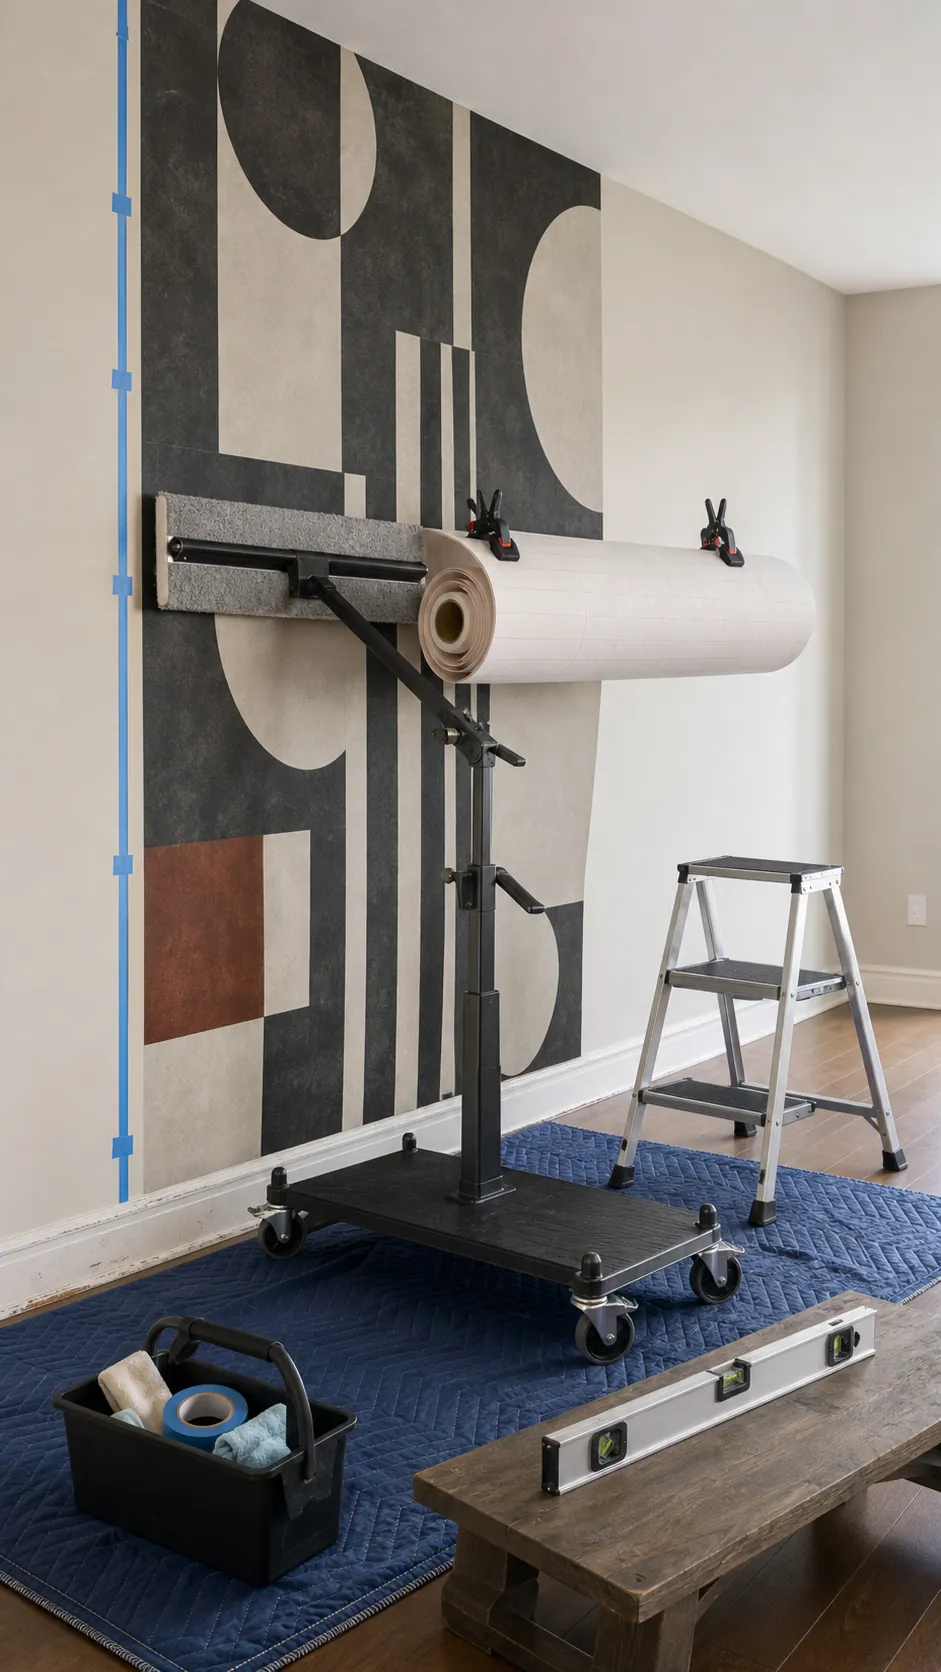
A stable step stool may be necessary for high placement. Use one rated for the user and set it on a level floor; do not balance on furniture. Keep the work zone clear of cords, toys, pets, and open containers. If a laser level is used, follow its eye-safety instructions and do not substitute it for physical support.
For an extremely large one-piece graphic, professional installation may cost less than replacement after a fold or stretch. Size changes the job: a technique that works for a small nursery shape may be unsafe for a wall-width panel.
Build a Small Kit, Then Do a Dry Run
For most projects, the essential kit is simple: manufacturer instructions, approved cleaner, lint-free cloths, measuring tape, spirit level, low-tack painter’s tape, felt squeegee, and a stable work surface. Add transfer tape only when the decal system needs it. Add a laser, clips, rigid support, step stool, and a helper when the scale demands them.
Before peeling anything, rehearse the wall decal step by step. Decide where the backing will go, which edge attaches first, how you will reach the top, and where every tool will sit. A two-minute dry run prevents the moment when a full adhesive sheet is open and the tool you need is across the room.