15 Headboard Wall Molding Ideas for a Thoughtful Bedroom
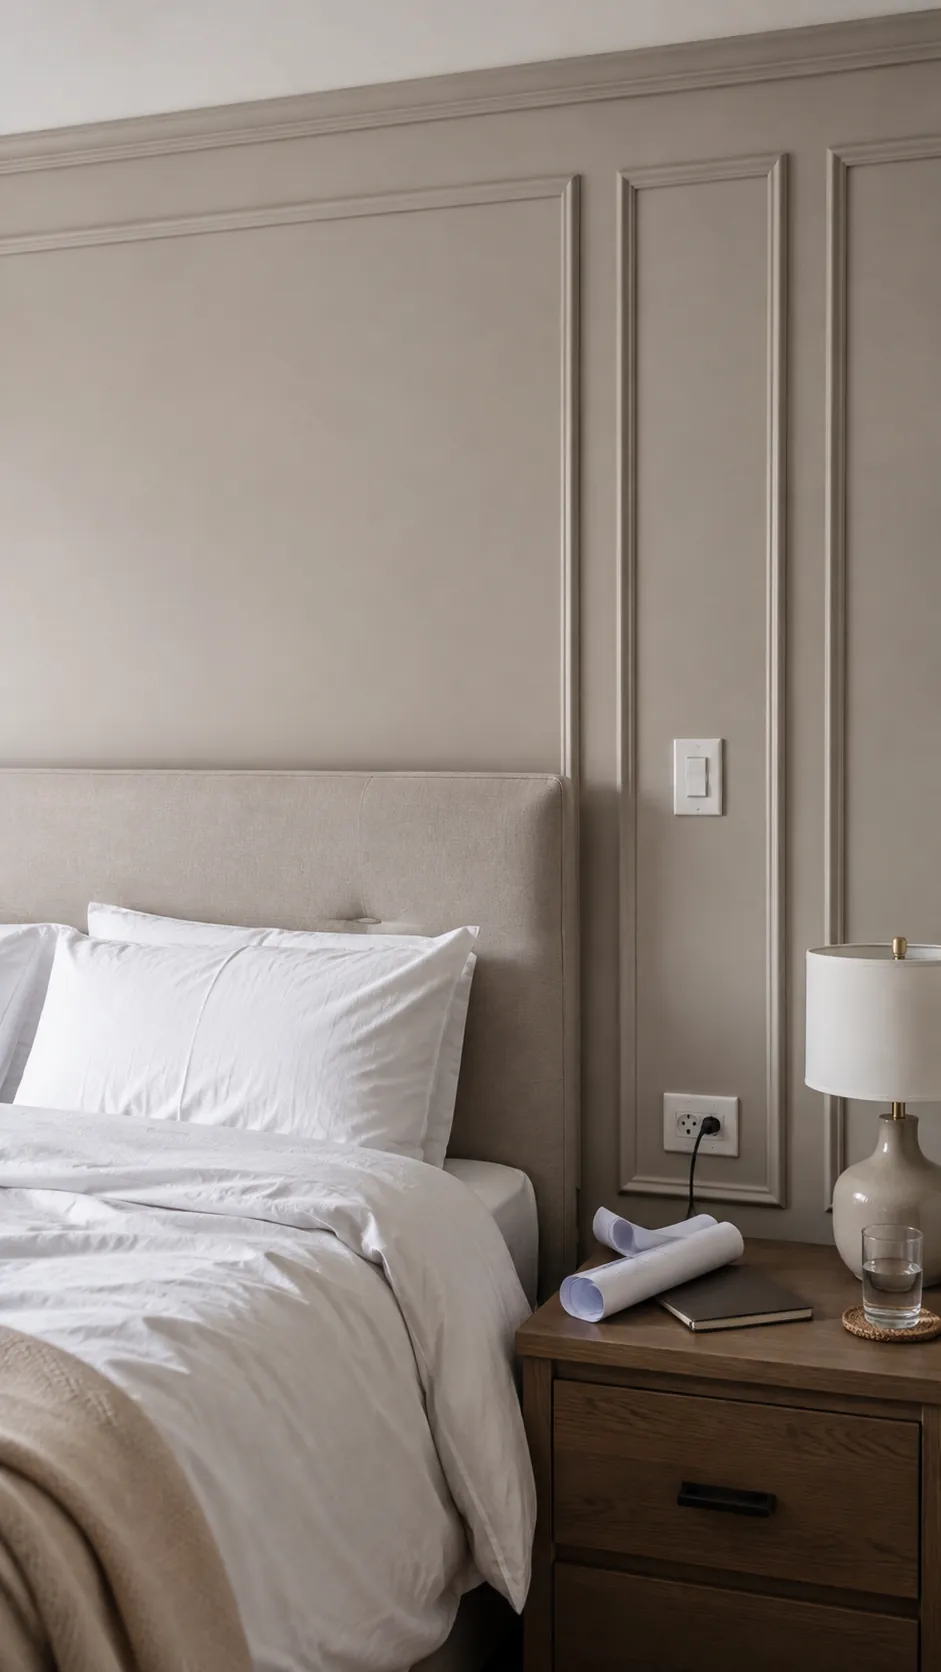
A molding pattern can look balanced on an empty wall and awkward as soon as the bed moves back. The headboard, lamps, sockets, and door trim all affect where the lines should land. Plan those relationships first, then choose the profile and paint.
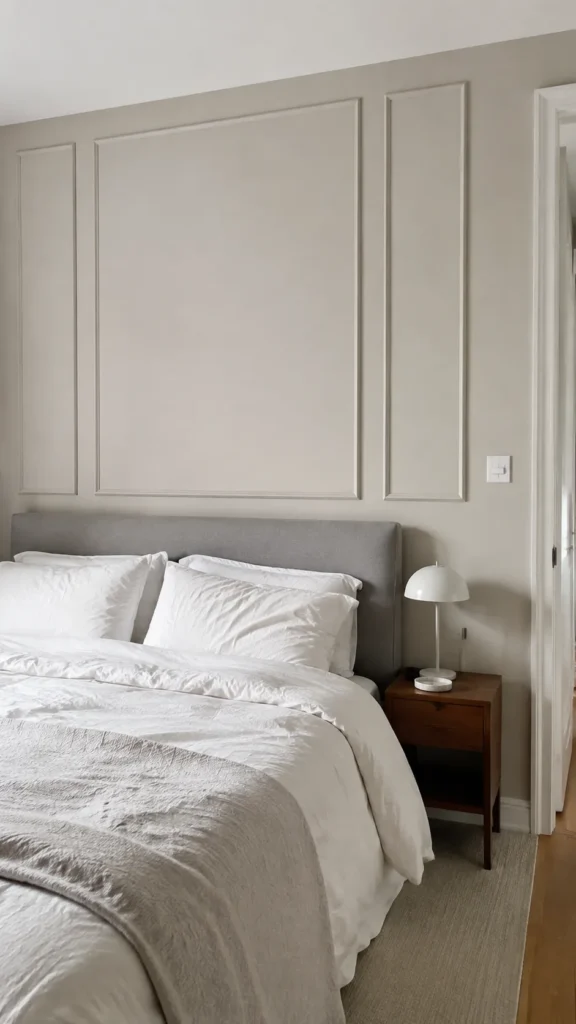
One large picture frame outline
A single large molding rectangle can make a plain bed wall feel considered without covering it in small divisions. Set its width around the bed and bedside furniture as a group, then check where the headboard will overlap the lower rail. A slim profile usually suits a modest room better than heavy trim. Keep enough space between the outline and nearby door casing so the two details do not compete. This is a useful starting point when you want picture frame molding behind bed without a complicated cutting plan.
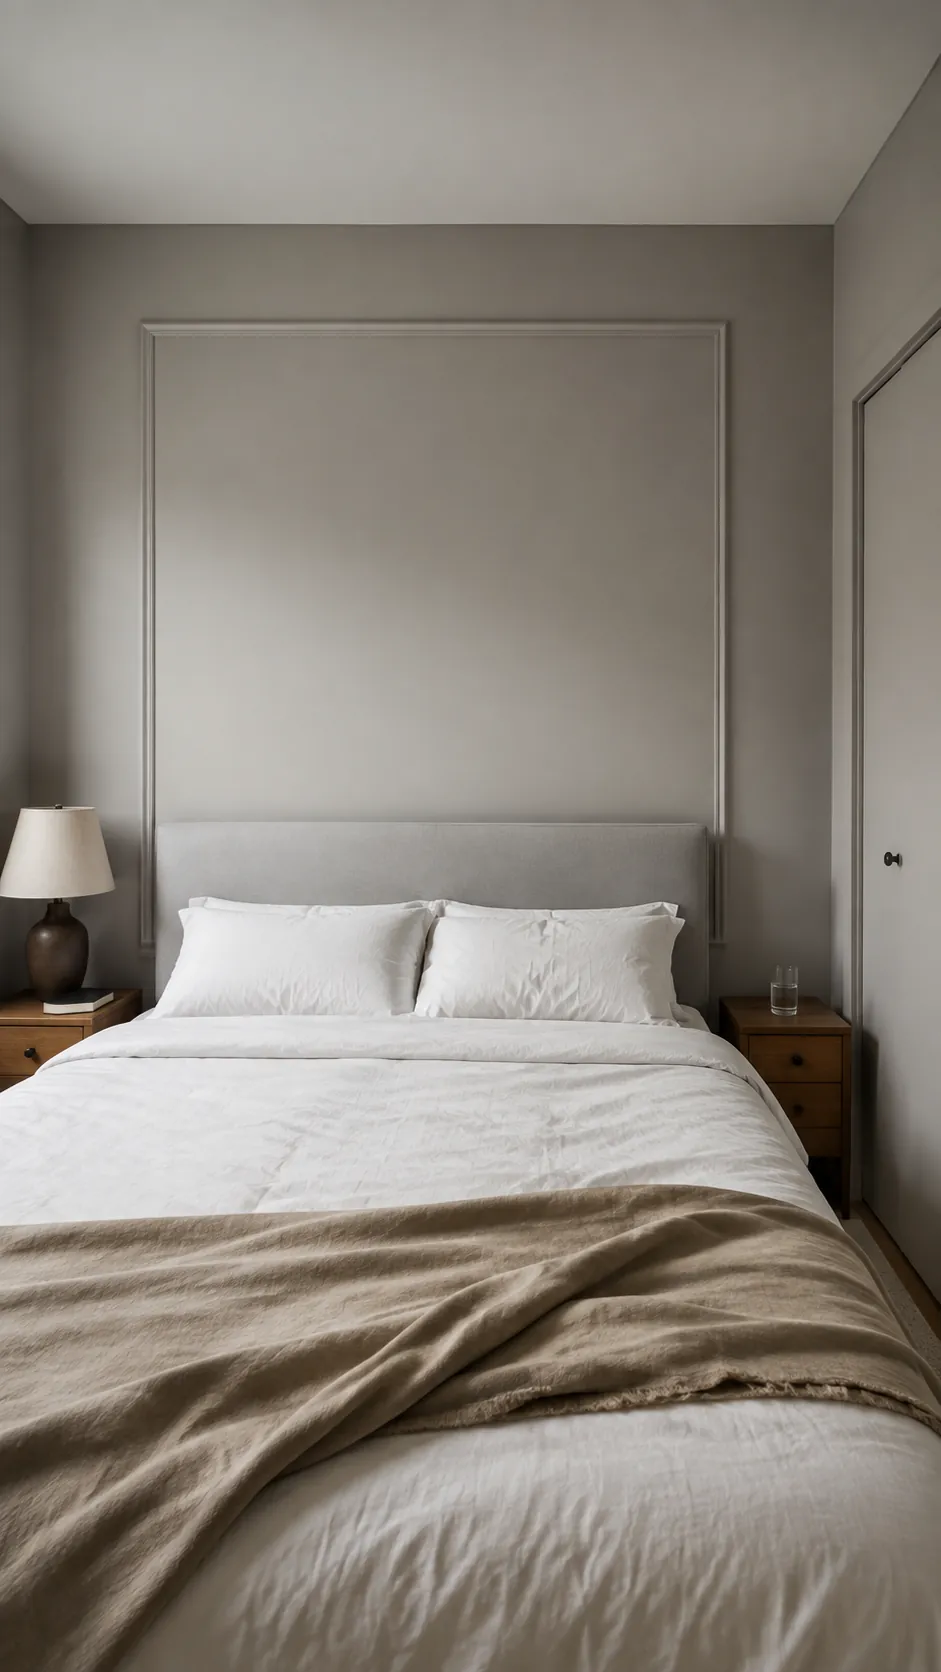
Three tall panels with a wider center
Three tall panels create a clear center for the bed. Make the middle panel wide enough to relate to the headboard, with narrower side panels framing the bedside zones. Equal side margins matter more than forcing every panel to have the same width. Plot switches and outlets before finalizing the divisions so a vertical rail does not land on a faceplate. The finished pattern should support the furniture layout rather than requiring the bed to move into an awkward position.
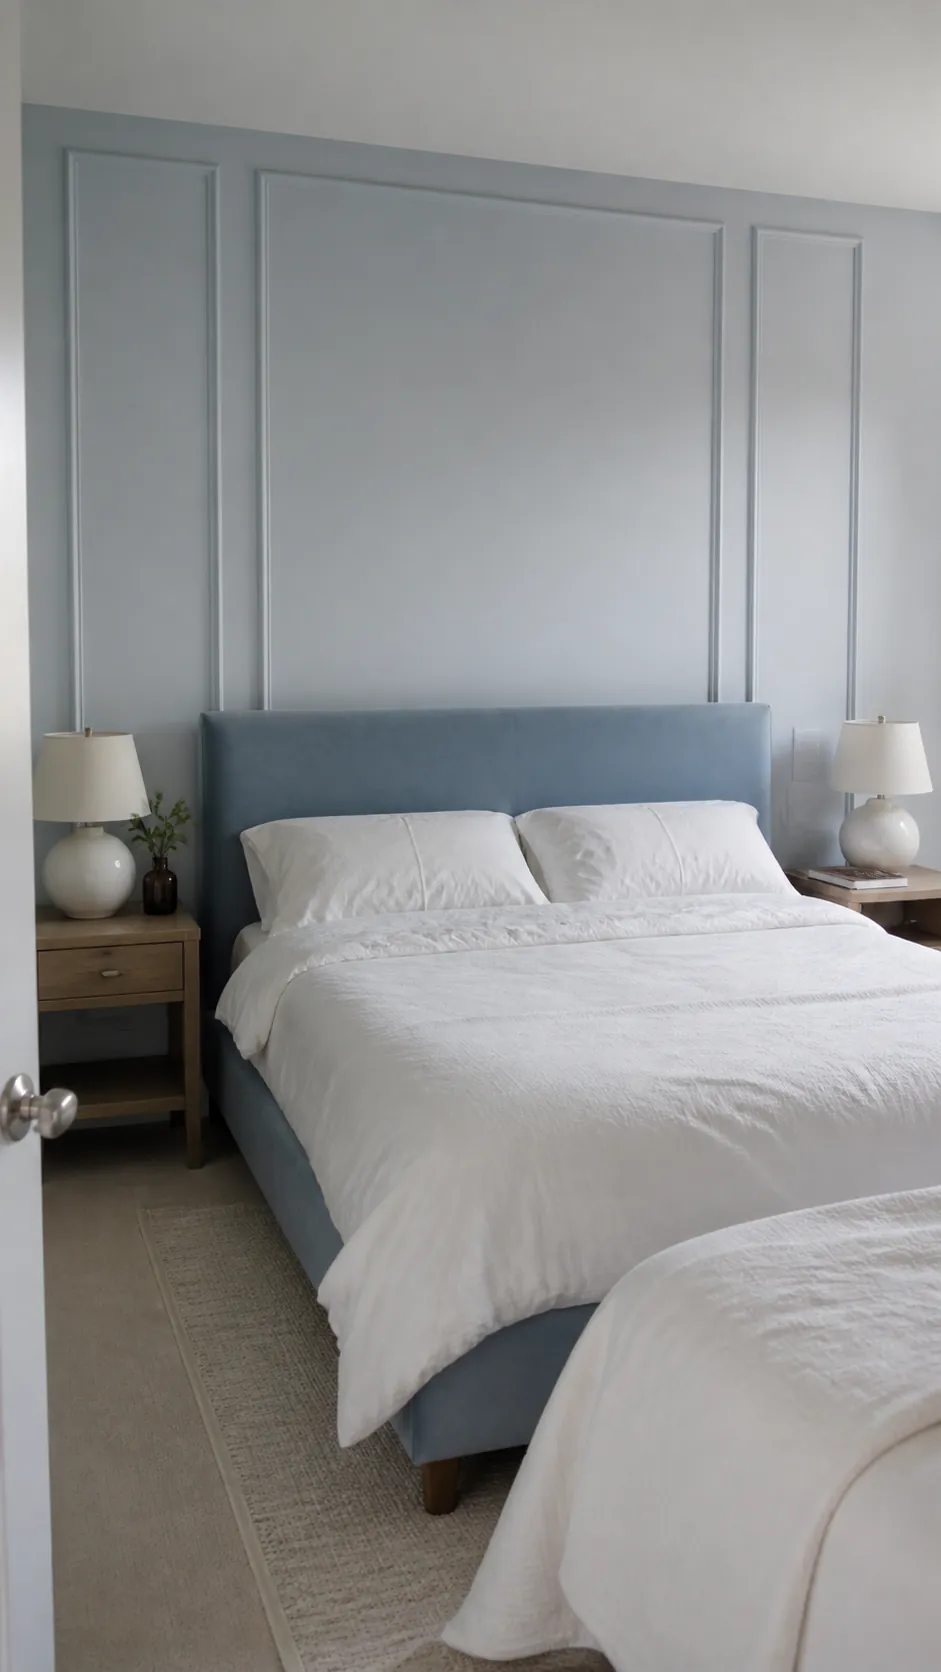
A low board and batten backdrop
A low board and batten treatment gives the bed wall texture while leaving the upper wall quiet. Choose the cap height with the mattress and headboard in place, since a rail hidden almost completely by furniture can look accidental. Wider batten spacing feels calmer than a dense rhythm in a small bedroom. Use a shallow cap when the treatment sits near someone’s head. Leave the top clear of loose objects instead of turning it into a shelf over the pillows.
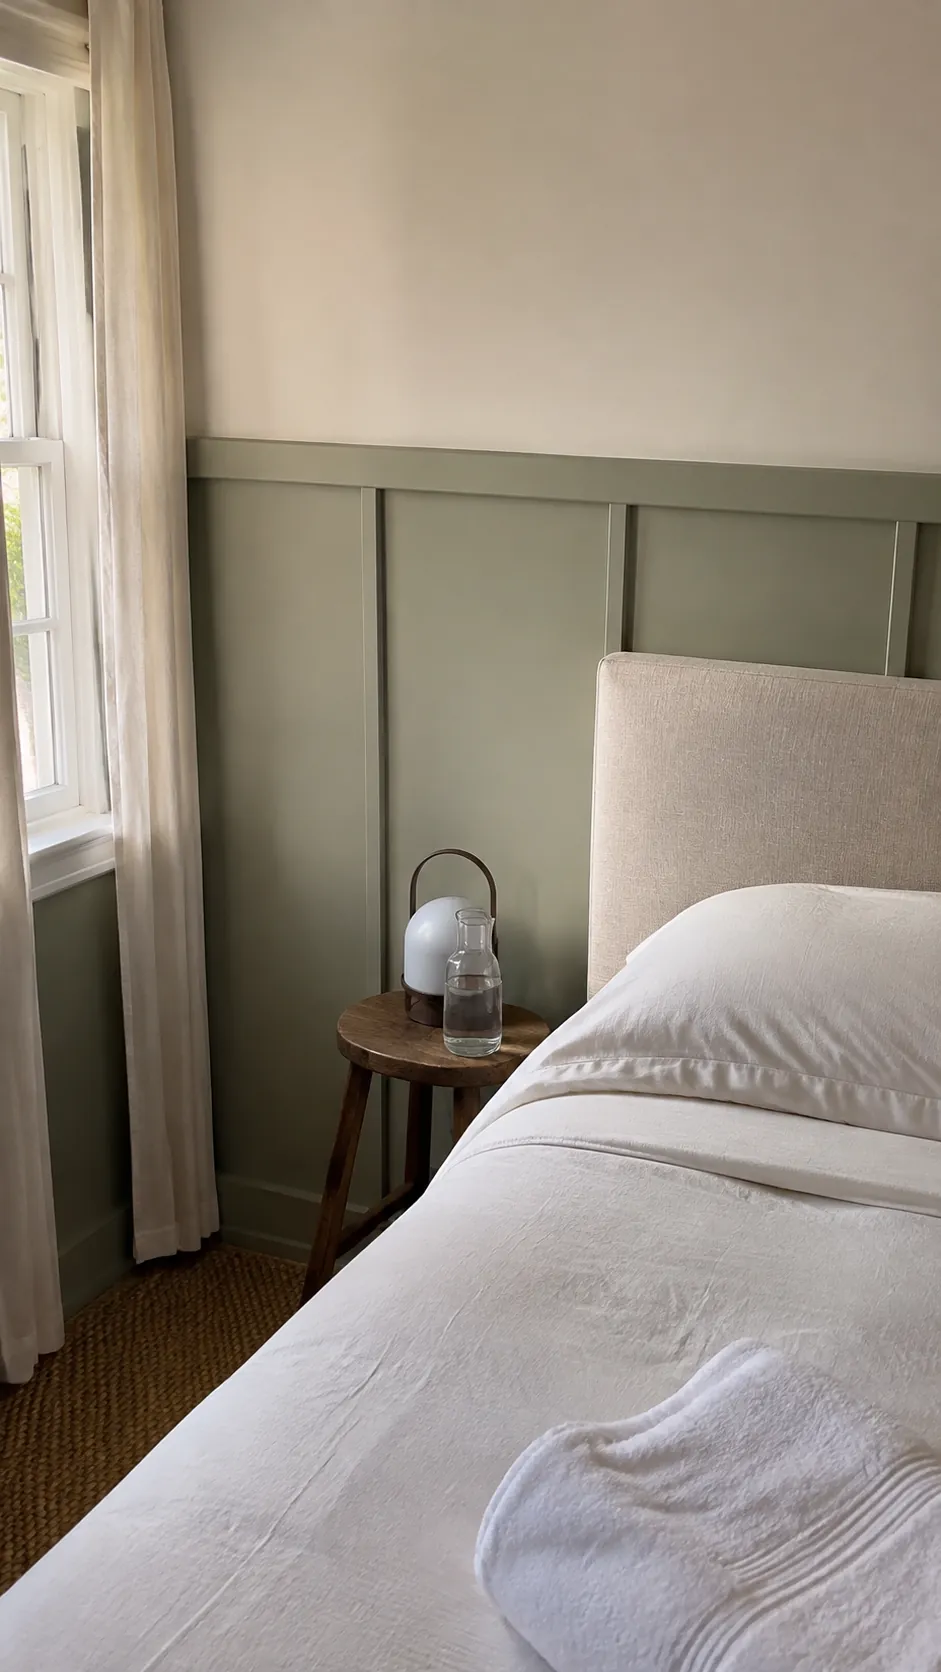
Full height vertical battens
Full height battens draw attention upward and can make a low bed feel more anchored. Keep the strips slim enough that their shadows add rhythm without making the wall look heavy. Work out the spacing from the usable wall width, accounting for door trim and corners.
A small remainder at one end is easier to avoid on paper than after installation. Use straight reference lines rather than assuming the ceiling and floor are perfectly level. The finished edges should meet the room’s existing trim deliberately.
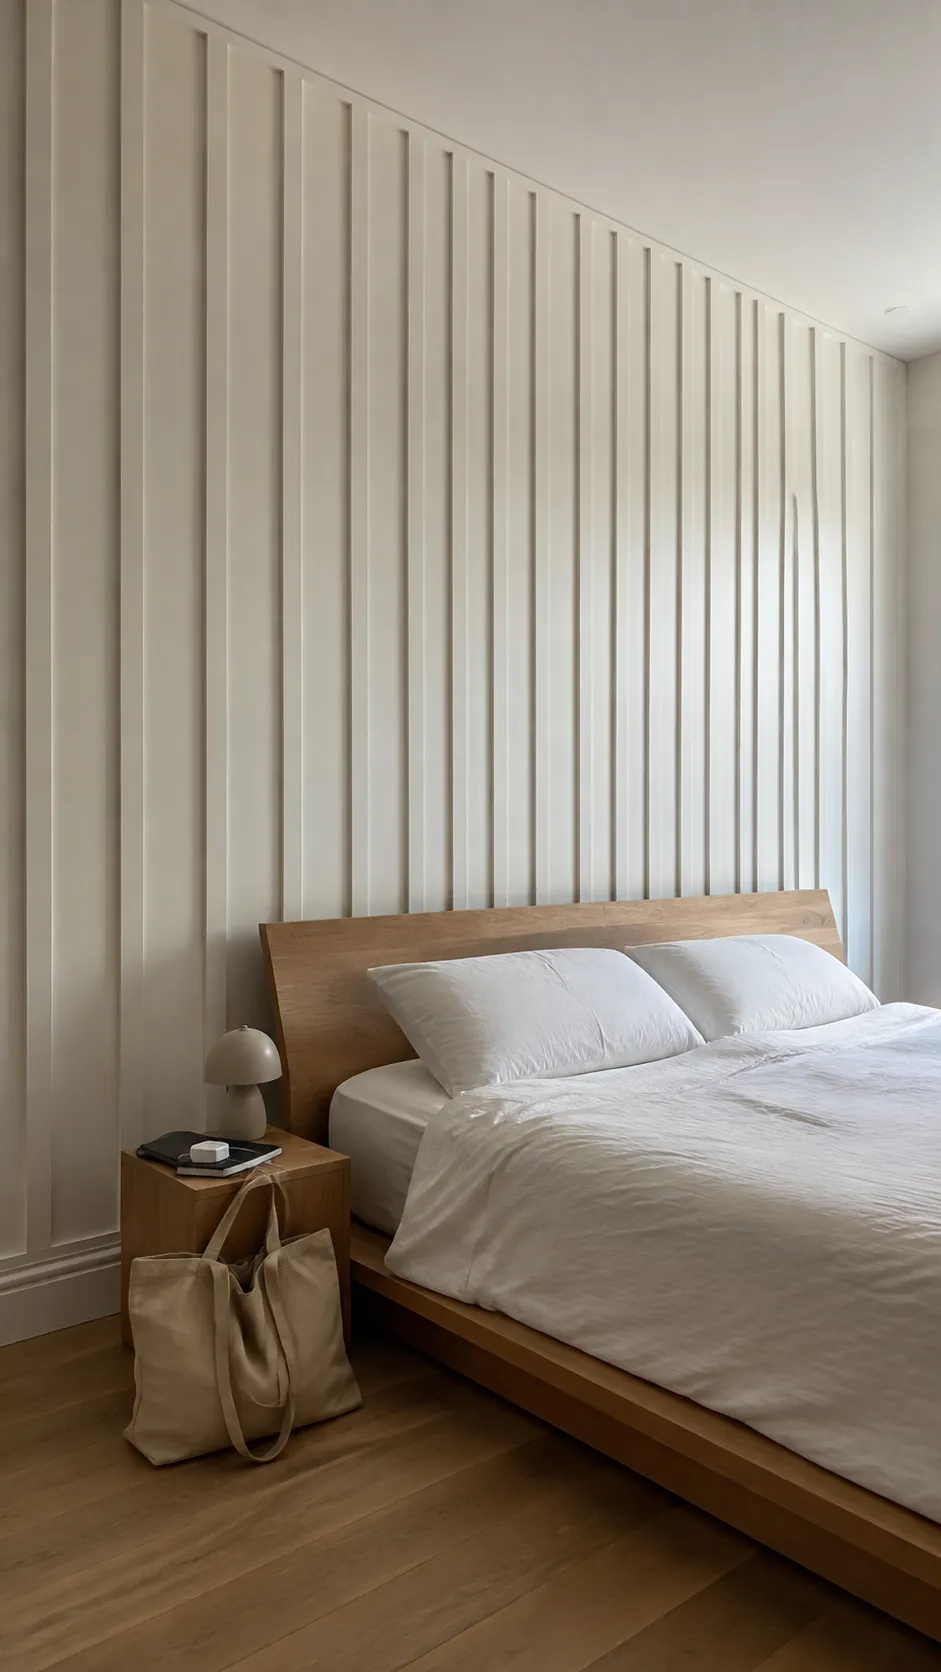
A soft arch made with curved trim
An arched outline can soften a bedroom filled with rectangular furniture. Choose trim designed to form the curve rather than forcing a rigid profile into an unsuitable bend. The arch should clear the headboard comfortably and have enough width to read as a backdrop. Test the curve at full size before fixing it to the wall. Keep the surrounding details simple so the arch remains the main shape.
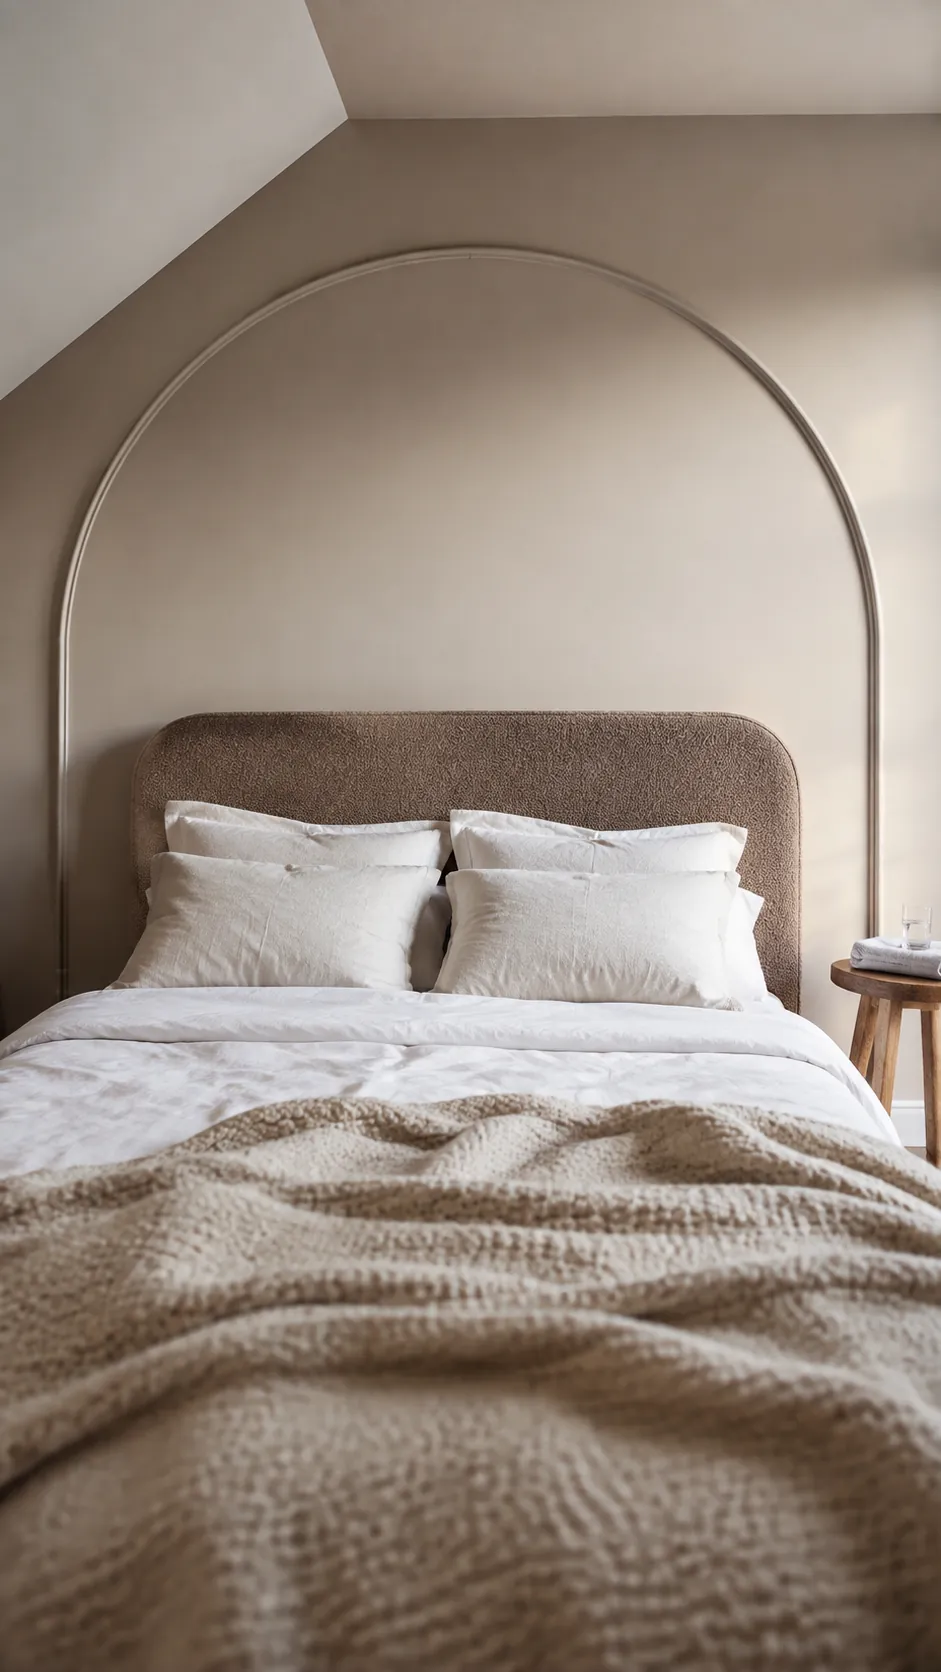
Two rows of rectangular panels
Two rows of panels create a traditional rhythm that works well with a simple upholstered bed. Let the horizontal dividing rail relate to a real room feature, such as the headboard height, rather than placing it arbitrarily. Taller upper panels and shorter lower panels can feel more balanced than identical stacked boxes. Check the pattern with bedside tables in position because they may hide much of the lower row. Consistent rail thickness helps the composition feel planned even when panel sizes differ.
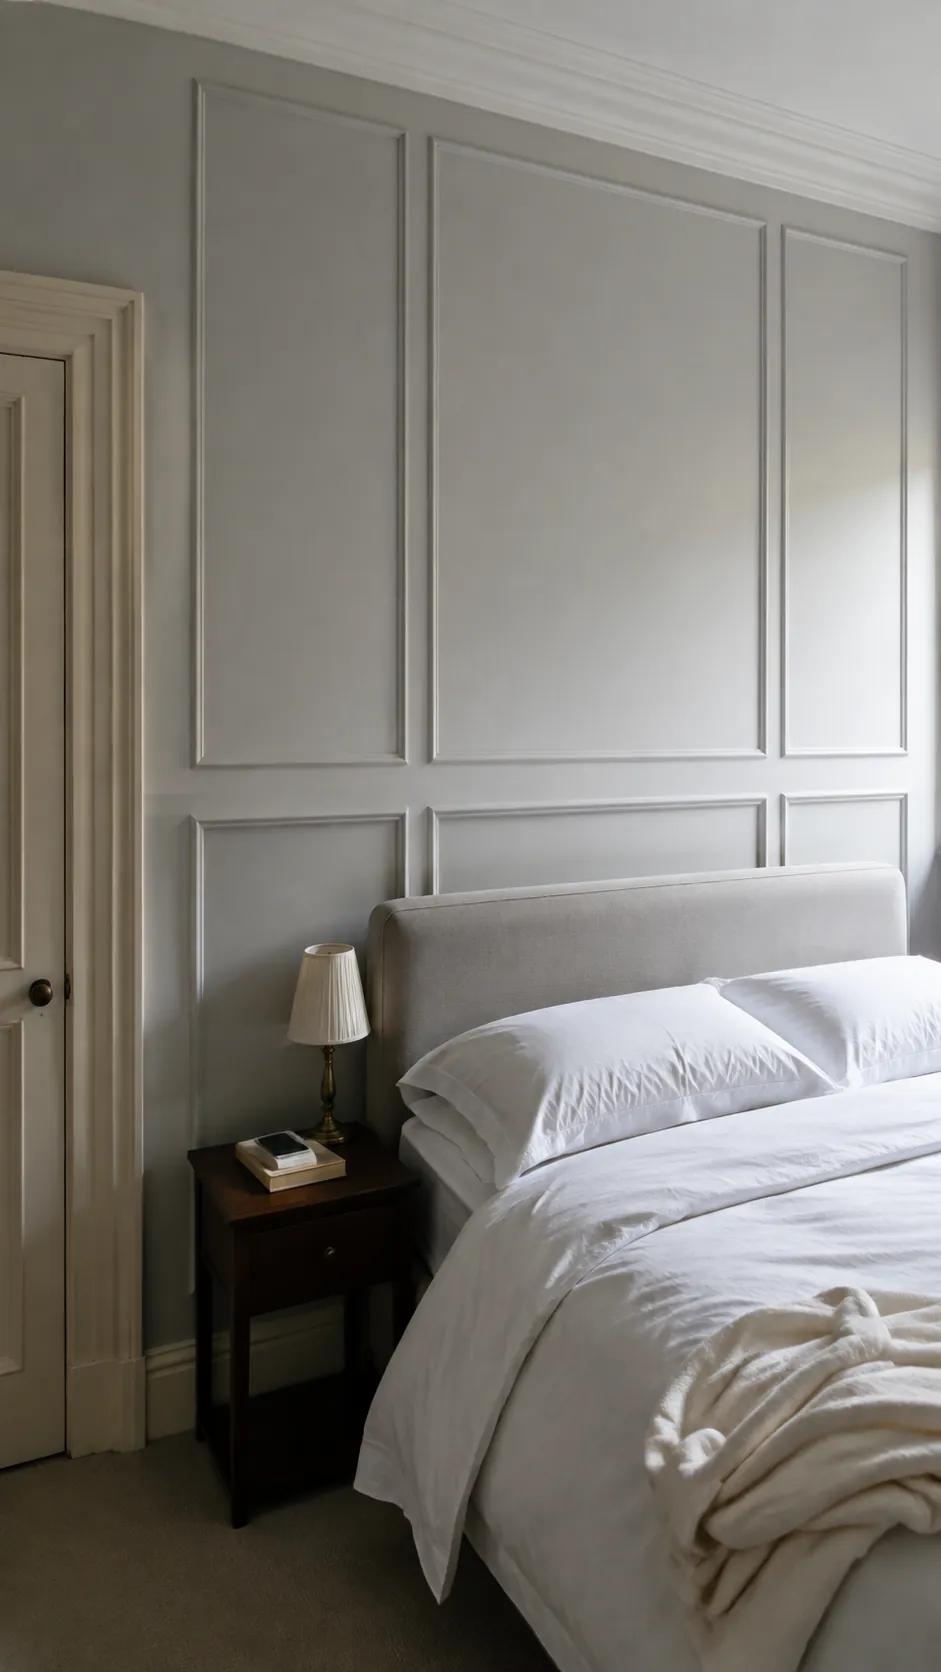
A broad border around upholstered panels
Molding can provide a crisp border around a soft upholstered wall panel. The fabric supplies comfort while the trim gives the whole assembly a clear edge. Plan the thickness of both materials so the molding does not project awkwardly beyond the padded surface. Secure the upholstered component according to its construction and the wall support available. Keep fabric edges neat and allow any removable panel to be accessed for cleaning or repair.
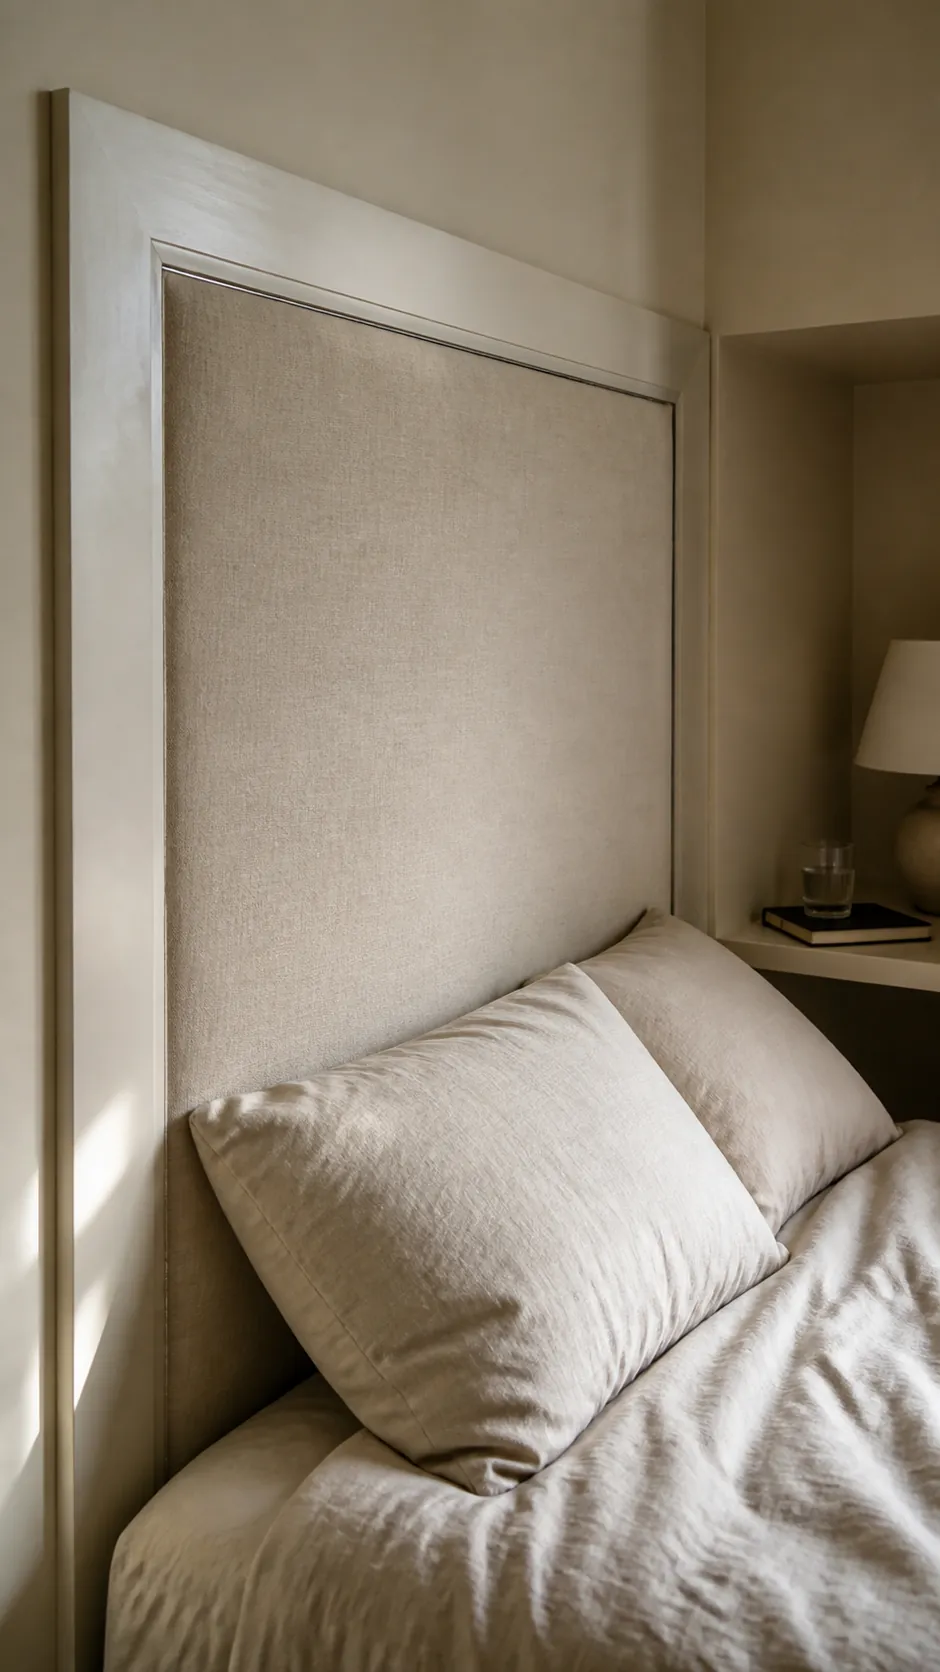
Molding painted the same color as the wall
Painting the trim and wall the same color lets shadow carry the design. This approach is useful when you want architectural detail without another strong contrast behind the bed. A modest sheen difference can reveal the profile, but test it in the room’s actual light. Dark colors make dust and imperfect joints more noticeable in some lighting conditions. Prepare the surface and finish the corners carefully rather than expecting paint to hide every gap.
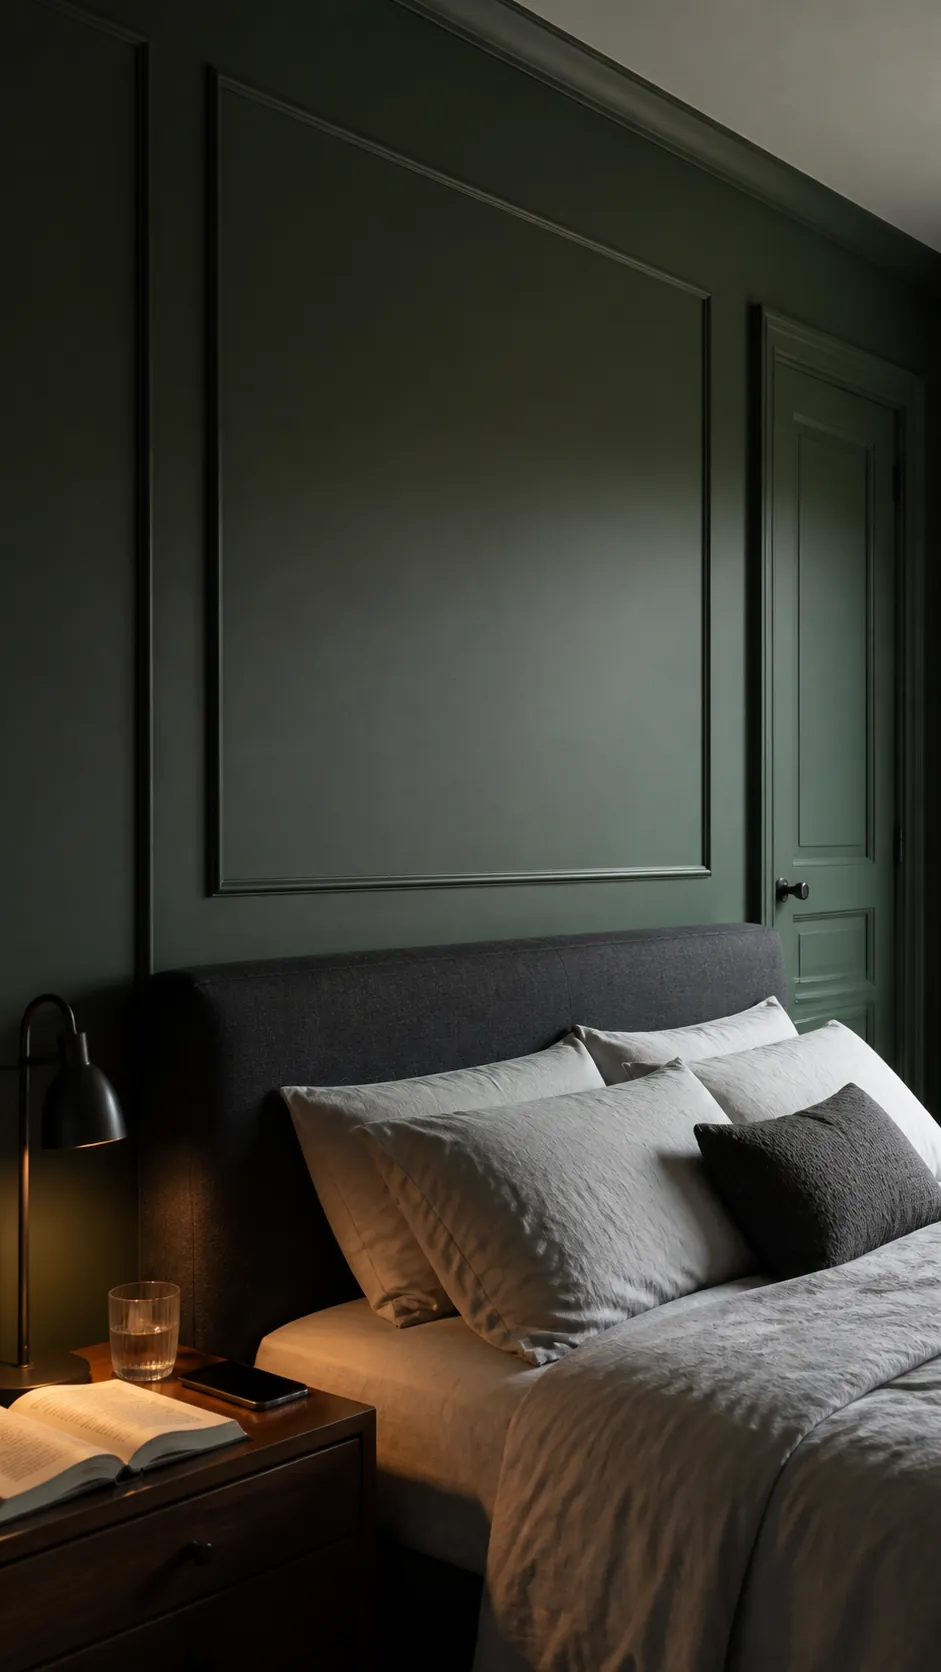
Pale trim on a muted colored background
Pale molding against a muted wall color makes the panel geometry easy to see. Choose a restrained contrast if the bedding already contains pattern. The trim color can connect with existing baseboards or door casing for a coherent finish. Sample both colors together before painting the whole wall, especially in a north facing room. A clean edge matters here because contrasting colors make uneven lines more visible.
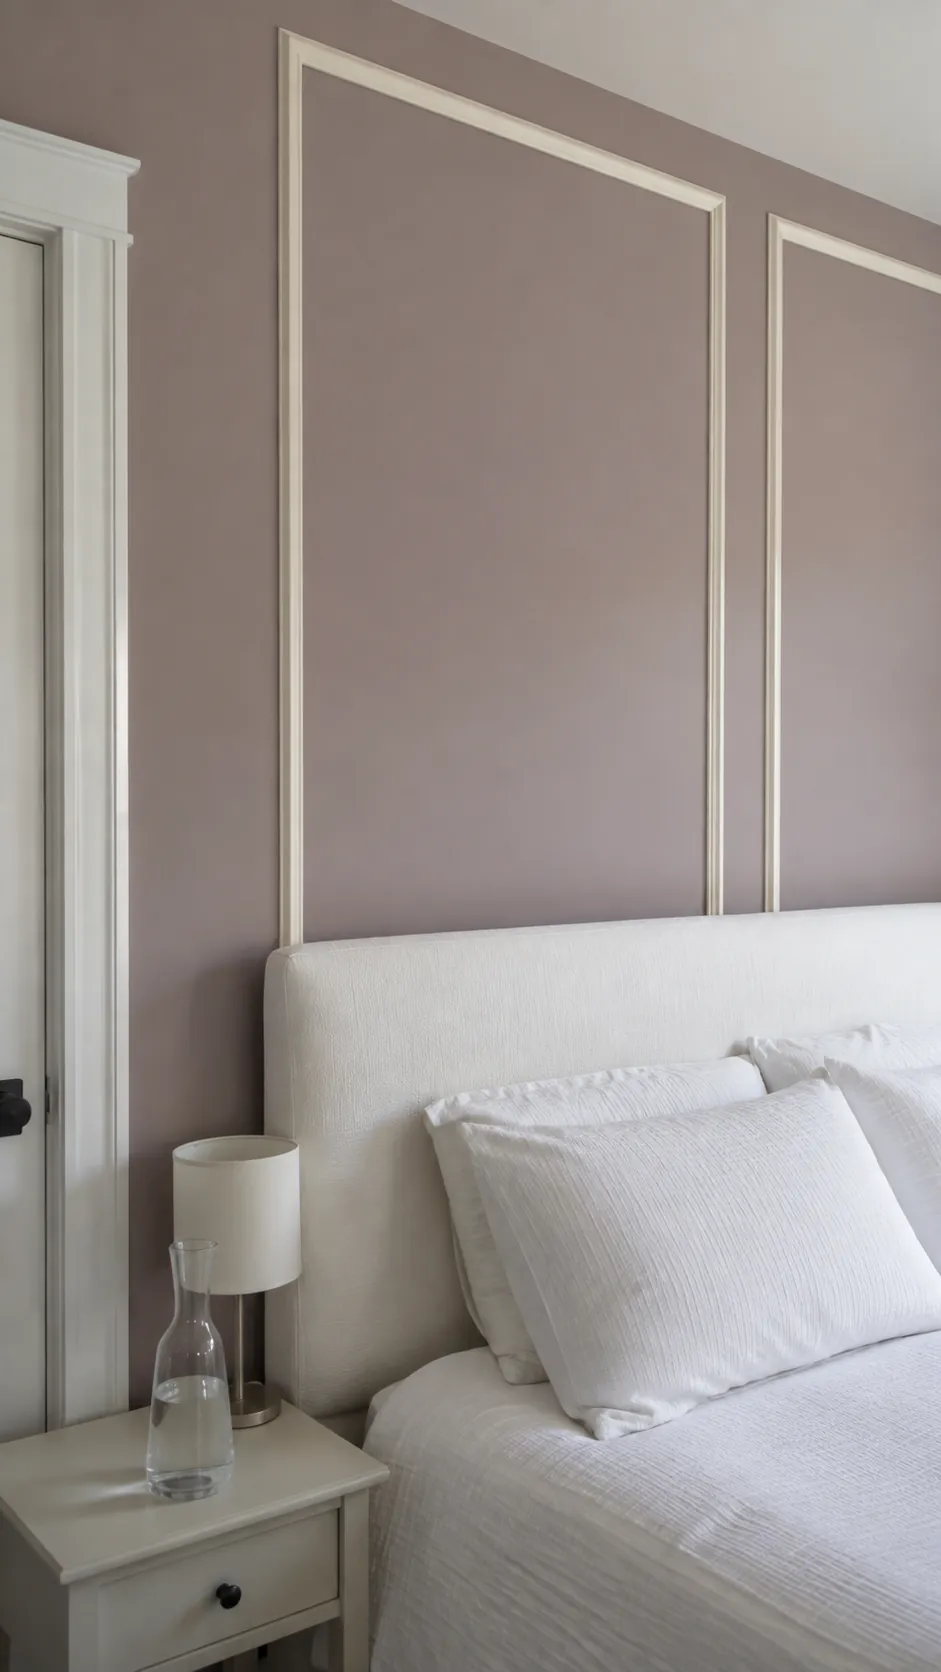
A wide horizontal panel for a low ceiling
A broad horizontal panel can suit a wall with limited height above the bed. Keep the proportions generous enough to look intentional rather than like a narrow strip trapped under the ceiling. The long upper rail can relate to the headboard width while the side rails define the sleeping zone. Avoid stacking extra horizontal lines when nearby window trim already creates several. One strong rectangle often gives the room enough structure.
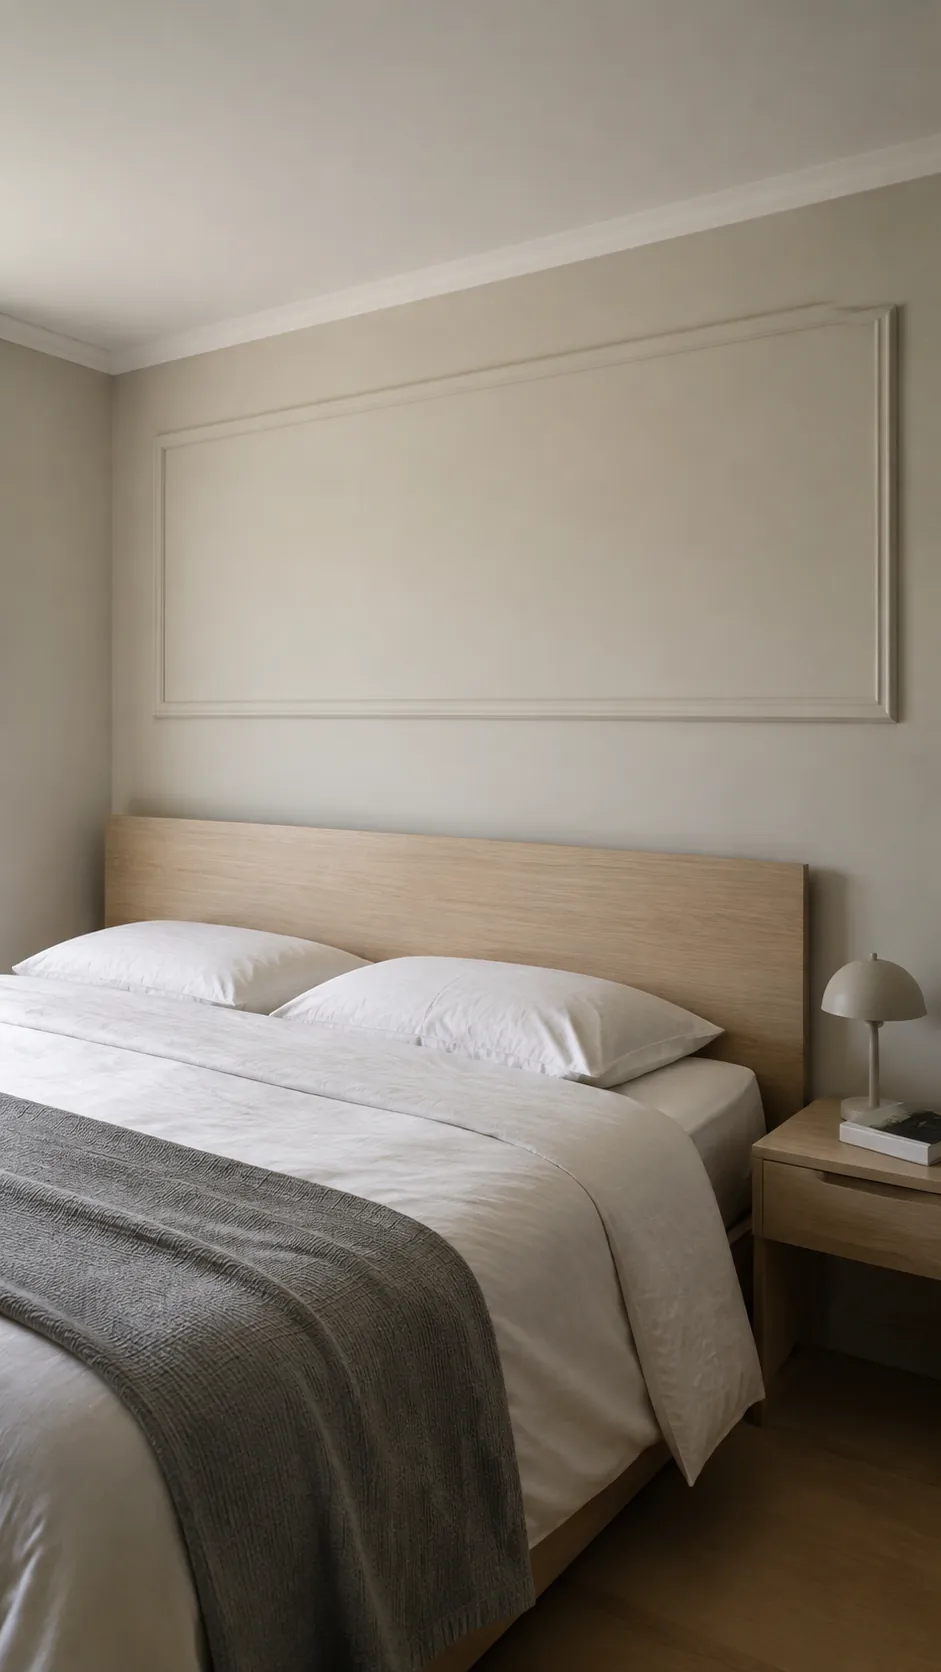
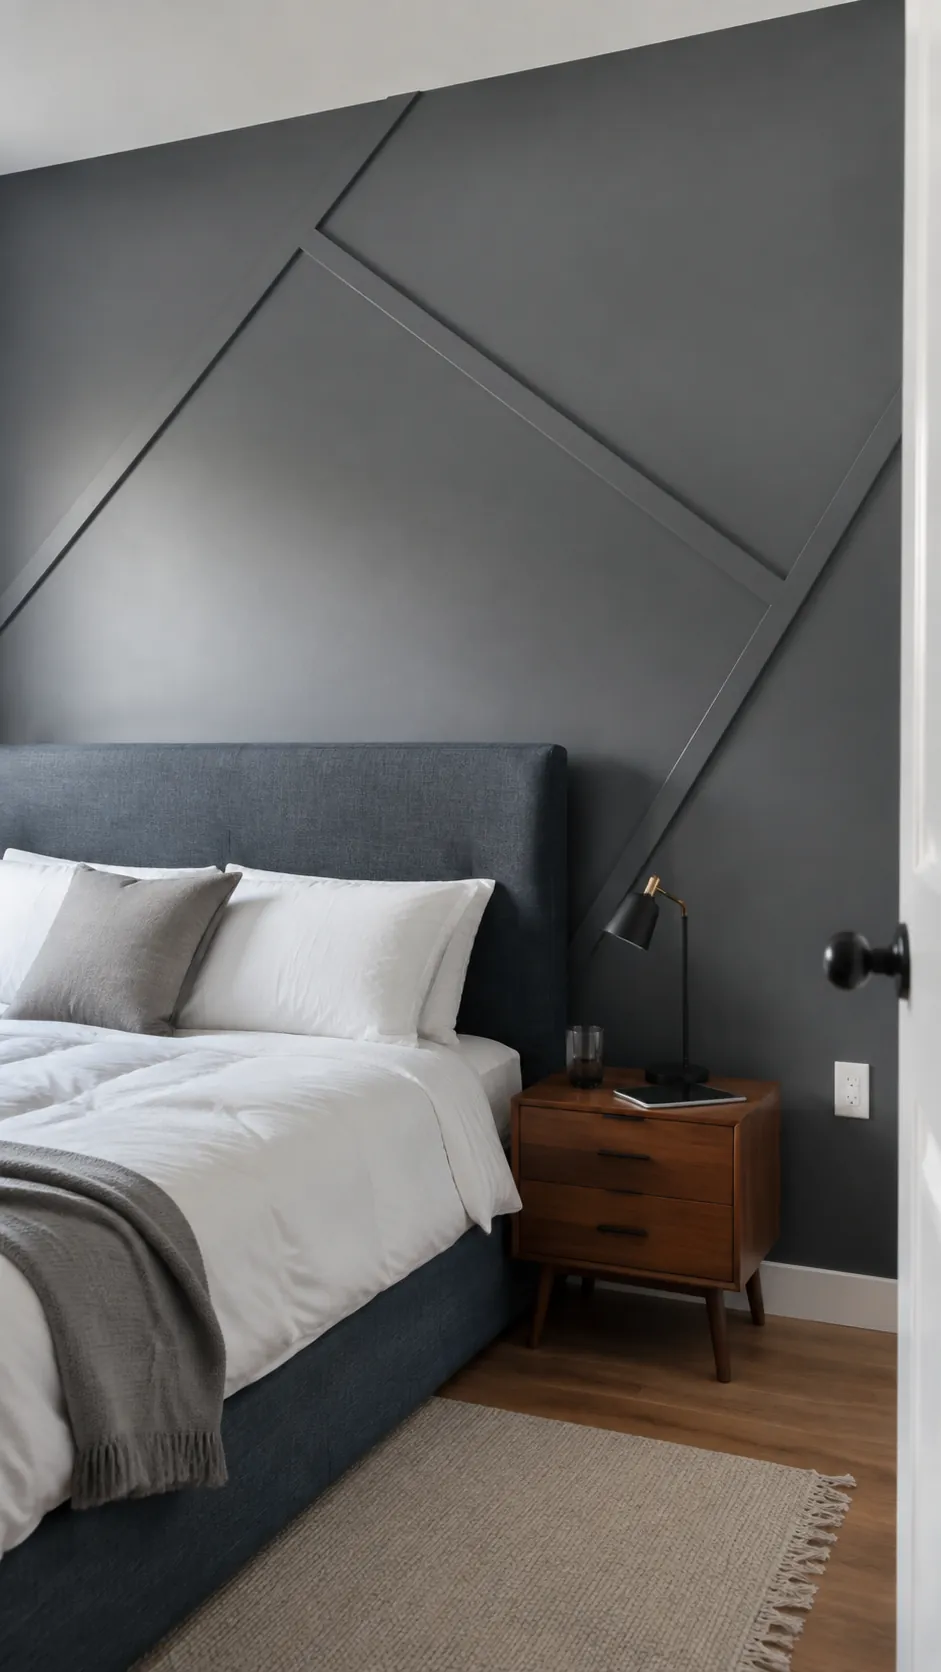
A restrained diagonal batten pattern
Diagonal battens bring movement to a contemporary bedroom. Limit the pattern to a few clear lines so the wall does not become busier than the rest of the room. Plan every intersection and termination before cutting, since awkward partial shapes are difficult to disguise.
Keep outlets in open areas of the pattern and preserve access to their faceplates. A single paint color helps the diagonal geometry feel integrated. Use the bed as the visual anchor instead of making the pattern symmetrical at the expense of circulation.
Molding that follows an off center bed
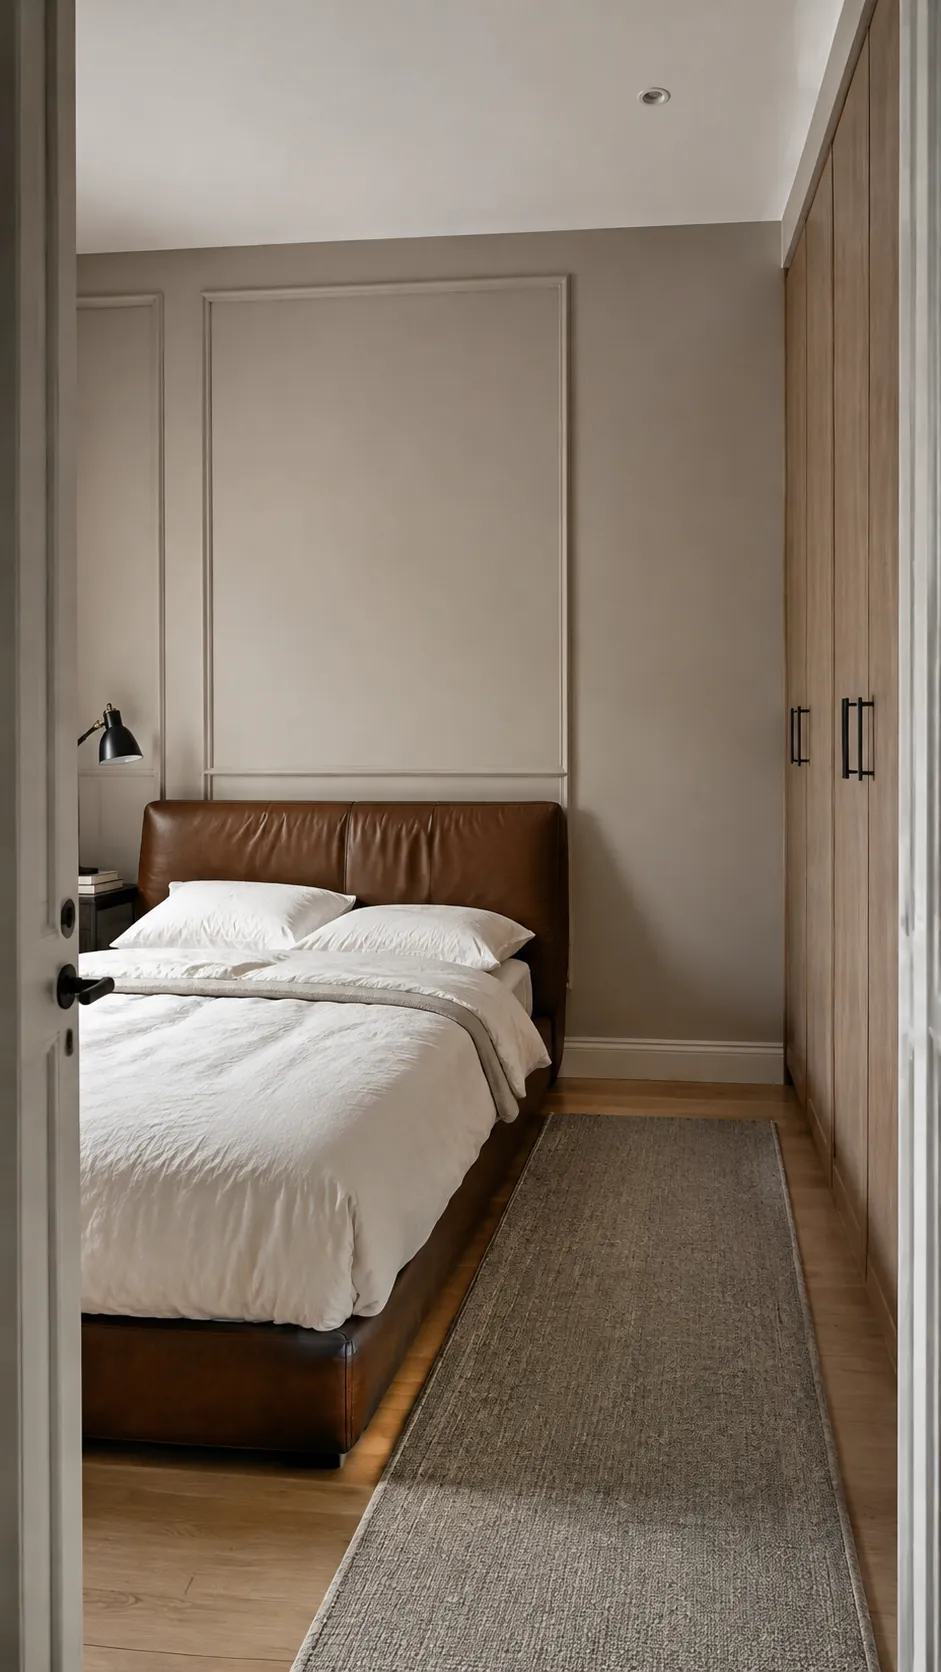
An off center bed can still have a deliberate paneled backdrop. Center the main molding feature on the headboard when a wardrobe, window, or doorway fixes the furniture position. Let the remaining wall stay simpler instead of forcing a matching panel into a narrow leftover strip. This creates a clear sleeping zone while respecting the room’s practical layout. Check the composition from the doorway, where the asymmetry will be most obvious.
A narrow trim outline inside a bed alcove
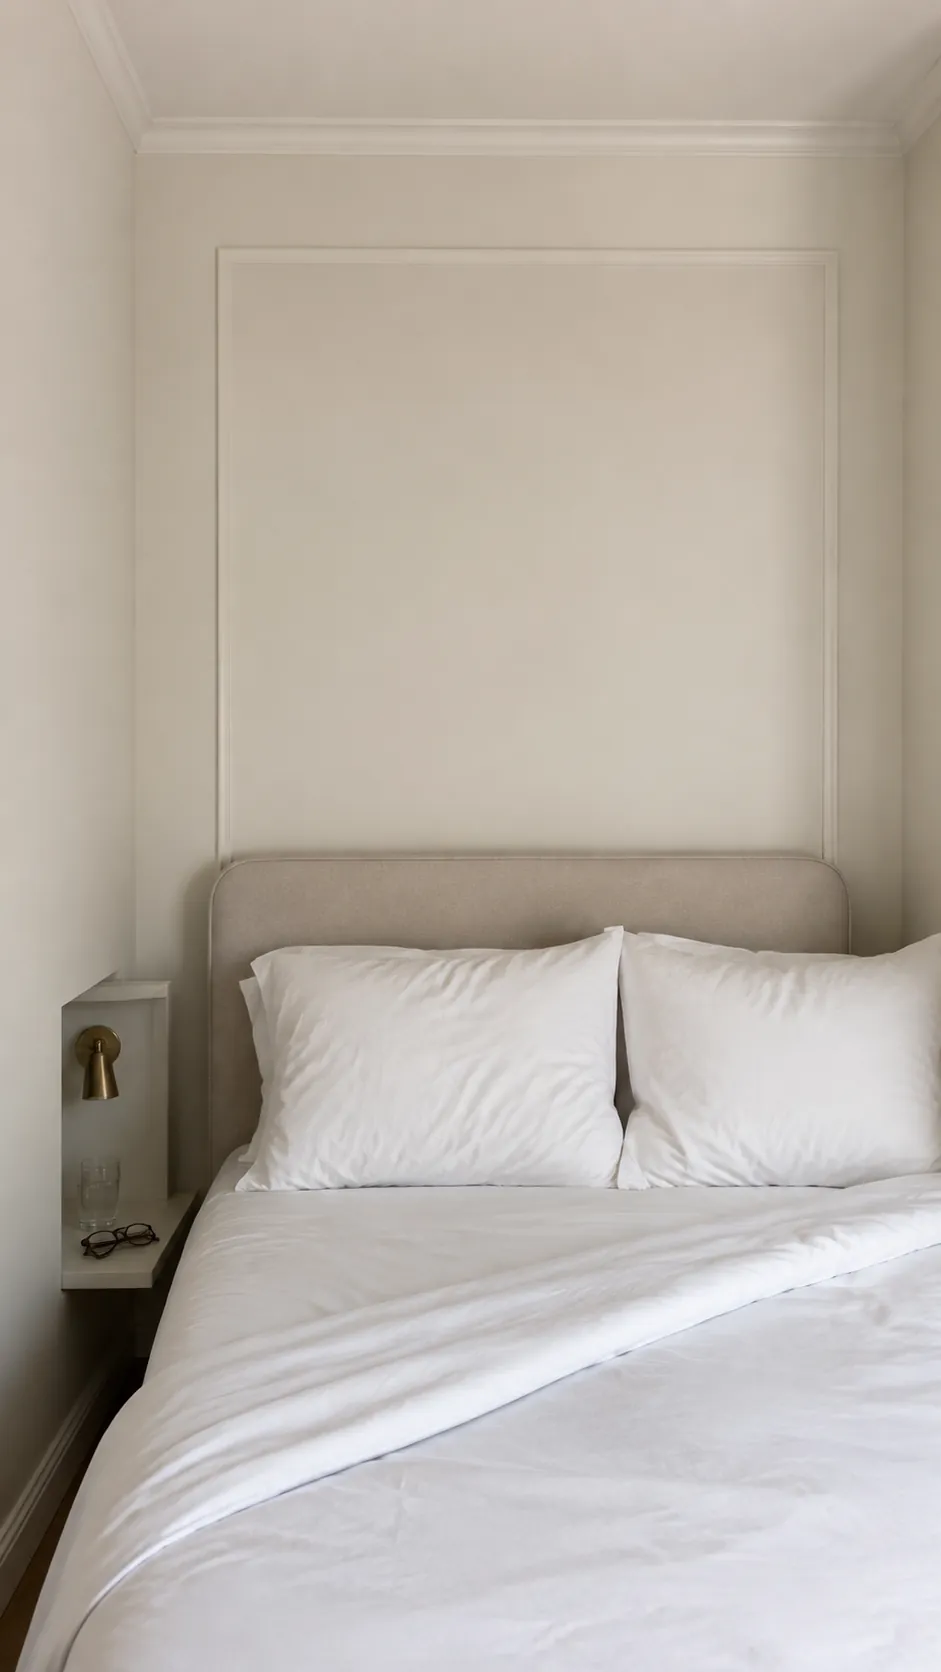
An alcove already frames the bed, so it often needs only a small amount of added detail. A narrow molding outline can echo the opening without reducing the sense of space. Leave breathing room between the trim and the alcove returns so the rails do not look wedged into the corners. A low profile is especially useful where pillows or bedding may brush the wall. Keep the finish smooth and avoid unnecessary ledges in this tight area.
A simple chair rail with generous upper panels
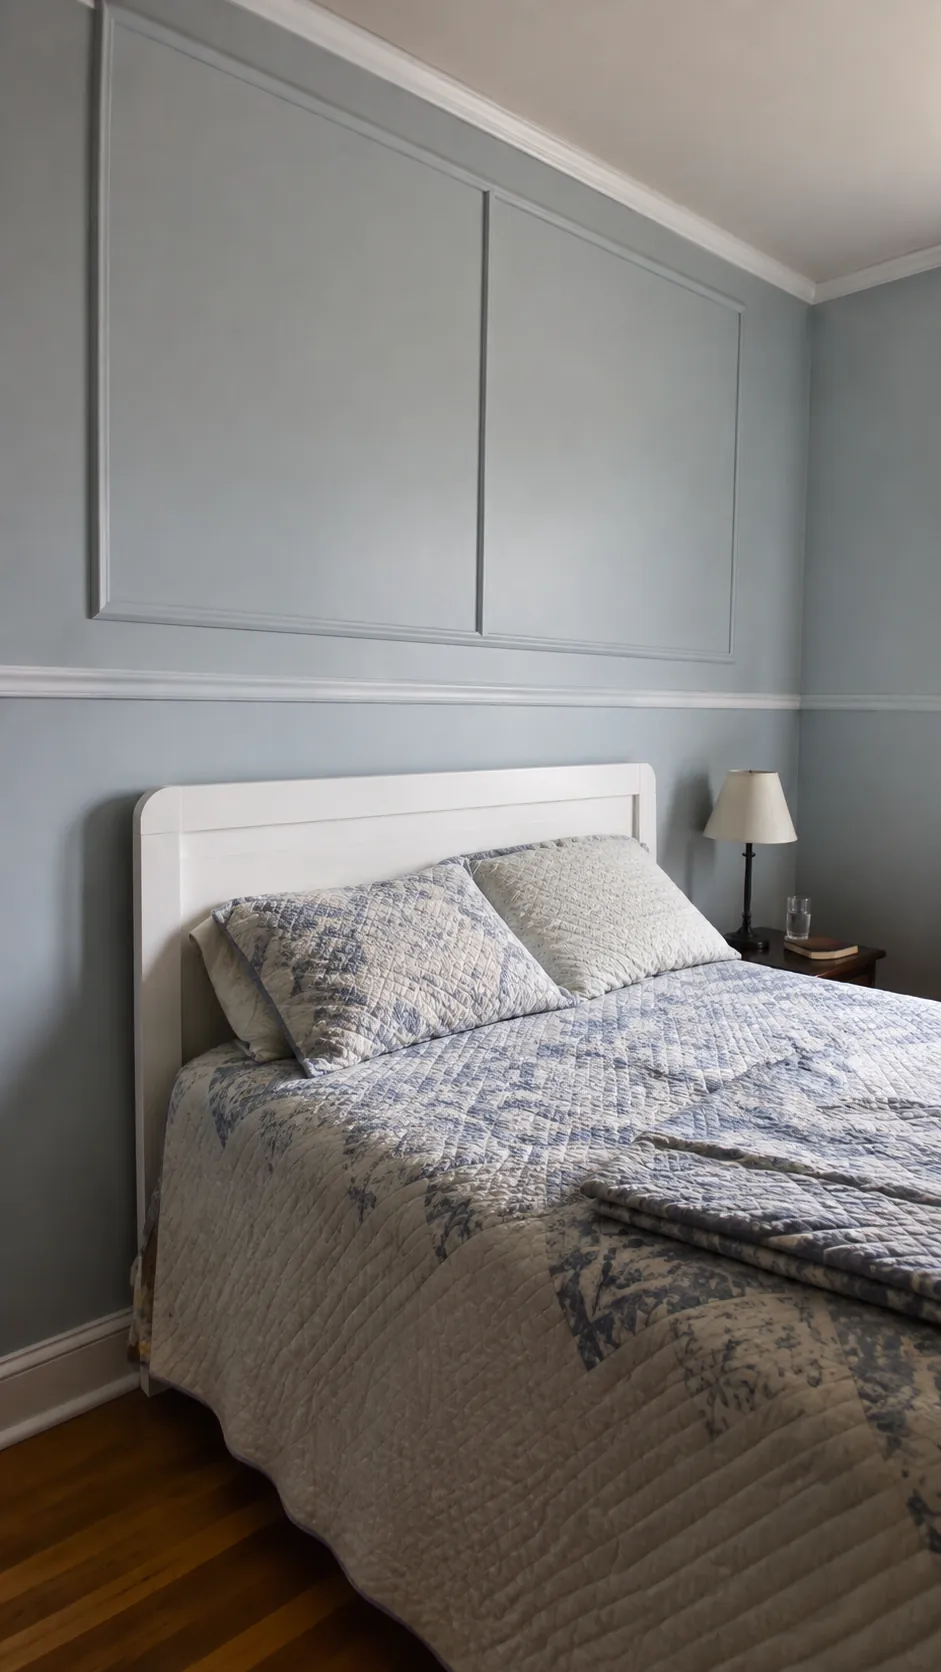
A chair rail can establish a calm horizontal line behind the bed. Large upper panels keep the wall from looking chopped into many small boxes. Choose the rail height with the headboard silhouette in view and make the relationship clearly intentional. The lower wall can remain plain when furniture will cover most of it. This reduces visual clutter and can simplify the installation without making the finished wall feel incomplete.
A layout planned around switches and sockets
The most successful DIY headboard wall treatment starts with the obstacles already on the wall. Mark switches, sockets, door casing, and the bed footprint before choosing panel widths. Keep trim clear of electrical faceplates and leave them accessible rather than burying or notching around them casually.
Any electrical relocation belongs with a qualified professional and the applicable local requirements. Confirm the fixing method for the wall and check for concealed services before drilling or nailing. A paper layout that works around the real room is more valuable than a perfect pattern that only works in a cropped inspiration photo.