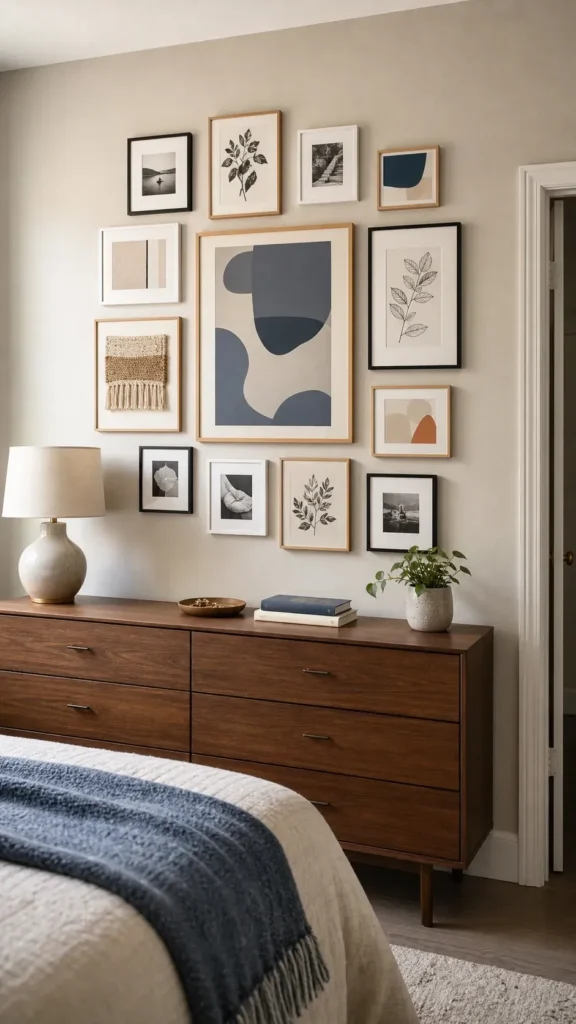
17 Removable Gallery Wall Ideas With Lightweight Frames
A removable gallery wall succeeds or fails before the first frame reaches the wall. Lightweight frames reduce the load, but they do not make every adhesive safe for every paint finish. Weigh each frame after adding the print and acrylic front, check the hanger’s listed surface and weight limits, and test the painted wall in a hidden spot. Fresh, chalky, textured, damp, or poorly bonded paint calls for a leaning or freestanding display instead.
Plan the arrangement on the floor, photograph it, and cut paper templates before mounting anything. Follow the exact application, waiting, and removal directions for the chosen system; do not improvise with extra glue. For valuable, breakable, or heavy art, use lease-approved mechanical hardware or keep it supported on furniture. These 17 ideas focus on lightweight frames wall decor that can look collected without turning move-out day into wall repair.
Build a Calm Three-by-Three Grid
Nine matching lightweight frames create order above a bed or low sofa. Use prints with generous margins, keep the gaps equal, and align the outside edges into one large rectangle. Acrylic glazing and slim composite frames keep the finished weight much lower than wood and glass.
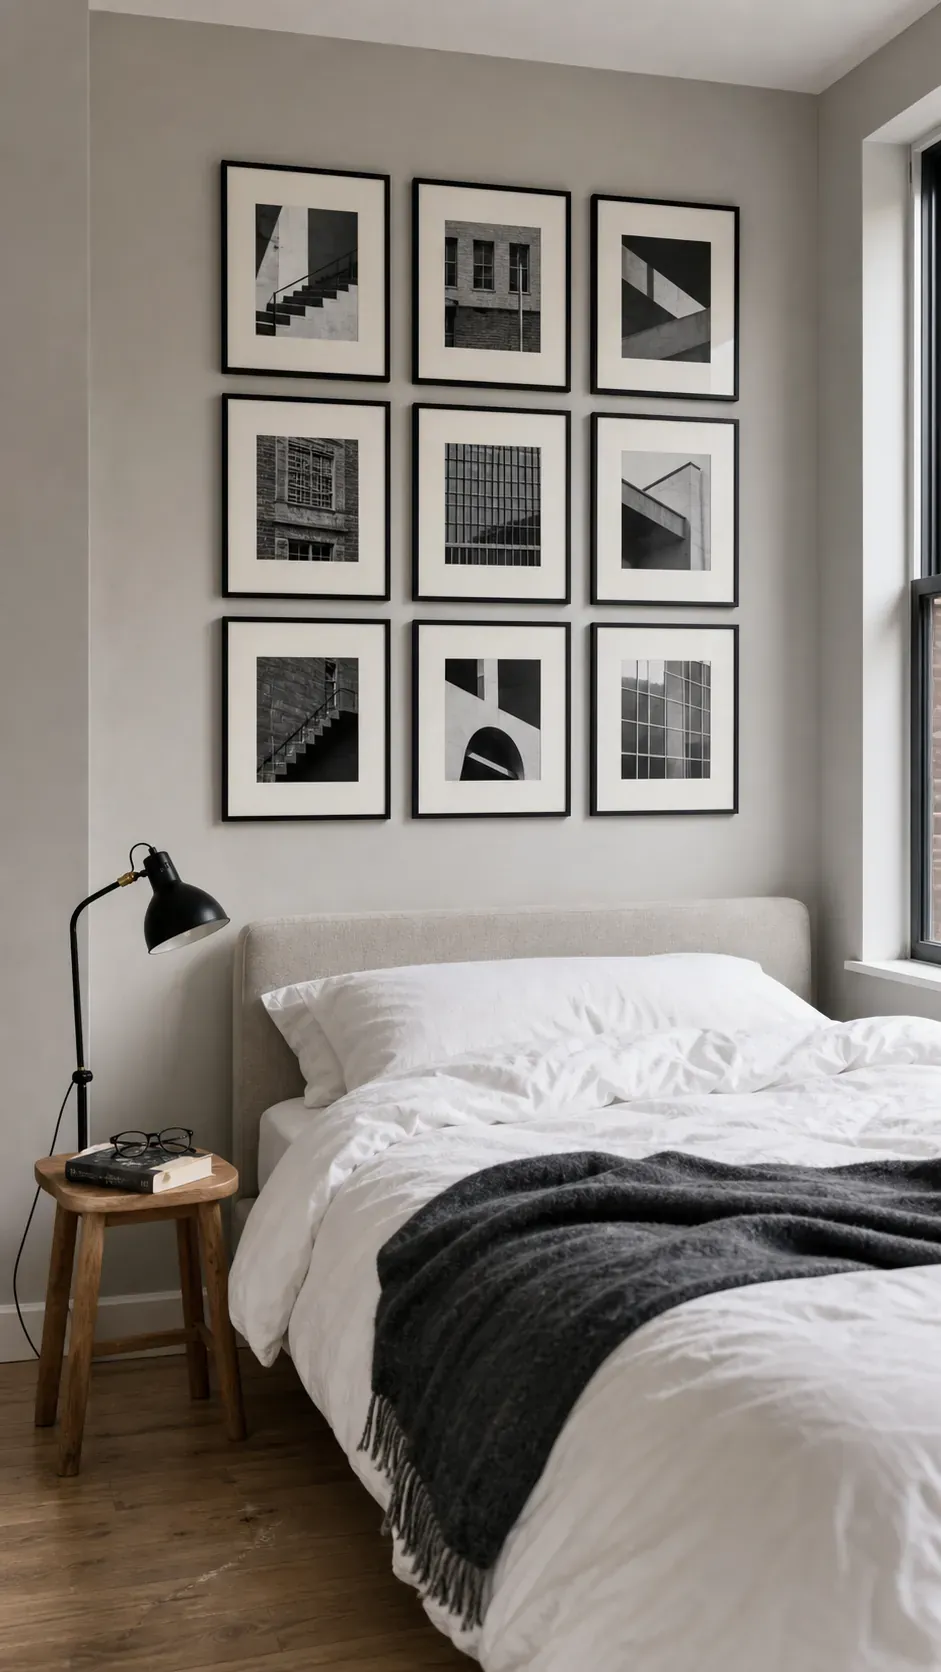
Let the grid supply the drama. Quiet black-and-white architecture photos, botanical studies, or tonal abstracts prevent nine pieces from feeling frantic. Paper templates reveal whether the group sits too high before any adhesive touches paint.
Step Frames Up Beside a Dresser
Arrange five frames in a rising diagonal that starts just above the dresser and climbs toward an empty corner. The stepped silhouette brings movement to a wall where a centered rectangle would feel stiff. Repeat one frame color and vary only the sizes.
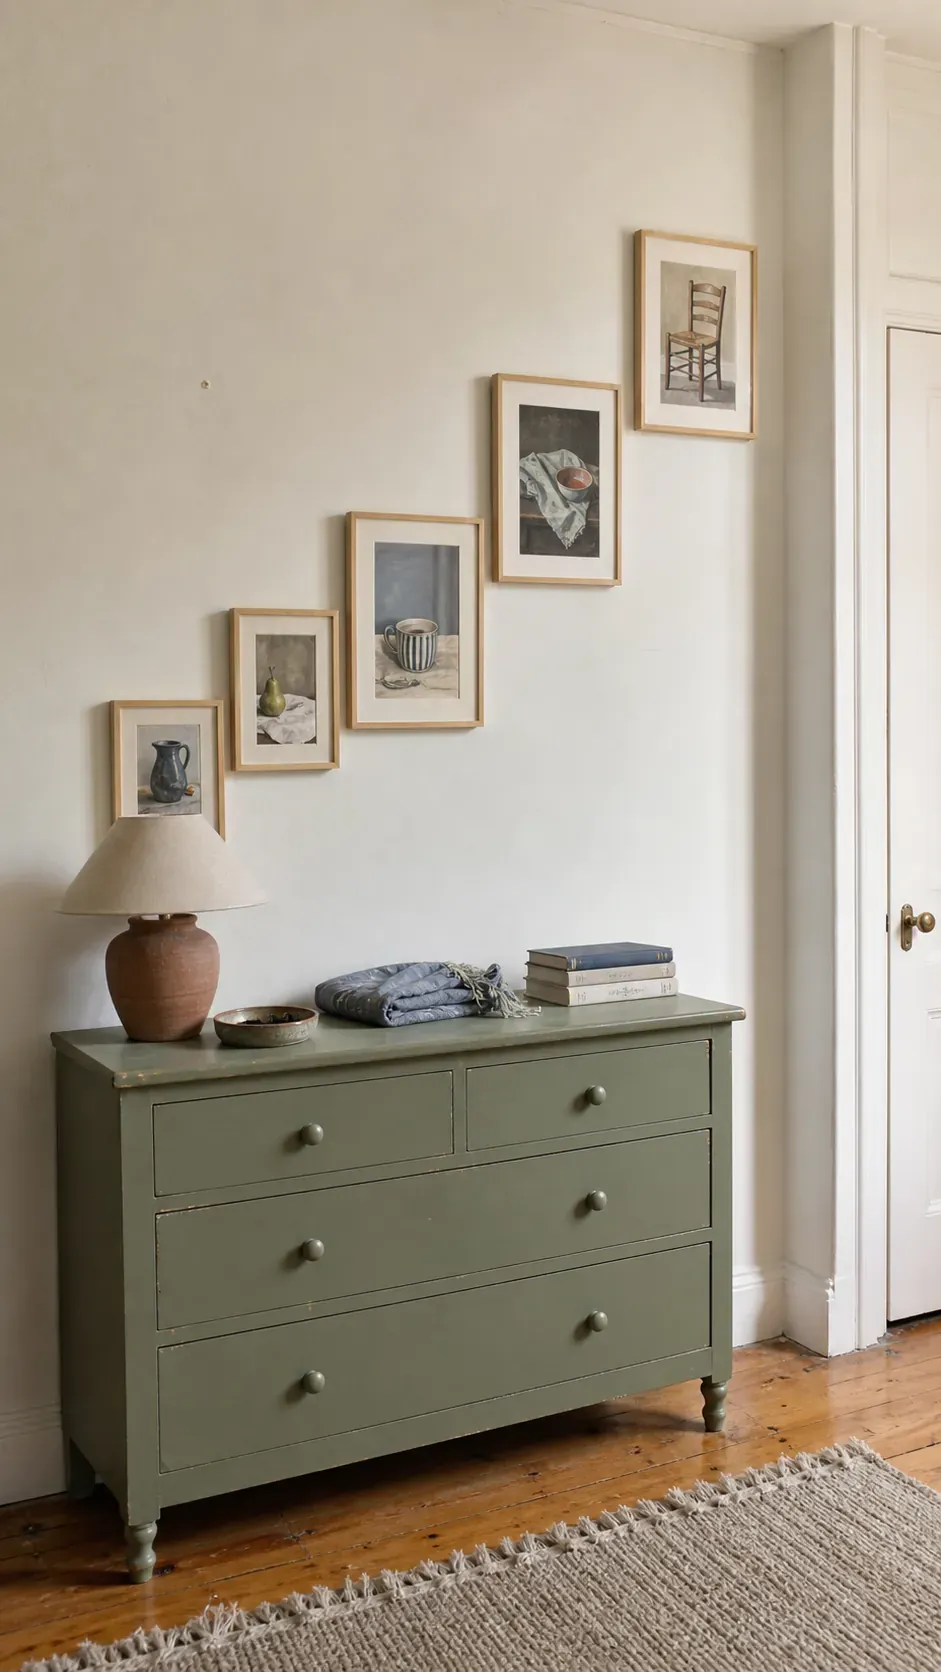
Keep the lowest piece clear of lamps and anything lifted from the dresser. A consistent diagonal through the frame centers makes the arrangement look deliberate even when the art styles differ.
Create a Monochrome Photo Cloud
Print personal photos in black and white, then place them in very light white or pale-gray frames. Begin with one larger image and orbit smaller frames around it, leaving irregular but balanced gaps. The single-color treatment lets snapshots from different years belong together.
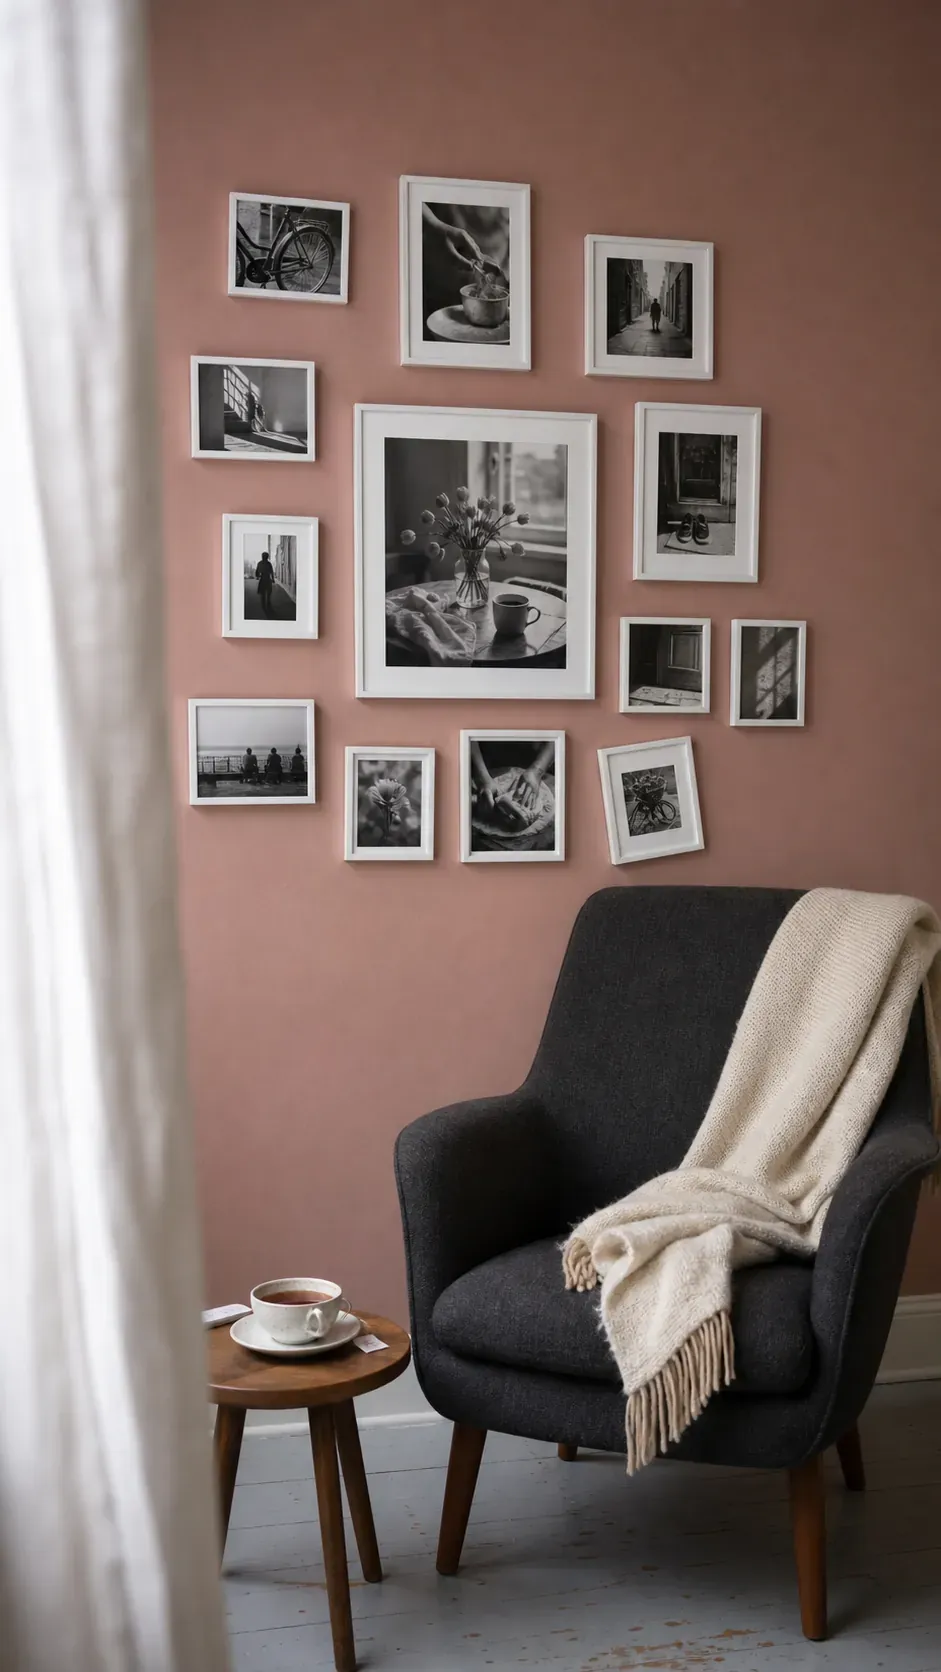
A photo cloud is forgiving because it has no rigid outer boundary. Add new memories by extending one edge rather than remounting the entire renter friendly gallery wall.
Frame Postcards in a Compact Block
Small postcard frames make a strong collection above a desk, especially when every card shares a place, palette, or era. Use identical lightweight frames and close spacing so the group reads as one piece instead of scattered desk clutter.
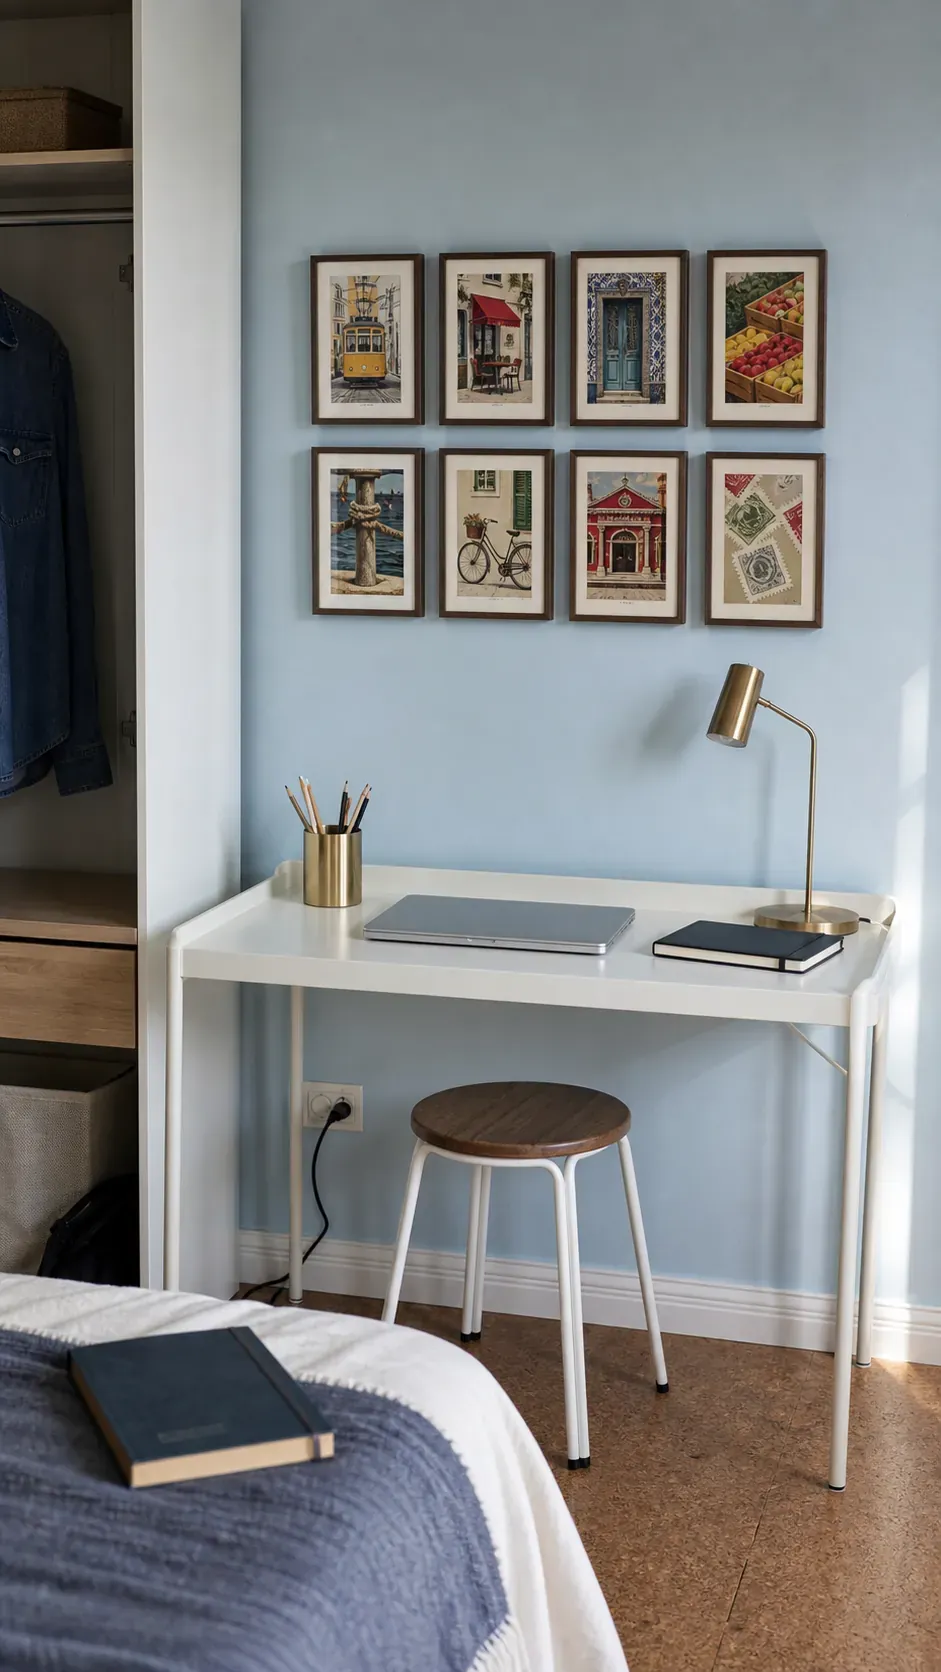
Scan irreplaceable cards and display copies. That preserves the originals and avoids trusting sentimental paper to any temporary mounting system.
Wrap a Gallery Around a Corner
Continue a small-frame collection across two adjacent walls to connect a reading chair with the bed or desk zone. Treat the corner as a gap: keep the nearest frames the same distance from it on both sides, then loosen the arrangement as it travels outward.
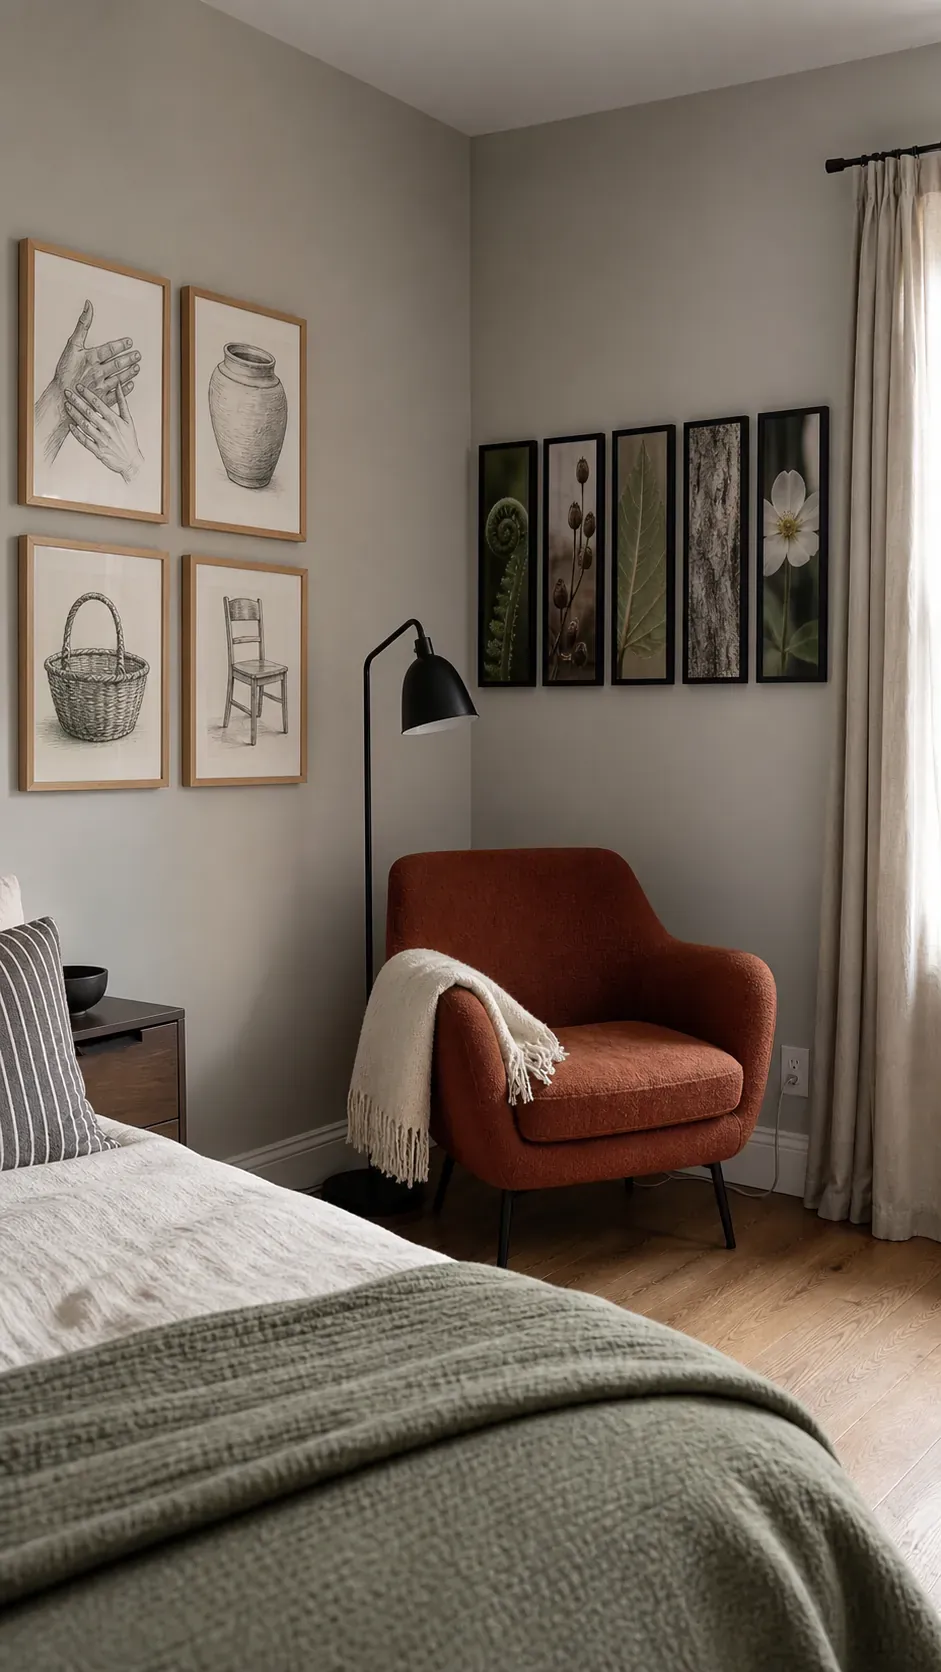
Use related art on the two planes rather than duplicates. A charcoal drawing series on one wall and muted botanical photographs on the other gives each view a purpose.
Layer Mini Frames on a Rated Picture Ledge
A lease-approved or manufacturer-rated removable picture ledge turns mounting into one controlled installation. Layer several light frames along the shelf, placing the tallest at the back and leaving the front lip unobstructed.
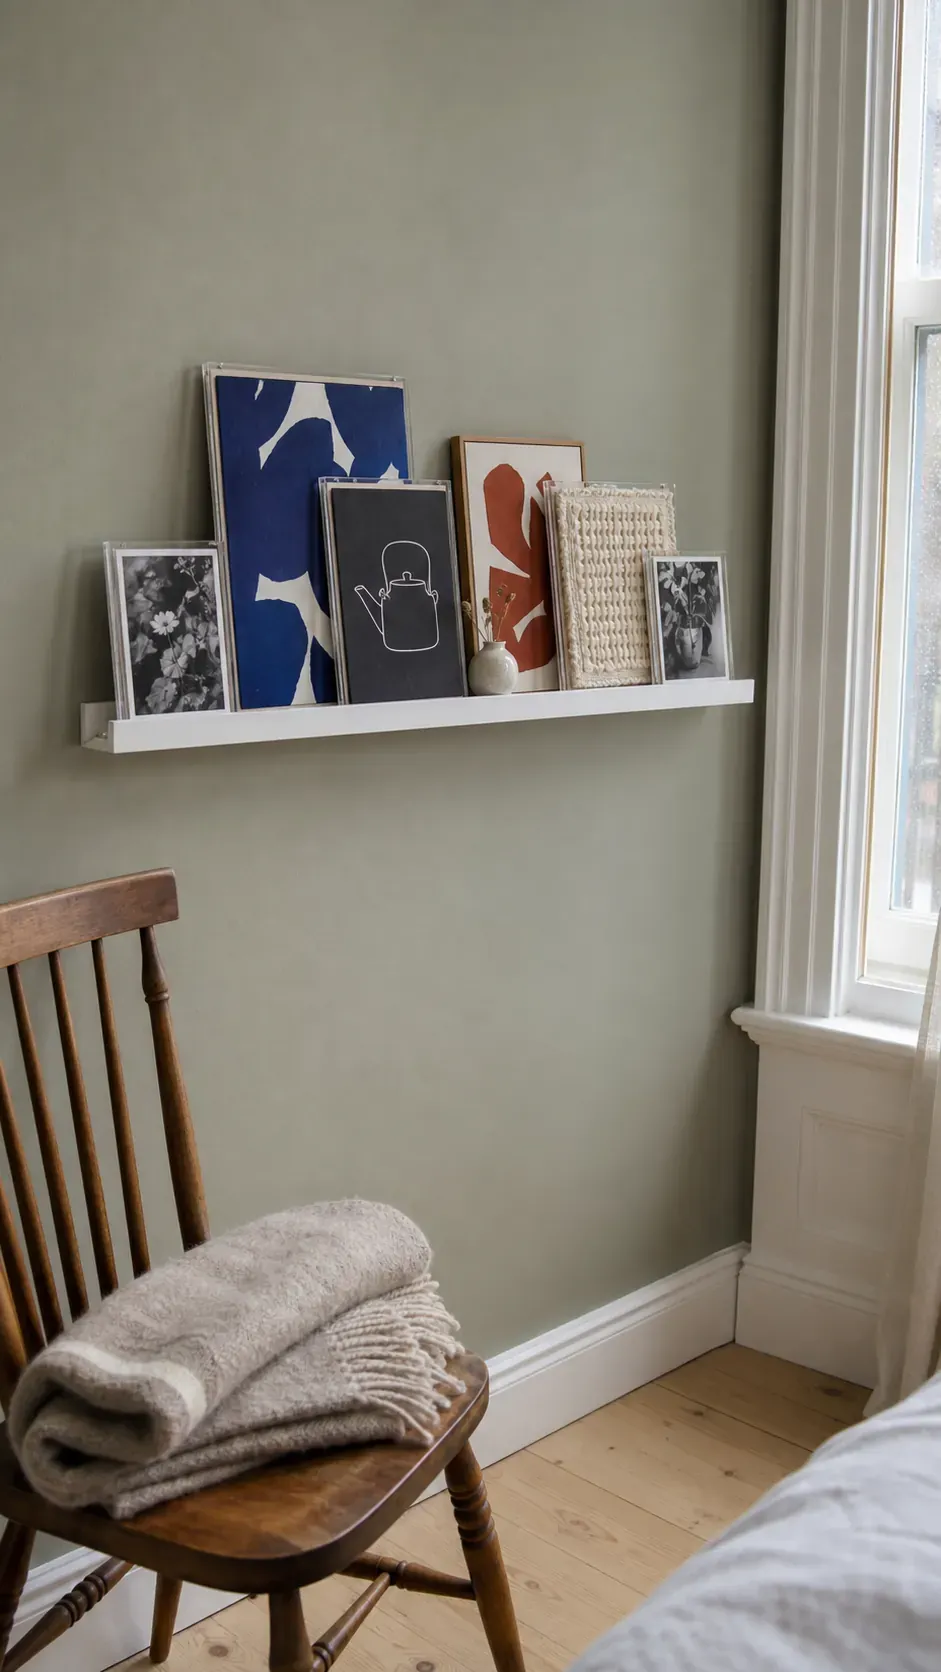
Count the ledge and every object when checking the total load, and never let frames overhang the edge. This idea works best for small acrylic-front pieces, not heavy glass or valuable originals.
Lean a Layered Collection on a Dresser
The safest picture wall without nails may not hang at all. Lean three to five frames on a deep dresser, overlapping them slightly and varying their heights. Secure unstable frames against sliding or tipping, particularly in homes with children or pets.
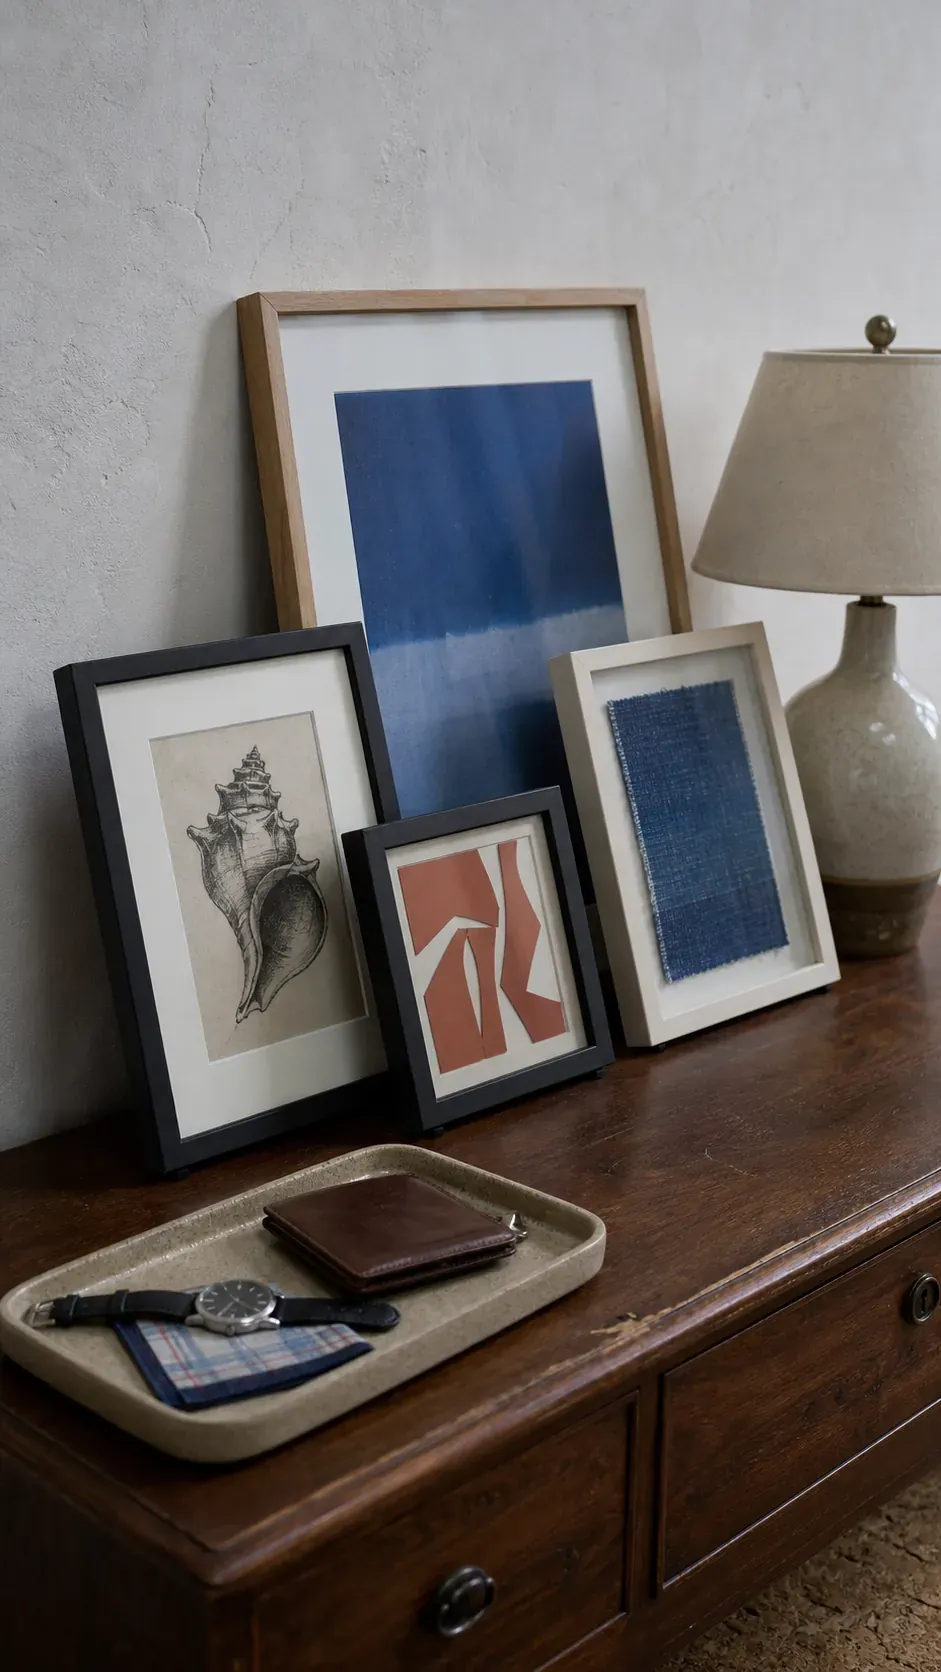
Keep frequently used objects in front and art behind. One large central print, two smaller side pieces, and a shallow tray create depth without consuming the full surface.
Stack a Narrow Floor-to-Ceiling Column
A vertical stack fits the sliver of wall beside a closet or bedroom door. Mix portrait and square frames, but keep one shared centerline. The upward movement makes a low-ceiling room appear taller without spreading adhesive across a large area.
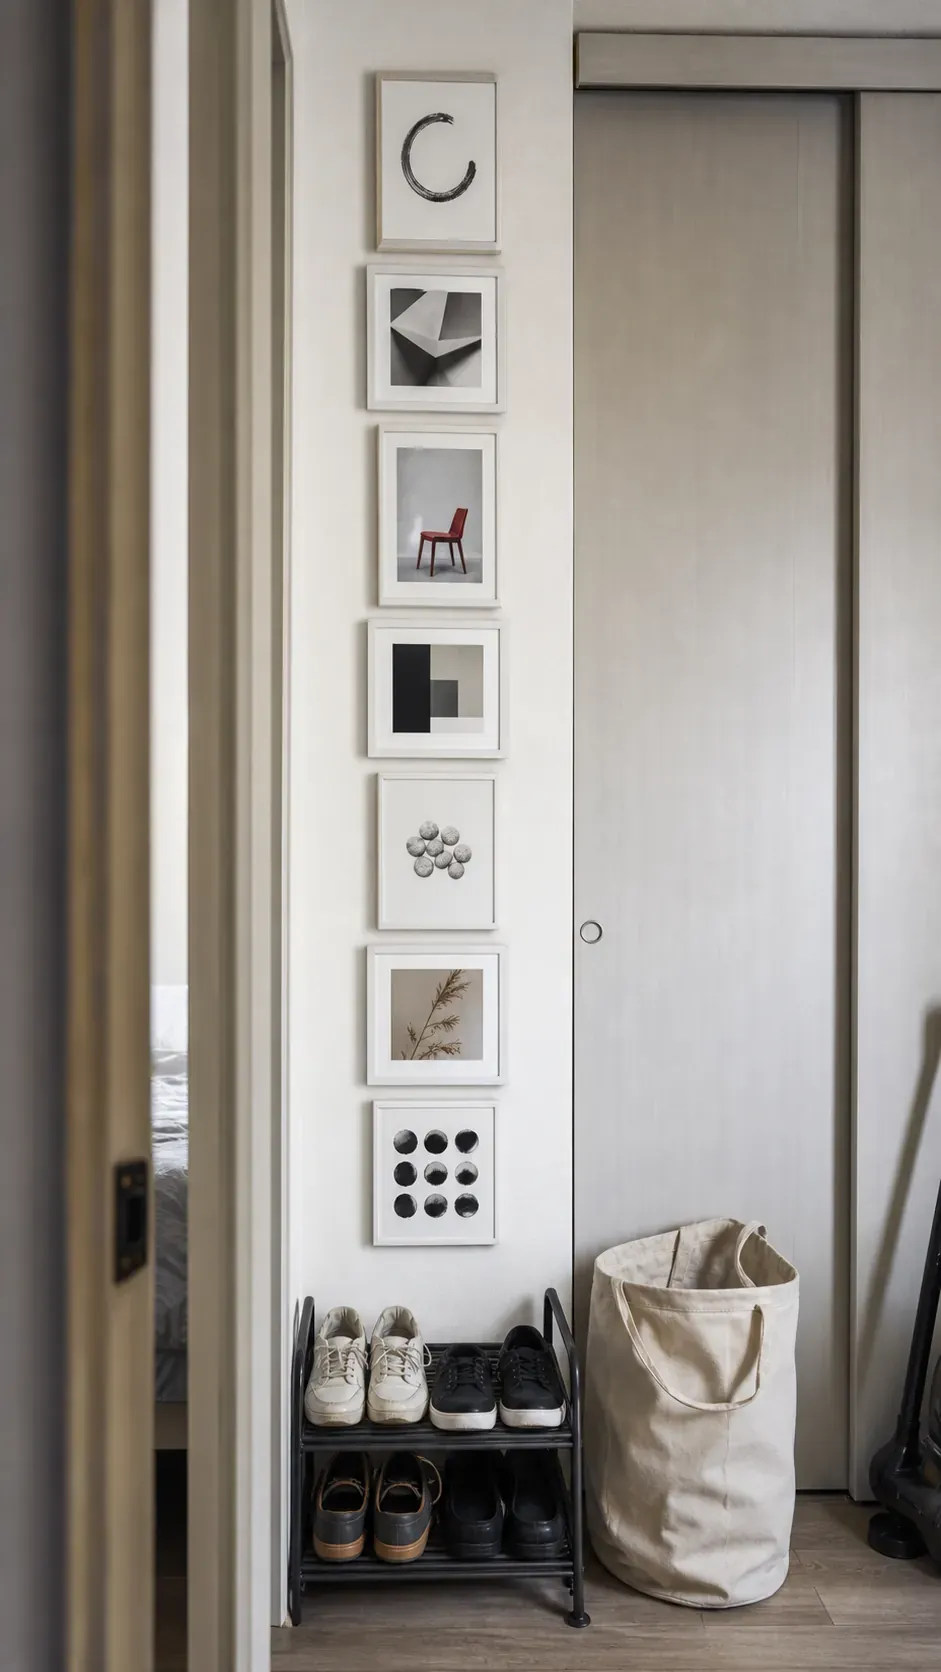
Leave generous clearance from the door swing and keep the lowest frame above vacuum and shoe level. A repeated mat color ties different frame shapes together.
Trace One Side of a Doorway
Use a loose trail of mini frames to follow one side and the top corner of a doorway. This asymmetric arrangement turns circulation space into a feature without crowding the door itself. Choose acrylic-front frames that will not become dangerous if bumped.
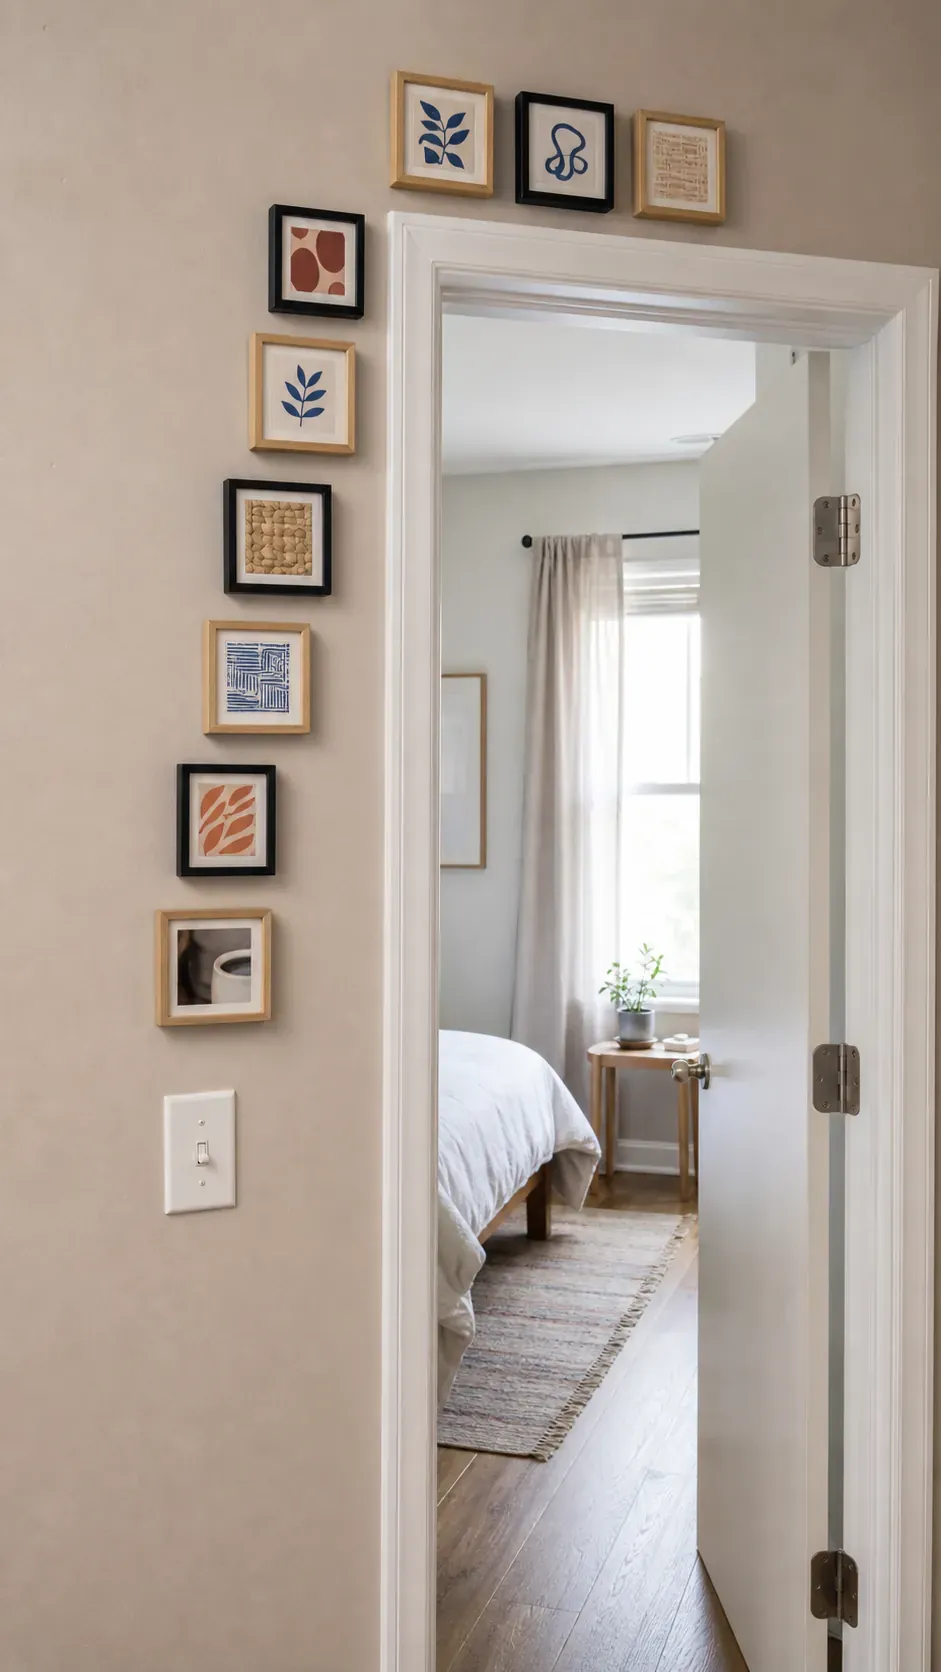
Maintain clear casing, hinge, and switch access. If the doorway vibrates when it closes, this is not a good location for adhesive-mounted pieces.
Rotate Children’s Art in Acrylic Frames
Front-opening lightweight frames let a family refresh the display without removing the frames from the wall. Use a neat row above a low cabinet and give each frame the same mat color so finger paintings, collages, and drawings look cohesive.
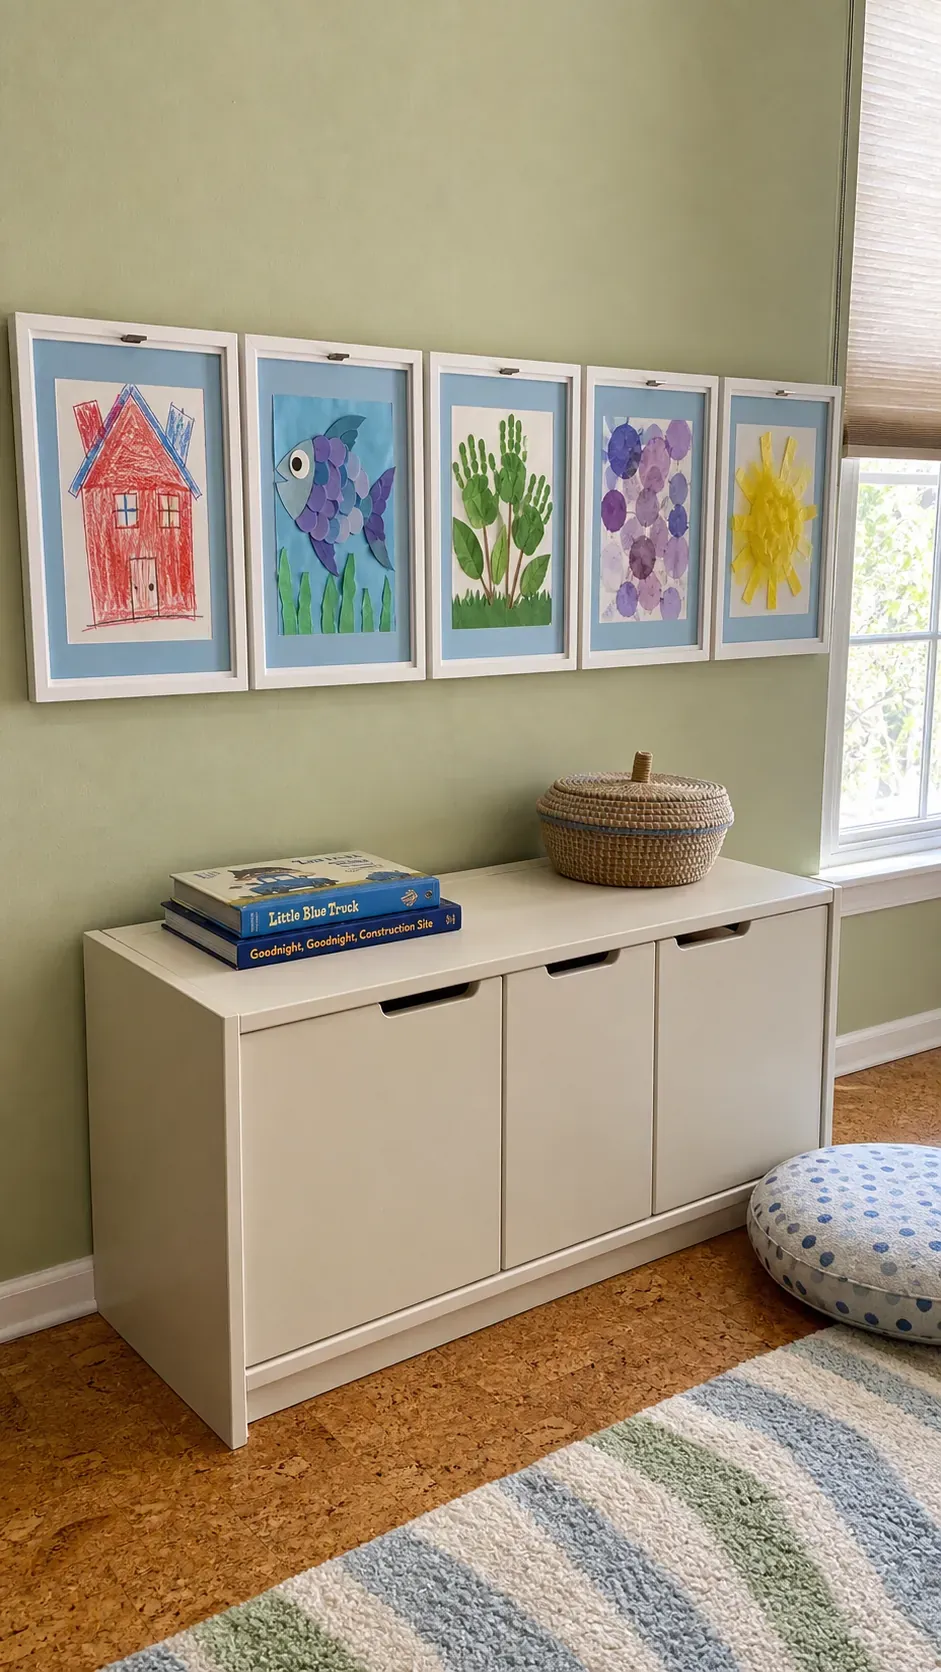
Place the display beyond reach if frames are not designed for child access, and keep glass out of the arrangement. Date originals on the back and archive them in a flat box when the next set goes up.
Mix Pressed Botanicals With Textile Swatches
Pressed leaves, linen offcuts, block-printed fabric, and handmade paper create texture without heavy objects. Float each material between an acid-free backing and an acrylic front, then use slim frames in two related finishes.
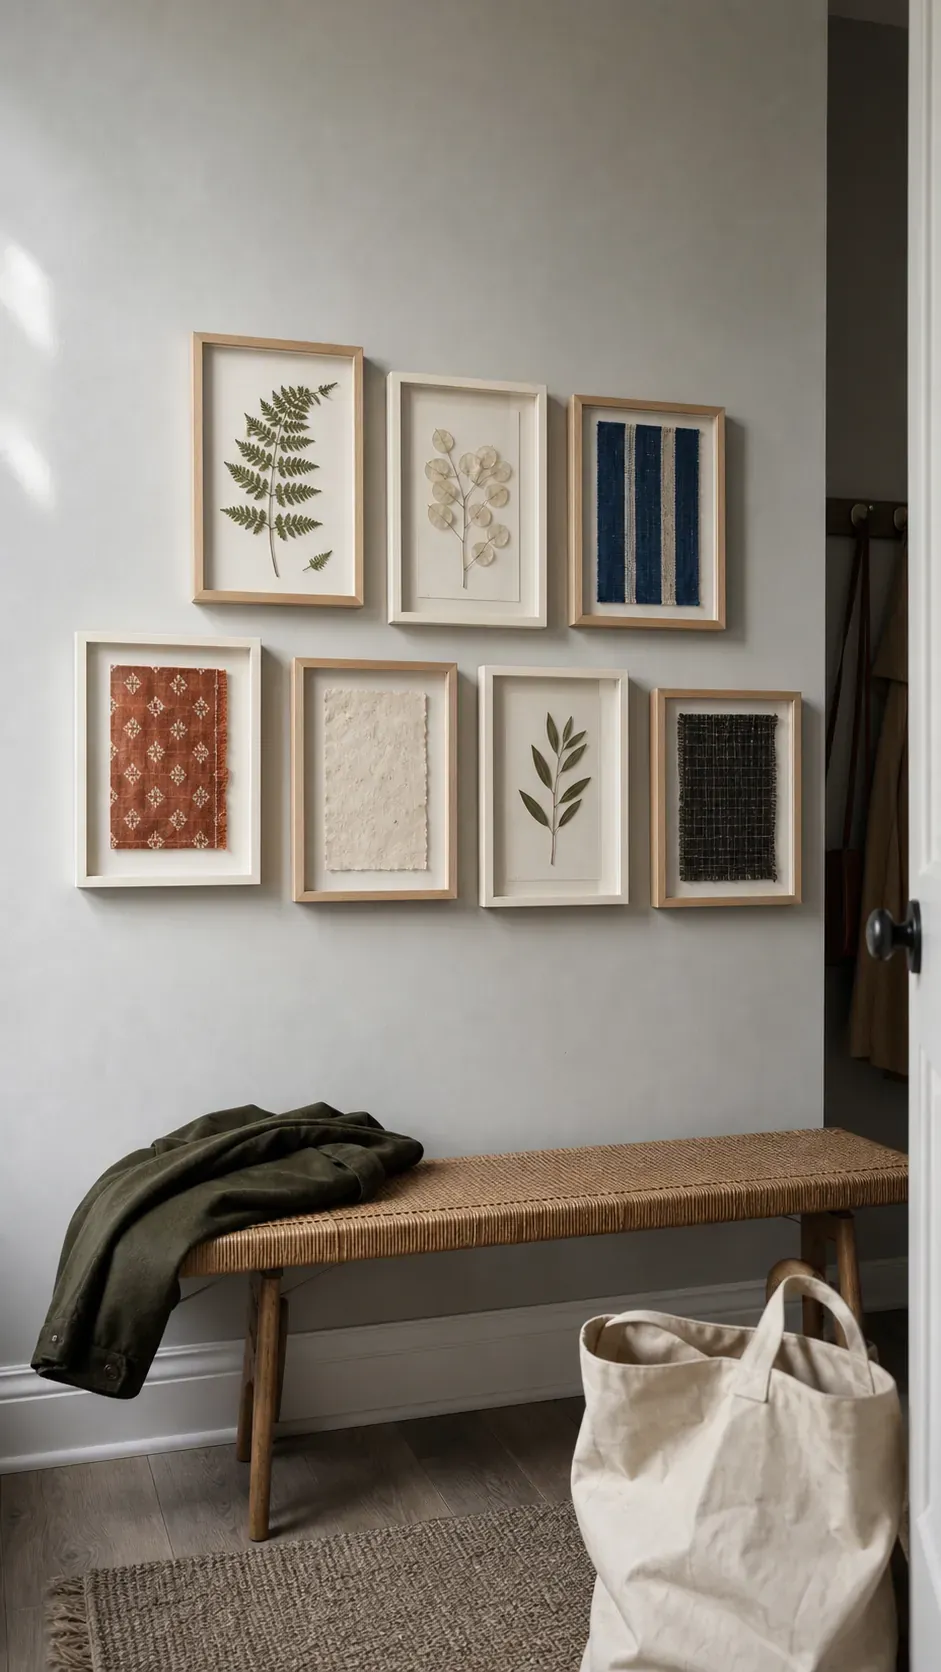
Vary the contents more than the frames. A fern, a woven stripe, seed heads, and one solid handmade paper panel create contrast while staying within a natural palette.
Break the Rectangle With Round Frames
Add two or three small round frames to an otherwise rectangular group. Curves soften a strict bedroom and help bridge gaps that are too narrow for another standard frame. Keep the round pieces light and use acrylic rather than convex glass.
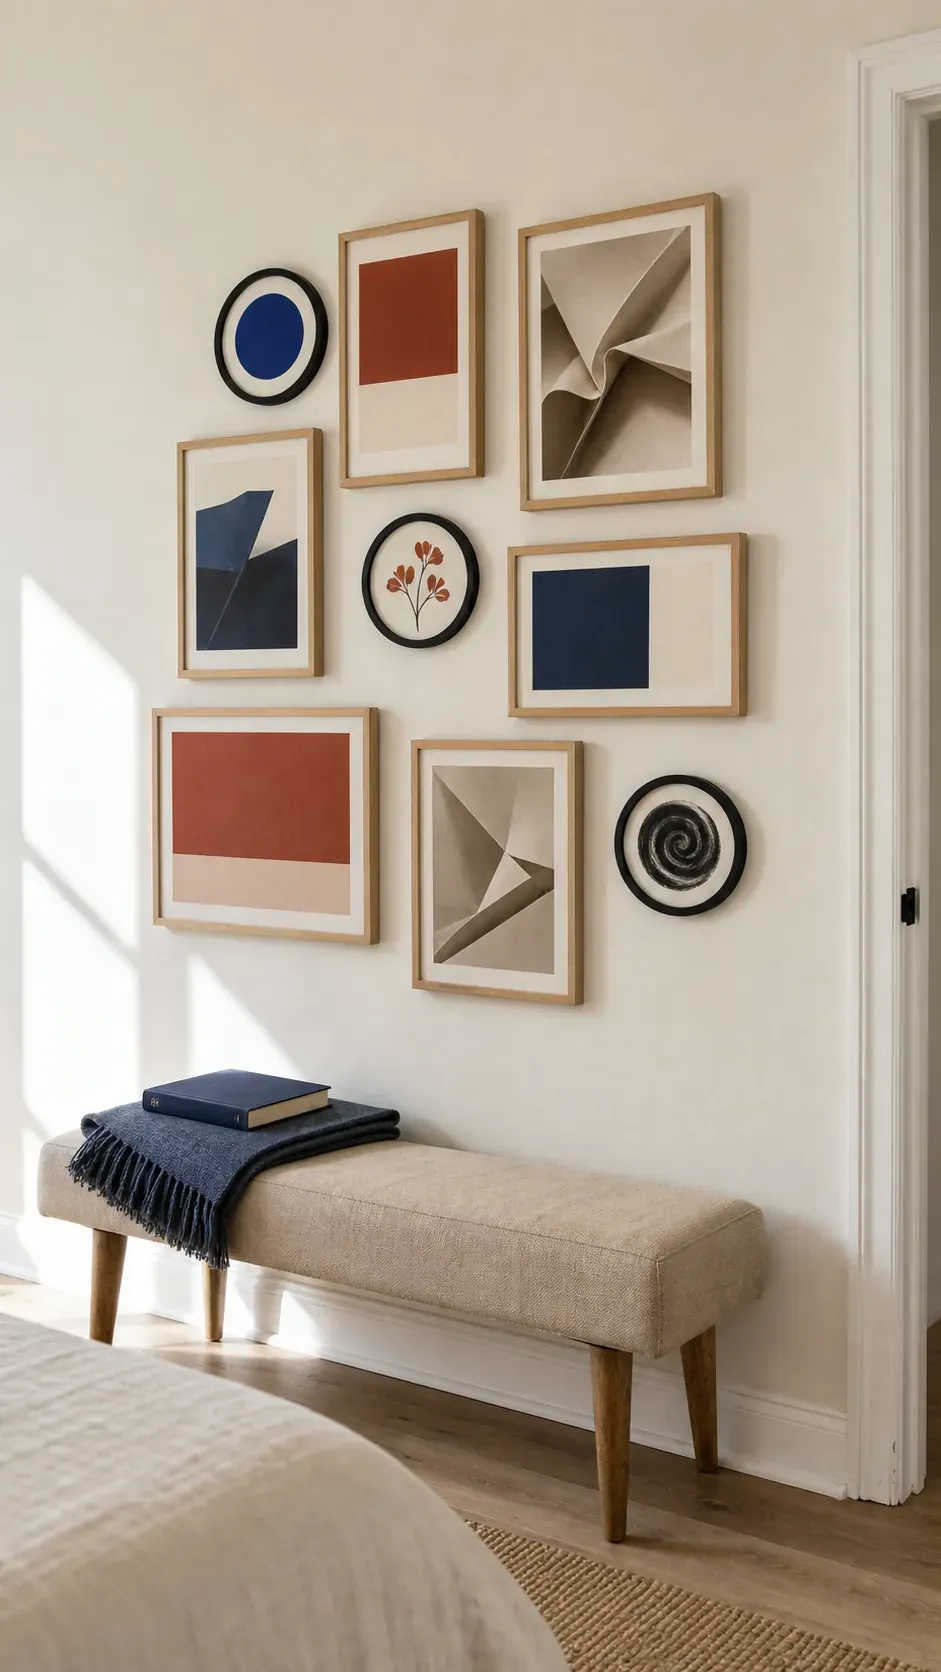
Repeat a color from the round-frame art elsewhere in the group. That echo makes the unusual shapes feel integrated rather than added to fill holes.
Anchor Mini Frames Around One Foam-Core Print
Mount a large poster to archival foam core and place it in an ultra-light poster frame, then arrange smaller pieces around it. The oversized center gives the wall presence without the weight of a large glass-front frame.
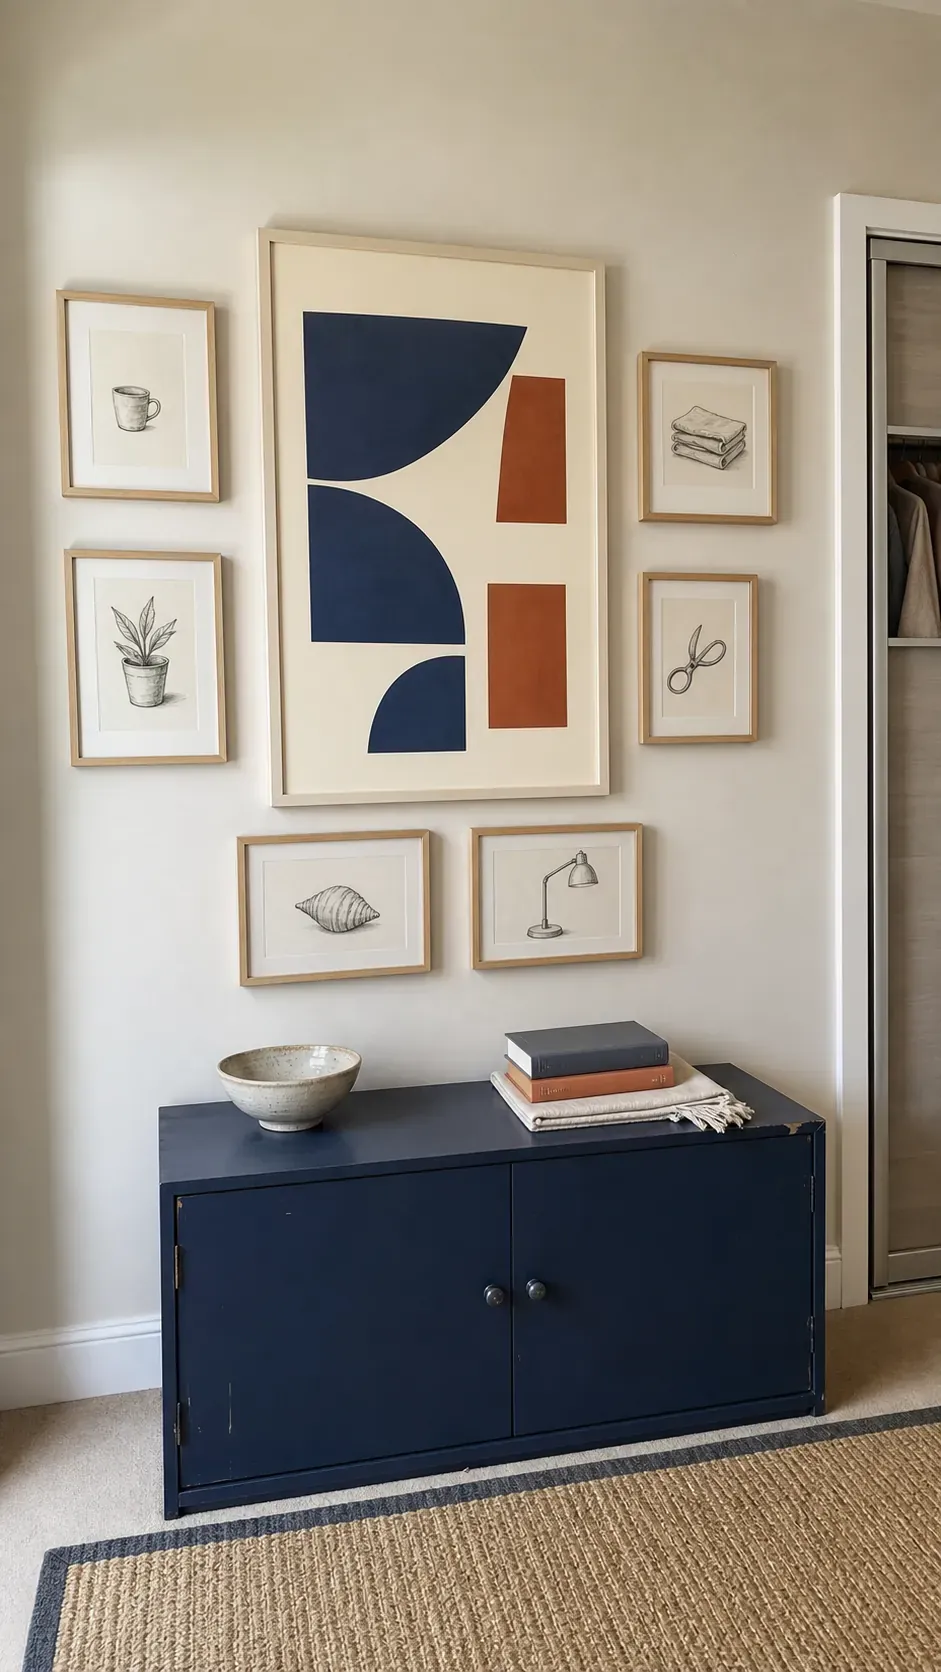
Check that the frame backing and mounting hardware are compatible; “foam core” does not guarantee the complete piece is light. Keep the surrounding frames visually simpler so the center retains authority.
Organize the Wall by One Color Story
Combine family photos, abstract prints, typography-free ephemera, and drawings by repeating three colors across the collection. Cobalt, rust, and cream can connect different subjects and frame finishes without requiring a matching set.
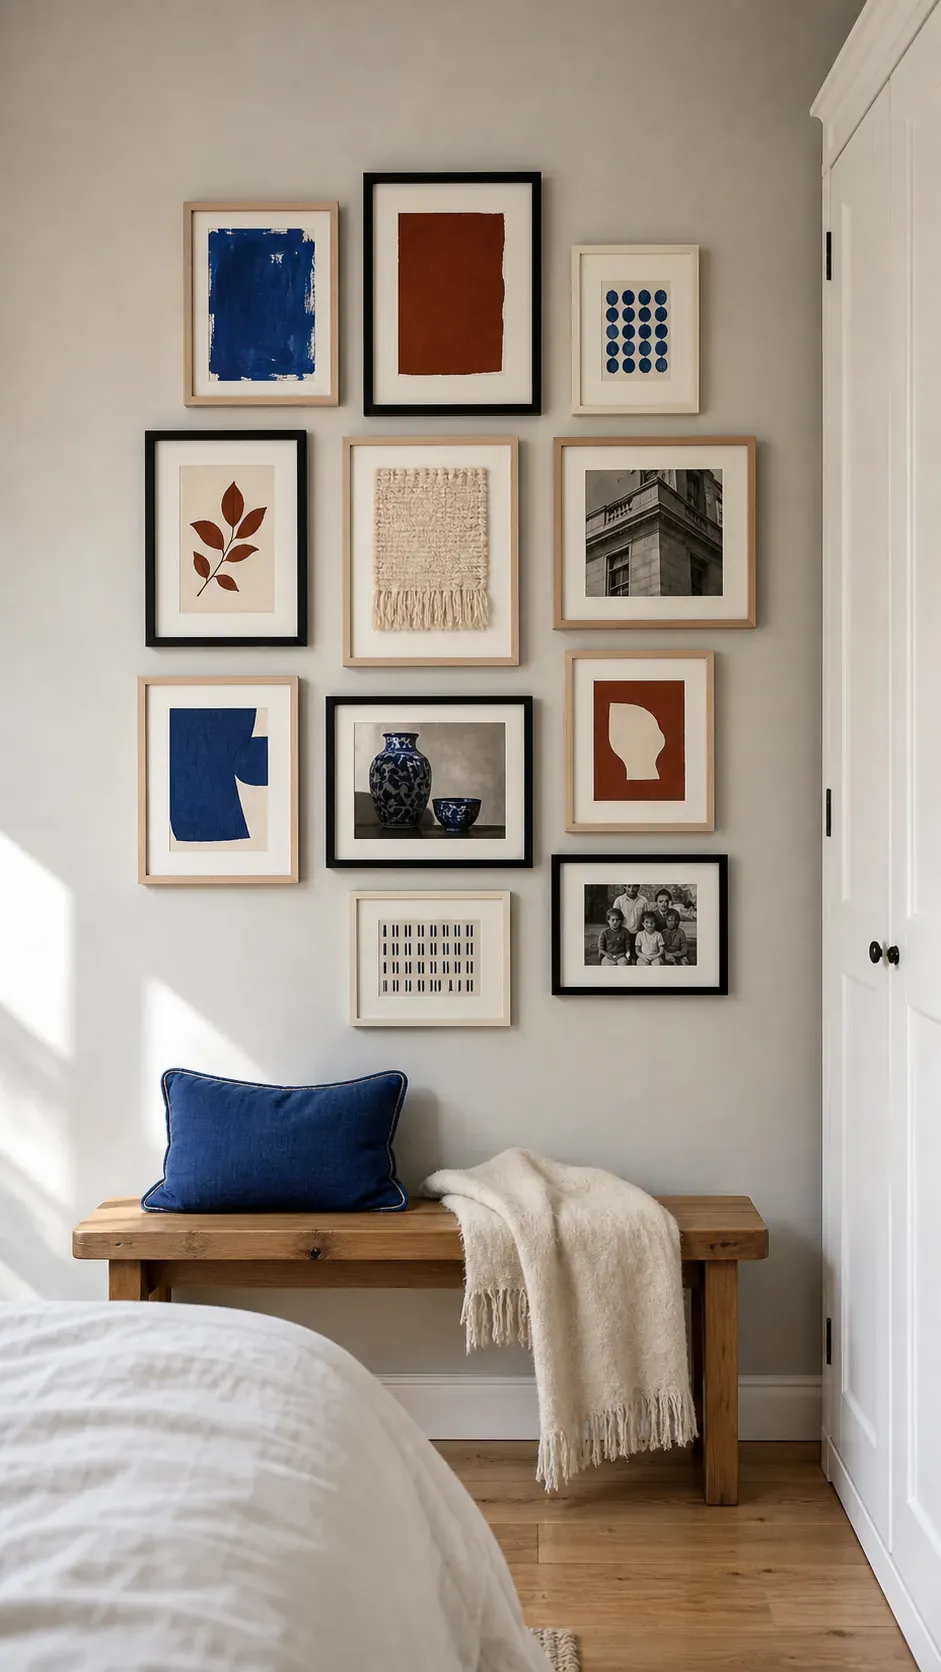
Lay every piece on the floor and remove anything that introduces a fourth dominant hue. Editing the palette makes an eclectic arrangement feel intentional without buying new art.
Tell a Timeline Down the Hall
A narrow rental hallway suits a horizontal sequence of small frames: family milestones, travel details, or one photograph from each year. Keep frame depth shallow so shoulders and bags do not catch them in the passage.
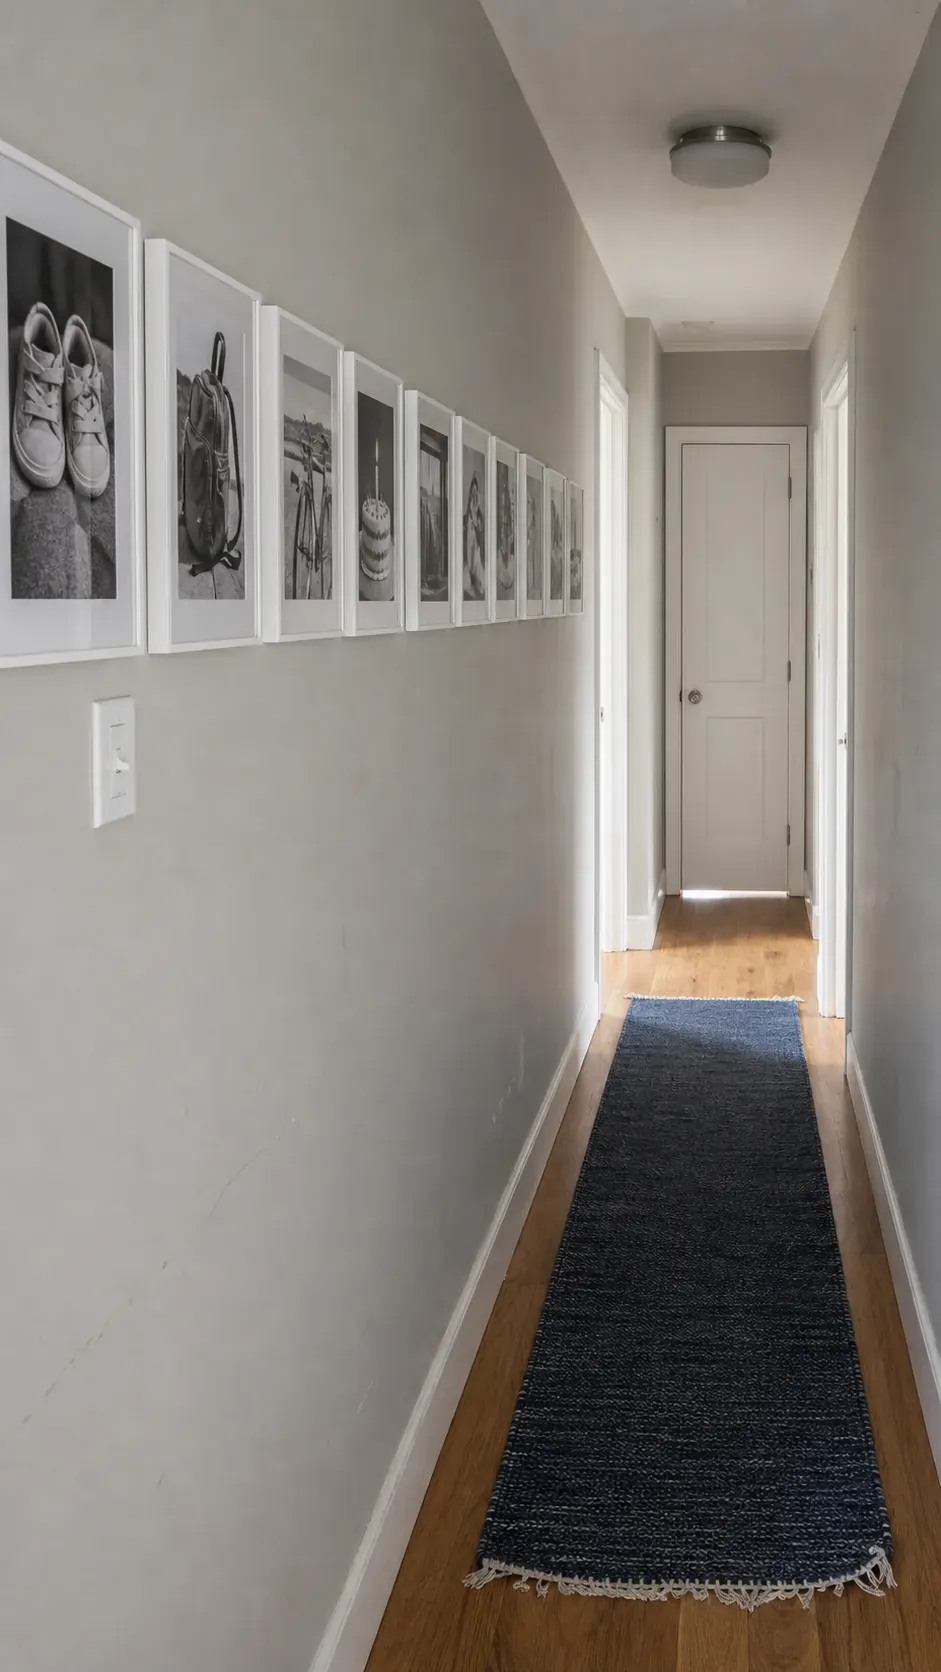
Use one eye-level baseline rather than centering each frame on the wall height. Leave door casings, switches, and the narrowest walking zone completely clear.
Hang Light Frames From an Existing Picture Rail
If the rental already has a secure picture rail, use its intended hooks and adjustable cords to suspend light frames without adhesive on the painted wall. Different cord lengths allow a gallery to evolve while the rail remains the only load-bearing point.
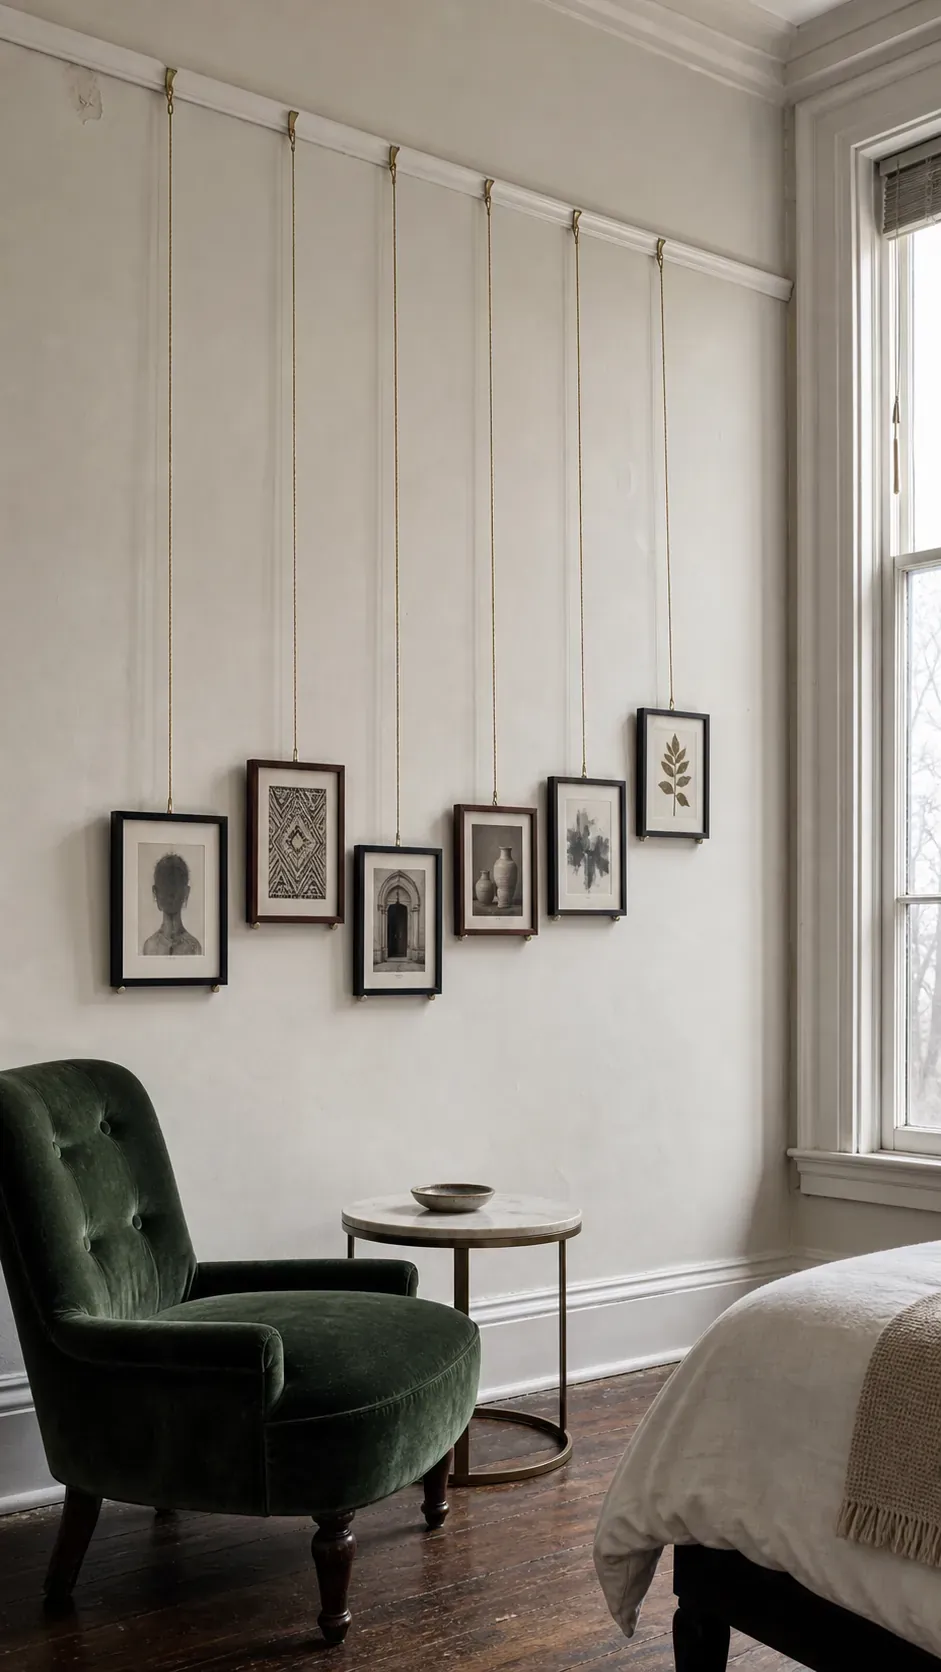
Confirm the rail is structural and permitted for use; decorative trim is not automatically a hanging system. Add soft frame bumpers to reduce wall scuffs where the lower corners rest.
Mount the Gallery on a Freestanding Screen
When the paint is fragile, textured, or off-limits, attach lightweight frames to a stable freestanding mesh or wood screen instead. The screen can stand behind a desk, beside a bed, or across an unused corner, delivering the height and density of an apartment gallery wall without relying on the apartment wall.
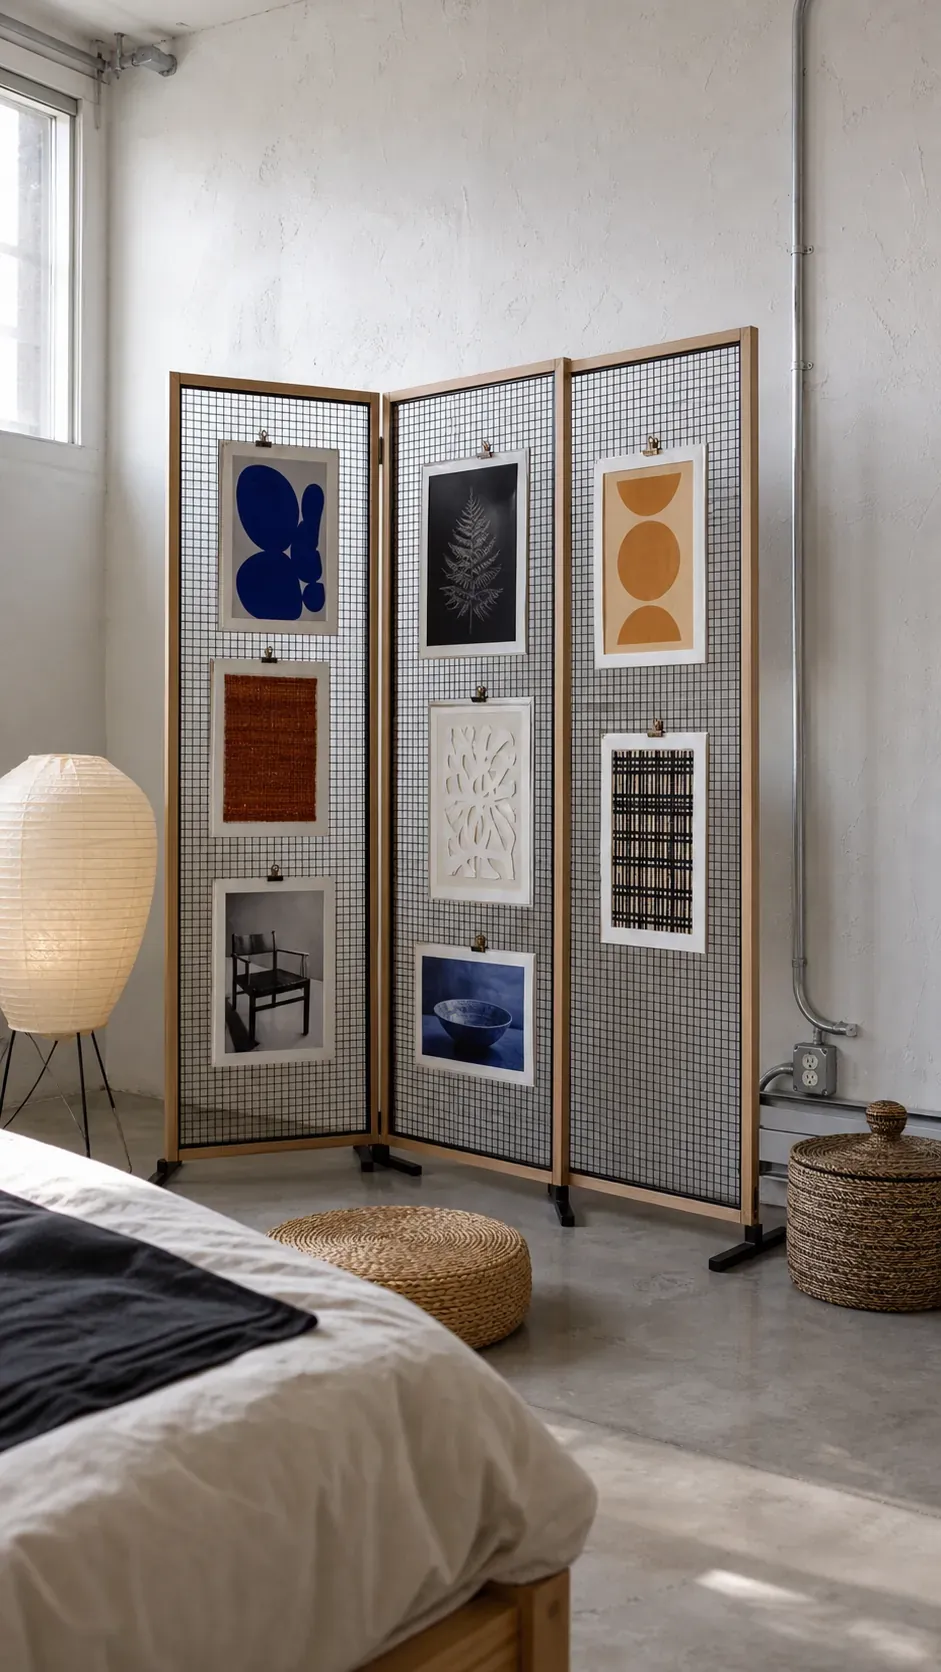
The base must resist tipping, the frame fasteners must suit the screen, and the whole structure should remain clear of heaters, outlets, doors, and escape routes. In homes with children or pets, use an appropriate anti-tip strategy.
A renter-friendly display is not defined by a “damage-free” label. It is defined by the combination of wall condition, verified frame weight, correct mounting system, careful removal, and a layout that does not create collision hazards. When any part of that combination is uncertain, lean the collection, use an existing rail, or move it onto a freestanding screen. The art still tells the story; the wall does not have to carry it.