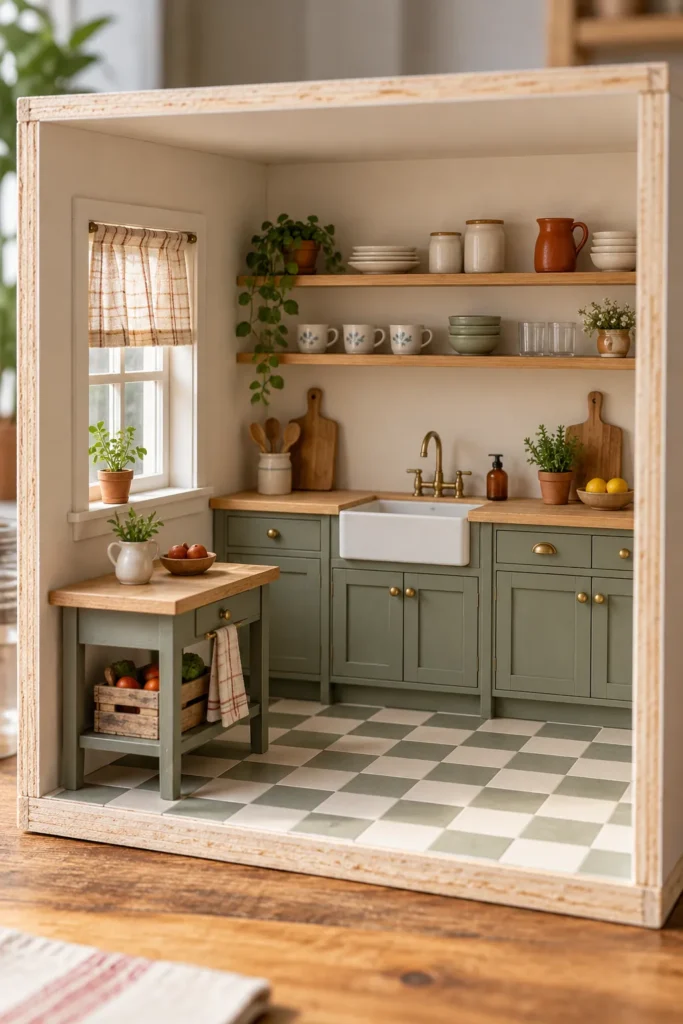
A tiny kitchen can feel unfinished even when every major appliance is in place. The problem is often scale, uneven finishes, or too many details competing for a small patch of counter. Choose one structural change first, then add a few objects that make the room feel useful.
Measure your existing furniture before making new pieces; at 1:12 scale, a 90 cm counter becomes 75 mm high. These projects are intended for decorative miniatures with small parts, and an adult should handle sharp cutting tools. Keep loose beads, wire pieces, and miniature food out of reach of young children.
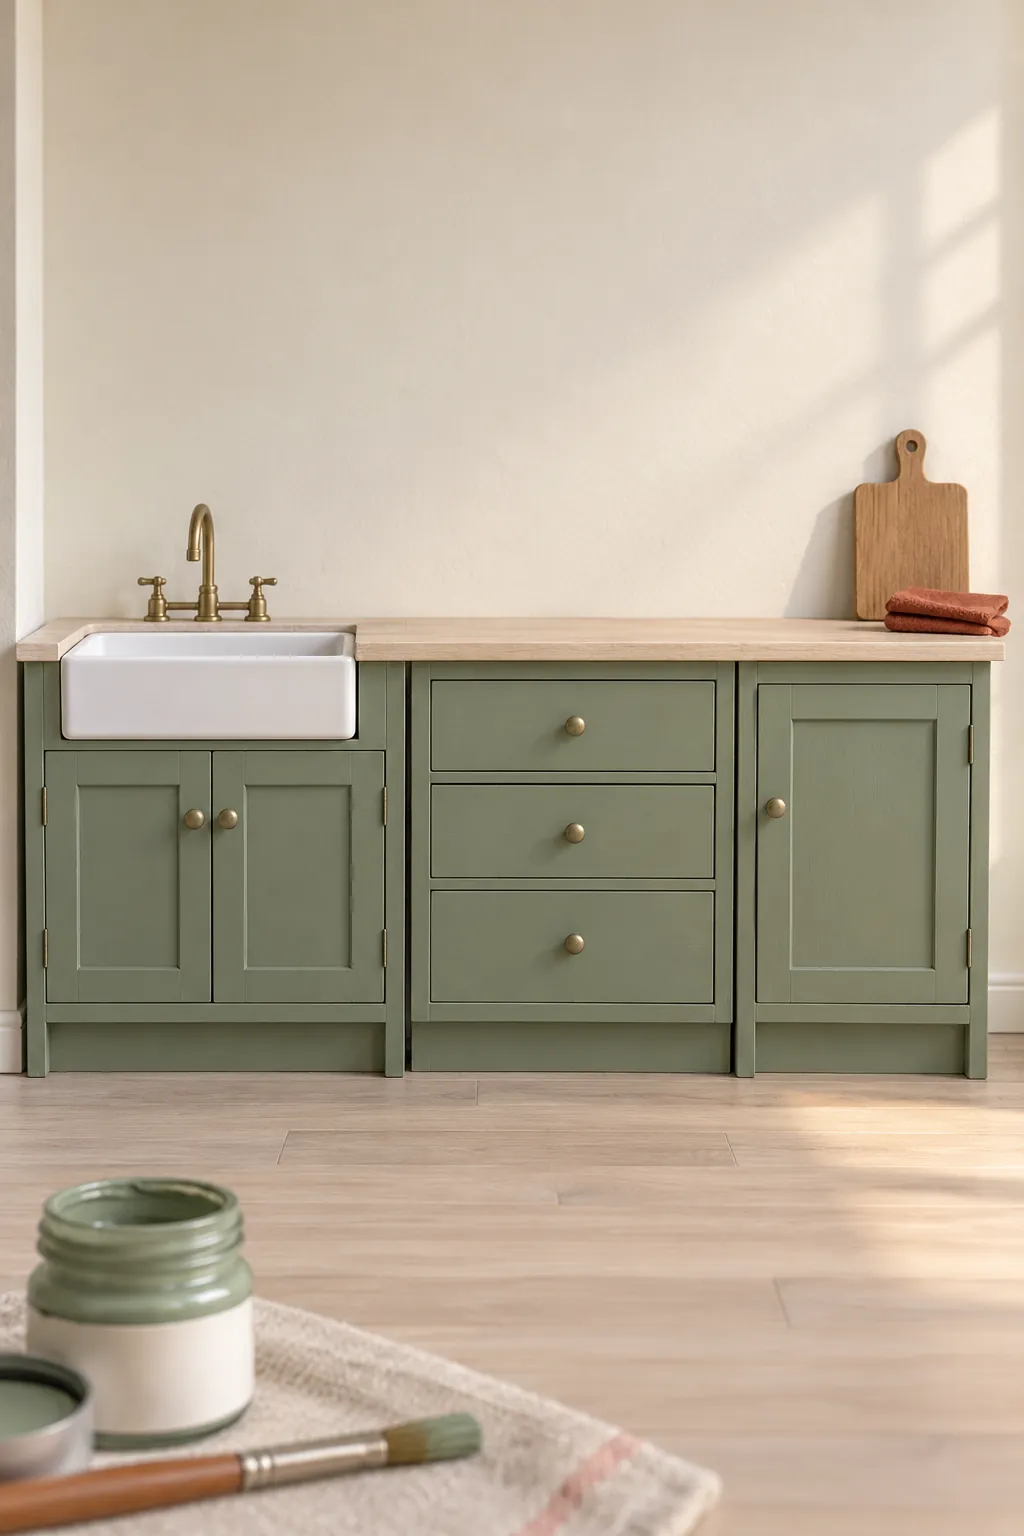
Unify mismatched cabinets with one paint color
Different cabinet shapes can still look intentional when their color and finish agree. Clean the surfaces, test paint adhesion on a hidden spot, and use thin coats suited to the underlying material. A muted green or warm cream gives existing miniature kitchen cabinets a shared identity while leaving their small details visible.
Remove doors if their fittings allow it, and keep paint away from hinge gaps. Check that drawers still move before adding another coat. This is a useful first change when the layout already works and the main problem is a mixture of finishes.
Add slim shaker frames to plain doors
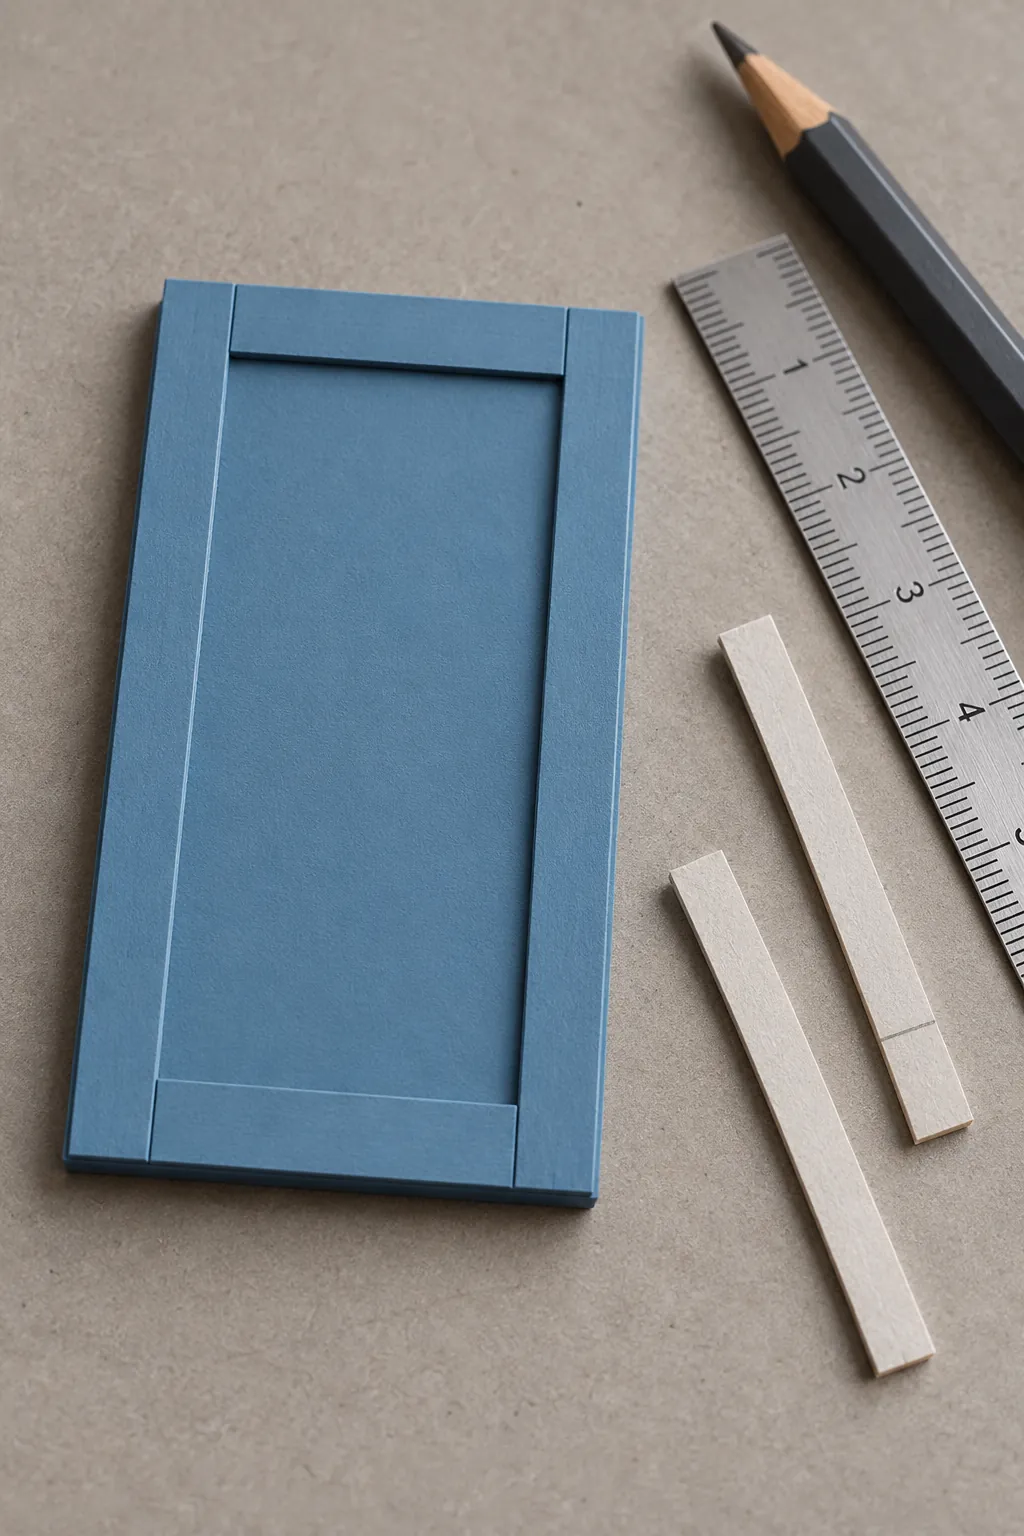
Turn a flat cabinet door into a shaker style front with narrow strips of thin card or basswood. Fit the vertical strips first, then cut the horizontal pieces to sit between them. Keep every frame the same width and avoid building up so much thickness that neighboring doors collide. Paint the door and added strips together after the glue has dried.
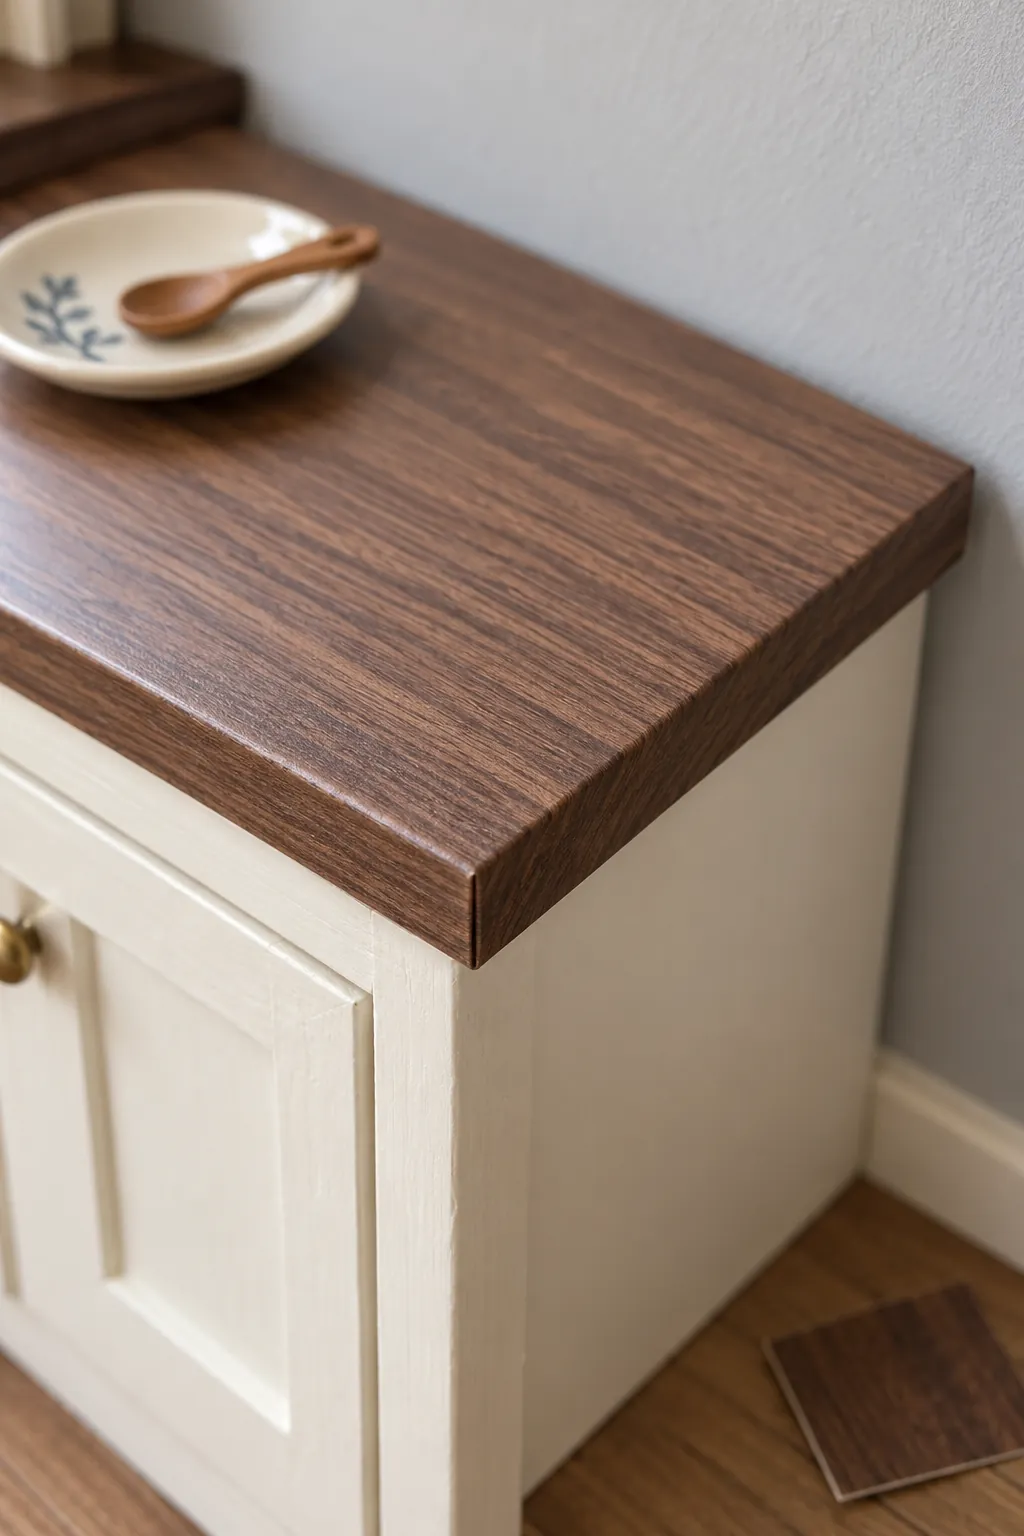
Wrap a countertop in fine wood pattern paper
A small wood pattern can warm up a plain kitchen without replacing the cabinets. Test the paper beside a miniature plate, because a grain that looks subtle on a full sheet can overwhelm a tiny counter. Wrap the front edge neatly, place the seam underneath, and use only a thin adhesive layer to reduce bubbles.
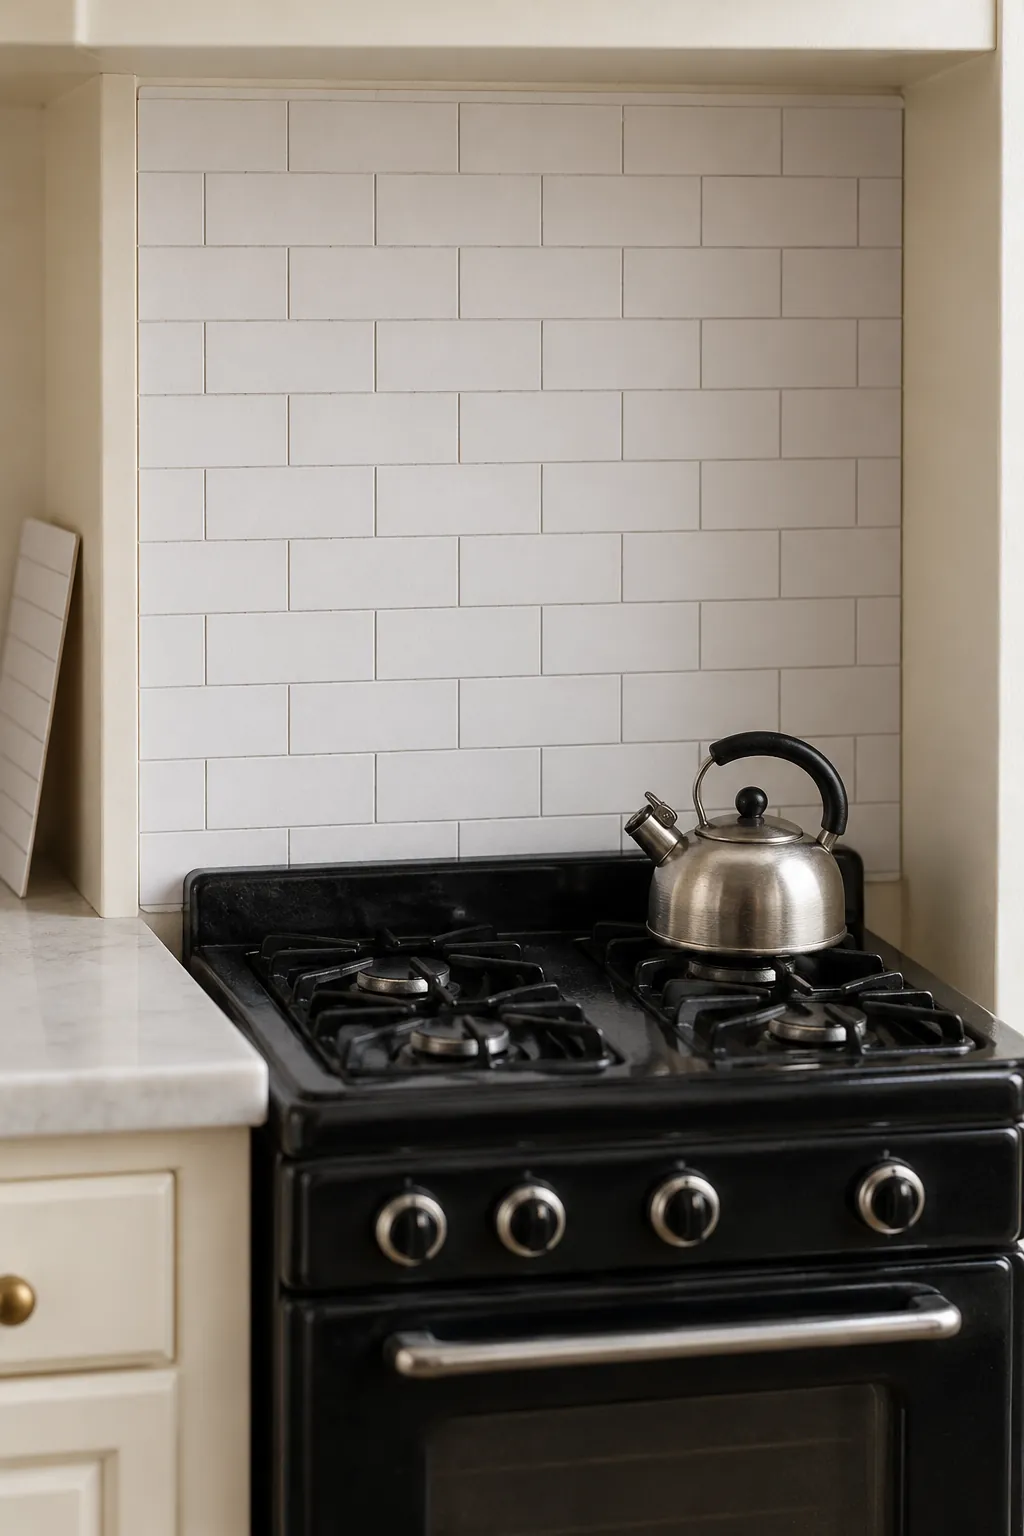
Score a simple subway tile backsplash
Use a separate sheet of thin card for a tile effect backsplash so you can replace it later. Mark horizontal lines, offset the vertical joints in alternate rows, and score lightly rather than cutting through the sheet. Paint the surface white and keep the joint color soft enough that the grid does not dominate the room. Check the sheet behind the counter before gluing it, especially around sockets or existing shelves.
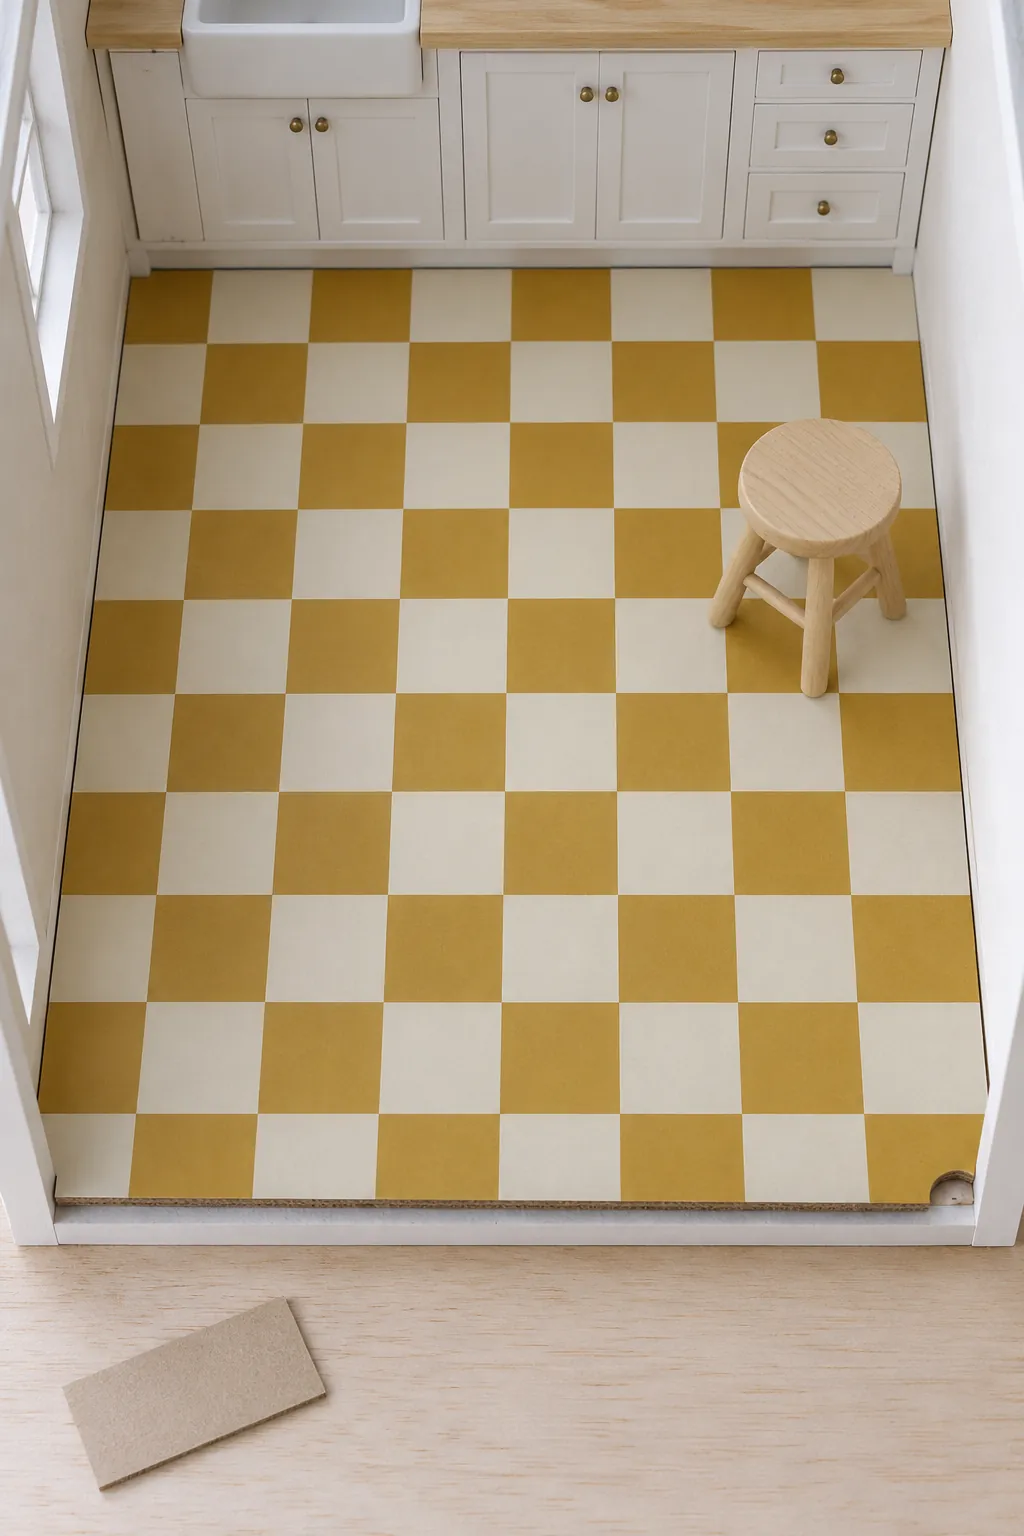
Lay a paper checkerboard floor
A checkerboard floor gives a quiet kitchen a clear visual rhythm. Choose two colors with modest contrast and cut or print squares sized for the room, then mount them on a removable card floor insert. Align the pattern with the doorway or main cabinet run so a crooked edge does not become the strongest feature. Leave the insert loose until you have checked how doors swing over its added thickness. A matte finish helps the paper read as flooring.
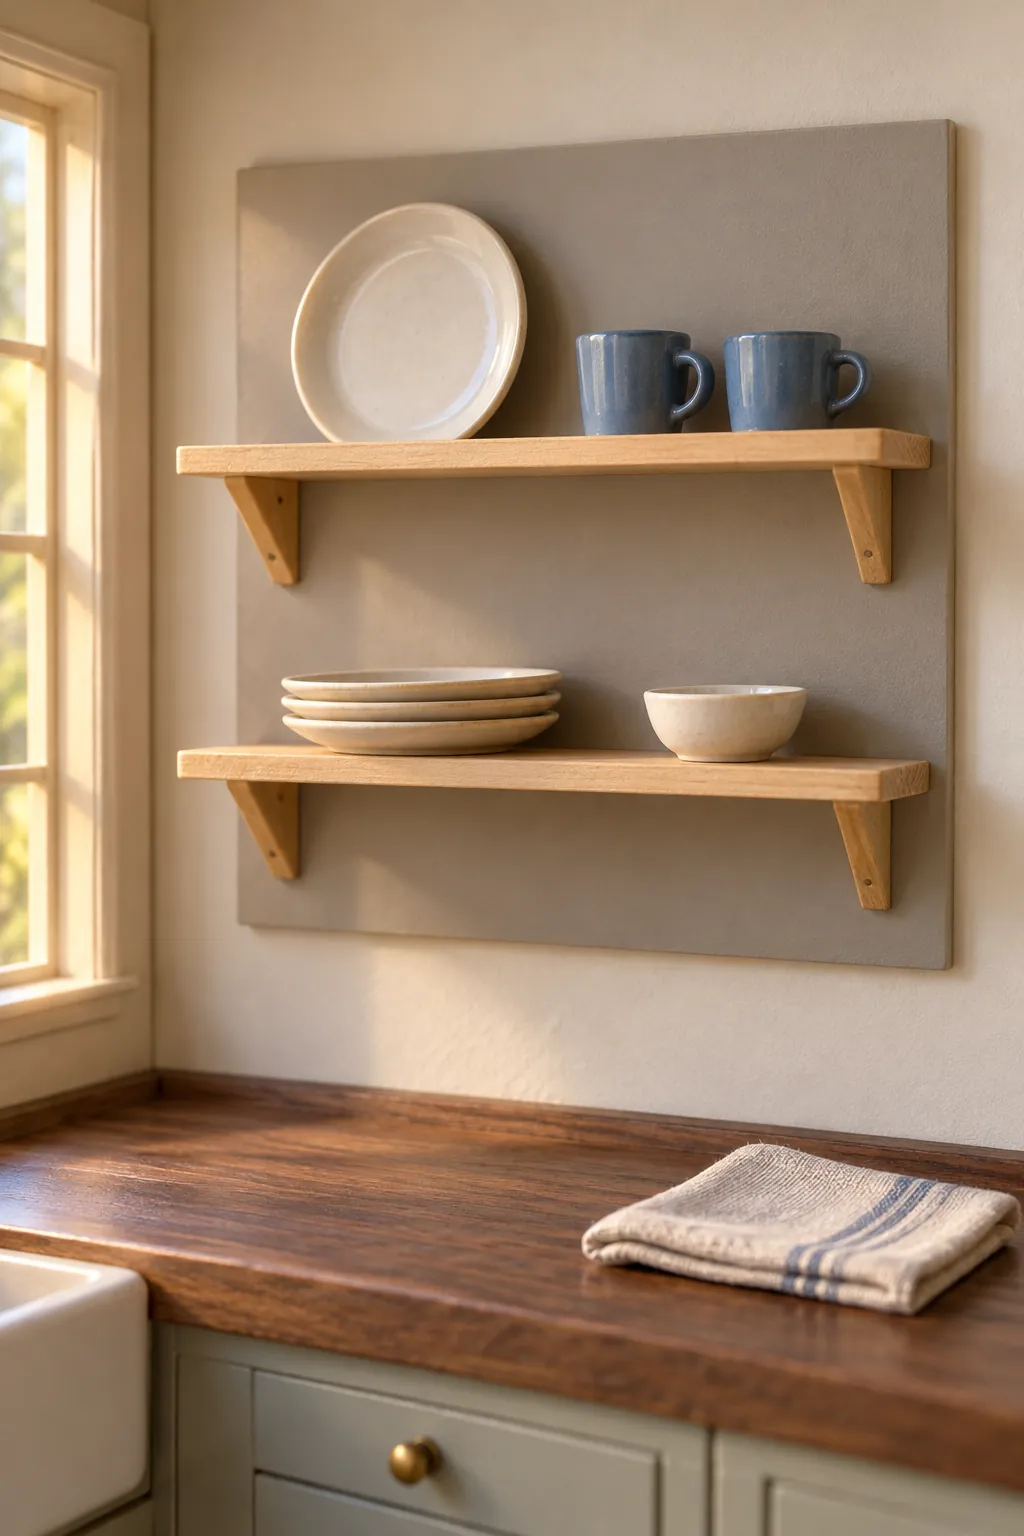
Replace one upper cabinet with open shelves
Open shelving is most convincing when it has a job, such as keeping plates close to the counter. Cut two slim shelves from basswood or sturdy card and attach them to a removable backing panel with small supports. Space them around the dishes you already own rather than copying a full size shelf gap. Keep part of each shelf empty so the display does not become a solid band of tiny objects.
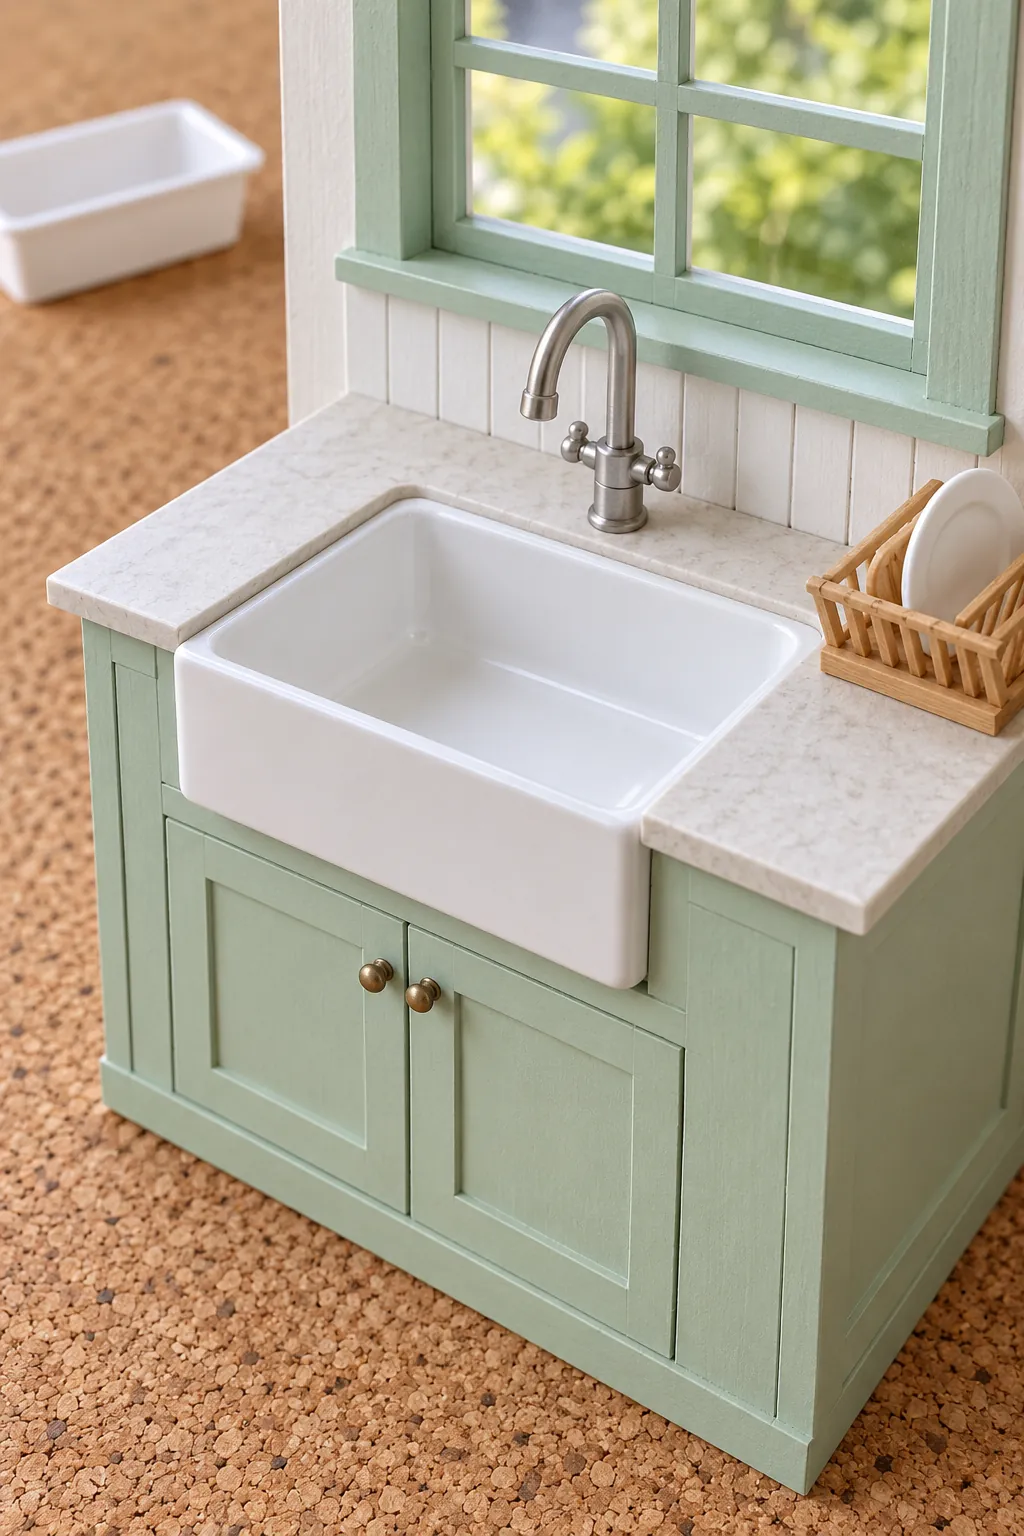
Make a farmhouse sink from a shallow container
A smooth shallow container can become the bowl of a display sink if its proportions suit the cabinetry. A small packaging insert is easier to use than a deep tub that consumes the whole base unit. Trim only materials you can cut safely, smooth sharp edges, and test a compatible coating before painting it white.
Build the cabinet opening around the actual bowl, leaving enough support beneath its rim. Add a plain front panel to suggest an apron sink if the container itself has an awkward edge. Treat the finished sink as a dry miniature prop, since painted packaging and cardboard joints are not reliable water containers.
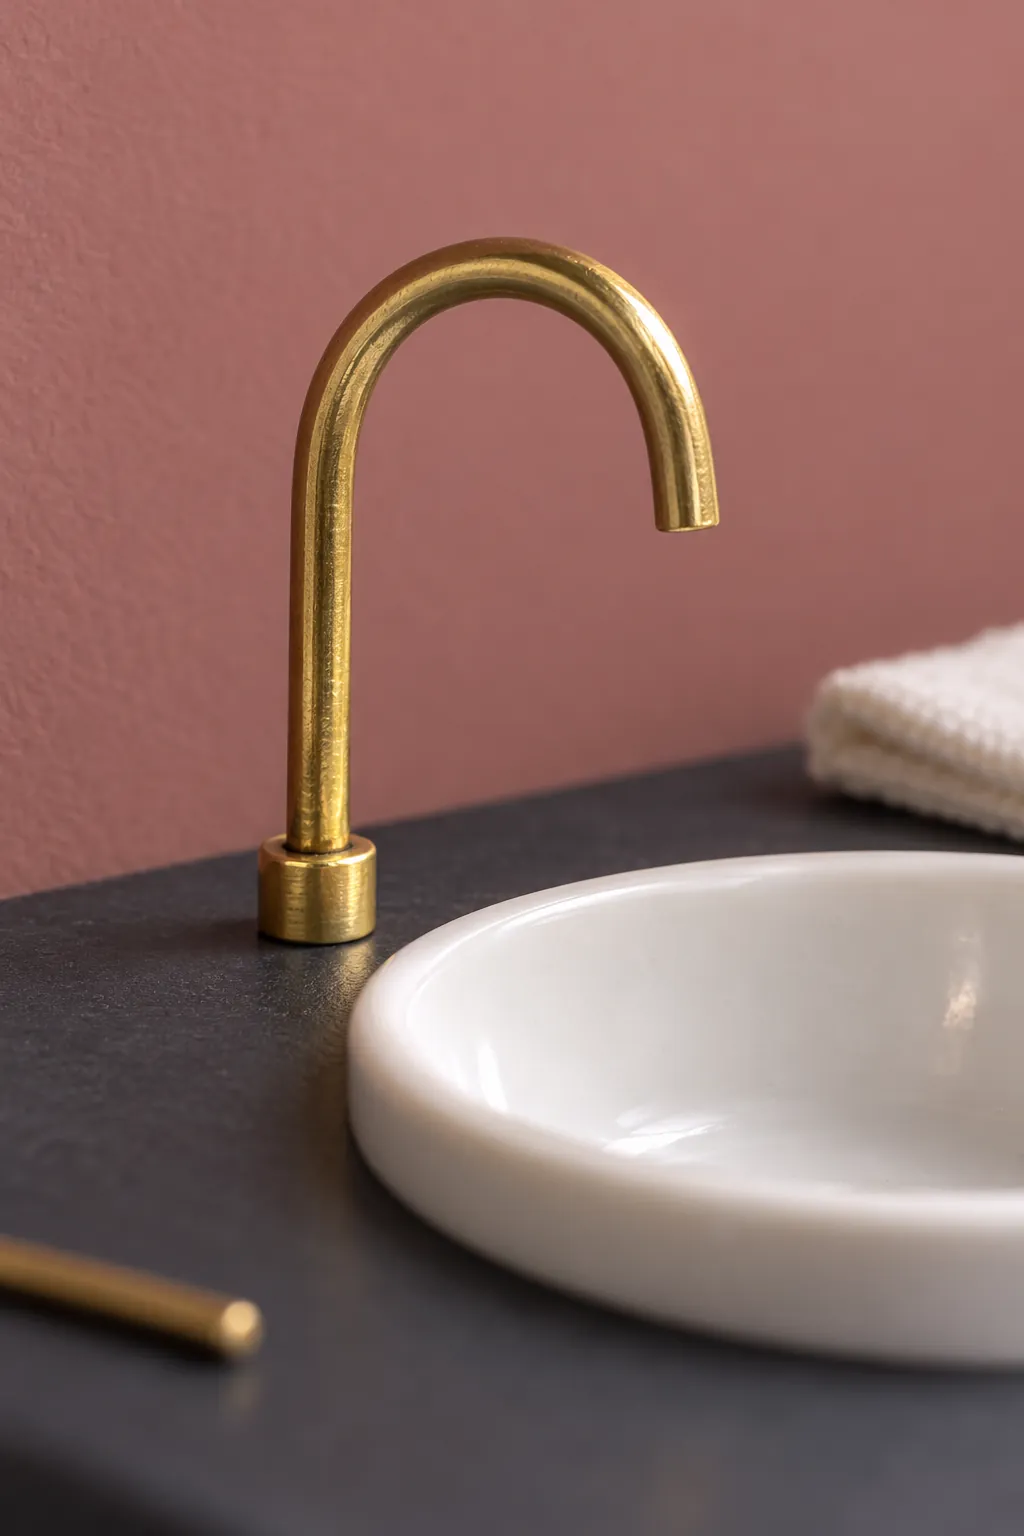
Bend a faucet from craft wire
A short piece of smooth craft wire can suggest a curved kitchen faucet without a purchased fitting. Bend it around a rounded tool so the curve stays even, then trim and smooth the ends before installation. Fix the base into a tiny drilled or pierced hole in a sturdy counter insert. A small bead at the base can hide the join, but keep the bead narrow enough to suit the sink.
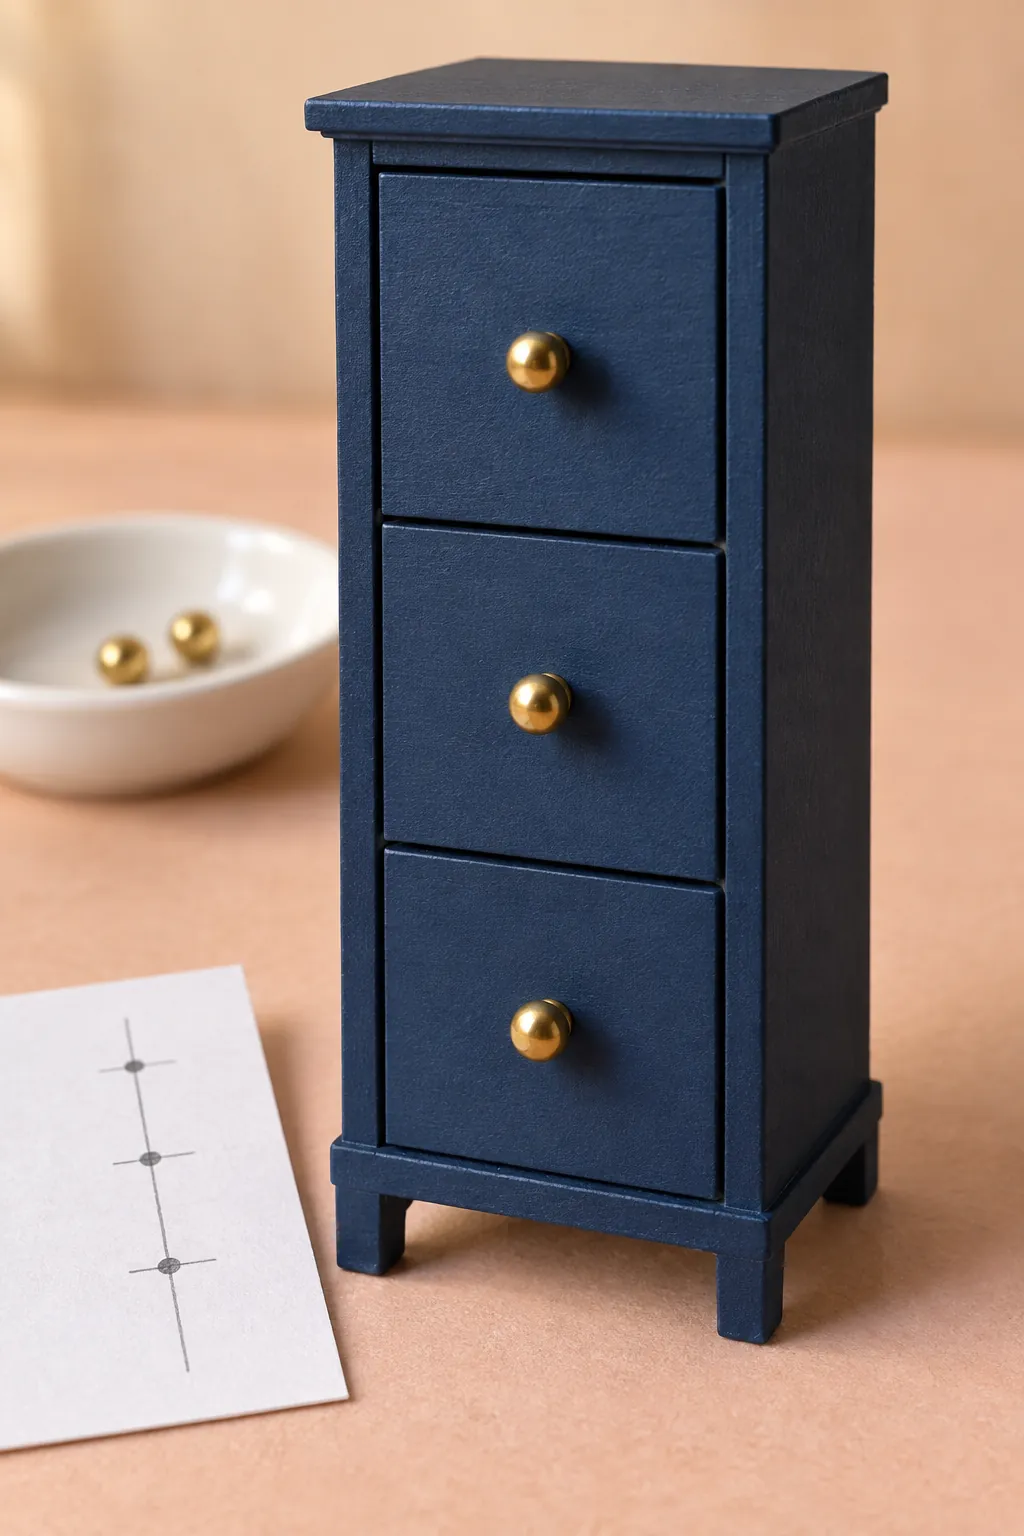
Use matching beads as cabinet knobs
Matching knobs can make several homemade cabinets look like a set. Choose small beads with a simple shape, then use a paper spacing guide to mark the same position on every door or drawer. Apply adhesive sparingly and check the alignment from the front before it sets. Oversized hardware is hard to ignore in a miniature kitchen, so compare one knob with the door before attaching the whole group. Keep loose beads away from young children.
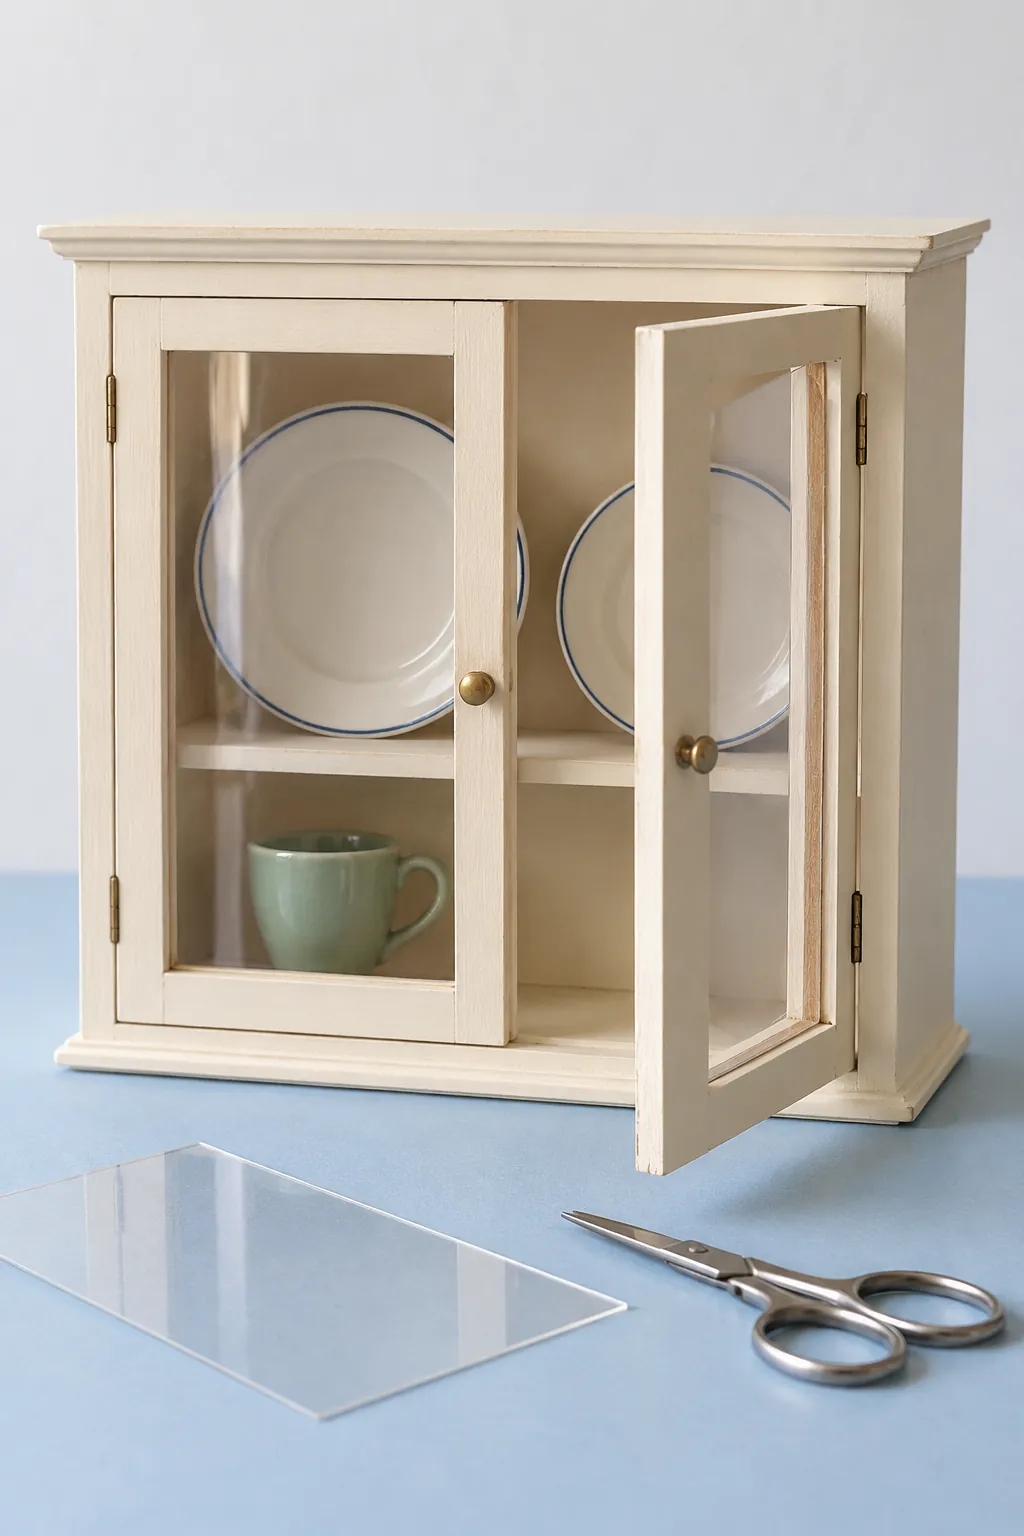
Add clear acetate to display doors
Clear packaging acetate can suggest glass in a small display cabinet. Cut a window opening in a separate door face, smooth its edges, and attach the clear sheet to the back with an adhesive suitable for the plastic. Test the glue first because some products leave cloudy marks. Thin card strips around the back can hide the cut edge without making the door bulky.
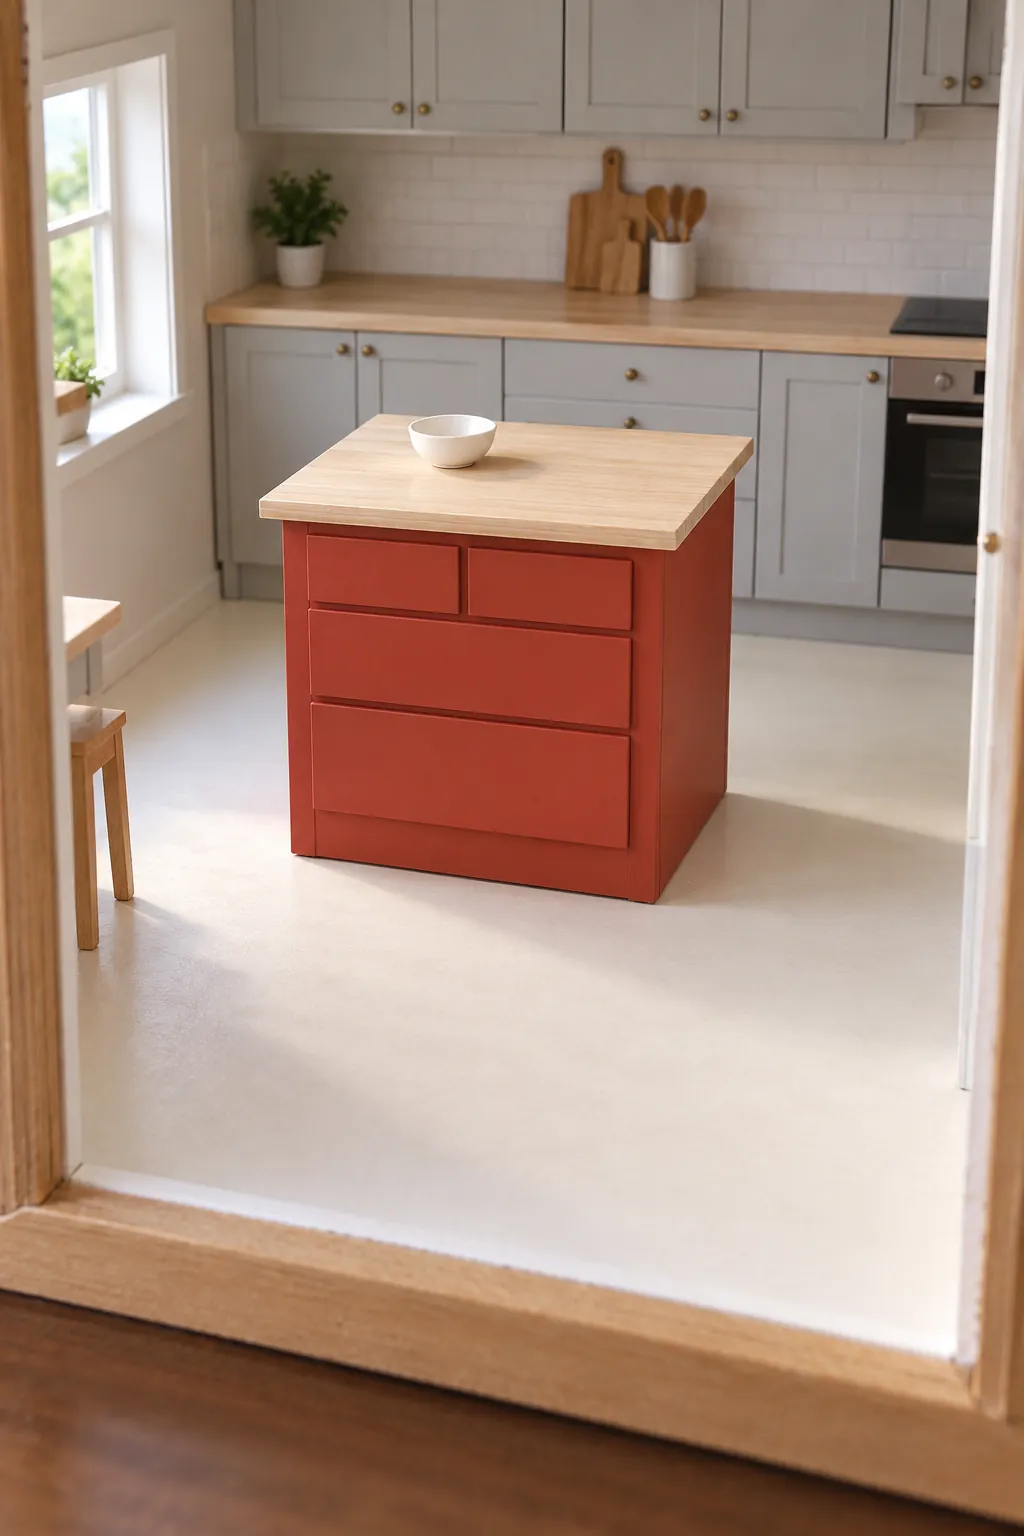
Build a movable island from a small box
A compact box makes a useful starting point for a kitchen island with a solid base. Cover it with paper or paint, add a slightly larger top, and suggest drawers with thin applied rectangles. Keep the island movable while you test cabinet access and the route through the room. If it blocks the opening when photographed or reached into, reduce its footprint instead of squeezing everything closer.
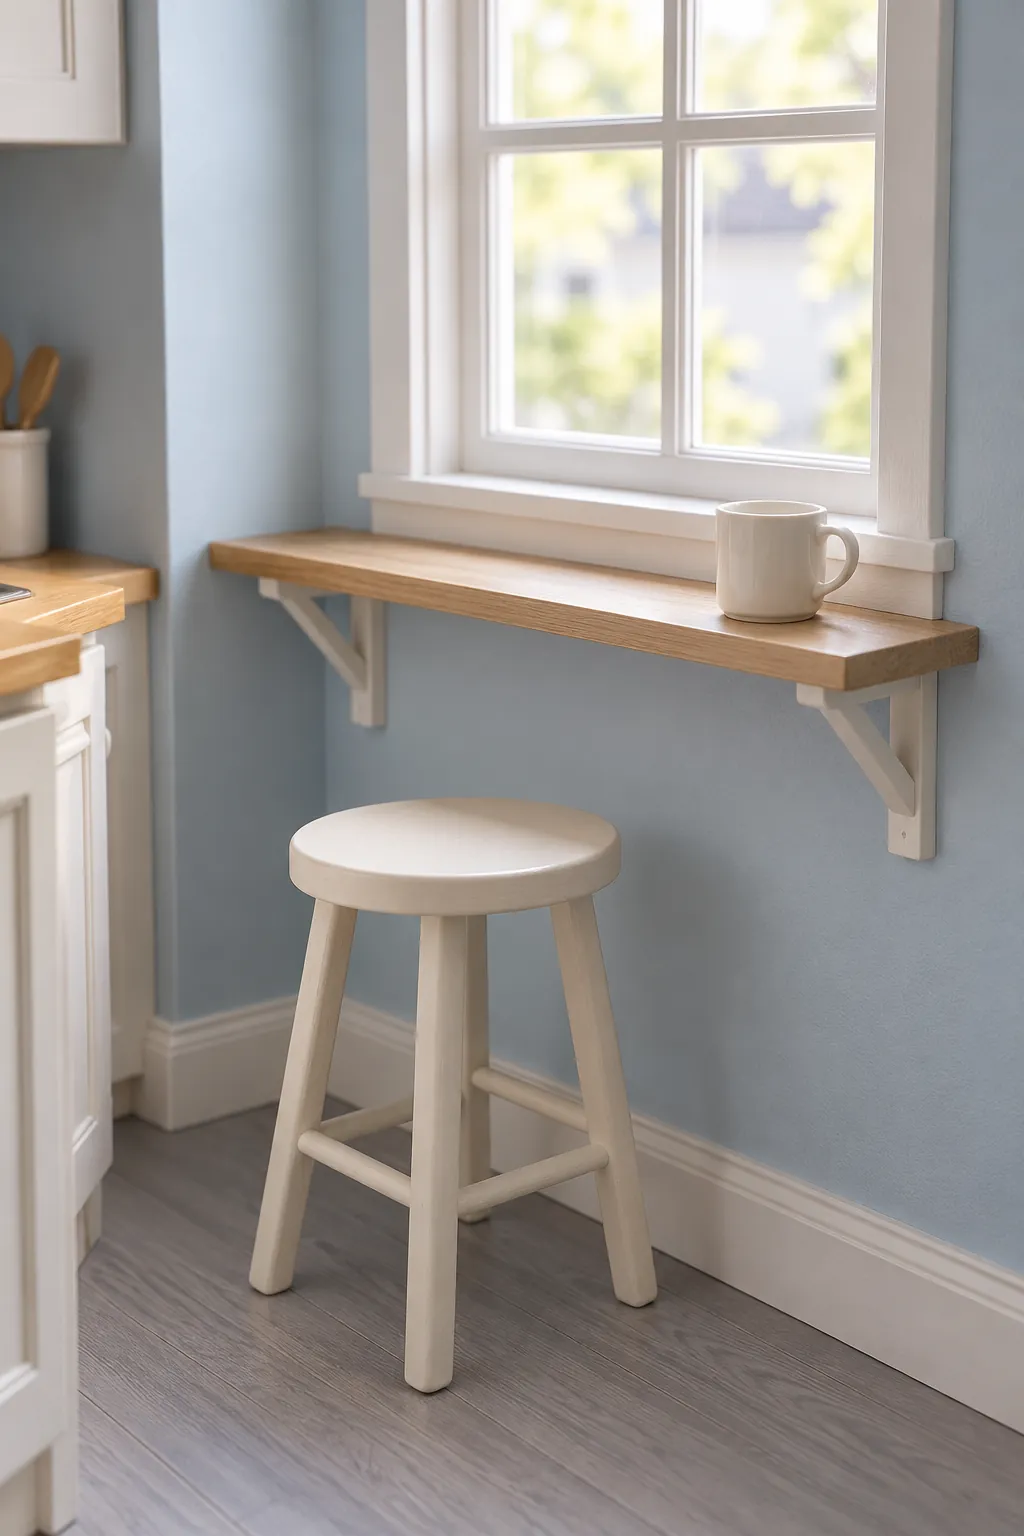
Fit a narrow breakfast ledge below a window
A ledge can give a shallow room a place for a cup without the footprint of a full table. Fit a strip of wood or firm card under a window and add two small brackets beneath it. Check the ledge against the chosen stool height, leaving a believable gap above the seat. Use one place setting so the narrow surface still looks practical.
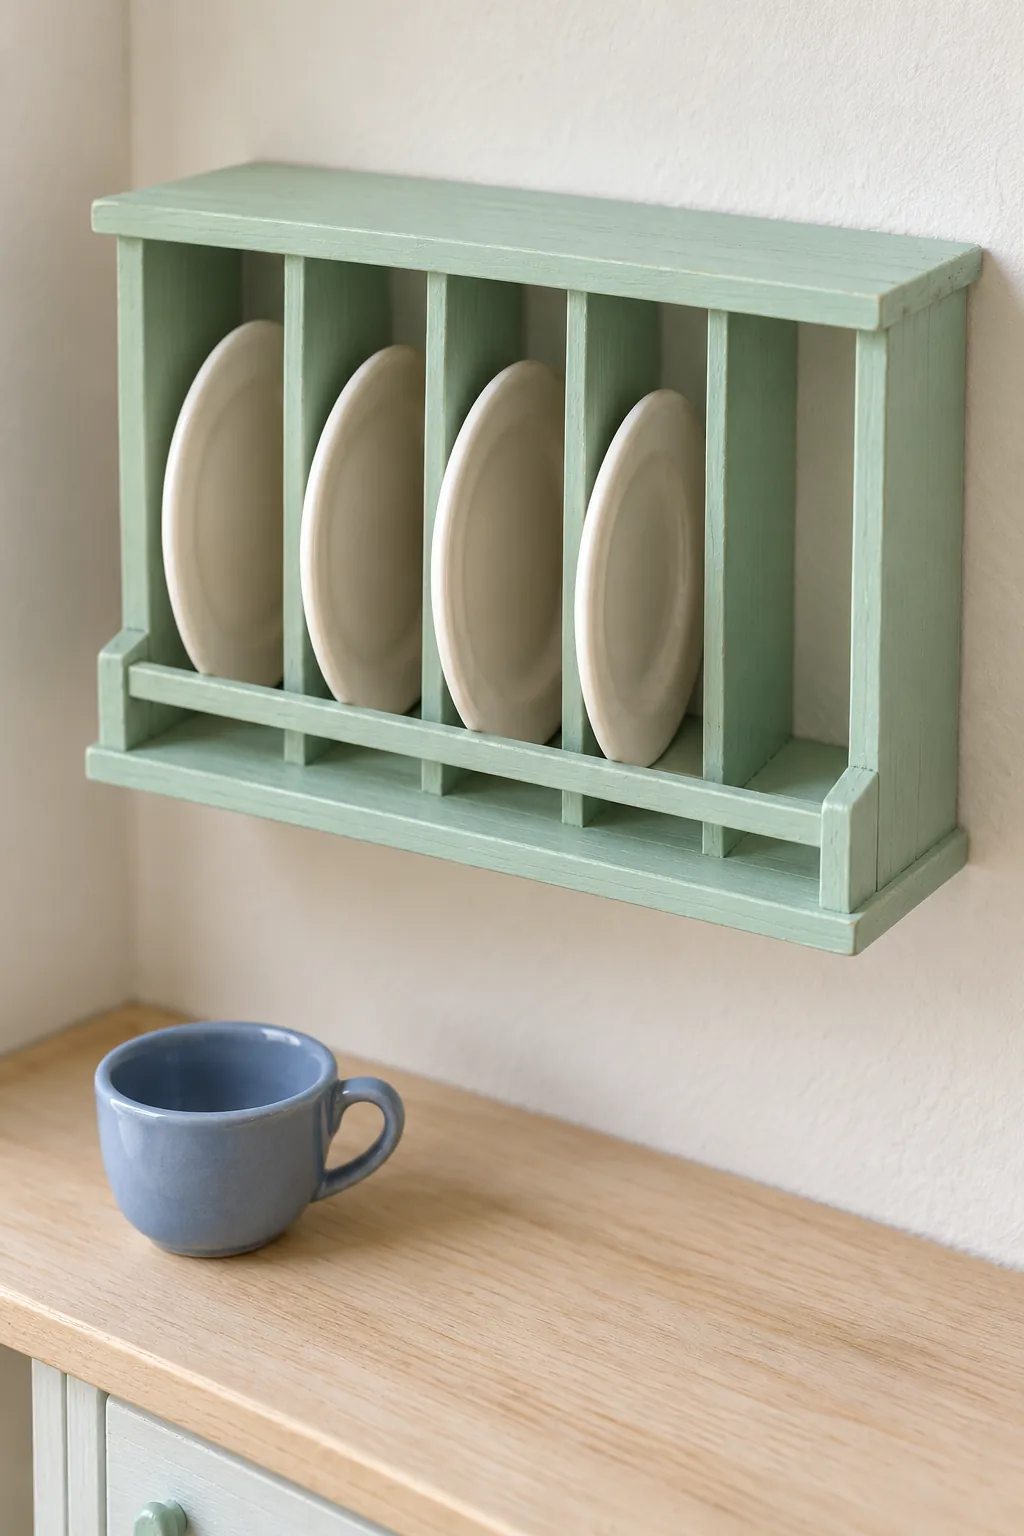
Create a plate rack from spaced strips
An upright plate rack adds useful detail to an otherwise flat wall. Build a shallow shelf with a front rail, then add evenly spaced slim dividers sized around your miniature plates. Dry fit the dishes before gluing the dividers, since a small gap error can make every slot unusable. Paint the rack separately and install it only when the plates can slide into place.
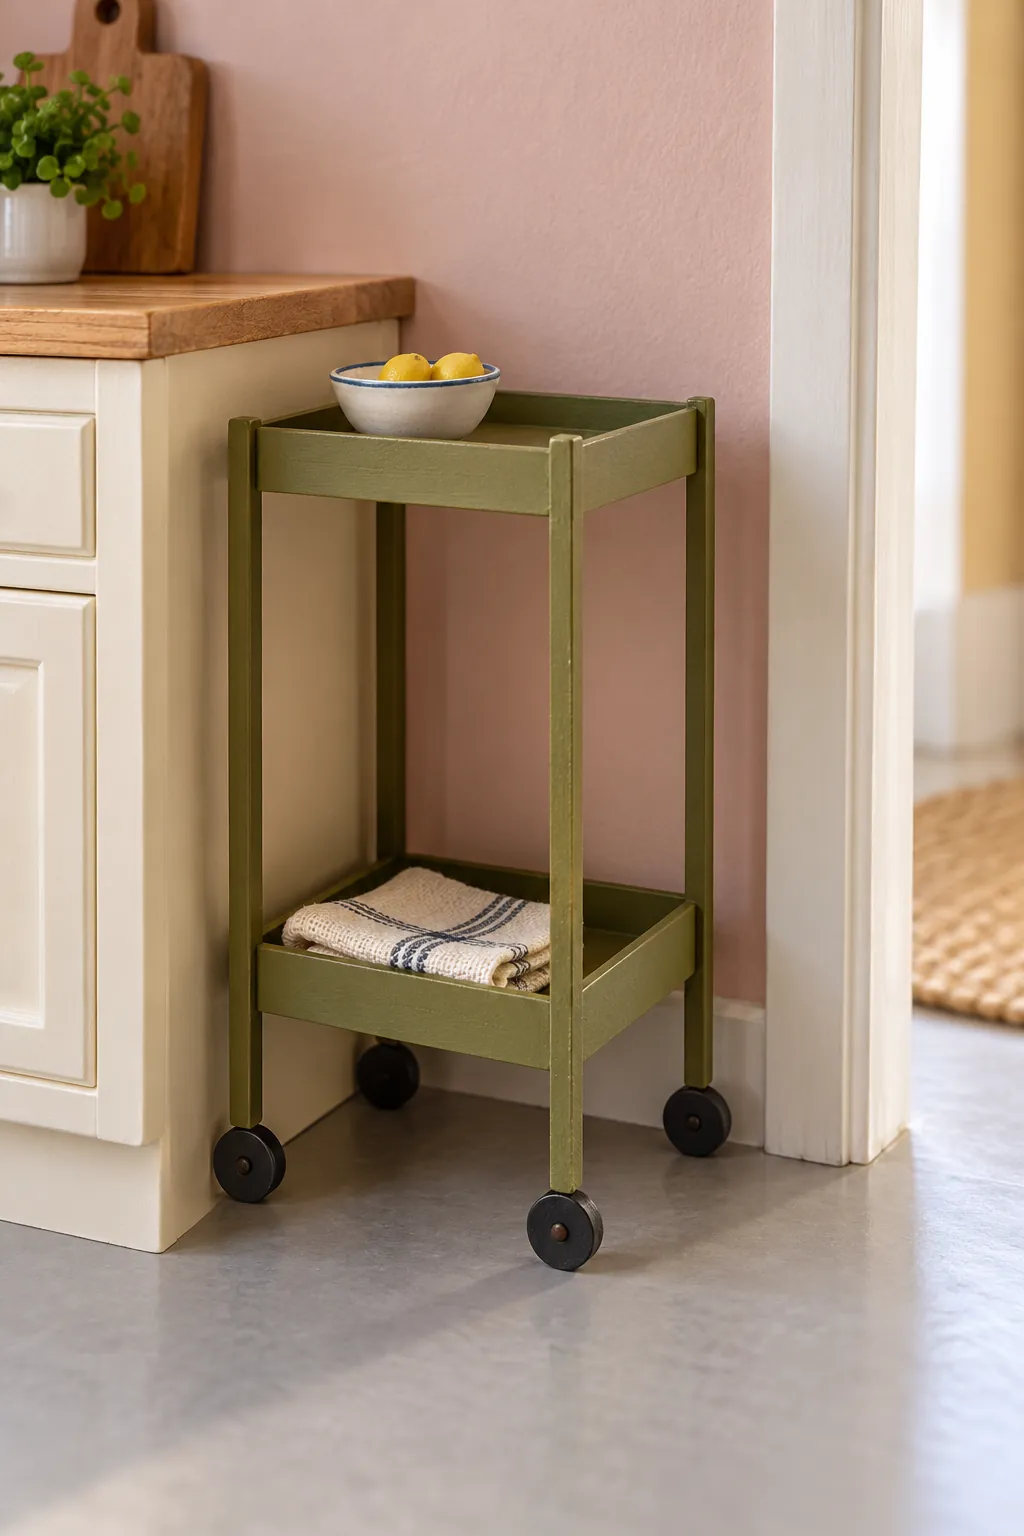
Make a small cart for the unused corner
A narrow cart can fill a corner without extending the main cabinet run. Build two shallow trays from card or thin wood and join them with four straight posts, keeping both trays level. Small bead or disc wheels can be decorative rather than working, which simplifies the build. Leave one shelf partly empty and check that the cart does not crowd a doorway.
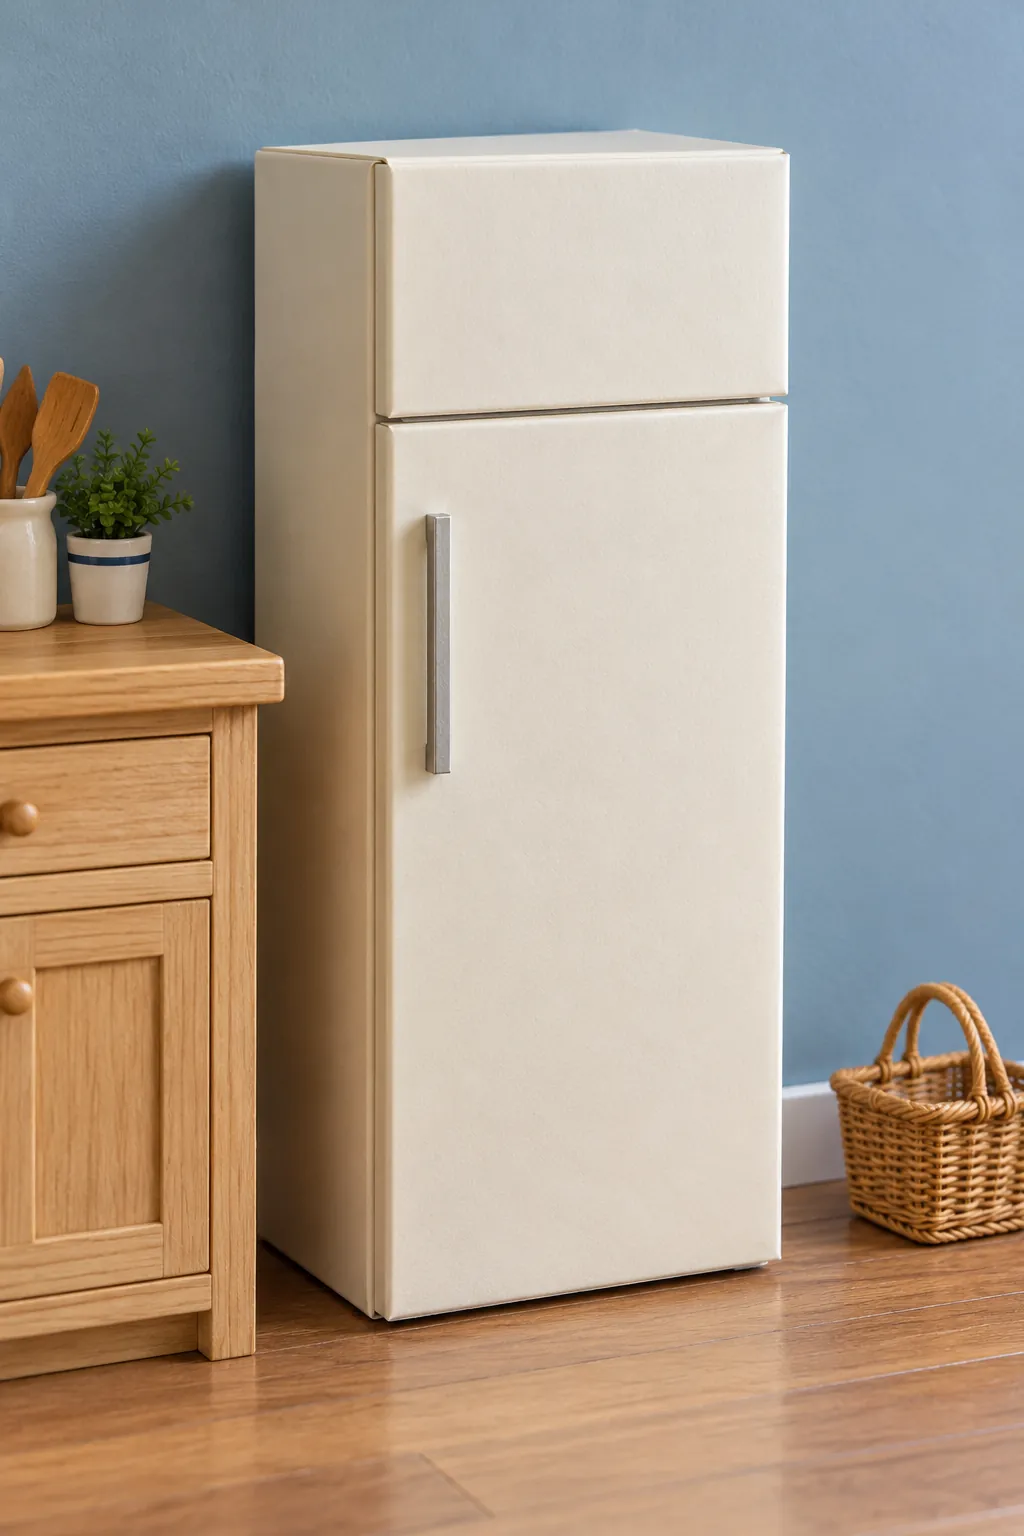
Cover a plain box to suggest a refrigerator
A tidy rectangular box can stand in for a refrigerator when a purchased appliance is the wrong size. Wrap it smoothly, add a separate door panel, and use a fine strip for the handle. A narrow horizontal seam can suggest a freezer compartment without requiring a working door. Keep the top level with nearby cabinets only if that proportion suits your chosen room. Avoid bulky trim that makes the appliance resemble a storage chest.
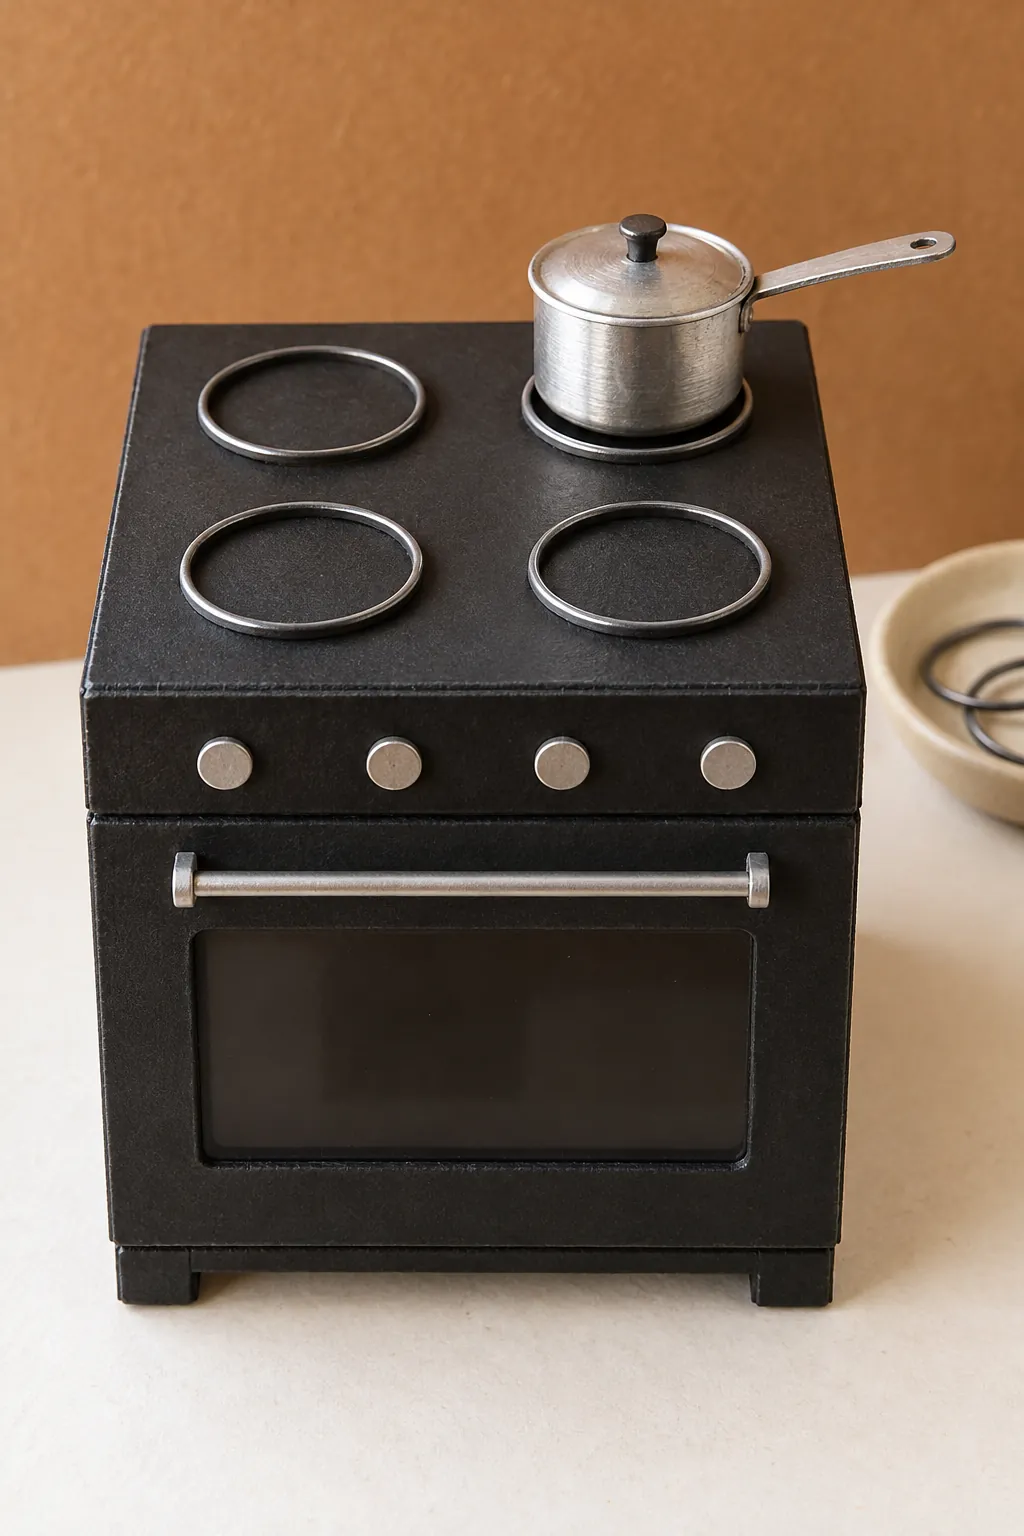
Build a display stove with raised burner rings
Start a display stove with a firm box and a separate flat top. Small wire loops or thin card rings can suggest burners, while a dark rectangle and a tiny handle create an oven front. Space the burners around miniature cookware rather than placing them as close together as possible. These details are purely decorative, so there is no need for heat, wiring, or working controls.
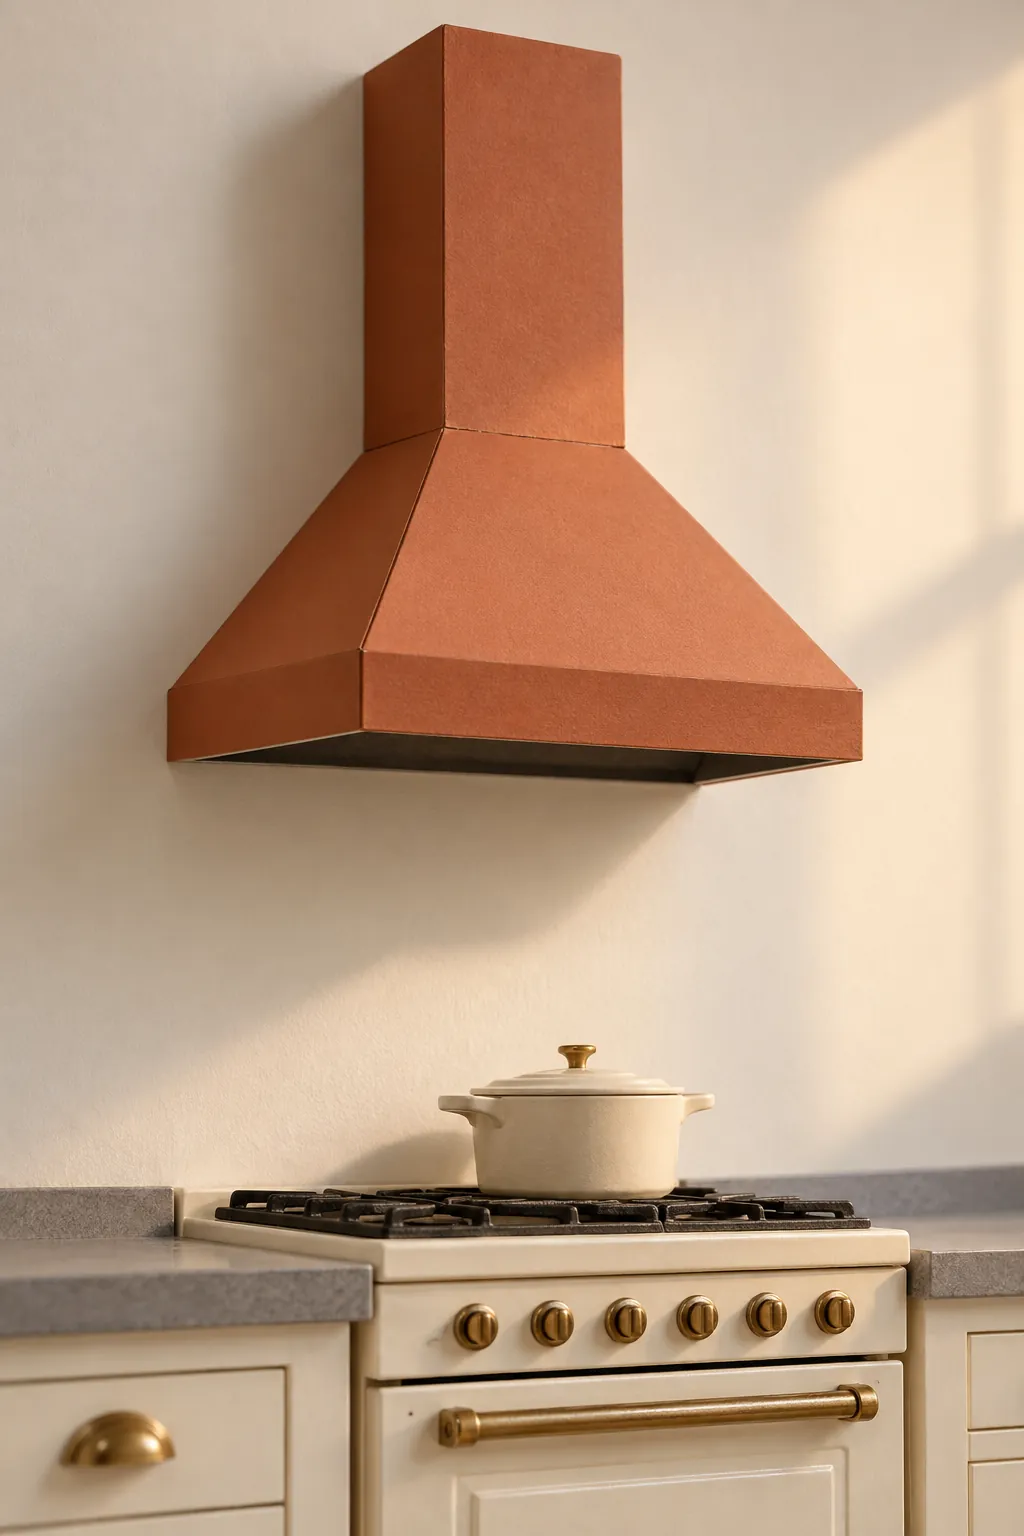
Fold a simple range hood from card
A folded card hood gives a stove wall a clear focal point. Make a paper trial shape first, then transfer it to sturdier card with tabs for gluing the corners. Keep the hood centered over the stove and leave a believable gap above the cookware. A plain painted finish often looks more convincing than thick layers of decorative trim.
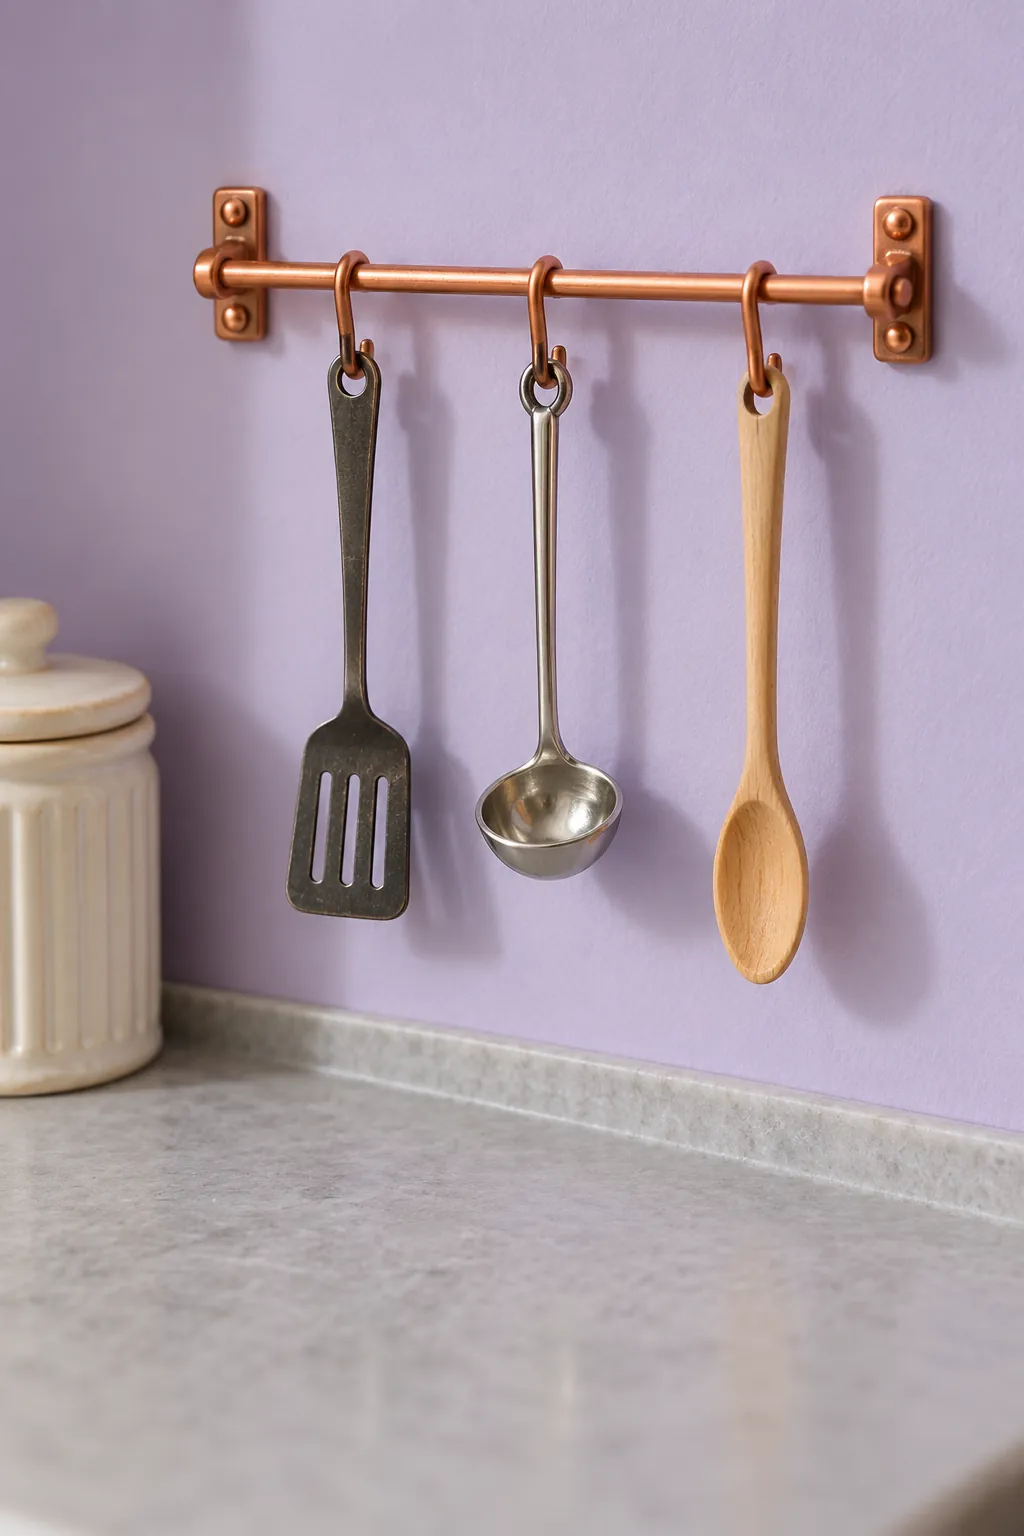
Hang utensils from a tiny rail
A small rail adds activity to an empty backsplash while keeping the counter clear. Use a short straight wire or narrow dowel with simple brackets, then hang only a few lightweight miniature tools. Keep the hooks closed enough that the utensils stay in place when the room is moved. Check their length so they do not rest awkwardly on the counter.
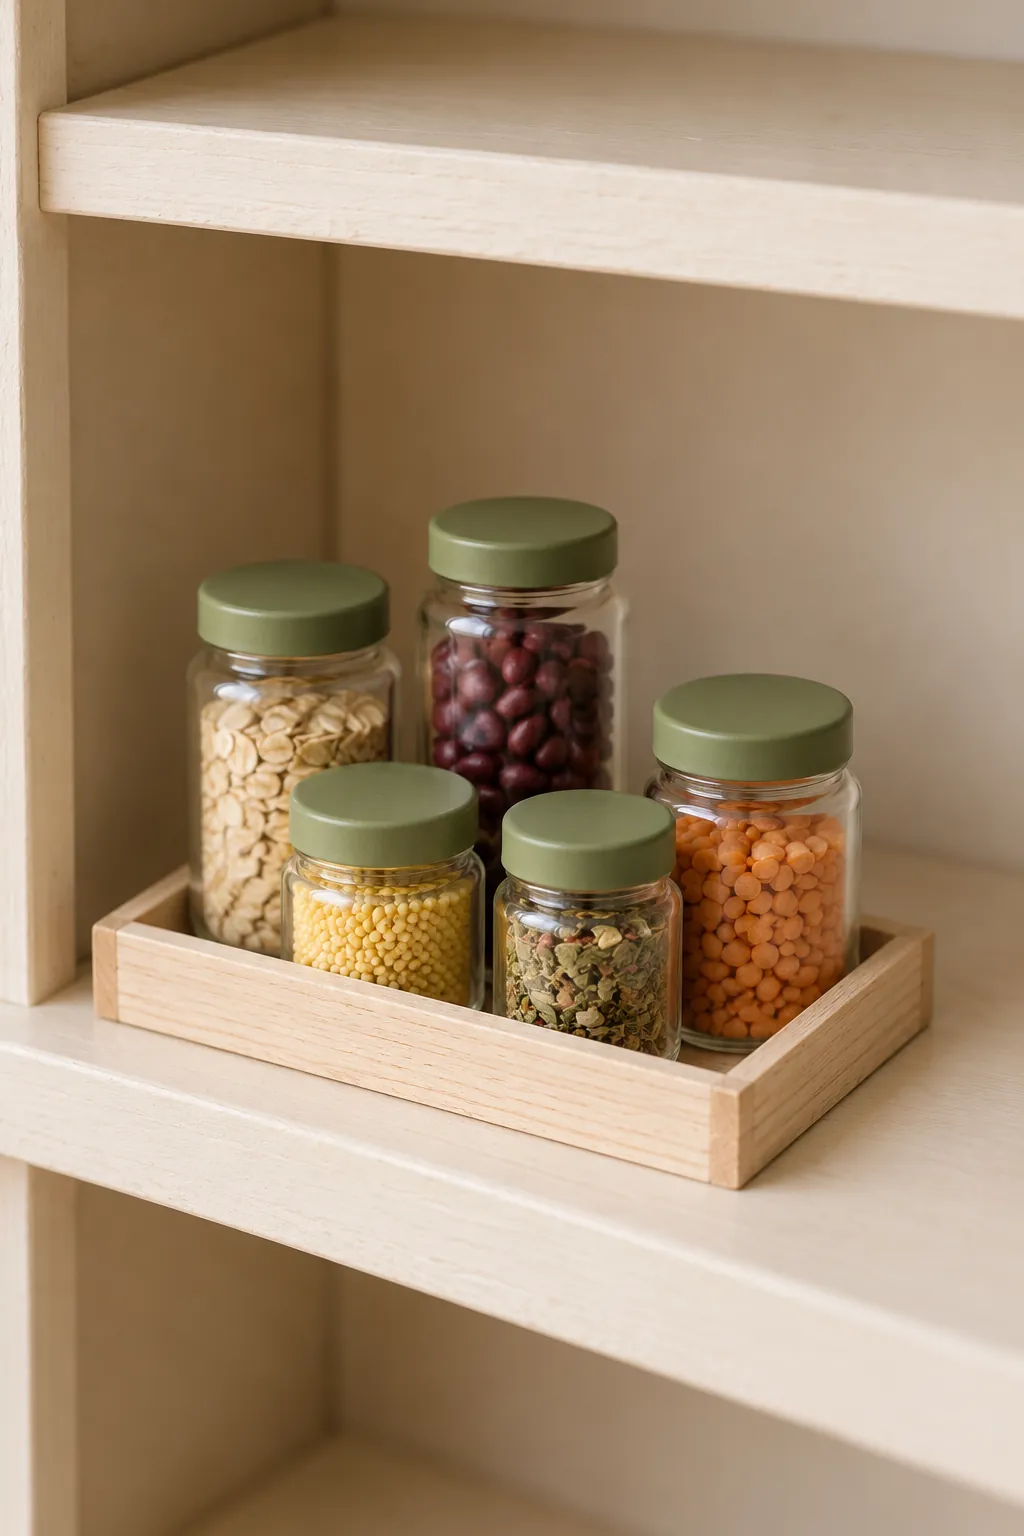
Group pantry jars on a shallow tray
A tray makes a collection of tiny jars read as one organized detail. Use miniature bottles or clear beads with flat tops, and add simple lids sized to each opening. Keep any decorative filling sealed inside rather than leaving loose material in the room. Vary jar heights slightly while repeating one lid color, and leave the labels blank if lettering would be too small to read.
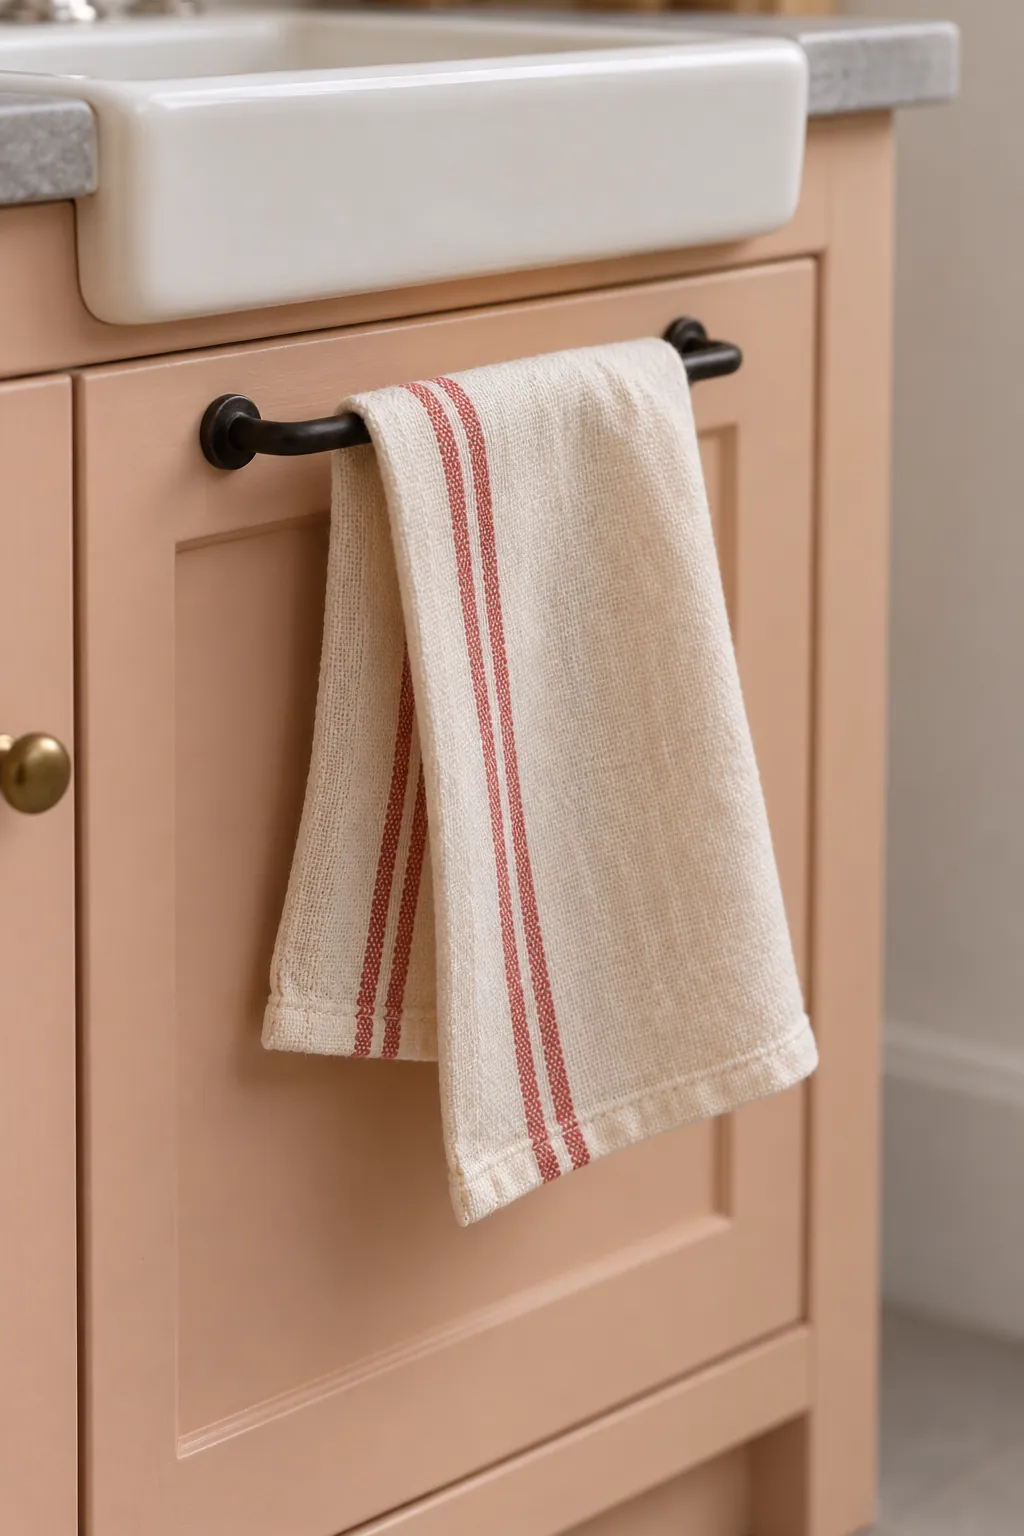
Turn a fabric scrap into a hanging tea towel
Thin cotton usually drapes more convincingly than a thick scrap of terry cloth. Cut a small rectangle, fold or hem its edges narrowly, and test it over a rail before adding glue. A single stripe or tiny check can connect the towel to the cabinet color without adding another strong pattern. Let the fold hang naturally instead of pressing the whole cloth flat against the door.
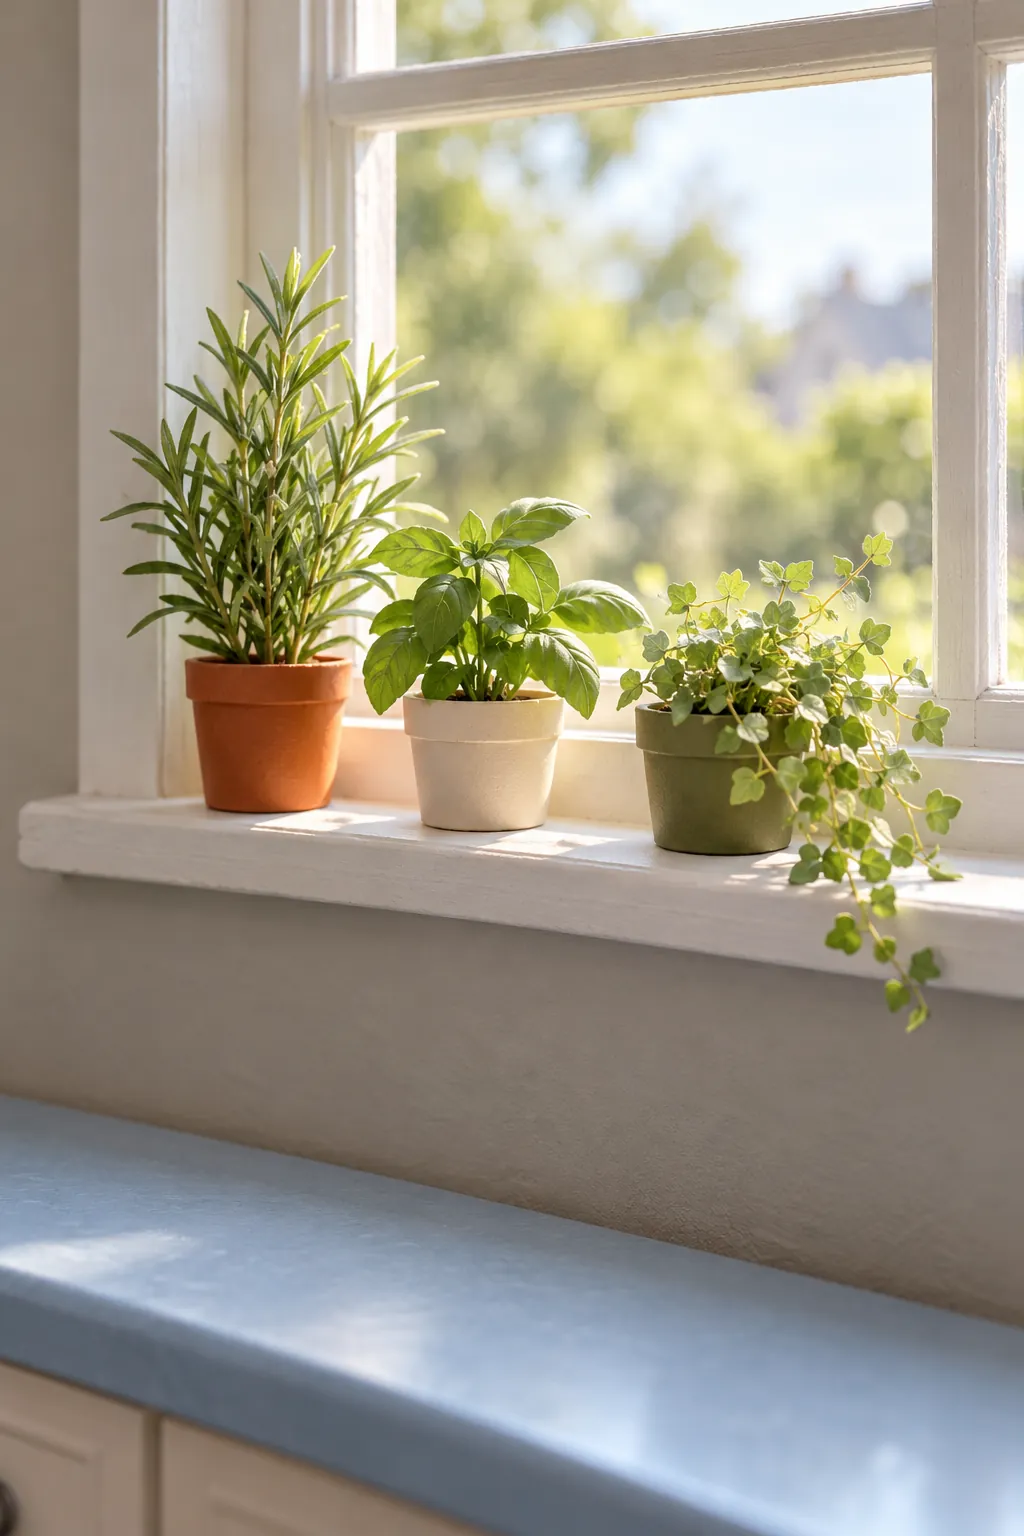
Plant miniature herbs in small caps
Small clean caps can become plant pots when their shape and size suit the kitchen. Paint the outside, add a little filler inside, and arrange fine paper leaves or suitable miniature foliage above it. Give the plants different heights rather than making three identical green balls. Keep foliage clear of the window frame so the sill still looks usable.
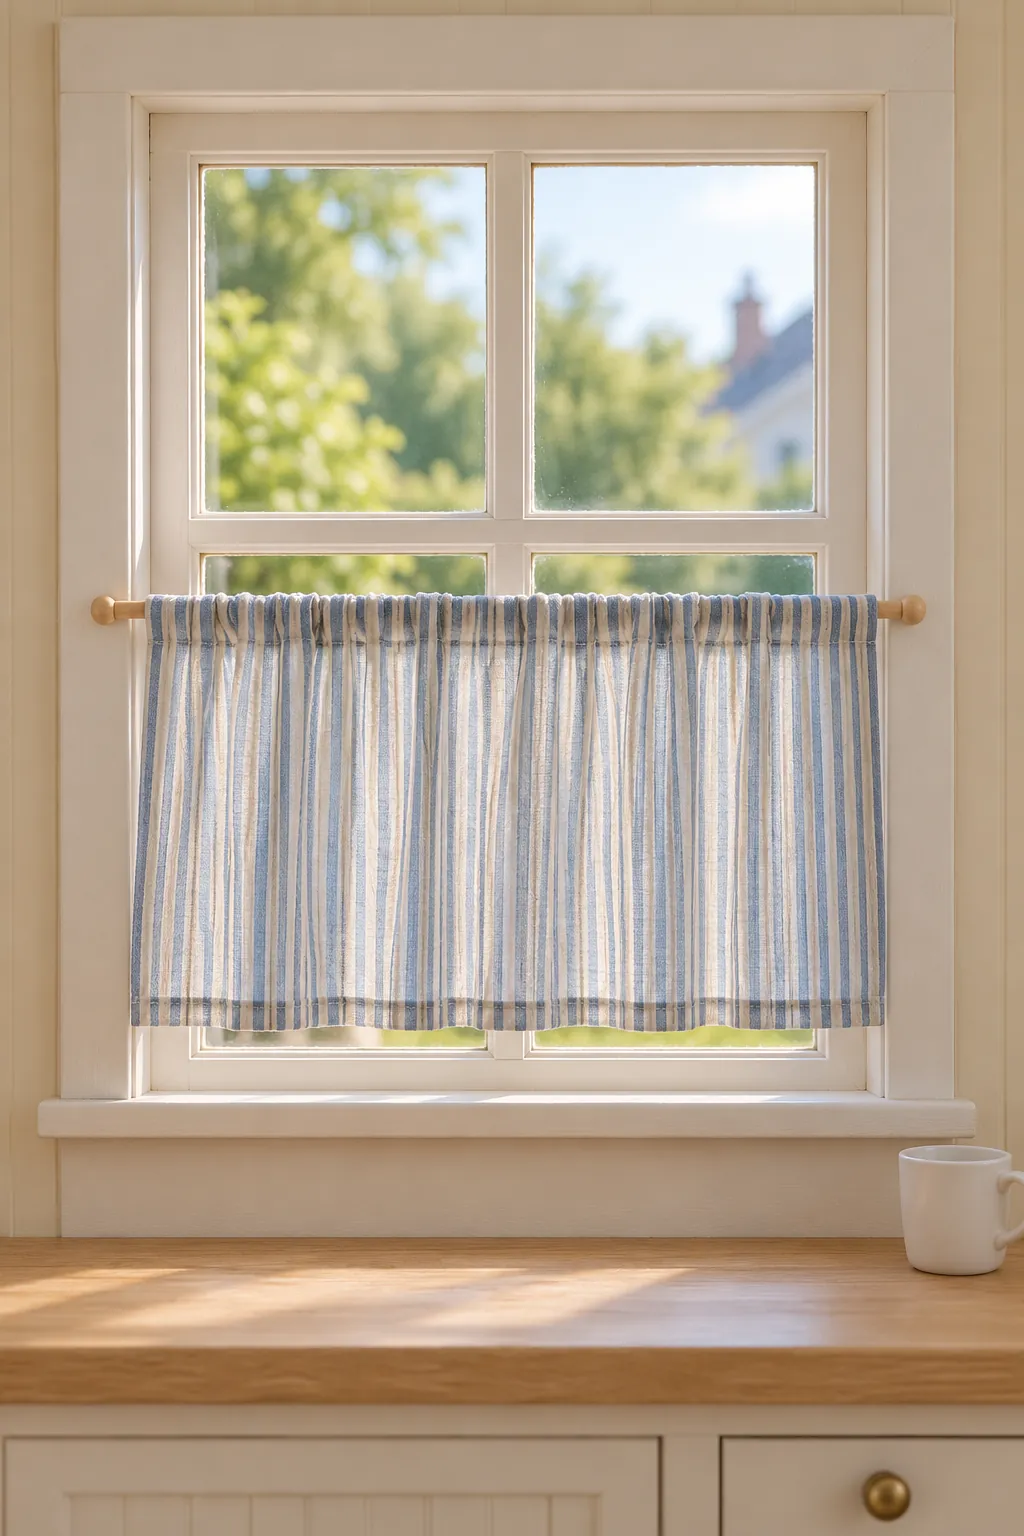
Sew a short cafe curtain from fine cotton
A short curtain softens a kitchen window without covering the whole wall. Choose fine cotton with a small pattern and allow modest fullness, because thick gathers can hide the frame at miniature scale. Fold a narrow channel for a slim rod or glue the fabric to a separate removable strip. Keep the lower edge level and check that the curtain clears the counter.
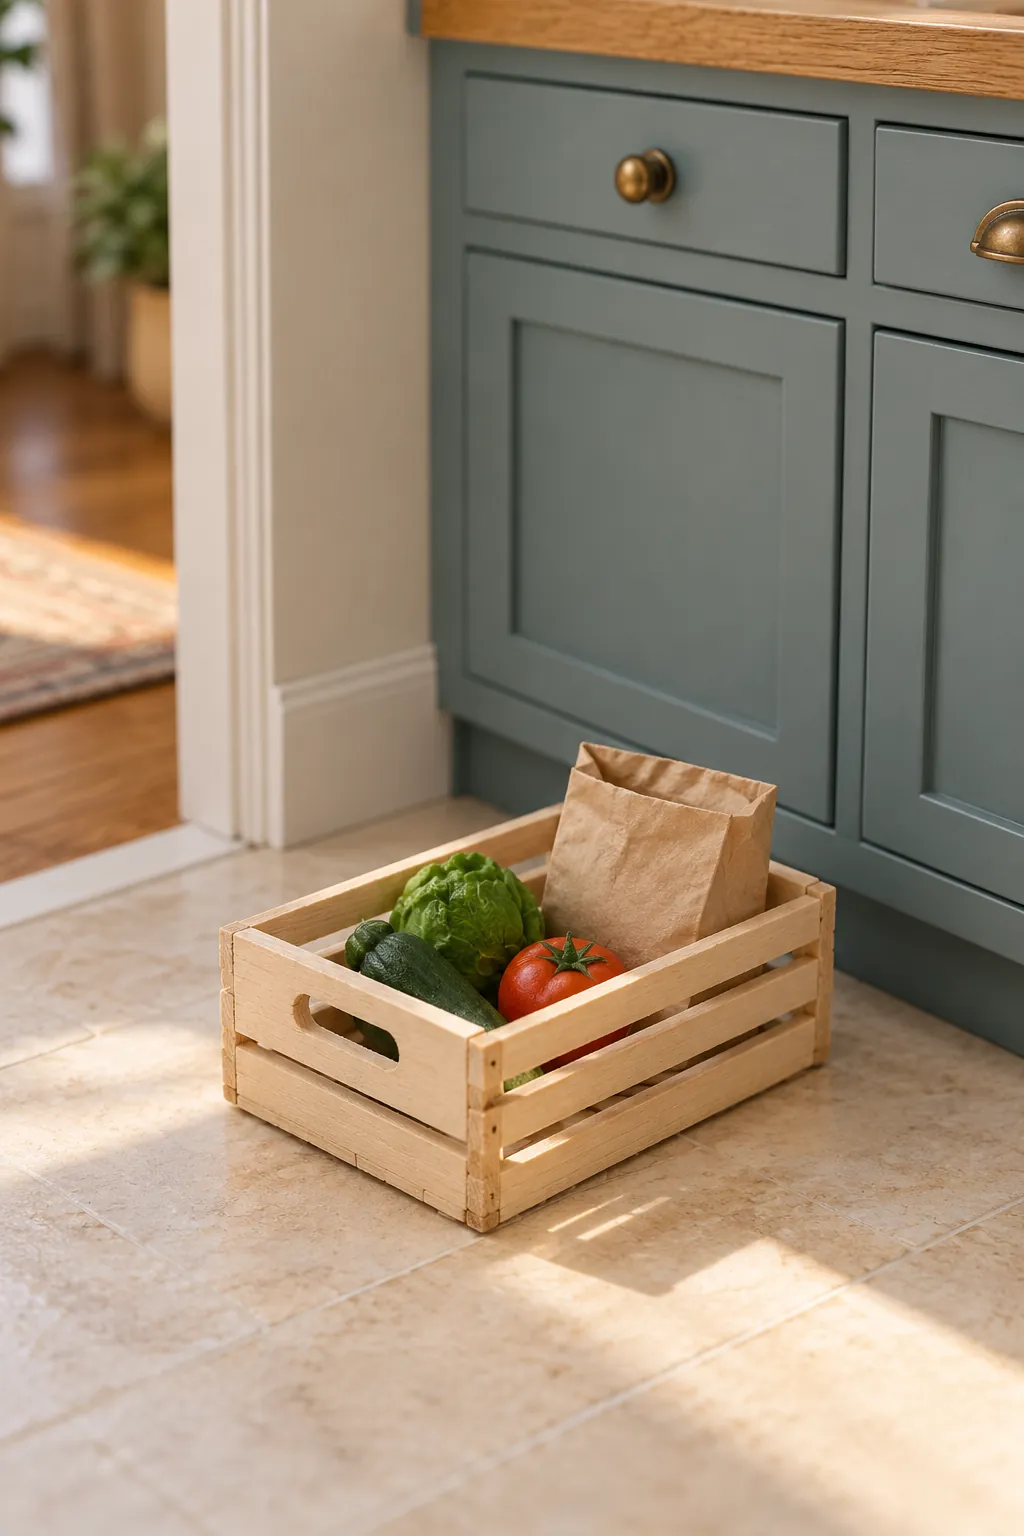
Finish with a removable grocery crate
A shallow crate gives the kitchen a small everyday story without filling every work surface. Build it from narrow card strips or thin wood, then add a few lightweight miniature vegetables or folded paper bags. Arrange the contents below the handle openings so the crate still looks as if it could be carried. Keep the whole grouping removable for dusting and future changes. When the cabinet doors, floor, and worktop already look balanced, this single loose accessory may be enough.