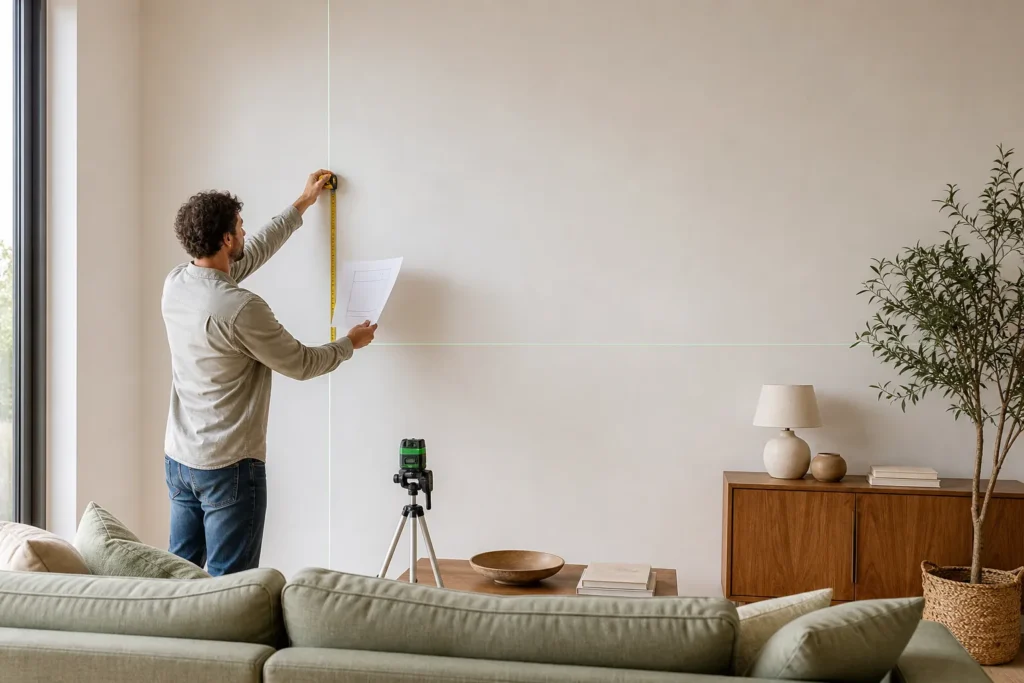
How to Measure a Wall for Decals, Murals & Wall Art
One tape-measure reading is not enough for a wall mural, and the wall’s total width is not automatically the right size for art or decals. Accurate wall decor dimensions start by defining the area you intend to decorate, then checking how the real wall departs from a perfect rectangle.
Gather the right tools
- Rigid tape measure and pencil
- Notebook or phone sketch
- Long spirit level or laser level
- Painter’s tape for full-size outlines
- Step ladder and a second person for tall walls
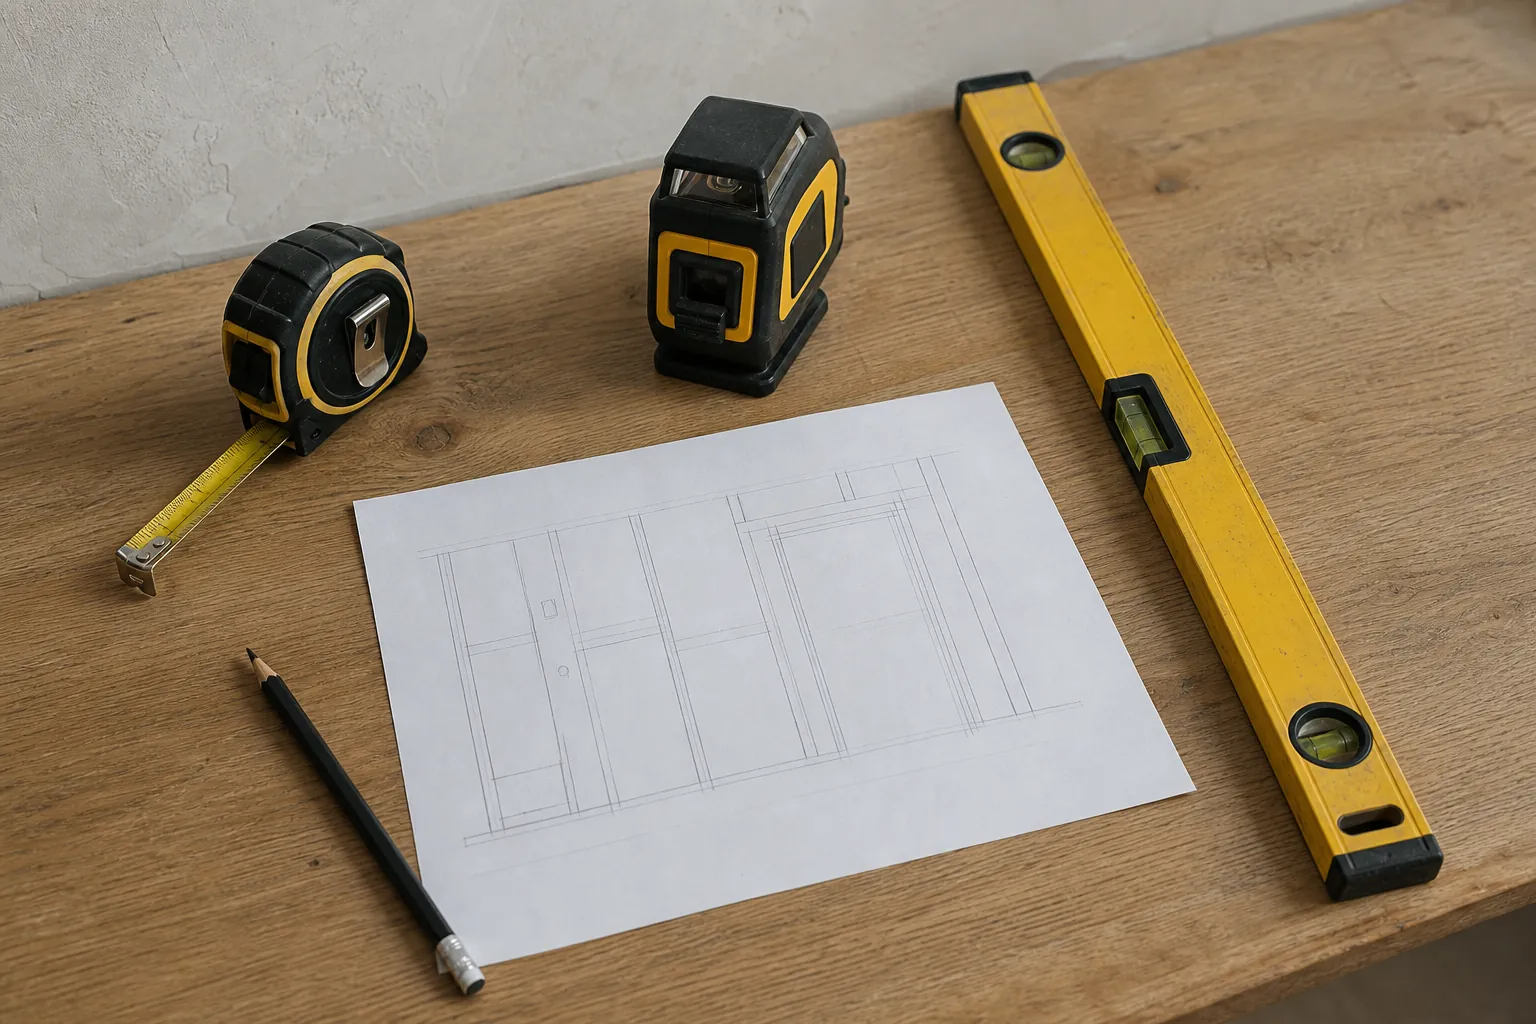
Record every number in one unit. Label width and height immediately; transposed dimensions are a common ordering error. Photograph the wall straight-on and mark outlets, switches, vents, molding, radiators, doors, and furniture.
How to measure a rectangular wall
Measure width at the top, middle, and bottom. Measure height at the left, center, and right. Walls, ceilings, and baseboards can drift, so keep all readings. For a full mural, the supplier will usually need the greatest width and greatest height plus its specified bleed or trimming allowance.
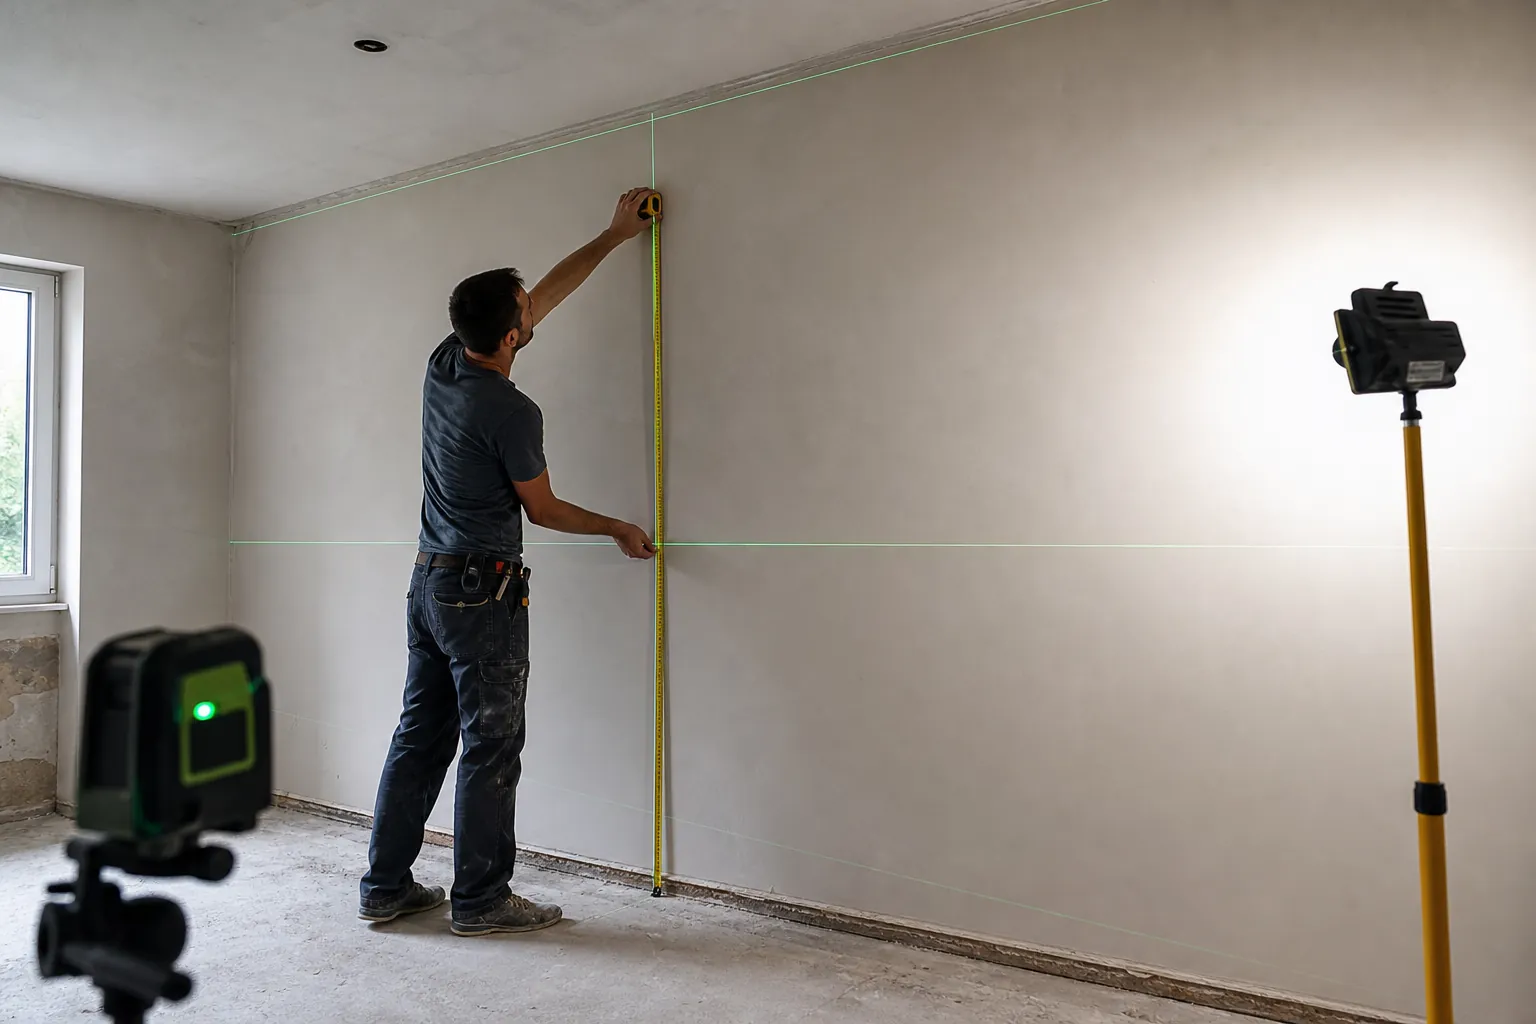
Do not subtract windows or doors from a custom mural unless the manufacturer specifically instructs you to. The mural is normally produced as a rectangle and trimmed around openings during installation. Removing those areas from a simple area calculation can leave you short.
How to measure for a wall mural
Start with the widest and tallest readings. Then follow the mural maker’s allowance rules; products differ in panel width, repeat, overlap, and bleed. A wall mural calculator is only reliable when its inputs and product assumptions match the mural you are buying.
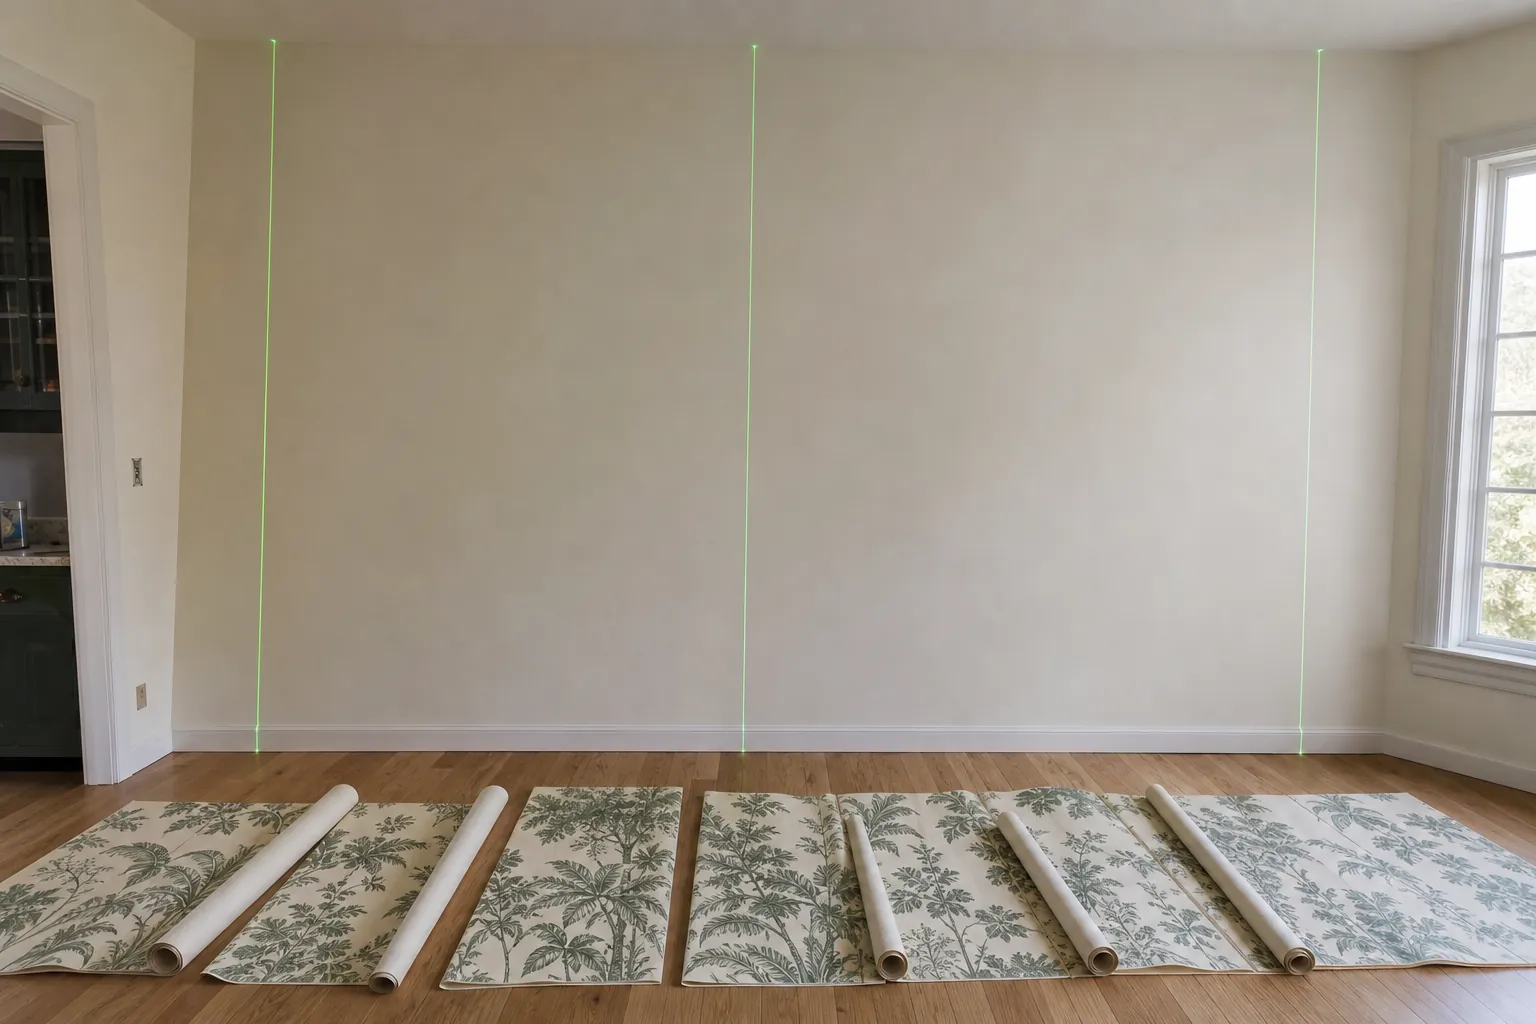
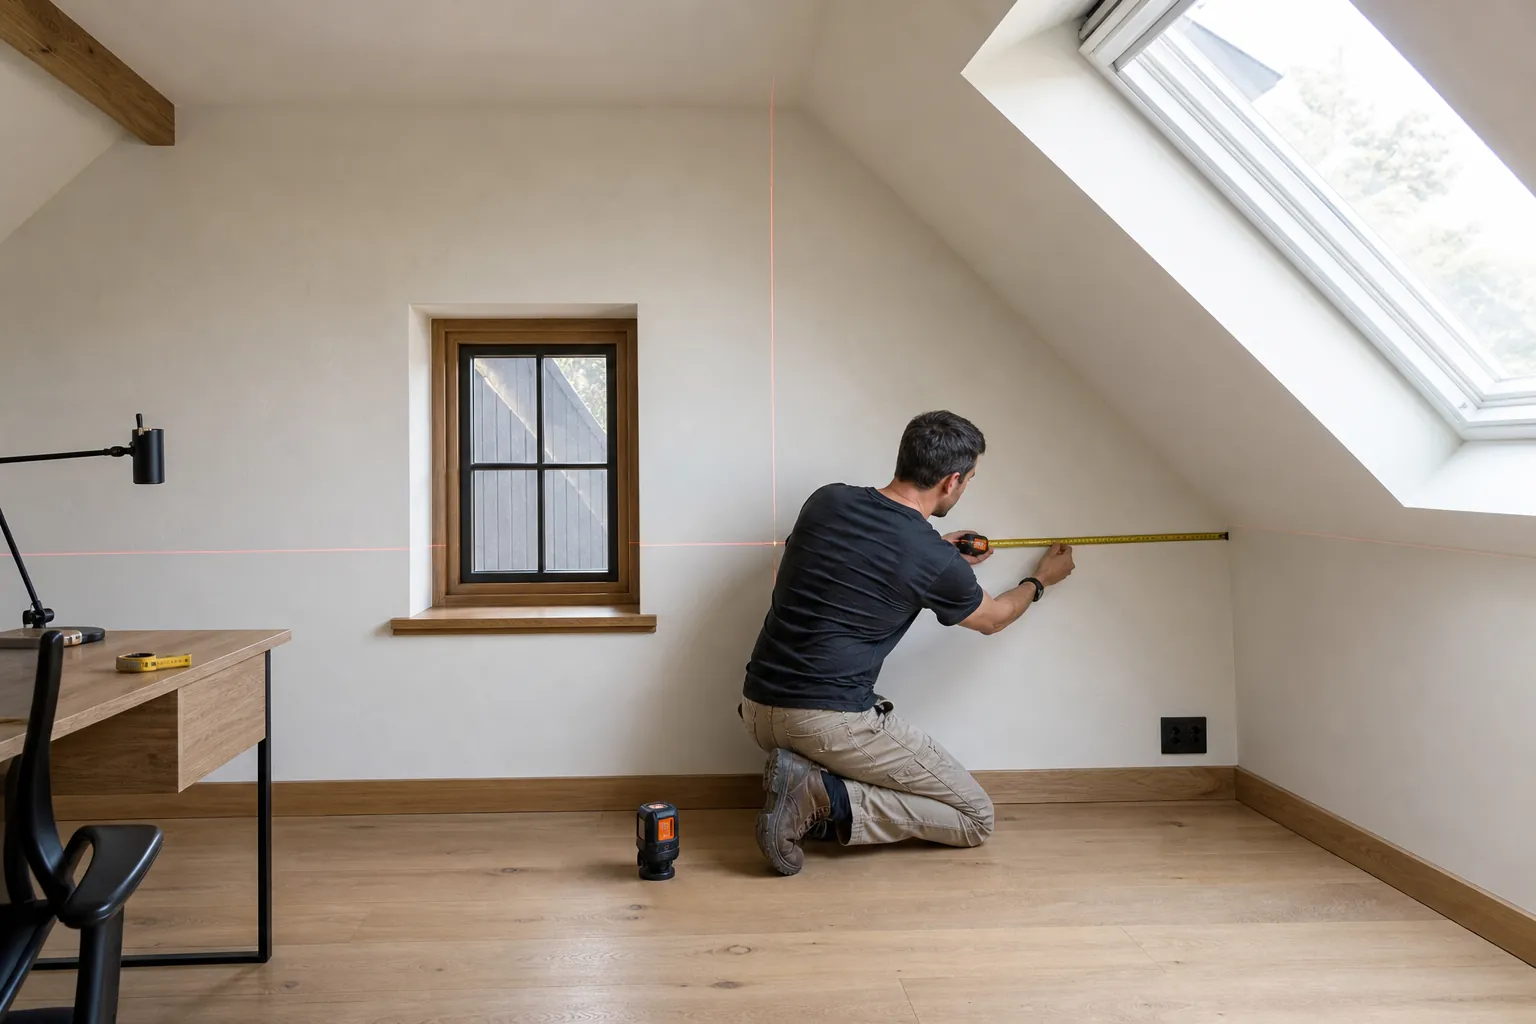
Plan the first vertical line with a level rather than trusting a corner, ceiling, or baseboard. Real users installing wall-sized murals worry about exactly this: following a crooked ceiling can make every panel drift. Install panels plumb and use the extra material for trimming at imperfect edges.
For sloped ceilings, stair walls, and alcoves, sketch the shape and measure each critical edge. Many custom murals still arrive rectangular; confirm how the artwork will crop before ordering, especially when a face, word, or key motif sits near a slope.
How to measure wall decals
Decal sizing depends on the composition’s outer boundary, not only the printed vinyl. Define the usable zone between furniture, trim, switches, and the ceiling. If individual decals will be scattered, include the empty space between them in the final width and height.
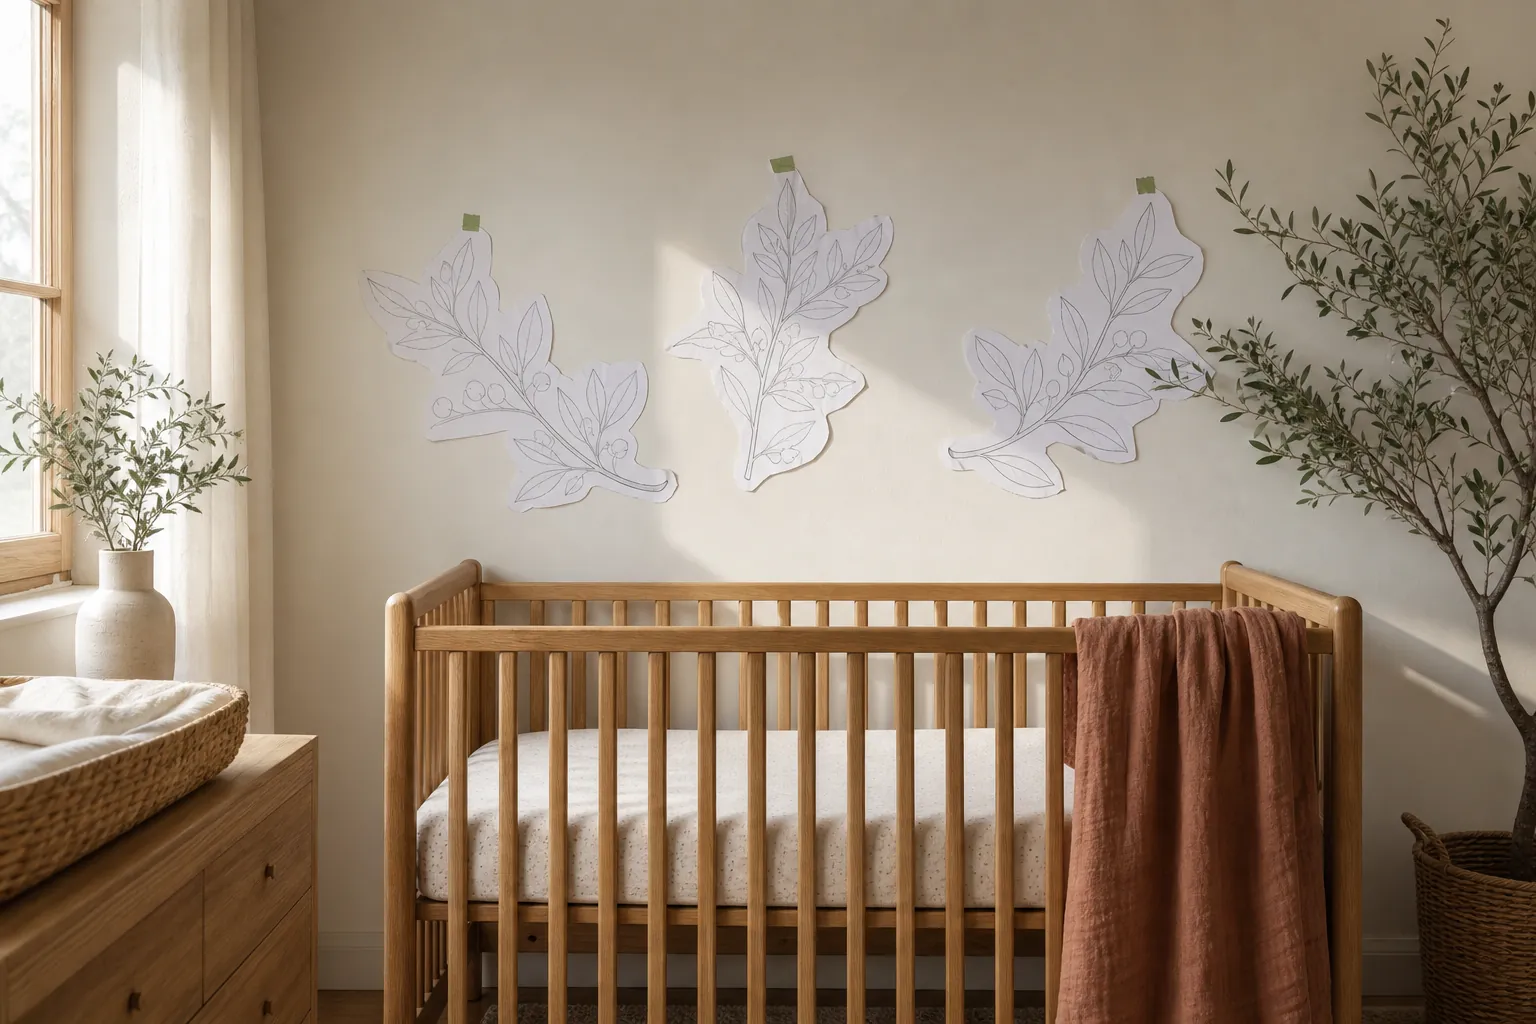
Use paper templates or painter’s tape to test the composition at full scale. For a centered decal above a console or bed, measure the furniture width and find its centerline. For a corner-growing botanical set, measure the available height and horizontal reach separately.
How much wall decal do I need?
For repeated small stickers, estimate density rather than square footage alone. Tape a one-square-foot or one-square-meter test zone, arrange paper versions at the spacing you like, count them, then multiply by the number of equivalent zones. Add a small reserve for damaged pieces or adjustments.
How to size wall art
Measure the furniture that the art will visually belong to. A useful starting range is about 60–75% of that furniture’s width. For multiple pieces, add every frame width plus every gap to calculate the total arrangement.
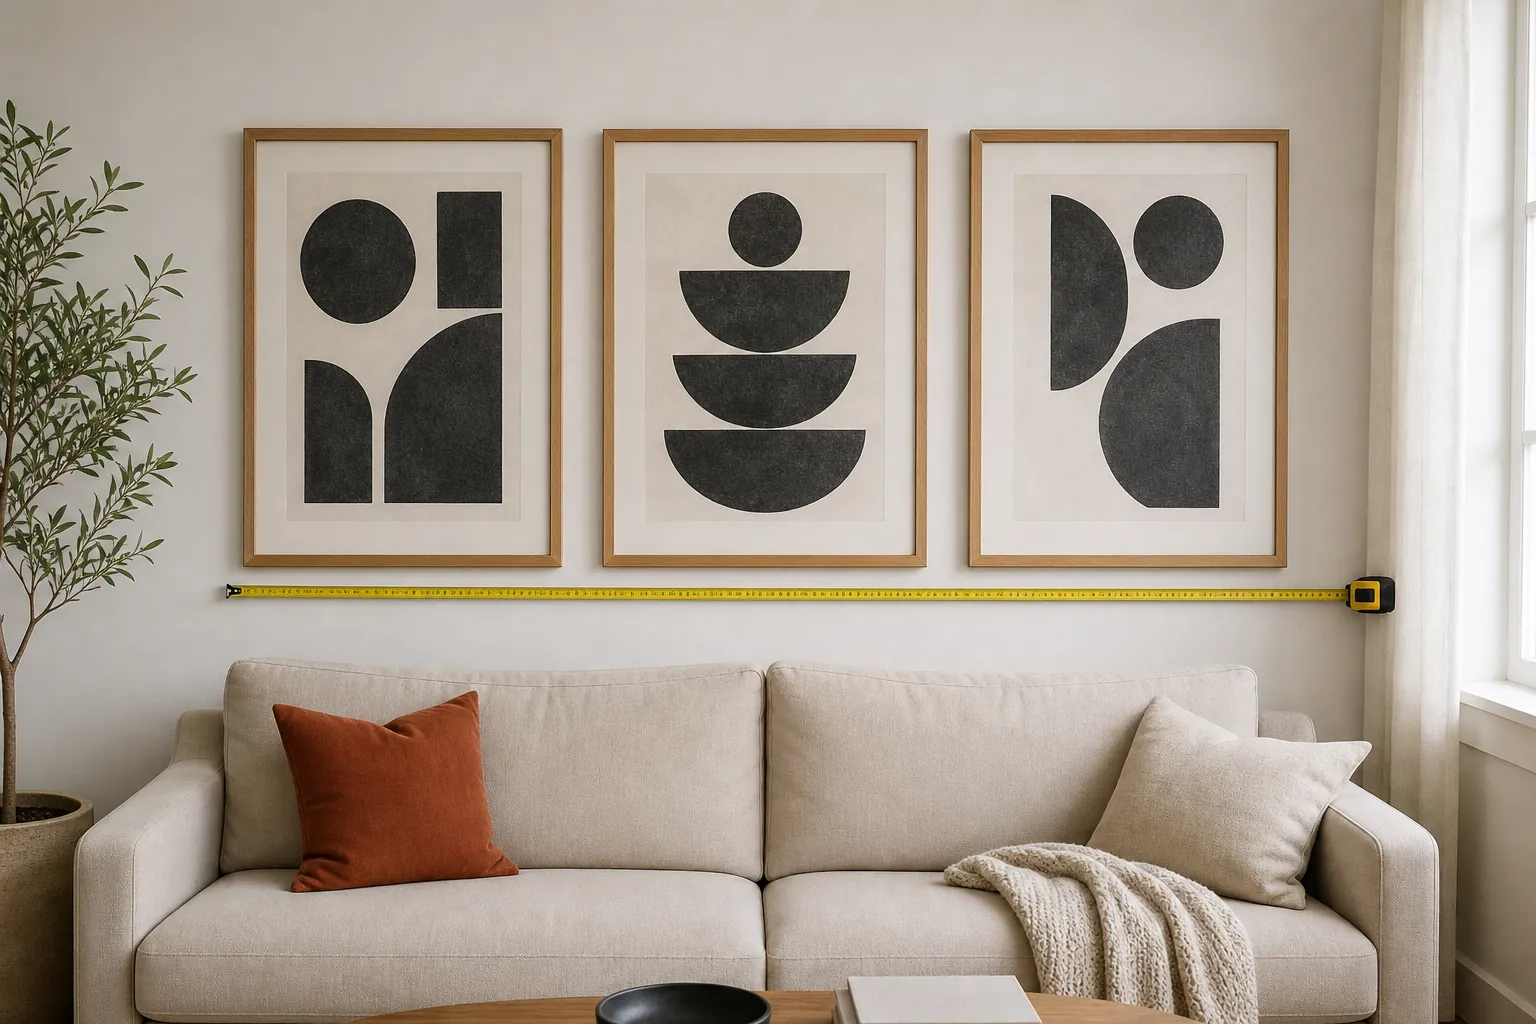
Example: three 18-inch frames with two 3-inch gaps create a 60-inch arrangement: 18 + 18 + 18 + 3 + 3. Compare that total with the sofa width, not with each frame individually. Outline the full rectangle on the wall before installing hardware.
Account for obstacles and viewing conditions
- Outlets and switches: record distance from two fixed edges.
- Molding: decide whether measurements stop at its inner edge.
- Furniture: note final furniture position and height.
- Doors: check the full swing and casing.
- Stairs: use a level datum and a detailed sketch, not one diagonal guess.
Final pre-order checklist
- Measured every wall at multiple points
- Used one consistent unit
- Marked all fixed obstacles
- Confirmed product-specific bleed, overlap, and panel rules
- Checked the design crop for murals
- Included gaps in decal and gallery-wall dimensions
- Tested the proposed size with tape or templates
- Saved a labeled sketch and straight-on photo
The goal is not a beautifully rounded number. It is a set of measurements that describes the imperfect wall you actually have. Five careful minutes before ordering can prevent a short mural panel, a cramped decal layout, or wall art that looks tiny above the furniture.