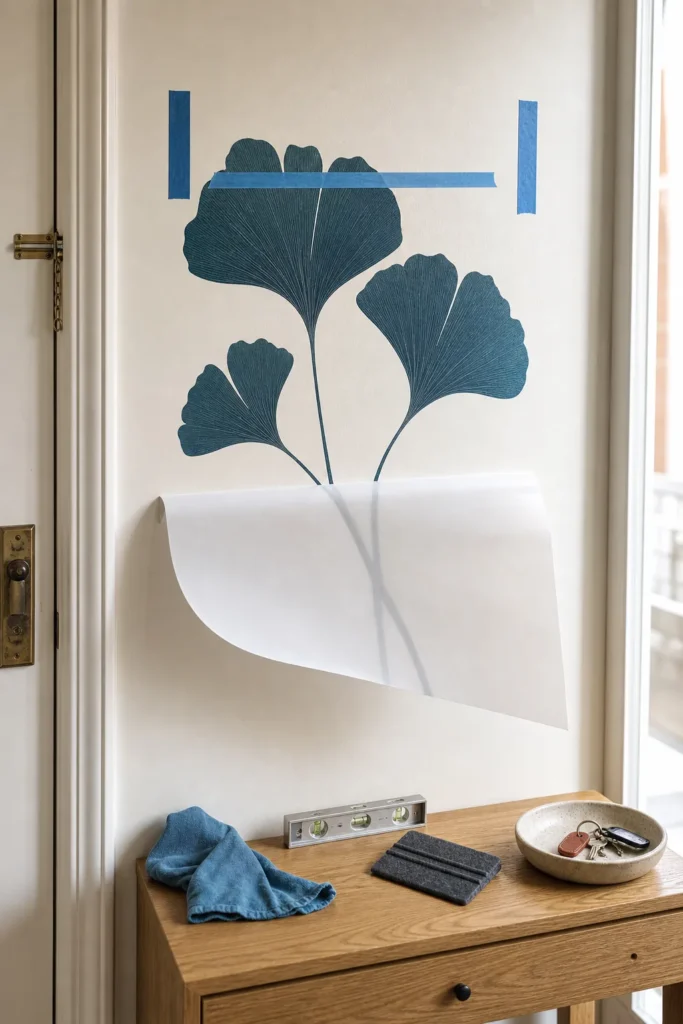
How to Reposition Wall Decals Without Ruining Them
A crooked wall decal creates an immediate urge to grab a corner and pull. Resist it. The way you lift a decal matters more than how quickly you correct its position. A fast upward pull can stretch vinyl, crease fabric, strip paint, and coat the adhesive with dust—all before you get a second chance.
This guide explains how to reposition wall decals safely, from a same-day placement mistake to moving reusable wall stickers to another wall. It also makes an important distinction: “removable” describes how a product comes off, while “repositionable” or “reusable” describes whether it is designed to stick well again.
Check Whether the Decal Is Actually Repositionable
Read the manufacturer’s instructions before lifting anything. Some fabric decals are made to move several times. Some low-tack vinyl can be corrected during installation but loses performance after long-term use. Other products are removable once, not reusable. Permanent craft vinyl, paper stickers, transfer-tape graphics, and clear-coated decals each behave differently.
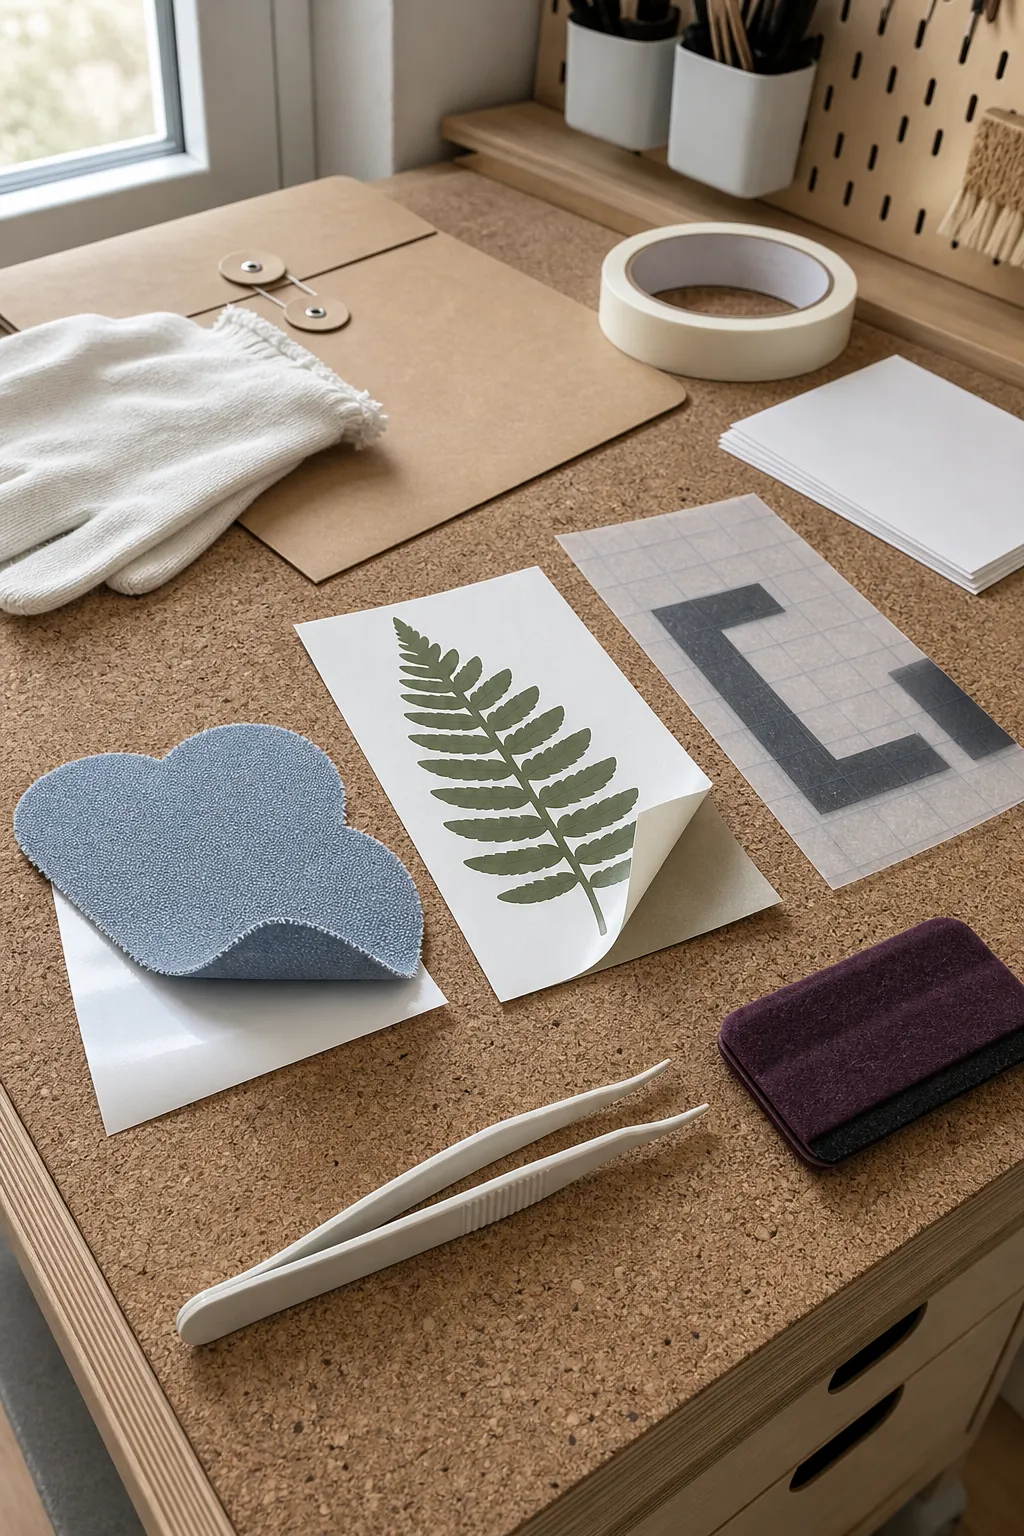
Age matters too. Adhesive can become more aggressive, brittle, or contaminated after months of heat, sunlight, humidity, and cleaning. A decal that shifted easily during installation may not behave the same way a year later. If the design is valuable or irreplaceable, contact the maker before attempting a full transfer.
Test a small, inconspicuous edge. Stop if paint lifts, the vinyl separates from its printed layer, the material whitens at the bend, or the adhesive stays on the wall.
Prepare the New Position Before You Lift
Repositioning fails when the decal is held in midair while someone measures the wall. Decide the exact new location first. Clean it according to the decal maker’s directions, let it dry fully, and mark a level reference with low-tack painter’s tape. Check that the new wall is smooth, cured, free of dust, and compatible with the adhesive.
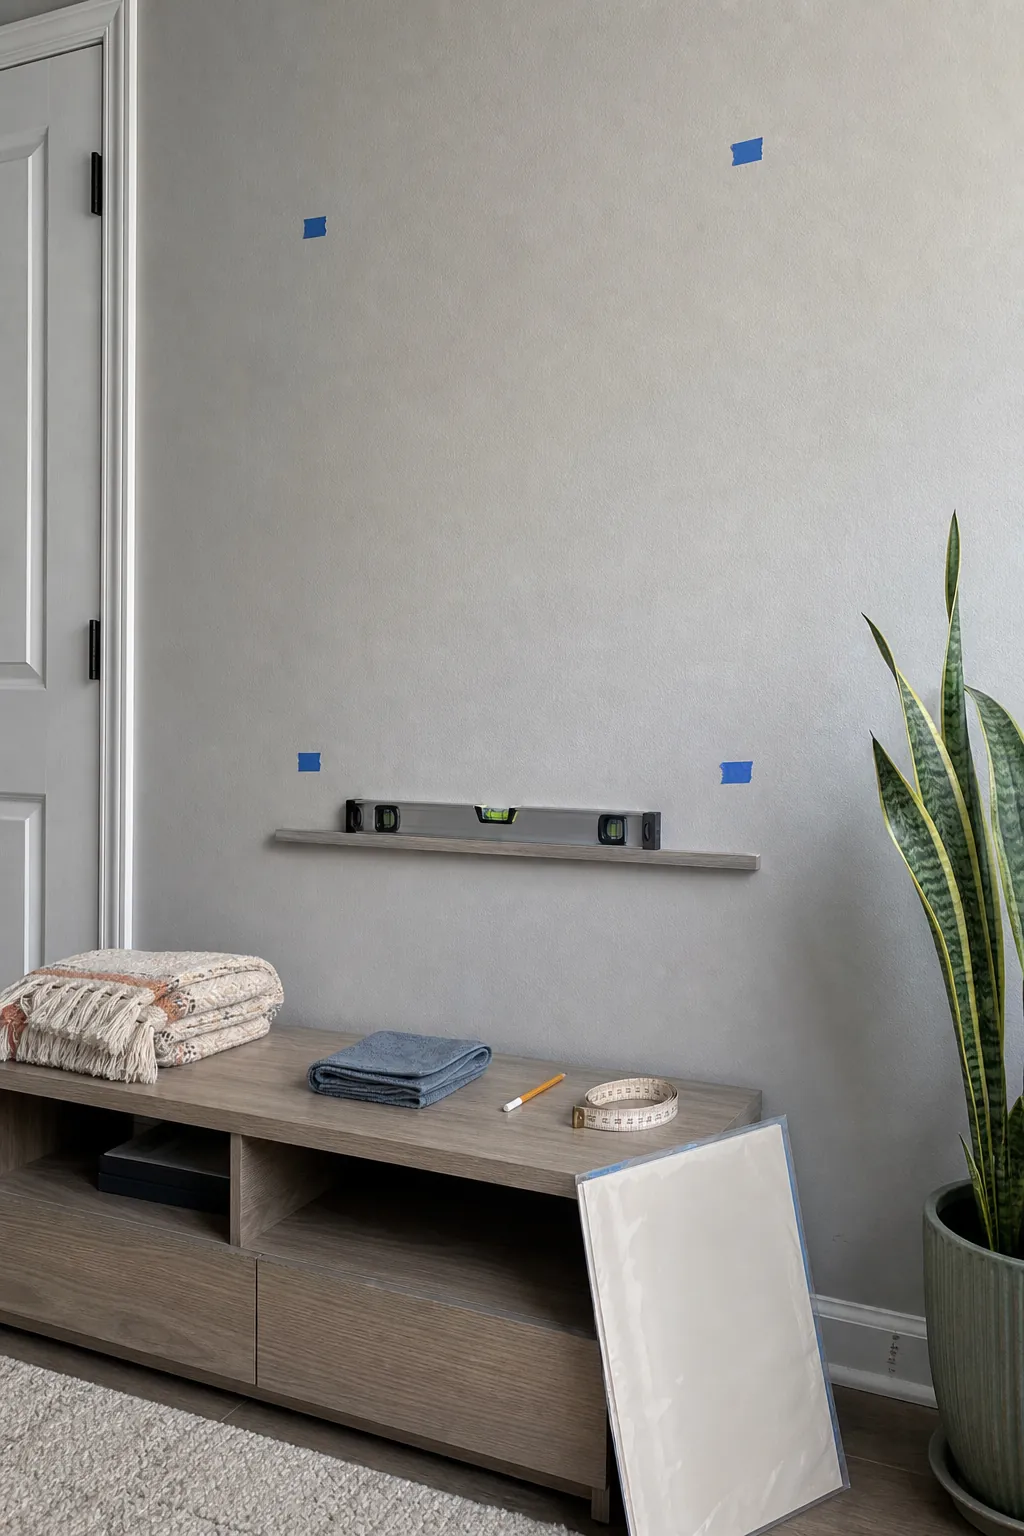
Set up a clean holding surface beside you. The original silicone-coated liner is best. If it is gone, ask the manufacturer for a suitable replacement liner; ordinary wax paper, parchment, plastic film, and printer paper may bond badly, leave fibers, or transfer coatings. Keep the liner flat on a table with the release side facing up.
For a large design, recruit a second person and prepare a rigid board covered by the correct liner. The goal is to support the decal continuously. Never let a large adhesive sheet fold onto itself.
Warm Gently and Peel Low Against the Wall
If the instructions permit heat, warm a small area with a hair dryer on low while keeping it moving. The material should become slightly more flexible, never hot. Lift a broad corner with a clean fingernail or plastic tool. Avoid metal blades on painted walls; a slip can cut the vinyl or score the finish.
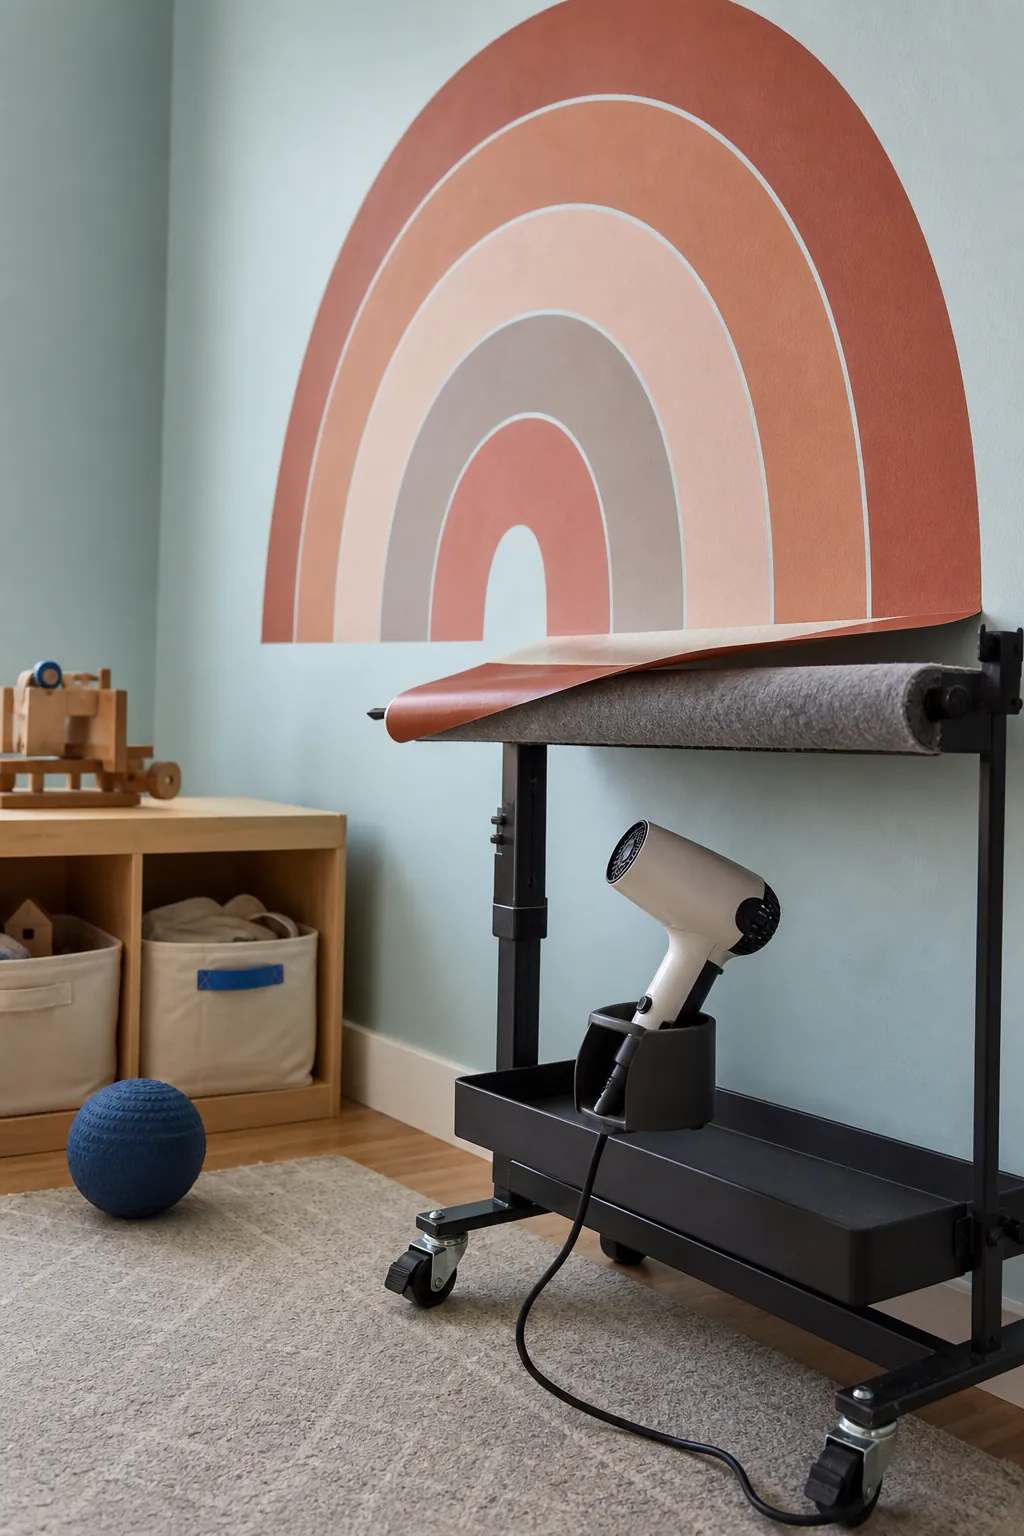
Pull the decal back over itself, keeping it nearly parallel to the wall. Work slowly across the width instead of pulling one point upward. This low-angle peel reduces stress on both the paint and the decal. With separate letters or delicate branches, support each thin element as it releases so it cannot stretch under its own weight.
Pause immediately if the paint tents, cracks, or follows the adhesive. Add less heat, lower the peel angle, and move to another edge only if the manufacturer recommends it. If the paint continues to lift, protecting the wall takes priority over saving the decal.
Transfer the Decal Without Touching the Adhesive
As the decal releases, lay it adhesive-side down on its original liner a little at a time. Do not carry it across the room by two corners. Oils from fingers reduce tack, and unsupported vinyl can elongate. If you must guide an edge, touch the printed face or use clean plastic tweezers only where the product allows.
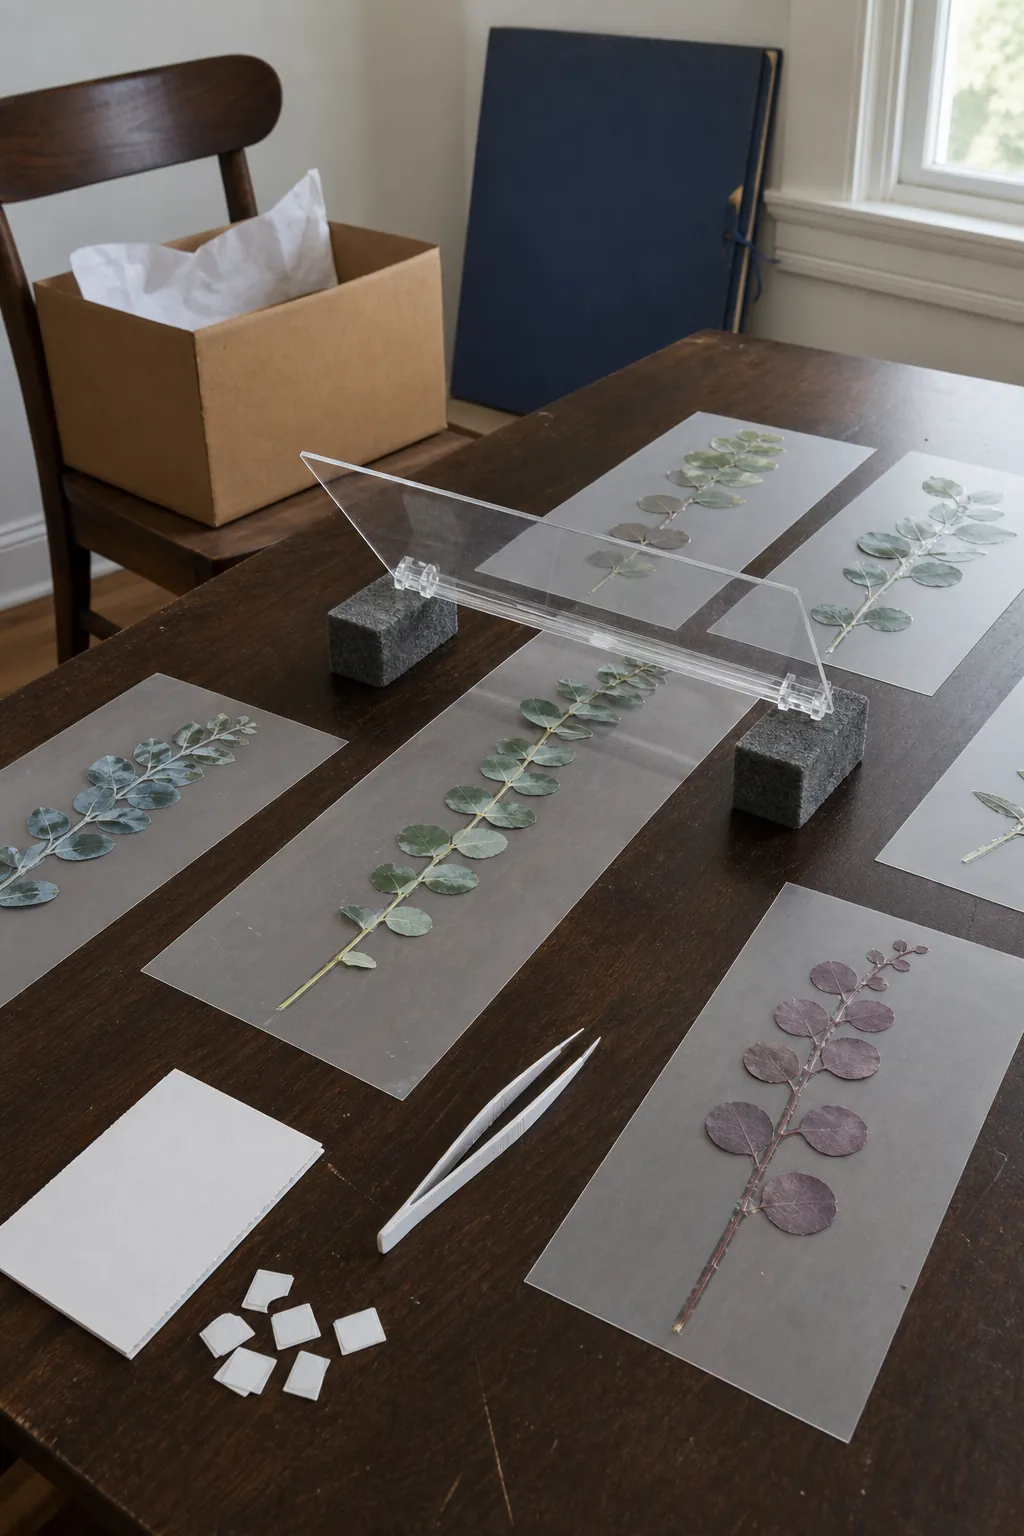
For multi-piece nursery designs, take a reference photo and mark the liner with removable tabs before lifting. Keep individual pieces separated so adhesive faces never meet. For die-cut lettering held by transfer tape, follow the maker’s transfer process rather than peeling each letter independently; transfer tape can preserve spacing but may also pull too strongly on delicate paint.
If the adhesive picks up one visible hair or lint fiber, remove it with clean tweezers. Do not wash adhesive unless the manufacturer explicitly says the material is washable and reusable. Water can cloud, deactivate, or redistribute pressure-sensitive adhesive.
Reapply From a Stable Hinge
Align the liner-backed decal with your tape guides, then create a temporary hinge along one edge. Peel back only a small section of liner. Tack the exposed part lightly, verify the position, and continue removing the liner in stages while smoothing from the attached area outward.
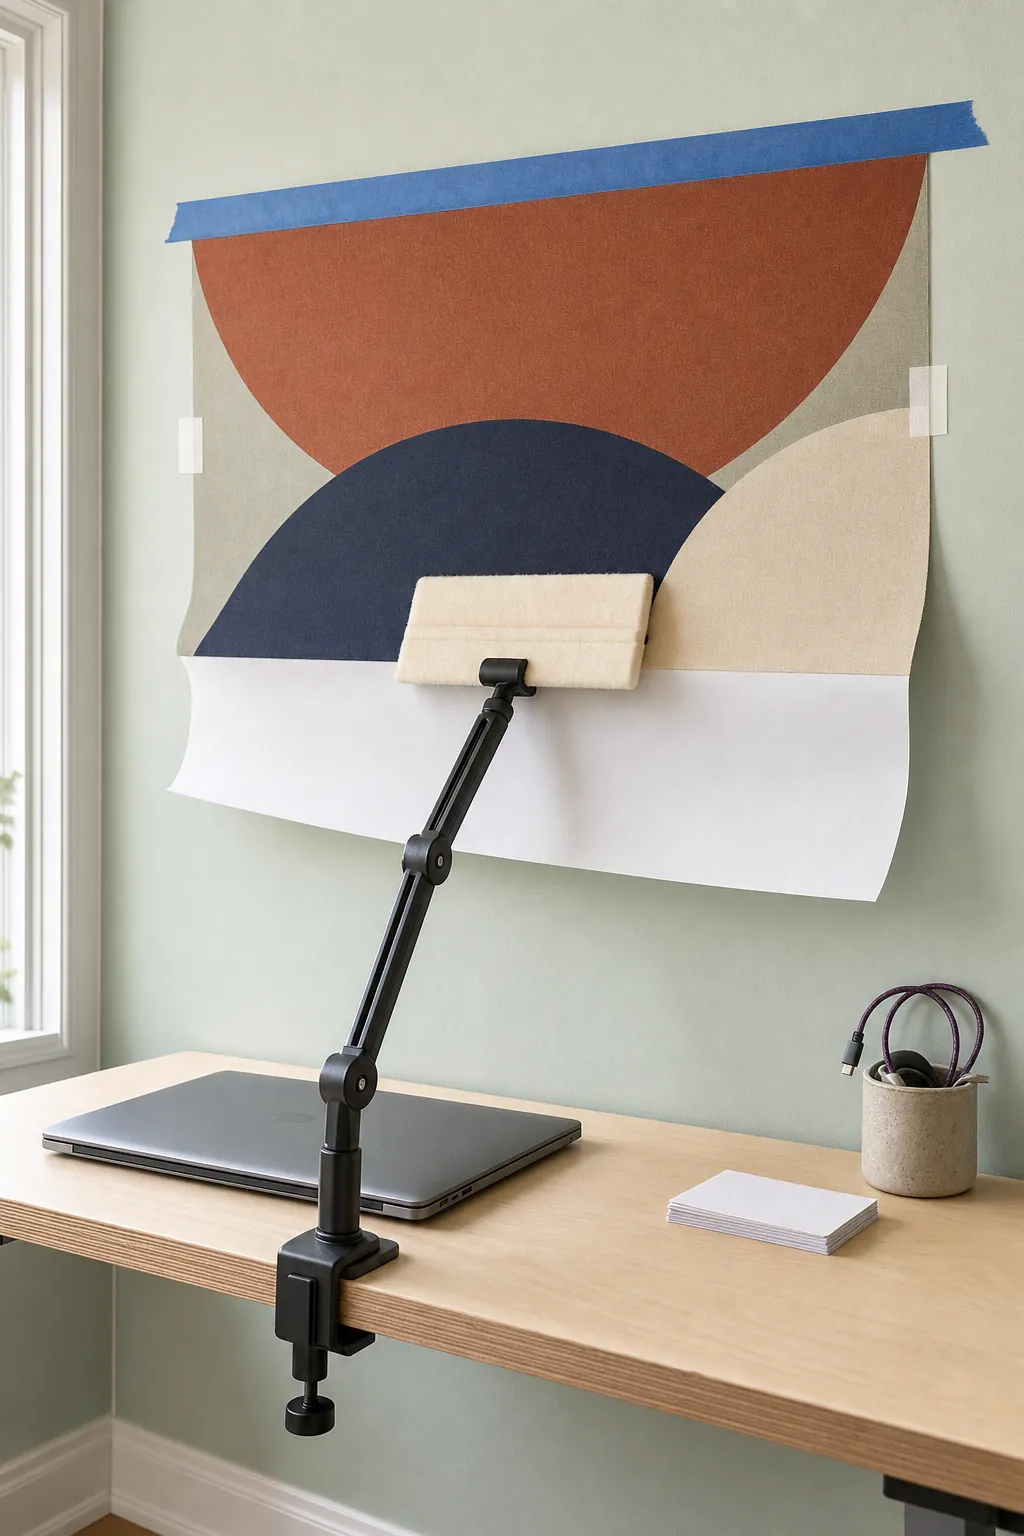
Use overlapping strokes with a felt squeegee or a clean cloth over a rigid card. Apply enough pressure to create contact, especially around narrow tips and edges, without scraping the print. If alignment drifts, stop while only a small area is attached and correct it using the same low, slow peel technique.
Do not chase perfect placement through repeated full removals. Every cycle increases contamination and mechanical stress. A small visual offset is often less damaging than a third or fourth complete lift.
Move Decals Between Walls With Extra Caution
Moving a decal to another wall is harder than correcting a fresh placement. The new surface may have different paint chemistry, texture, temperature, or humidity. Test a small piece on the destination wall for several days before transferring a large design. Fresh paint must cure for the period specified by both paint and decal manufacturers.
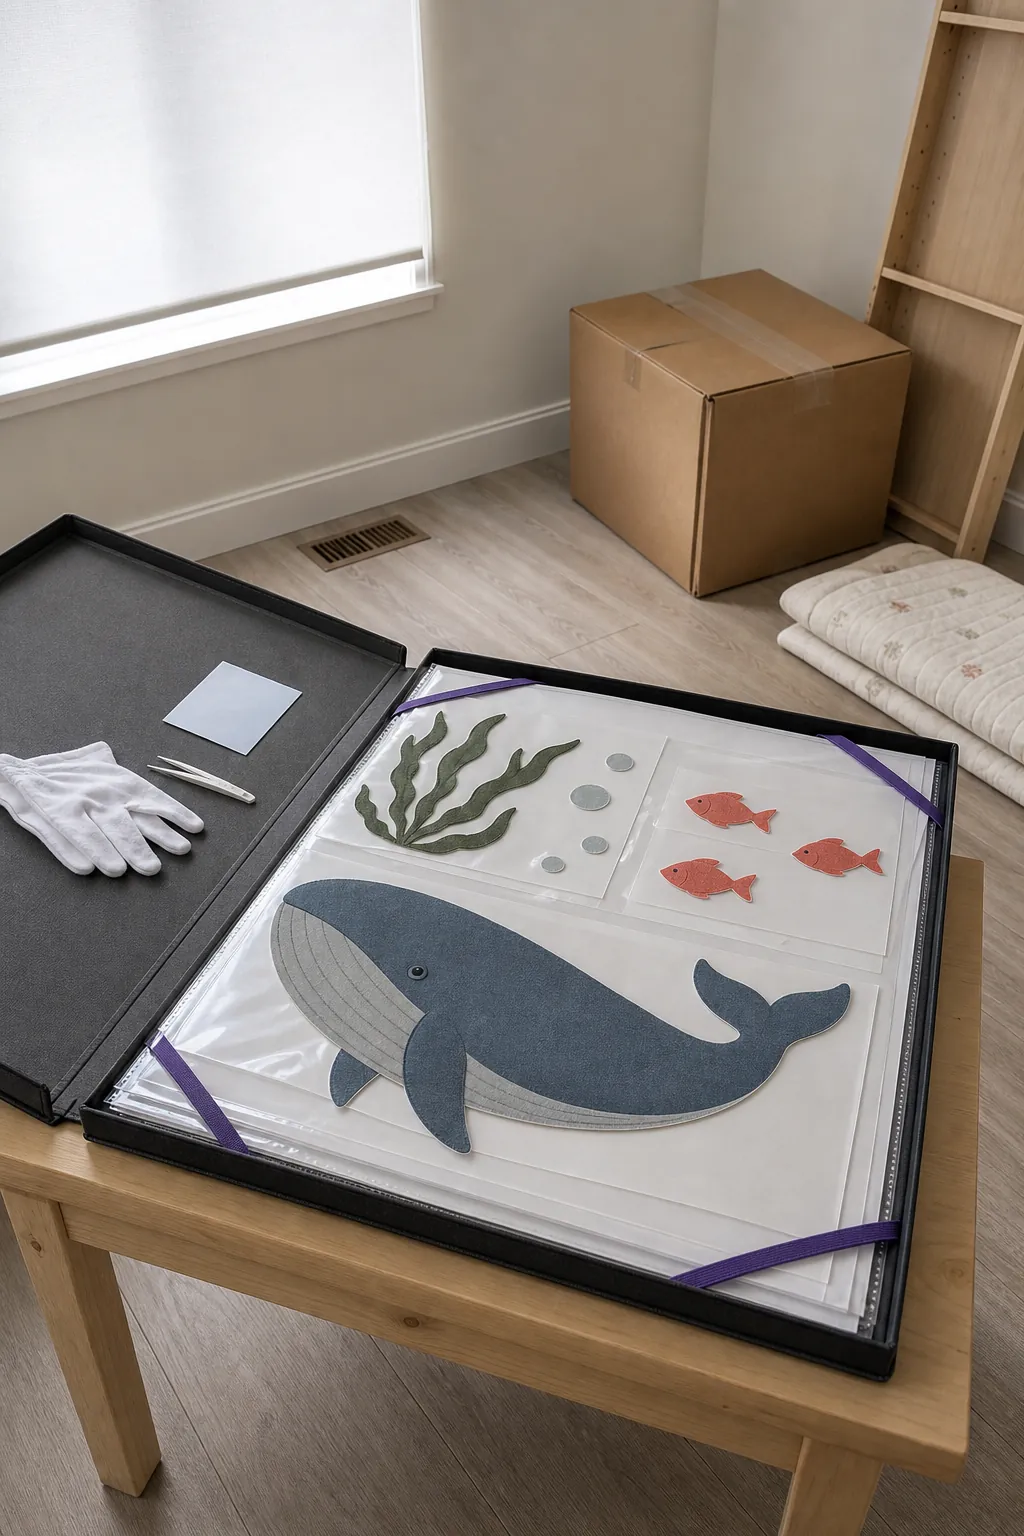
Store reusable pieces flat on their correct liners inside a rigid folder. Keep them away from dust, direct sun, radiators, and high humidity. Do not roll small die-cut pieces tightly; curved storage can make tips lift after reapplication. Label the outside of each folder instead of writing on the release surface.
Fabric decals are often more forgiving than thin vinyl because they resist permanent stretching and may be designed for repeated use, but “fabric” is not a guarantee. Follow the specific product instructions. The deciding factor is the adhesive system, not just the face material.
Stop Before a Placement Mistake Becomes Damage
Repositioning is no longer a good option when the decal has stretched, curled onto itself, collected widespread dust, separated into layers, or begun pulling paint. At that point, forcing reuse usually produces uneven edges and weak adhesion. A replacement graphic or a new arrangement using only the undamaged pieces will look cleaner.
The safest sequence is straightforward: confirm the product can be reused, prepare the destination, peel low and slowly, support the adhesive on the correct liner, and reapply from a controlled hinge. Patience preserves both surfaces. Speed only preserves the mistake.