How to Arrange Three Pictures Above a Bed
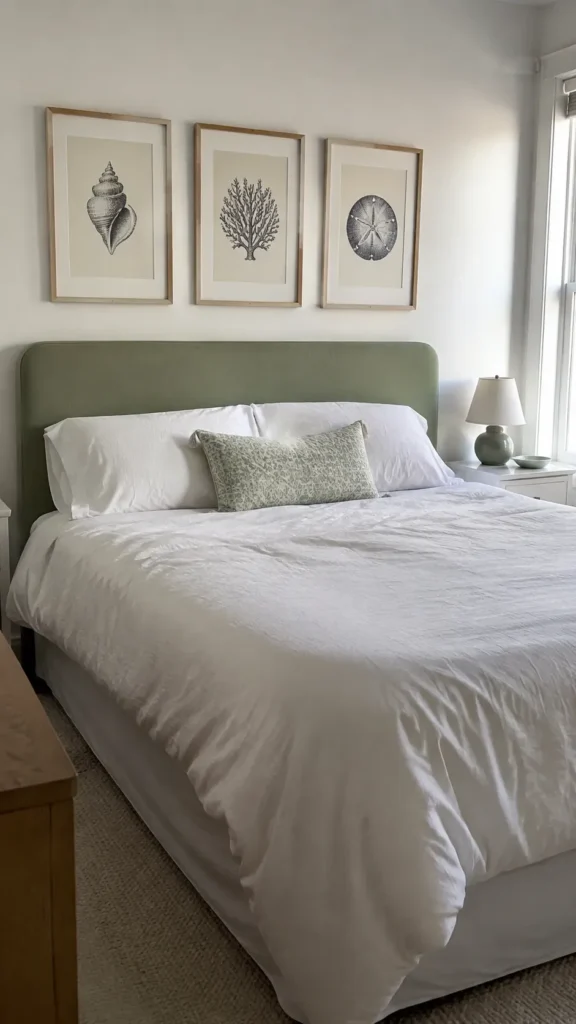
Three pictures can look strangely scattered even when each one is beautiful. The usual problem is the combined width, the two gaps, or the relationship to the headboard. Plan those measurements as one composition before choosing where the first hook goes.
Size the whole group before choosing frames
Treat the three pictures and the two gaps as one rectangle. As a starting point, try a total group width of about two thirds to three quarters of the headboard width, then test that outline on the wall. This is a proportion guide, not a requirement: a narrow room, unusually wide headboard, or large bedside lamps may call for a different balance. Measure the outside edges of the frames, because the print size leaves out both the mat and the frame itself.
For example, three frames that each measure 14 inches wide, with two gaps of 3 inches, create a group 48 inches wide. That gives a 64 inch headboard 8 inches of visible space at each end when the group is centered. If your three frames are only 8 inches wide, spreading them far apart usually makes them look disconnected rather than substantial. Consider larger mats or a smaller wall location before using big gaps to disguise undersized pictures.
Keep the gaps consistent and the pictures connected
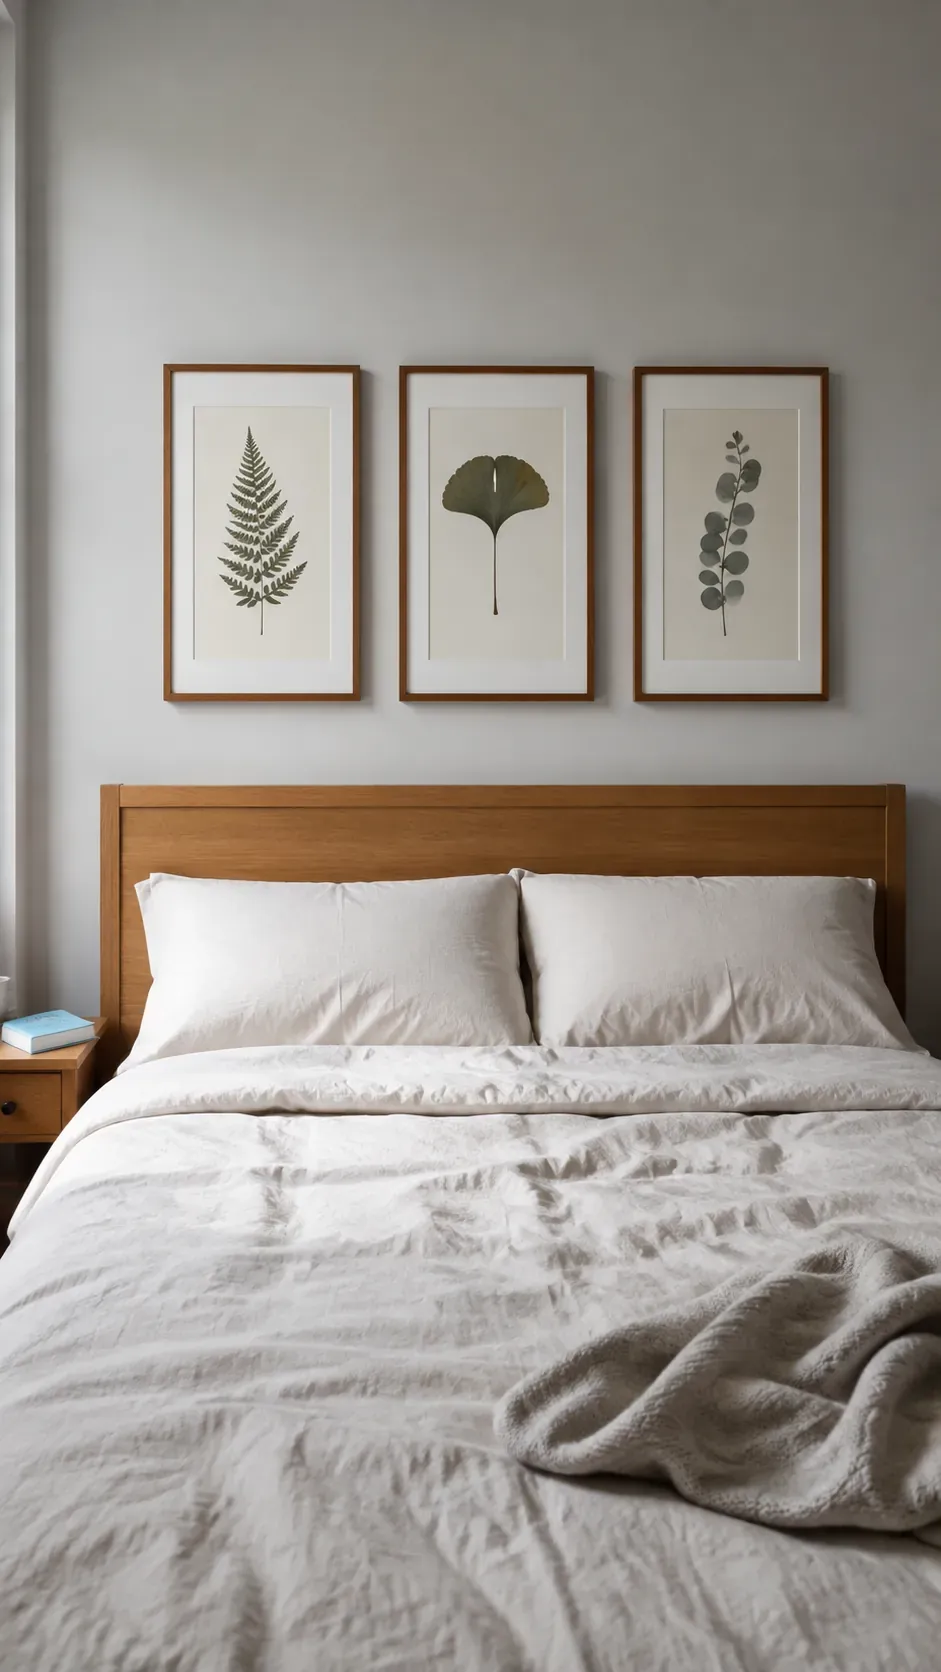
Start by testing gaps of 2 to 3 inches between the outside frame edges. Three panel art above bed works best when your eye can move across the group without treating each panel as a separate destination. A continuous triptych may need a narrower gap than three independent prints, so follow the artist’s intended panel order and spacing when supplied. Measure at both the top and bottom of each gap to catch a tilted frame.
The artwork inside the frames also changes how spacing feels. Wide white mats already create breathing room, while a dark image that runs to the frame edge can make the group feel denser. Lay everything on a clean floor first and compare the same gap across all three pictures. Keep the gaps equal before making tiny optical adjustments for unusually heavy or light compositions.
Set the height from the headboard and how you use the bed
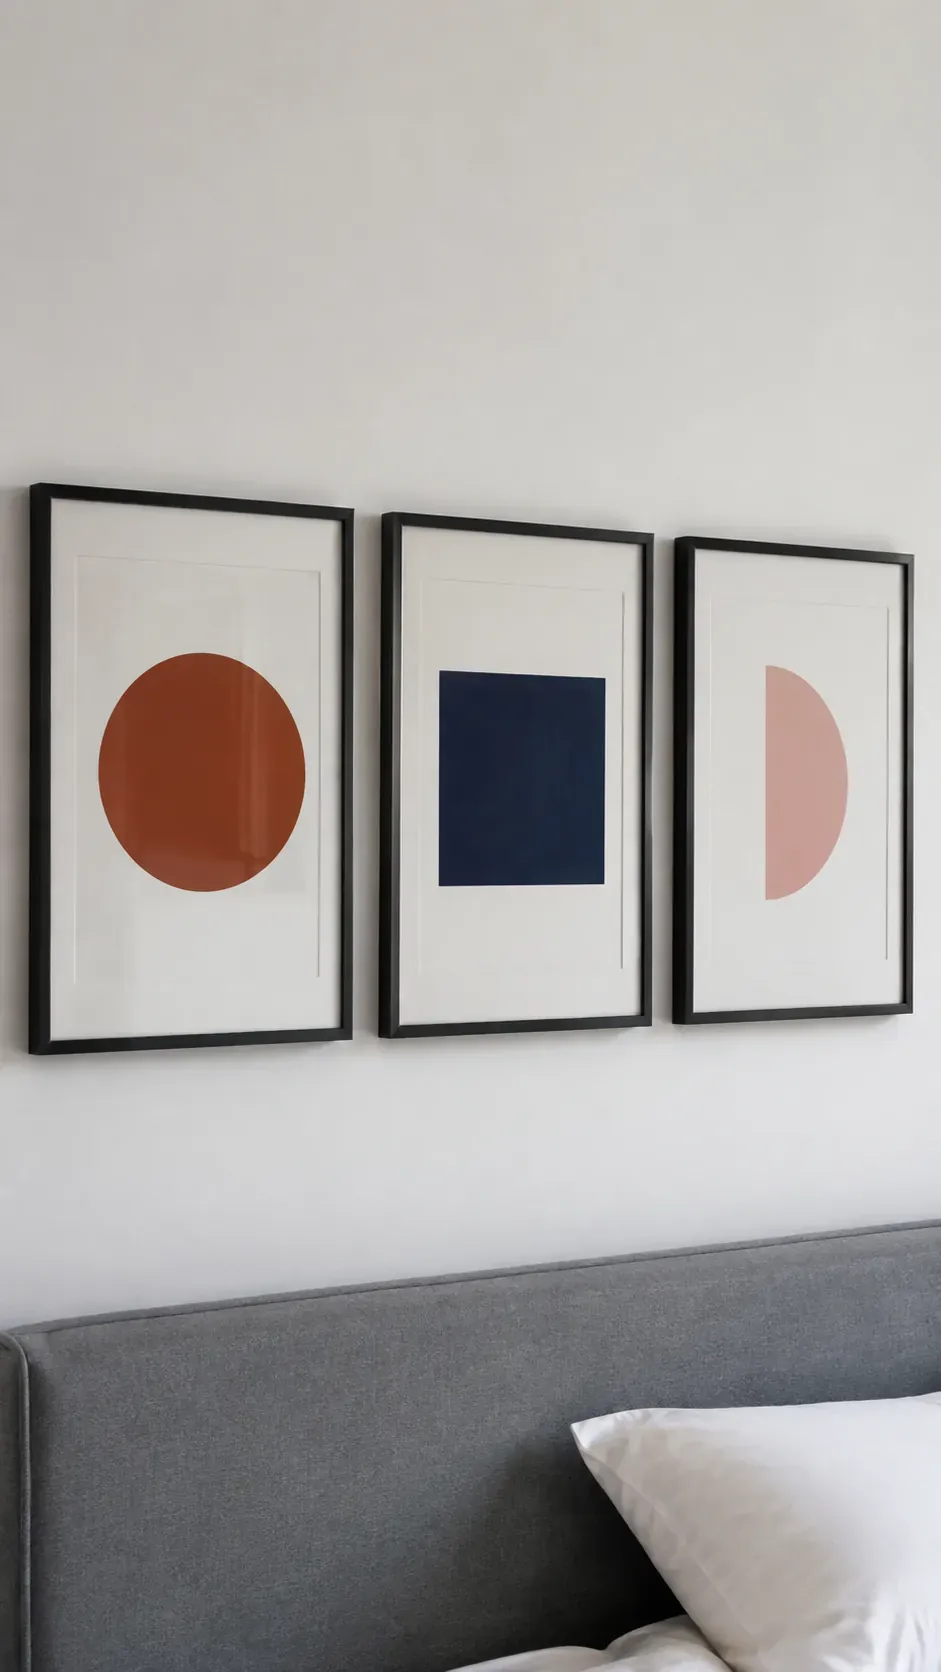
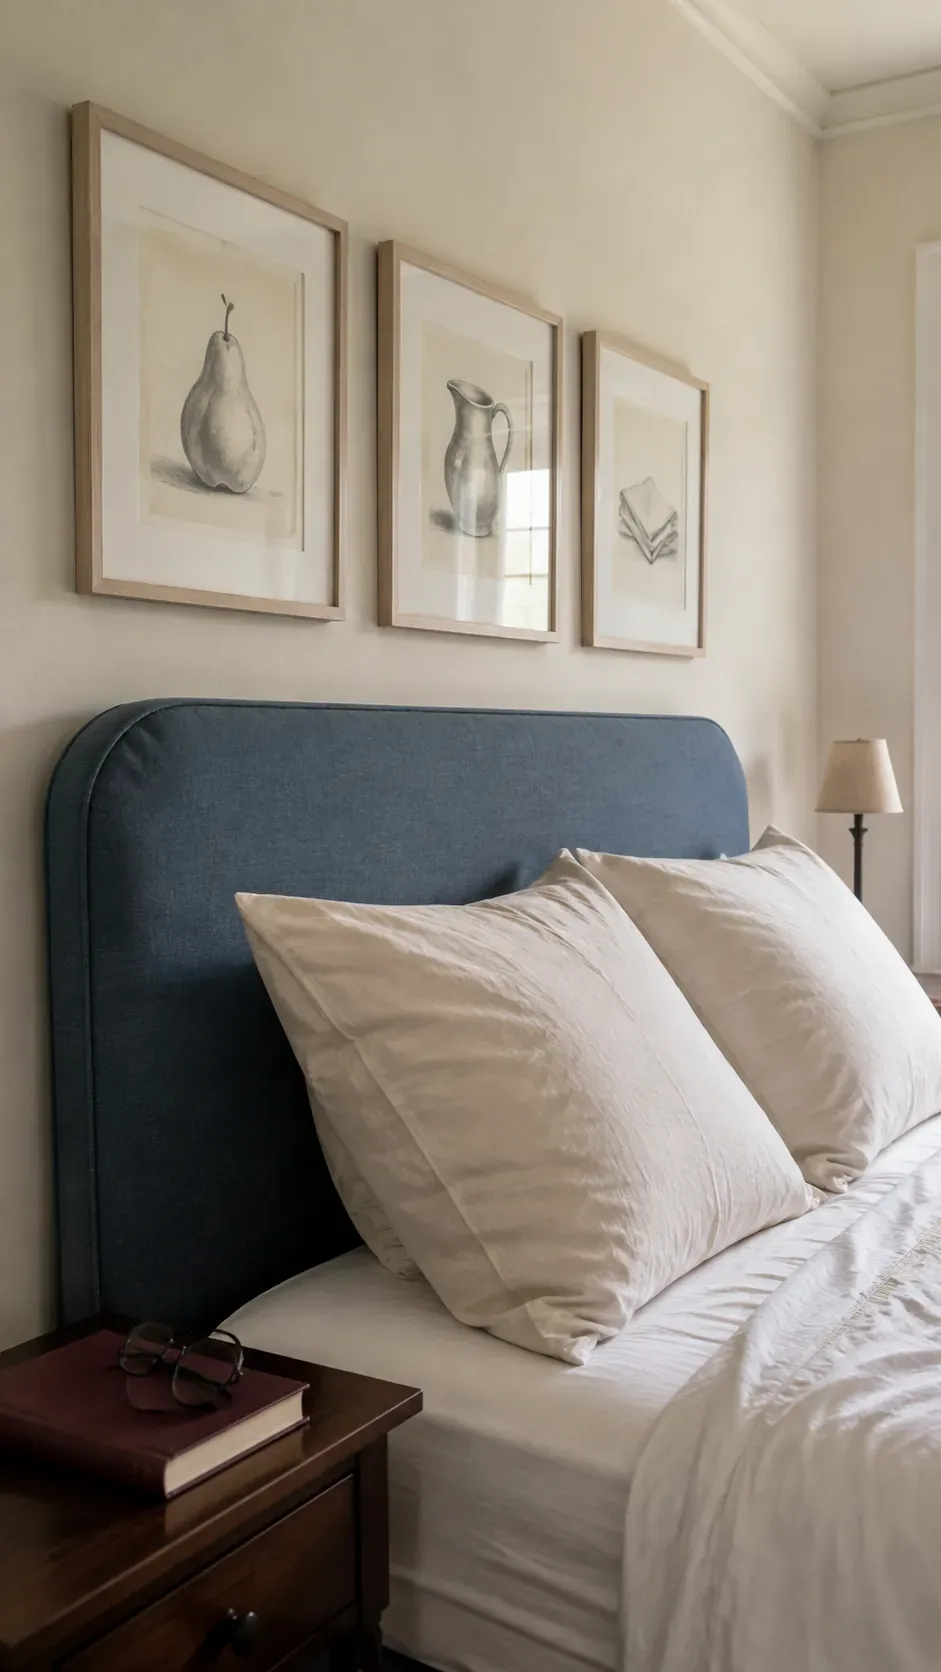
A useful first mockup places the bottom of the frames around 6 to 10 inches above the headboard. Adjust from there so the group feels connected to the bed and clears the pillows and anyone sitting upright. Do not automatically apply a gallery eye level rule measured from the floor, since the headboard is the visual anchor here. For a tall upholstered headboard, smaller pictures or a shallower arrangement may fit better than pushing tall frames close to the ceiling.
Check the position with the pillows you actually use, including the large cushions you lean against while reading. If there is no headboard, use the normal top of the pillow arrangement as a visual reference and allow enough clearance for movement. Avoid placing rigid frames where your head can contact them when sitting up. A layout that photographs neatly but gets knocked every evening needs to move or change.
Choose an alignment that suits the pictures
With three identical frames, align the top and bottom edges and center the middle frame over the bed. If the bed sits off center on the wall, the group will usually look more intentional centered over the bed rather than over the entire wall. Use the midpoint between the outside ends of the headboard as your reference. Check the view from the doorway as well as directly from the foot of the bed before marking anything.
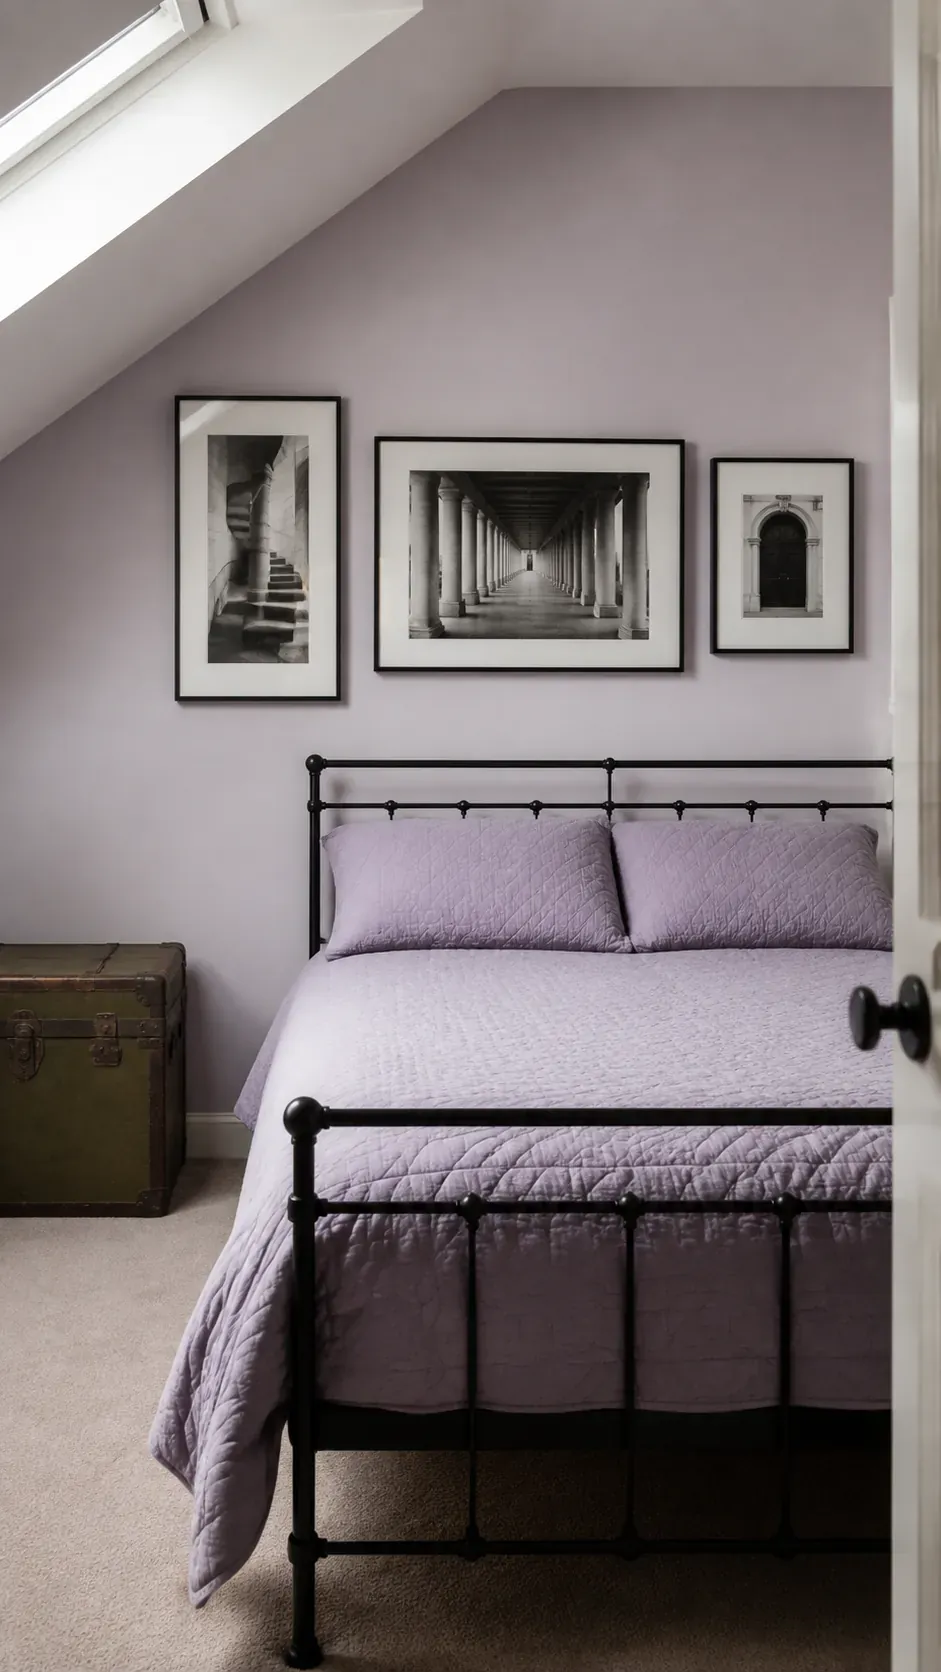
For mixed frame sizes, try a shared horizontal centerline through all three frames. This keeps a bedroom frame layout orderly without forcing the tops to match while the bottoms become an accidental staircase. A deliberate stagger can work, but first establish a clear focal picture and equal visual weight on either side. If a triptych over headboard contains one continuous scene, keep the intended image alignment instead of treating its panels as unrelated pictures.
Test paper templates before making holes
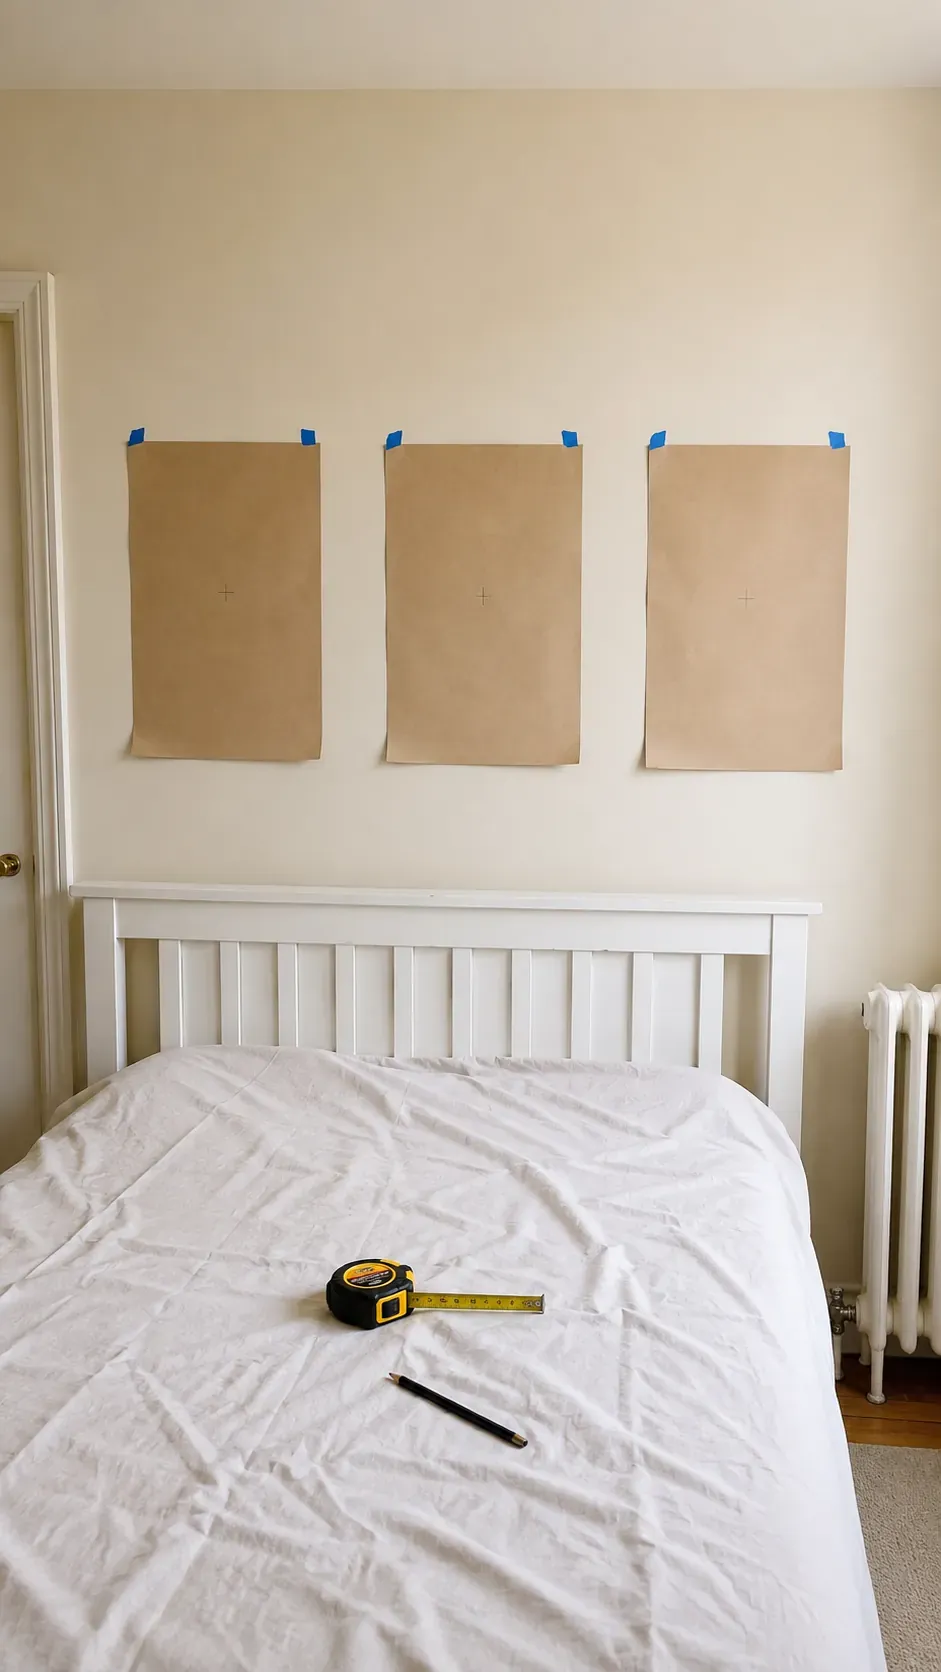
Cut paper rectangles to the full outside dimensions of your frames and place a small center mark on each one. Attach them with a wall suitable removable tape, testing the tape first on an inconspicuous area. Measure the bed center, set the middle template, and then position the two outer templates with your chosen gaps. The paper gives you a much more honest preview than holding one frame up and imagining the other two.
Leave the templates in place long enough to see them from the door and beside the bed under normal lighting. Check whether a reading lamp overlaps the lower edge or a nearby window makes one side feel crowded. When the arrangement works, transfer the actual hanging point of each frame onto its own template. Hardware offsets often differ, so a level row of nail marks does not guarantee a level row of frames.
Match the mounting to the frame and wall
Identify your wall construction and the complete weight of each framed picture before selecting hardware. Use fixings rated for that wall material and load, following the frame and hardware instructions, and check for concealed services before drilling. Above a sleeping area, lightweight frames with acrylic glazing can reduce the consequences of a fall compared with heavy glass. If an adhesive product’s instructions prohibit placement above beds, choose another mounting method or move the pictures elsewhere.
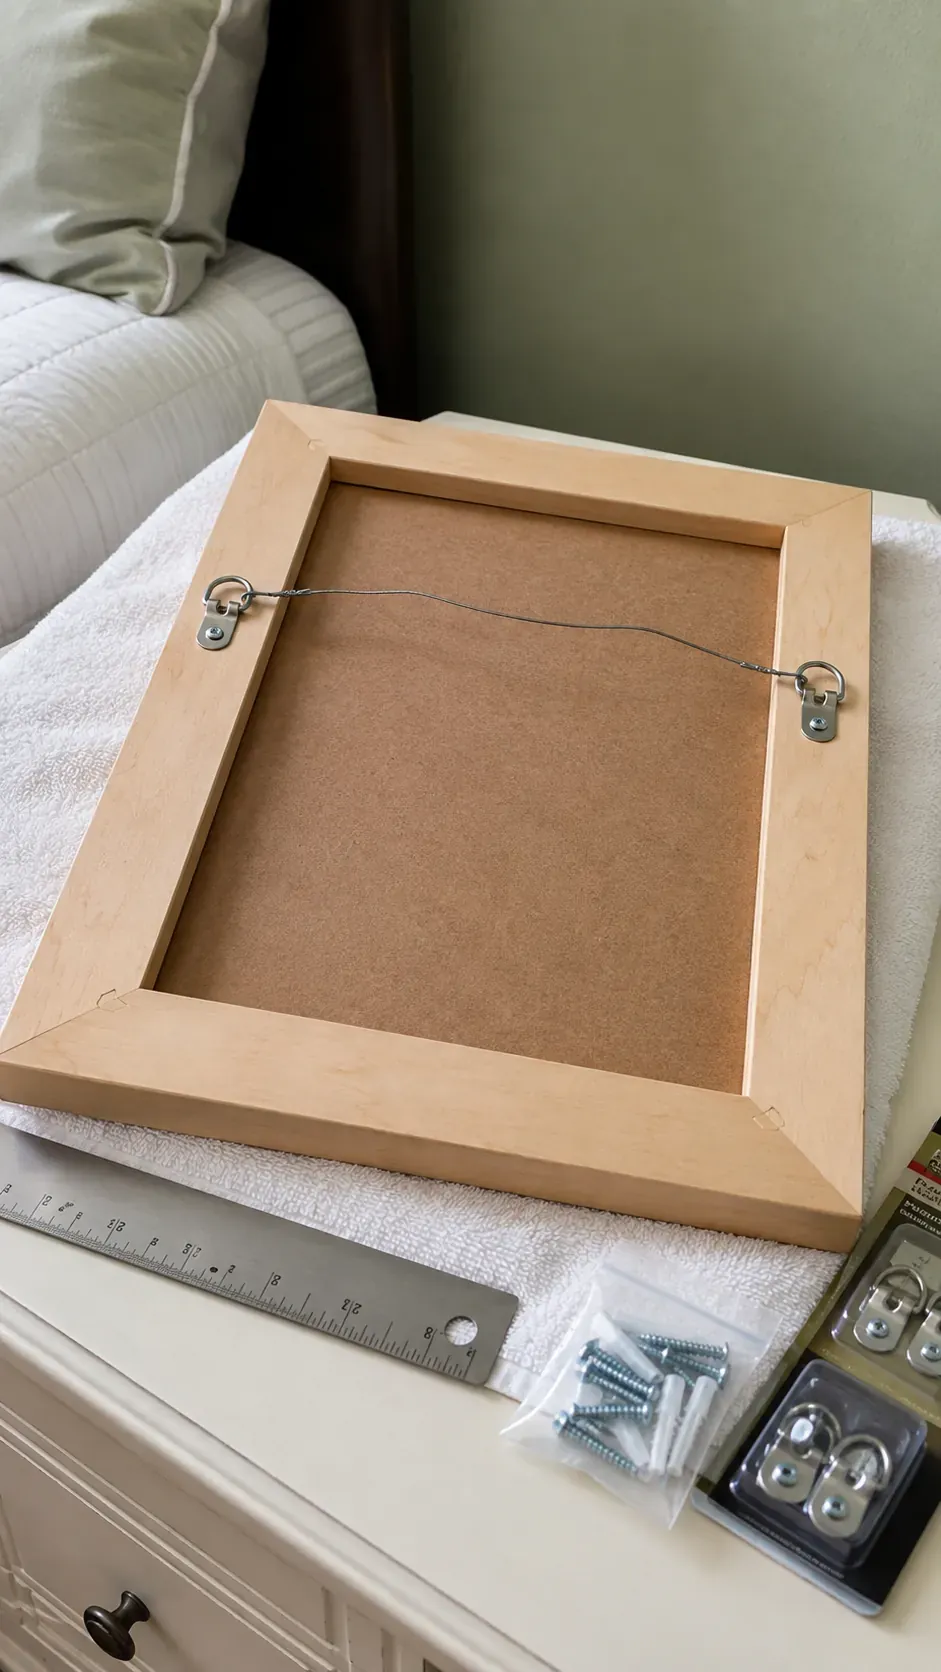
Measure the hanger position separately on each frame, including the loaded position of a picture wire if one is used. After mounting, check that every fixing is properly engaged and every frame is stable, then compare the gaps with a ruler and the edges with a level. Recheck if a frame shifts during cleaning or after the bed is moved. The arrangement is finished when all three pictures stay aligned through ordinary use, not just when they look straight for a photograph.