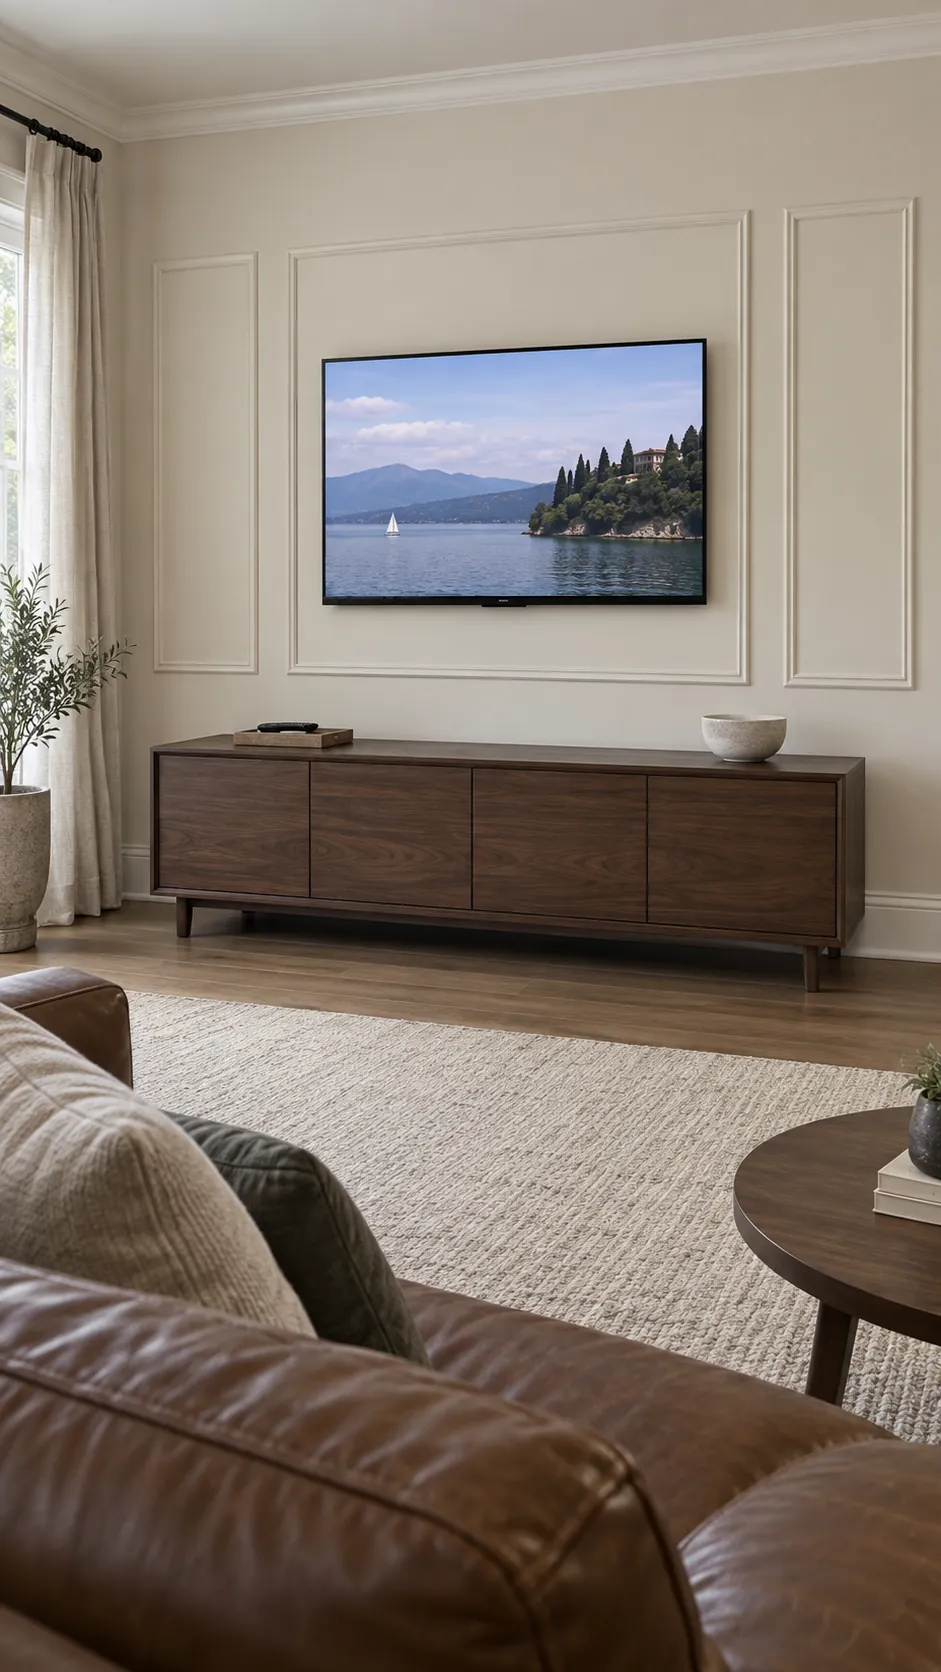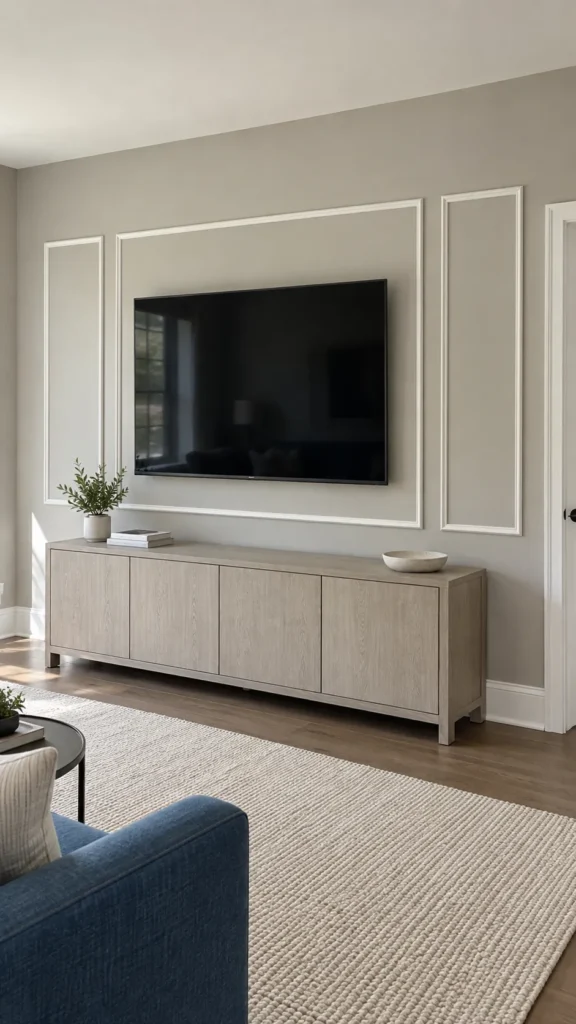
How to Add Picture Frame Molding to a TV Wall
The expensive mistake is cutting every piece of trim before checking how the television, bracket, and cables fit inside the design. Decorative rectangles need to work around that equipment, not dictate where it goes. A taped layout and a small material test can settle most of the awkward decisions before adhesive touches the wall.
Plan the screen position before the rectangles
A handsome trim layout cannot rescue a television that is uncomfortable to watch. Sit in your normal viewing position and decide the screen location before drawing decorative boxes around it. Check the television and bracket instructions for ventilation, tilt, movement, and access requirements, then keep that entire service area clear of molding.
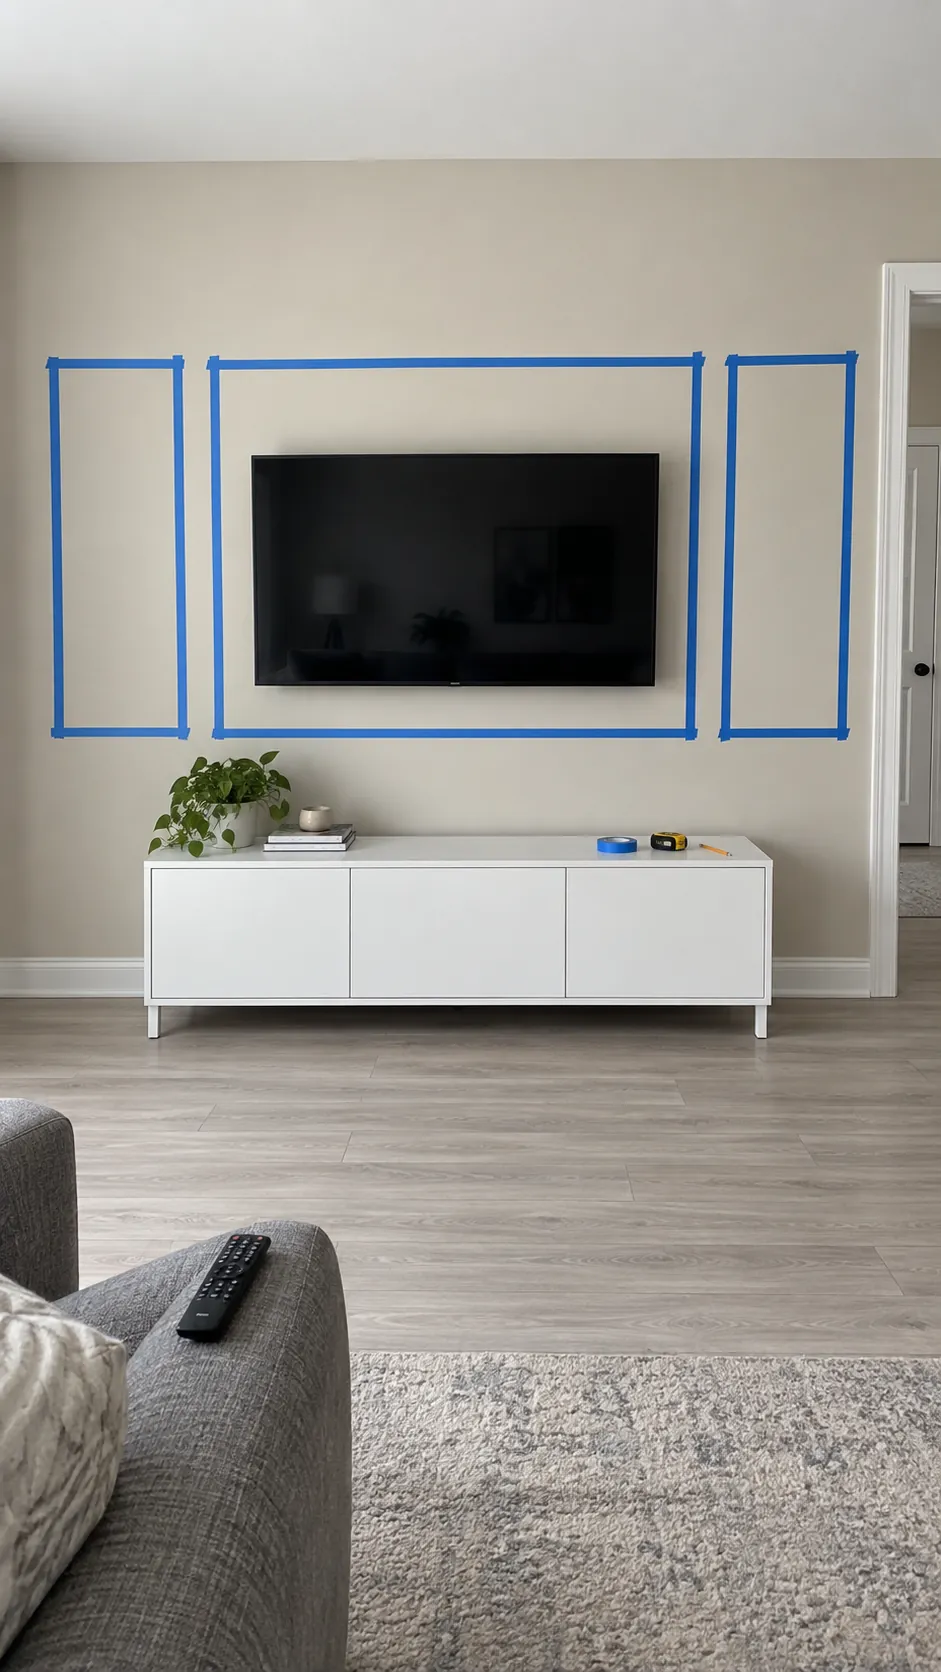
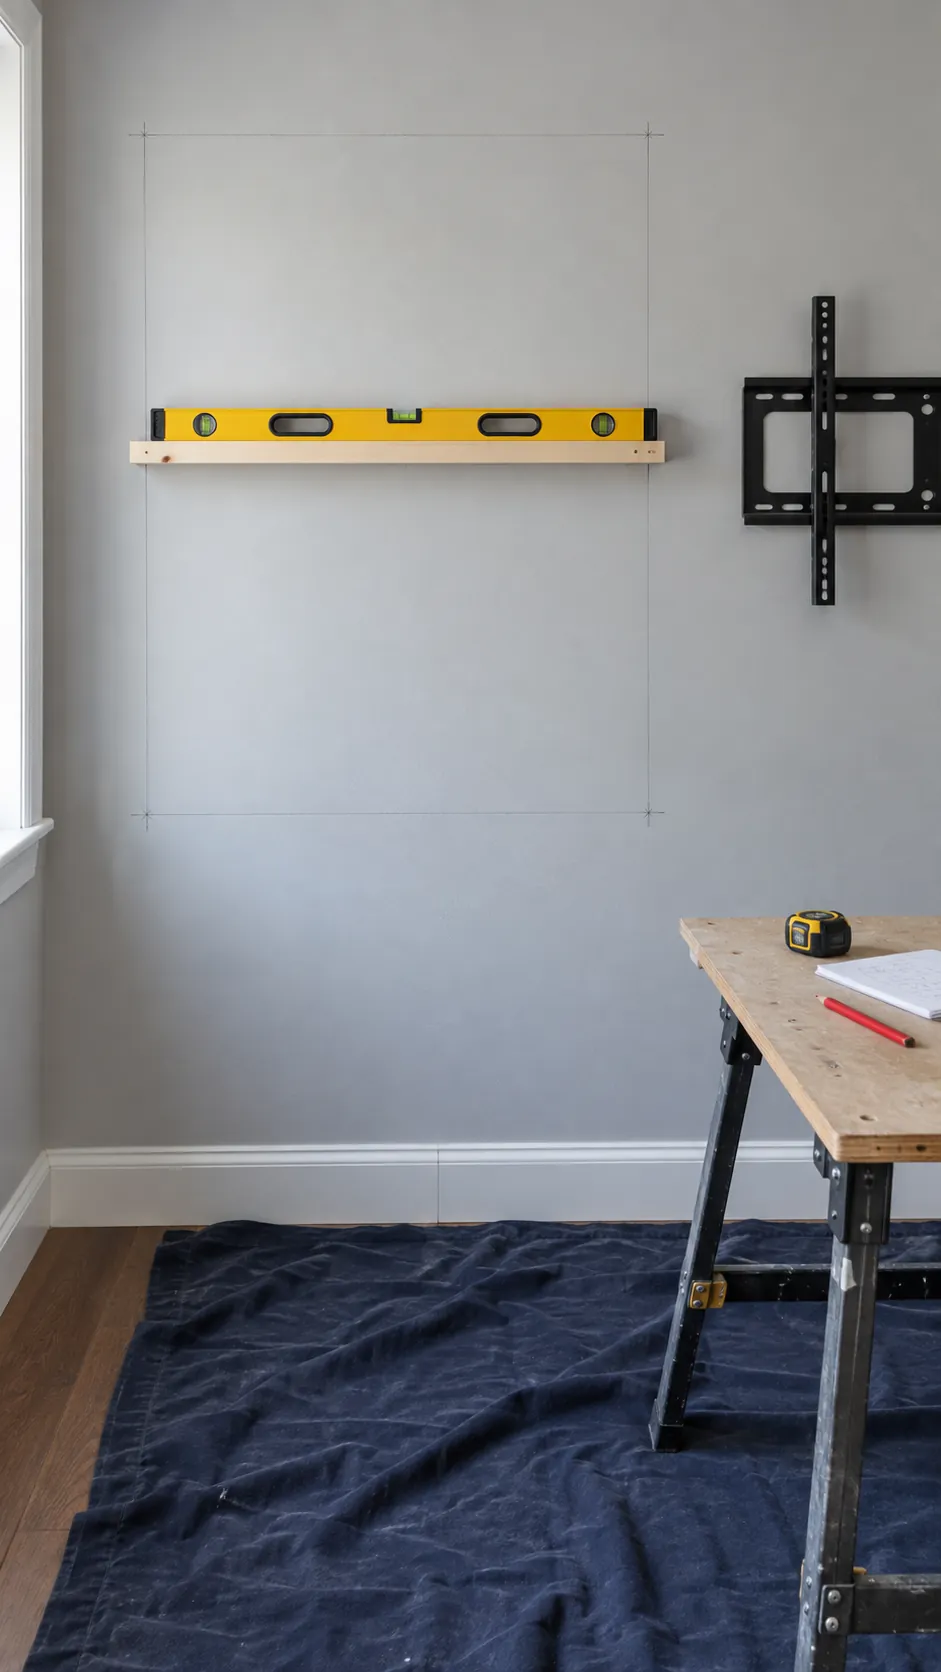
Measure the wall width and height, the console, door trim, sockets, and any vents. Open nearby doors fully to check their swing before adding raised trim. Mark the screen outline with removable tape and use a separate tape color for the proposed panel molding TV wall layout. One broad central rectangle with narrower side panels is a useful starting point, but a single box can suit a small wall better. Judge the tape from the sofa with the console in place, since equal measurements alone do not guarantee a balanced room.
Choose trim that suits the wall and the fixing method
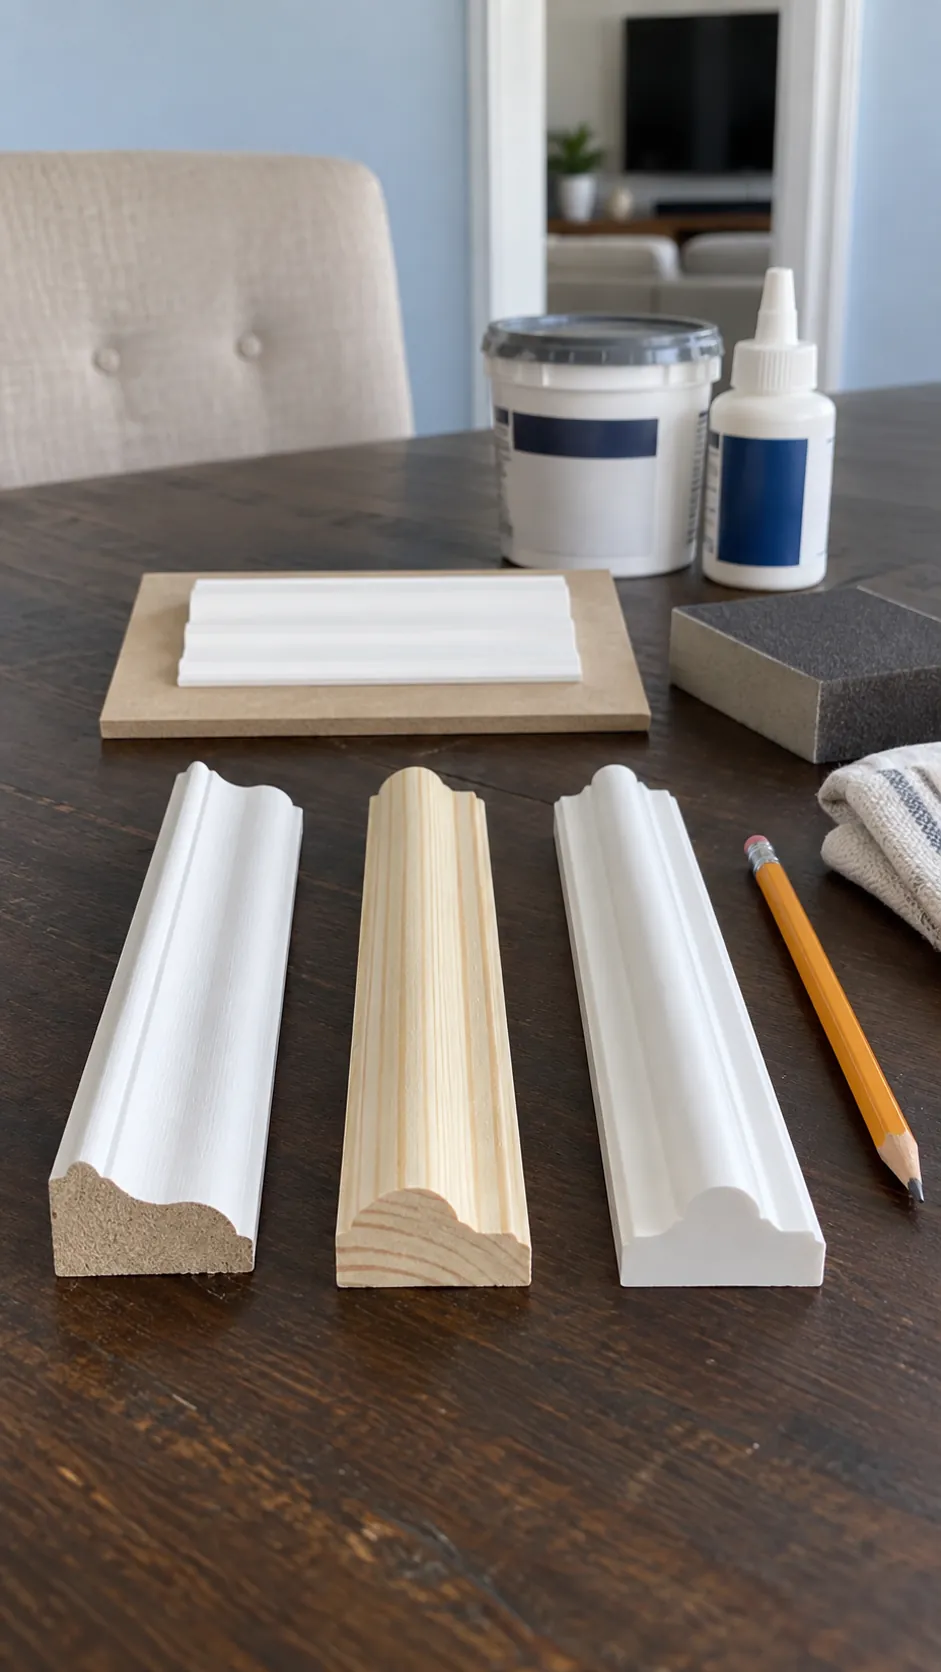
Lightweight decorative molding adds a raised outline; it is not a mounting surface for the television. Select a profile that looks proportionate beside the existing baseboard and door casing, and check that its depth will not interfere with the bracket. Primed MDF is often practical in dry interiors, while timber and polymer profiles have different cutting, movement, and adhesive requirements.
Prepare a small sample with the primer, adhesive, filler, and paint you intend to use. Follow the product instructions for the actual wall surface rather than assuming one construction adhesive bonds to every coating. Loose paint, dust, or damp needs attention before trim goes up. If you rent, obtain permission for permanent trim because adhesive removal can damage paint and drywall paper.
Set out level lines and make a cut list
Clean the wall, fill defects, and let repairs dry before transferring the approved layout. Establish a level reference with a spirit level or laser, then mark each rectangle independently. Ceilings and baseboards may be slightly out of level, so copying their slope can make the whole framed TV accent wall look crooked.
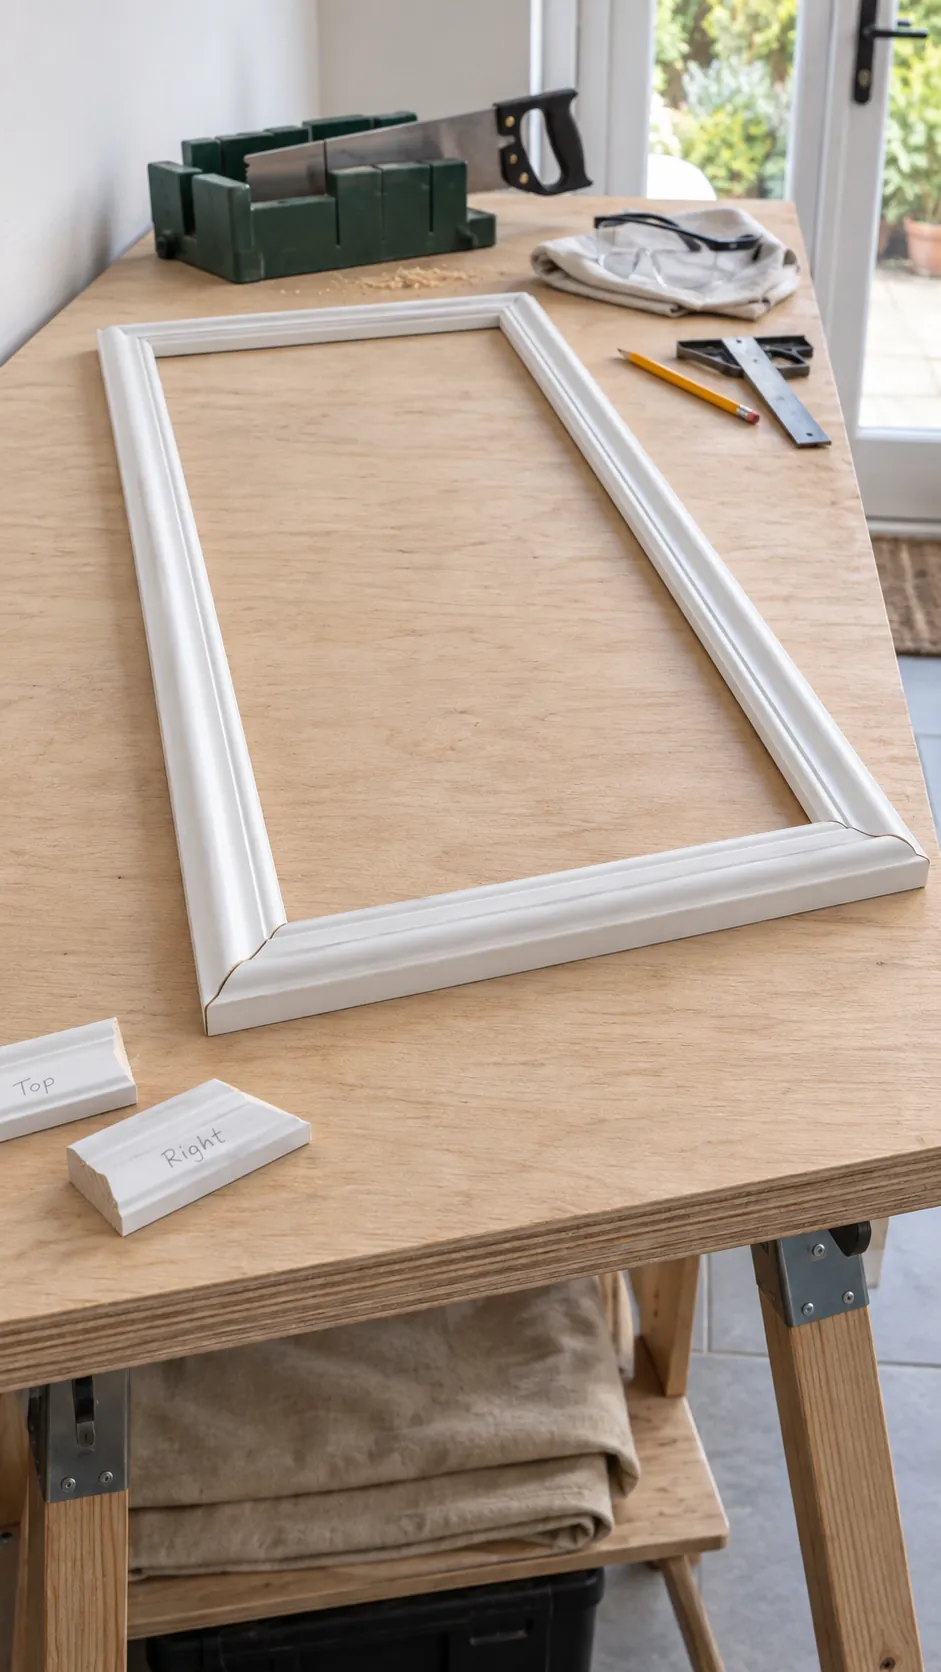
For a simple layout, wall width equals the panel widths plus all gaps and end margins. For example, a 144 inch wall could hold an 80 inch center panel, two 20 inch side panels, and four 6 inch spaces, provided that the TV and its required clearance fit inside the center. Treat those numbers as an arithmetic example, not a universal clearance recommendation. Label each cut piece and distinguish the long point from the short point of every miter before cutting.
Cut, dry fit, and attach the decorative frames
Use a suitable miter saw or miter box to cut the profile cleanly, following the tool instructions and wearing the appropriate eye, hearing, and dust protection. Start with test pieces to confirm how the profile sits against the saw fence. Cut opposing sides to matching lengths, then dry fit the complete rectangle before applying adhesive.
Join the corners neatly and check the frame for square by comparing its diagonals. Attach the trim with the method specified for that material and substrate, keeping it on the marked lines while it sets. If the system uses brads, identify concealed wiring and plumbing before fastening; do not drive fasteners blindly near electrical fittings. Thin molding should lie against the wall without being forced into a twist, and a visibly open corner deserves recutting rather than a mound of filler.
Finish the joints and preserve access behind the screen
After the adhesive cures, fill nail holes and suitable corner imperfections with a compatible filler, then sand as directed. Use a small bead of paintable caulk along appropriate wall to trim gaps, smoothing it without burying the profile. Remove sanding dust, prime exposed material where required, and apply the chosen finish according to its drying and recoating instructions.
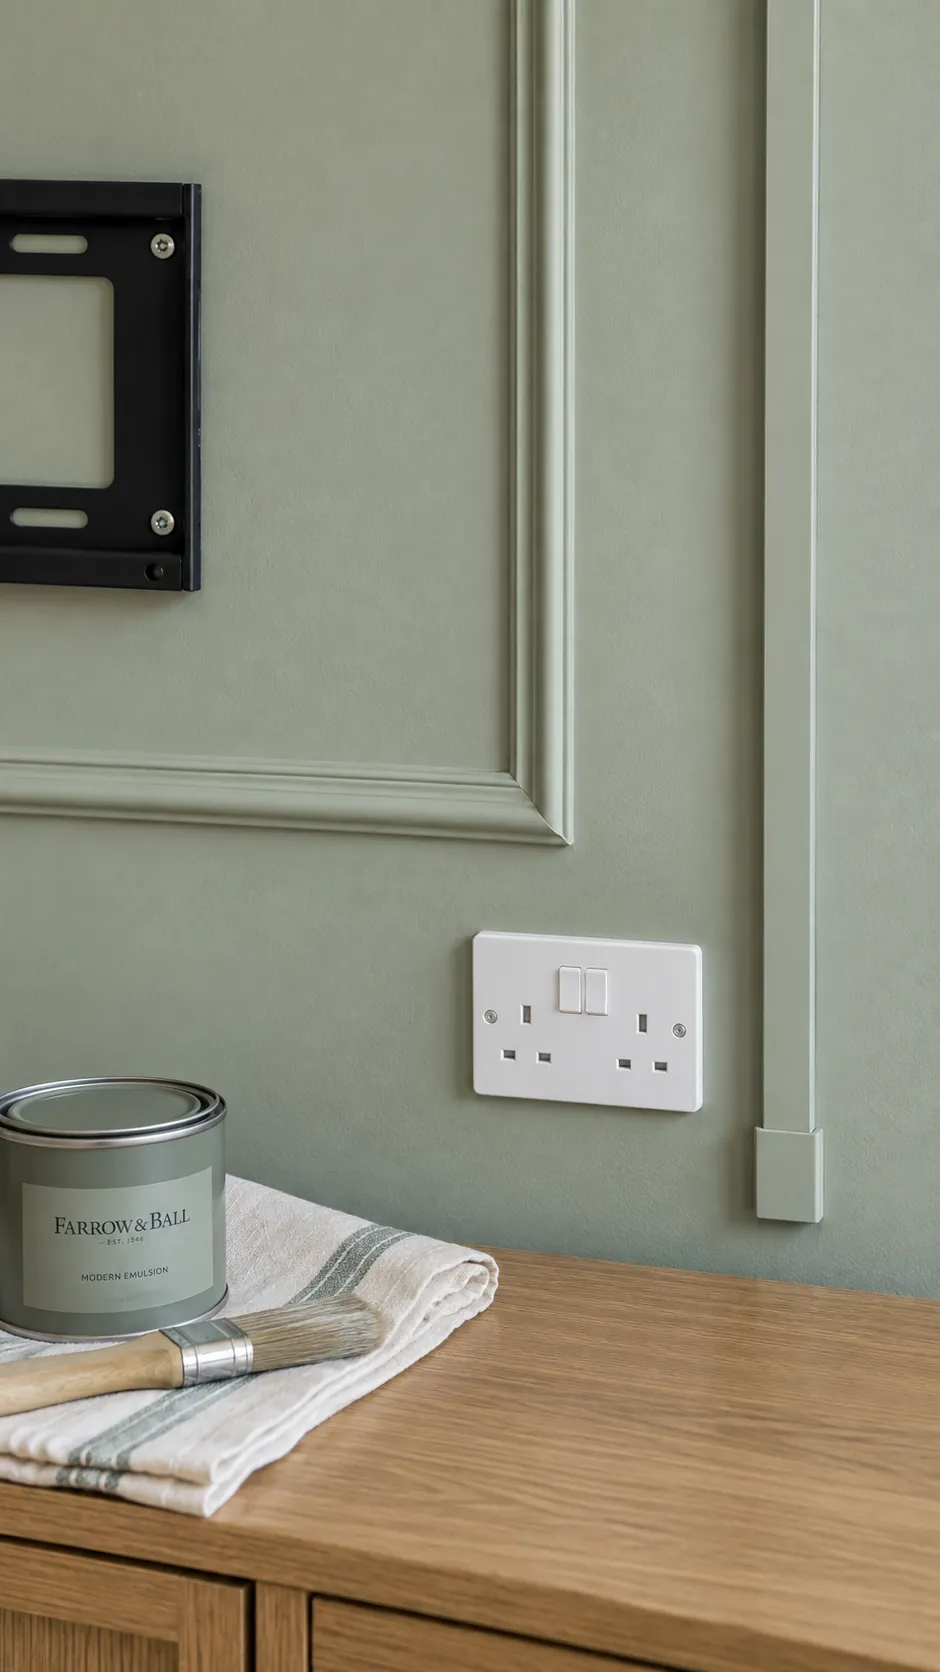
Painting the wall and trim the same color emphasizes shadow lines and usually keeps wall molding around TV edges quieter. Plan cable management before reinstalling the screen, leaving sockets, junction boxes, and connectors accessible. A surface raceway can conceal cables, but its use and contents must comply with local requirements; do not hide an ordinary TV power cord inside a wall. Have a qualified electrician handle any new or relocated power outlet.
Reinstall the TV and check the finished wall from the sofa
Mount the television only to the structural support and hardware required by its bracket instructions, never to the decorative molding. Use help where the equipment instructions require it, and make sure the bracket can still lock, release, tilt, or extend without striking trim. Reconnect the equipment after the paint has cured sufficiently, keeping airflow and service access clear.
Turn the screen on and watch from the usual seat before adding extra decoration. If the TV wall with decorative trim already has enough detail, let the panel outlines be the finish rather than filling every box with art. Check the corners in side light, confirm the console doors open freely, and keep the remote receiver unobstructed. The finished living room TV wall should work just as comfortably during a film as it looks when the screen is off.