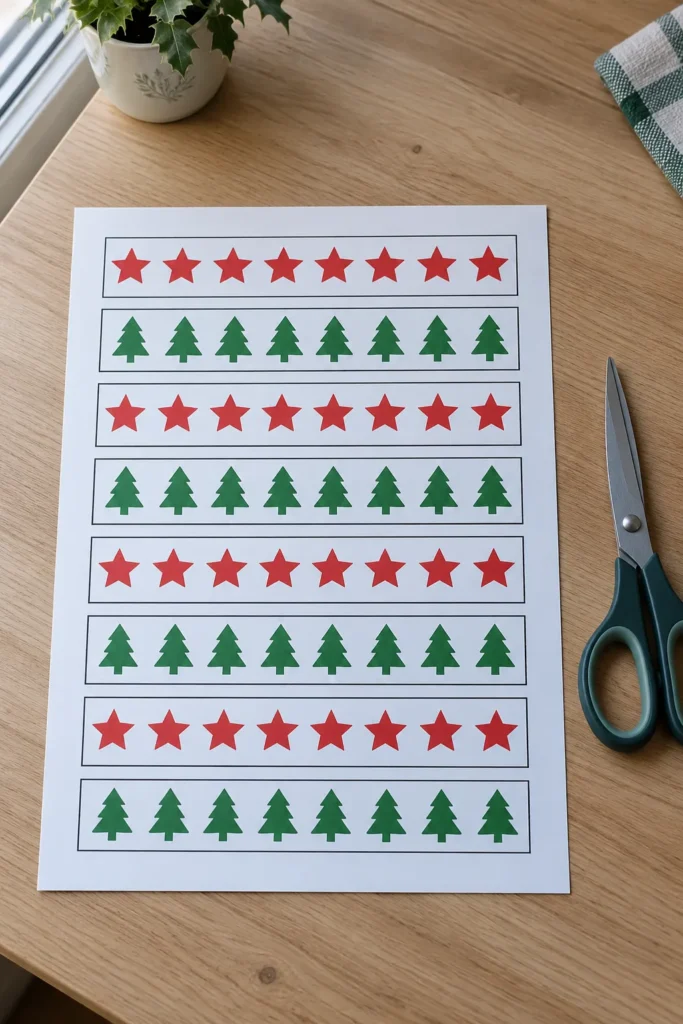
A paper garland is only satisfying when the strips actually curl into tidy loops. This page gives you straight cutting guides and repeating holiday patterns, so you can spend your time assembling the decoration instead of measuring each piece. Start with one sheet, test a link, and print more once you like the size.
The printable below contains eight rectangular strips with alternating red star and green fir tree designs. It is a craft sheet for home decorating or a supervised family activity, with no puzzle or answer key. Each rectangle becomes one link; the white spaces between rectangles are discarded.
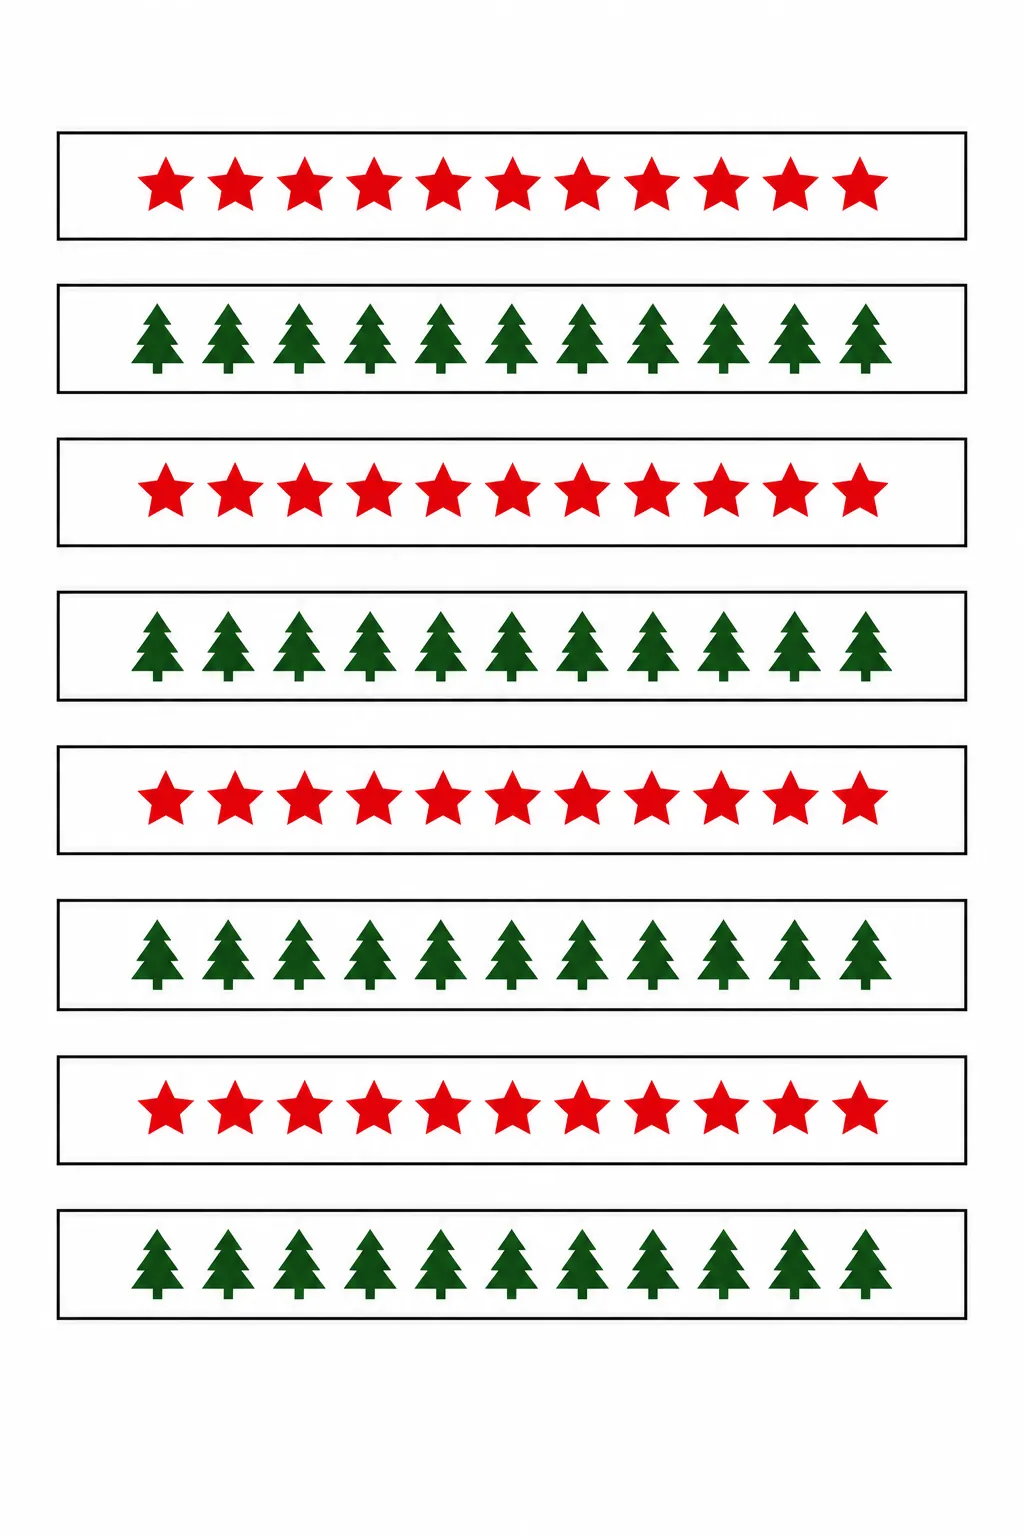
Download high-resolution printable
Click the preview to open the full size image, or use the download button to open it in a new tab. Save the image from that tab before printing. The download is an image file, so choose your paper size in the print dialog rather than expecting a separate PDF.
Print one test sheet before making a long garland
Use portrait orientation on A4 or US Letter paper and select the option that fits the complete image within the printable area. The page has a taller shape than either paper size, so some white space at the sides is normal. Turn off borderless printing if it enlarges the design and clips the strip ends. Check that all eight rectangles are visible in the preview before committing to several copies.
Ordinary printer paper bends easily and suits a light christmas paper garland. Thin cardstock holds a rounder loop, but it can resist a glue stick and pull the seam apart. Try one strip with the paper and adhesive you already have. If the loop springs open, use a small piece of clear tape across the join instead of forcing a thick sheet into a tight curve.
Cut along the outer edge of each rectangle
Gather scissors, the printed page, and a glue stick or tape. Cut away the outer page margin first if that makes the sheet easier to handle. Then separate the strips along their straight borders, leaving the decorative stars and trees inside the cut edges. Young children can help sort the strips while an adult handles any cutting they cannot manage safely.
Connect the links with the pattern facing outward
Curve the first strip into a loop with its printed side facing outward. Overlap the short ends just enough to secure a flat join, then press the adhesive firmly. Thread the next strip through that loop before closing its own ends. Continue alternating the red star and green tree designs so the holiday paper chains have a clear rhythm.
Keep each seam on the inside curve where possible, and let glue dry before lifting the whole chain. A tight overlap produces a smaller loop and shortens the finished decoration. Use a similar overlap throughout so the links look consistent. Eight strips make eight links, but the hanging length depends on the printed scale, overlap, and how much the chain sags.
Plan the hanging position before joining every strip
Hold a short sample chain against the intended doorway, shelf, or window edge before making the full length. Add more printed sheets as needed rather than estimating the span from the flat strip length alone. Use removable hooks or a suitable existing rail, checking the surface instructions before applying an adhesive hook. Leave enough slack to avoid pulling the first and last paper loops out of shape.
Keep paper decorations away from heat and moisture
These christmas craft strips are indoor decorations, and damp windows can soften the paper or mark the ink. Hang the garland where it will not brush candles, heaters, cooking surfaces, or electrical lights. If you display it near a fireplace, use a different location while the fire is lit. Fold the chain loosely into a dry box after the season, with the seams supported instead of crushed under heavier ornaments.