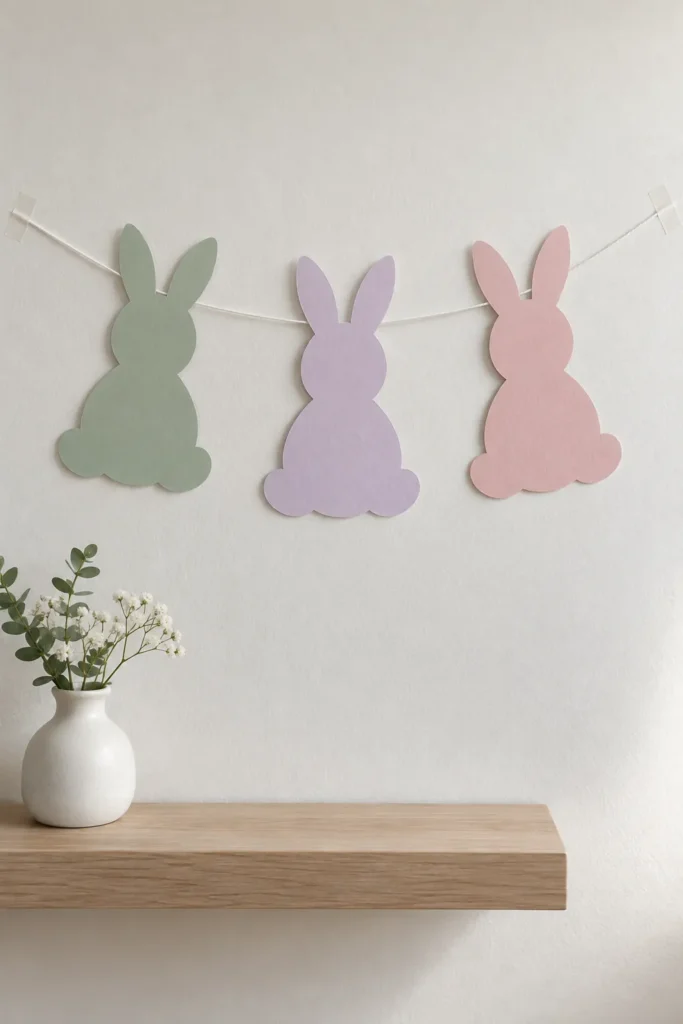
Paper rabbits tend to twist on a garland when the string is fixed at only one point. A broad shape and two small attachment points behind the head keep each cutout facing forward. This template gives you a plain outline to repeat on colored paper, with enough space around the ears to cut without rushing.
The page contains one seated bunny outline viewed from the back, with two upright ears, a rounded head, a broad body, and two simple feet. It has no face, tail mark, or lettering to align. Use it as a reusable tracing guide for bunny bunting, or cut out the printed shape directly. Adults can prepare the outline while younger children choose paper colors and arrange the finished rabbits.
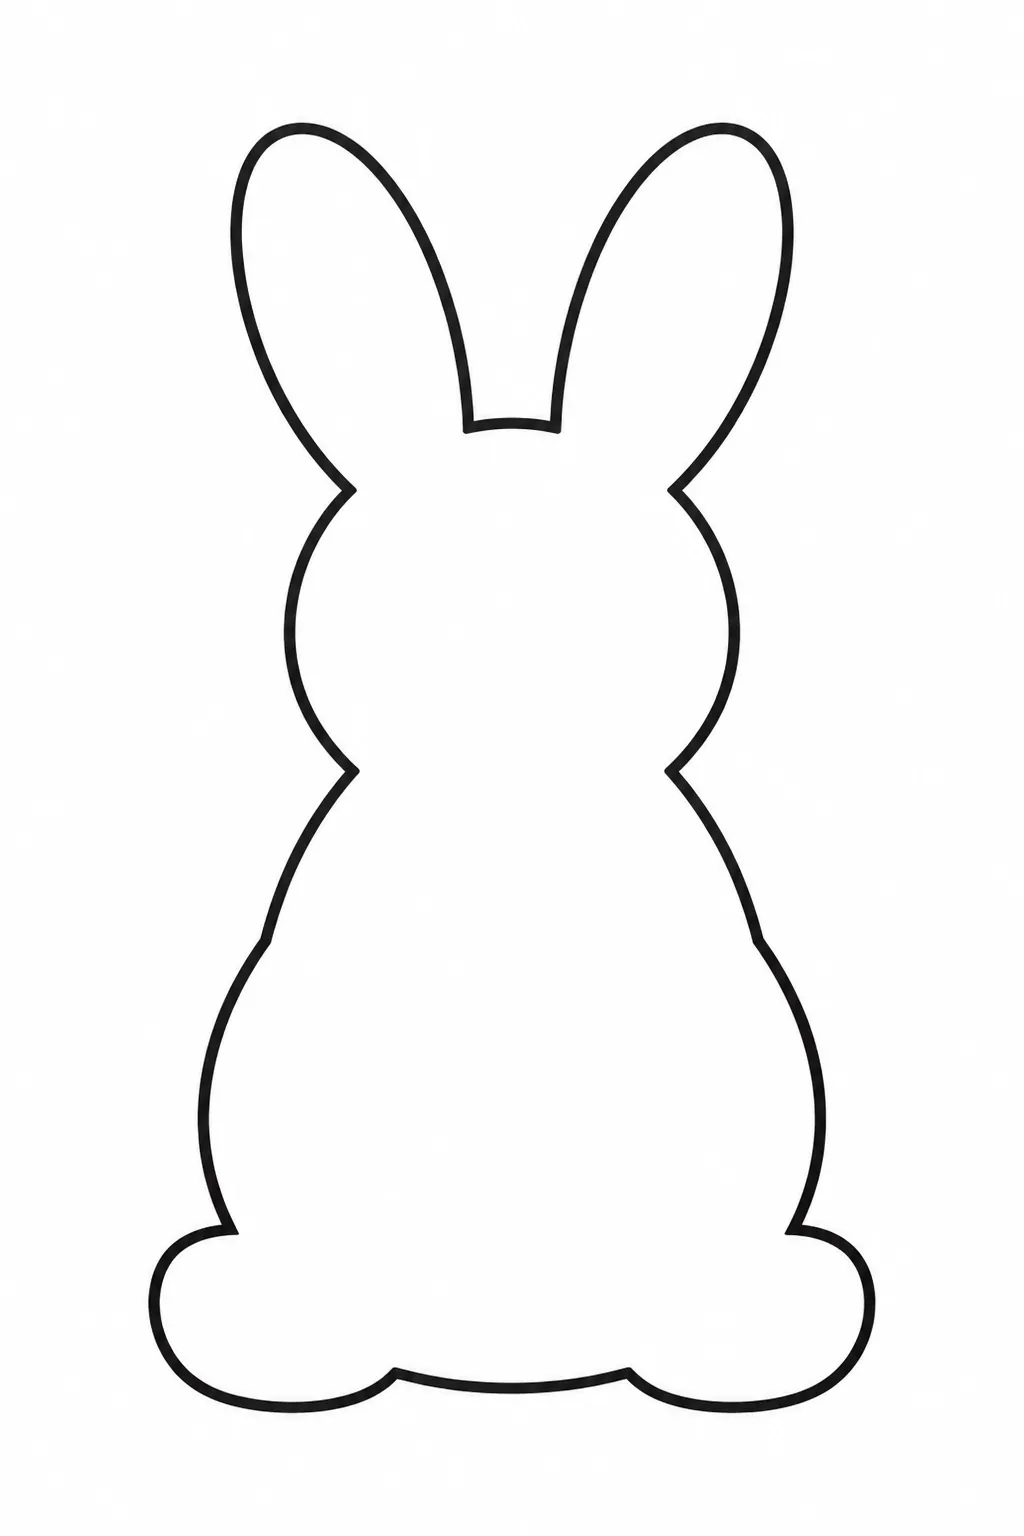
Download high-resolution printable
Click the preview to open the full size image, or use the download button to open it in a new tab. Save the image from that tab and print it in portrait orientation. The file is an image download, so set the scale and paper size in your print dialog.
Choose the bunny size for your hanging space
Fit the complete page within the printable area on A4 or US Letter paper for a large tracing guide. To make smaller rabbit cutouts, reduce the image scale in the print dialog and inspect the preview before printing. Keep both ears and both feet visible with clear white space around them. No fixed finished height is promised because printer settings and paper size change the scale.
Lay the test bunny against the shelf, window edge, or wall where the garland will hang. Decide whether that size leaves room for several rabbits without hiding the space behind them. A compact garland often looks clearer with fewer broad shapes than with many tiny ones. Keep the same saved print settings once you settle on the size.
Make a tracing guide before using the colored paper
Print the template on ordinary paper, then cut along the outside of the dark outline. Trace around that guide on the reverse side of your chosen paper with a light pencil. Cut just inside the pencil line if you want the edge to look clean from both sides. The plain shape works with pastel cardstock, kraft paper, or another sheet that your scissors can cut comfortably.
Protect the ears while cutting the outline
Remove the excess page margin before working around the bunny so you can turn the paper freely. Cut the broad body curves first and leave the narrow valley between the ears until you can reach it easily. Turn the sheet rather than forcing the scissors sharply sideways. If a child finds the ear gap difficult, an adult can finish that part without changing the rest of the shape.
Thin paper is flexible, while cardstock keeps the ears more upright. Avoid a very heavy sheet if it makes the small curves hard to control. Support each rabbit flat on the table when adding decoration. An optional small paper tail can be glued onto the body, but it is not part of the printed template and the plain cutout works without it.
Space the rabbits before fixing them to the string
Lay a length of string on a flat surface and place the rabbits beneath it in your intended order. Alternate colors if you want a repeated pattern, leaving visible space between adjacent ears. Measure the actual hanging area and allow spare string at both ends for tying. This test layout tells you how many cutouts to make without guessing from the printable page alone.
Tape across two points behind each head
Turn a rabbit over and place the string across the broad upper part of its head, below the ear tips. Secure it with two small pieces of tape, one toward each side, so the paper has less freedom to spin. Keep the string level across the backs of the remaining rabbits. Test the first few pieces by lifting the string before attaching every cutout.
For an alternative attachment, punch two holes in the broad head area and thread the string through them. Keep each hole away from the outside edge and the ear valley so the paper does not tear. This method suits firm cardstock better than fragile thin paper. Choose one attachment method for the whole garland so the rabbits hang at a similar height.
Hang the finished garland where it stays dry
Use a suitable existing rail or removable hooks rated for the surface, leaving a gentle curve in the string. Keep the easter paper garland away from candles, heaters, damp glass, and places where children or pets can pull a hanging cord. If a rabbit turns sideways, move its tape points farther apart on the back of the head instead of tightening the entire string. Store the cutouts flat after use, with the ears supported and the string loosely gathered beside them.