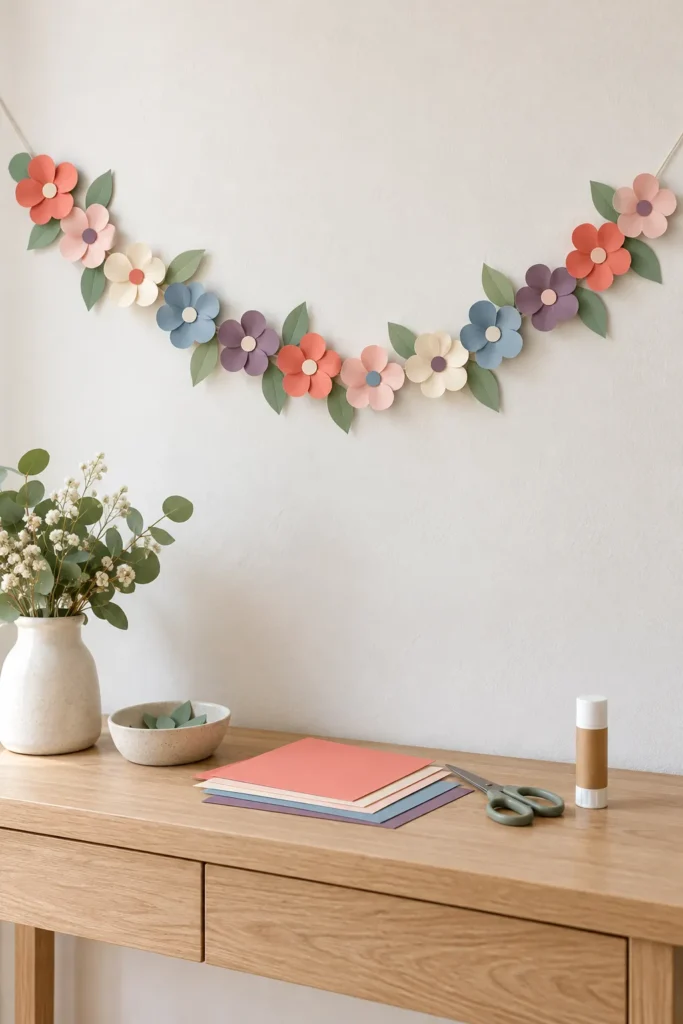
A floral paper banner can become fussy when every petal needs a different measurement. Repeating one broad flower shape keeps the cutting manageable and makes the finished strand feel intentional. A separate center and leaf let you vary color and depth without changing the basic construction.
The printable below provides all three shapes for a simple spring garland. Trace them onto cardstock, cut as many pieces as your space needs, and build each flower flat or lightly layered.
Download the paper flower template
The large shape has five broad petals that remain practical for hand cutting. The small circle covers the flower center, while the almond shaped leaf adds greenery between selected blooms. Keep the page proportions consistent if you change the print size.
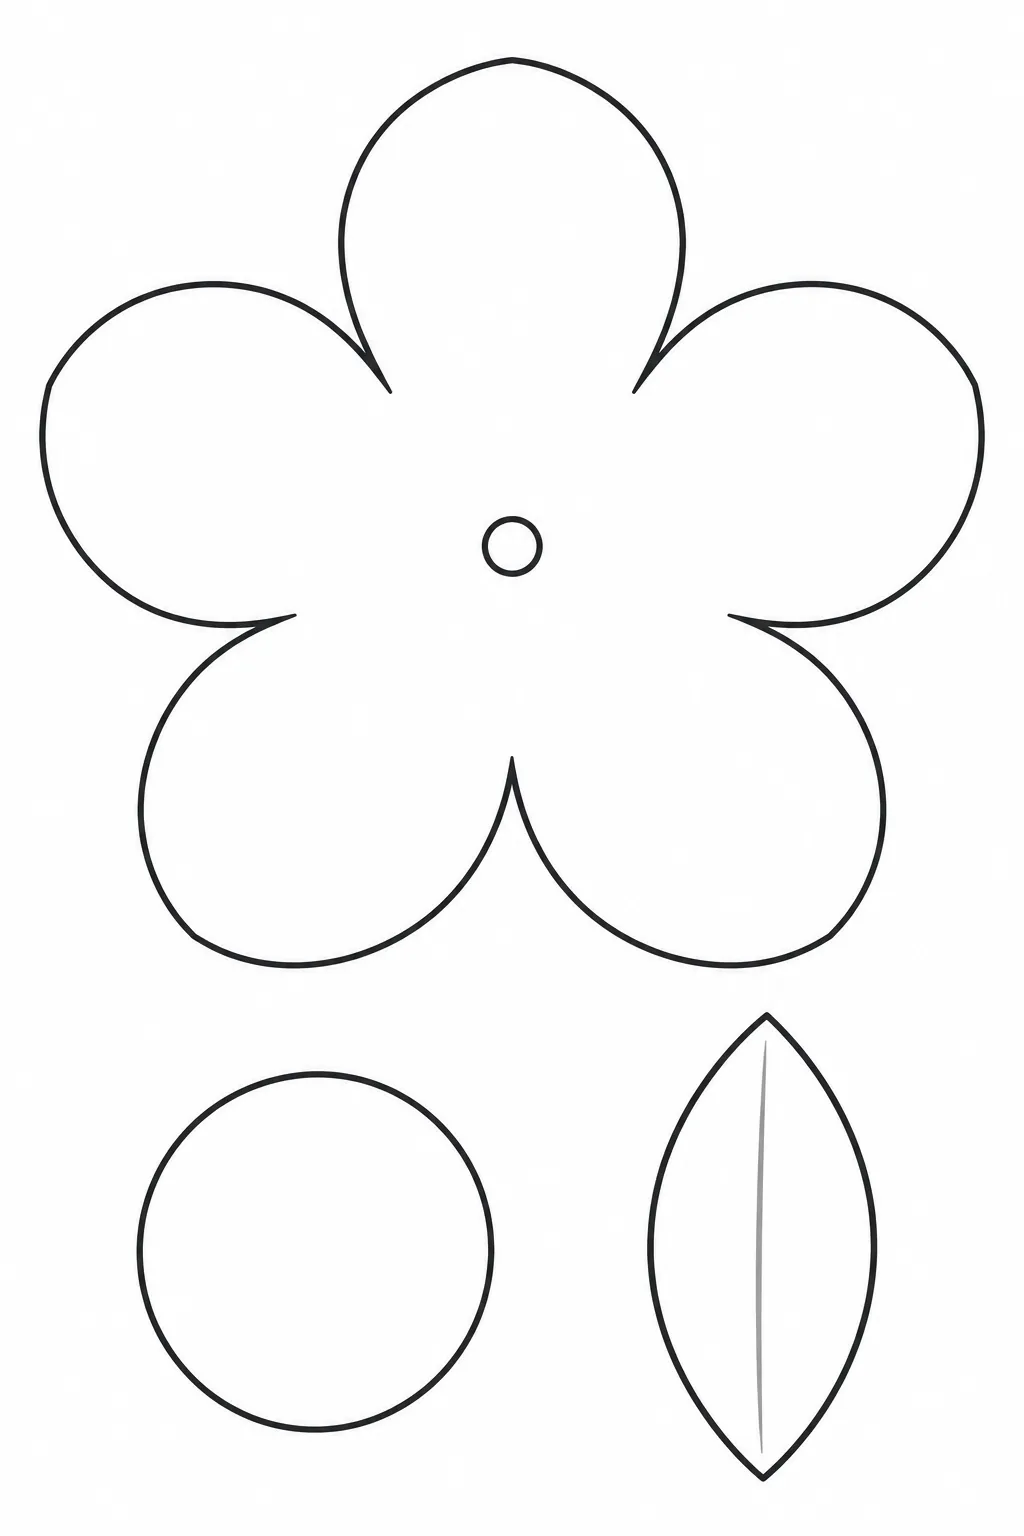
Download high-resolution printable
Click the preview to open the full size image, or use the download button to open it in a new tab. Save the image from there. Print one test page at actual size before cutting a large stack of decorative paper.
Choose paper and a color rhythm
Light cardstock holds the petal shape while remaining easy to cut. Scrapbook paper adds pattern, but broad prints can disappear on small flowers. Mix solid centers with patterned petals when you want detail that still reads from across the room.
Select three to five flower colors and one or two leaf greens before tracing. Arrange small paper swatches in a row to test the repeat. A planned sequence prevents one color from gathering heavily at a single end of the floral paper banner.
Trace and cut clean flower pieces
Cut the master shapes on their solid outlines, then trace on the reverse of your chosen paper. Turn the paper while keeping the scissors in a comfortable direction around each petal. Use small smooth cuts near the inward curves so the flower center does not tear.
Trace a center circle for every bloom and a leaf for selected gaps. Leaves look more natural when some are flipped to face the opposite direction. Erase any visible pencil after cutting, especially on pale cream or blush paper.
Layer and shape each bloom
A single flower cutout makes flat paper decorations that store easily. For more depth, place two flowers together and rotate the upper one so its petals sit between the lower petals. Attach them only at the center, then cover the join with the paper circle.
Curve petals lightly around a wide marker or lift them with a bone folder. Avoid a hard fold through the petal because that can make the paper look pinched. Let liquid glue dry under gentle pressure before adding the flower to the cord.
Build and hang the flower garland
Measure the display area and cut cord with extra length for end loops. Lay the cord on a table, position the flowers, and adjust the gaps before gluing. Place leaves behind some flowers and in a few open spaces rather than repeating the same leaf pattern throughout.
Attach the cord behind each flower center, where the layered paper is strongest. Support a long garland at more than two points so its weight does not pull on the end flowers. Keep the paper away from candles, heaters, damp windows, and cooking steam.
Store the banner in a shallow box with the flowers lying flat and tissue between layers. If one bloom bends, replace that piece using the saved master template instead of rebuilding the full garland. The same shapes can return in new colors for birthdays, showers, spring decor, or a classroom display.