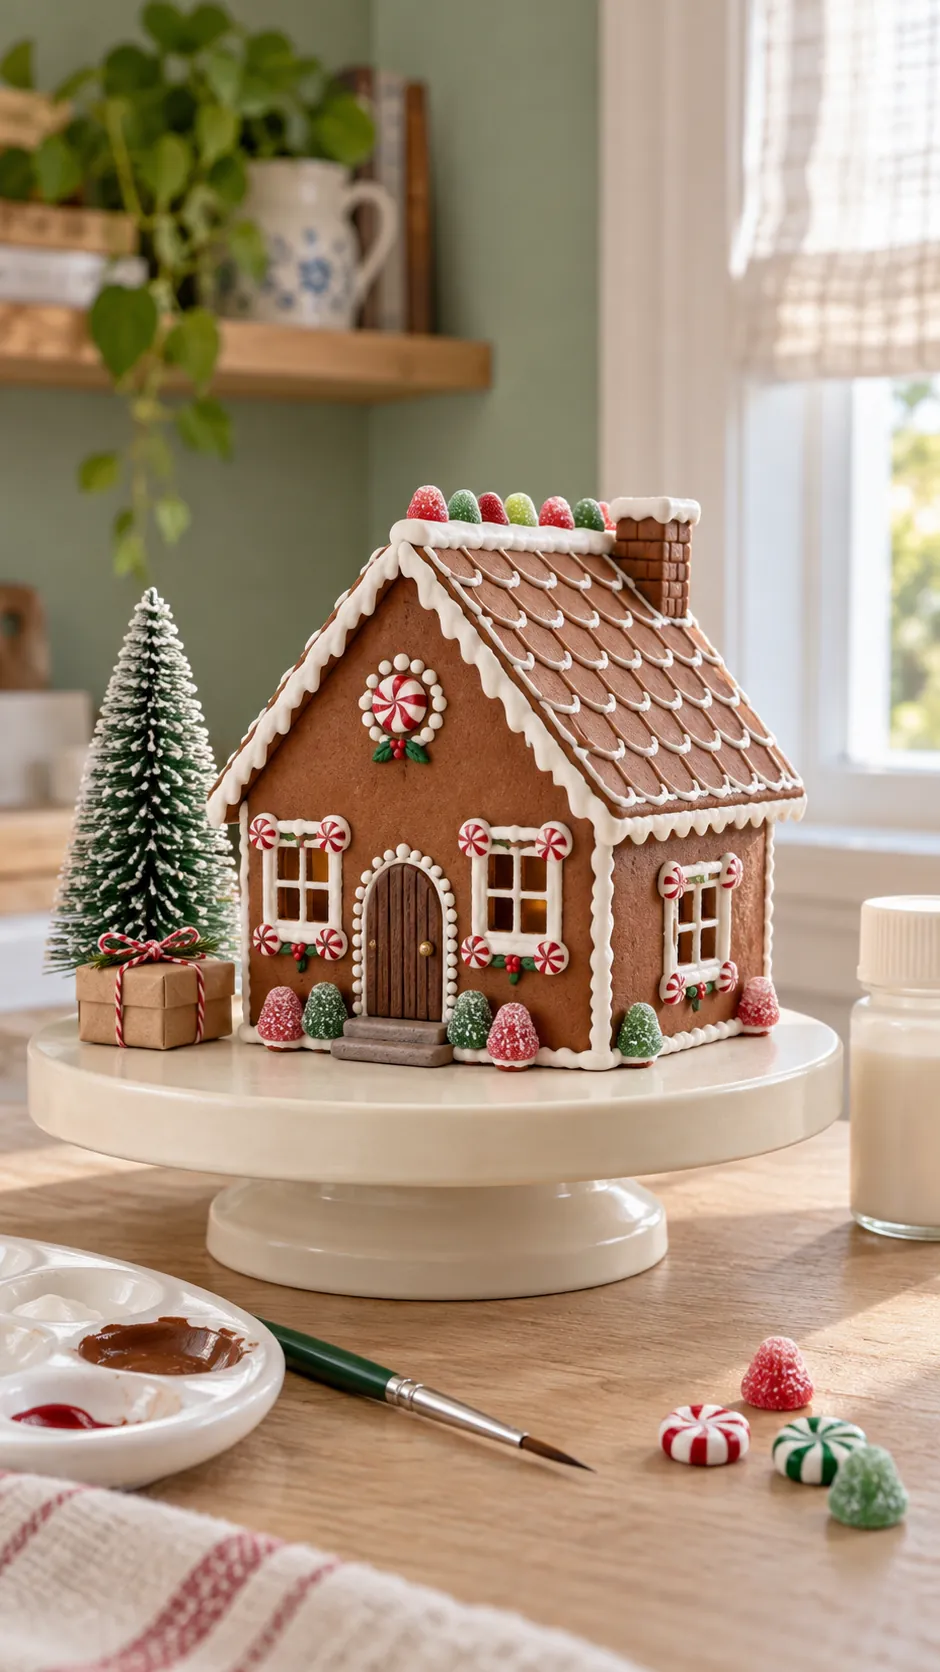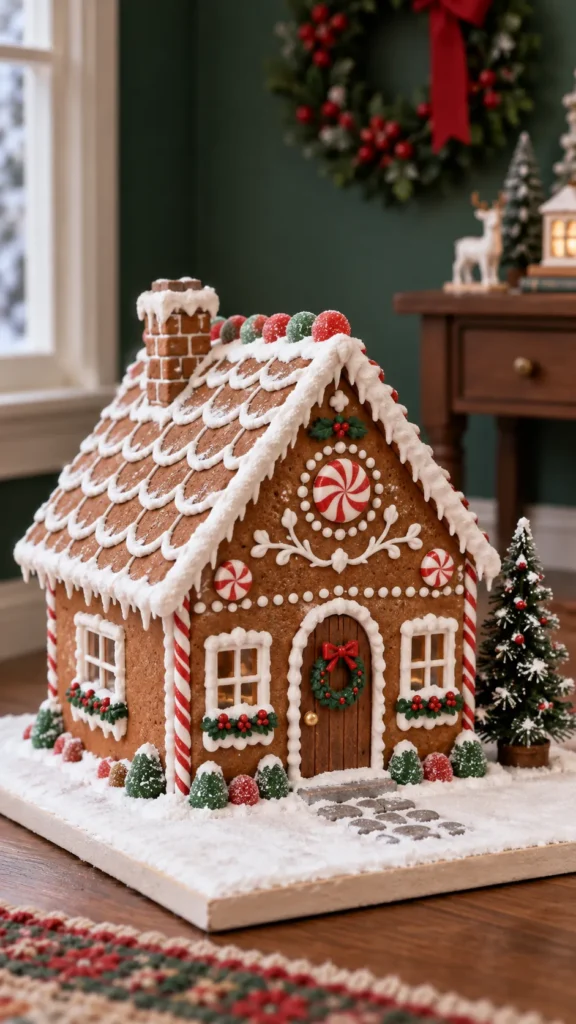
A tiny gingerbread cottage can fail before the decorating begins. Thick walls shrink unevenly, wet seams slump, and a roof that looked straight on the mat can twist while it dries. The most reliable method is to make thin panels, dry them flat, and assemble only after every piece feels firm and stable.
Plan the Cottage at 1:12 Scale
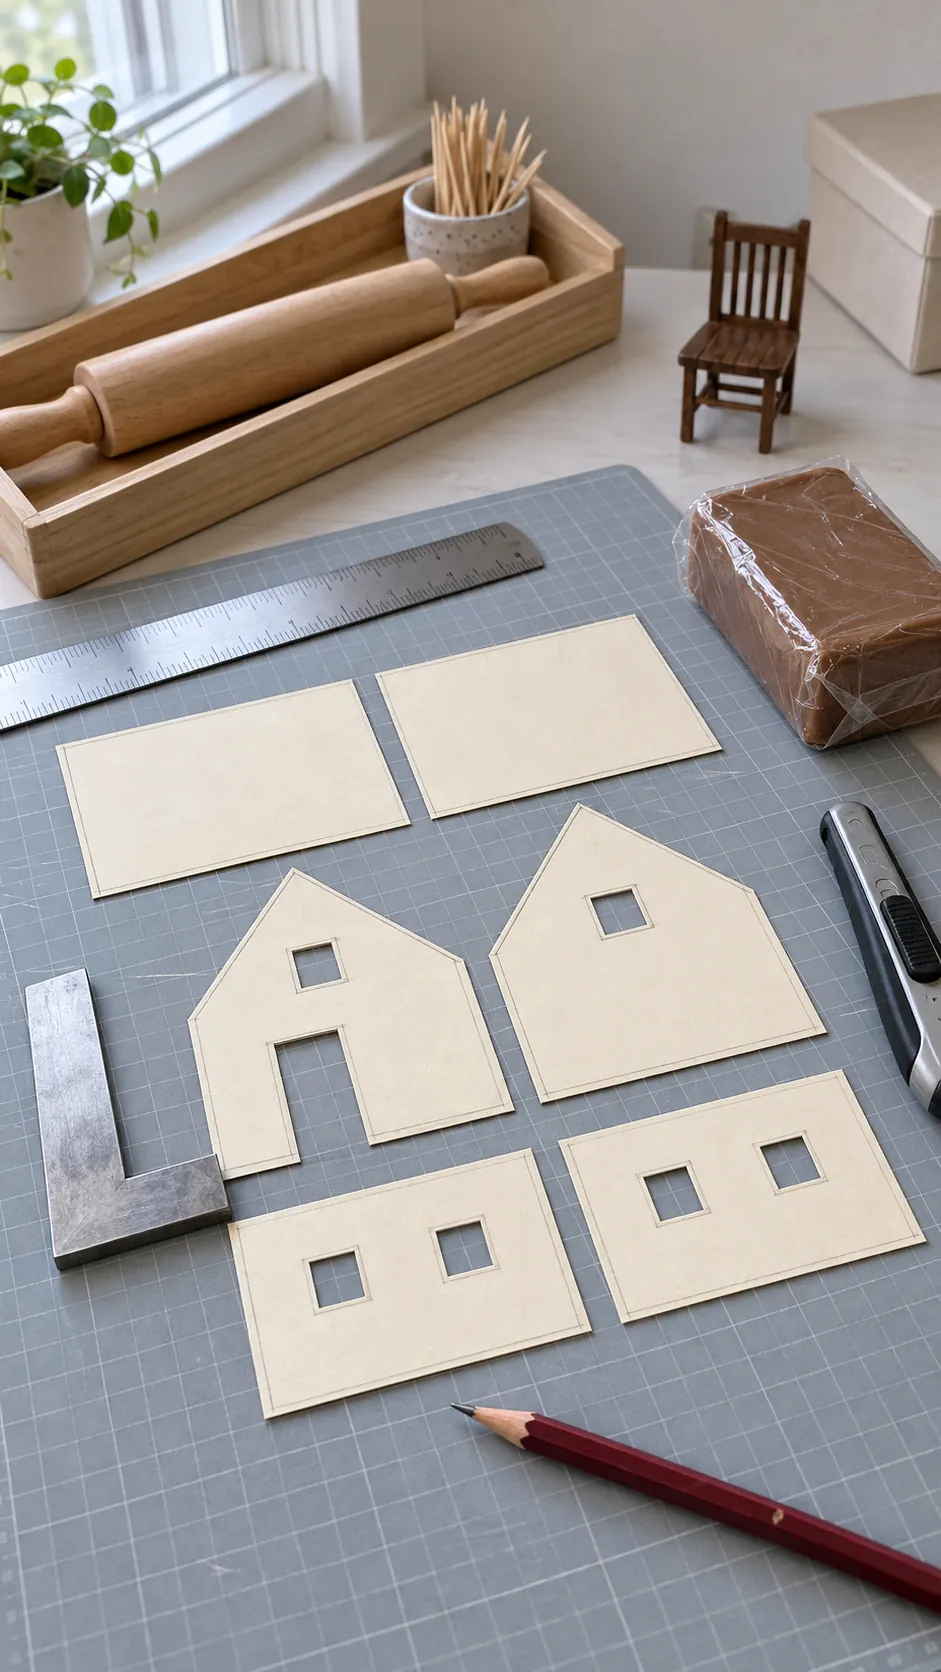
Choose the finished width, depth, and height before opening the clay. A small cottage about three inches wide works well as a shelf decoration or a piece of Christmas dollhouse decor. Draw front, back, side, and roof shapes on paper, then check that matching edges have the same length.
Keep the design simple for a first build. One door, two windows, and a pitched roof create enough character without weakening the panels. Mark the pieces with small pencil notes on the paper pattern, not on the clay surface.
Roll Thin Even Wall Panels
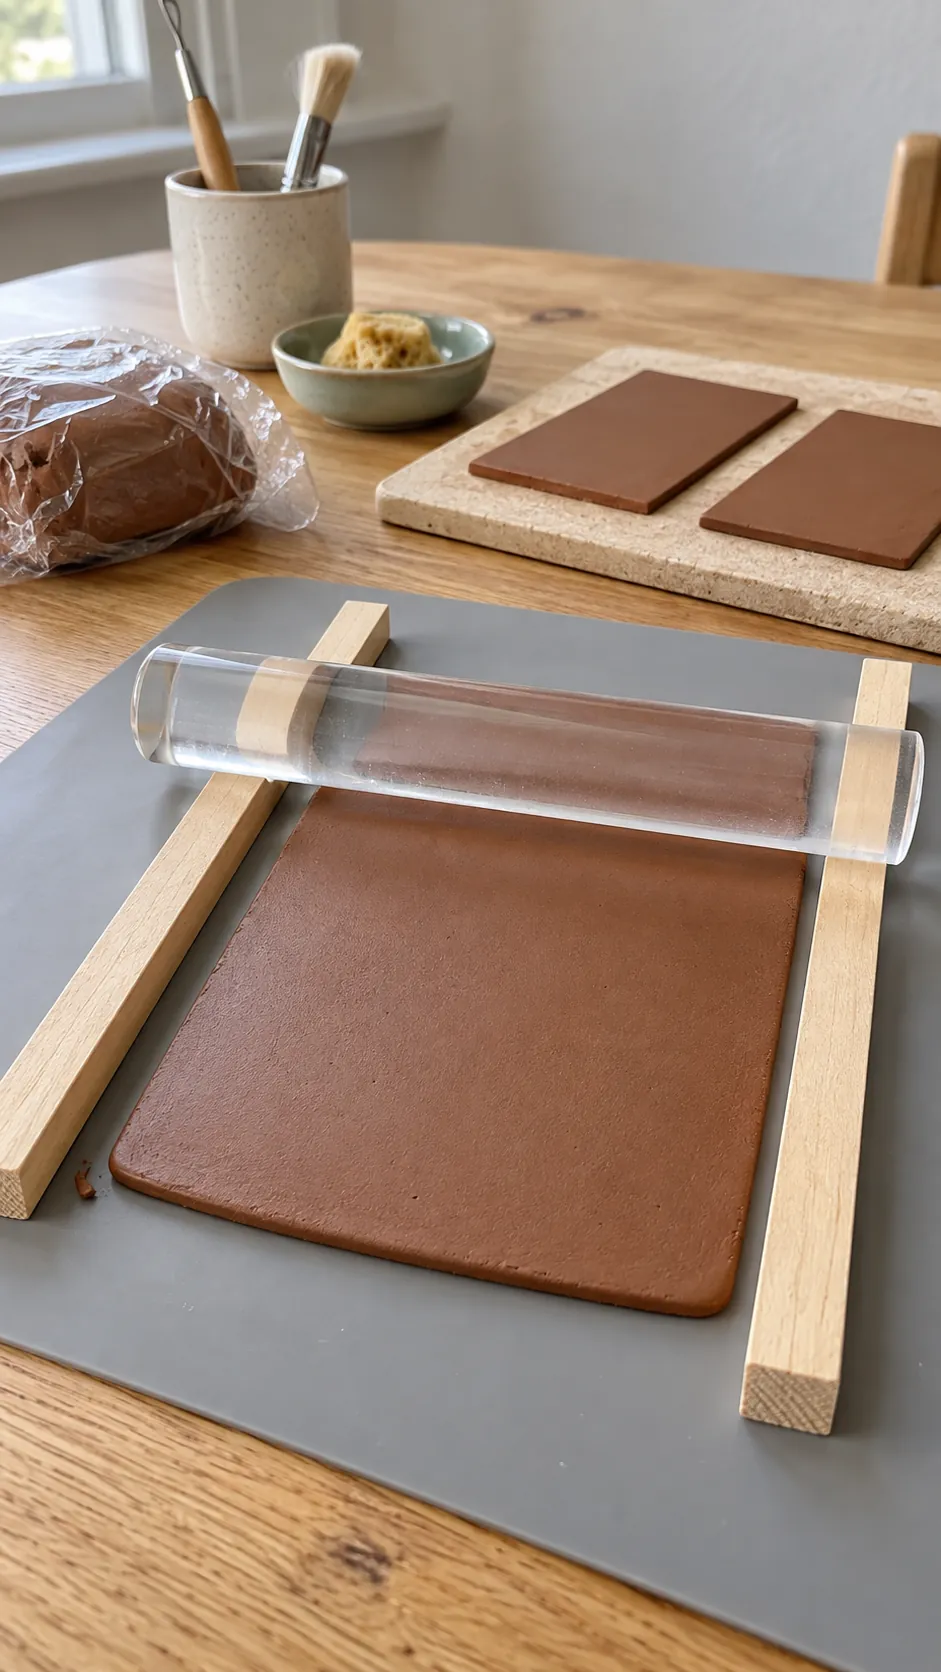
Knead only enough air dry clay for one or two panels at a time. Roll it between two smooth guides so the sheet stays even. About one eighth of an inch is sturdy enough for a tiny gingerbread cottage without creating a heavy block that takes many days to dry.
Use very little water. A damp fingertip can smooth a small ridge, but repeated wetting raises the risk of soft edges and later cracks. If the clay starts to drag, cover the unused portion and finish the current panel instead of trying to revive a drying sheet with extra moisture.
Cut Openings and Add Baked Texture
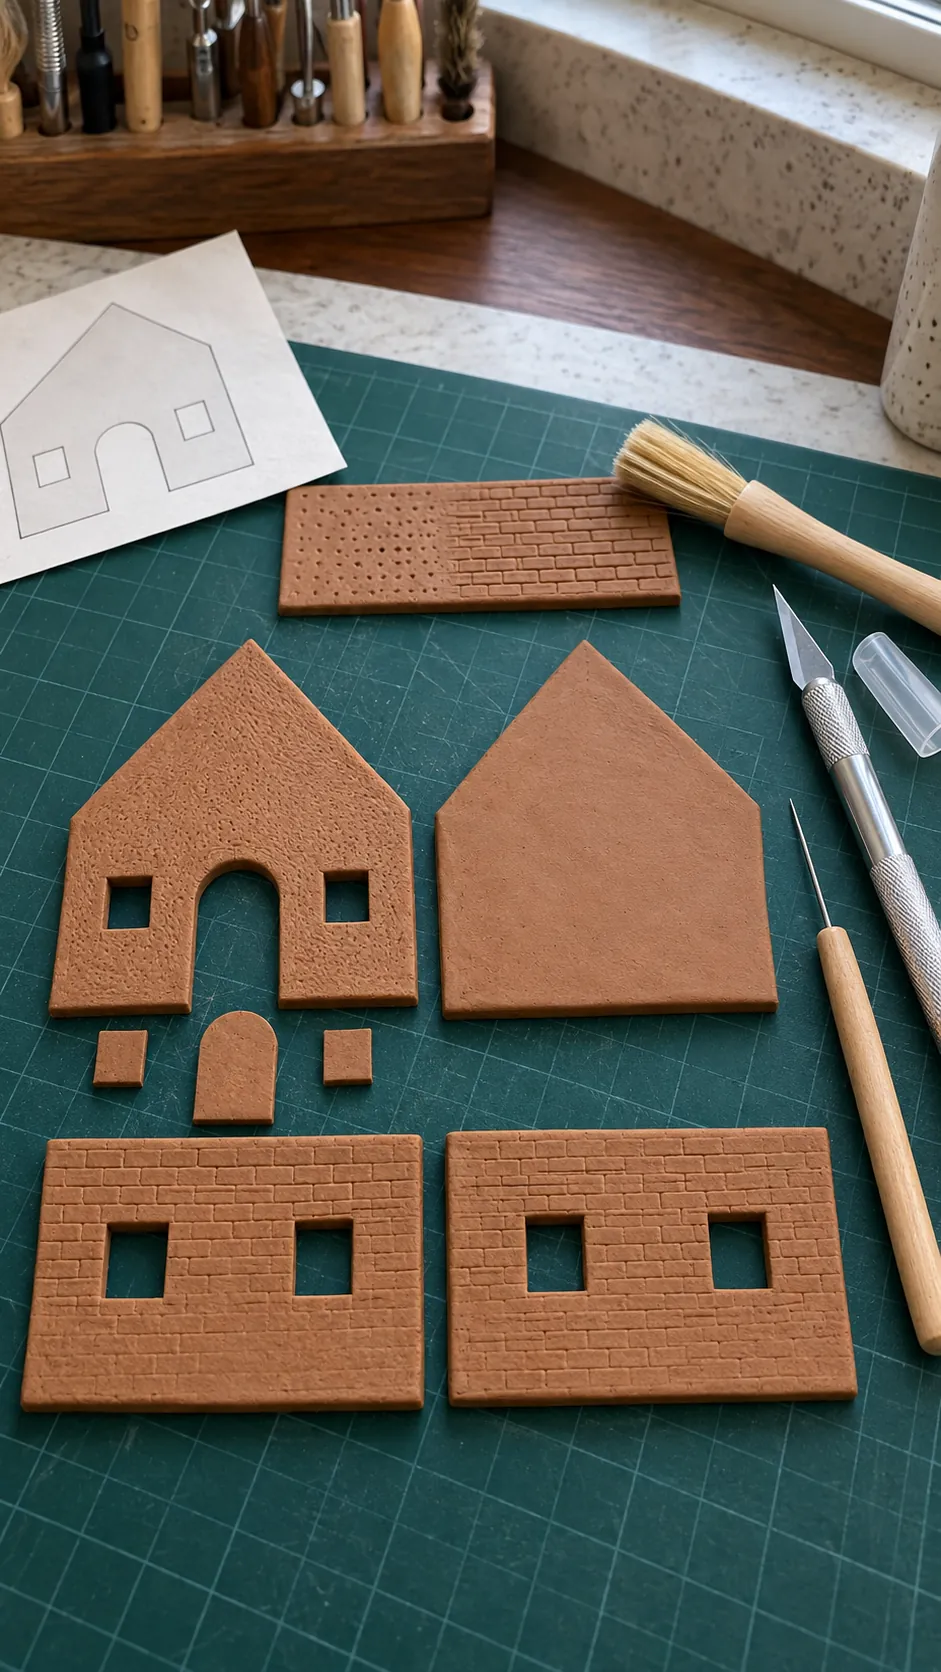
Lay the paper pattern on the clay and cut each wall with a sharp craft blade used safely on a cutting mat. Lift the blade between cuts rather than dragging around corners. Remove window and door openings while the panel is still flexible, then compare opposite walls before they begin to firm.
Press a clean stiff brush lightly into the surface for a fine baked texture. A toothpick can add shallow brick lines or tiny dots, but deep grooves may encourage breaks. Keep the back of every panel smooth so seams meet cleanly during assembly.
Dry Every Piece Slowly and Flat
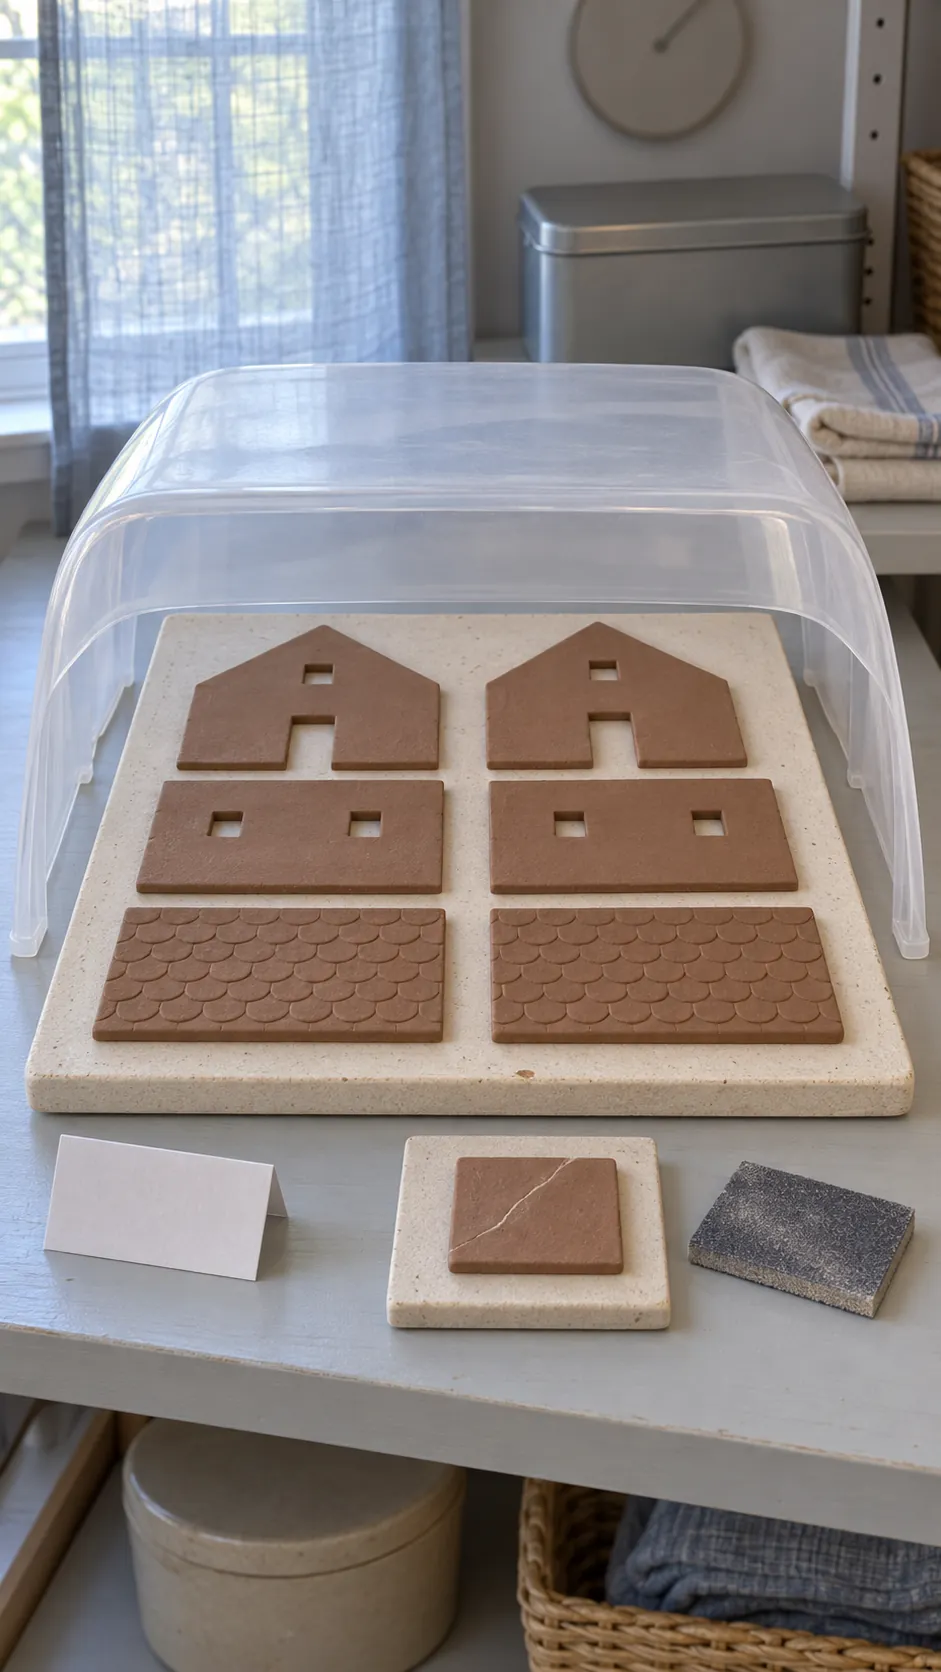
Move the fresh panels onto a flat porous board and cover them loosely so moisture leaves gradually. Turn them only after the top surface has begun to firm, then return them to a flat position. Fast heat and direct sun can dry an exposed edge before the center has time to shrink.
Wait until the panels feel dry through their full thickness before assembly. Fill a hairline crack with a small amount of matching clay slip, let the repair dry, and sand gently. Replace a badly warped wall instead of forcing it straight with glue, because tension often opens another seam later.
Assemble the Walls Before the Roof
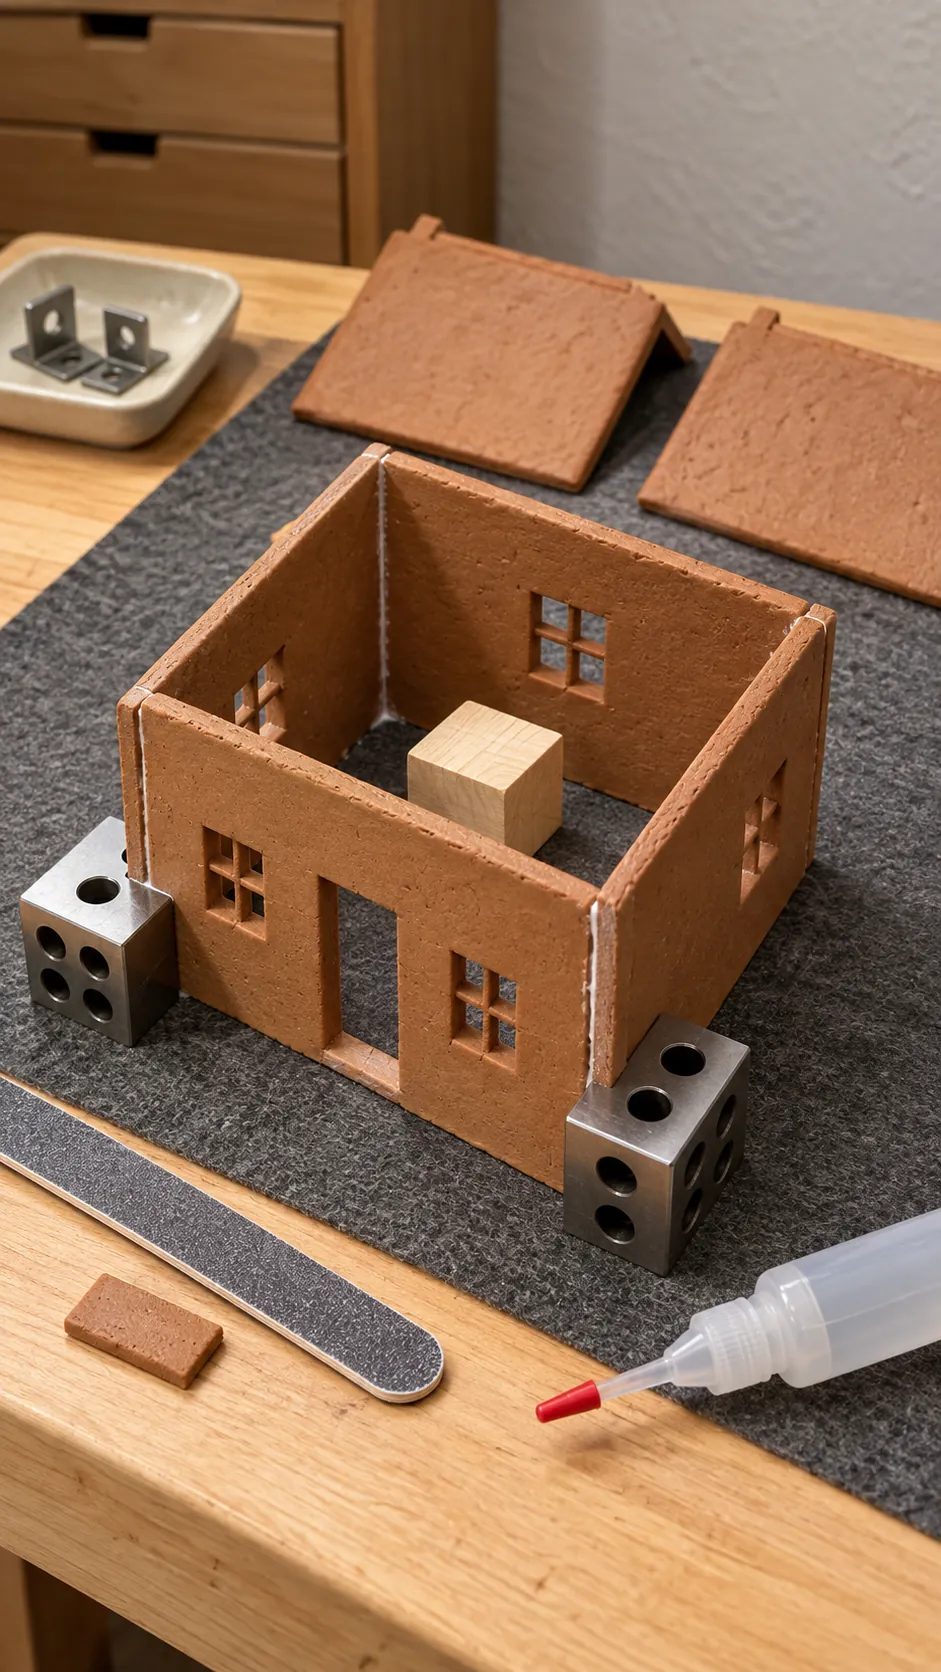
Dry fit all four walls around a small removable support block. Sand the mating edges until the corners close without pressure. Apply a thin bead of suitable craft adhesive, join two walls at a time, and hold them square with small blocks while the bond sets.
Add the roof only after the wall box is stable. Check that both roof panels meet at the ridge and extend evenly over the gables. A narrow clay strip can cover the ridge, but keep it thin so it does not pull the roof apart as it dries.
Decorate With Fine Clay Icing Details
Paint the dry cottage with thin layers of gingerbread brown, allowing texture to remain visible. Use white dimensional paint or a fine line of soft clay for mini clay icing details around the door, windows, roof edge, and ridge. Let each side set before turning the house.
Add tiny peppermint discs, gumdrop shapes, and simple mini Christmas sweets only after the main icing lines are secure. Repeat colors in small groups so the cottage looks designed rather than crowded. Finish with a compatible matte sealer after all paint and adhesive have cured, then place the house where moisture and direct heat cannot reach it.