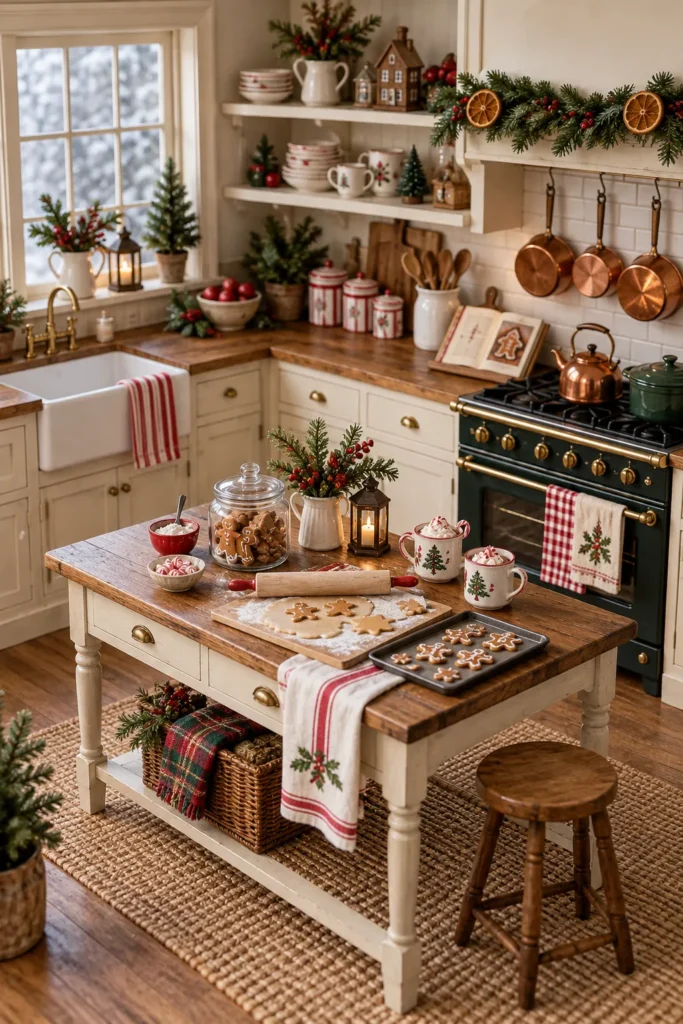
A festive dollhouse kitchen can look richly collected without a costly shopping list. The key is to control scale, repeat a small color palette, and turn familiar scraps into objects that still read clearly from across the room box. These projects use simple materials and give you practical ways to keep tiny parts neat, believable, and easy to display.
Cocoa Mugs With Candy Cane Handles
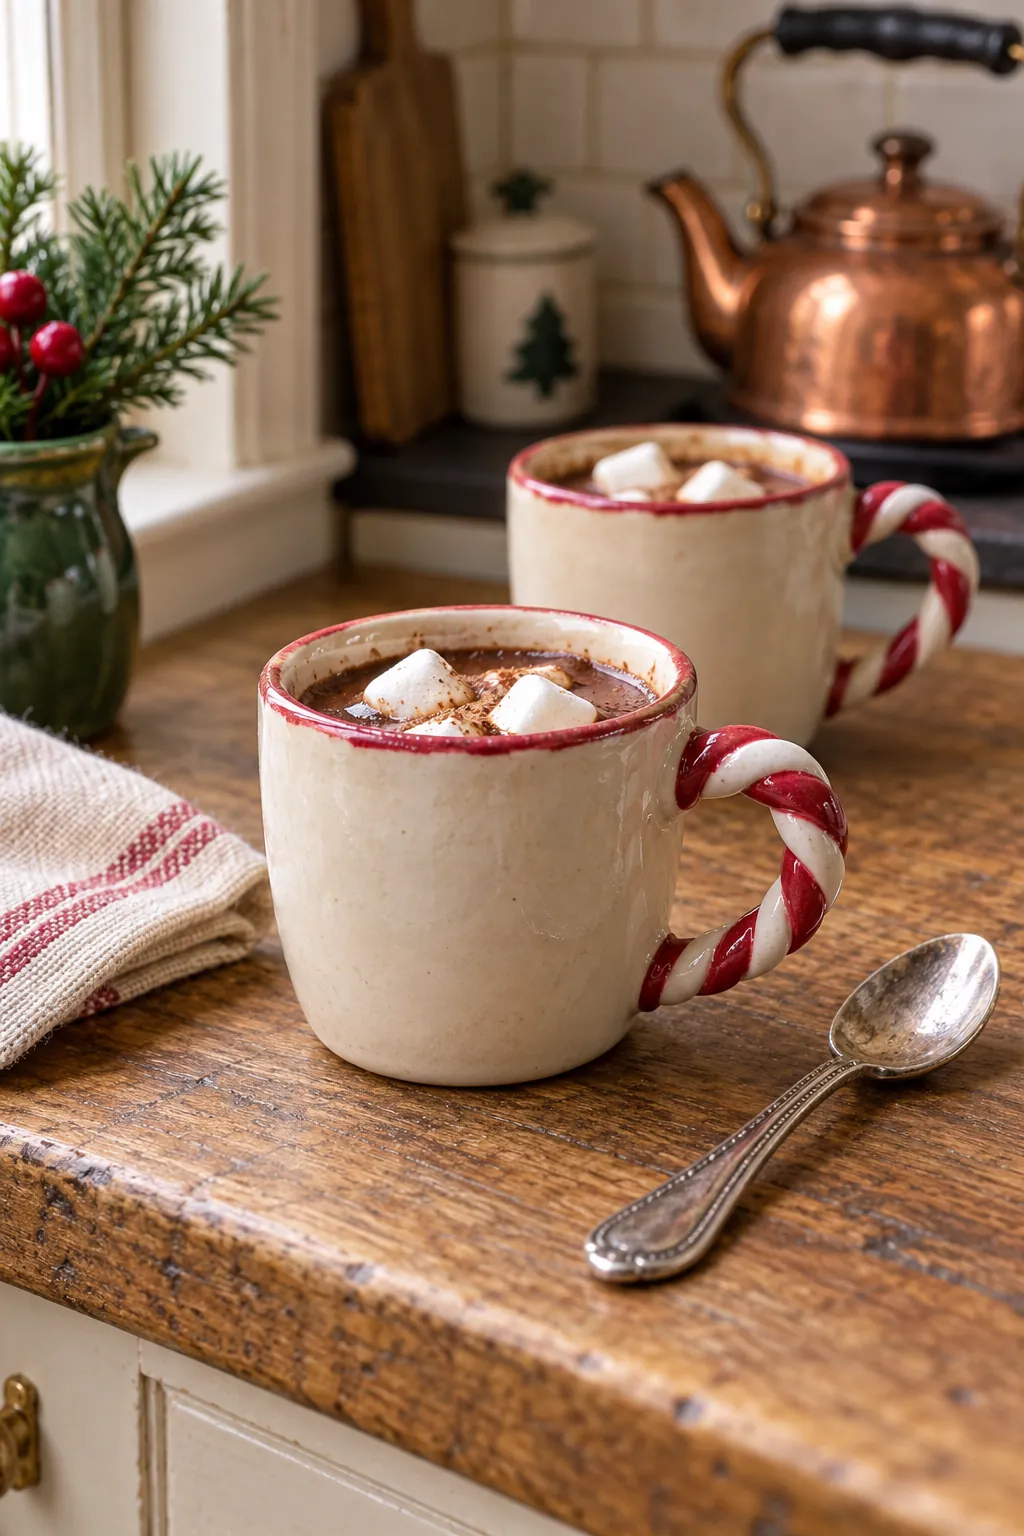
Shape each mug from a short cylinder of air dry clay, then press a rounded tool into the top to form a shallow cup. Twist two very thin strands of red and white clay together for a striped handle, and bend the strand into a small curve before attaching it. A tiny dot of brown paint inside suggests cocoa, while a fleck of white clay makes a convincing marshmallow. Keep every mug close to one twelfth scale by comparing it with a dollhouse hand before the clay dries.
Clear Cookie Jar Filled With Gingerbread
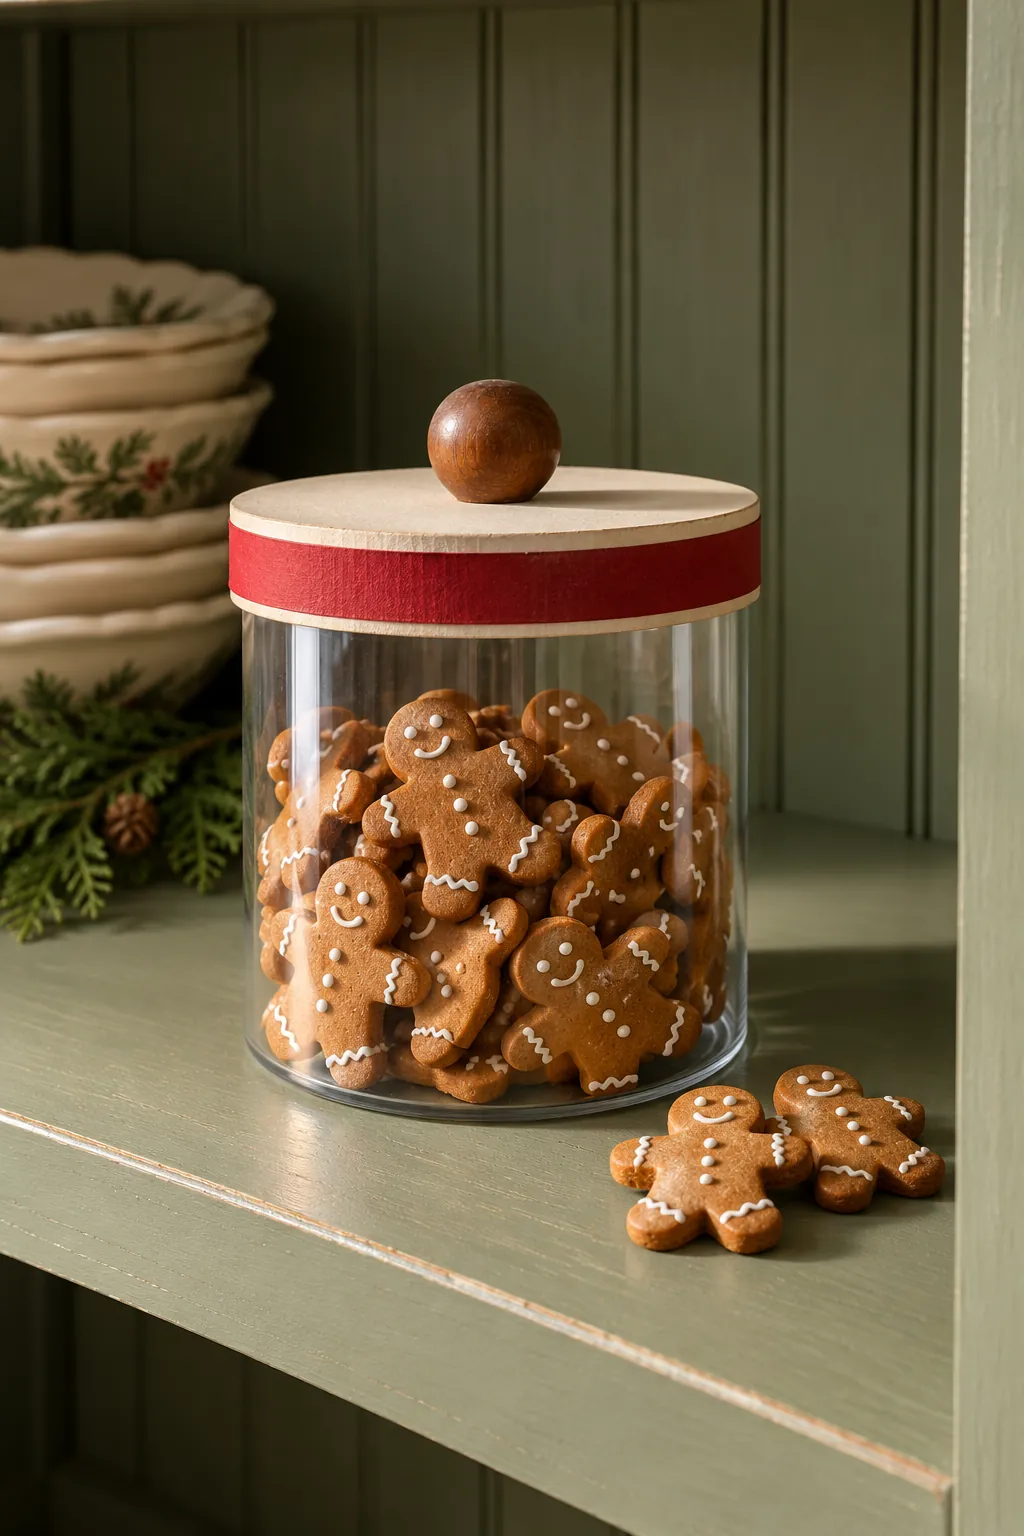
Cut a clear drinking straw into a short jar body and seal the base with a neat circle of transparent plastic. Make the lid from a painted card circle with a small bead fixed at its center. Fill the jar with flat brown clay cookies marked by a needle, but leave some open space so the shapes remain visible. Use removable museum wax beneath the finished jar if it will sit near the edge of a dollhouse Christmas kitchen shelf.
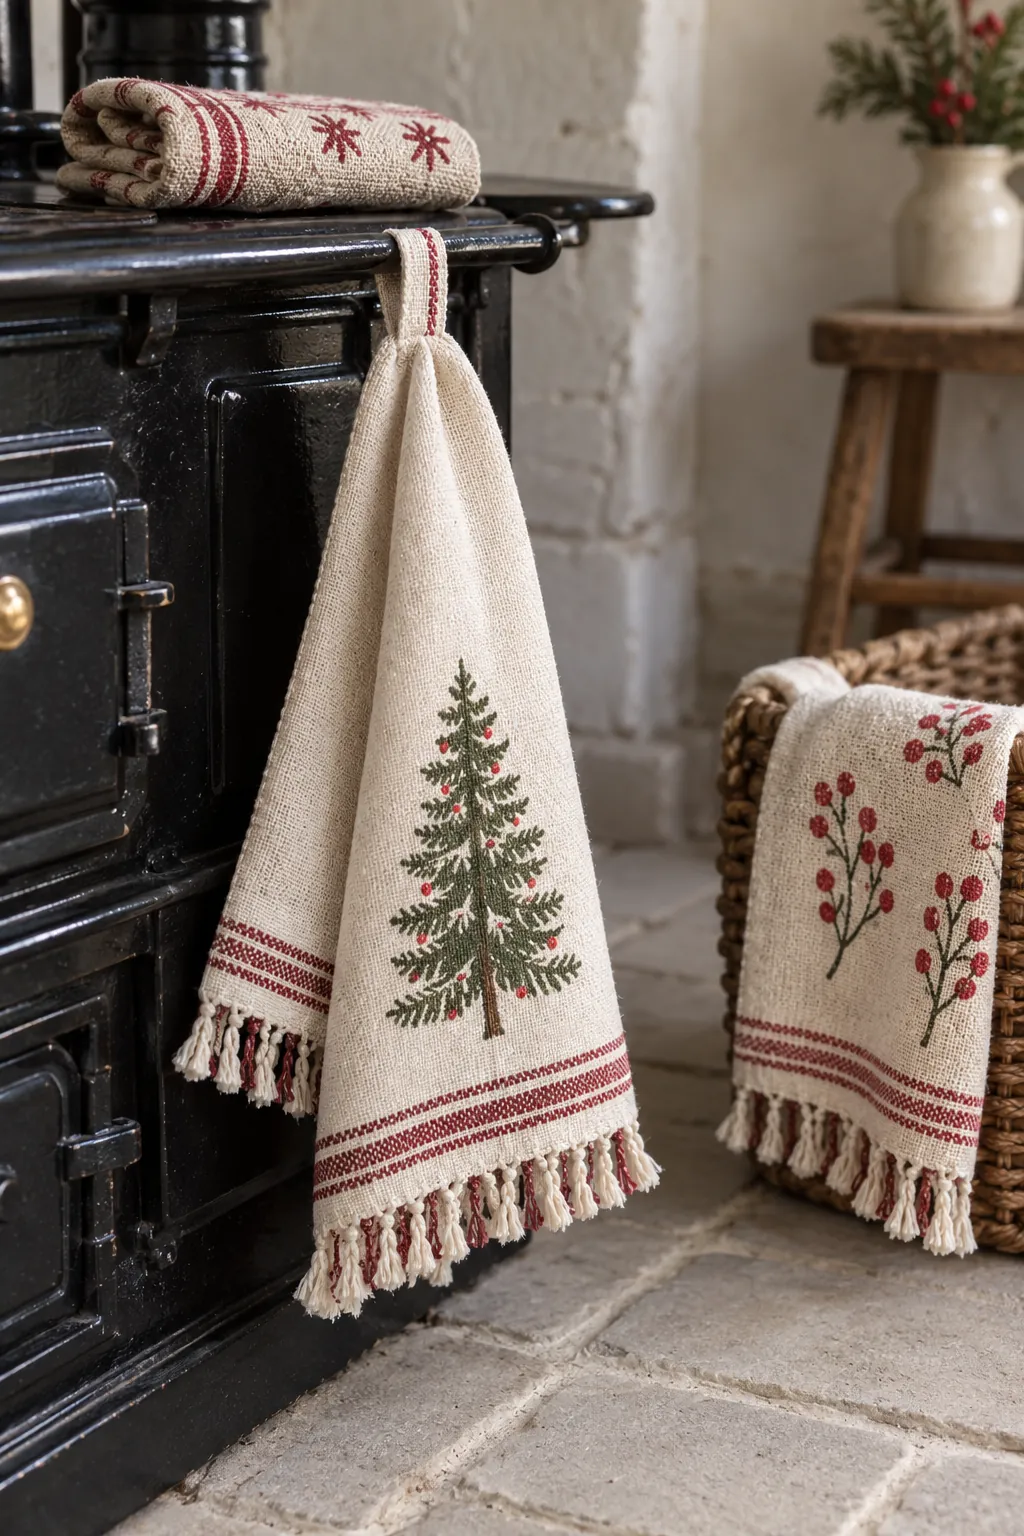
Stamped Holiday Tea Towels
Cut fine cotton into narrow rectangles and pull away a single thread at each short edge for a natural fringe. Add a simple tree, star, or berry sprig with fabric paint applied by a sharpened toothpick. Fold each towel while the fabric is still slightly damp so it hangs with realistic weight instead of standing stiffly. A small loop of sewing thread lets one towel hang from an oven rail without bulky glue.
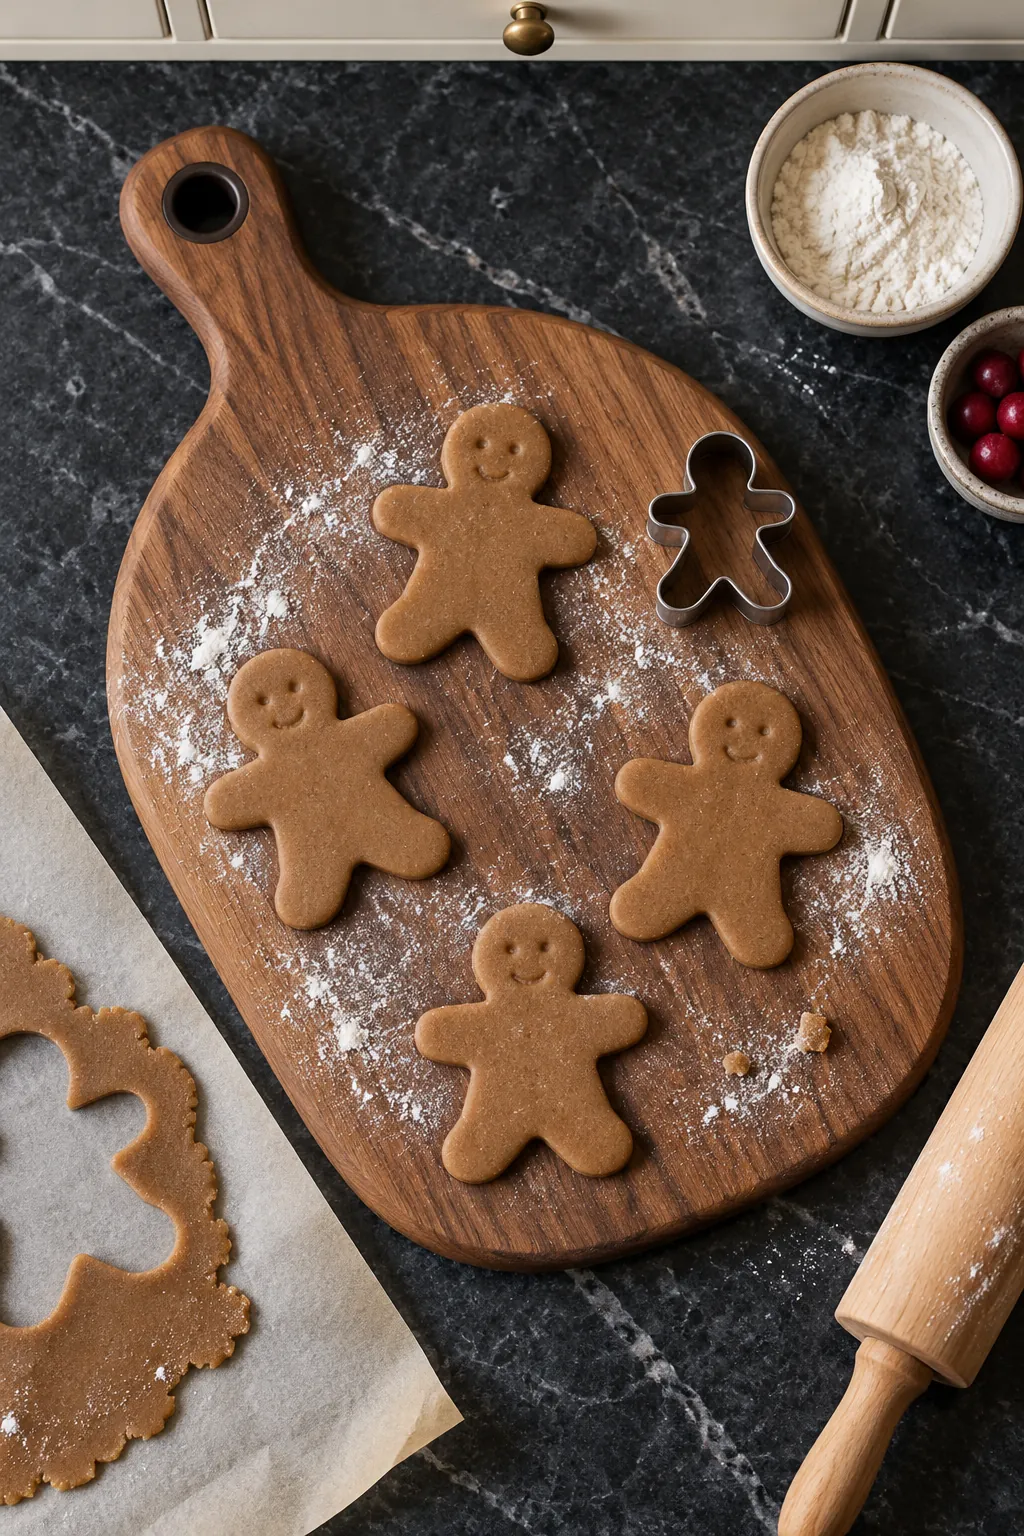
Gingerbread Cutting Board
Trim a coffee stirrer into a small board and round its corners with fine sandpaper. Drill or pierce a hanging hole before staining the wood, then rub the surface with a soft pencil and wipe it back to suggest use. Arrange a few unfinished clay gingerbread figures on top with a dusting of pale chalk pastel that resembles flour. The board looks most convincing when its length is a little wider than two miniature dinner plates.
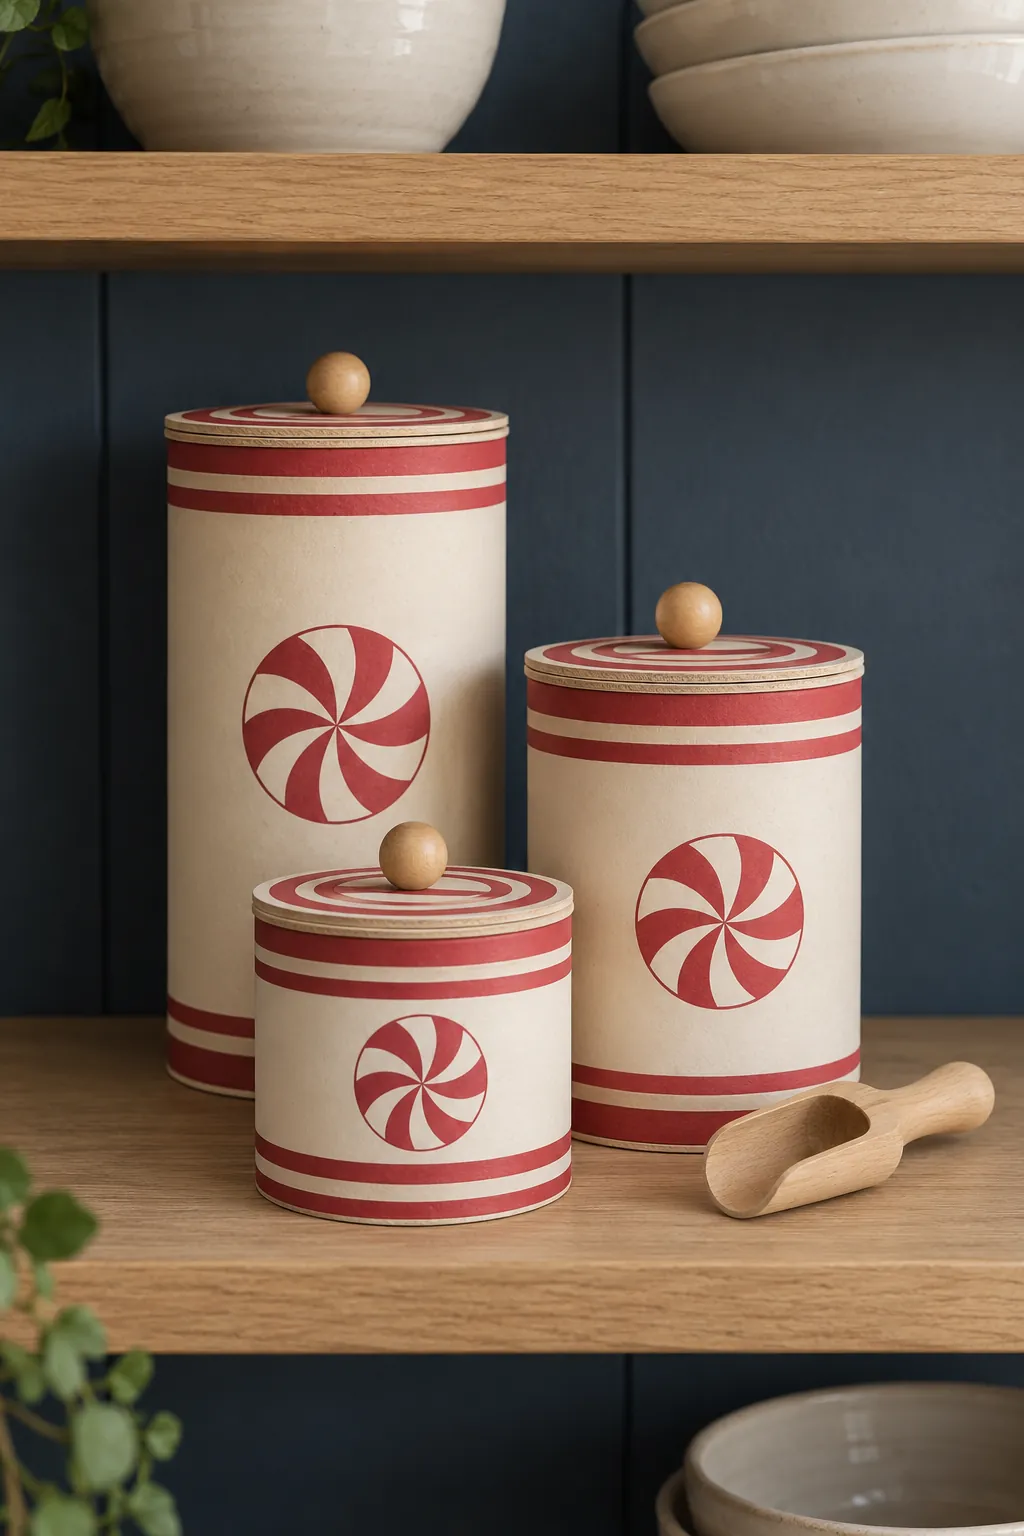
Peppermint Pantry Canisters
Use short sections of smooth paper tube or rolled card to make a matching canister set. Paint each body cream, then add narrow red rings and a hand painted peppermint symbol rather than wrapping the whole surface in thick paper. Form lids from stacked card circles so they sit slightly proud of the rim. Three different heights create a useful rhythm on a shelf while still reading as one coordinated set of mini seasonal crockery.
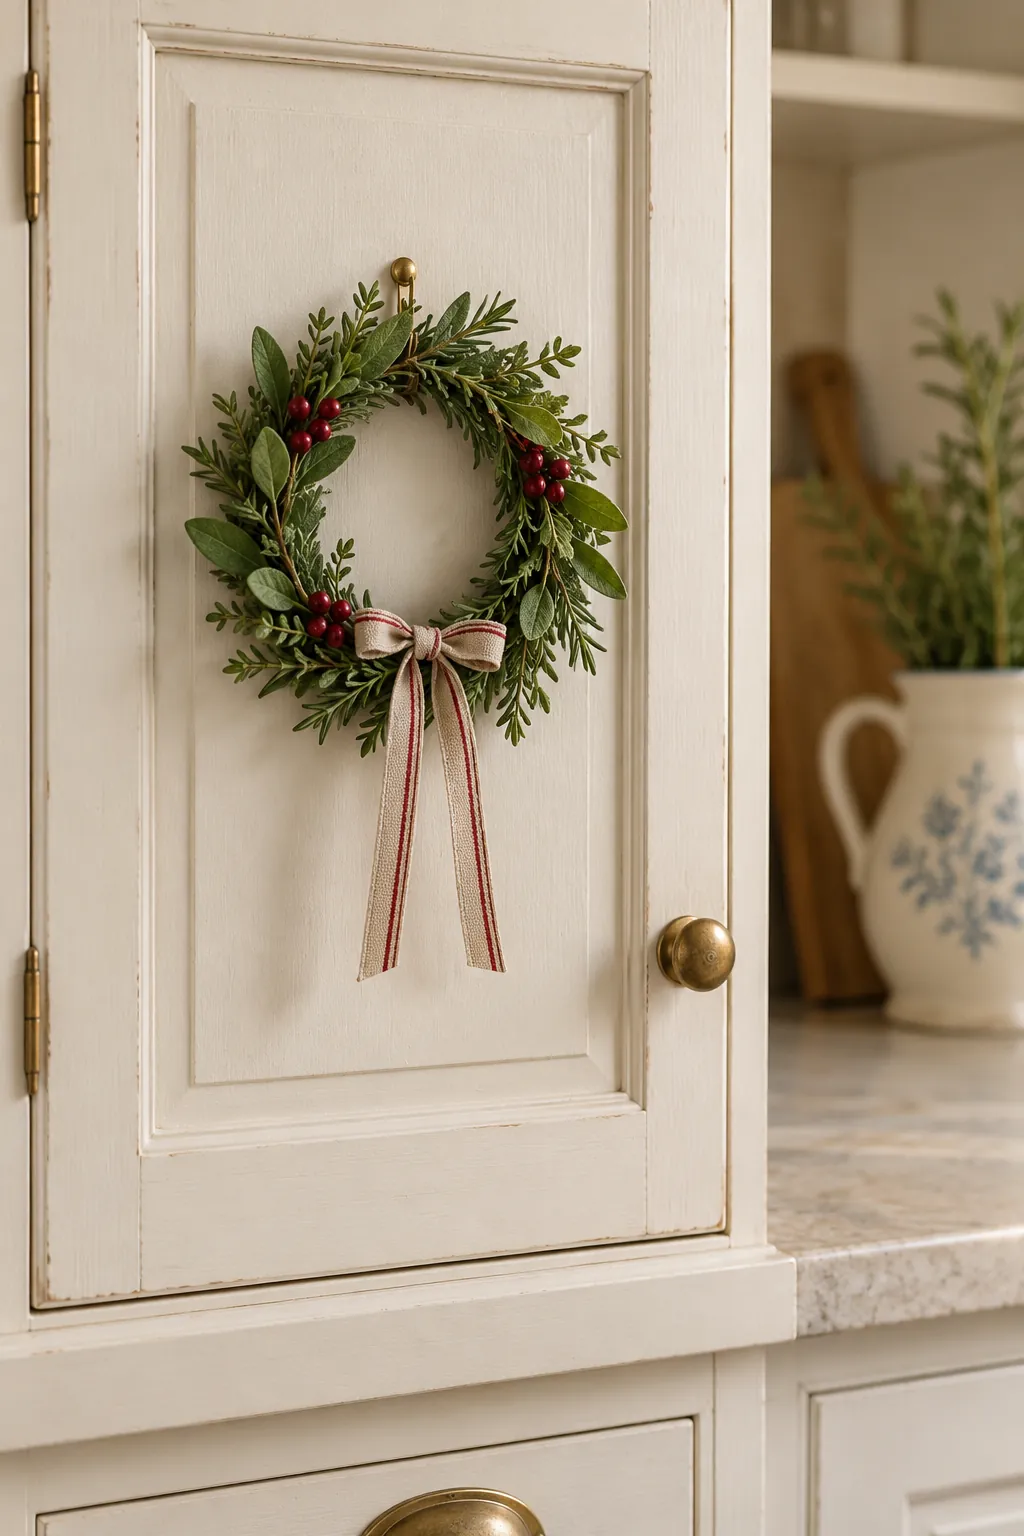
Tiny Herb Wreath
Wrap fine green covered wire around a marker to form a small ring, then secure the overlap with a dot of tacky glue. Attach clipped model foliage in one direction so the wreath has a tidy flow and a visible center opening. Add only a few red berry beads and one narrow ribbon because large accents can overwhelm the scale. Hang it on a cupboard door with a temporary adhesive dot so the finish remains undamaged after Christmas.
Festive Rolling Pin
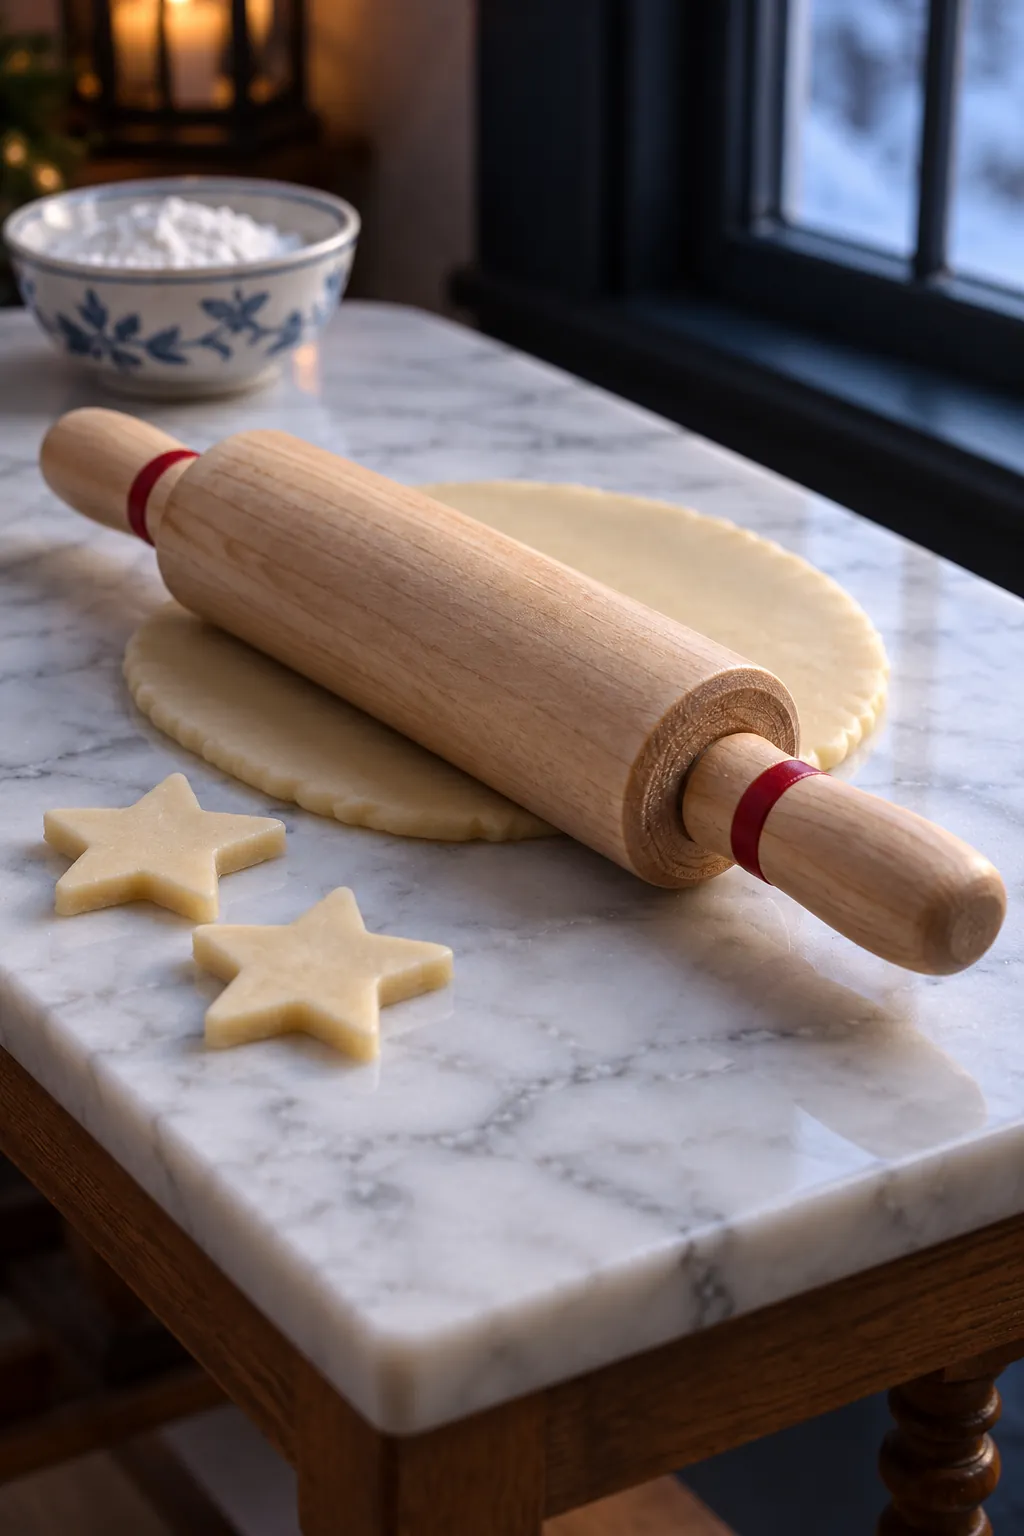
Sand a short round toothpick section until the central barrel is smooth and even. Insert thinner wooden handles at both ends, checking that they share one straight axis before the glue sets. Paint narrow red bands near the handles and seal the barrel with a matte clear coat. Place it beside a dough colored clay oval to make the tool feel active rather than merely decorative.
Quilted Oven Mitts
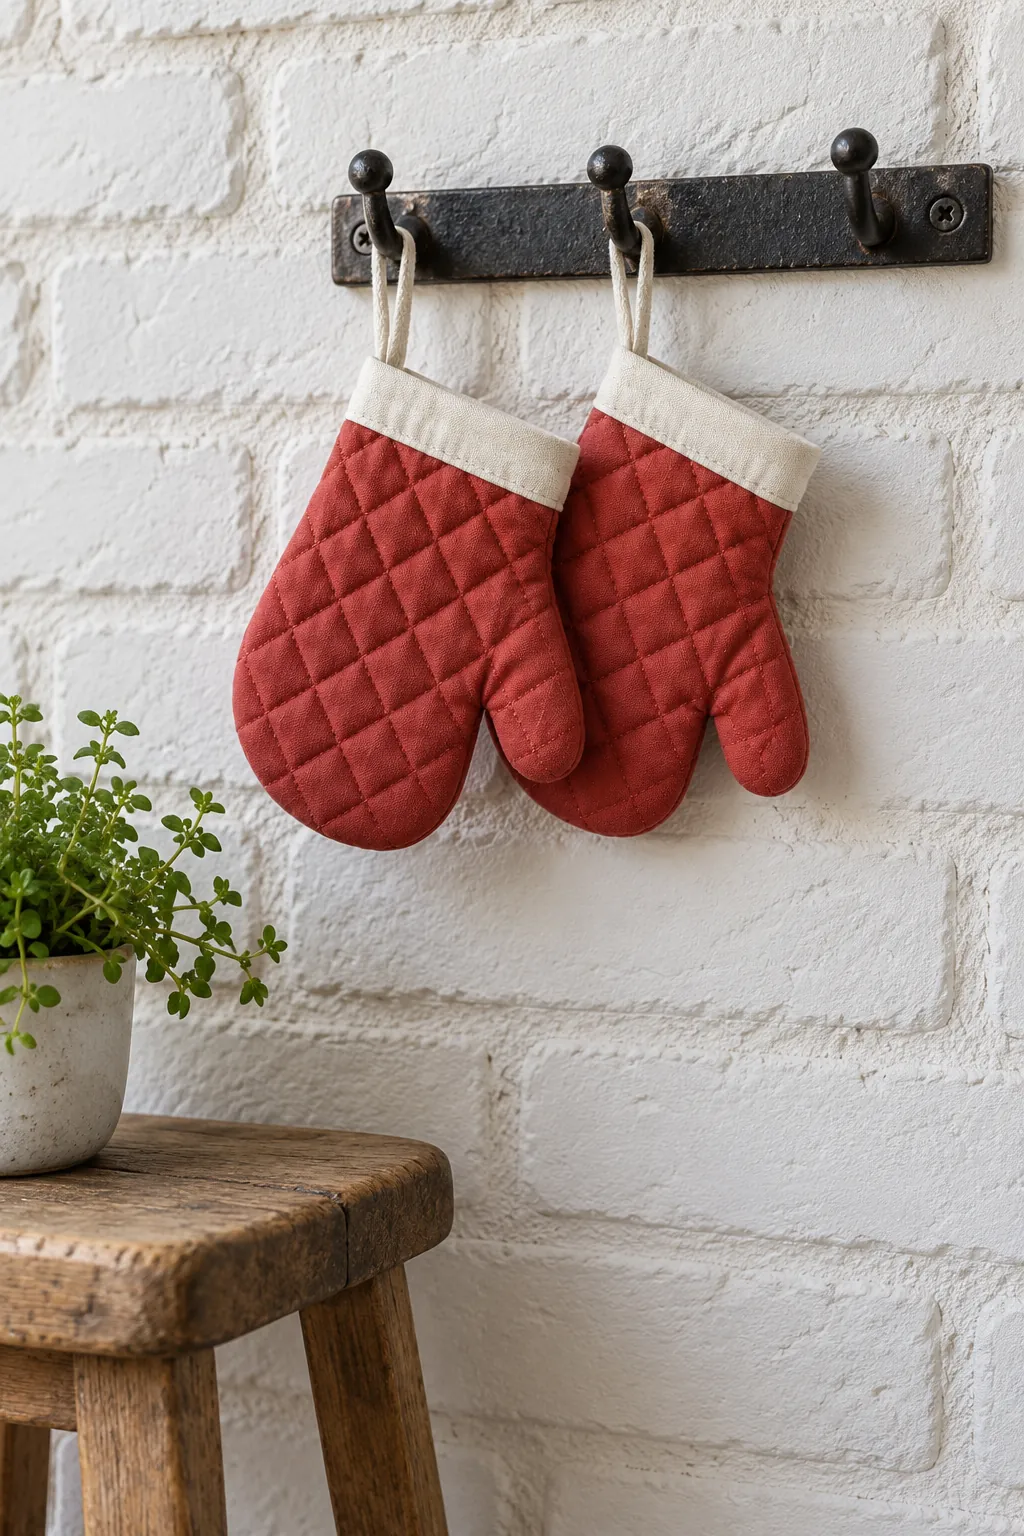
Fuse two layers of thin cotton with a tiny amount of fabric adhesive, then cut mirrored mitten shapes with sharp embroidery scissors. Score a restrained diamond pattern into the surface with a blunt needle instead of adding thick stitched seams. Join the edges with a narrow line of flexible glue and attach a thread loop at the cuff. Make the thumb opening clear enough that the shape reads instantly, even when the mitt hangs against a patterned wall.
Christmas Pudding Mixing Bowl
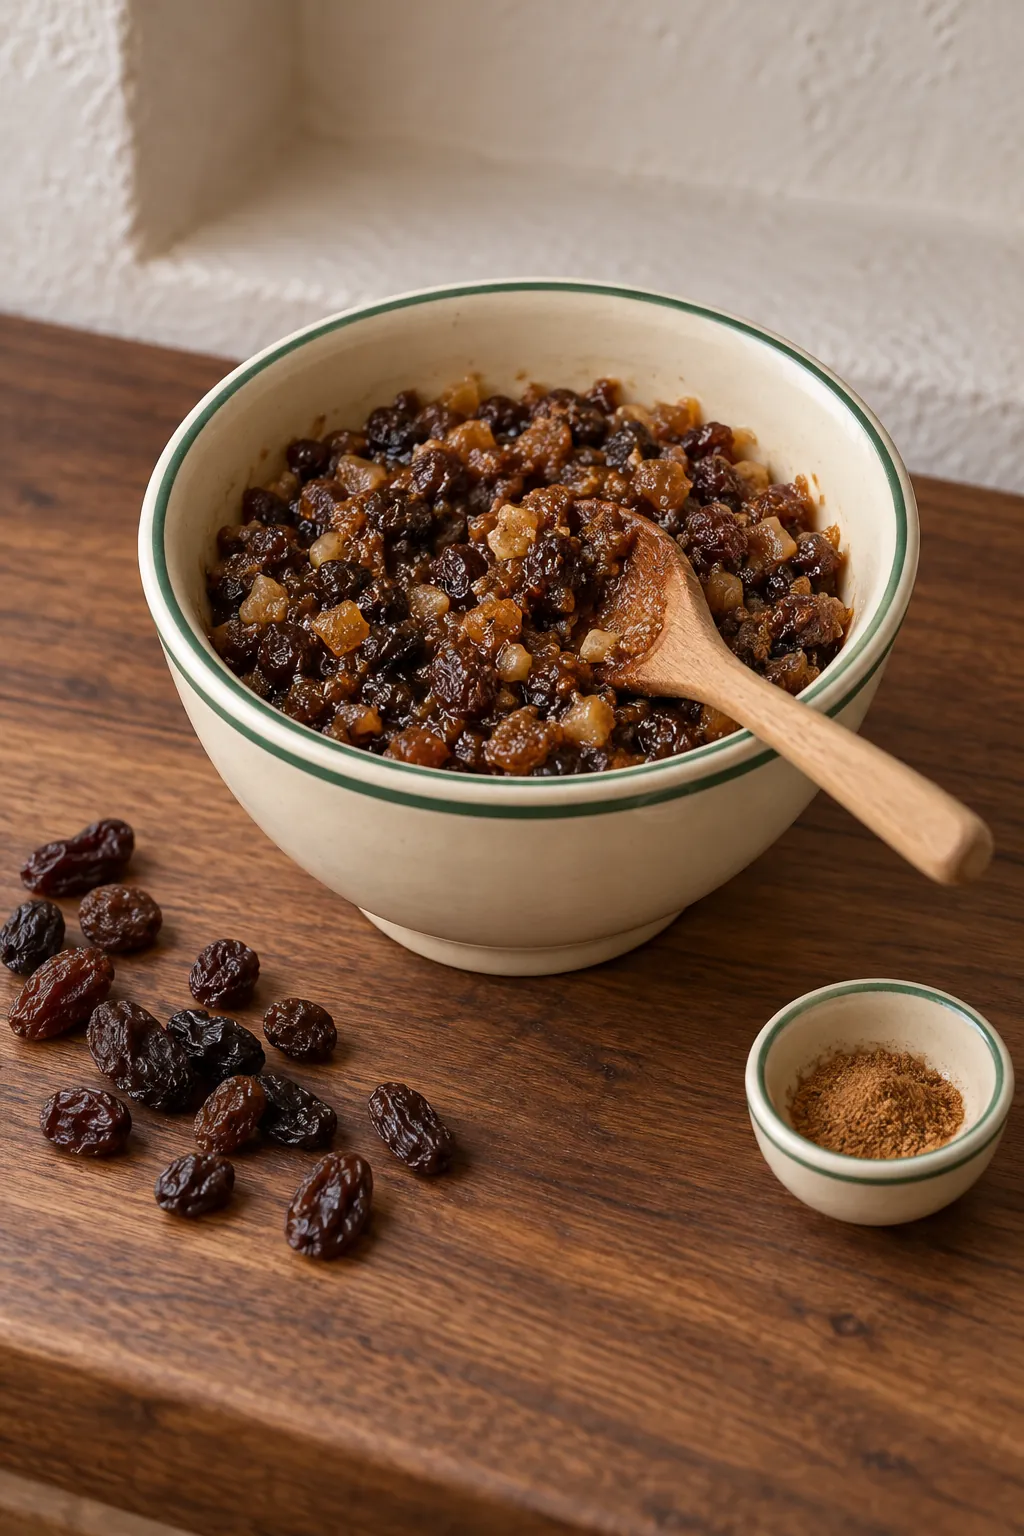
Press polymer clay over a smooth rounded form to create a bowl with thin, even walls. Add one fine green stripe near the rim and cure the piece according to the clay instructions before releasing it. Fill the bowl with textured brown clay and a small wooden spoon, leaving both visible from the chosen viewing angle. A few miniature raisin shapes on the worktop help explain the scene without making it untidy.
Holiday Spice Jars
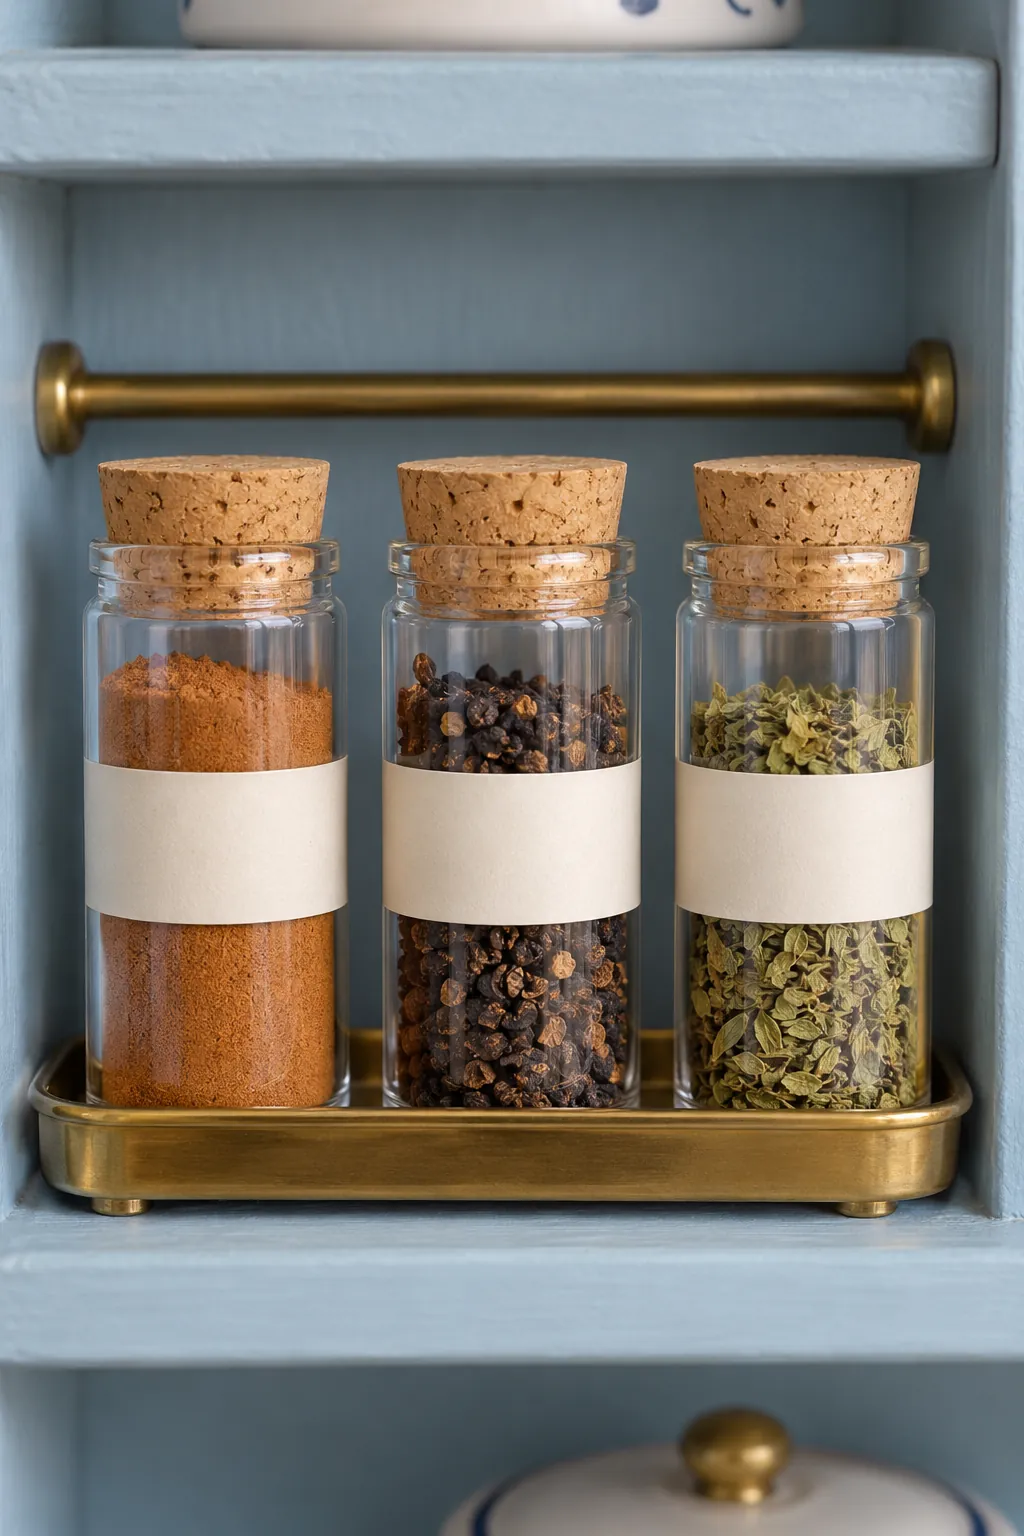
Cut clear tubing into equal lengths and close each base with a transparent disc. Add tiny quantities of cinnamon colored pastel dust, dark seed fragments, or dried green herb crumbs, keeping every fill safely sealed. Top the jars with thin cork slices and apply small cream labels with legible single word names. Grouping three jars on a narrow tray prevents them from disappearing among larger Christmas dollhouse decor.
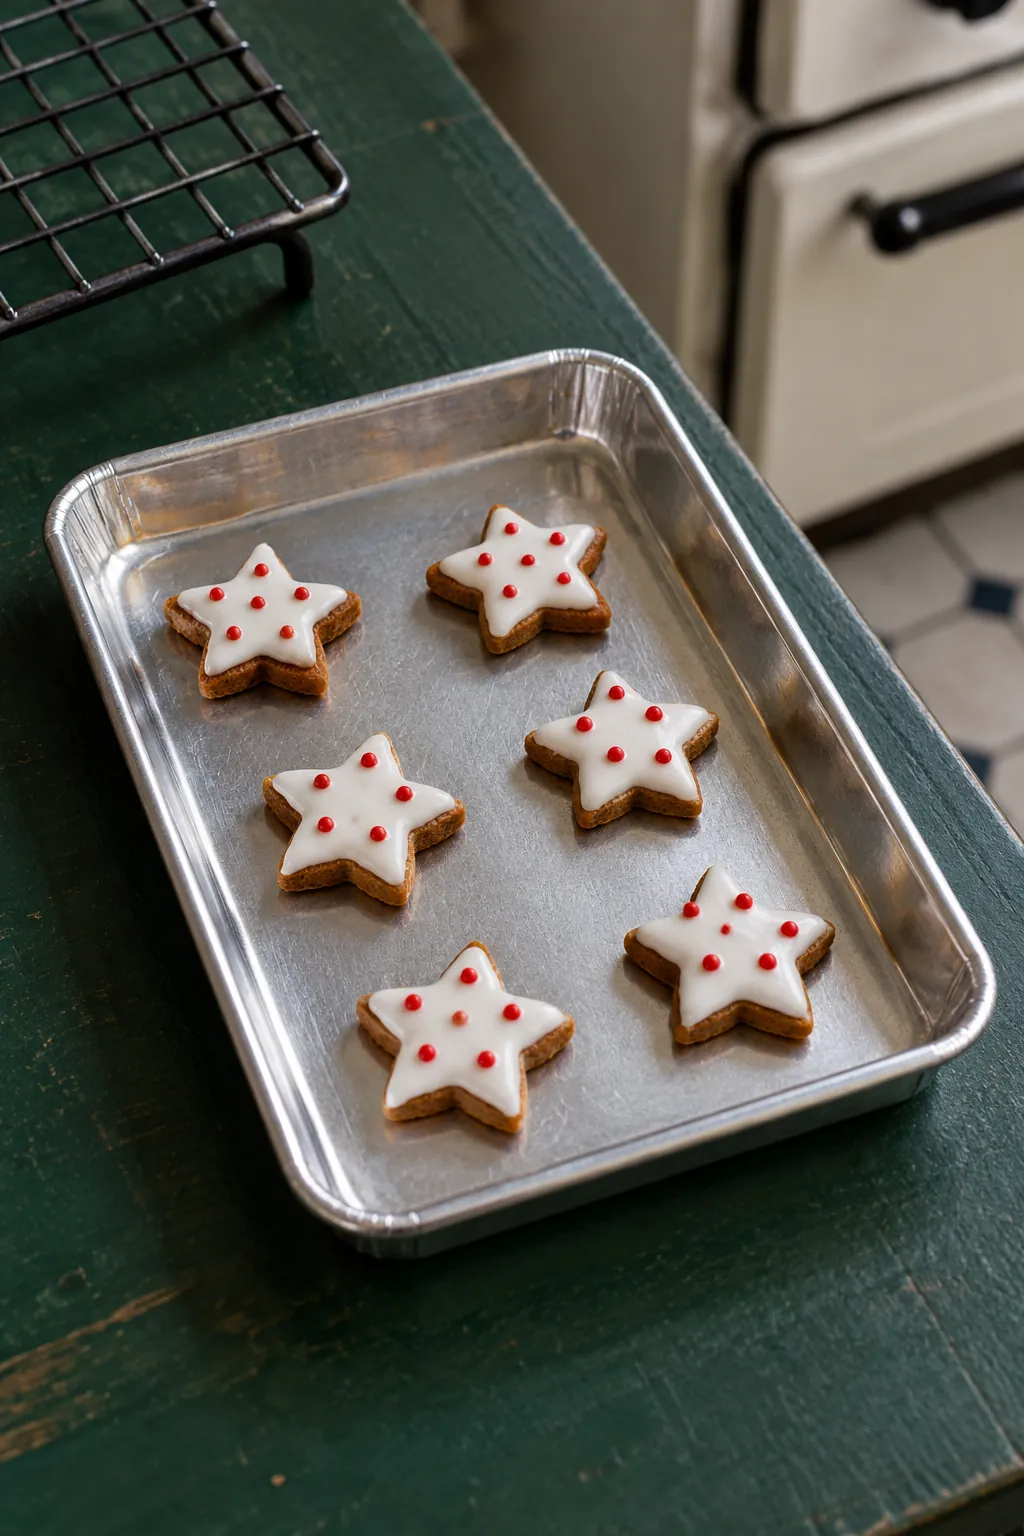
Baking Tray Of Star Cookies
Cut a shallow rectangle from thin aluminum food packaging and fold a narrow rim around a card form. Smooth the corners carefully so the tray looks manufactured rather than crumpled. Add small star cookies in several stages of decoration, using white clay icing and tiny red dots for contrast. Leave a little space between them because crowded cookies hide the tray and weaken the scale illusion.
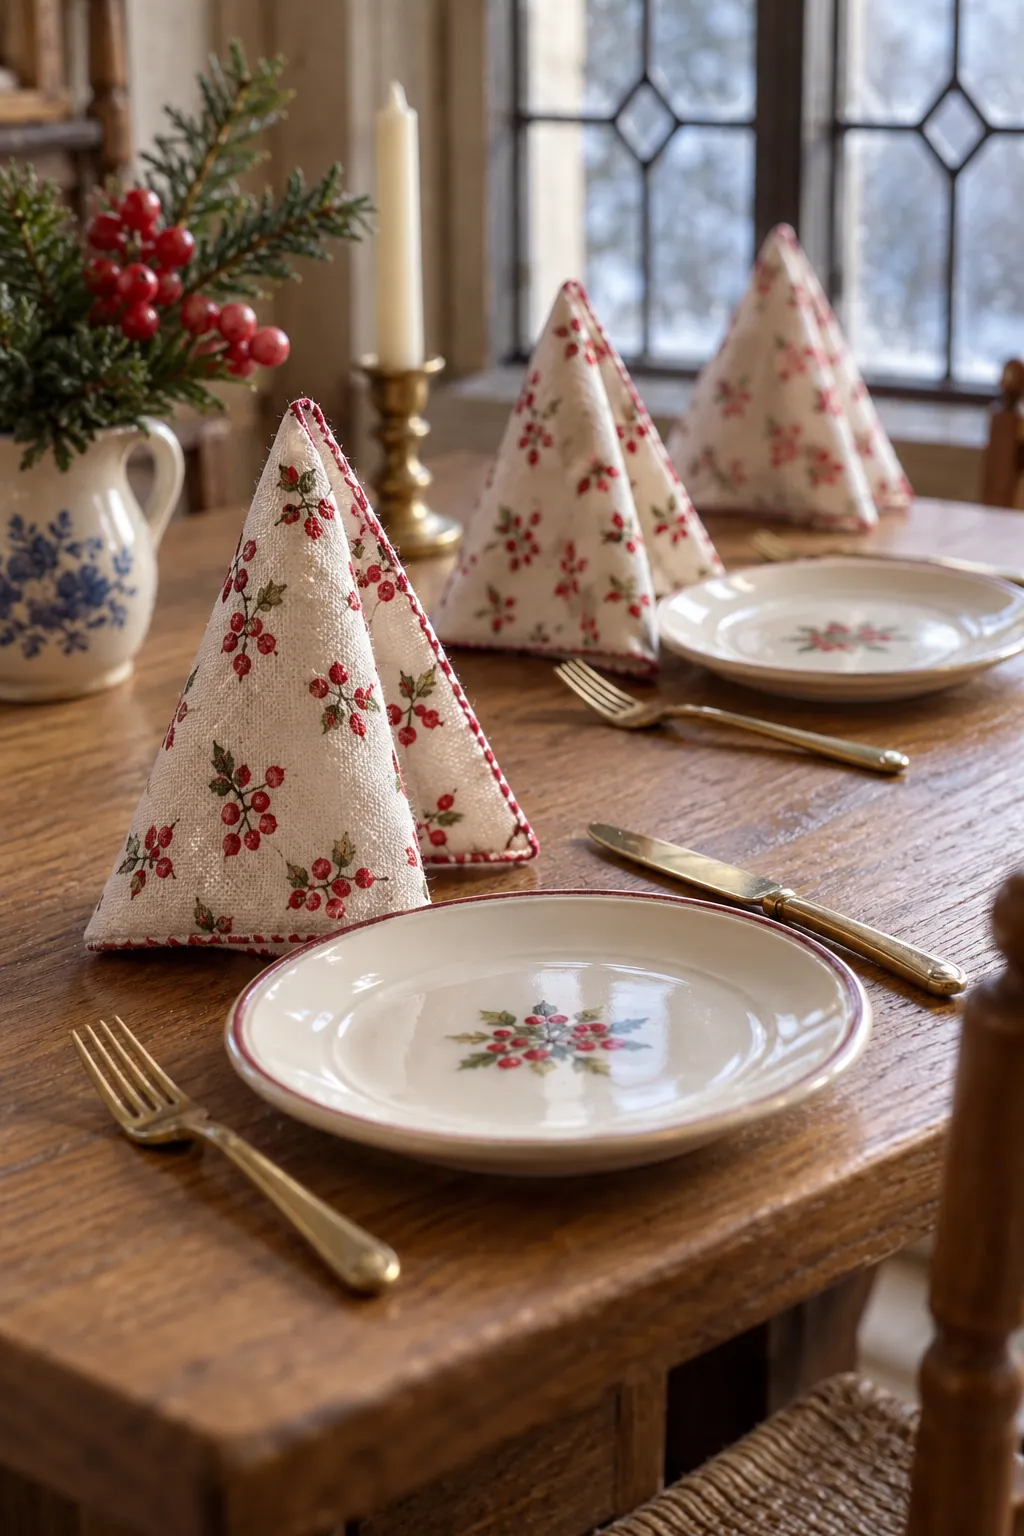
Folded Christmas Napkins
Choose very fine fabric with a pattern small enough to suit one twelfth scale. Cut clean squares, seal the edges with diluted fabric medium, and press each piece around a simple triangular card form. Slide off the card after drying so every napkin keeps a crisp standing fold. Use them near place settings or in a shallow basket, but repeat the same fold to keep the kitchen visually calm.
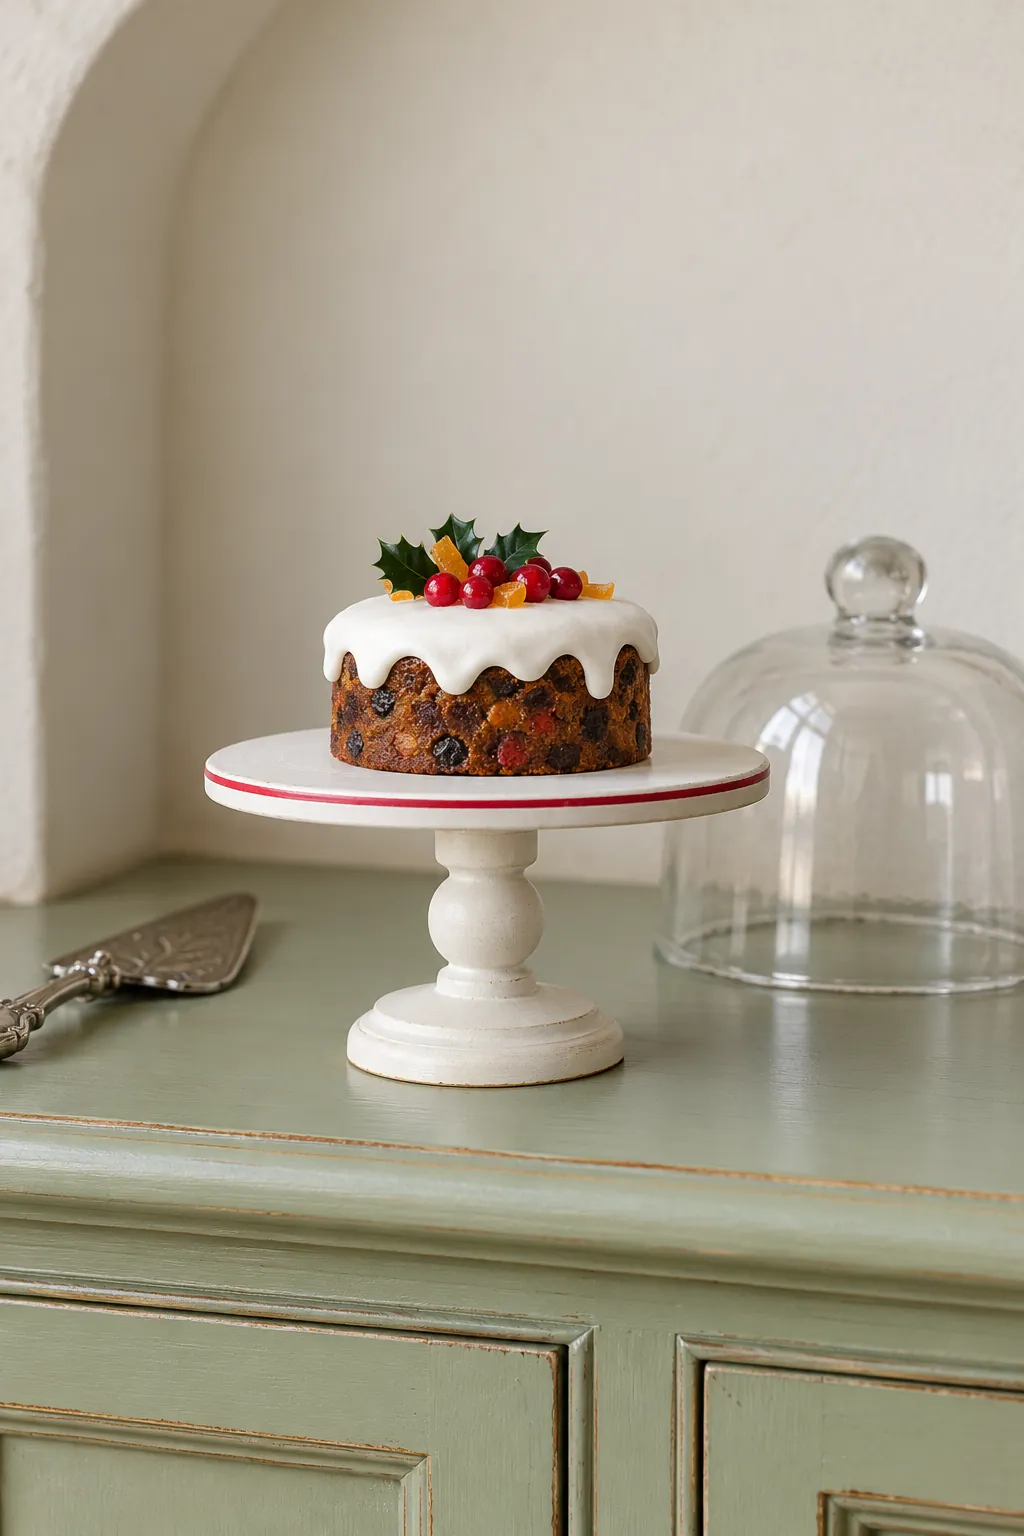
Snowy Cake Stand
Glue a flat wooden disc to a turned bead or stacked button base, then check that the top sits level. Paint the stand a warm white and add one thin red line around the edge to connect it with the other accessories. A small fruitcake or iced sponge gives the stand a clear purpose, while a clear cover made from suitable packaging adds polish. Keep the cake narrower than the plate so the rim remains visible.
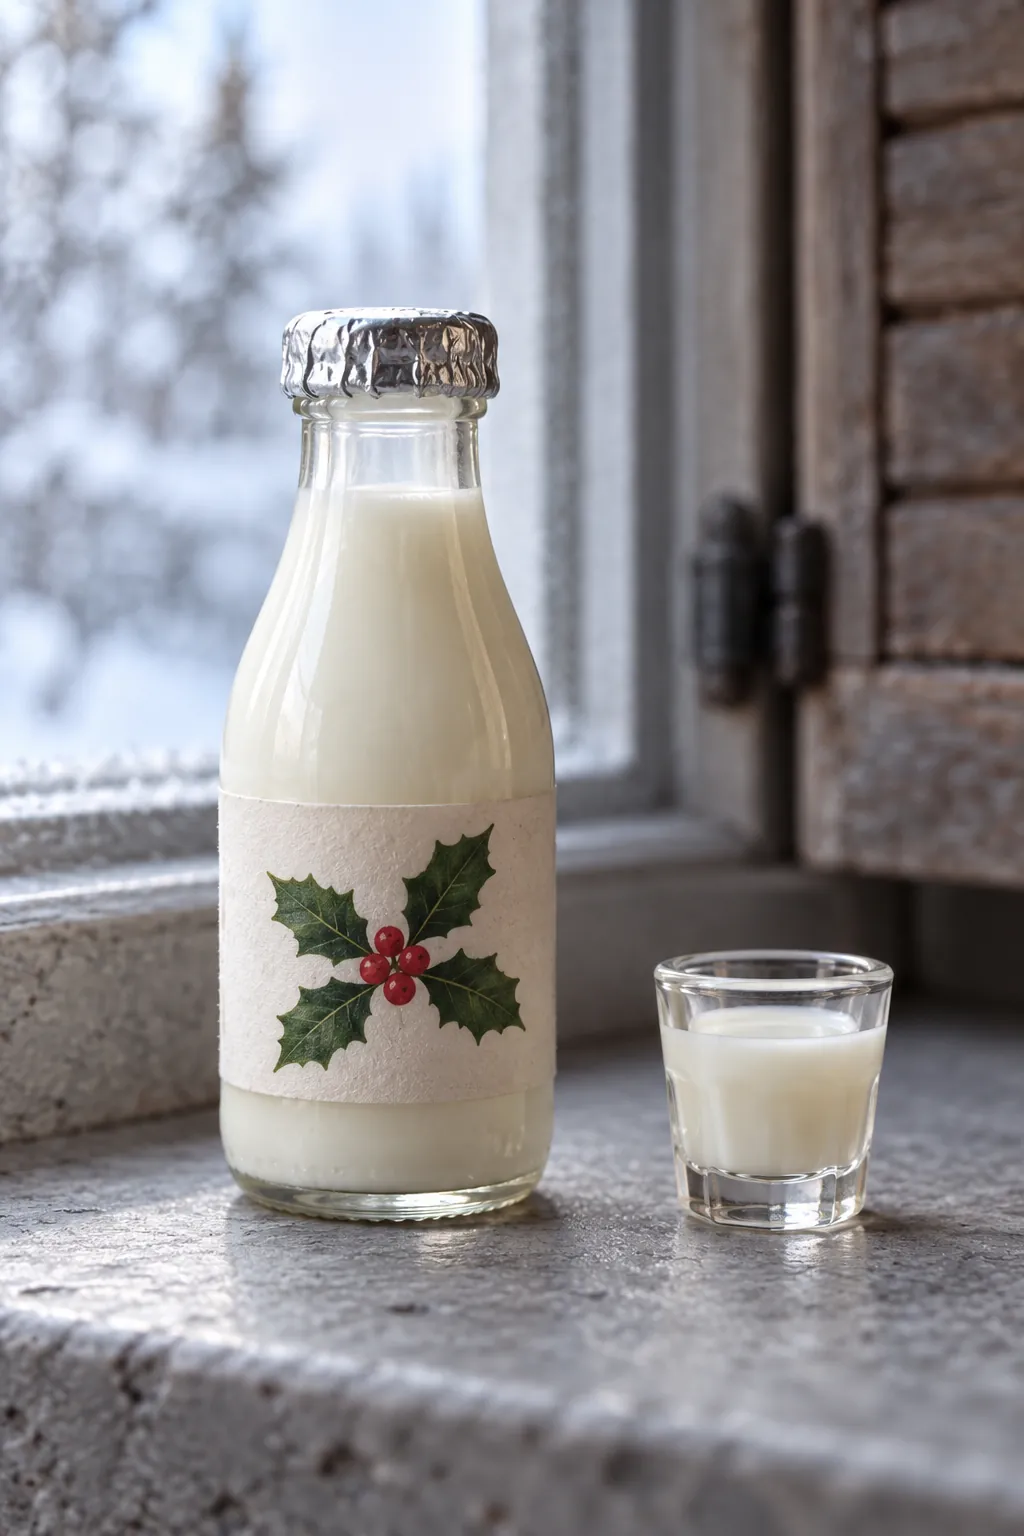
Milk Bottle With Holly Label
Shape a small translucent clay bottle with a narrow neck and a stable flat base. Add an opaque cream core if you want the bottle to appear filled without losing its soft glass edge. Wrap the middle with a tiny paper label showing one simple holly sprig and no unreadable filler text. A foil cap pressed around the neck completes the object and introduces a useful metallic highlight.
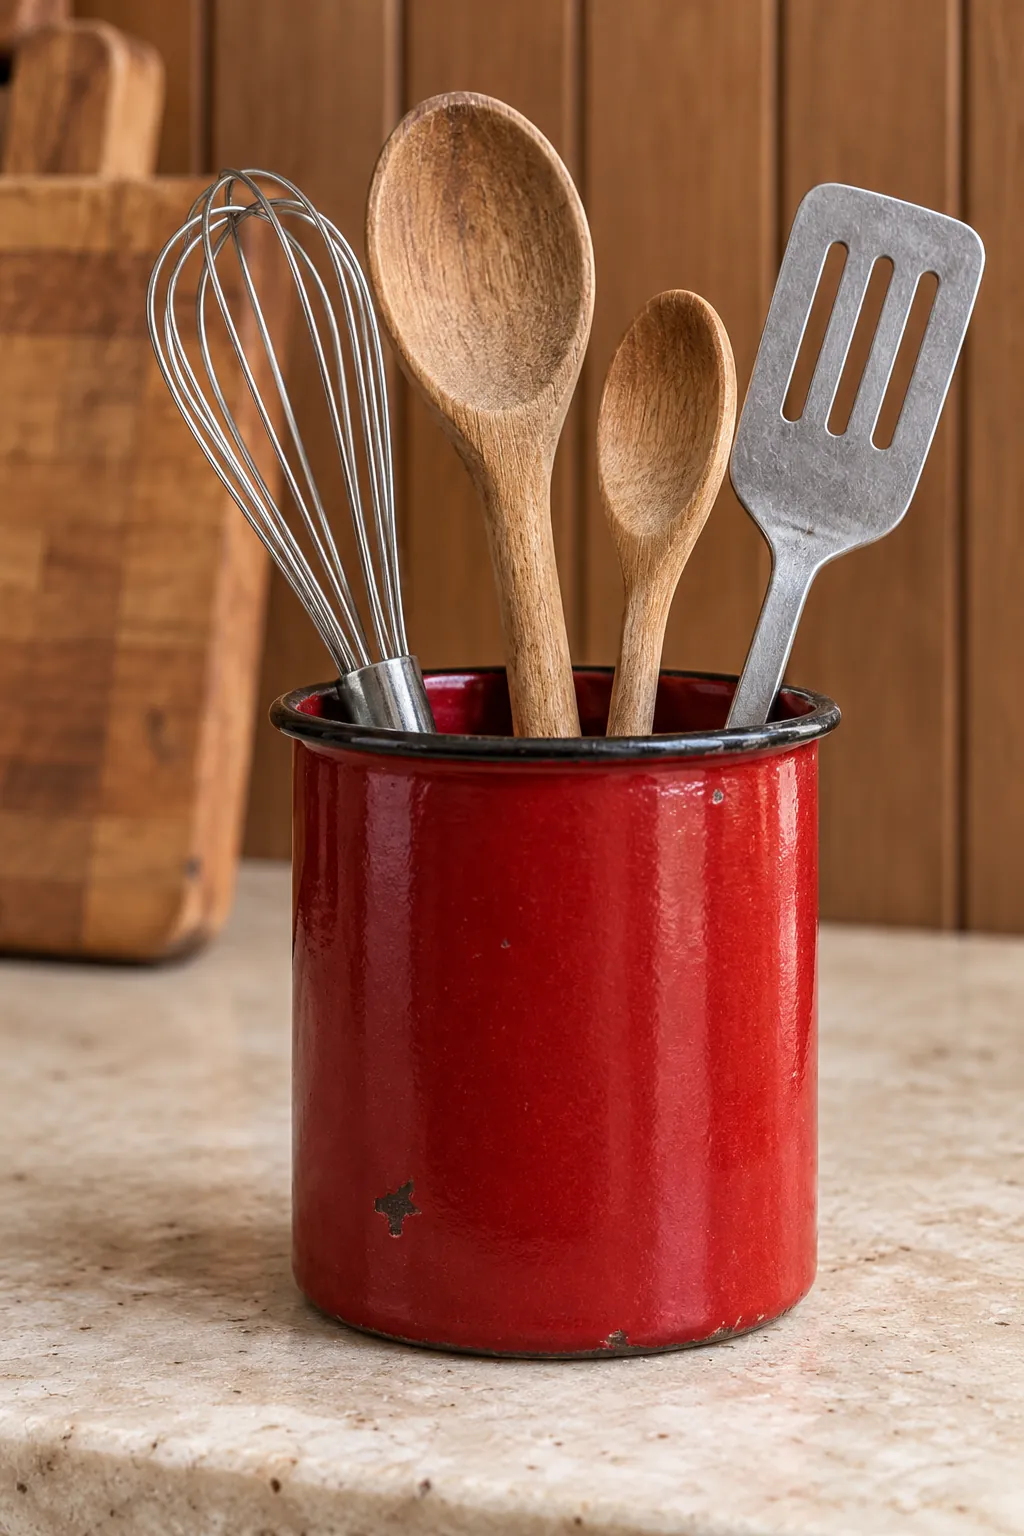
Red Enamel Utensil Crock
Roll a slim clay cylinder with a hollow top and a slightly flared rim. Paint it deep red, then add a narrow dark edge and a few restrained wear marks to suggest old enamel. Fill it with cut wire whisks, flat wooden spoons, and a tiny metal spatula at varied heights. Keep the handles thin because oversized utensils can make the surrounding cabinetry look too small.
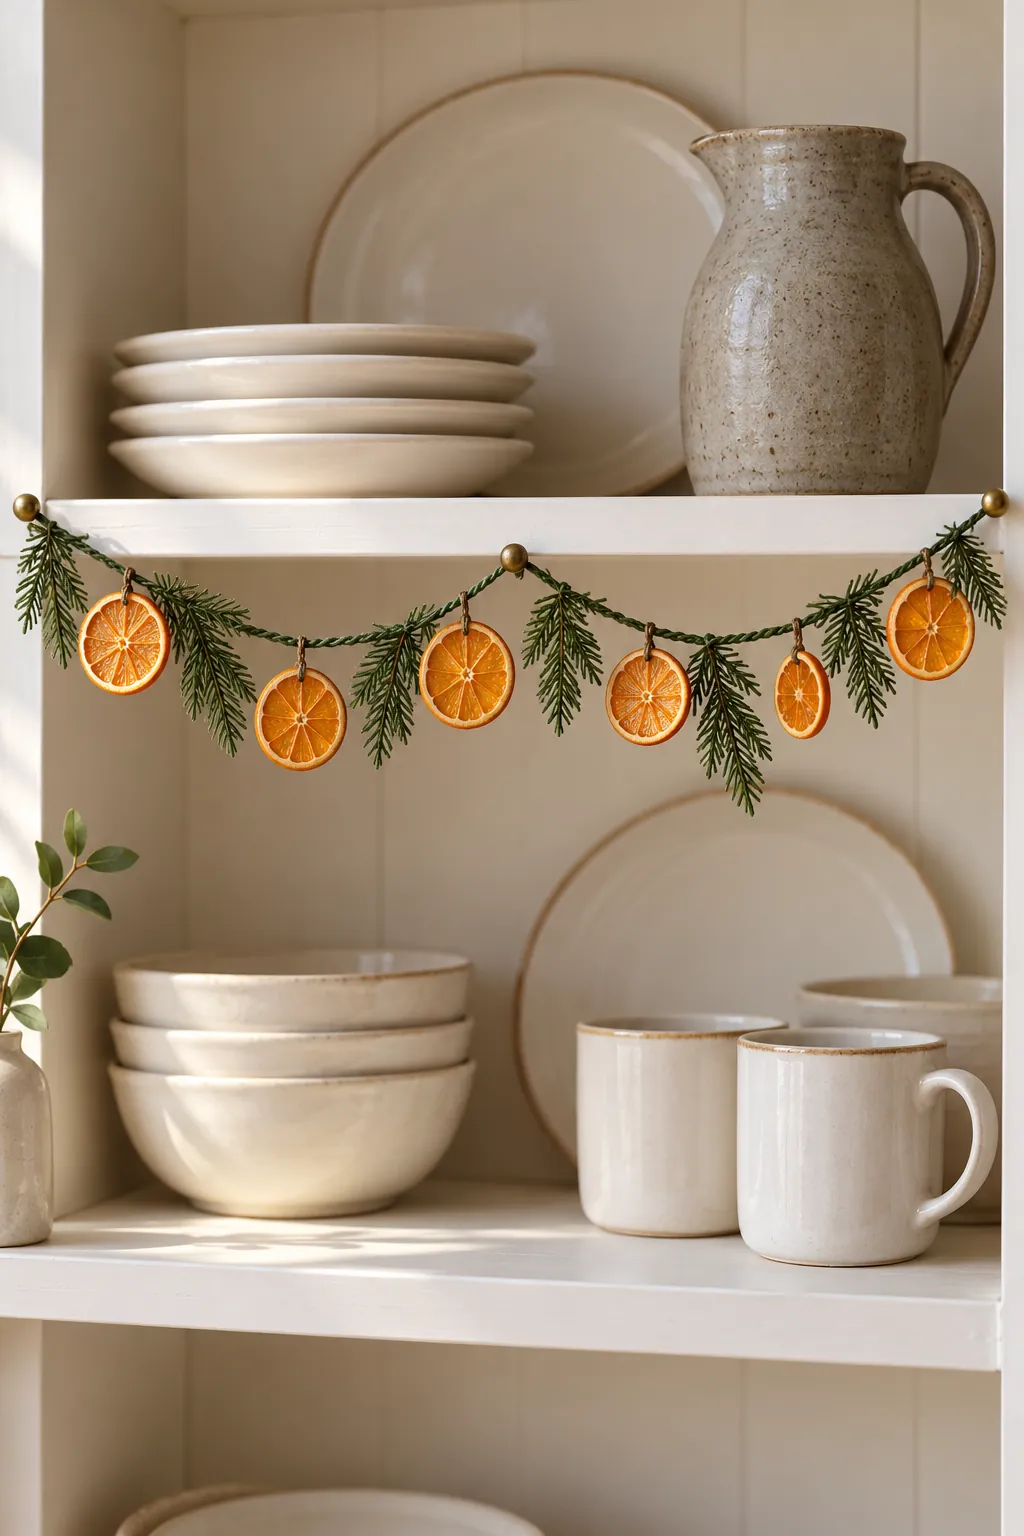
Shelf Garland With Oranges
Twist two fine green threads together and glue small foliage pieces along the cord. Make dried orange slices from translucent orange clay with a pale center and fine segment lines, then attach them at uneven intervals. Drape the garland in shallow curves across an open shelf so it does not hide the mini cookie jars and crockery behind it. Secure only the ends and one middle point to make seasonal removal easier.
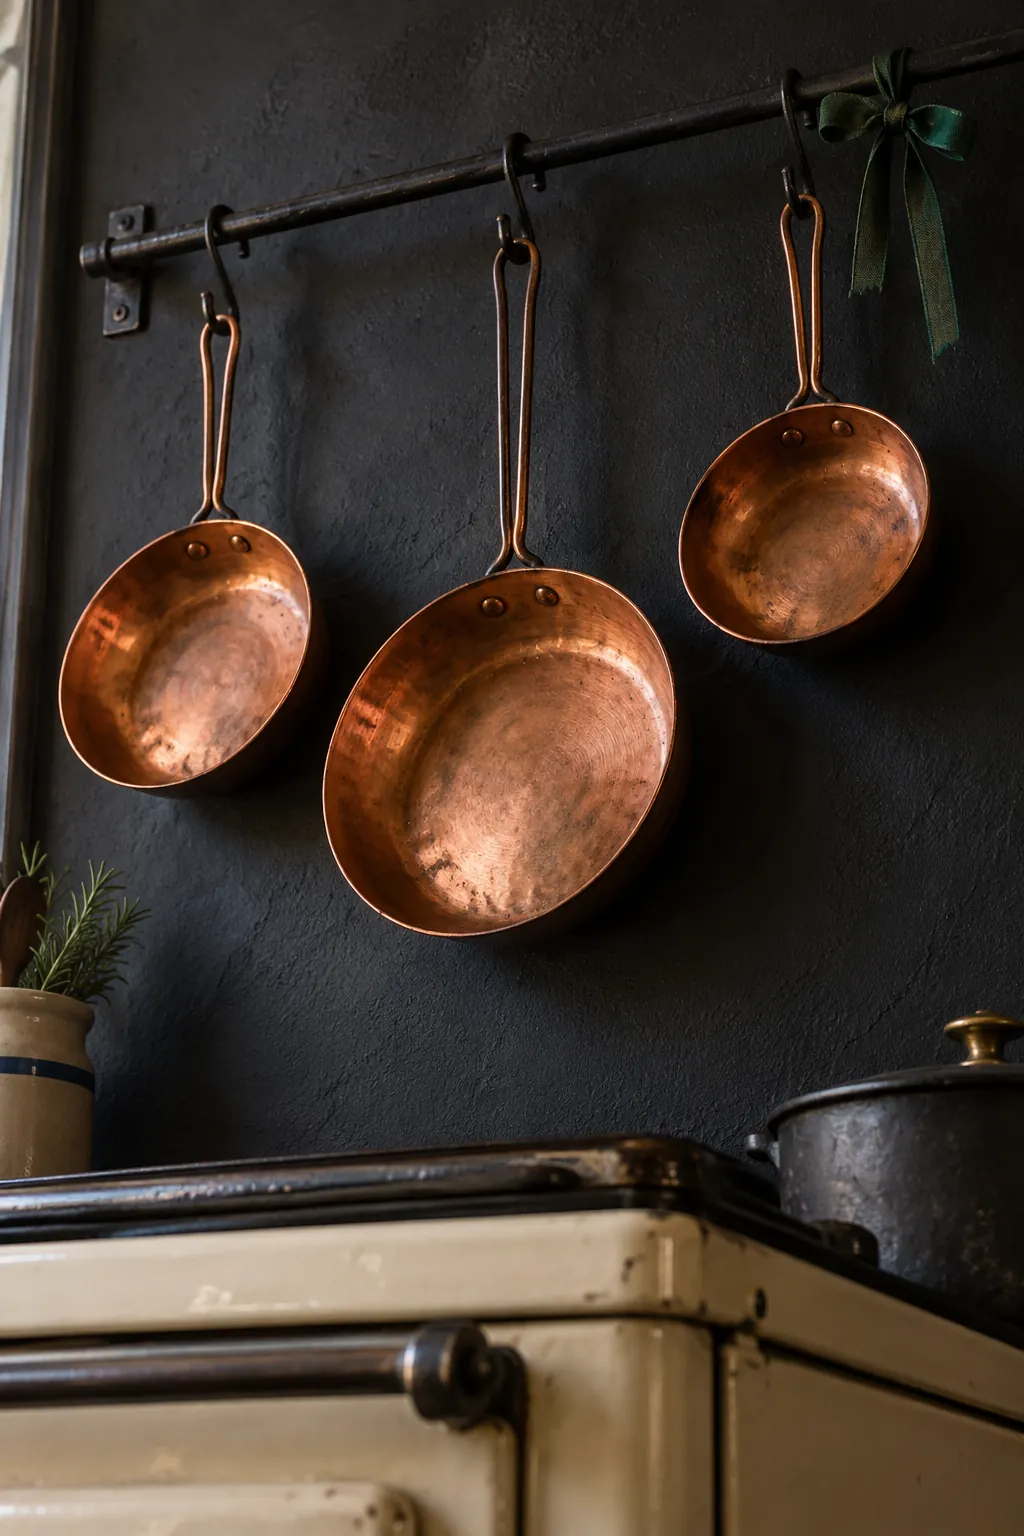
Copper Pans With Festive Ties
Form shallow pan bowls by pressing thin copper foil over a rounded tool, then trim each rim with fine scissors. Roll narrow handles from matching foil around wire and join them beneath the bowl for strength. Polish the centers while leaving subtle darkening near the edges so the pans feel used. Tie one restrained green thread bow to the hanging rail rather than decorating every pan separately.
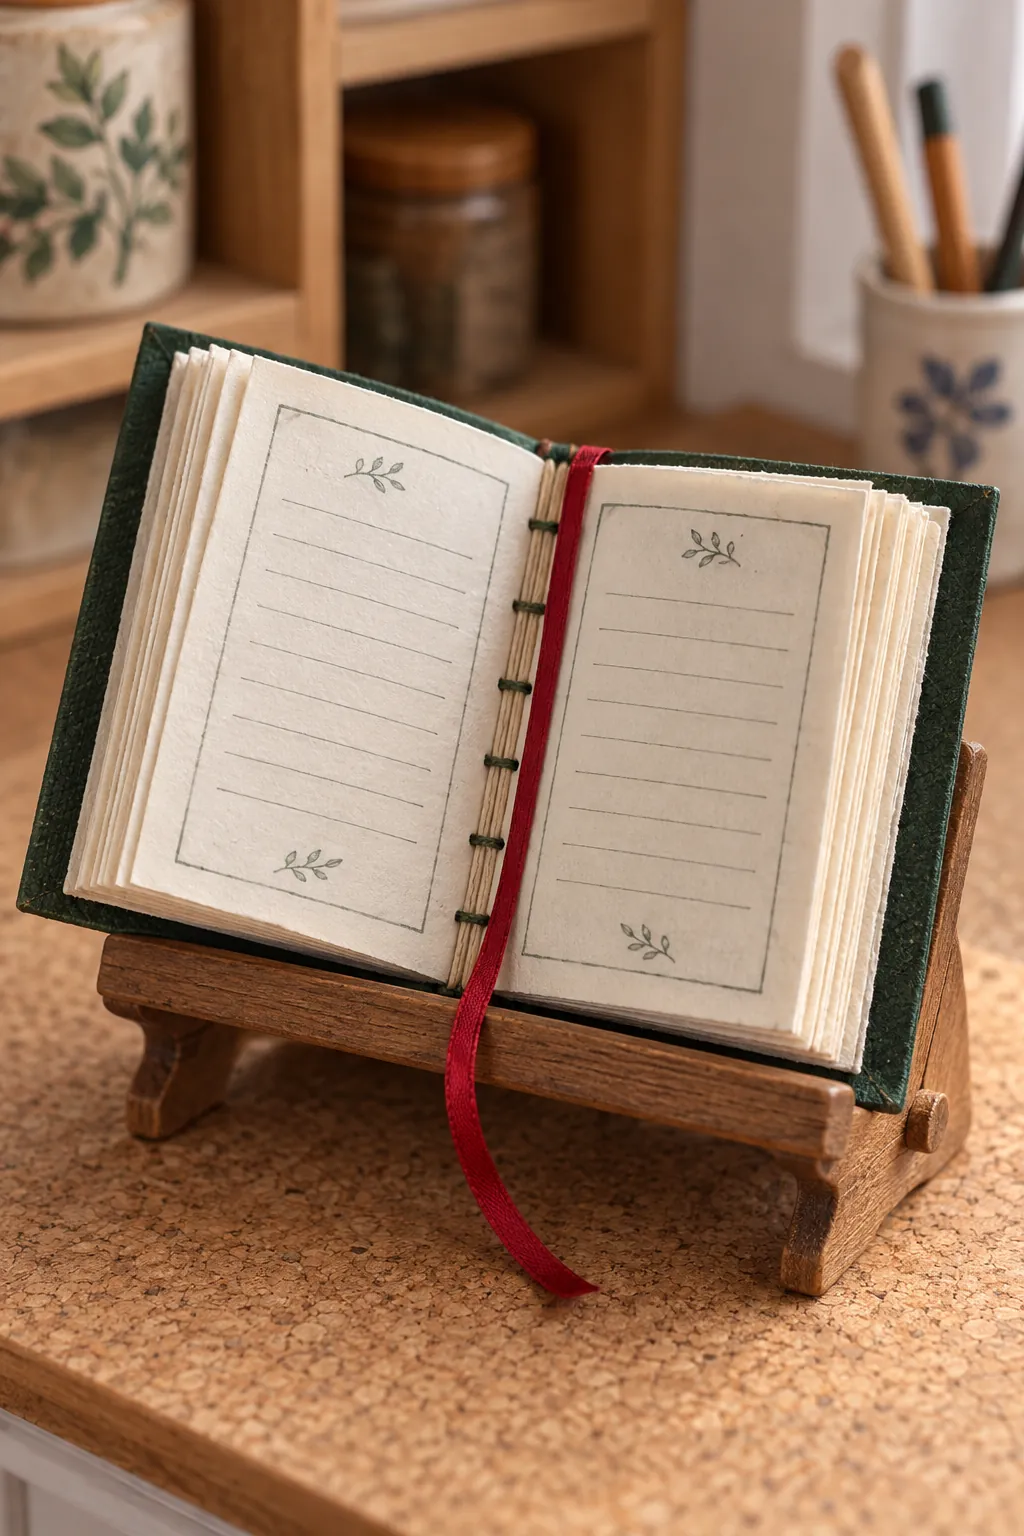
Handwritten Recipe Book
Fold several thin paper rectangles into signatures and bind them inside a card cover with sewing thread. Write only a few visible recipe headings with an ultra fine pen, leaving the remaining marks as restrained lines that suggest notes. Add one small stain and a narrow ribbon marker to make the book feel handled. Display it open on a stand so the scale reads more clearly than it would in a closed stack.
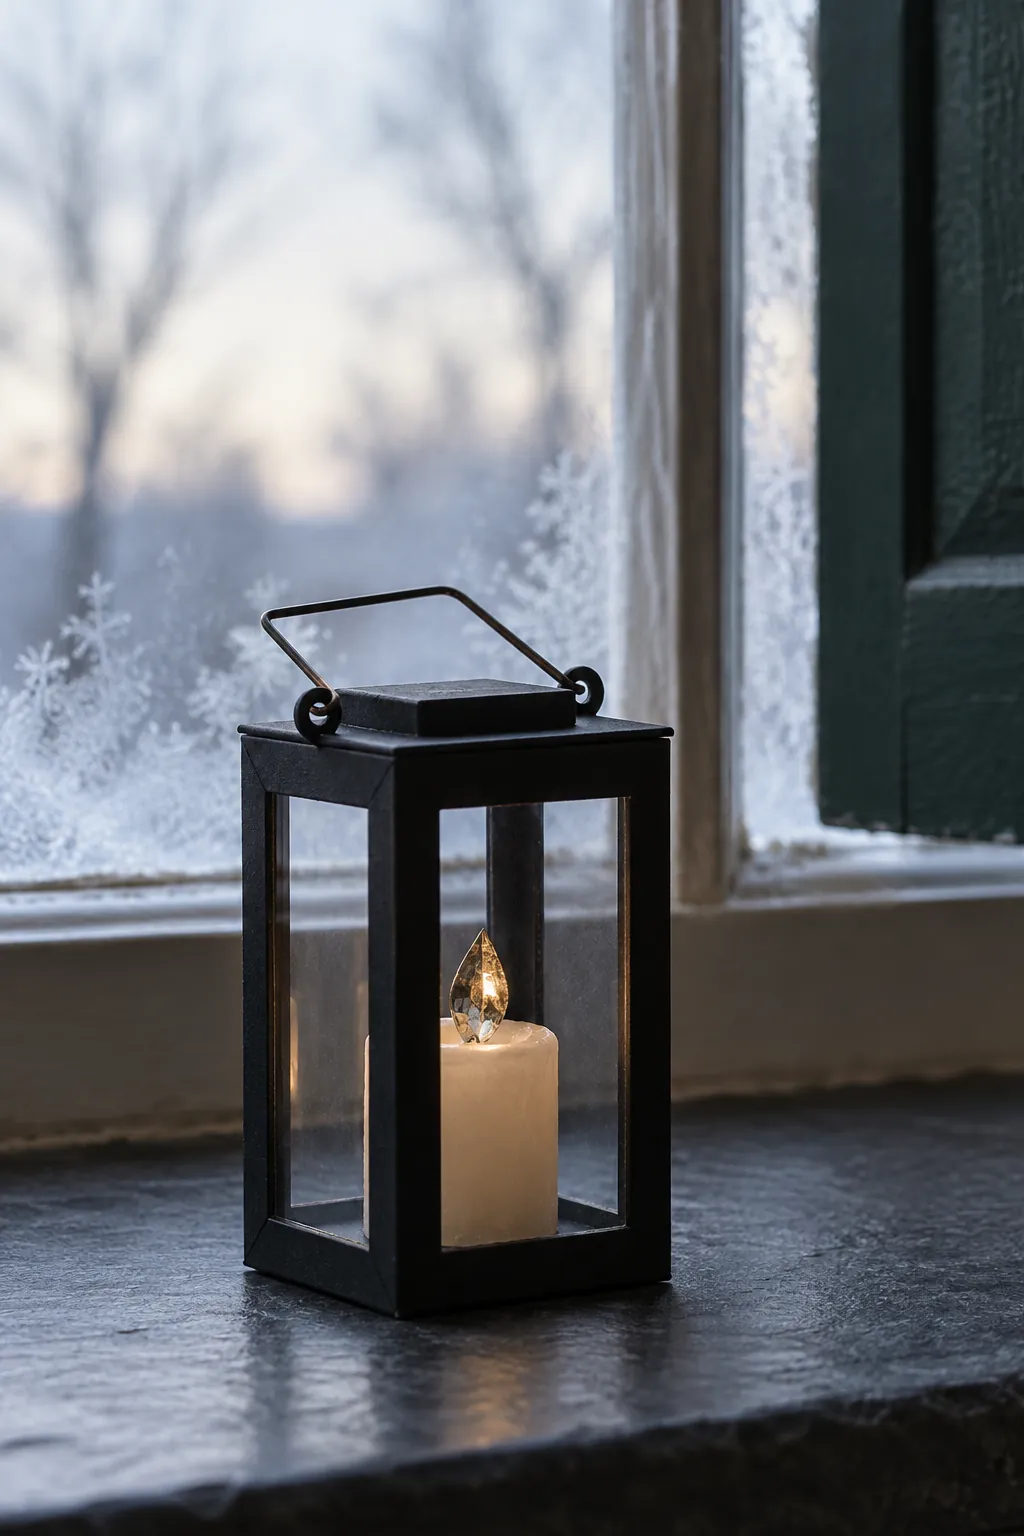
Window Candle Lantern
Build a small lantern frame from thin black card strips around clear plastic panels. Place a cream clay candle inside and use a tiny reflective foil shape for the flame rather than a real light source. Add a wire handle that can fold down without touching the window glass. Position the lantern near a window or on a deep counter where its straight lines can be seen against a lighter background.
Christmas Baking Hamper
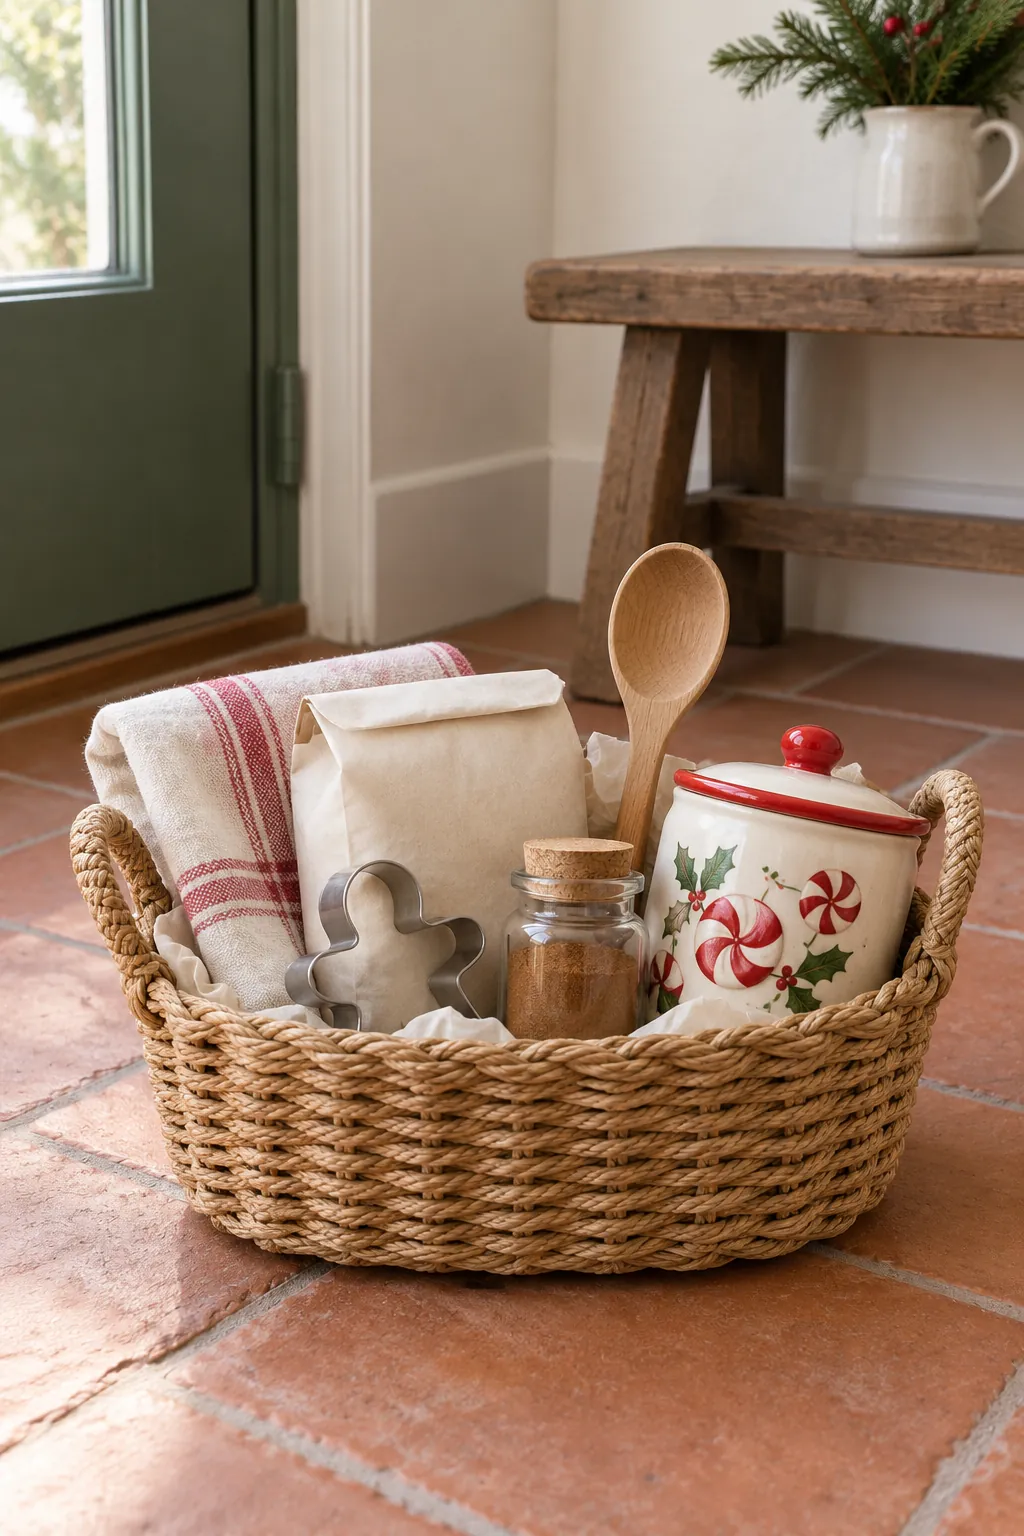
Weave a shallow basket from paper cord around a small removable card form, keeping the rows tight and even. Fill it with a folded tea towel, a flour packet, a cookie cutter, and one jar from the earlier projects so the collection feels connected. Tuck tissue paper between the objects to hold them at readable angles without permanent glue. Place the finished hamper below the shelf or beside a back door, where its larger silhouette can balance the many tiny accessories above.