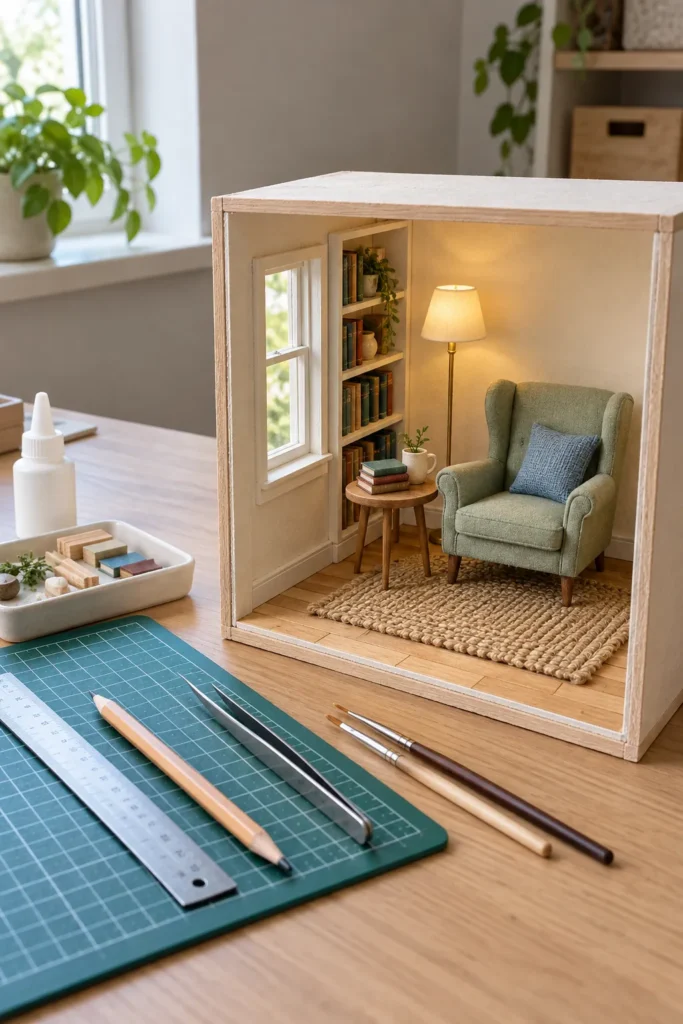
Starting a dollhouse hobby should feel exciting, not like you need a workshop, a large budget, and years of experience before you can make anything good. The best first project is small enough to finish, clear enough to learn from, and interesting enough to keep you coming back.
This roadmap takes you from a vague idea to one finished miniature scene. You will choose a scale, set a practical boundary, collect only the tools you need, and complete the work in an order that prevents common problems.
Start with the experience you want
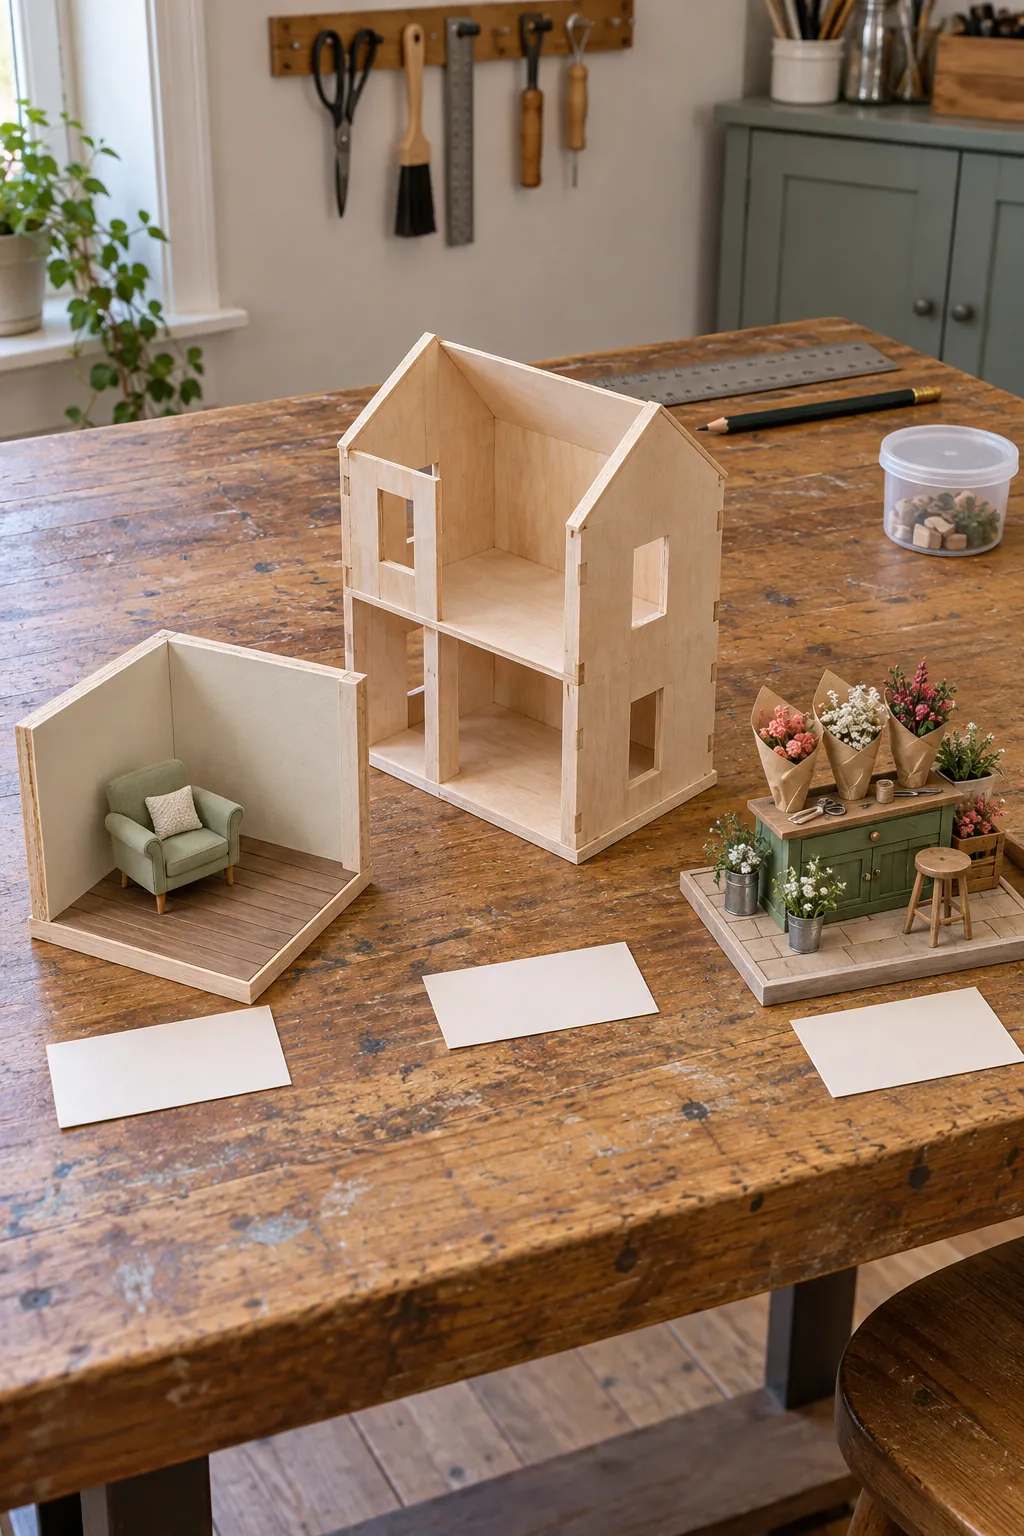
Before you shop, decide what part of the hobby attracts you. Some makers enjoy building a house shell. Others prefer decorating rooms, collecting furniture, sewing tiny textiles, making food, or creating one detailed story scene. These are different hobbies that happen to share a small scale.
If you mainly want to decorate, you do not need to begin with a full house. A room box gives you walls, a floor, and a clear finish line. If construction is the main appeal, choose a simple shell with large parts and clear instructions. If you want to make tiny objects, build a small display around three or four pieces instead of buying an empty house that creates pressure to fill every room.
Choose one scale and stay with it
Scale tells you how a miniature measurement relates to the real object. In 1:12 scale, one inch in the miniature represents twelve inches in real life. This is the familiar one inch scale, and it is a friendly choice for many beginners because furniture, building parts, and accessories are widely available.
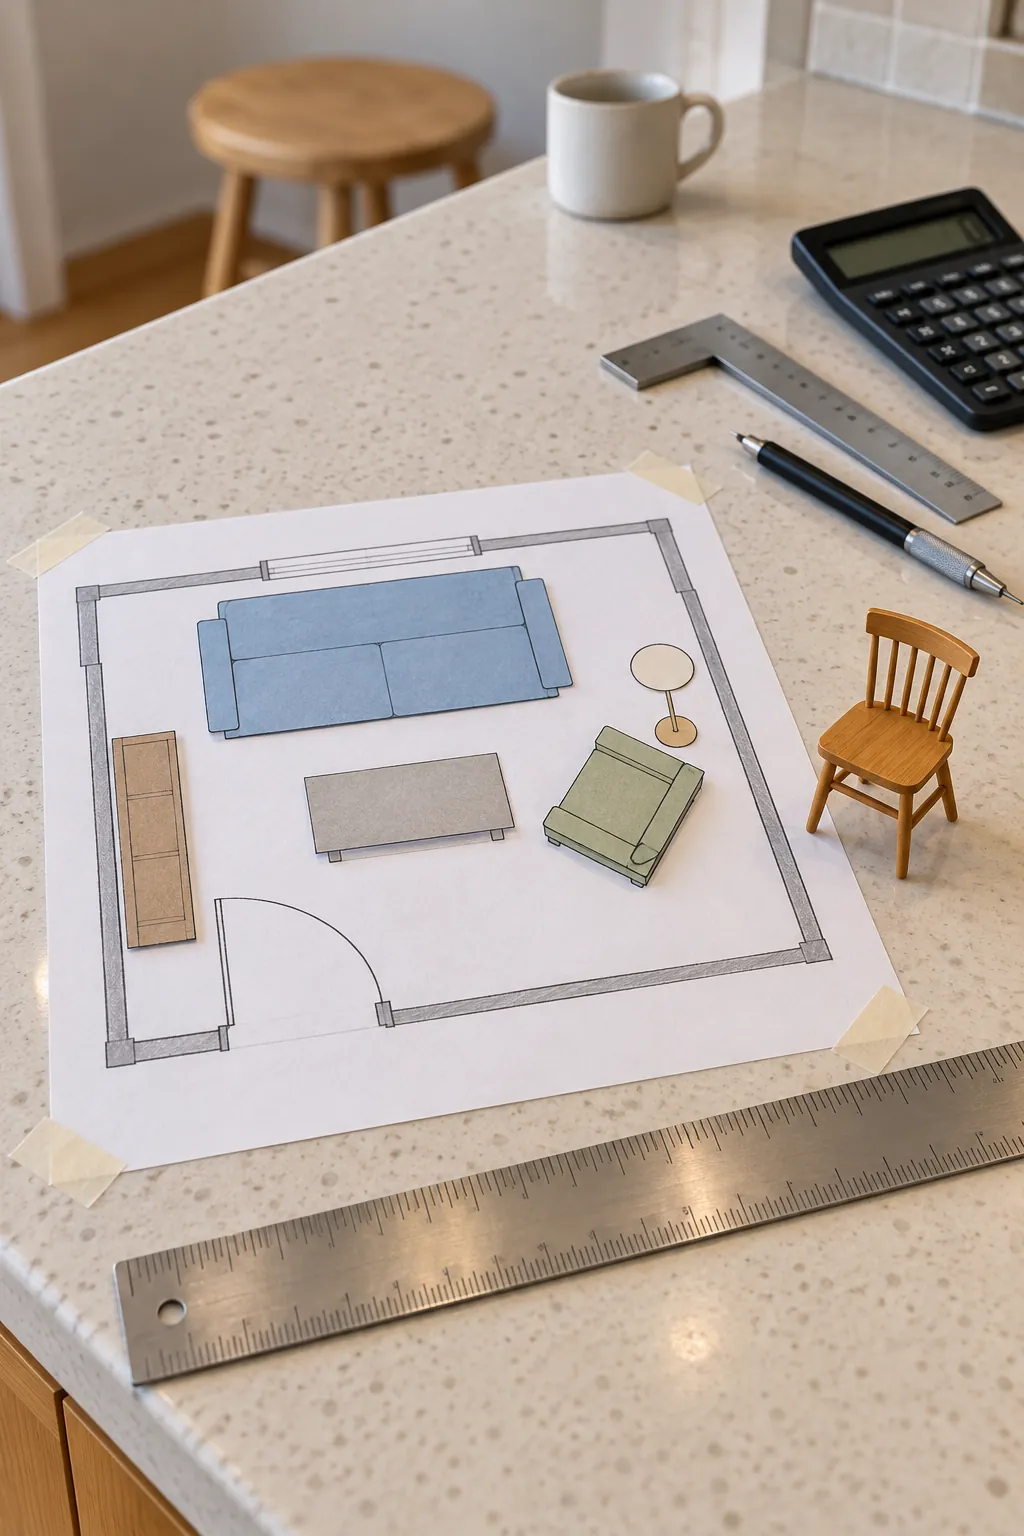
Smaller scales save display space, but they demand finer hand control and make details harder to see. Larger 1:6 scenes are easier to handle, yet a single room and its furniture need much more space. Do not select a scale from a photograph alone. Mark the planned floor size on a table with paper, then place a few cardboard furniture shapes inside it. This quick test shows what the project will require in real life.
After you choose, write the scale on your project box. Check every purchased item against it. A chair from another scale can look strange even when its style is perfect.
Give the first project a firm boundary
A good first miniature project has one room, one purpose, and one stopping point. A reading corner, a flower shop counter, a compact kitchen, or a simple bedroom is enough. Choose a scene that can look complete with five main objects.
- One room box or small shell
- One floor treatment
- One wall finish
- Two main furniture pieces
- Three to five accessories
- One simple light only if you want to learn wiring
Write this boundary before you buy supplies. New ideas can go on a later list. The rule protects your budget and helps you reach the valuable stage where a project is finished, photographed, and displayed.
Set a budget that includes the hidden parts
The shell and furniture are only part of the cost. Adhesive, paint, brushes, blades, sandpaper, replacement parts, lighting supplies, and storage can add up. Divide your budget into four groups: structure, finish materials, furnishings, and tools. Keep a small reserve for mistakes.
Spend first on accurate cutting, safe handling, and dependable adhesive. Save money on surfaces by using paint samples, plain card, fabric remnants, and carefully chosen scrapbook paper. Buy furniture slowly. A room with open space and a few well scaled pieces usually looks more convincing than a crowded room full of inexpensive objects.
Build a small tool kit
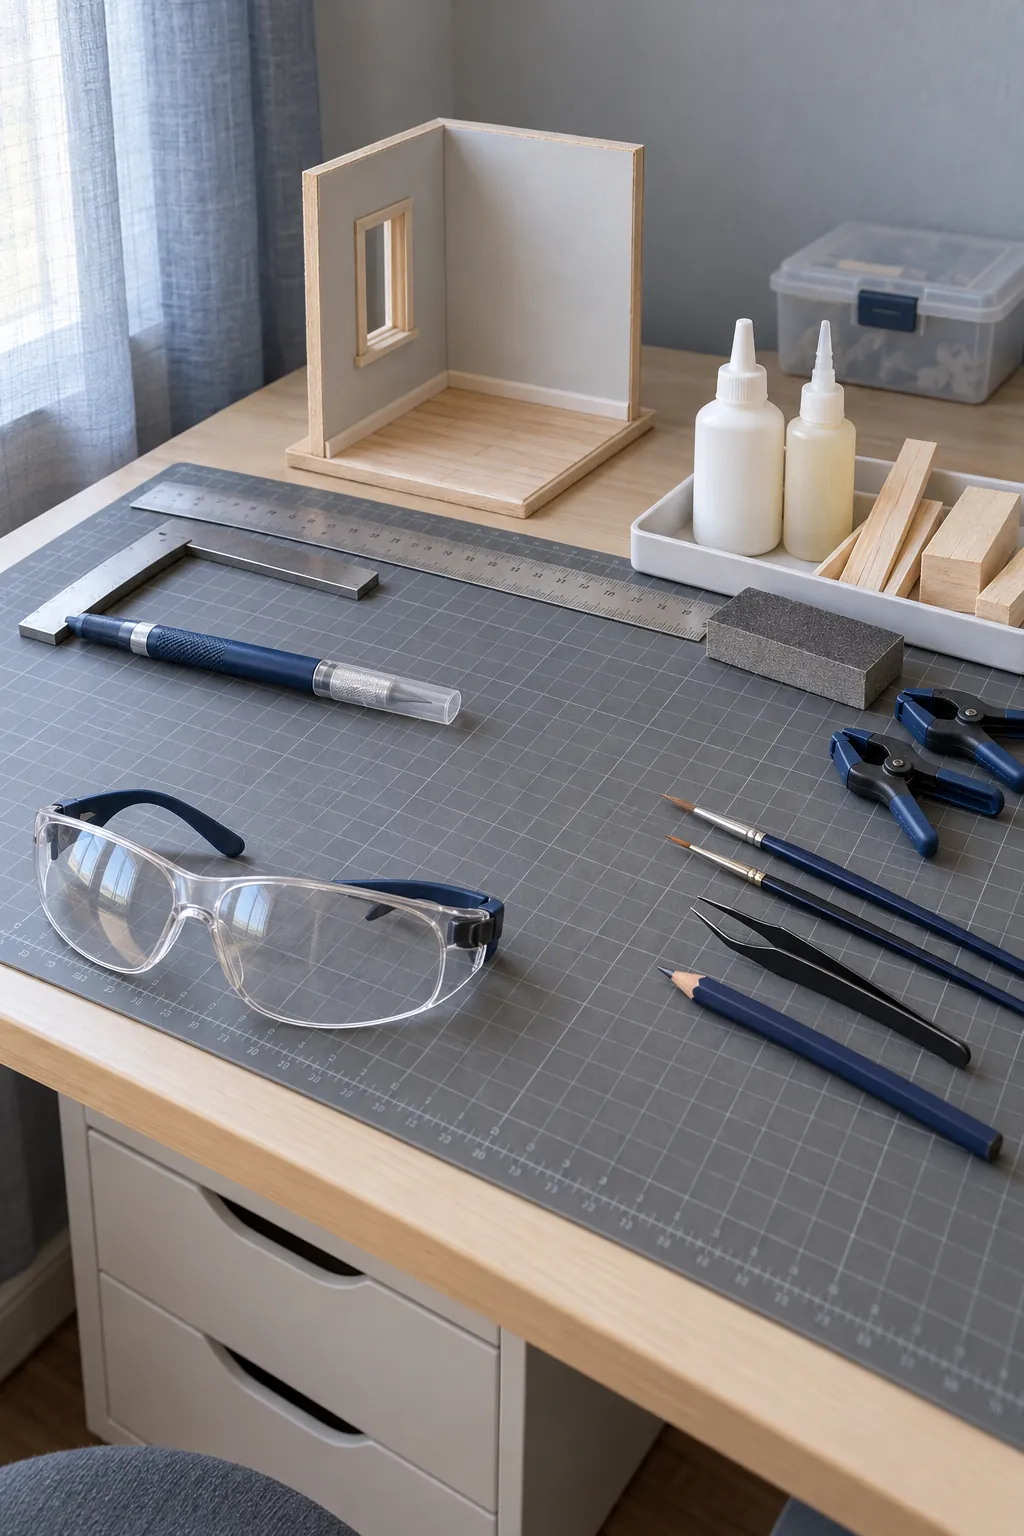
You can complete many first projects with a metal ruler, a sharp craft knife, a cutting mat, fine sandpaper, a small square, tweezers, a pencil, two paint brushes, and the correct adhesive for your materials. Add safety glasses when parts can snap or fly. Use a fresh blade and cut away from your hand.
Do not buy a specialized tool until a project gives it a specific job. If you need to make many identical wood cuts, a small saw and miter box may be useful. If you want installed lighting, basic wire tools become relevant. A large tool collection will not replace patient measuring and dry fitting.
Plan the room before glue touches it
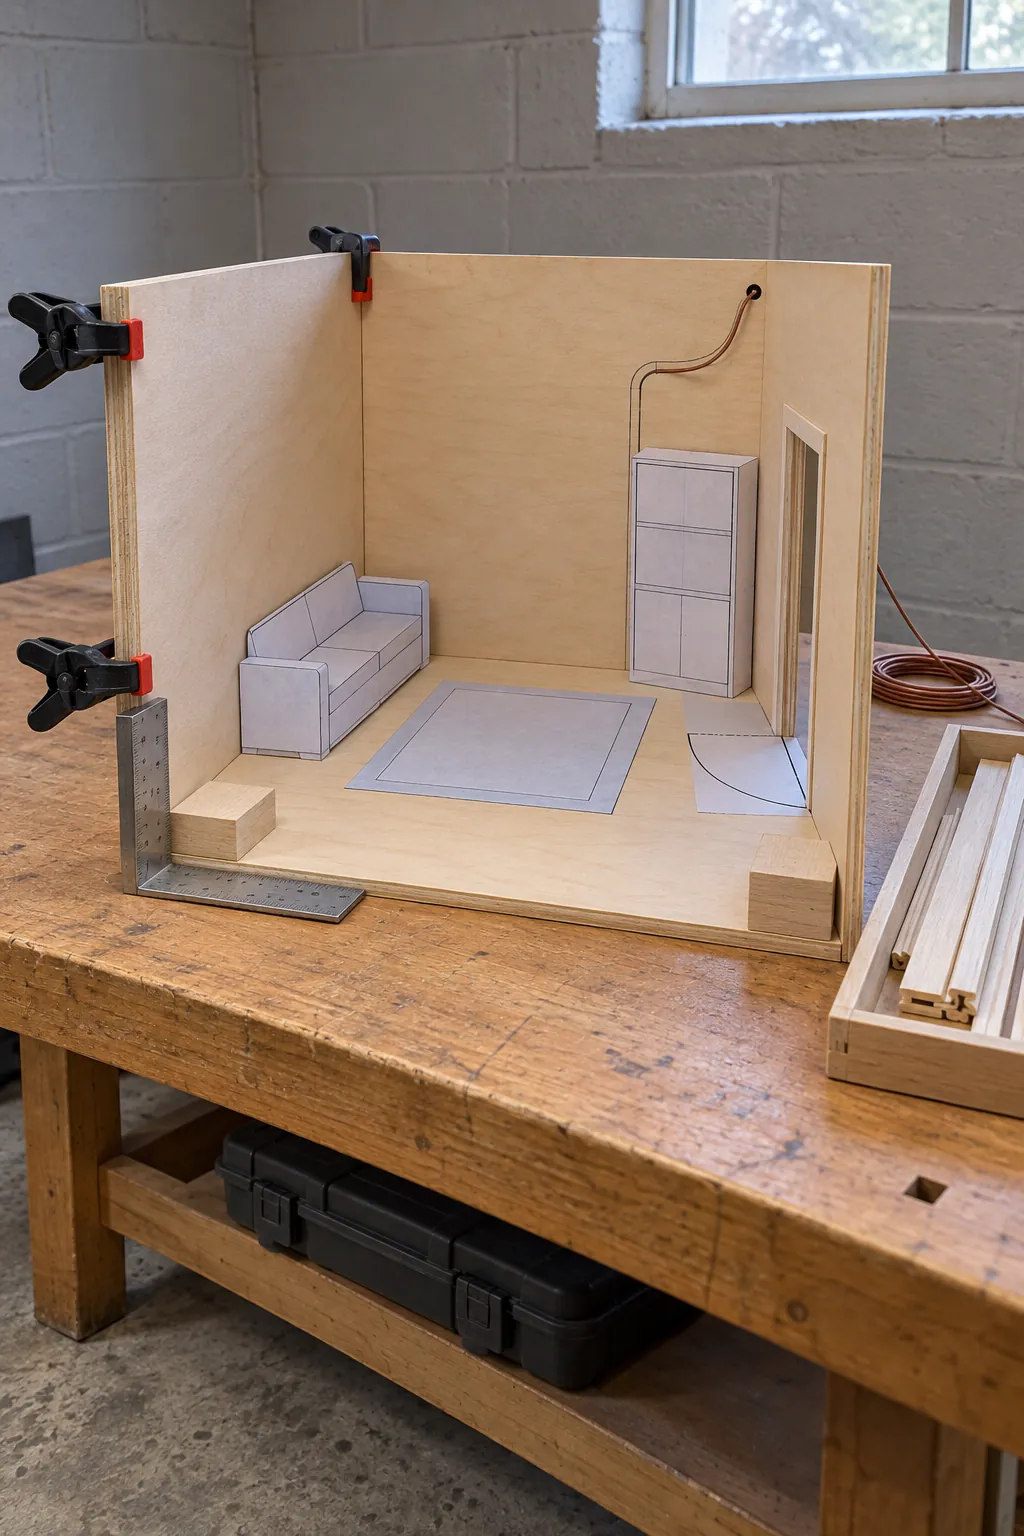
Measure the inside of the shell and draw a simple floor plan. Mark doors, windows, large furniture, and the route for any wires. Make paper templates for the main pieces. Move them until the room has a clear path and one visual focus.
Next, test every part without adhesive. This is called a dry fit. Check that walls meet, floors lie flat, doors can open, and furniture does not block the view. Photograph the arrangement before taking it apart. The photograph becomes a useful map during assembly.
Work in an order that protects the finish
Start with messy structural work. Sand rough edges, fill gaps, and drill any wire openings before you add wallpaper or flooring. Test lighting while the back of the project is easy to reach. Paint trim separately when possible, then install it after the main wall finish is secure.
- Inspect, label, and dry fit the shell.
- Sand, fill, and prepare surfaces.
- Plan and test lighting if the project uses it.
- Apply ceilings, walls, and floors.
- Install trim and permanent fixtures.
- Add large furniture, then small accessories.
- Clean the room and take a final photograph.
Let each adhesive and finish cure for the time on its label. Moving too quickly creates more repair work than waiting.
Practice one skill at a time
Your first project does not need custom furniture, working lights, handmade food, aged paint, and perfect sewing. Pick one new skill as the focus. You might cut straight wall panels, install a simple floor, or make one cushion. Buy or simplify the rest.
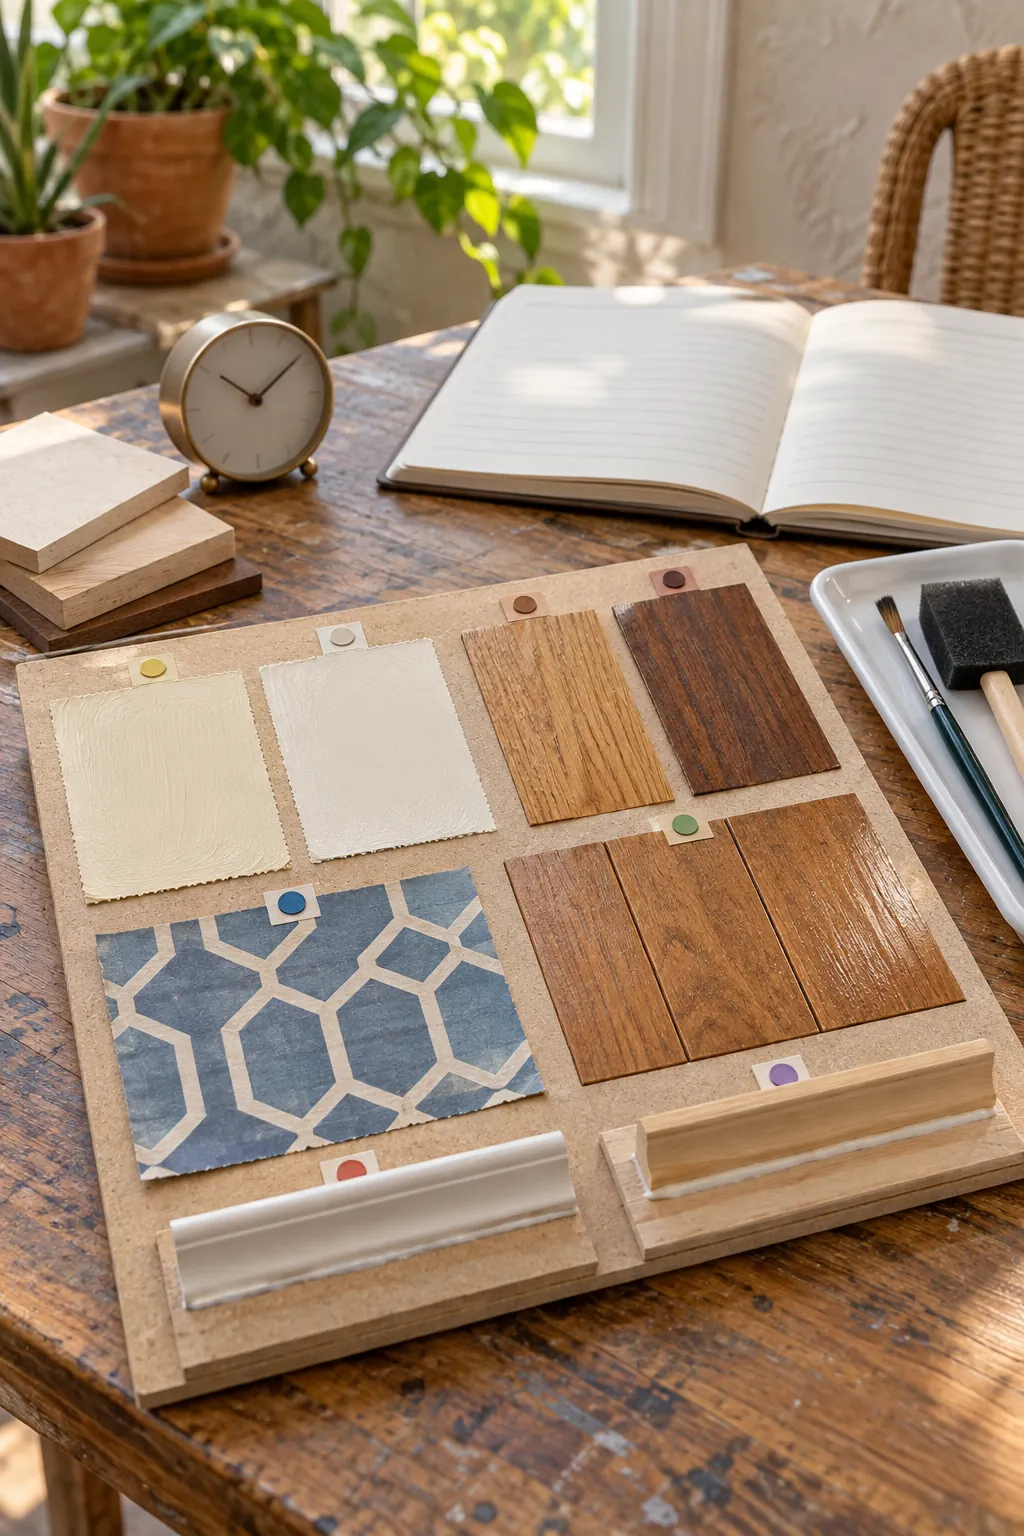
Test paint, stain, adhesive, and printed paper on scraps first. Record what worked in a small notebook. Include paint names, measurements, and drying times. This turns a mistake into information you can use on the next project.
Plan where the project will live
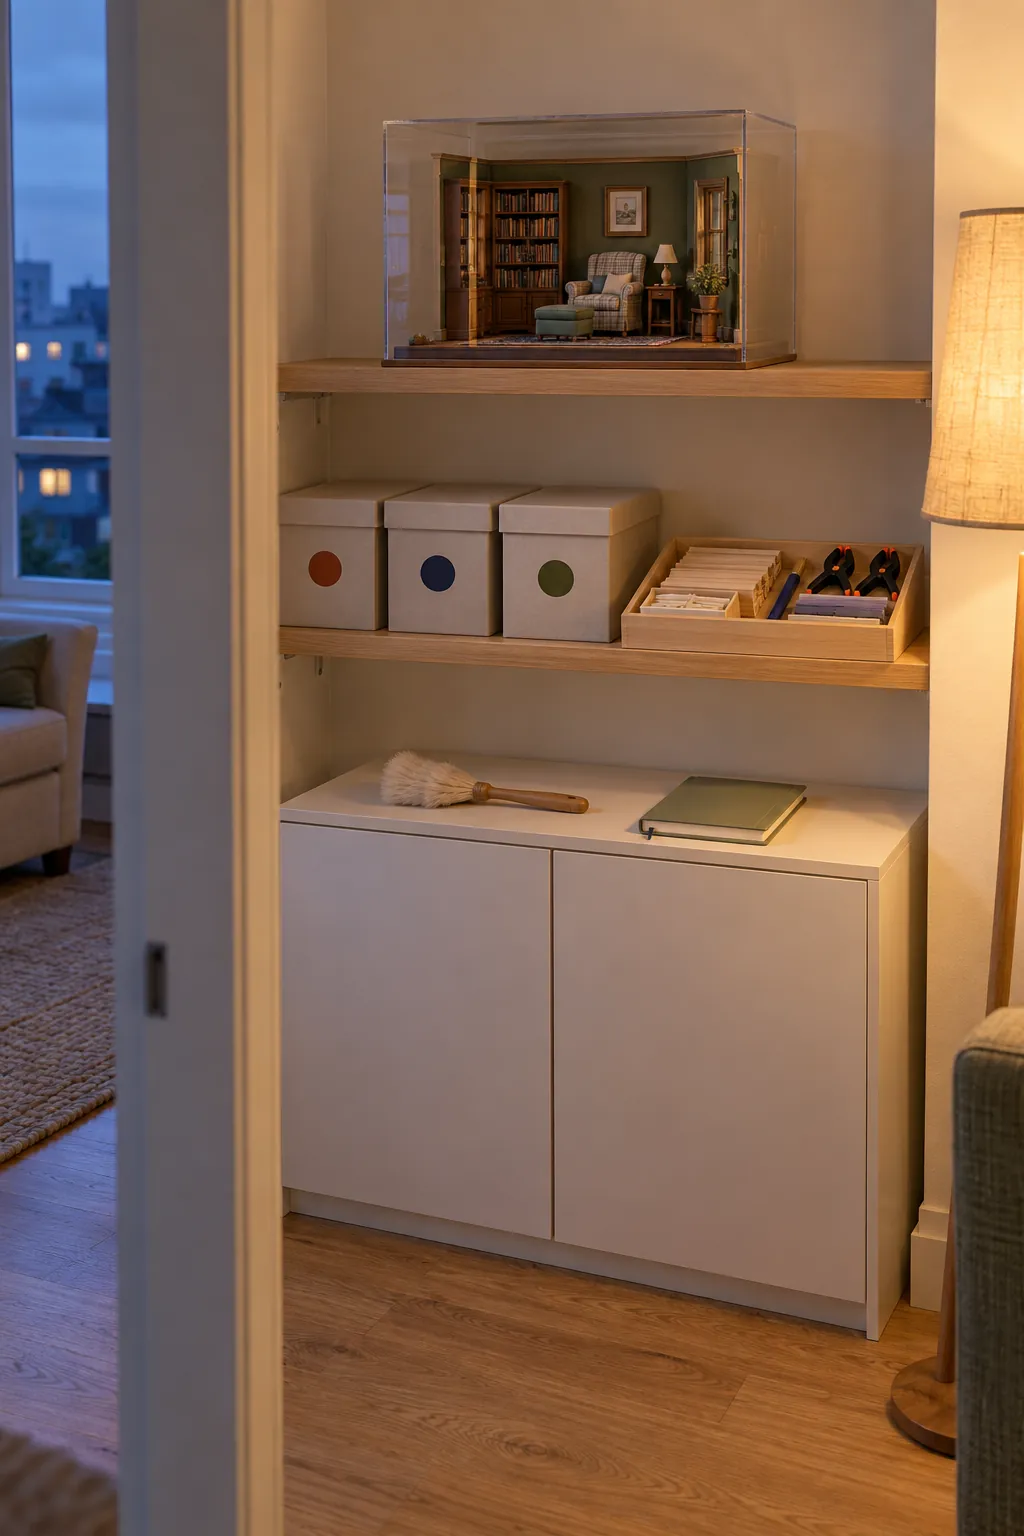
Measure the work area and the display area before you choose a shell. Include room for the open front, a protective cover, and access to a light switch or battery holder. Keep the project away from direct sun, moisture, cooking residue, pets, and unstable shelves.
Use one lidded box for loose materials and one shallow tray for the parts needed in the current step. Label tiny pieces. Store blades safely. A simple reset at the end of each session makes it much easier to begin again.
Your first four sessions
In the first session, choose the scene, scale, size, budget, and finish line. In the second, inspect the shell, make templates, and dry fit the parts. In the third, prepare surfaces and complete one main finish. In the fourth, assemble the room and add only the objects on your original list.
When the scene is complete, stop and look at what you learned. Note one method to repeat and one skill to practice next. Your second project can be more ambitious because it will be based on experience, not guesses.