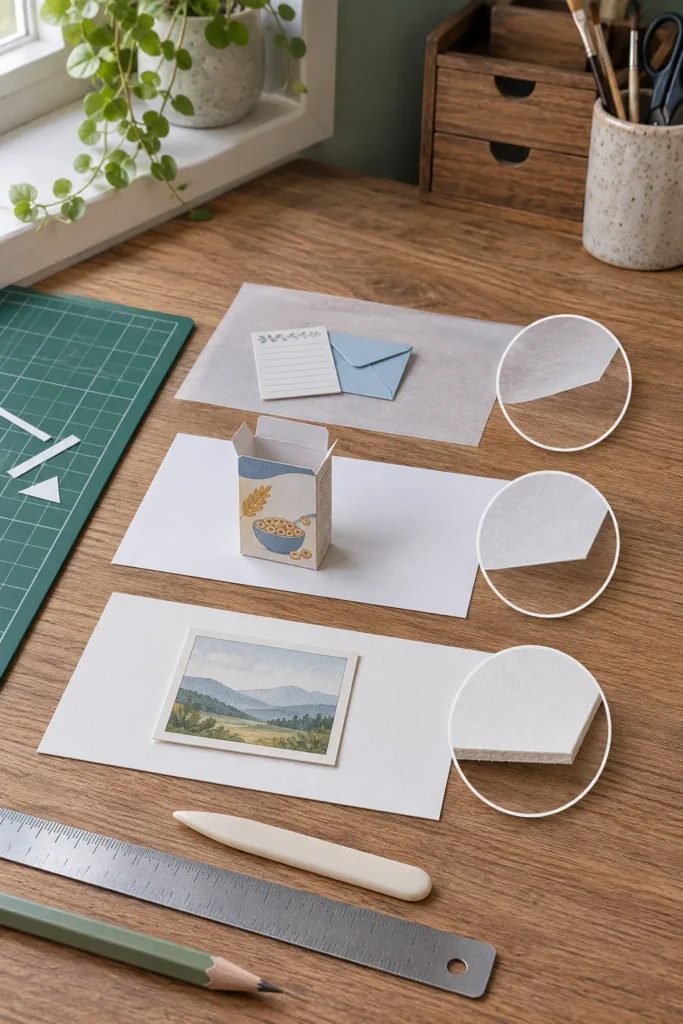
A tiny box can look perfect on screen and still split at the first fold. A miniature poster can lose its scale when the sheet is too stiff. The useful question is not which paper is strongest. It is which paper behaves correctly for the object you are making.
Paper weight affects fold quality, edge bulk, ink appearance, and the way a finished piece sits inside a dollhouse. The best choice changes with the project. Start with the object, then choose the lightest sheet that gives it enough support.
Use light paper for pages and rolled pieces
Standard printer paper is often the better choice for miniature magazines, newspapers, letters, and posters. Its thin edge looks closer to scale, and pages open without fighting the binding. It also rolls around a narrow form more easily than card.
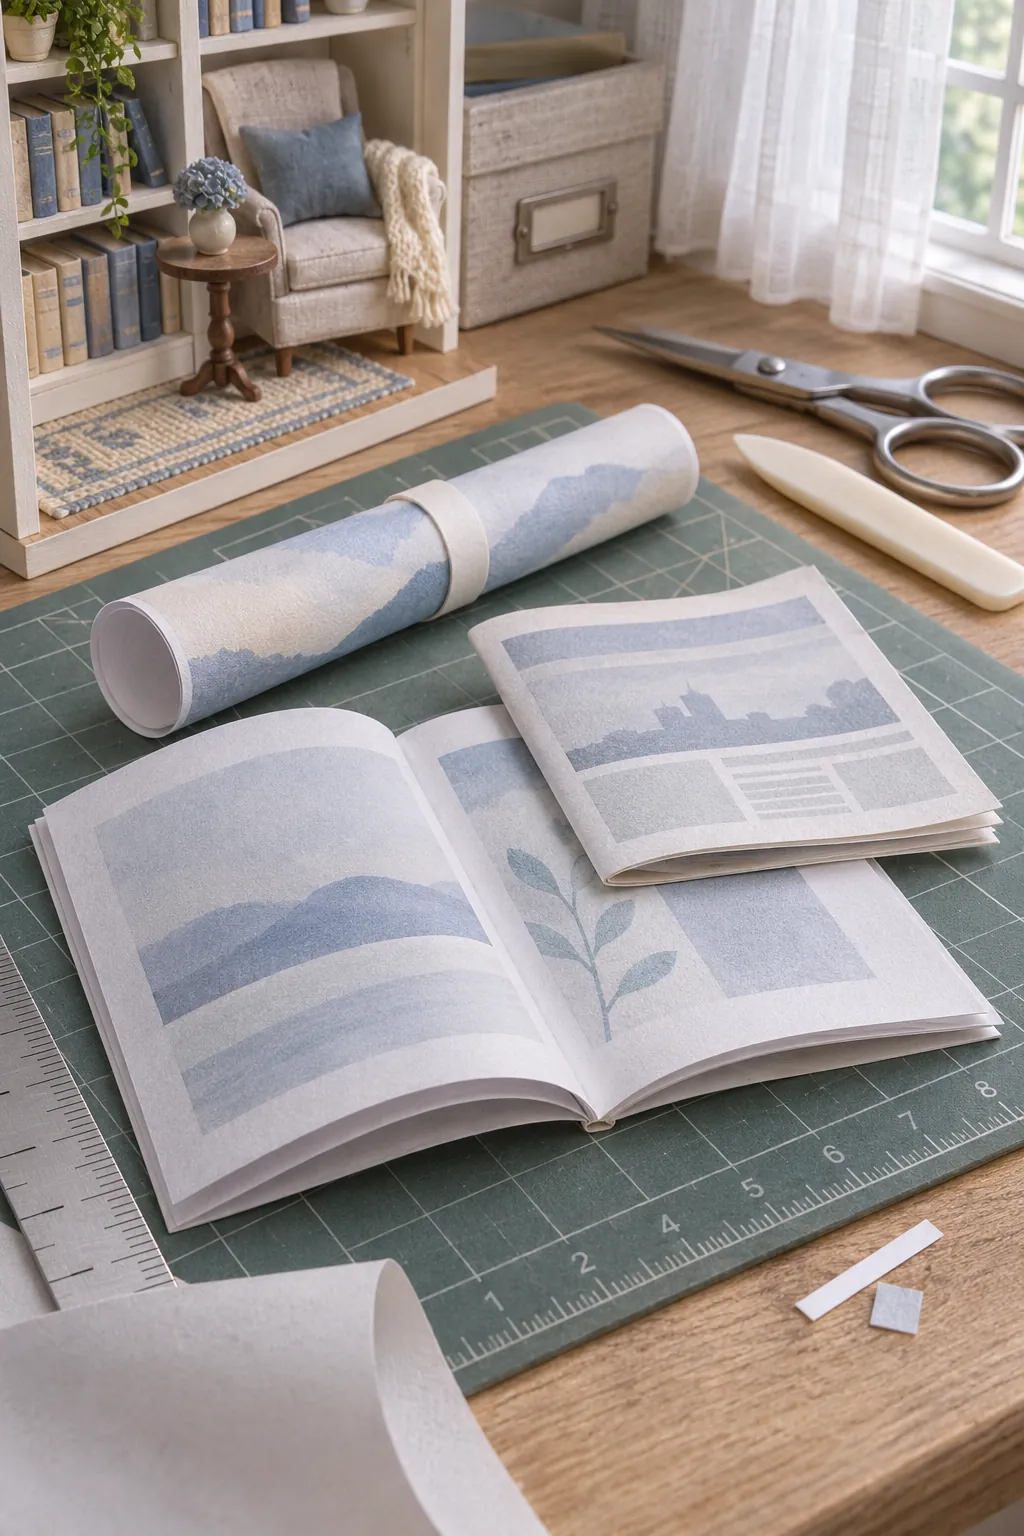
Look for an opaque matte sheet around 75 to 100 gsm when the item needs flexible pages. Print one sample first because some inexpensive sheets allow dark artwork to show through the reverse side. For a miniature book, align the grain with the spine when possible so the pages turn with less resistance.
Choose medium matte stock for most folded objects
Medium matte paper is the most useful starting point for tiny printable paper objects. A range near 120 to 180 gsm usually gives boxes, folders, bags, and simple furniture enough body without making the tabs bulky. It is easier to score than very heavy card and more forgiving around small curves.
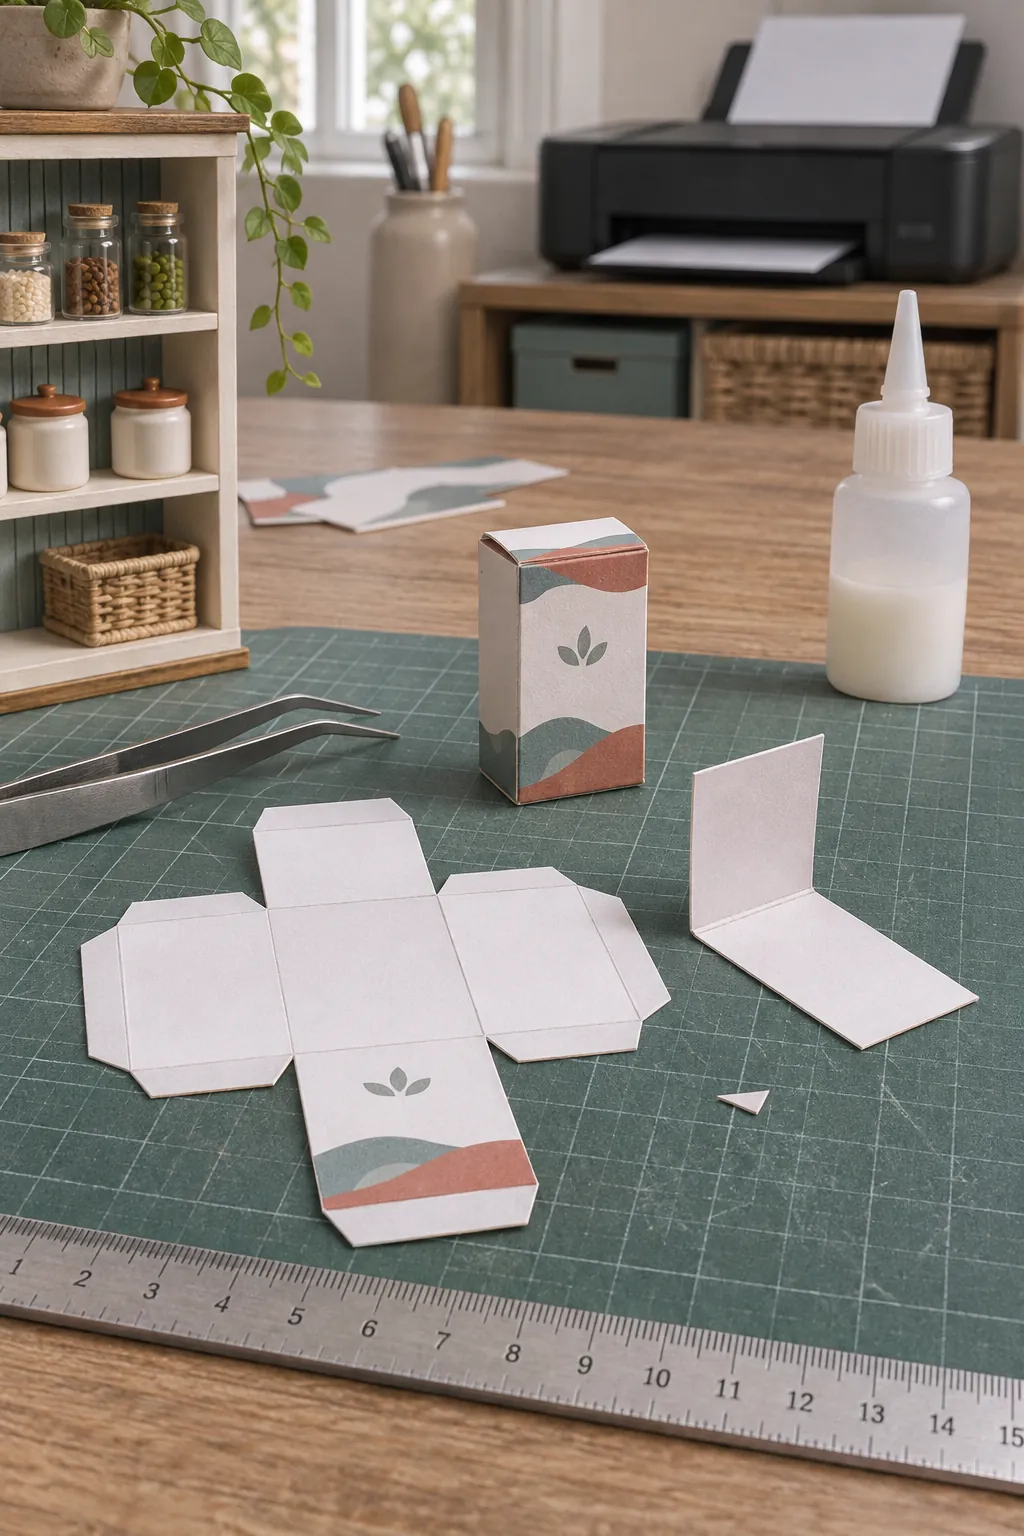
For a one twelfth scale pantry box, test 140 or 160 gsm before moving heavier. Make the test with the real tab size because a large sample fold can hide problems that appear in miniature. A clean matte surface also reduces glare and helps printed graphics resemble packaging instead of a glossy photo.
Reserve heavy card for flat or structural parts
Heavier card works well for signs, picture backings, dividers, floor inserts, and hidden supports. A range around 180 to 250 gsm can stay flat and resist handling. It is less suitable for a tiny box with several close folds because each layer adds visible bulk.
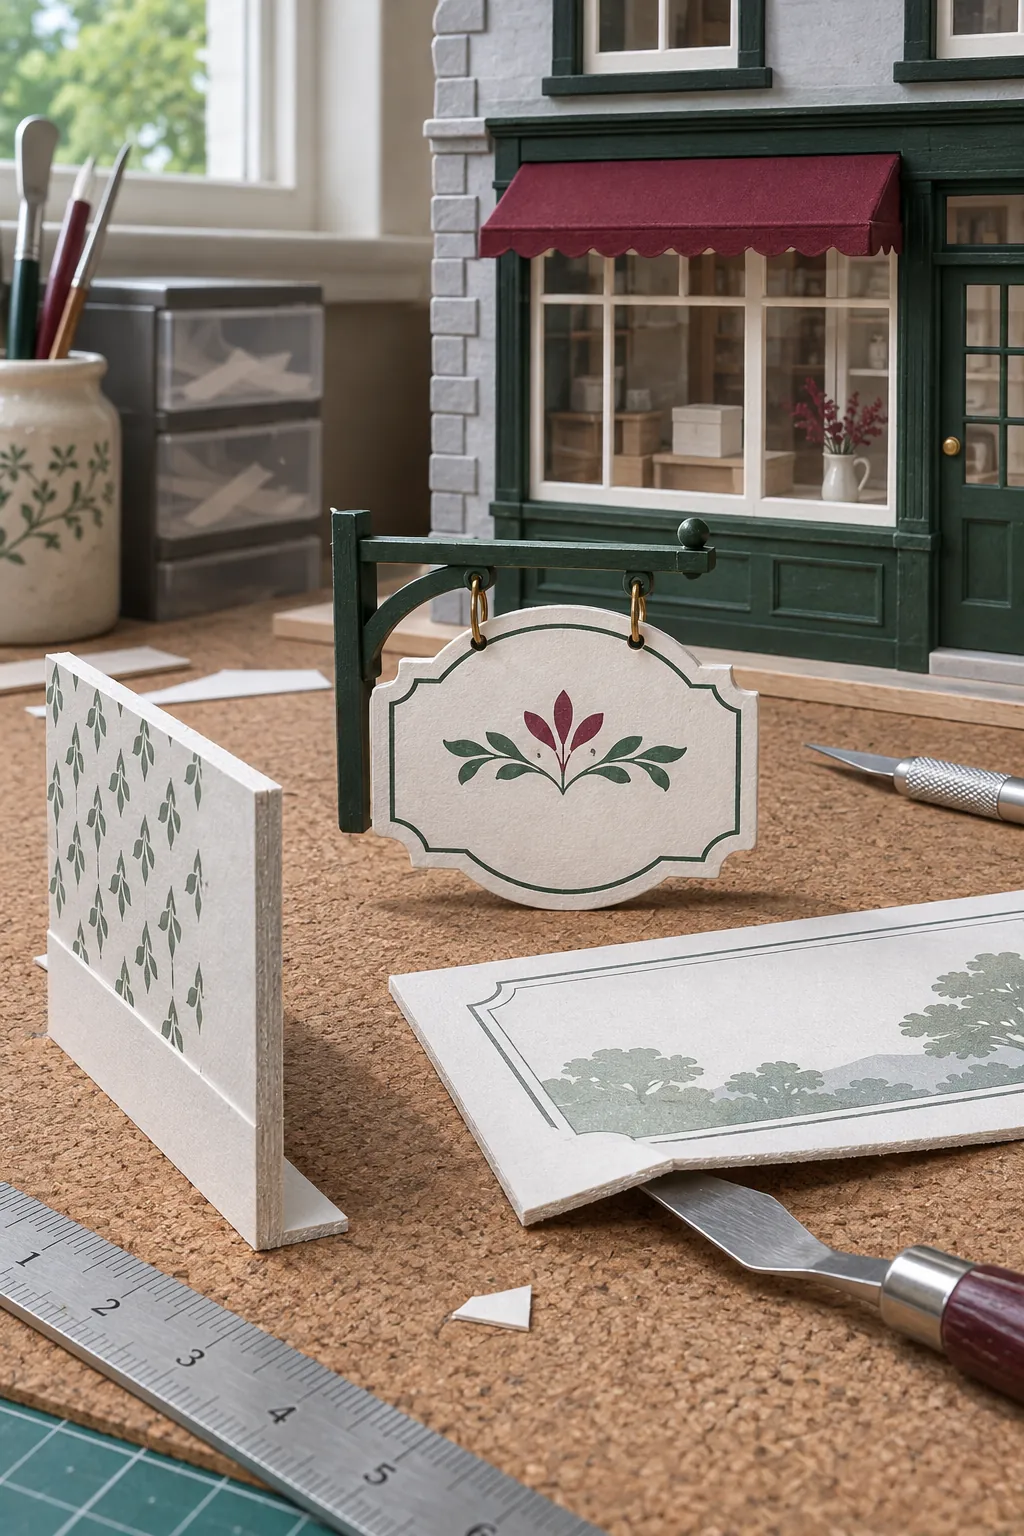
If a design needs a crisp printed face and a rigid core, print on a lighter matte sheet and mount it to plain card after the ink dries. This keeps the visible edge under control and lets you choose stiffness separately from print quality. Apply adhesive in a thin, even layer and press the piece flat while it cures.
Read gsm before relying on pound labels
Gsm means grams per square meter, so it gives a consistent basis for comparing sheets. Pound labels can refer to different paper categories and original sheet sizes. Two products marked 110 pound may have very different thicknesses if one is index stock and the other is cover stock.
This label confusion is a common papercraft frustration. Use gsm as the first comparison, then check the actual thickness if the maker provides it. Caliper, coating, fiber, and finish still affect how a sheet folds, so numbers narrow the choice but do not replace a small test.
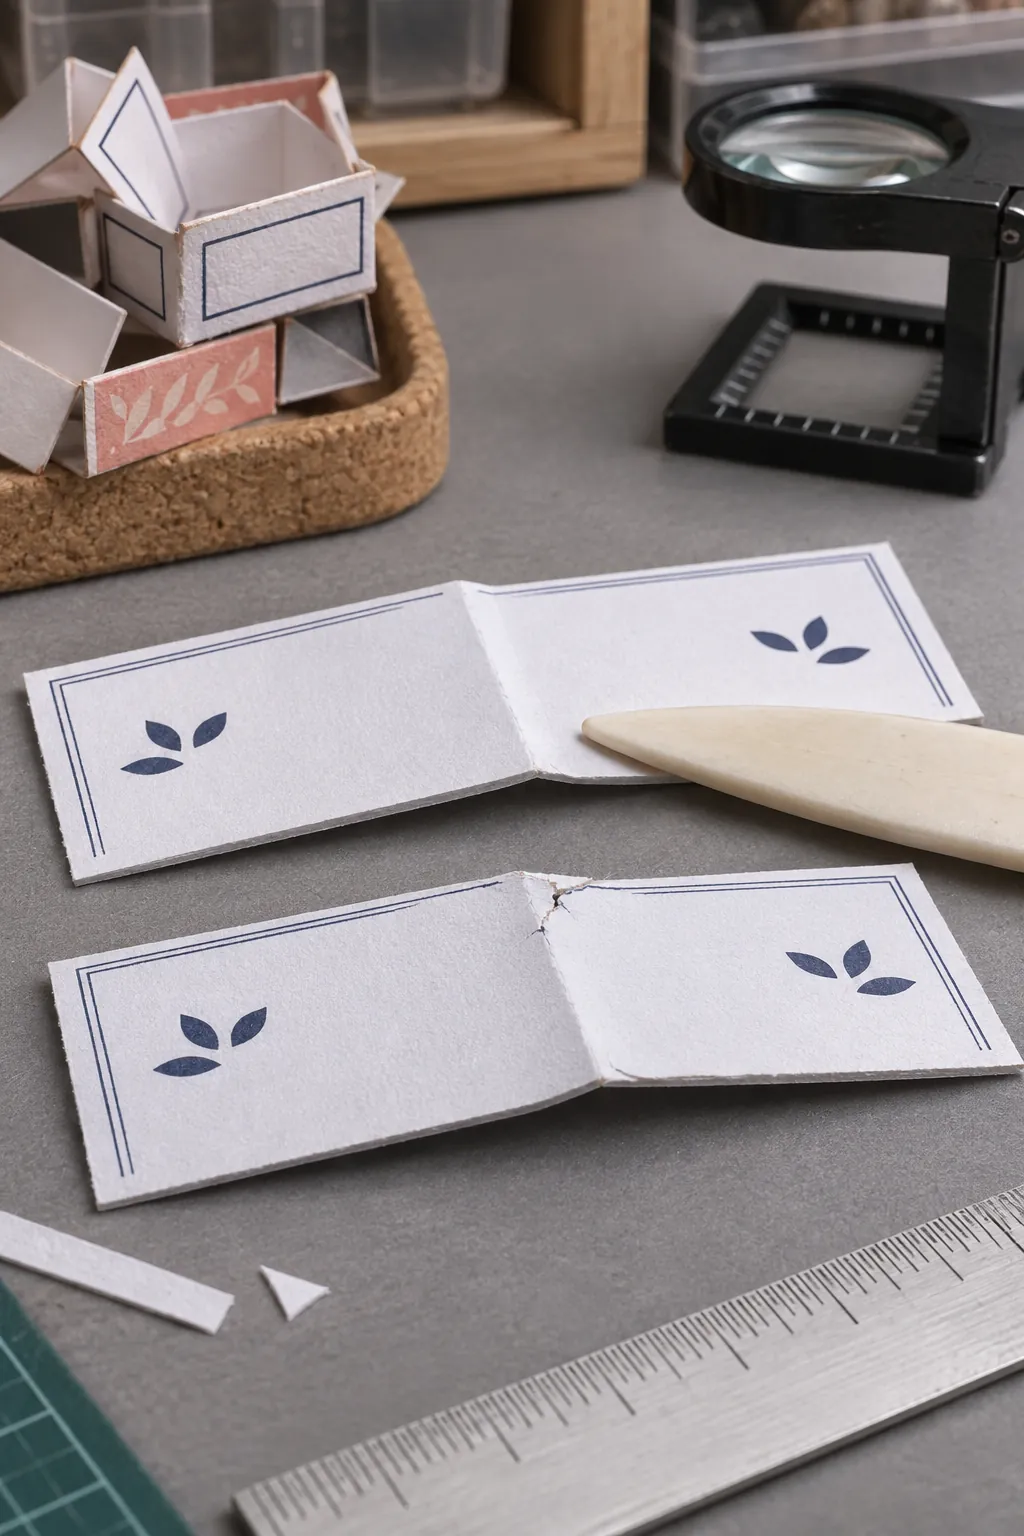
Score every fold and test the print surface
Even suitable paper can crack on a mountain fold or crinkle on a valley fold when it is bent without a score. Run a blunt scoring tool along a ruler, using enough pressure to compress the fibers without cutting them. Fold slowly and support the line with a bone folder or smooth tool.
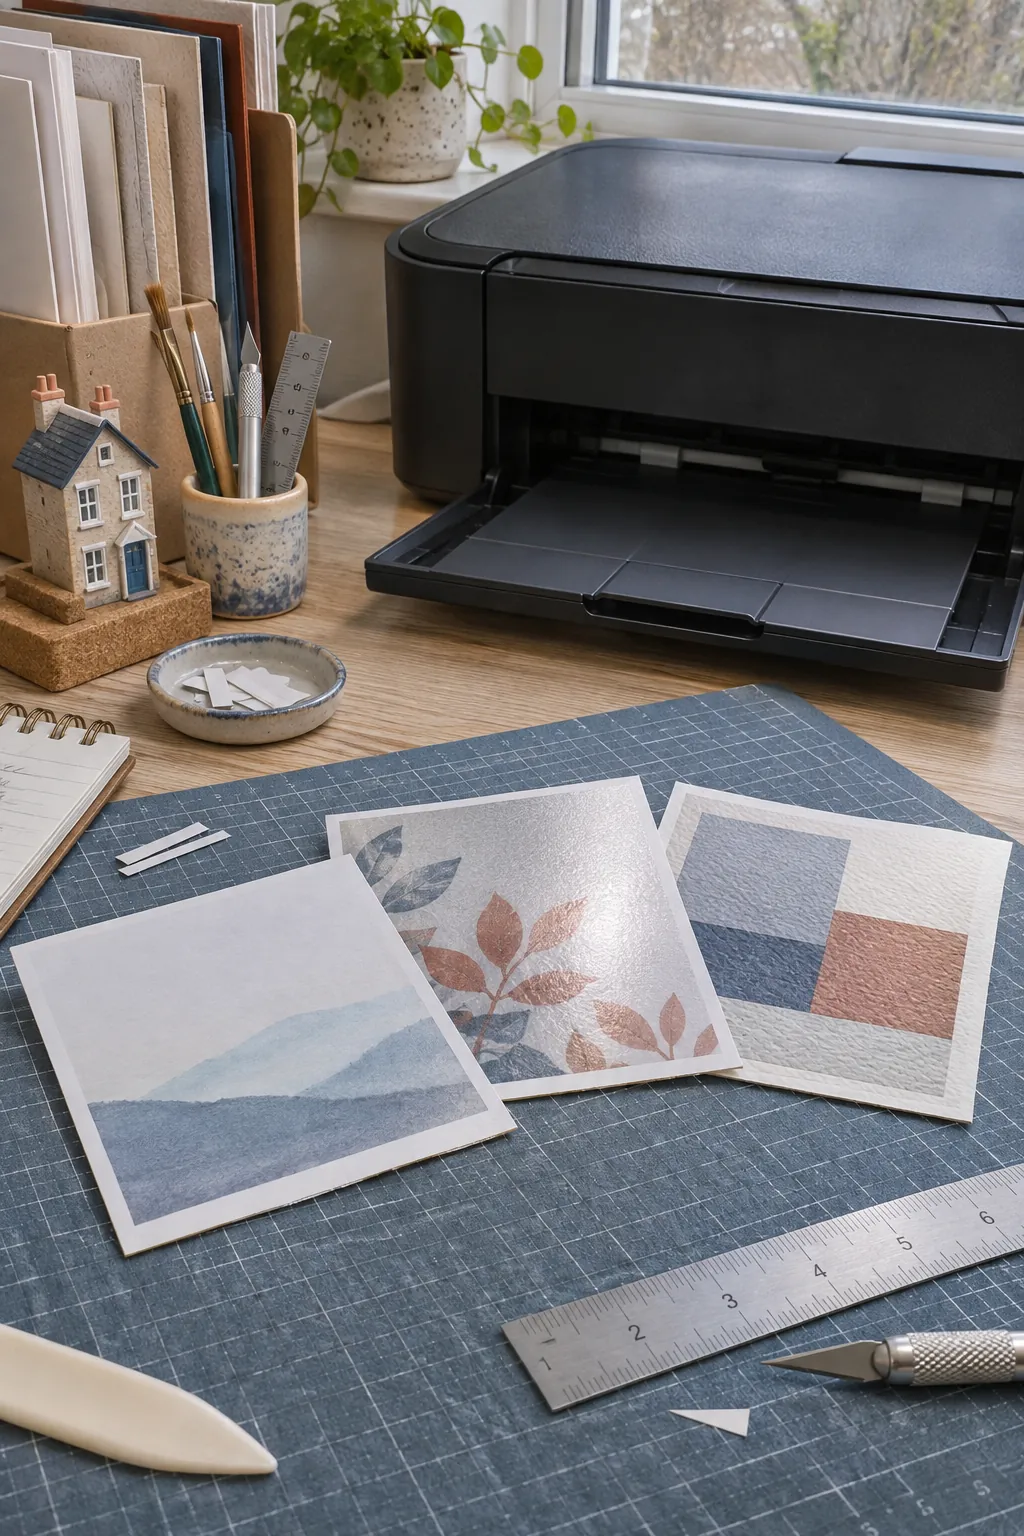
Print the same small color patch on each candidate sheet. Matte paper usually suits dollhouse packaging and stationery because it avoids oversized reflections. Satin can deepen color for framed pictures, while strongly textured paper may blur tiny type and make cut edges look rough.
Make one blank prototype before the final print
Cut the project from an unprinted scrap of the candidate paper. Score it, fold it, and dry fit every tab. This quick prototype reveals whether the object will hold its shape and whether several layers create too much thickness.
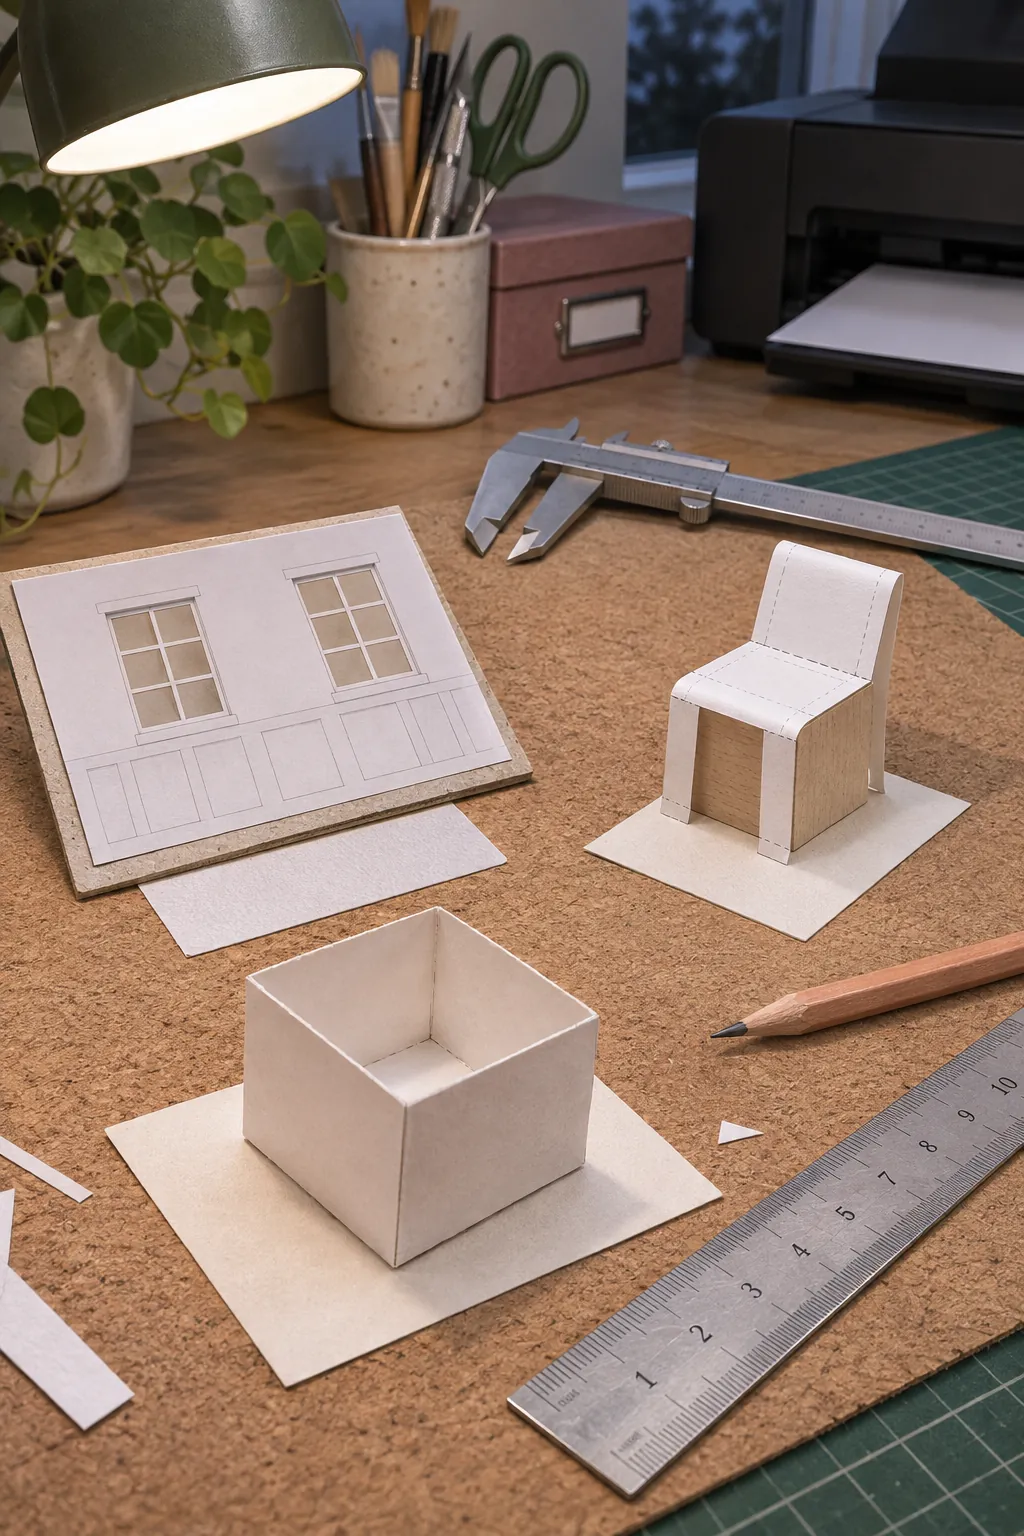
Use the result to adjust one variable at a time. Move lighter when folds spring open, tabs stack into a lump, or curves flatten. Move heavier when flat pieces curl, boxes collapse during handling, or a sign cannot stand with its planned support.
Keep a small labeled scrap after a successful build, with the gsm and printer setting noted on the back. That sample becomes more useful than a universal chart because it records how your own printer, ink, glue, and cutting method work together. Over time, the samples form a reliable material guide for miniature stationery printables, dollhouse paper crafts, and detailed one twelfth scale projects.