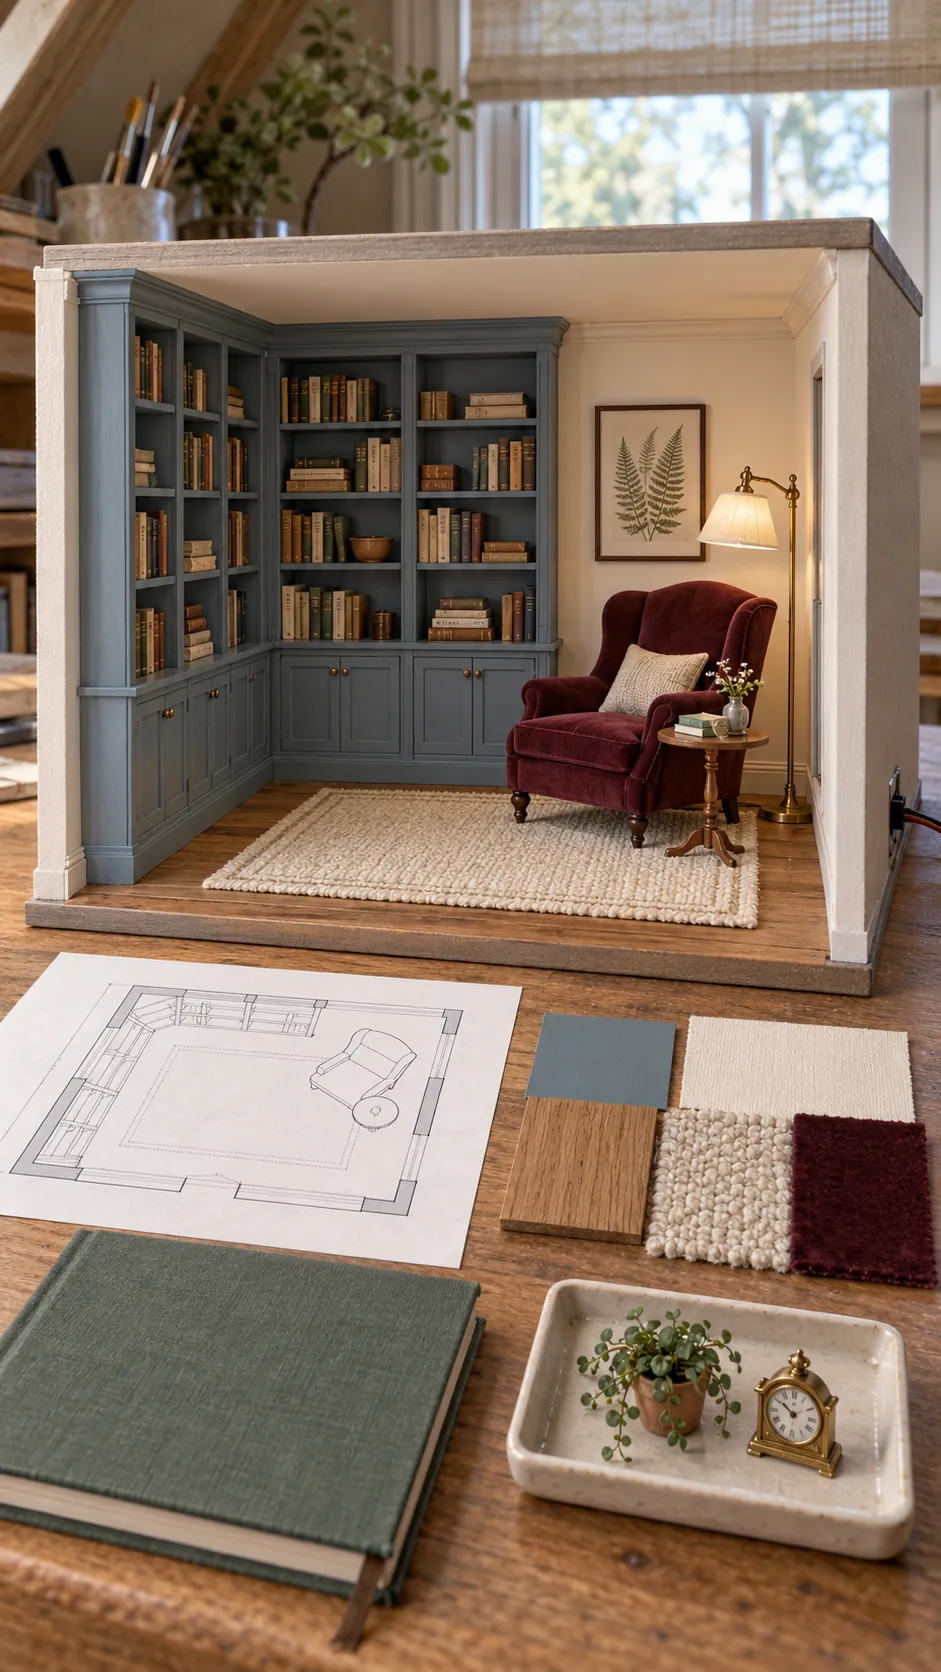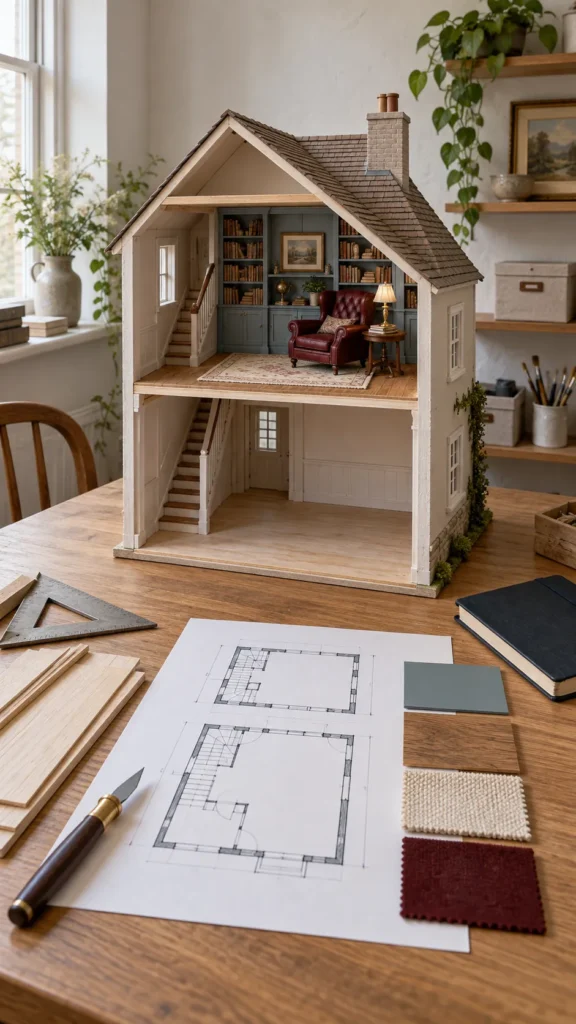
A dollhouse project becomes difficult long before the first wall is glued when the idea has no boundaries. You can collect beautiful rooms, furniture, wallpaper, and lighting for months without knowing whether they belong to the same house. A useful plan turns that inspiration into a series of decisions you can test.
The plan does not need to predict every accessory. It needs to protect the scale, structure, budget, work order, and finished purpose. Once those parts are clear, creative choices become easier because every option has a place to fit or a reason to leave.
Define what finished means
Write one sentence that describes the completed result. Name the house type, scale, number of rooms, intended user, and display location. A clear sentence might describe a compact 1:12 cottage with four furnished rooms for adult display on a specific cabinet.
Decide what the project will not include. You may exclude working plumbing, a garden, attic rooms, or handmade furniture. Limits are not a loss of creativity. They keep the beginner dollhouse project within the space, time, and skills you actually have.
Lock the scale and outer dimensions
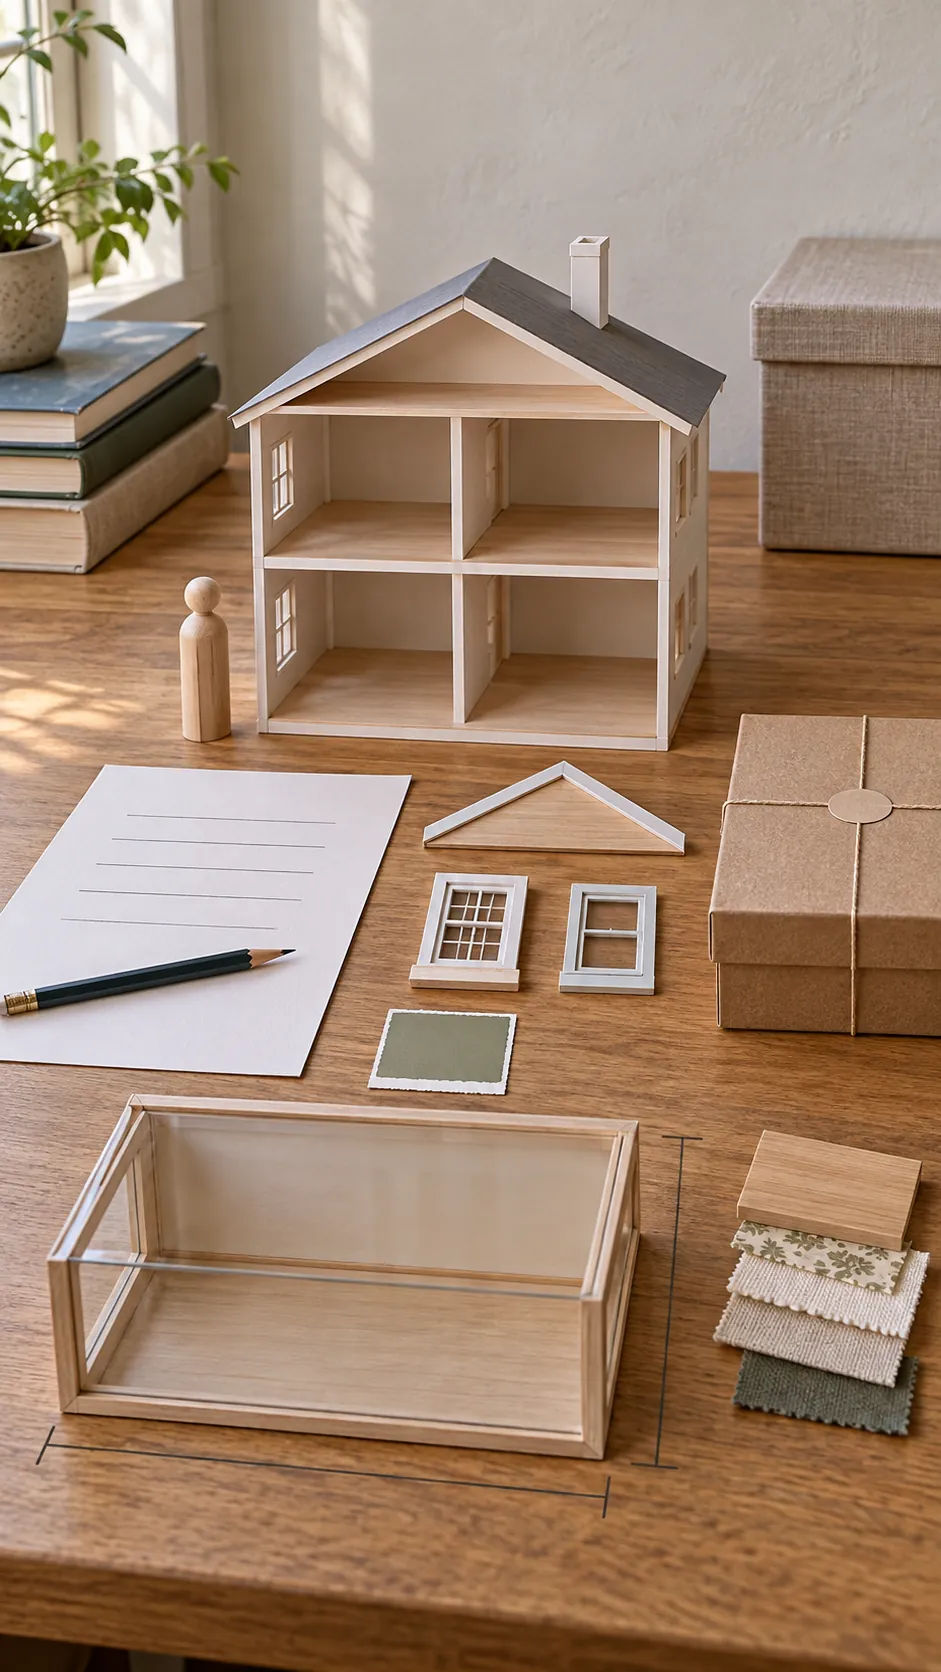
Choose the miniature room scale before selecting a shell or furniture. Common 1:12 pieces are large enough to handle and widely available. A 1:24 project uses less display space but requires smaller parts. A 1:6 scale dollhouse needs much more room and stronger construction.
Measure the final display location, including height, width, depth, doorways, and the space needed to open or move the house. Add room for a dust cover if you want one. The finished structure must fit the real home before its miniature layout can work.
Choose a kit or a scratch build
A kit provides cut structural parts and instructions, although finishes, electrical parts, and furnishings may be separate. A scratch build begins from a drawing or pattern and requires you to choose material thickness, joints, openings, and construction methods. Compare the work involved, not only the first purchase price.
If you have limited woodworking experience or a firm deadline, a sturdy kit can remove several structural unknowns. If the building shape is the main creative goal and you can test cuts safely, a scratch build offers control. Do not use a custom plan merely because it seems more authentic.
Draw the room layout at full miniature size
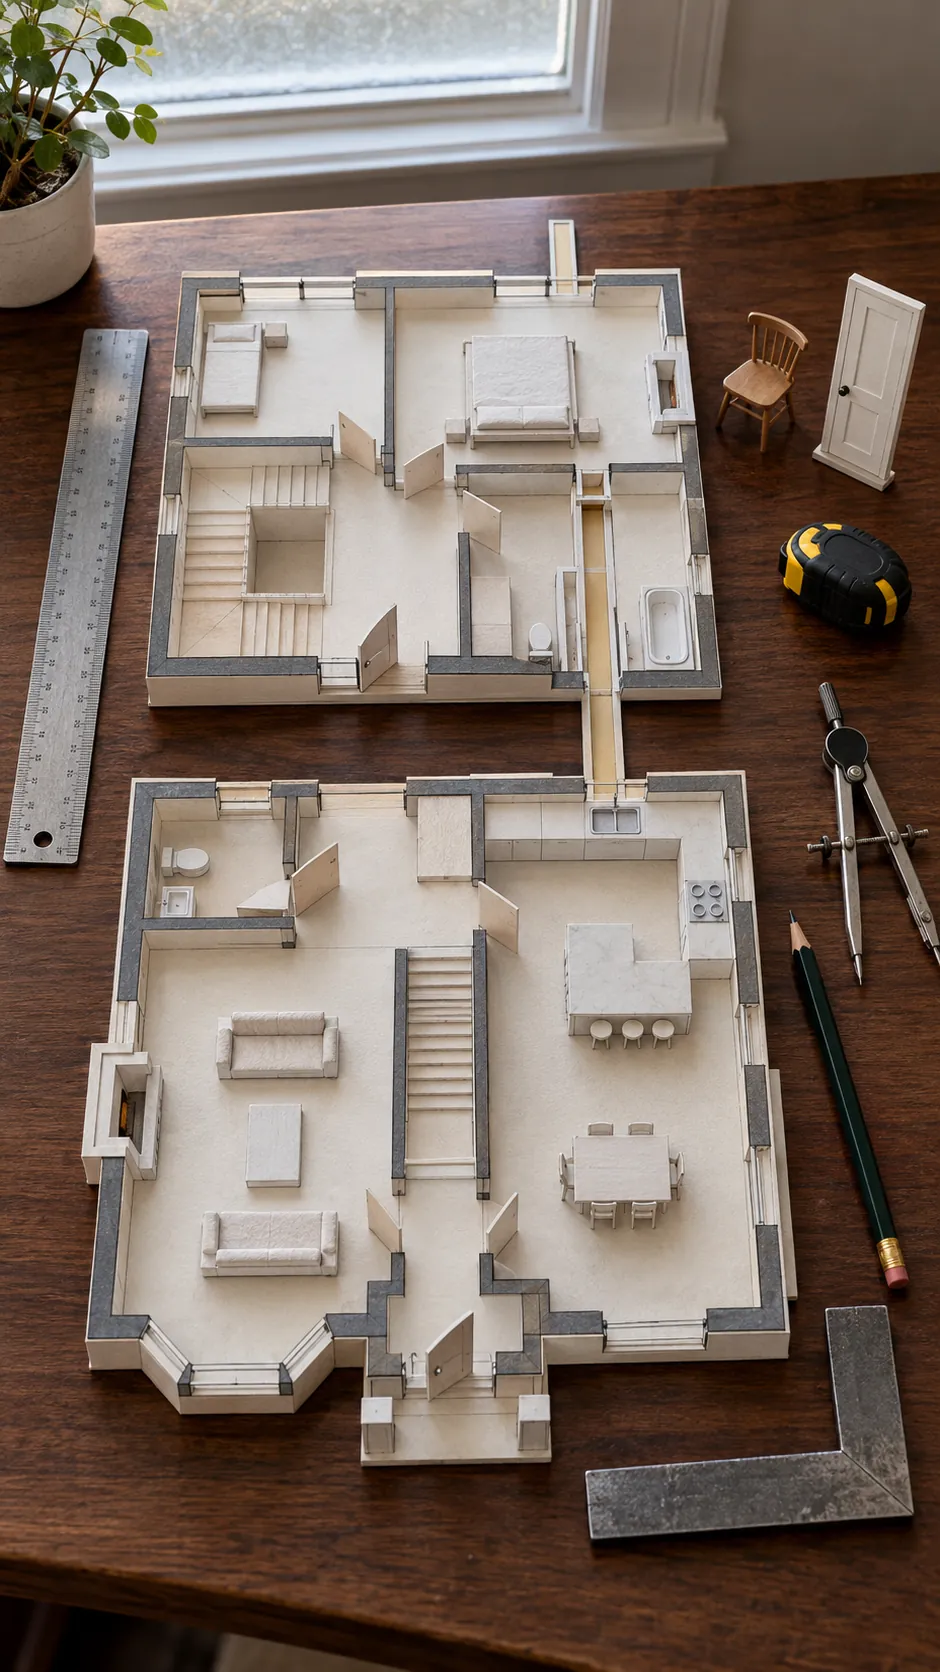
Draw each floor at the actual miniature dimensions. Mark walls, door swings, stairs, windows, fireplaces, built in storage, and large furniture footprints. Check how a viewer sees each room from the open side. A beautiful staircase is a problem if it blocks the only useful view.
Use paper rectangles for furniture so the layout can change. Preserve walking paths and wall space for the purpose of each room. Keep bathrooms, kitchens, and lighting routes near places where wires or structural supports can be hidden.
Build a focused mood board
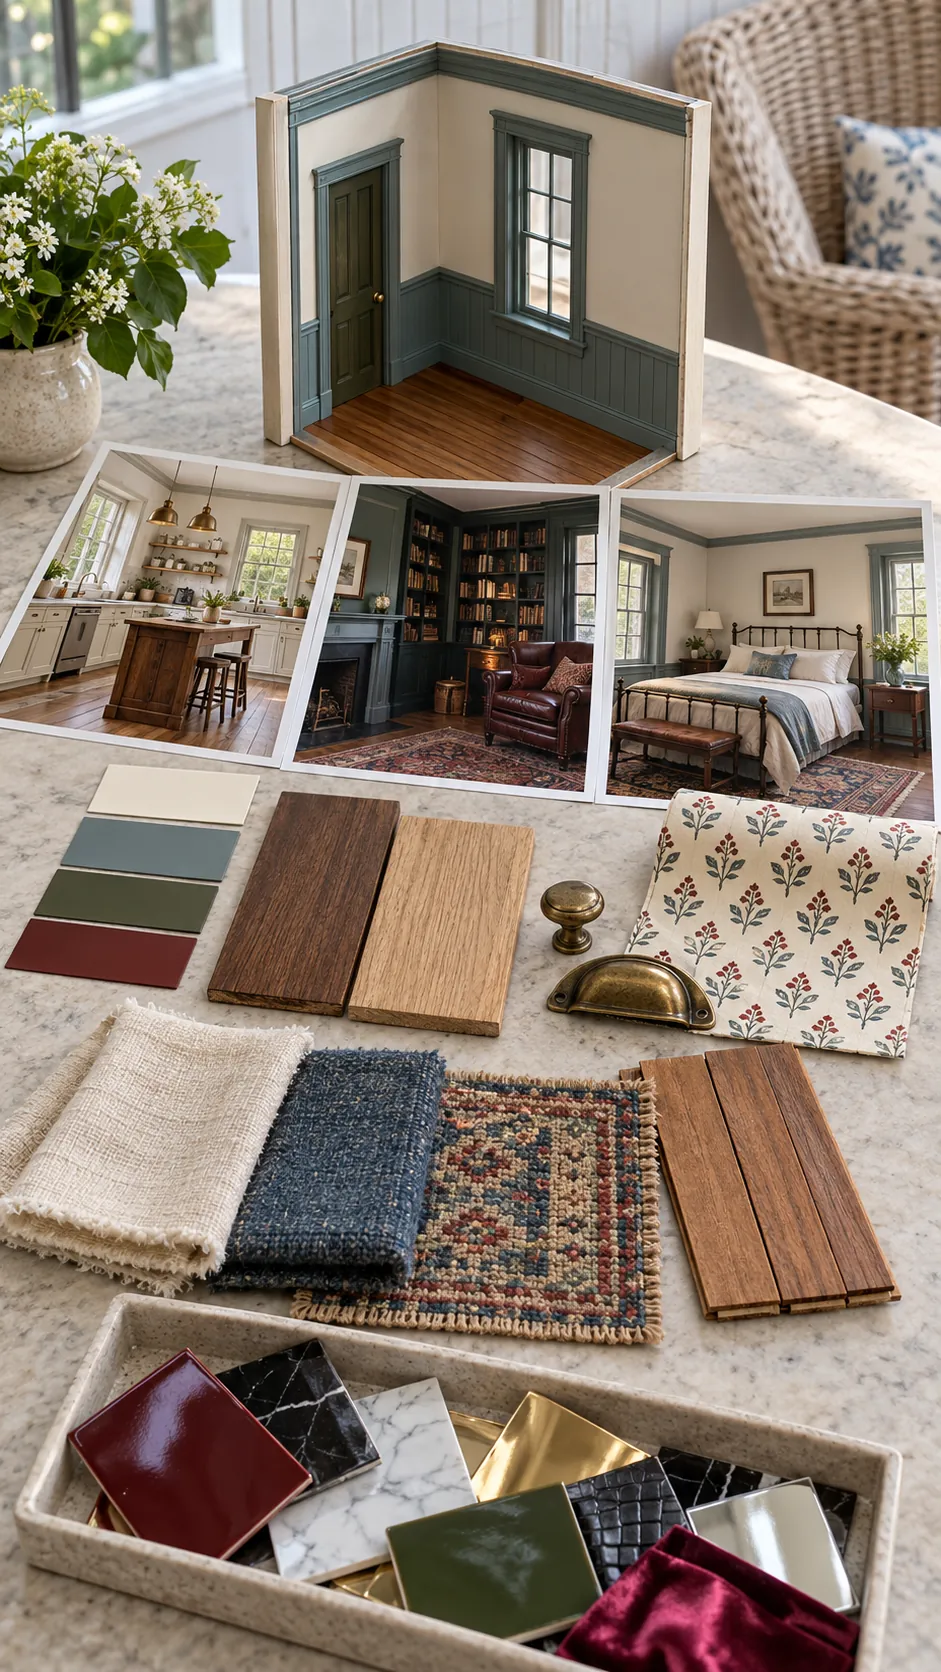
A dollhouse mood board should answer decisions rather than collect endless inspiration. Choose one architectural reference, one interior mood, a limited palette, two main wood tones, metal finish, floor approach, wall treatment, and a small family of textiles. Remove references that conflict with the chosen era or building type.
Give each room a role within the same house. The kitchen may be practical and bright while the library feels darker, but both should share enough trim, color, or material to belong together. Record the repeated elements so you can buy and make them consistently.
Create the budget and material list together
Separate the project into structure, tools, finishes, electrical parts, doors and windows, furniture, decor, shipping, and reserve. Then list the material each design choice requires. This connects the visual plan to real cost and reveals where one choice creates several hidden purchases.
Buy enough matching material for repeated features, but avoid buying every accessory at once. Structural parts and concealed systems come first. Furniture dimensions should be confirmed before purchasing decor. Keep part of the budget unassigned until the shell and main finishes are stable.
Put the work in dependency order
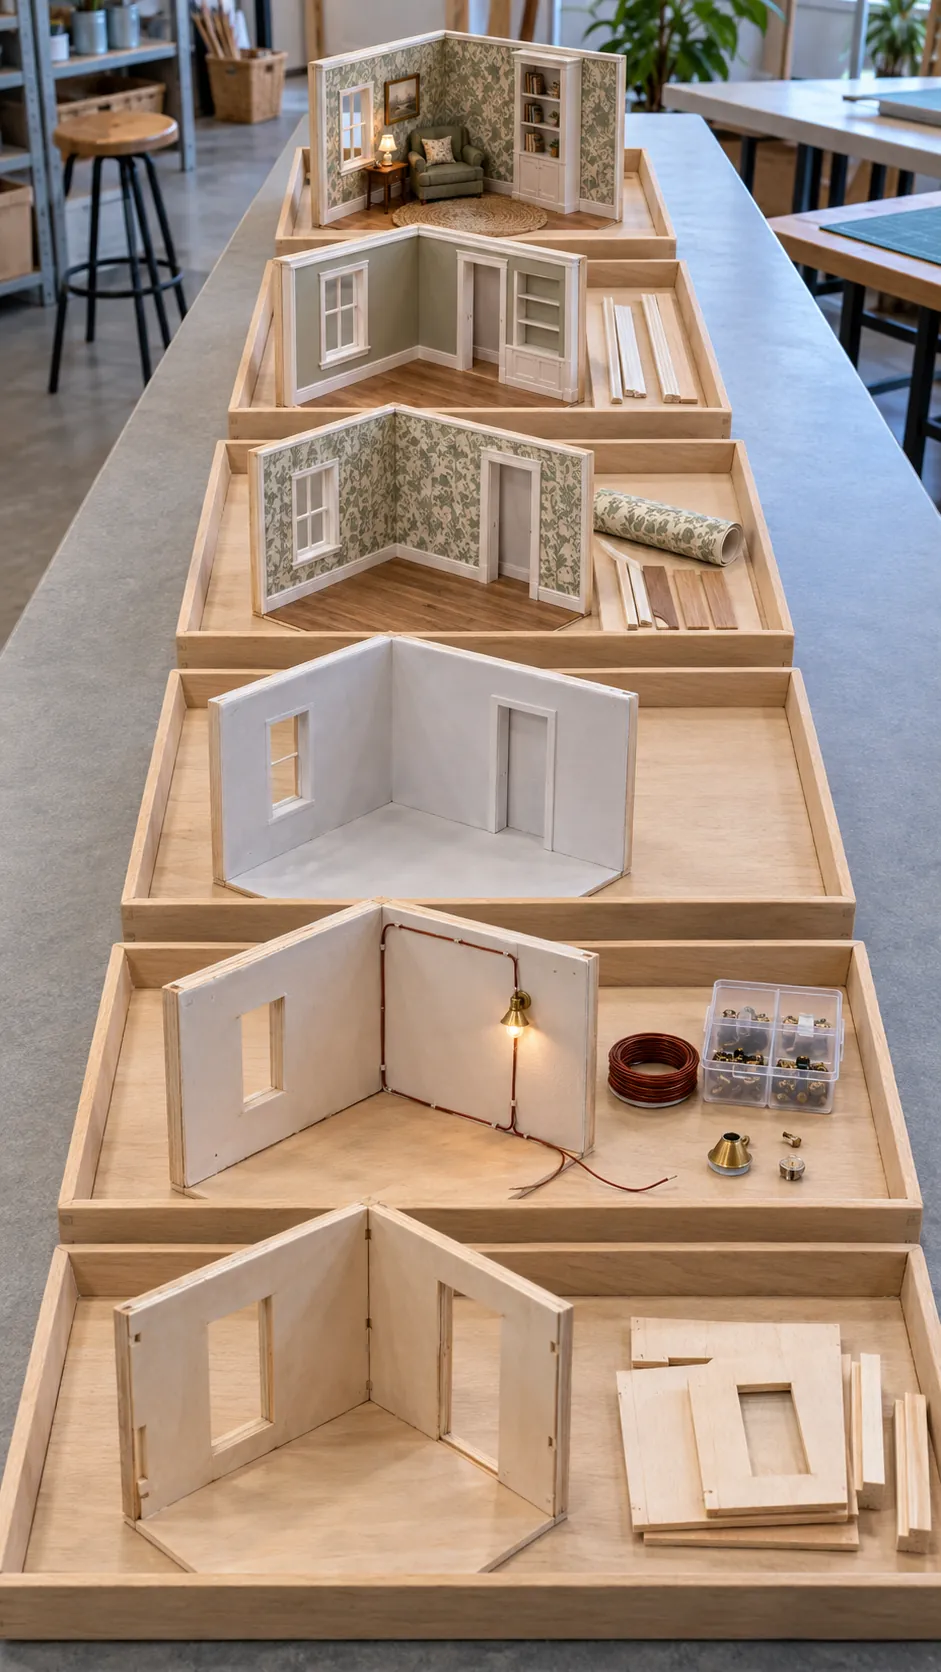
A reliable miniature design workflow begins with inventory and dry fitting. Next come structural corrections, openings, wiring routes, and any work that creates dust. Prime and paint difficult edges before assembly when instructions allow it. Install wiring before final wall coverings hide the paths.
After the shell is stable, complete ceilings, walls, floors, trim, built in pieces, lighting fixtures, and stairs. Finish one room at a time with furniture and decor only after the construction tasks above it are safe. The order may change for a specific kit, so read its complete instructions before gluing.
Test the risky choices with mockups
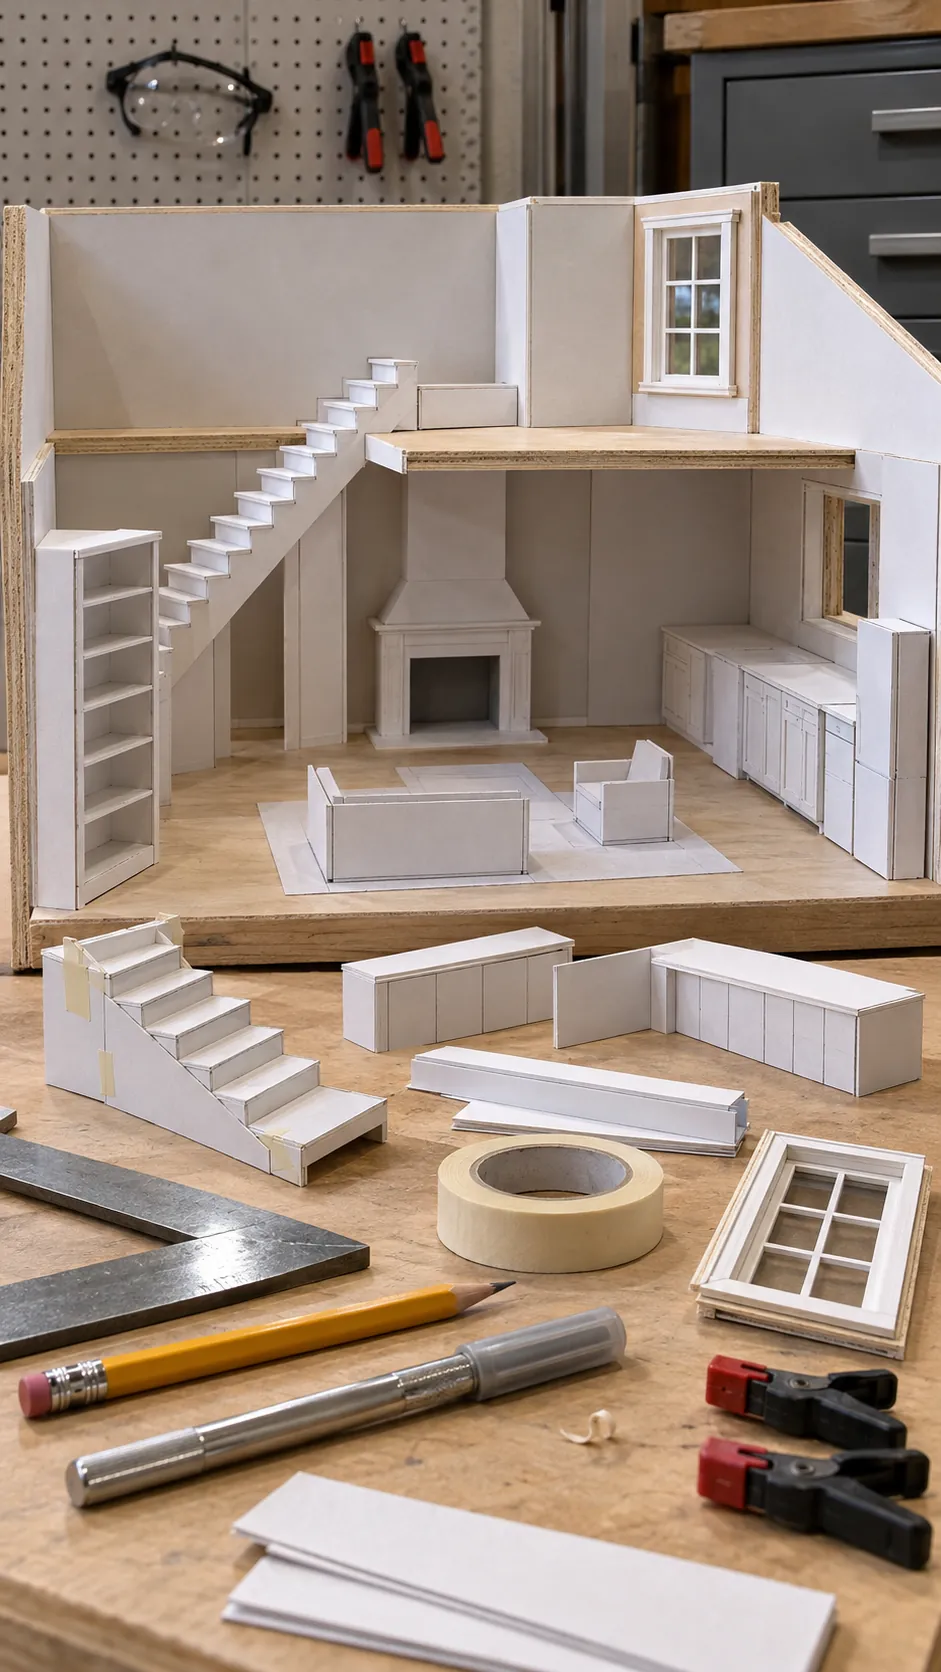
Use scrap card to test stairs, cabinets, fireplaces, roof angles, and furniture groupings. Paint sample pieces and place them inside the actual shell under the planned light. A color that works on a screen may become too dark inside a deep miniature room.
Mock up any feature that is expensive, hard to remove, or connected to another stage. Test a wallpaper seam before covering a wall. Build one window before preparing every opening. Run the complete lighting system before trim hides the wire. A small test is faster than a finished repair.
Use milestones instead of one deadline
A full house can take weeks, months, or longer because drying, correction, sourcing, and learning do not follow a perfect calendar. Divide the DIY project timeline into milestones such as plan approved, shell dry fitted, wiring tested, exterior sealed, one room finished, and final safety check complete.
Give each milestone a small next action and a place to store parts. Photograph the project before hidden work is covered. Update the material list when the design changes. Progress remains visible even when the final reveal is far away.
Review the finished room against the plan
Check scale, stability, wire access, clear sight lines, and whether the room still serves its original purpose. Remove accessories that block the focal point or crowd the floor. Correct loose trim and visible adhesive before adding another object.
A finished room does not need every idea from the mood board. It needs the promised function, consistent proportions, controlled materials, and a safe place in the larger project. Record what worked, update the plan for the next room, and let the completed space become evidence that the workflow can carry the house forward.