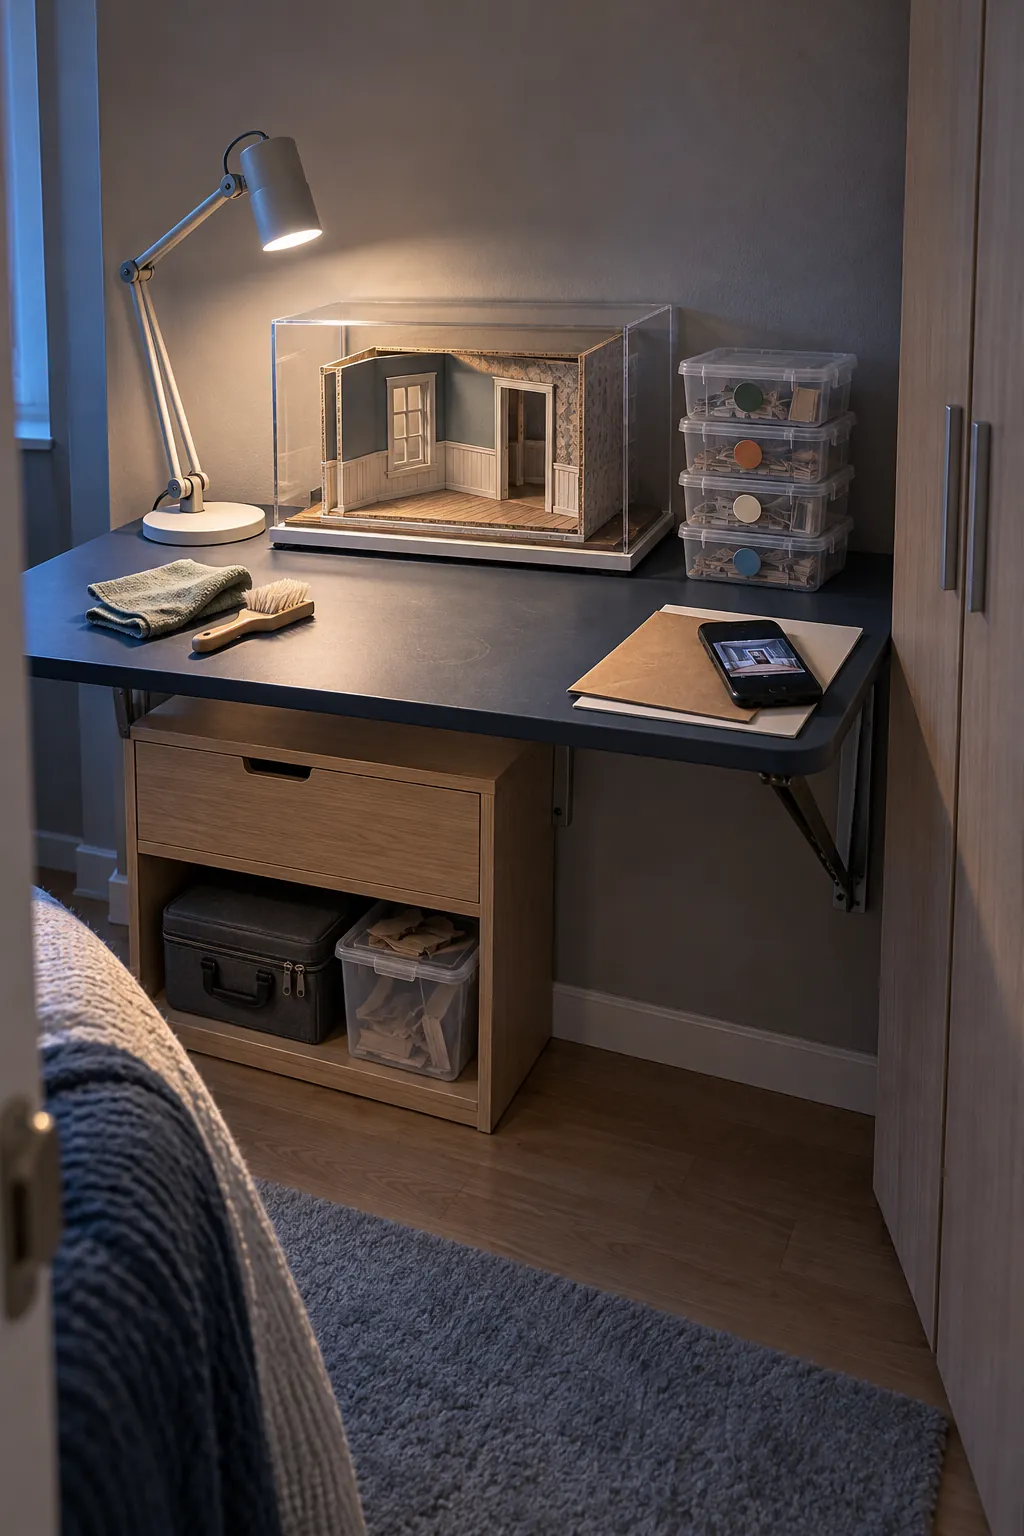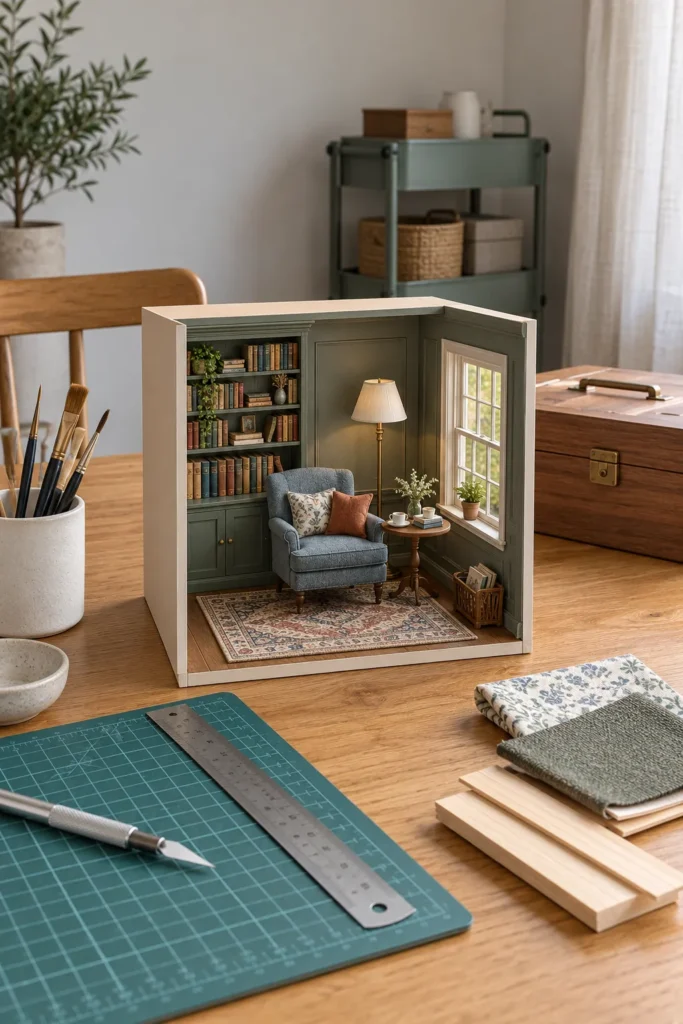
The hardest part of this hobby is often not making a tiny object. It is deciding which tiny object deserves to become the first project. A whole house can demand more space, money, and decisions than a beginner expects, so a small finished scene is usually the better starting point.
Begin with one room and one purpose
A room box teaches the same core skills as a full dollhouse without requiring a large shell. You can practice measuring, cutting, painting, flooring, wall finishes, furniture placement, and lighting inside a project that still fits on a shelf. Choose a room with an obvious purpose, such as a reading nook, kitchen corner, flower shop, or workroom.
Limit the first scene to one clear focal point and a few supporting details. A reading nook might need a chair, side table, lamp, rug, books, and one window. That boundary protects the project from endless additions and gives you a definite finish line. Completing a modest scene will teach you more than collecting supplies for an ambitious house that never leaves the planning stage.
Choose the scale before the style
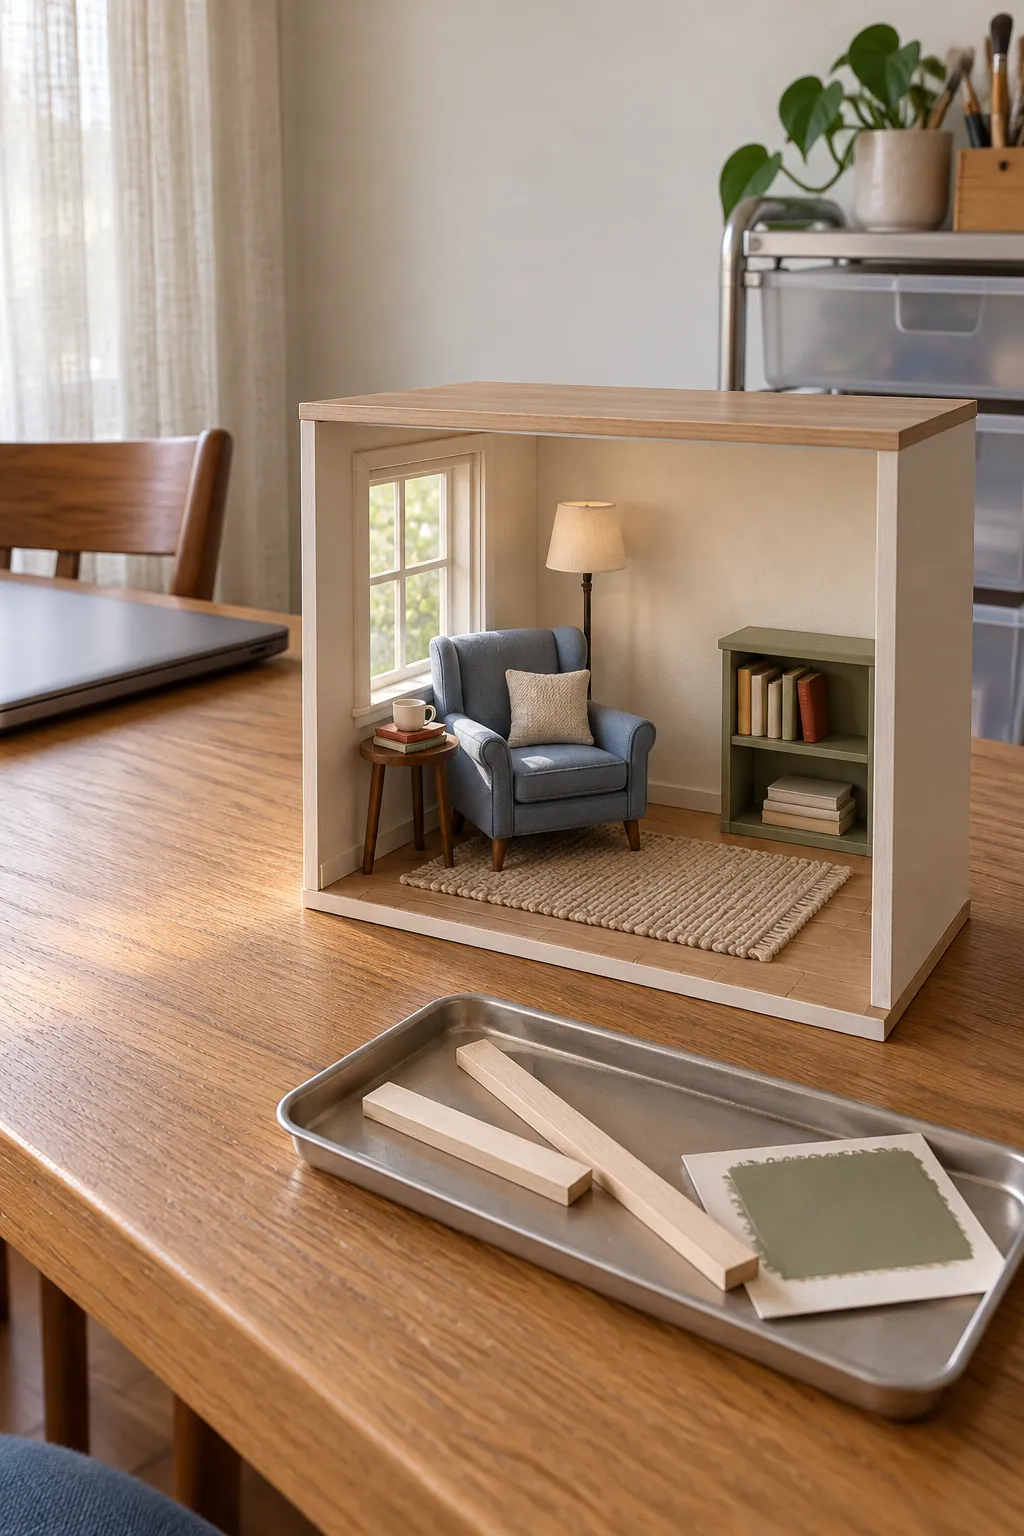
Scale controls the size of every material and object that follows. One twelfth scale is a practical first choice for many adults because one miniature inch represents one real foot. The parts are large enough to handle, and compatible furniture, hardware, and tutorials are easy to find. A six foot person would be about six inches tall in this scale.
One twenty fourth scale uses half as much linear space, which helps when storage is tight. Its smaller parts require steadier hands and finer tools. Before buying anything, measure the place where the finished project will live and compare actual product dimensions. Words such as miniature and small do not prove that two items share a scale.
Buy a small working tool kit
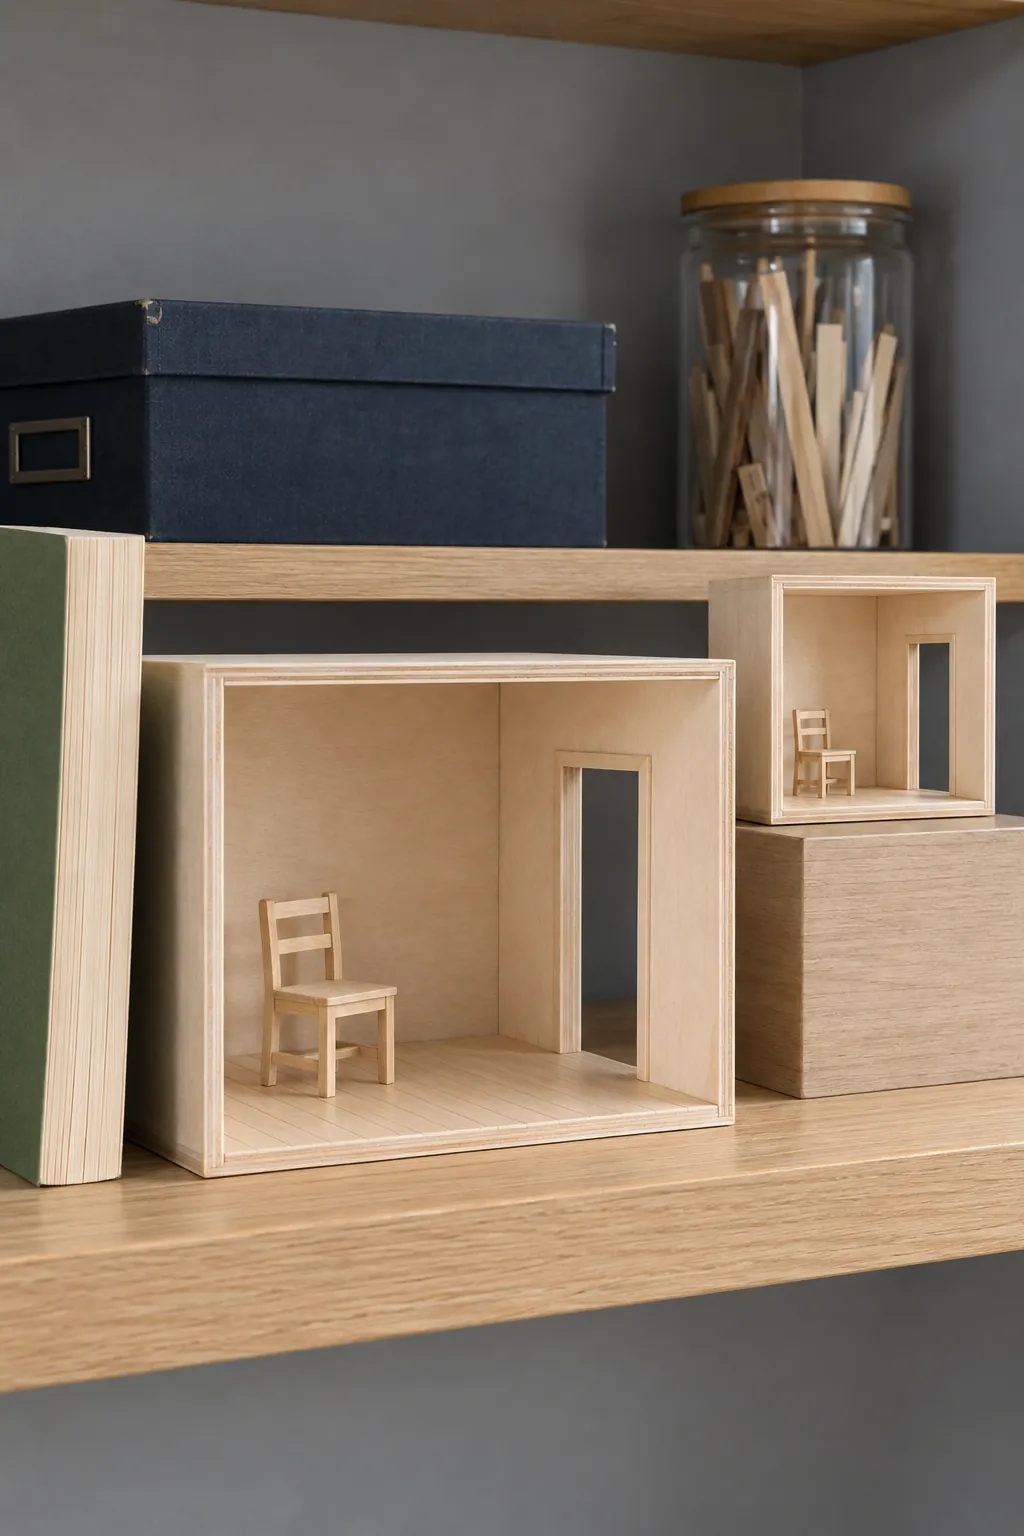
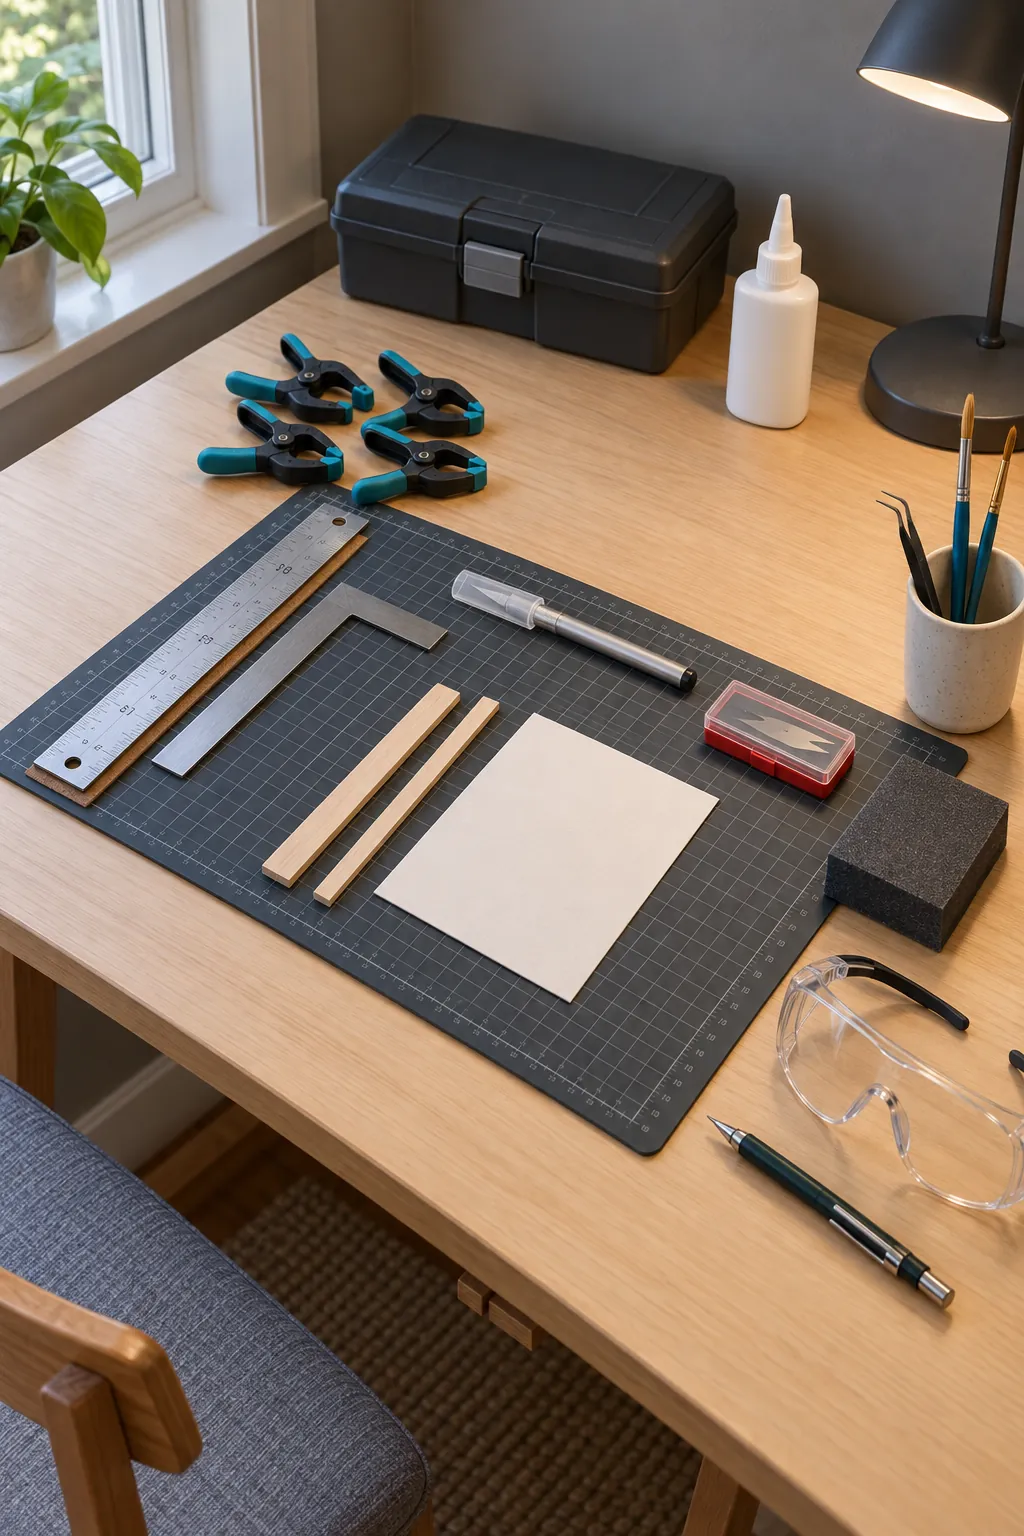
You do not need a dedicated workshop to begin. A self healing cutting mat protects the table and helps a sharp craft blade stay useful. Add a metal ruler, small square, fine pencil, tweezers, sanding block, a few brushes, and clips or small clamps. Wear eye protection when cutting brittle material or using any powered tool.
Choose tools for the materials in the first project instead of buying every specialist item at once. Thin card, basswood strips, foam board, and paper finishes can be shaped with simple hand tools. Thicker plywood or a large kit may require a saw and a better clamping setup. Replace dull blades promptly because excess force causes rough cuts and slips.
Practice the build order on samples
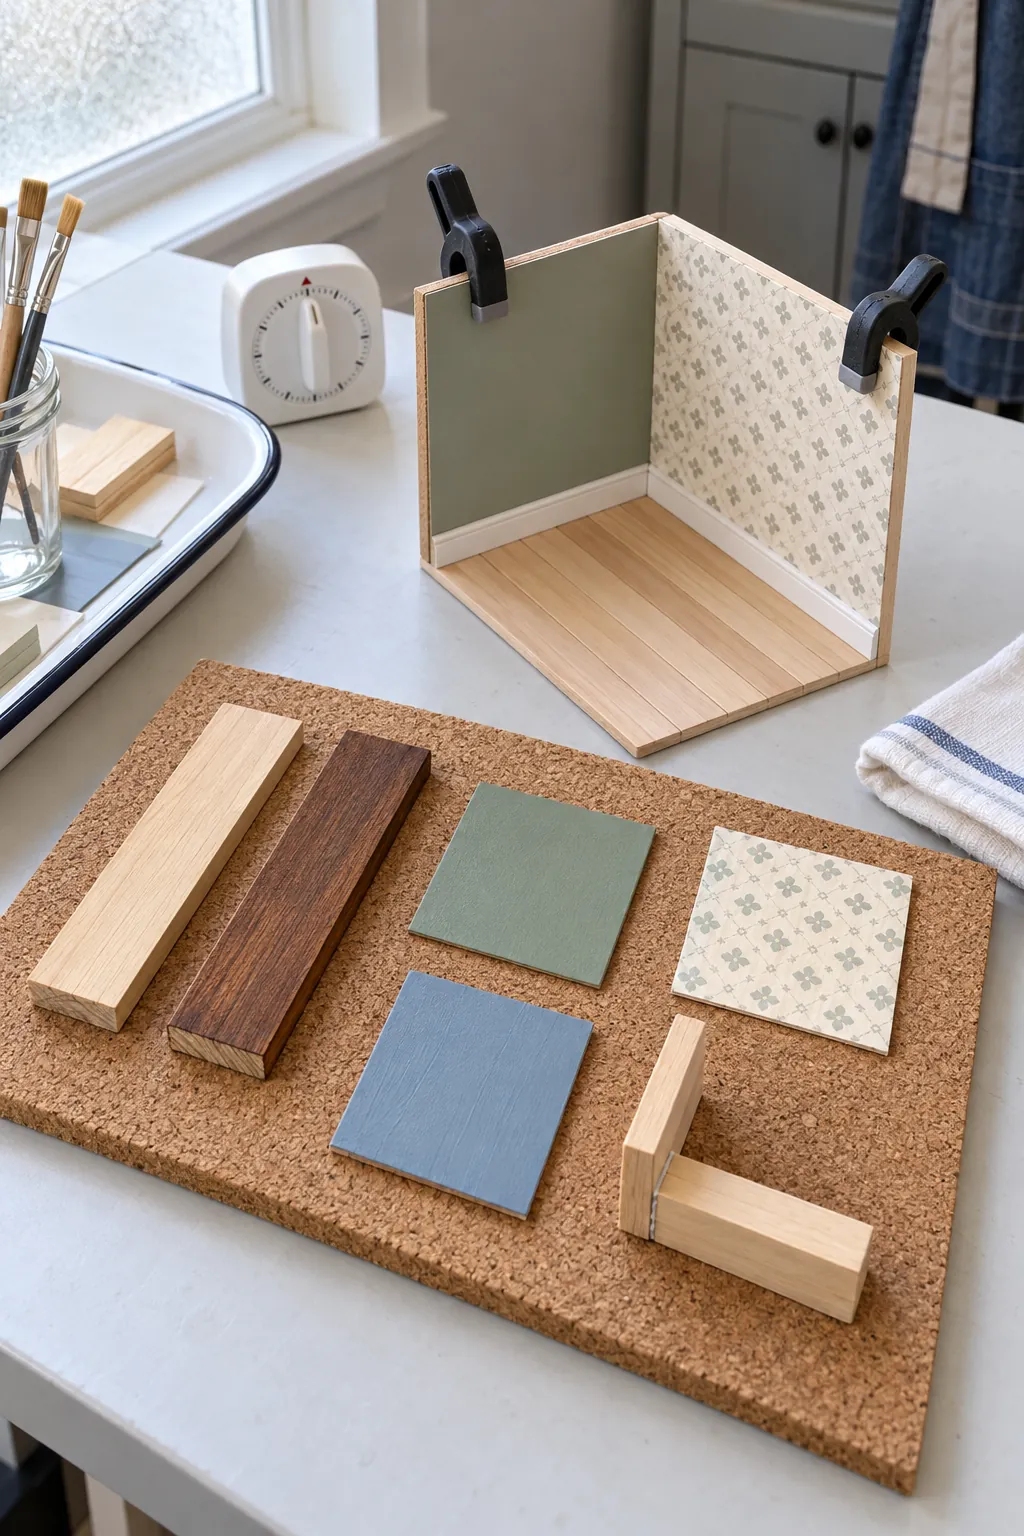
Test unfamiliar paint, glue, stain, and paper on offcuts before using them in the room. A sample reveals whether paper wrinkles, wood changes color, or an adhesive leaves a glossy mark. It also shows how much drying time the finish needs. Keep the approved sample beside the project as a color and technique reference.
Dry fit parts before applying glue. Finish broad wall and floor surfaces while access is easy, then assemble the main shell, add trim, and place delicate details last. If lighting is planned, create the wire route before closing walls or floors. This order reduces awkward repairs and protects completed surfaces from unnecessary handling.
Build one skill into each object
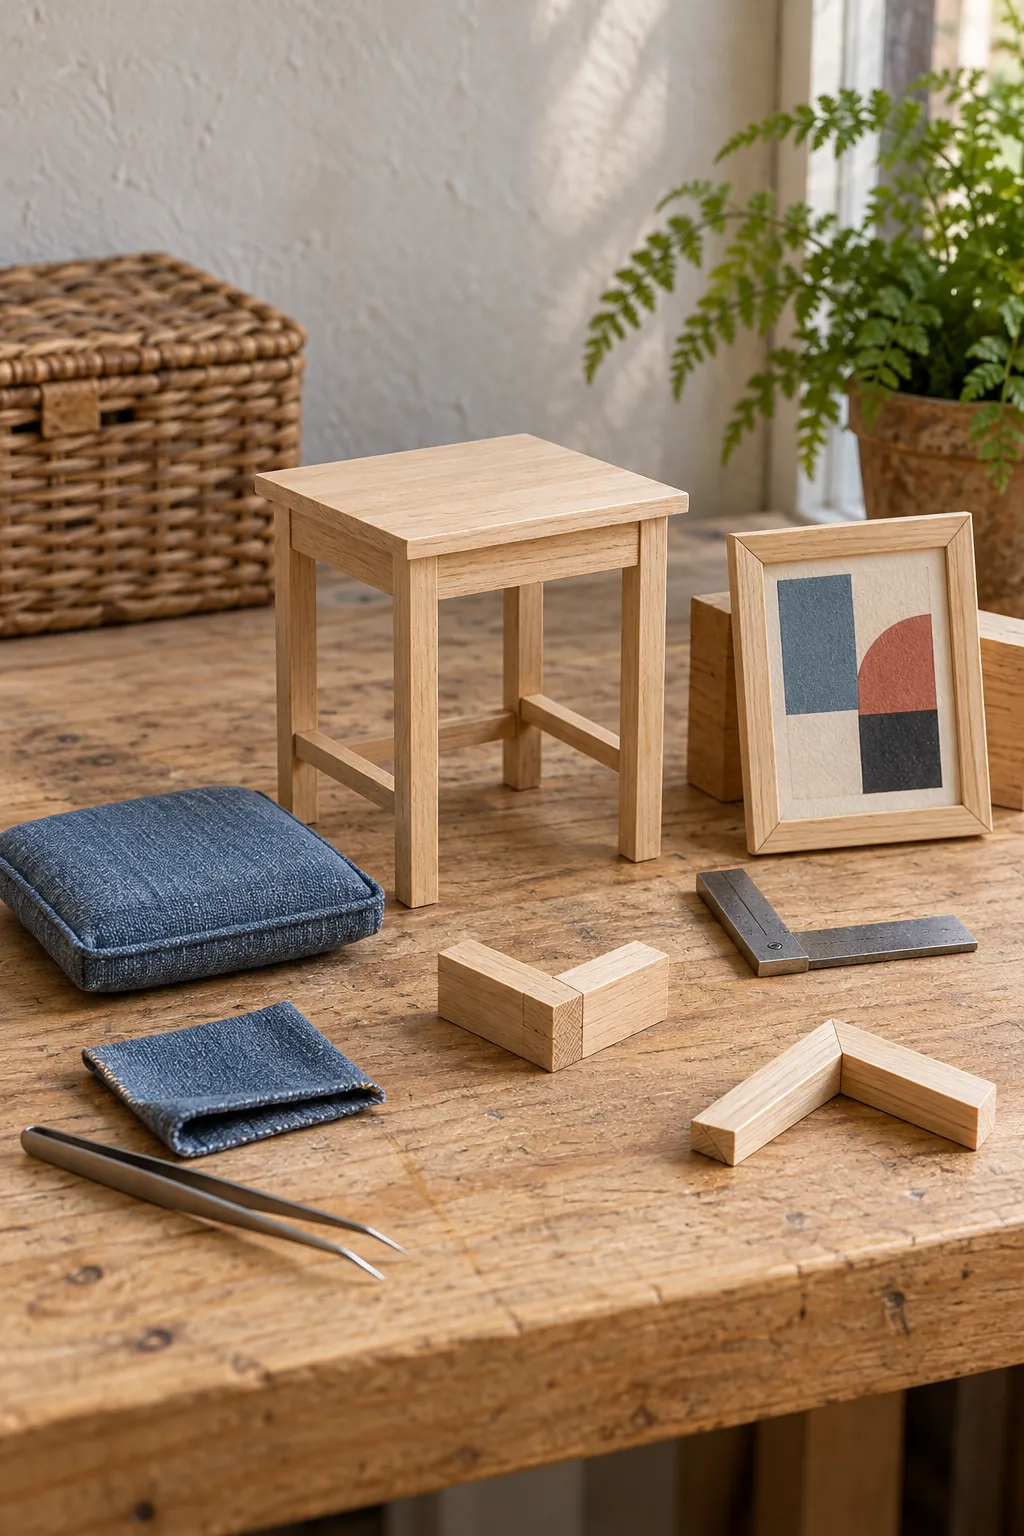
A first room becomes manageable when every object has a learning purpose. A simple table teaches square cuts and stable joints. A cushion teaches fabric control, while a framed print teaches accurate measuring and neat finishing. Choose shapes that let you repeat a basic technique before attempting curved cabinets, working drawers, or complex upholstery.
Commercial pieces and handmade pieces can share the same scene. Buying one difficult focal item may leave time for several approachable handmade details. Check each piece against the room before finishing it, and keep the scale consistent. Small variations look natural, but a chair from the wrong scale will make the entire room feel uncertain.
Protect your budget, time, and workspace
Set a spending limit for the first scene and divide it between the shell, tools, materials, lighting, and furnishings. Use household offcuts only when their thickness and surface suit the scale. A cheap material that warps or fights the adhesive can cost more time than a small piece of proper craft stock.
Work in short stages that end with a clean stopping point. Store sharp tools in a closed box, keep tiny parts in labeled containers, and cover the unfinished room between sessions. Photograph the layout before moving loose pieces so it is easy to resume. Decide where the finished scene will live before adding a deep base or tall roof.
Your first project does not need to prove every skill. It needs to reach a state that feels complete and teaches you what kind of miniature work you enjoy. That result gives the next project a clearer scale, better tool list, and more realistic plan.