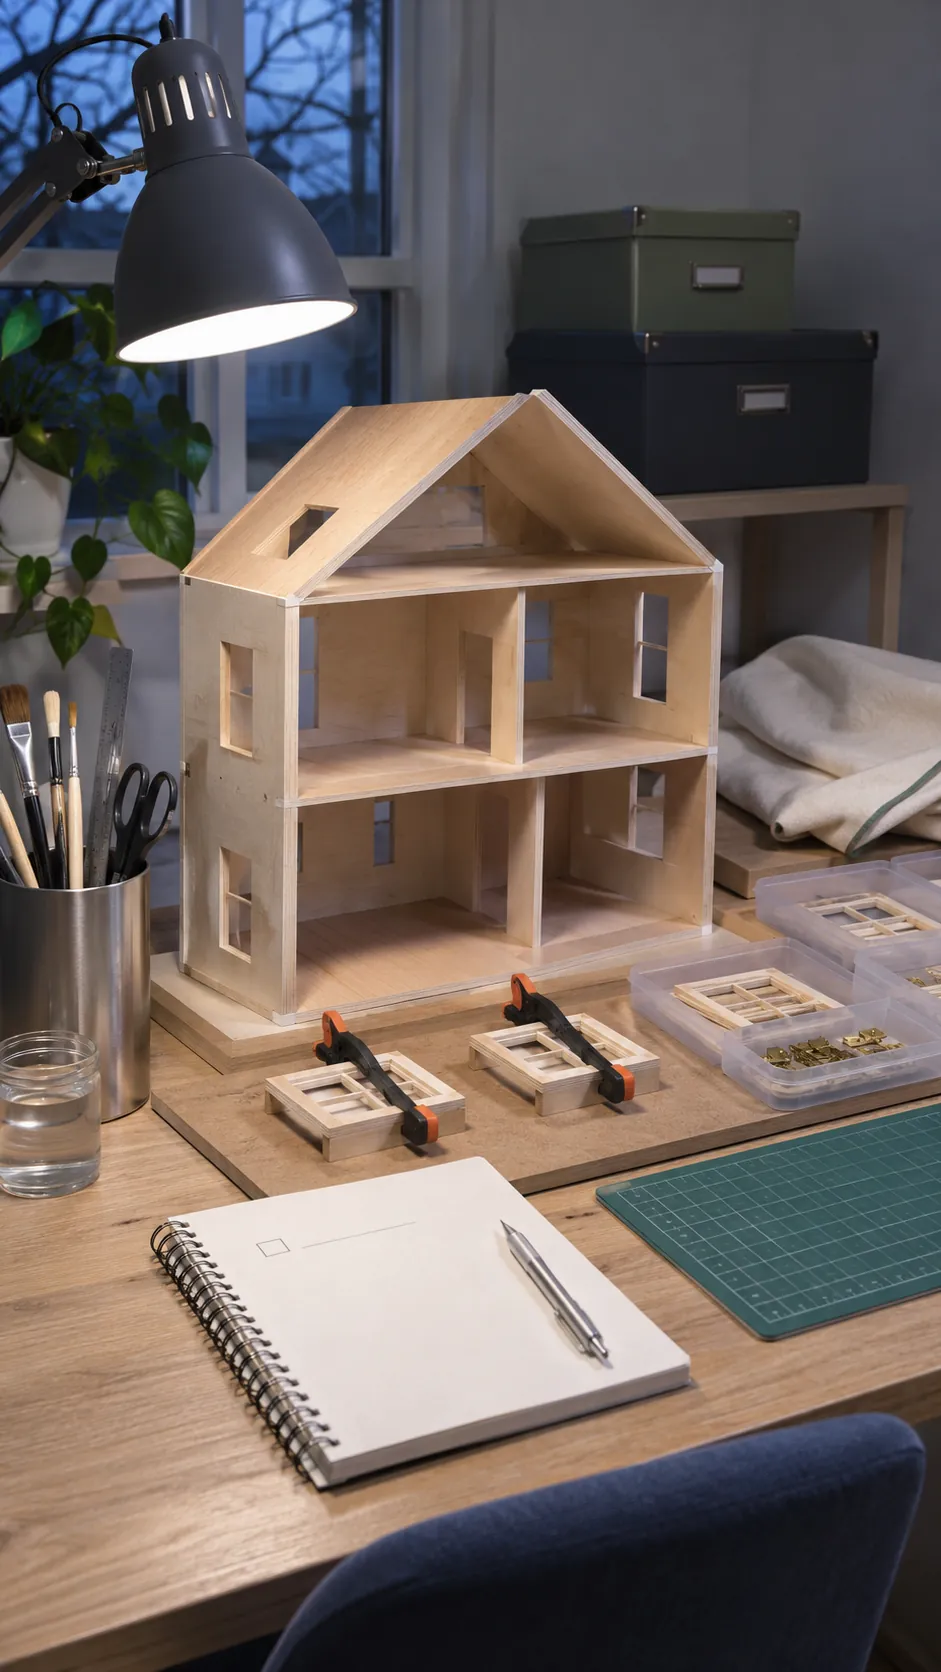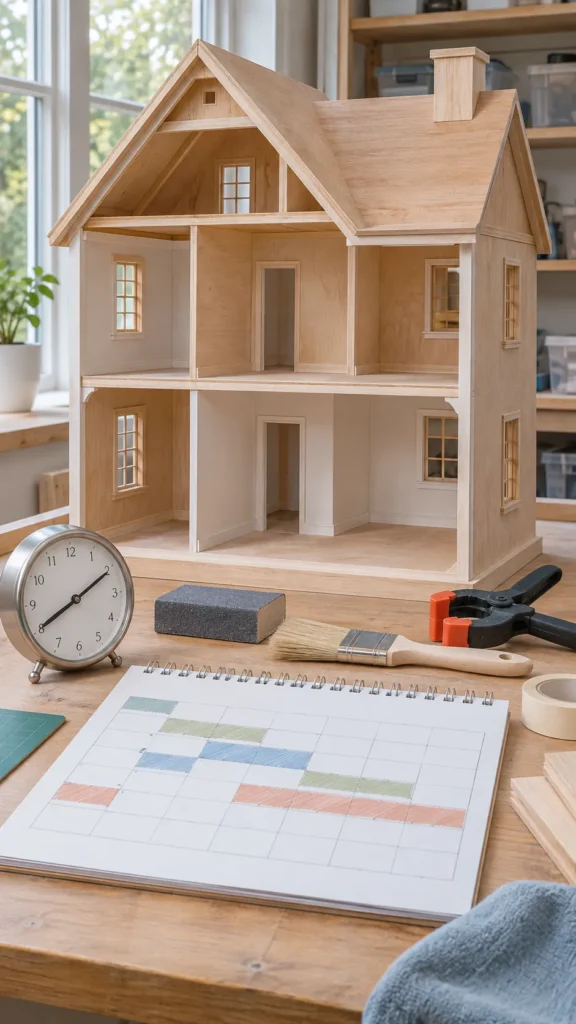
A small detailed room kit can take a few dozen active hours, while a full wooden house commonly stretches across months of spare time. The calendar duration is longer than the hands on work because glue, primer, paint, filler, and finishes must dry before the next dependent step.
Indexed miniature community discussions show the range clearly. One compact kit was reported at about twenty five to thirty hours, while a larger first house was described as five months of sanding and finishing. Builders also stress that size, kit quality, furniture, access to supplies, and the amount of detail can change the result more than experience alone.
Estimate the project by type and finish
A single room scene with supplied furniture has fewer structural parts than a multiroom wooden house. A small shell with basic paint and purchased furniture may fit into several weekends. A large house with custom wiring, flooring, trim, shingles, handmade furniture, and exterior landscaping can continue for many months.
Define complete before estimating. Structural completion means the shell is sound and painted. Display completion may also include lighting, window treatments, furniture, accessories, and repairs. Write the finish level beside the project size so the estimate describes the same destination you expect to reach.
Separate active hours from calendar time
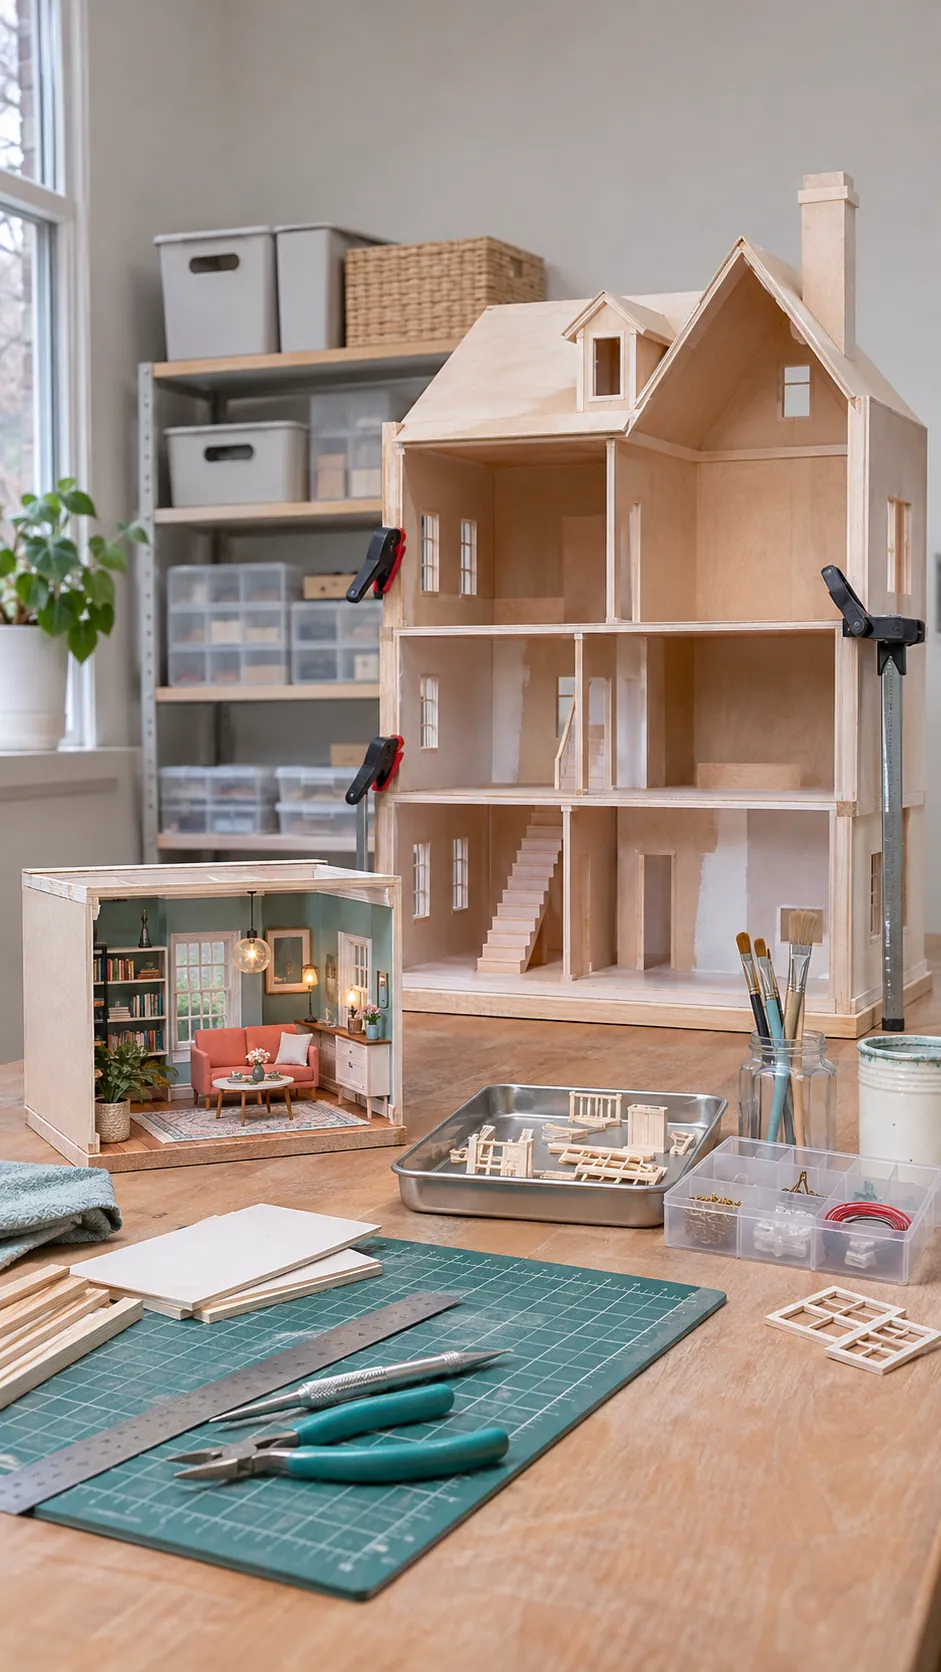
Active hours include sorting parts, dry fitting, sanding, cutting, gluing, painting, wiring, papering, and installing trim. Calendar time includes every overnight glue cure, paint dry period, delayed supply order, and break between work sessions. Two builders can spend the same active hours but finish weeks apart because their schedules differ.
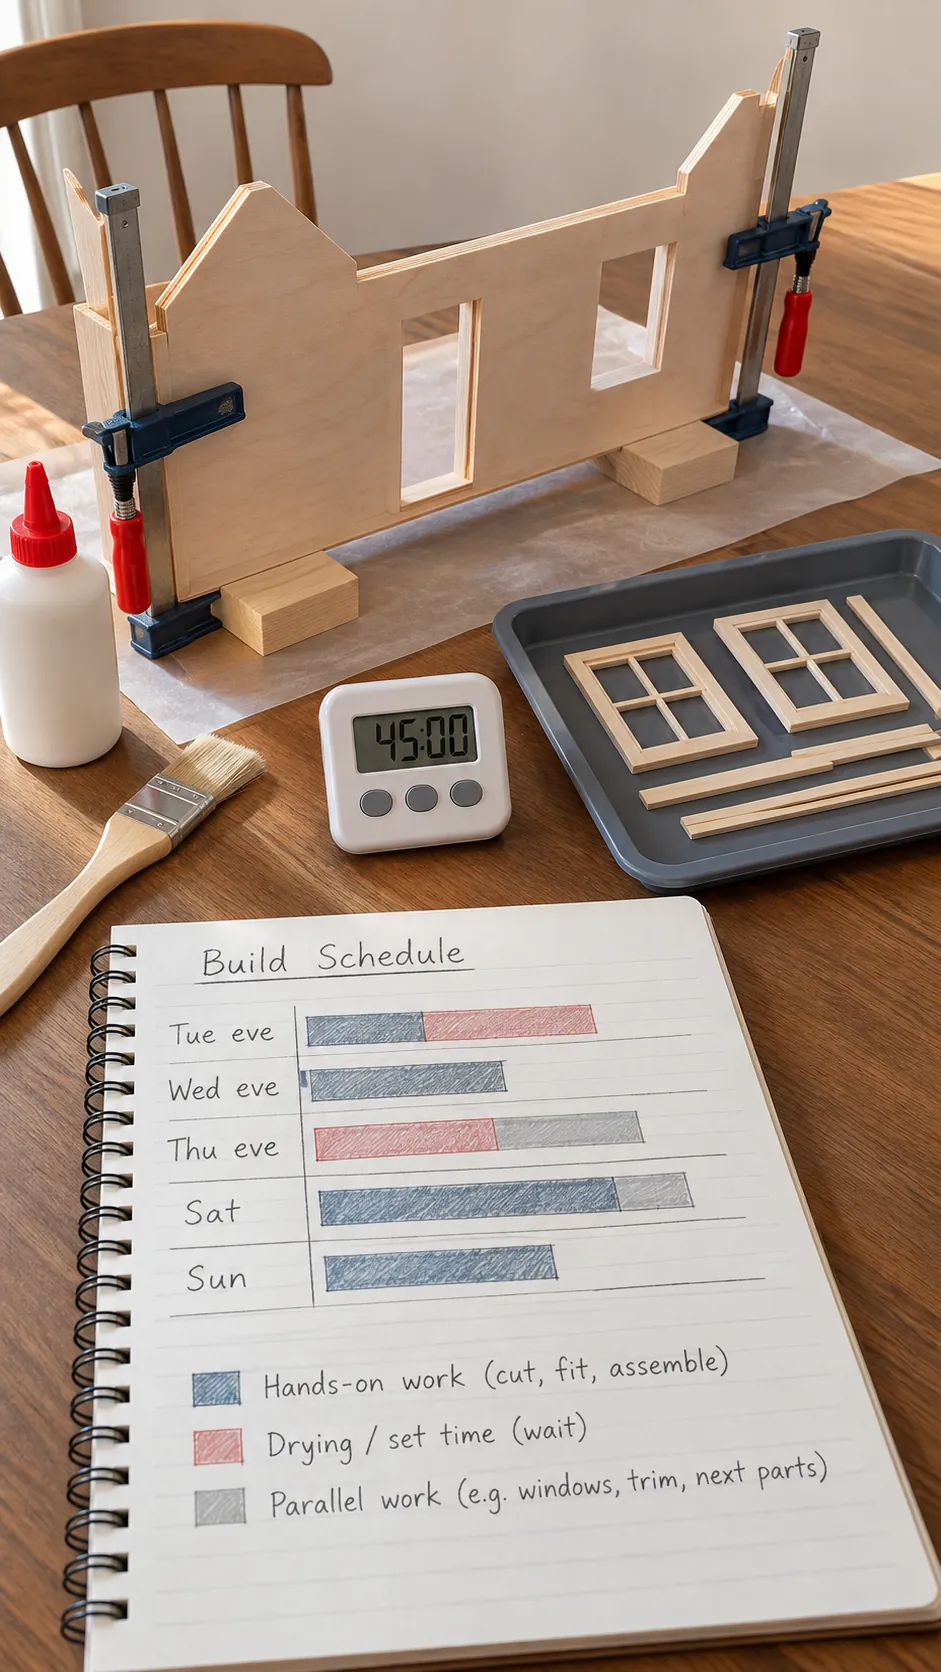
Estimate active work in short sessions, then place required waiting time between them. Do not count drying as available progress for a part that the next task depends on. You can work on loose windows or furniture while the shell dries, but only when those pieces do not need measurements from the unfinished structure.
Plan the shell before decorative work
Begin with inventory, dry fitting, sanding, and marking the assembly order. Confirm that walls meet squarely and openings accept their components. Correcting a warped panel or tight tab before paint is faster than repairing damage after a finish has been applied.
Build in room order when access will become limited. Community advice for scratch construction recommends completing wallpaper, flooring, paint, and the ceiling surface for one level before adding the next floor. The same principle helps with a kit. Finish work that needs open access before the roof or front trim closes the space.
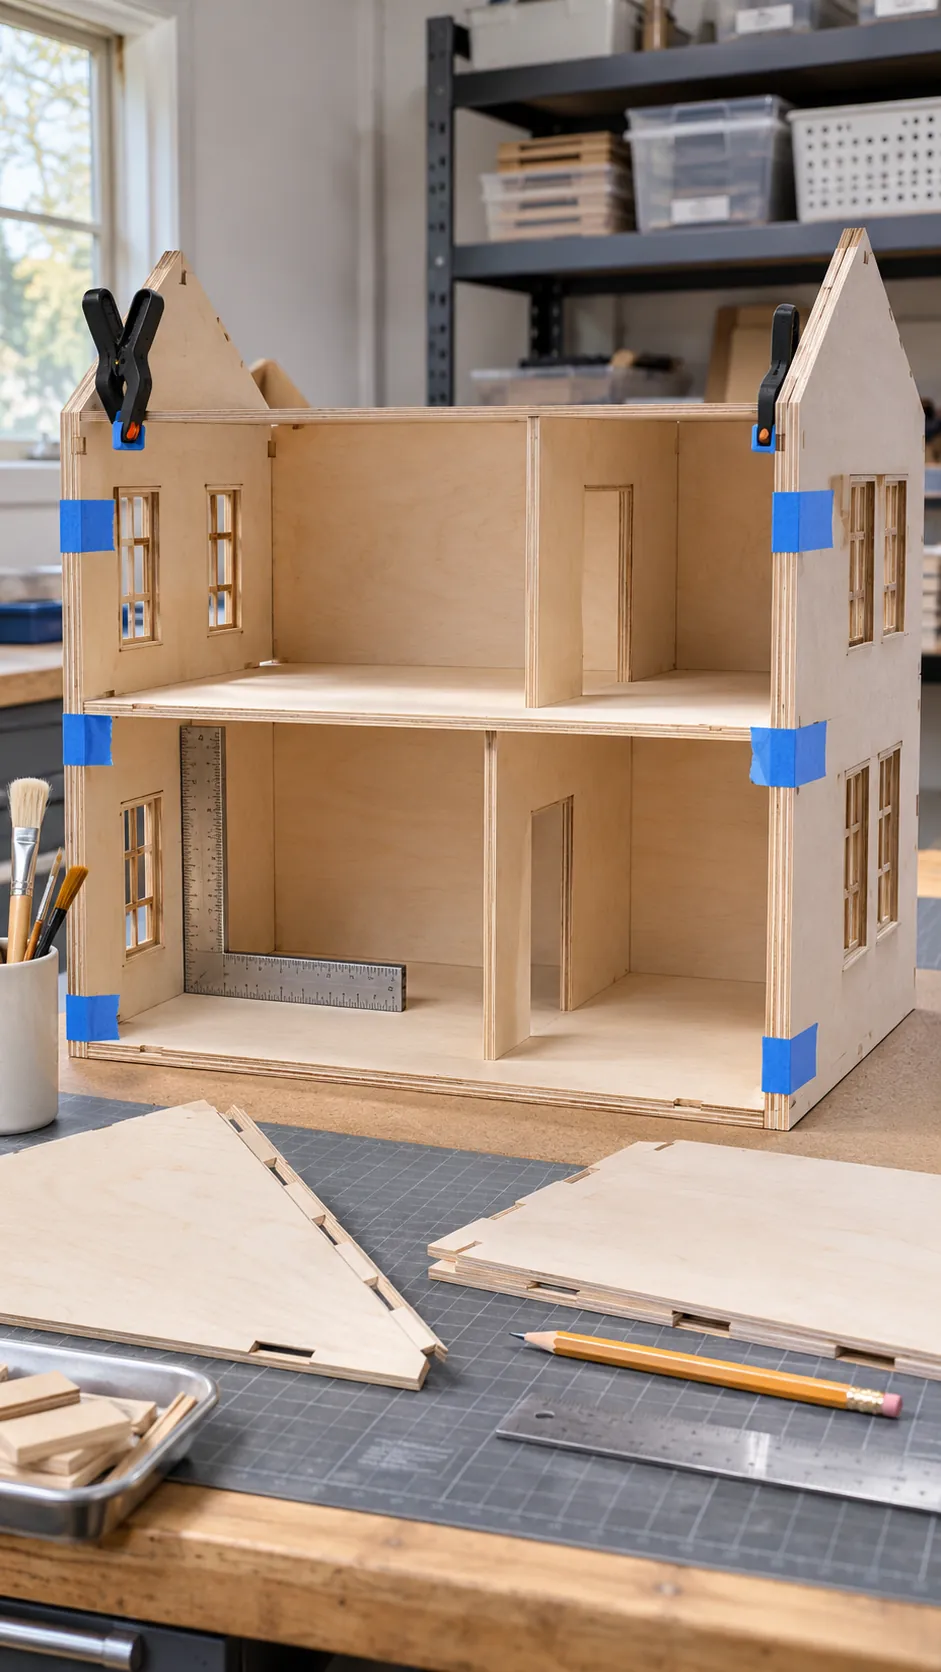
Allow time for sanding and surface preparation
Surface preparation often feels slow because the improvement appears gradually. Thin plywood kits may need tab adjustment, filler, and repeated sanding. Raw wood may need sealing before paint or wallpaper. These tasks affect every visible finish, so skipping them usually transfers time into later repairs.
Work in small batches. Sand related parts together, label their hidden faces, remove dust, and test them again. Add a correction allowance to the schedule when reviews mention poor cutting or when an older kit has warped in storage. A simple high quality kit can be faster than a cheaper complex one.
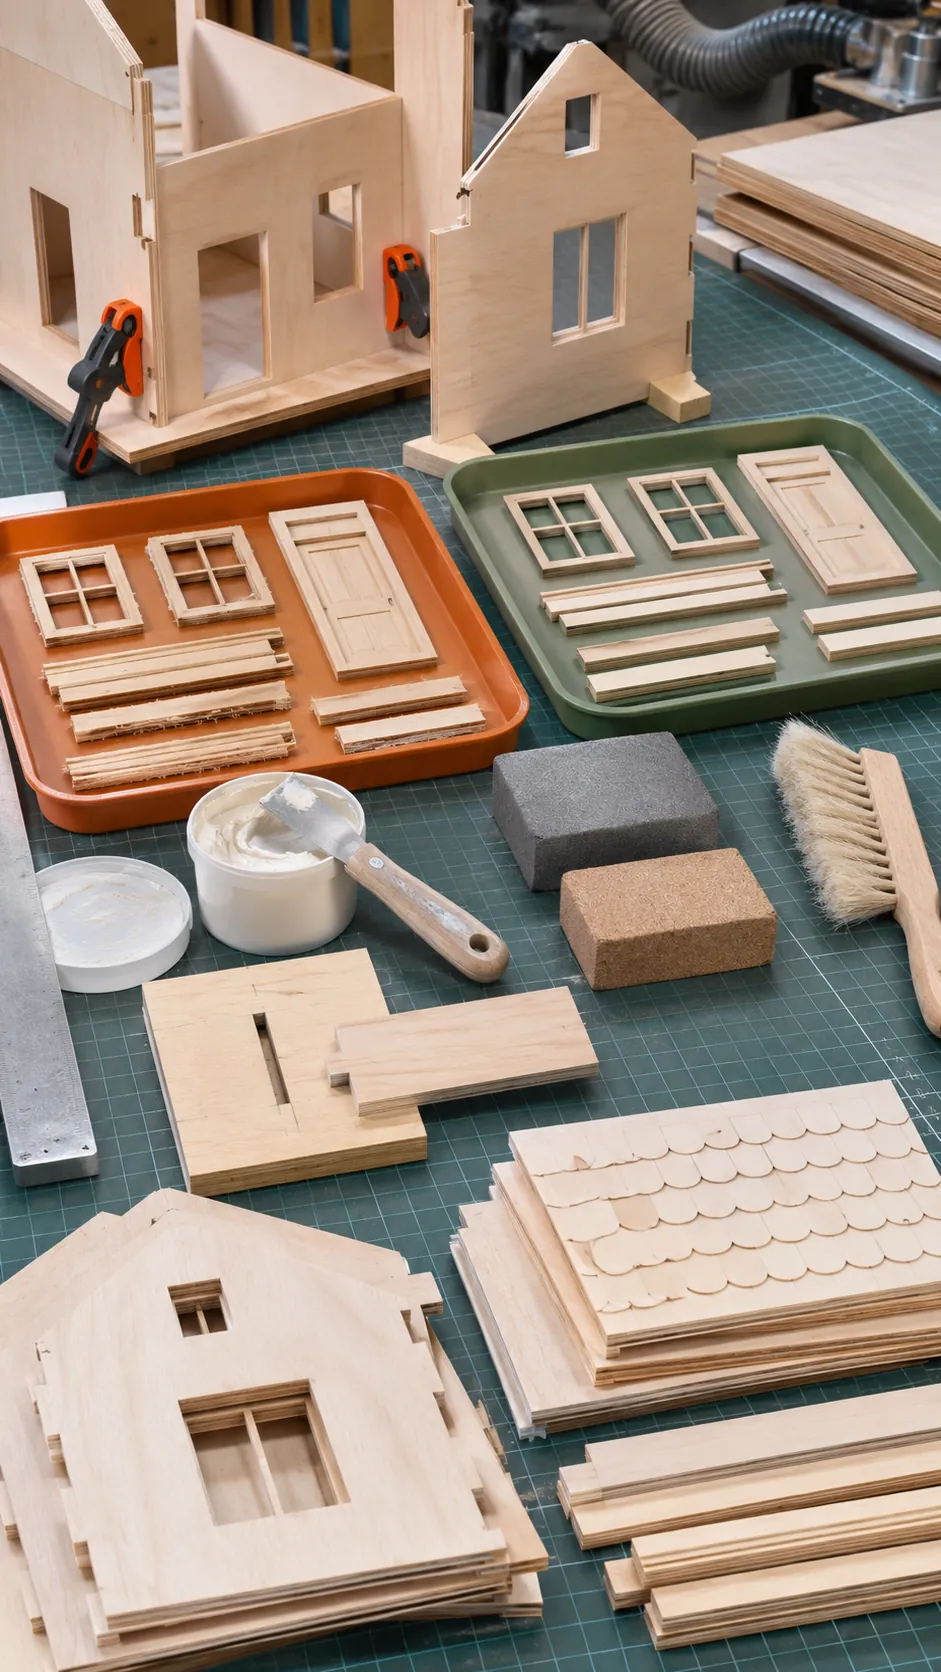
Schedule rooms as repeatable stages
For each room, plan a sequence for ceiling, walls, flooring, trim, electrical work, fixtures, furniture, and accessories. Some tasks can overlap across rooms. You can paint trim for one room while wallpaper in another dries. Keep parts in labeled trays so parallel work saves time instead of creating confusion.
Set one visible milestone for each week or work session. Completing a floor, installing three windows, or finishing one room gives a clearer target than working until the house feels done. Record actual time for the first repeated task, then use it to update the remaining estimate.
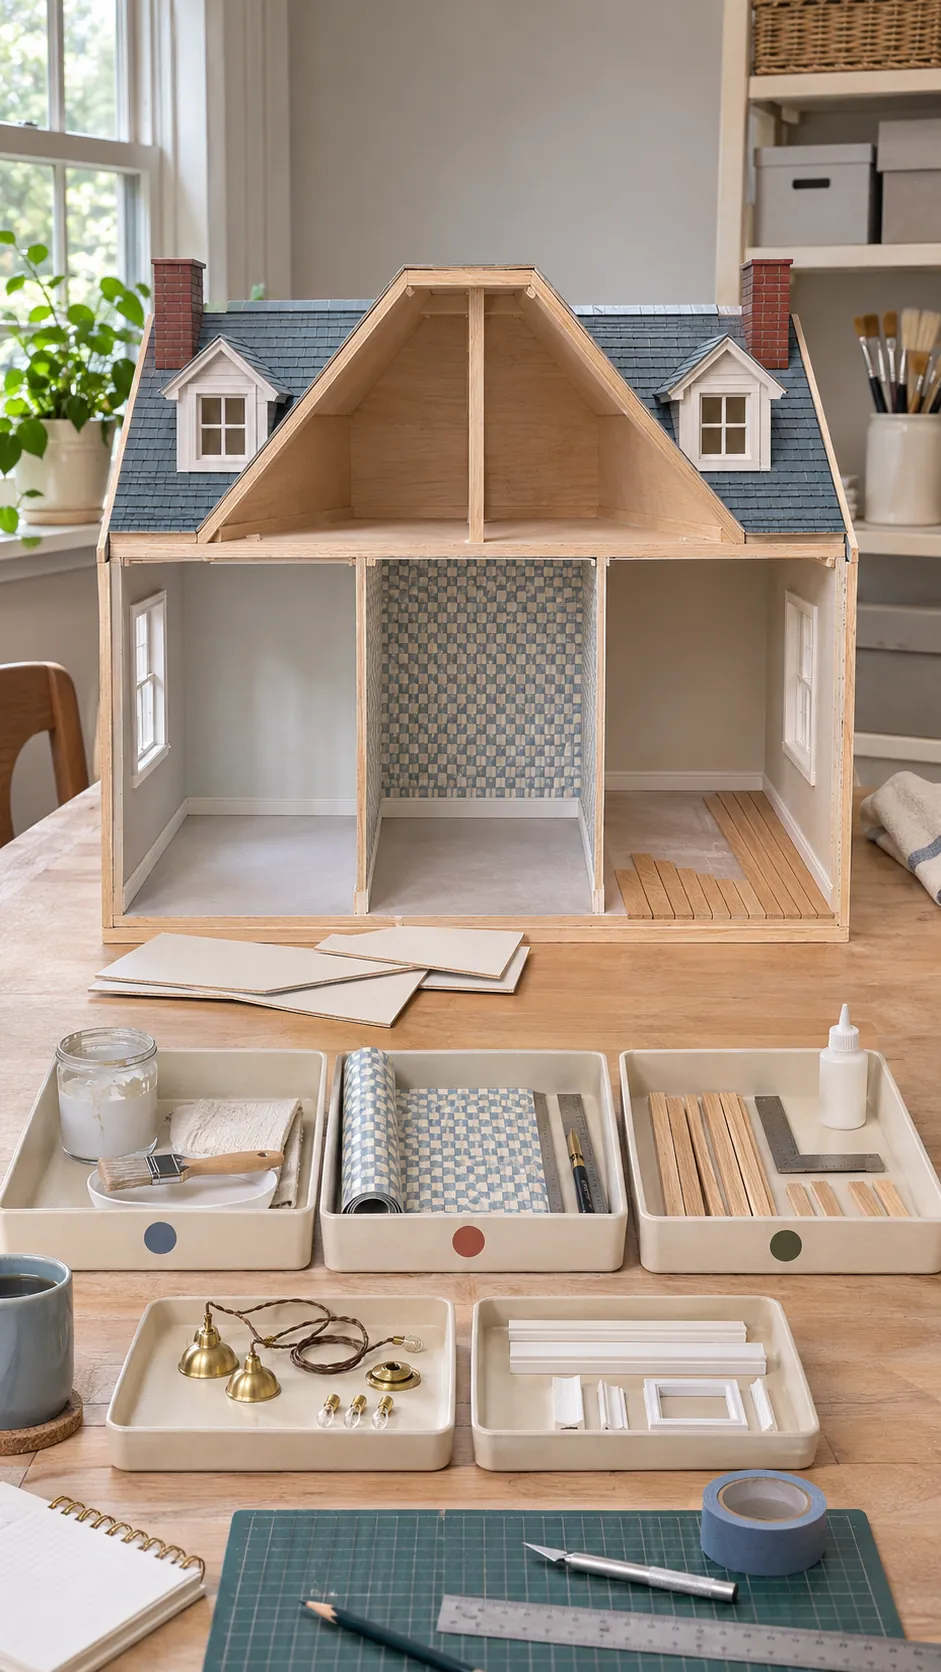
Create a schedule you can pause safely
Most hobby builds compete with ordinary life, so a resilient schedule matters more than a fast one. End each session with wet parts clamped safely, tools cleaned, loose pieces labeled, and the next action written down. A stable stopping point prevents the next session from becoming a search for missing context.
Add time for mistakes and decisions. A useful estimate includes the known work plus a buffer for refitting, repainting, or waiting for one component. If you enjoy the details, let the schedule expand without treating that as failure. The best completion date is one that protects careful work and keeps the project enjoyable enough to resume.