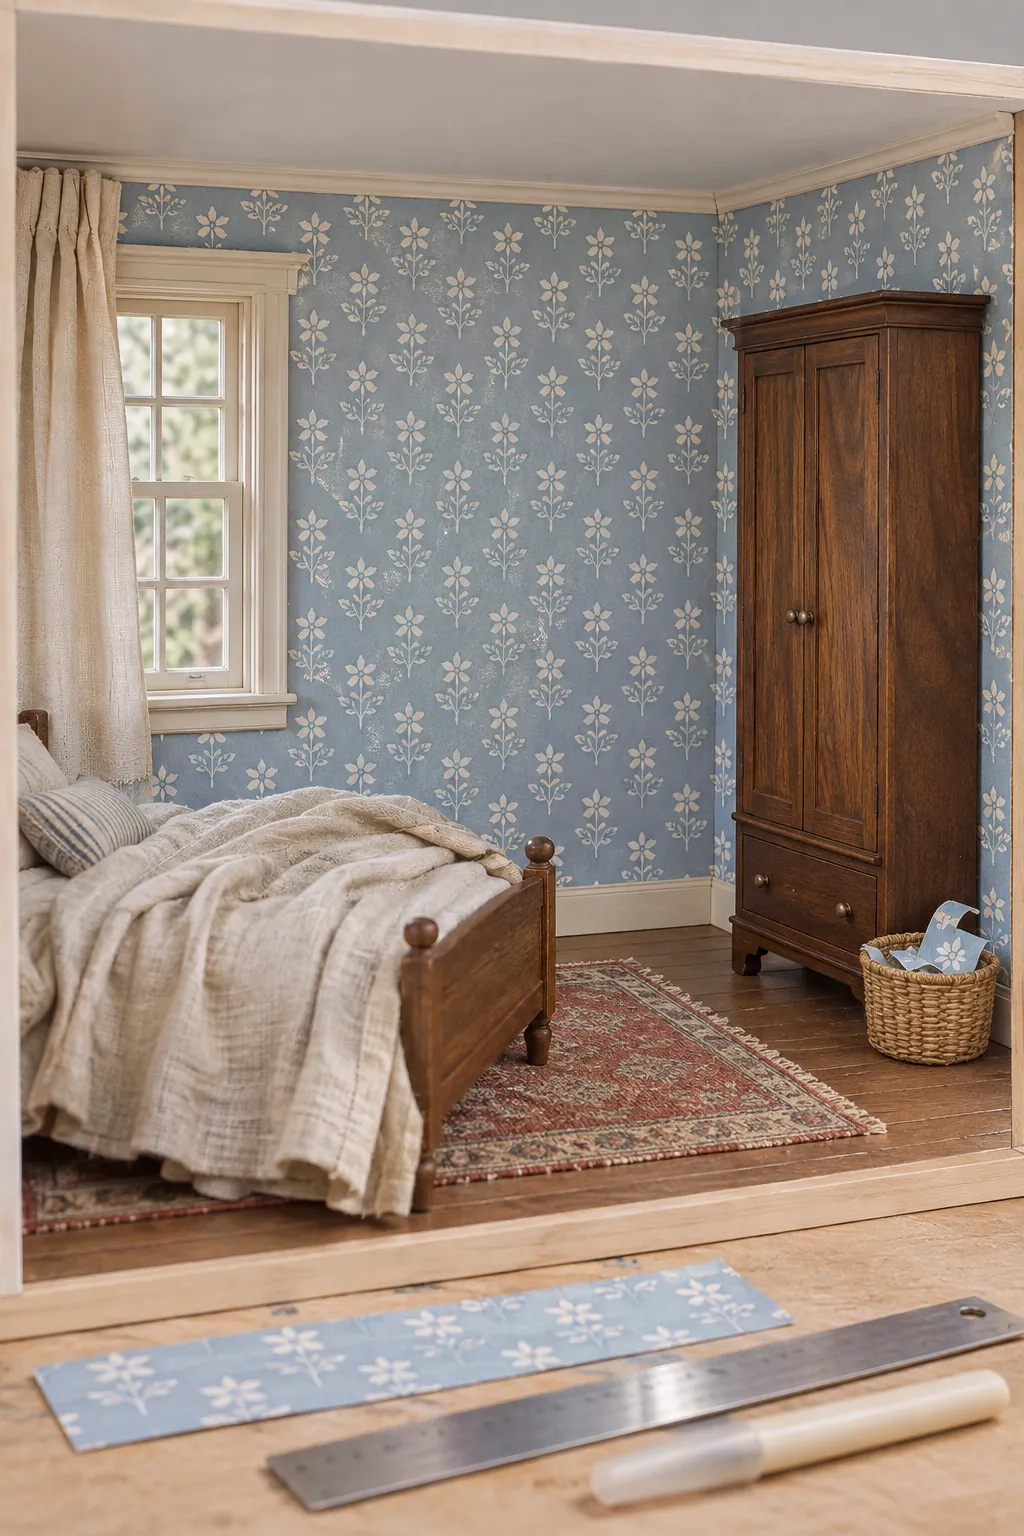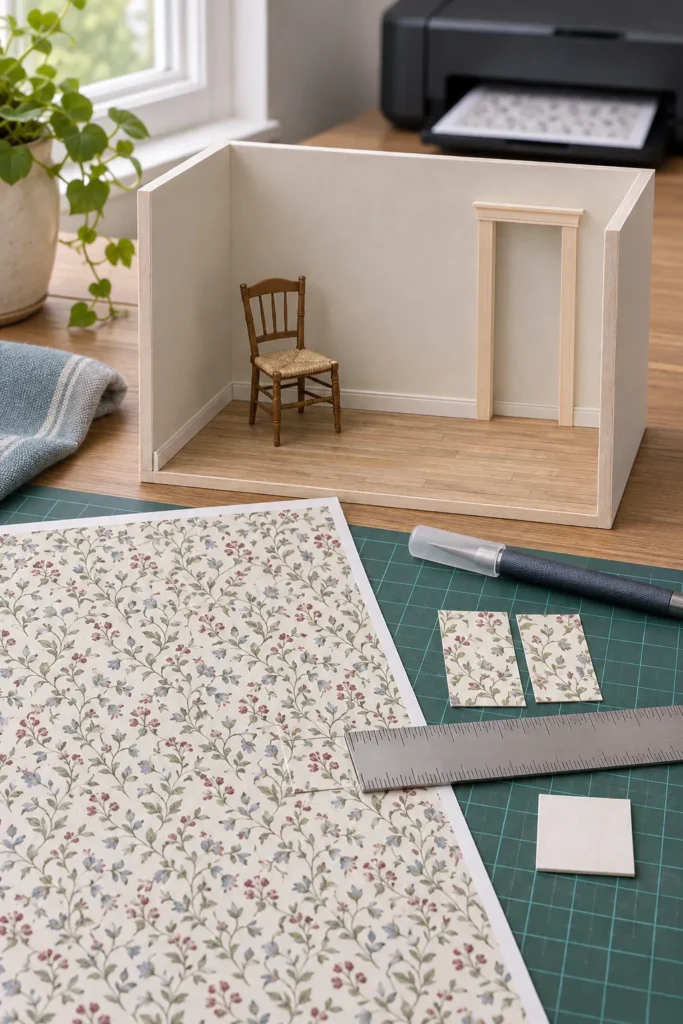
A wallpaper pattern can look convincing on screen and still feel enormous after it reaches a miniature wall. The usual cause is not the artwork. It is a hidden size change in the print dialog, an image with no reliable physical dimensions, or a repeat that was never checked against the room.
The safest method is simple: establish the intended scale, give the design a measurable size, print one small test at 100 percent, and measure the paper before committing ink or adhesive. That short check prevents most wasted sheets and makes later reprints predictable.
Start With the Dollhouse Scale
At 1:12 scale, one inch in the miniature represents twelve inches in a full size room. A real wallpaper motif that is twelve inches wide should therefore appear about one inch wide on the printed miniature sheet. At 1:24 scale, the same real motif should appear about half an inch wide.
Use the room as a second check because pattern scale is partly visual. A large floral repeat may suit a formal room, while the same repeat can overwhelm a small nursery or narrow hallway. Hold a rough paper sample against the wall and compare the motif with doors, chairs, and window trim before printing a complete sheet.
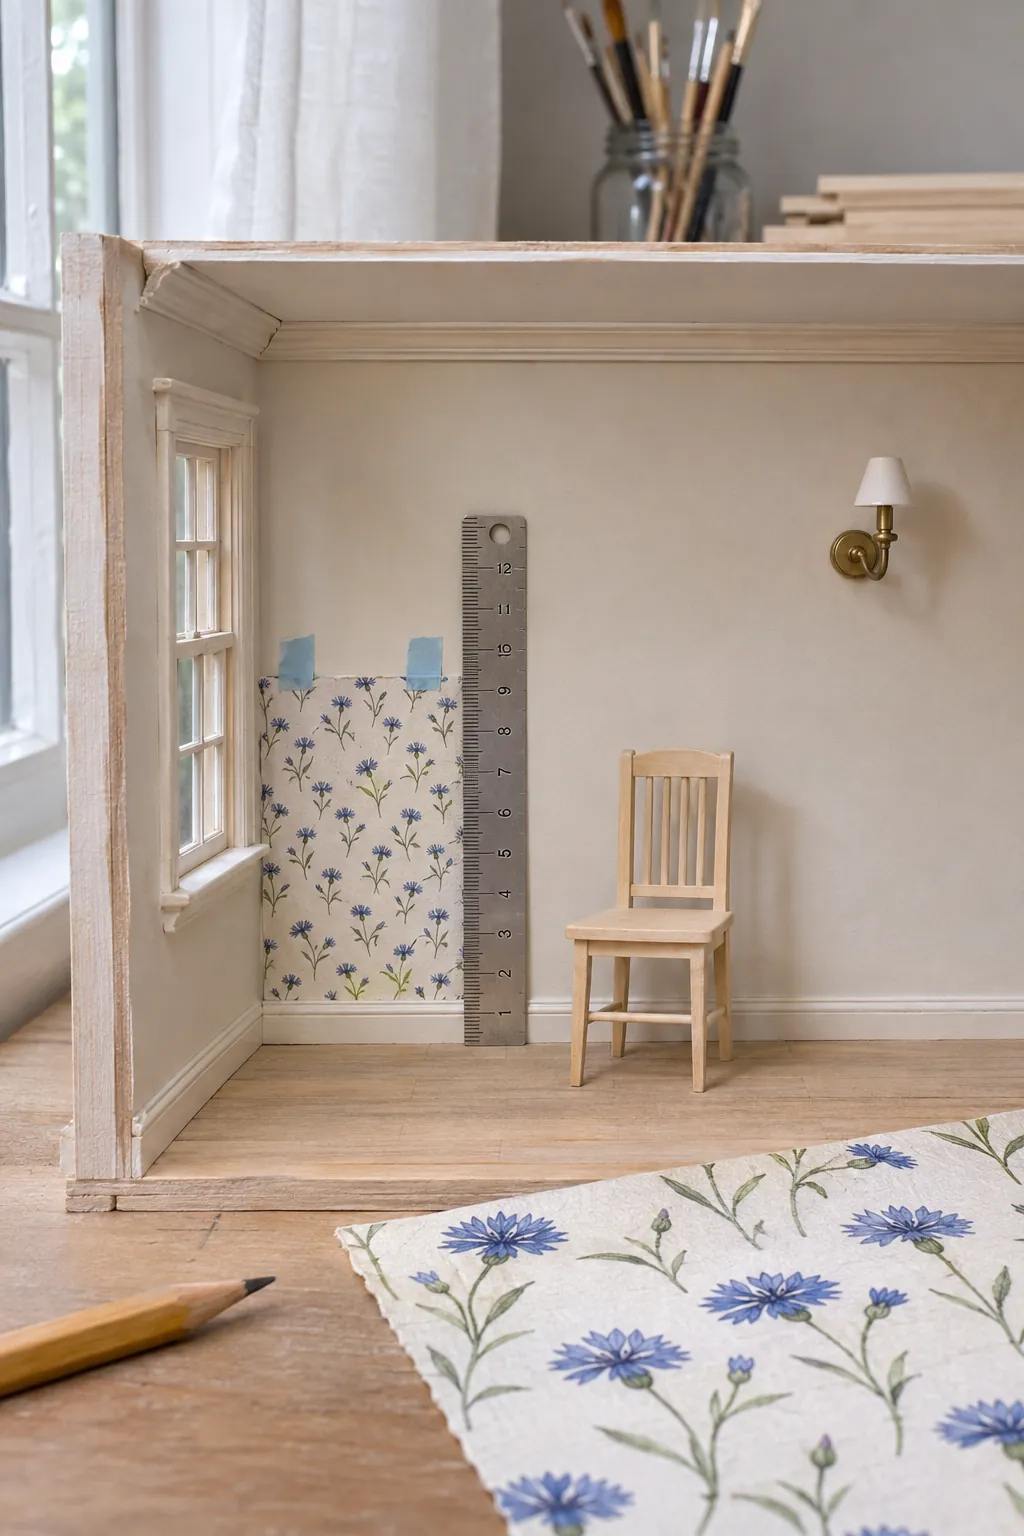
Measure the Pattern Before You Print
A PDF made for a specific miniature scale should include a stated page size or a test square. If it does, keep the file at its original dimensions and use that test mark as your authority. A label that says 1:12 is useful, but a measured one inch square is stronger evidence.
For a loose image file, place it in a document or image editor that lets you set width in inches or millimetres. Work from one known feature, such as the width of a plank, tile, stripe, or flower. Resize the complete repeat until that feature matches the miniature measurement you calculated, then preserve the same proportions.
Do not judge size from pixels alone. Pixel count controls available detail, while physical width and printer settings control how large the design becomes on paper. Two files with the same pixel dimensions can print at different sizes when their document dimensions differ.
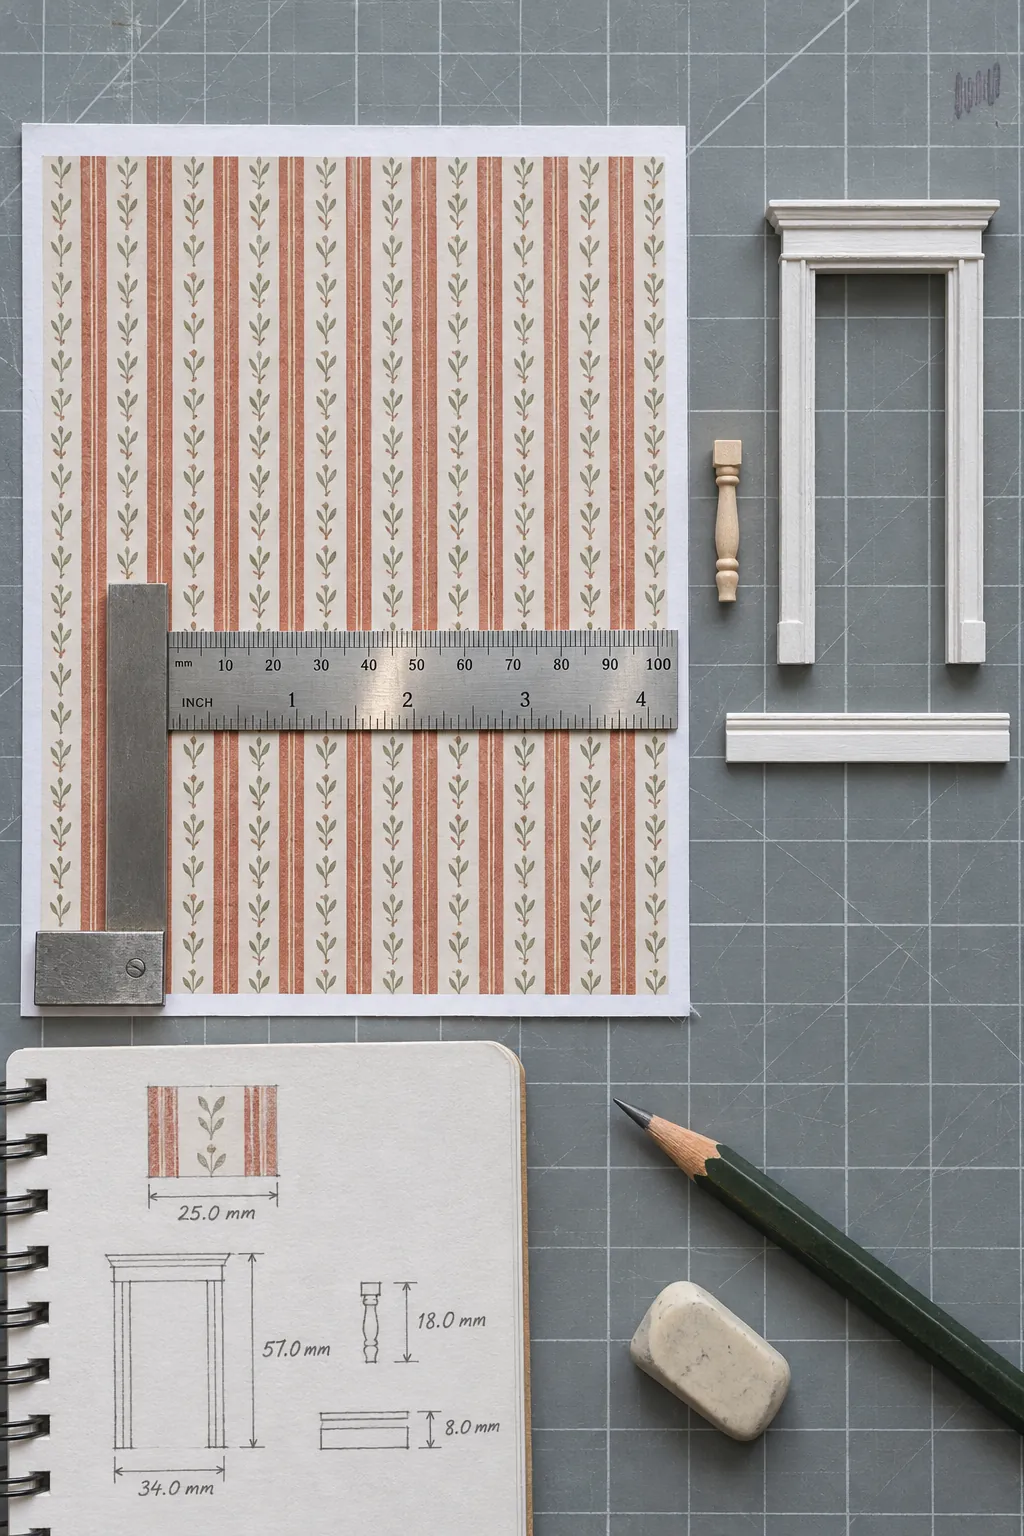
Use 100 Percent Print Scaling
Open the final file in a program that shows a clear print scale option. Select actual size or 100 percent. Turn off fit, shrink, fill, and any option that automatically adjusts the page to the printable area.
Confirm the paper size in both the document and the printer dialog. A file prepared for A4 paper can change size when the dialog silently substitutes US Letter, and the reverse can happen as well. If the design extends beyond the printer margins, it is better to accept a narrow unprinted edge than to let the software reduce the entire pattern without warning.
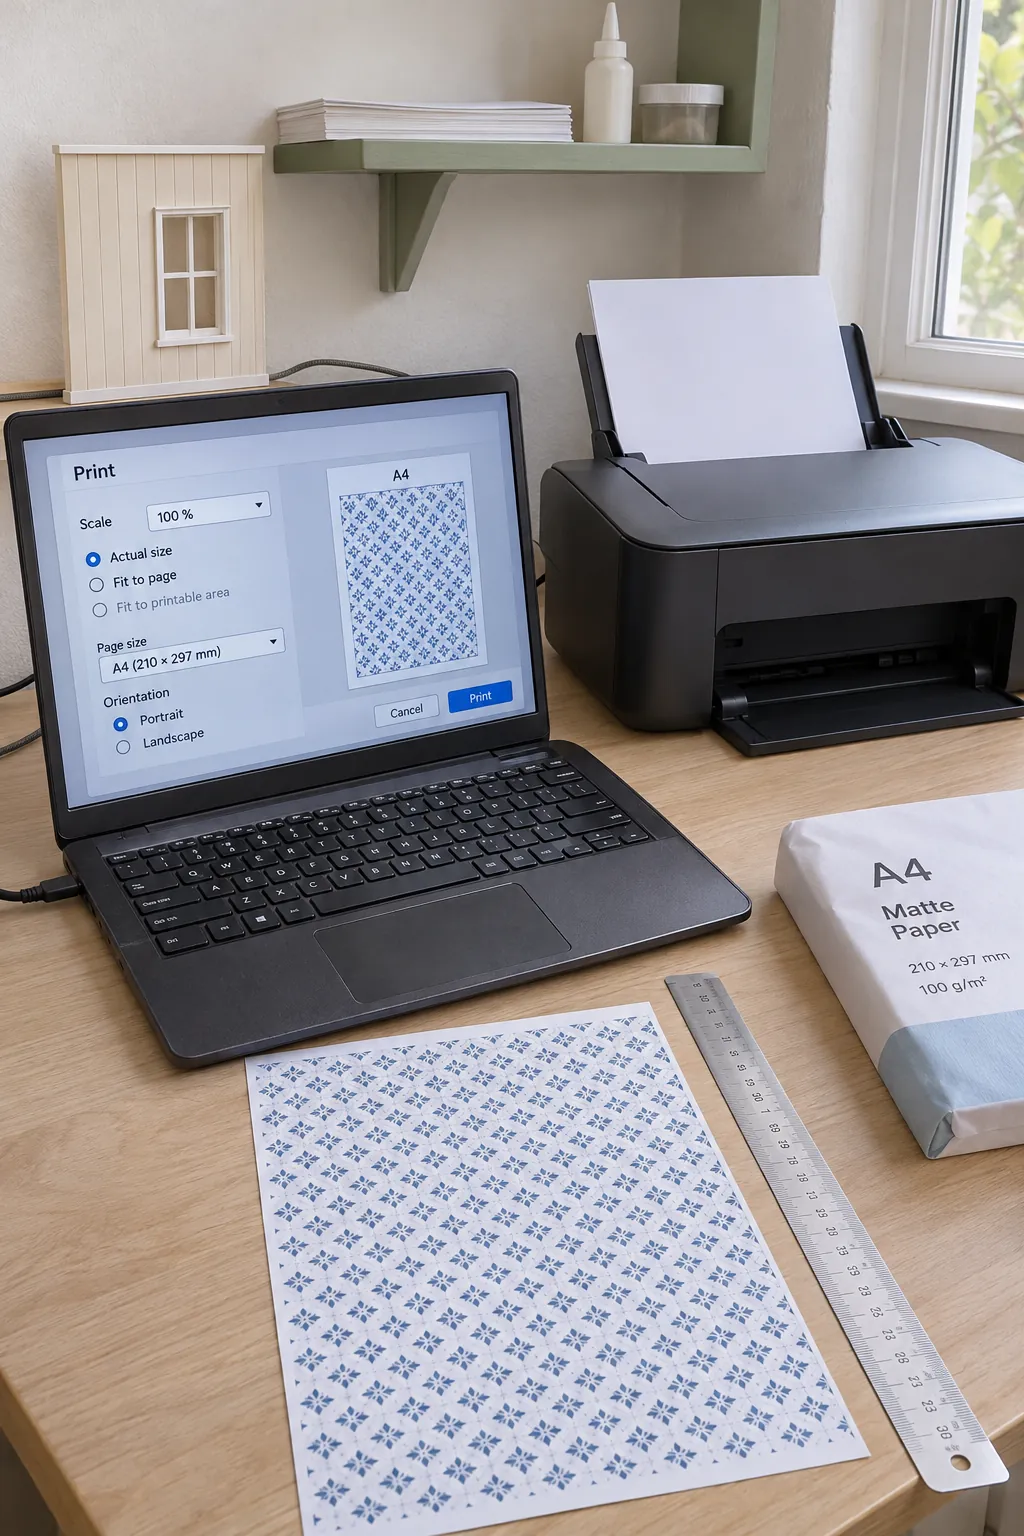
Print and Measure a Test Square
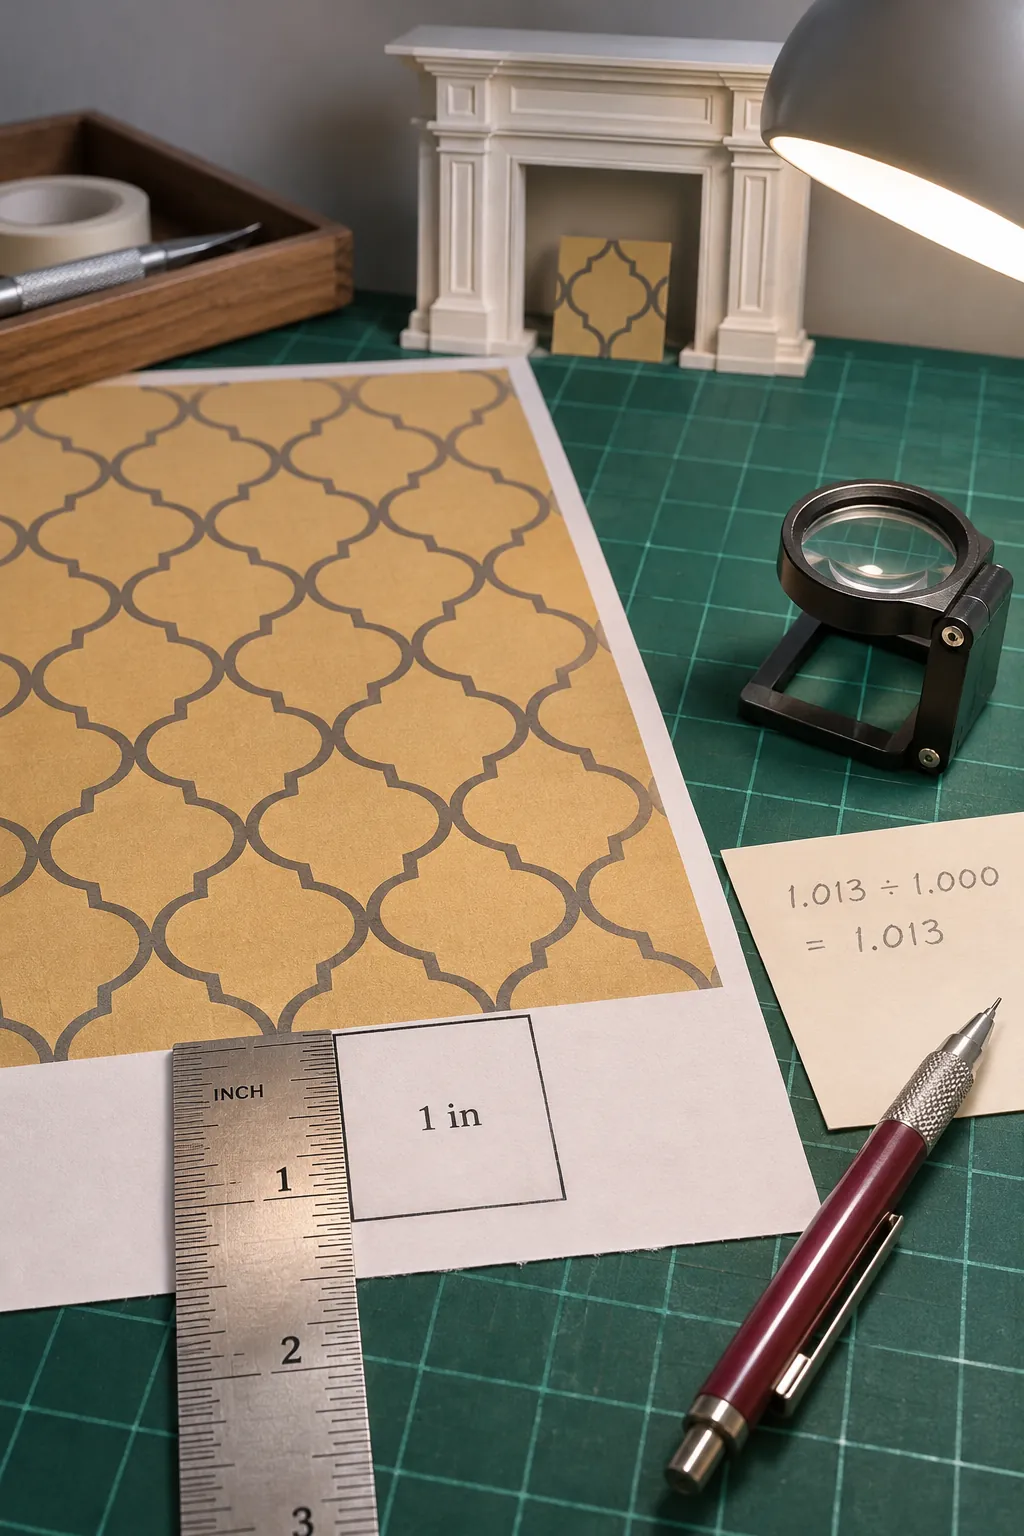
Print only one page, or print a cropped section that contains a test square and several full motifs. Let the ink settle, then measure the reference mark with a rigid ruler. Measure from the outside edges of the printed lines and use the same unit named by the file.
If a one inch square measures seven eighths of an inch, the page printed too small. Divide the intended measurement by the measured result, then multiply by 100 to find a correction percentage. In this example, one divided by 0.875 gives about 1.143, so a custom print scale near 114 percent should bring the test mark close to the intended size.
Run one more small test after any correction. Printer drivers can round values, and a saved application preference can override the setting you changed. Record the successful percentage, paper size, orientation, and application so you can reproduce the result later.
Choose Paper That Looks Believable
Plain matte presentation paper is a dependable starting point because it gives clean detail without a strong shine. Heavy cardstock can create bulky seams and resist corners. Very thin office paper may wrinkle when it meets wet adhesive, so test your chosen glue on a spare piece first.
Glossy photo paper often looks too reflective for an ordinary miniature room, although it can suit a deliberate vinyl or glazed surface. Matte photo paper can improve fine detail, but its thickness still matters at overlapping joins. Compare color and texture under the light that will illuminate the finished dollhouse.
Plan Repeats and Joins Before Installation
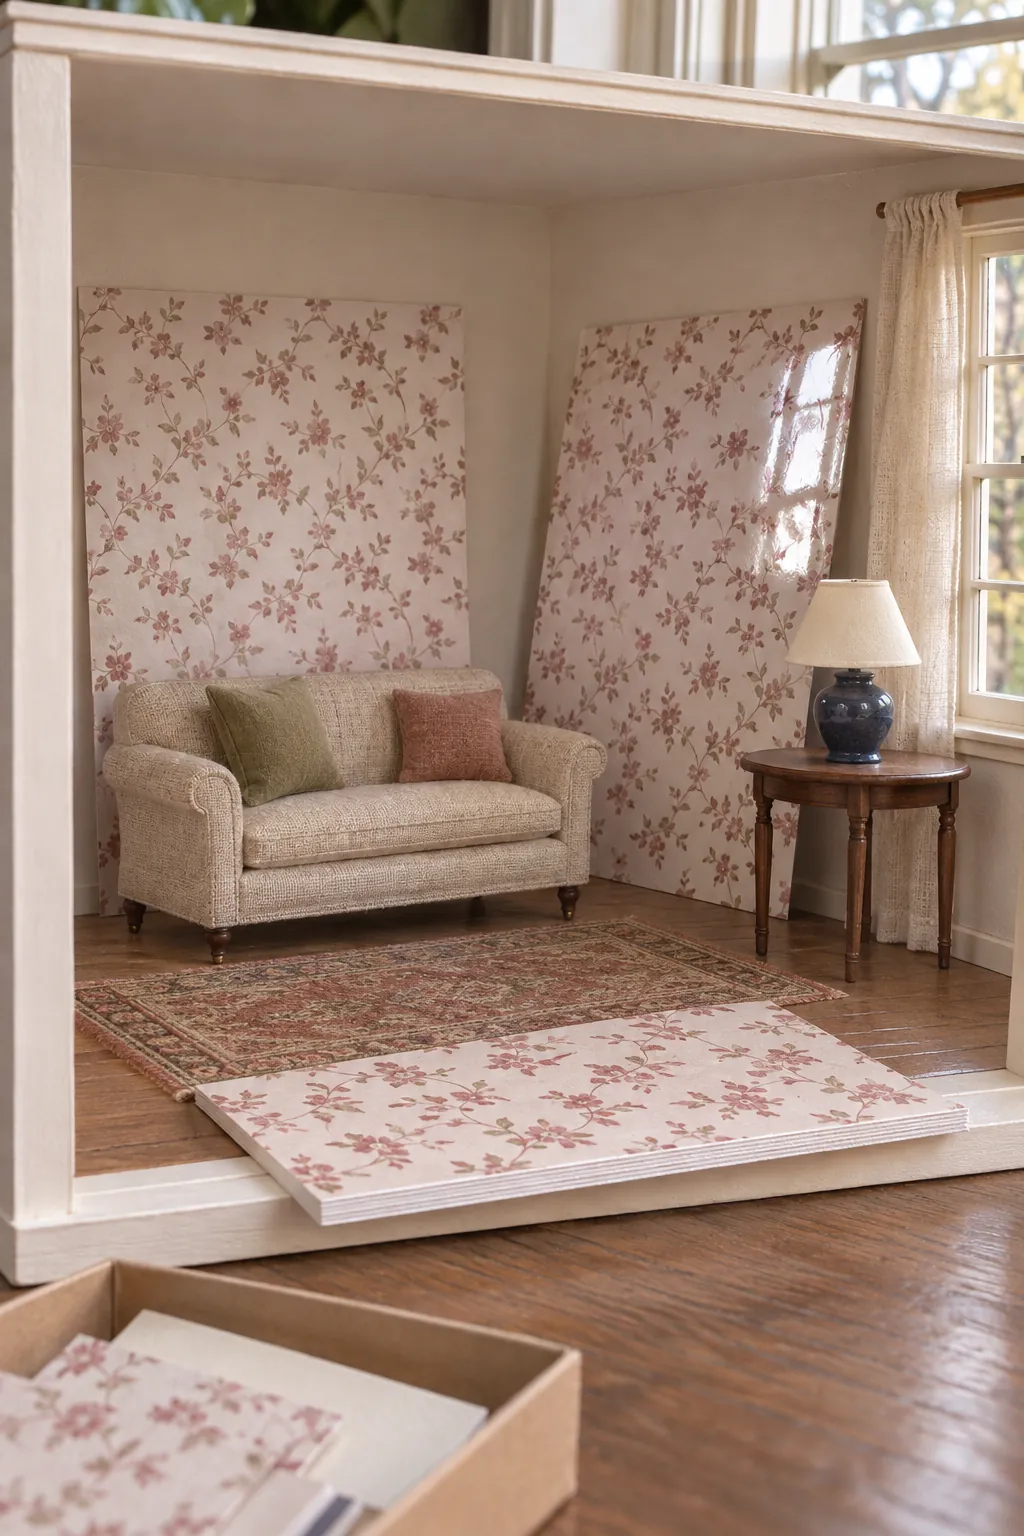
Measure each wall and add a small trimming allowance. Decide where each join will fall before cutting. Corners, door frames, curtains, and tall furniture can conceal a join more naturally than the center of an open wall.
Match the printed repeat before trimming the second strip. A narrow overlap is often less distracting than a gap, but thick paper can make that overlap obvious. With heavier stock, trim both layers together only if you can protect the wall and keep the cut straight.
Keep the approved test sheet until the room is complete. It gives you a physical color and size reference if you need another page. When a later print looks different, compare the application, print scale, paper selection, quality setting, and color mode before changing the artwork.