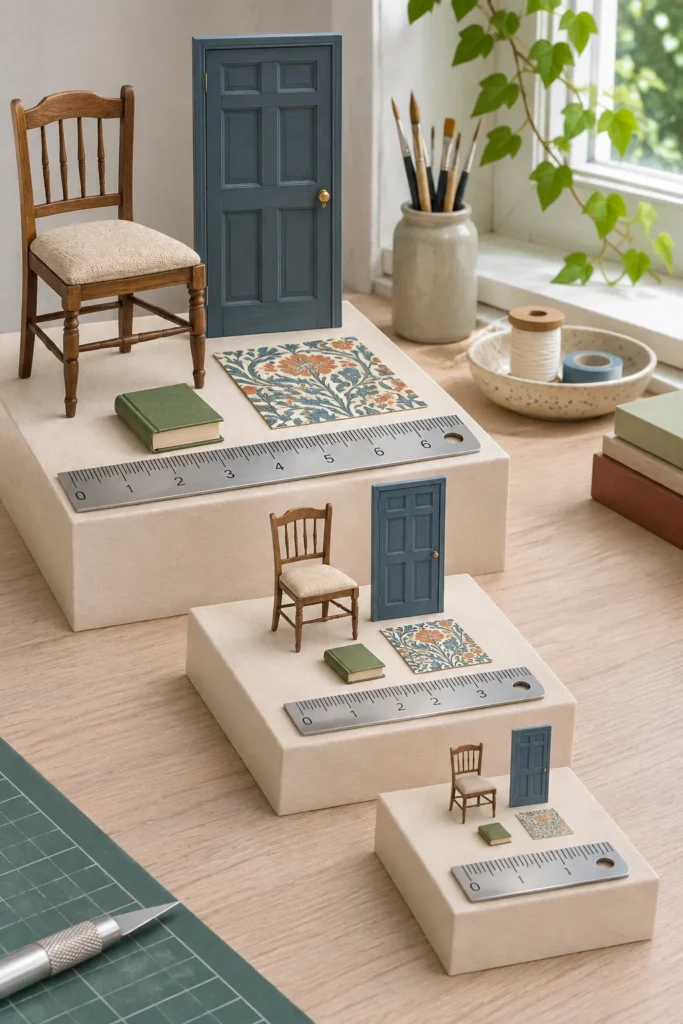
A printable can carry the correct scale label and still come out wrong when the ratio, page size, or print percentage is misunderstood. The safest approach is to calculate one known measurement, use a clear conversion percentage, and confirm the result on paper before cutting the complete project.
The key idea is linear size. Doubling the width also doubles the height, while the area changes by more. Printer percentages control width and height together, so the conversion must use a linear ratio rather than an area calculation.
What the Scale Ratio Means
In 1:12 scale, one unit in the miniature represents twelve of the same units in real life. A six foot person becomes about six inches tall. In 1:6 scale, the same person becomes about twelve inches tall, while in 1:24 scale the person becomes about three inches tall.
The denominator tells you how much the real measurement was divided. A smaller denominator produces a larger miniature. This is why 1:6 objects are twice the linear size of 1:12 objects, and 1:24 objects are half the linear size of 1:12 objects.
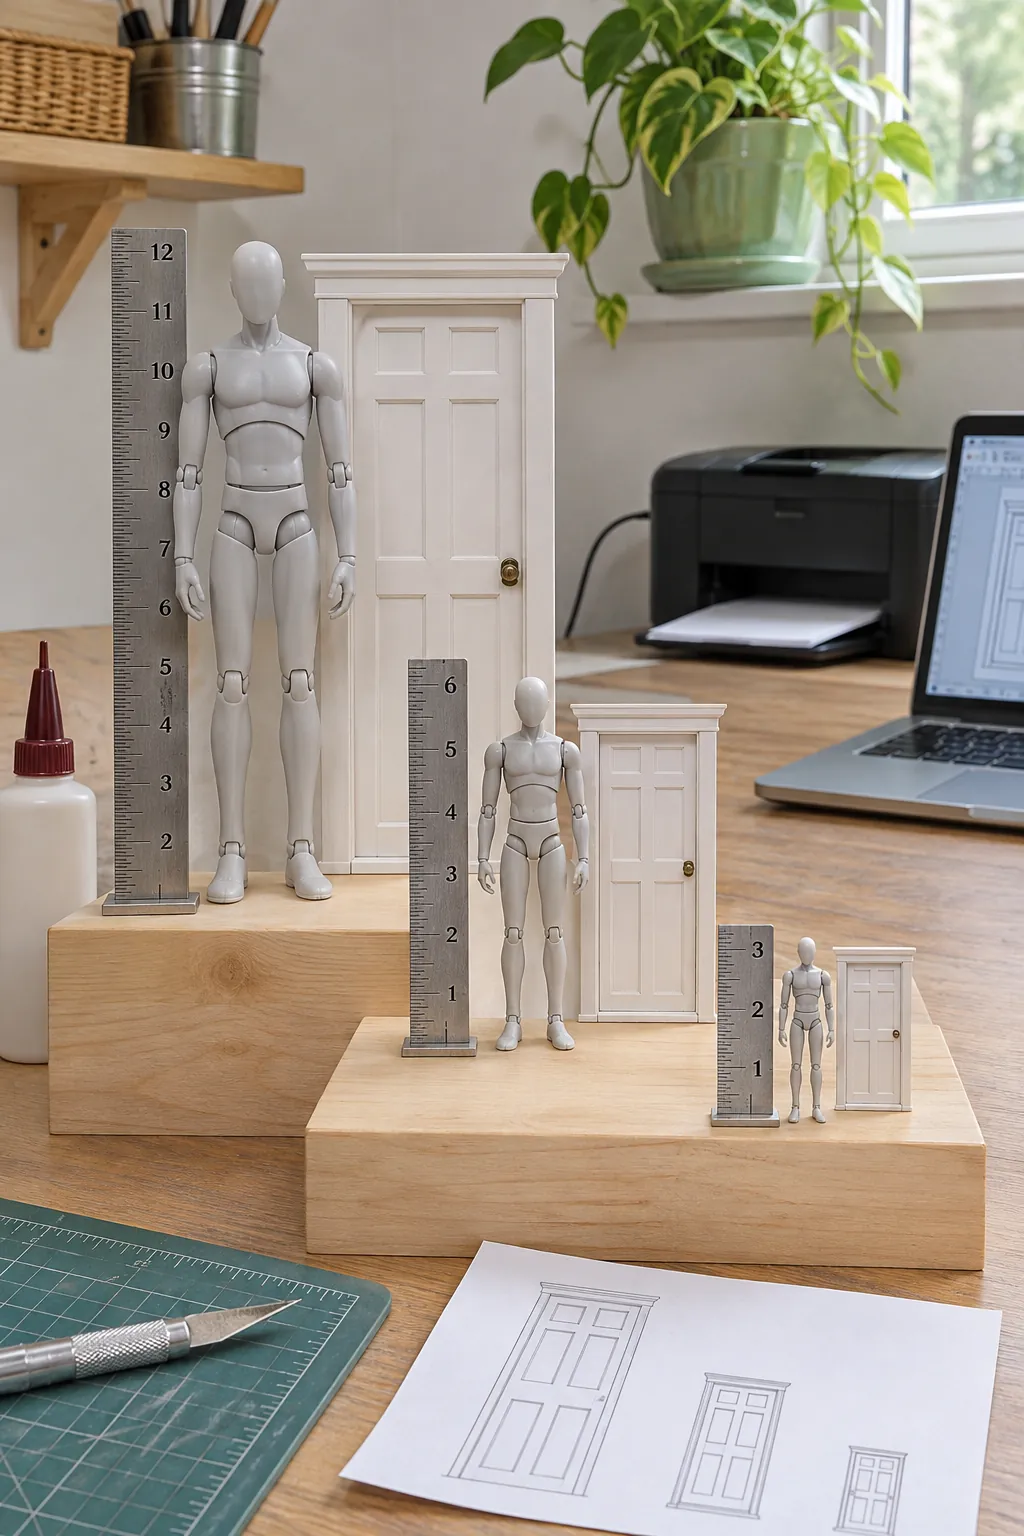
Calculate a Miniature Measurement
Divide a real measurement by the scale denominator. A real thirty six inch table becomes six inches at 1:6, three inches at 1:12, and one and one half inches at 1:24. Keep the unit consistent throughout the calculation.
Reverse the calculation by multiplying the miniature measurement by the denominator. A two inch cabinet at 1:12 represents a twenty four inch cabinet in real life. This check helps when a downloaded printable has no trustworthy scale label.
Convert One Printable Scale to Another
Use target linear size divided by source linear size, then multiply by 100. To enlarge a 1:12 file to 1:6, print at 200 percent because the target must be twice as large. To reduce 1:12 to 1:24, print at 50 percent.
From 1:6 to 1:12, use 50 percent. From 1:6 to 1:24, use 25 percent. From 1:24 to 1:12, use 200 percent, and from 1:24 to 1:6, use 400 percent, provided the source image has enough detail for that enlargement.
Protect the Page Size and Proportions
A correct percentage can still fail if the application also applies fit, shrink, or fill. Turn those options off and confirm the intended page size. Keep width and height linked so the file does not stretch in one direction.
PDF files often preserve a defined page size, while loose image files may not. For an image, place it in a document where you can set a physical width, then verify one known feature. Do not use pixel dimensions alone as proof of printed size.
Check Objects Against the Intended World
Scale labels describe a mathematical ratio, but a useful room also needs consistent proportions. Compare doors, counters, chairs, books, and figures with one another. A product sold as six inch size may not be a precise 1:12 object if its real world reference would not be six feet tall.
Use one dependable anchor, such as a standard doorway or a measured human figure, and compare every new printable with it. This prevents a technically printed page from producing books, tiles, or packages that look wrong beside the rest of the scene.
Verify Every Conversion With a Test Print
Add or use a one inch reference square, print one small test, and measure it with a rigid ruler. If the mark is wrong, confirm the page size and automatic scaling controls before changing the custom percentage. Correct only one variable at a time.
Write the successful source scale, target scale, percentage, paper size, application, and printer setting on the back of the test. Keep that sample with the project. A physical reference is more reliable than memory when you return to the same templates later.