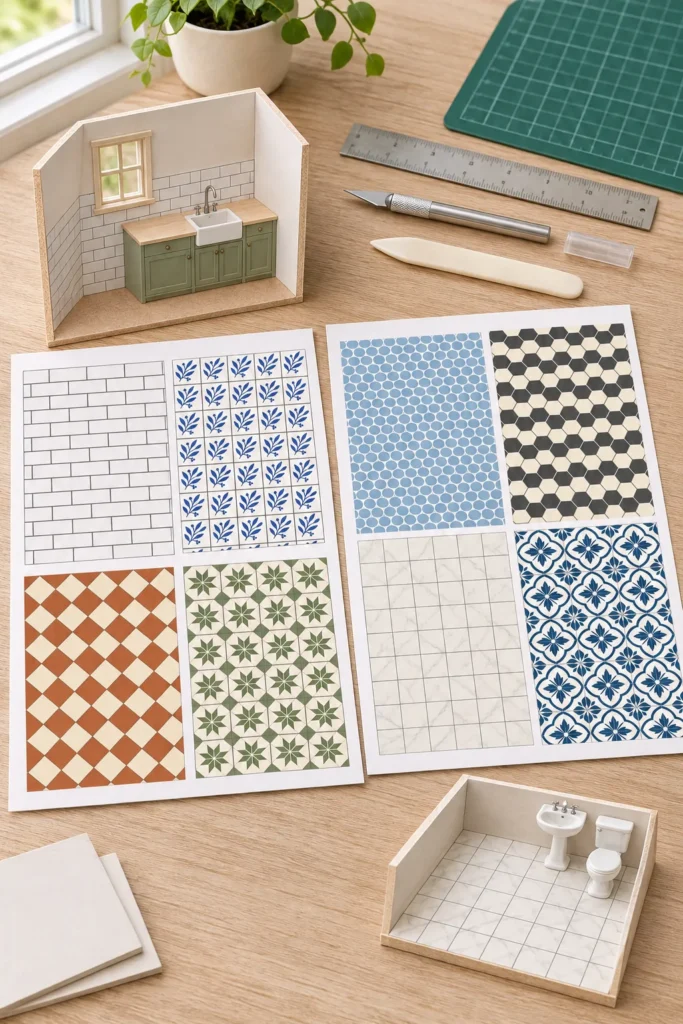
Printed tile can give a dollhouse room convincing color and rhythm without the weight or cutting difficulty of glass and ceramic. The result depends on three things: a pattern that suits the room, a believable tile size, and a finish that adds depth without soaking the paper.
The two complete sheets below are designed for 1:12 scale projects. Print at Actual Size or 100 percent. Test one small section on ordinary paper before using cardstock, matte photo paper, or self adhesive paper.
Kitchen backsplash tile sheet
This page includes four kitchen friendly panels: classic white subway tile, blue botanical squares, warm terracotta diamonds, and a soft green geometric repeat. Each panel is large enough for a compact backsplash or several smaller work zones. The grout lines are already part of the artwork, so you can use a panel as one continuous surface or score selected lines for extra relief.
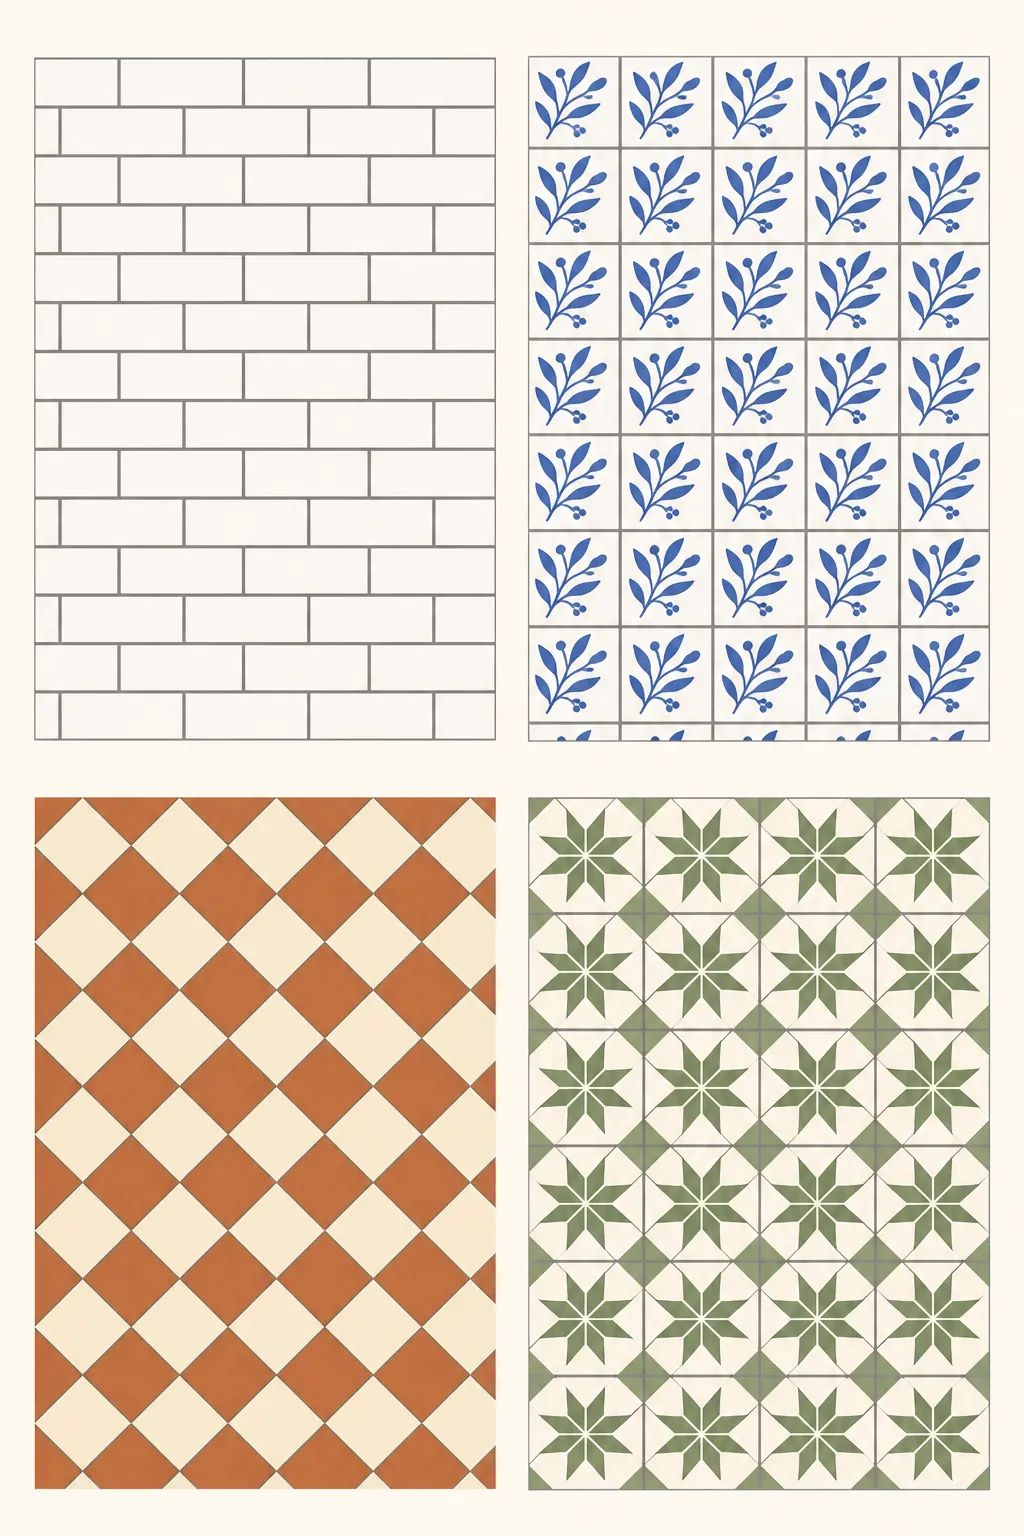
Download high-resolution printable
Bathroom wall and floor tile sheet
This page balances smaller bathroom patterns with quieter surfaces. It includes pale blue penny rounds, charcoal hexagons, cream marble squares, and a blue and white encaustic style repeat. Use the smaller motifs around a sink or shower, and reserve the larger panels for a floor where the repeat can be seen.
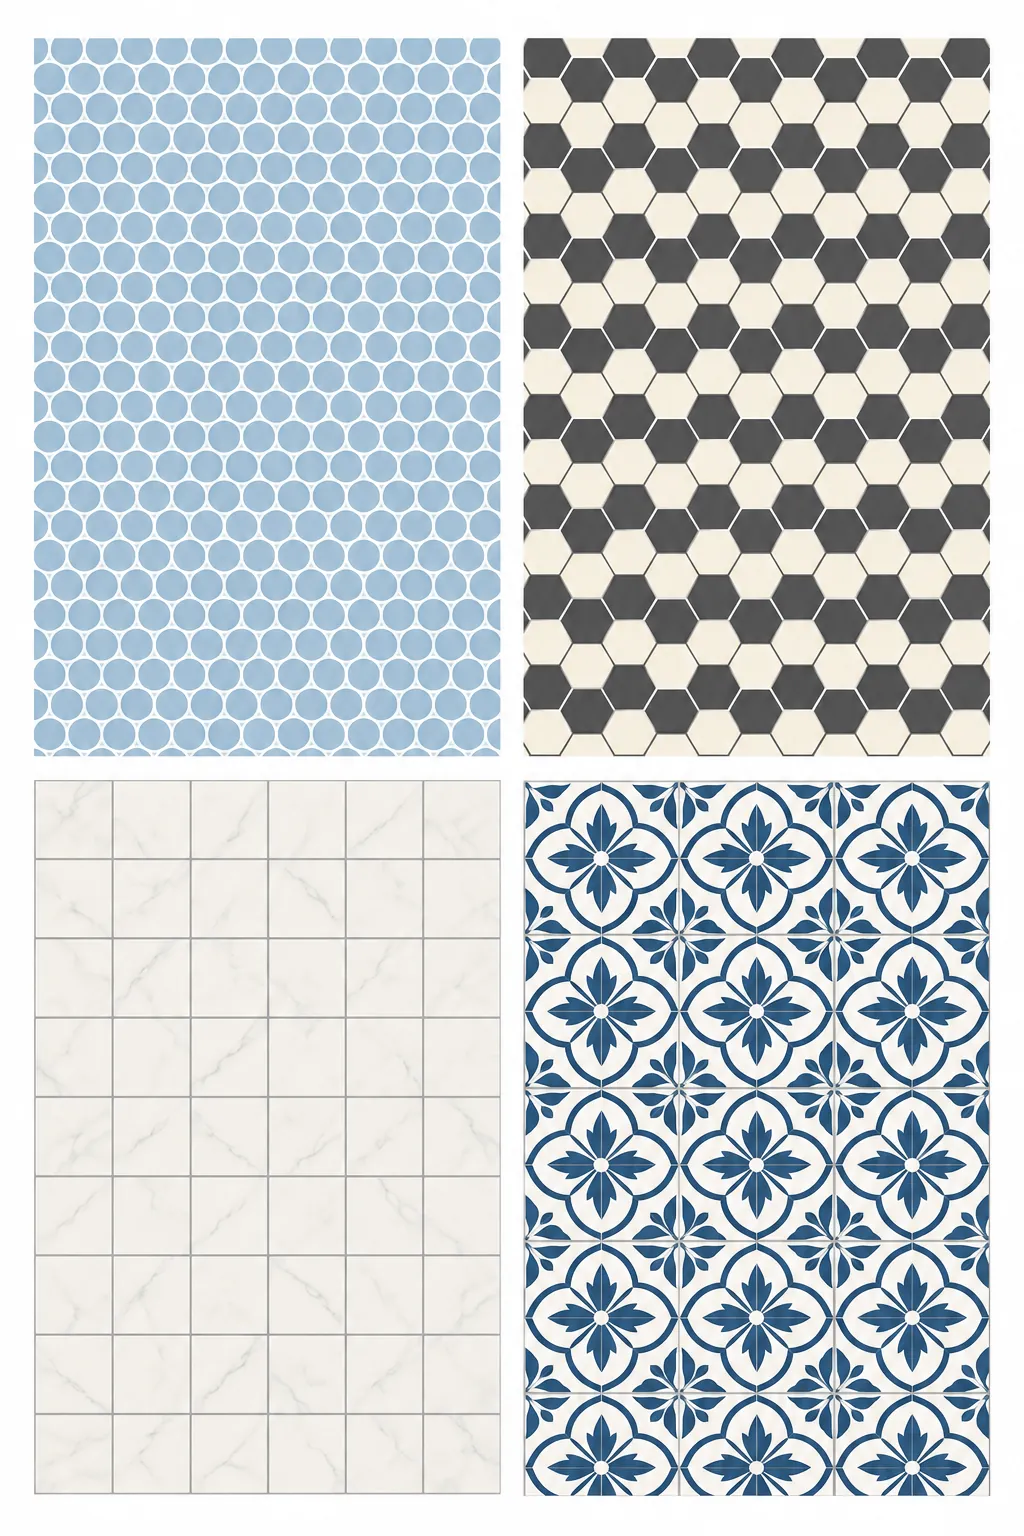
Download high-resolution printable
Print and finish the miniature tiles
Click a preview to open the full size image, or use the download button to open it in a new tab. Save the image from there. Print at Actual Size or 100 percent and turn off any Fit option so the tile scale stays consistent.
For a wall, smooth matte paper gives a clean result without too much shine. For a floor, light cardstock or matte photo paper has more body. Let the ink dry, then apply a very thin clear satin medium with a soft brush if you want a ceramic suggestion. Test the coating first because heavy moisture can curl paper or blur an inkjet print.
Cut the chosen panel slightly oversize, test it in the room, then trim the final edges. A stylus and ruler can press selected grout lines into thicker paper, but use gentle pressure so the surface does not tear. Attach the finished panel with an even coat of suitable adhesive and smooth it from the centre toward the edges.