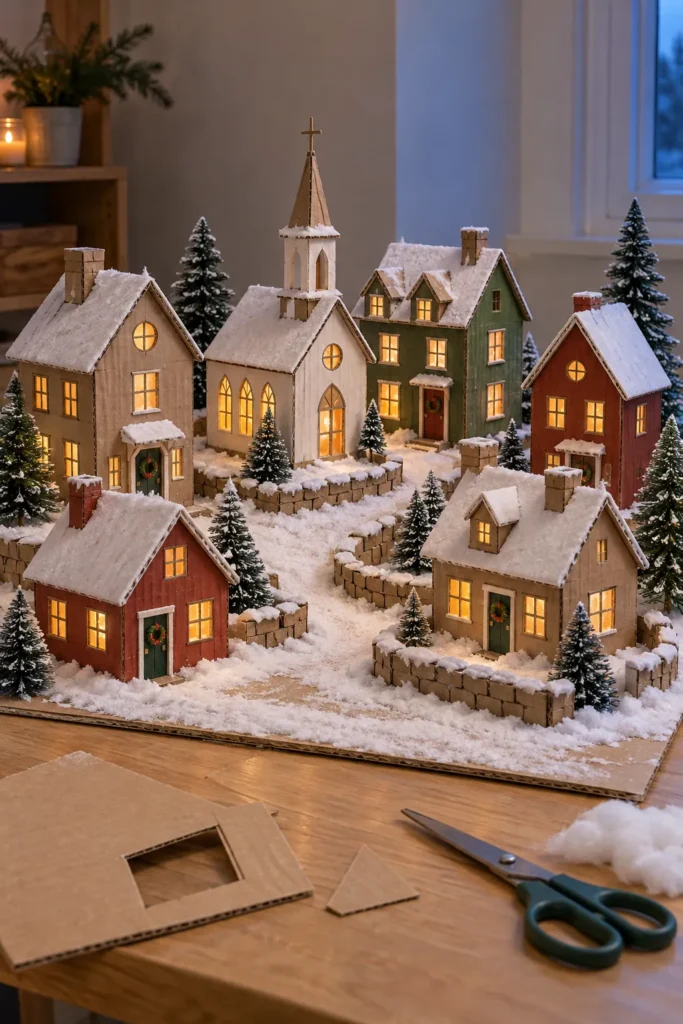
A cereal box can become a convincing miniature house, but only if the walls stay square and the details remain in scale. The easiest way to avoid a flimsy result is to treat the project like simple model building. Plan the footprint first, reinforce hidden joints, and add decoration only after the structure is stable.
Choose Flat Cardboard and Set the Scale
Use clean cereal boxes, cracker boxes, or thin shipping cartons without greasy marks or deep creases. Decide whether the village should suit a dollhouse or stand alone, then keep every door, window, and roof consistent with that choice. For a one to twelve scene, a typical door can be about six and one half inches tall, while a smaller display village can use simplified proportions.
Press bowed panels beneath heavy books before measuring. Draw each wall with a metal ruler and check matching sides against each other before cutting. This small check prevents a roof from twisting later.
Draw a Simple House Template
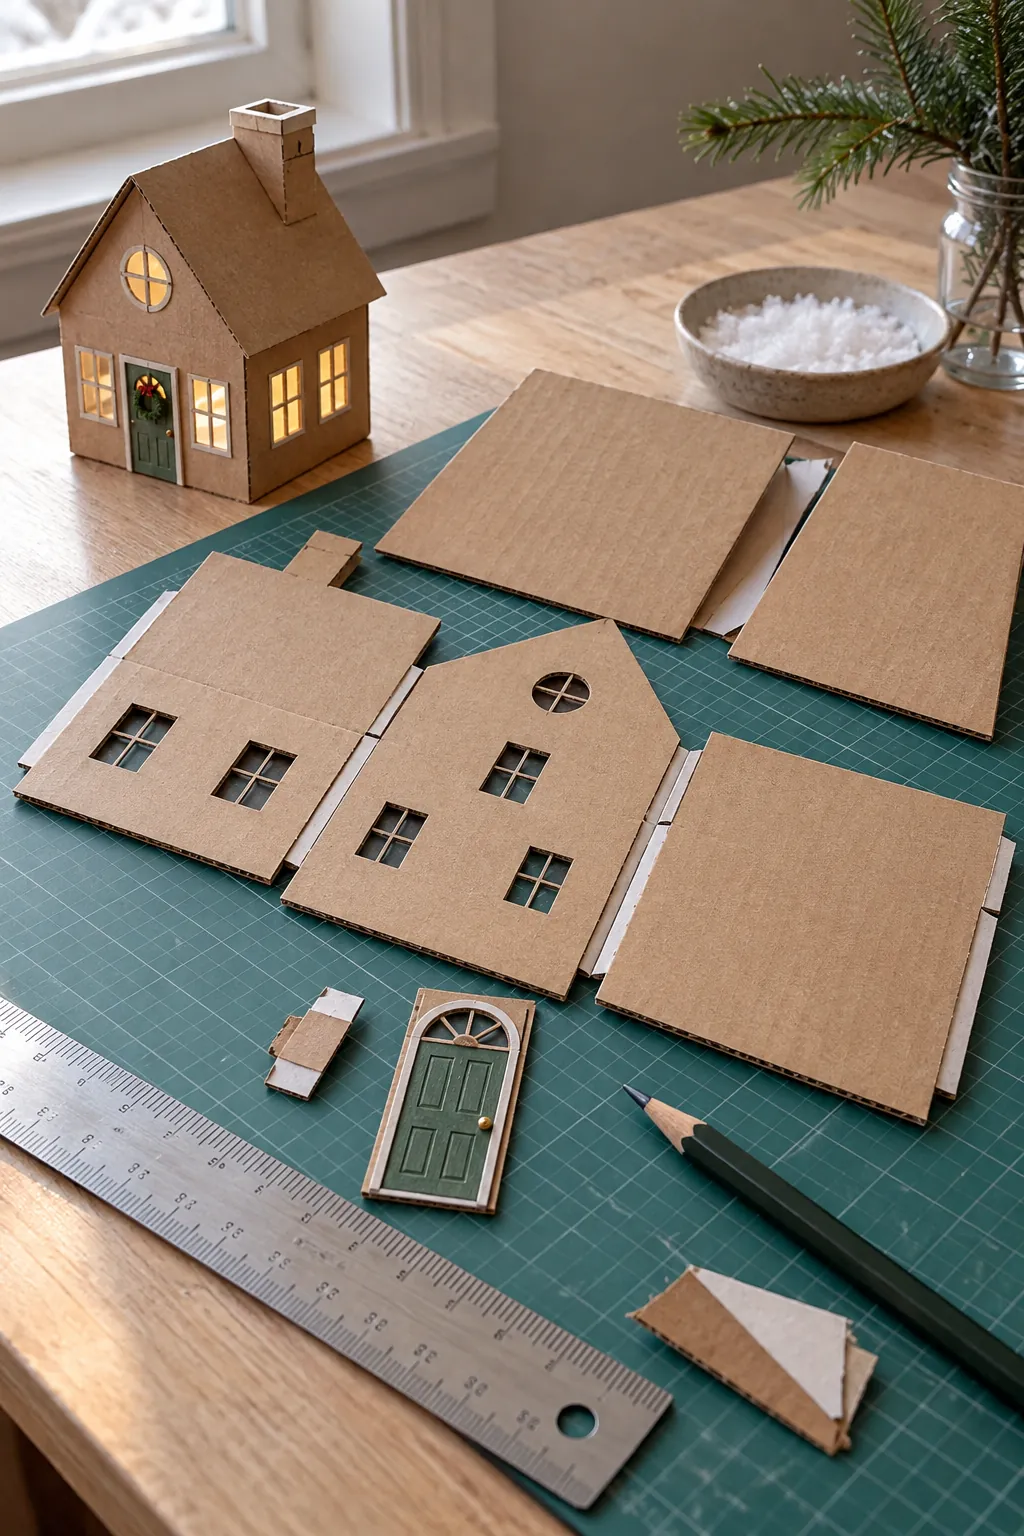
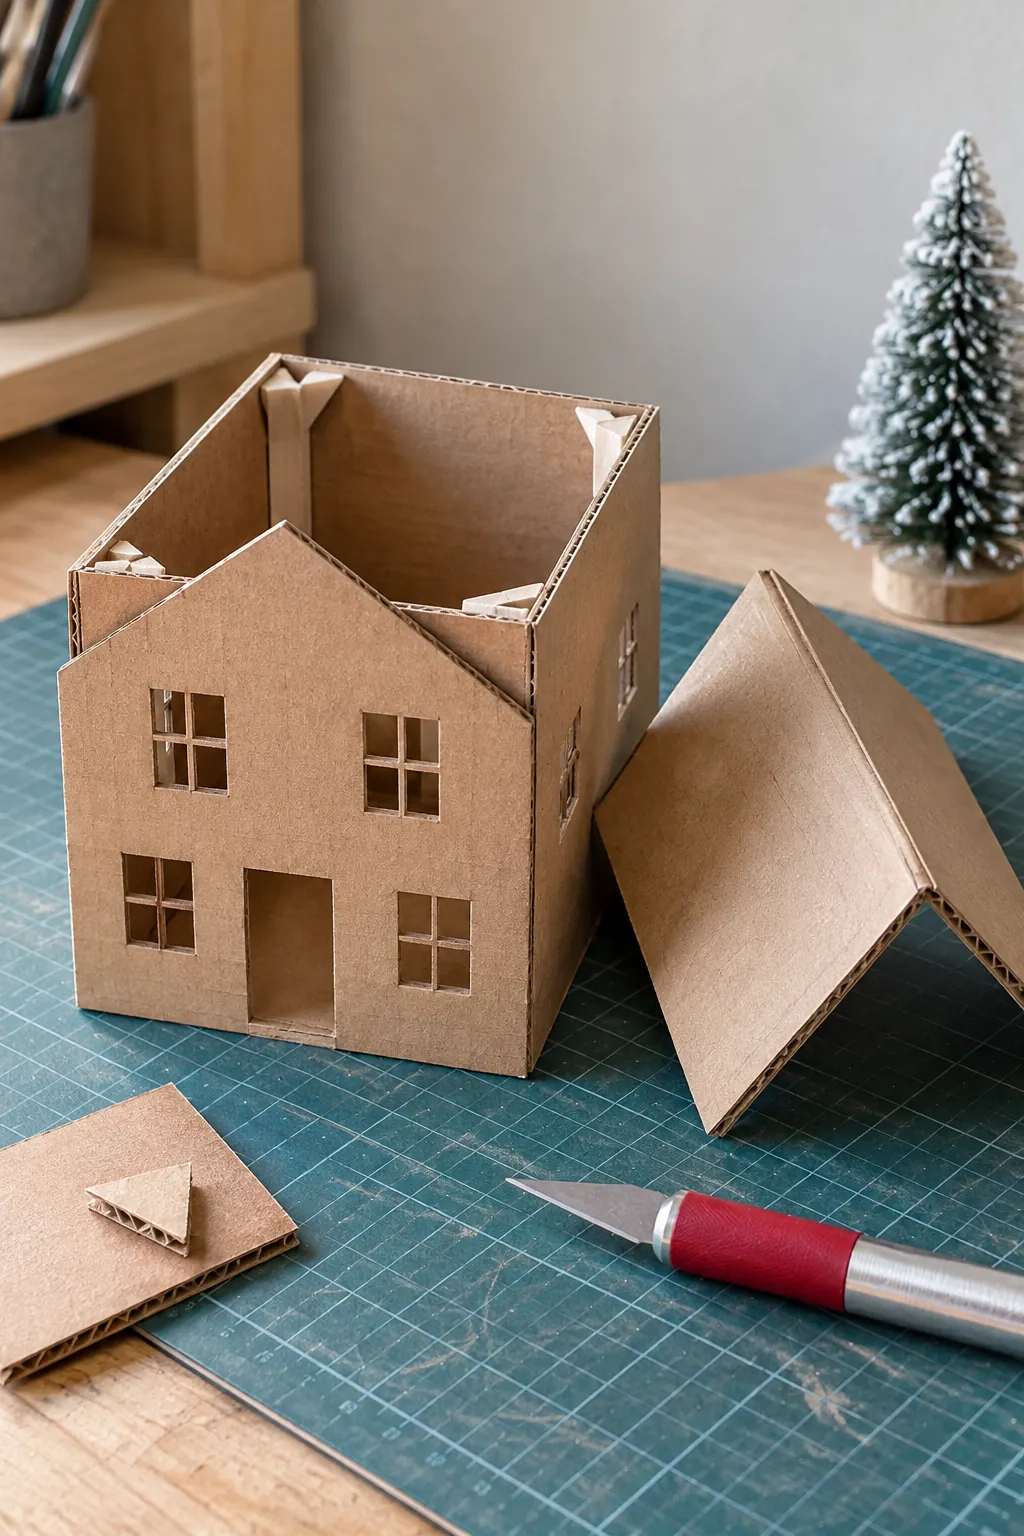
Start with a rectangle for the front wall and add a centered roof peak above it. Make the back wall match, then draw two side walls with the same height as the lower edge of the roof. Add narrow glue tabs where one wall will meet another, because separate loose strips are harder to align.
Keep windows away from corners and roof lines so the remaining cardboard can carry the load. Vary the house widths and roof pitches across the village, but repeat a few window shapes to make the collection feel related. Label the pieces on the reverse side before cutting so each wall returns to the correct building.
Cut Openings Without Crushing the Walls
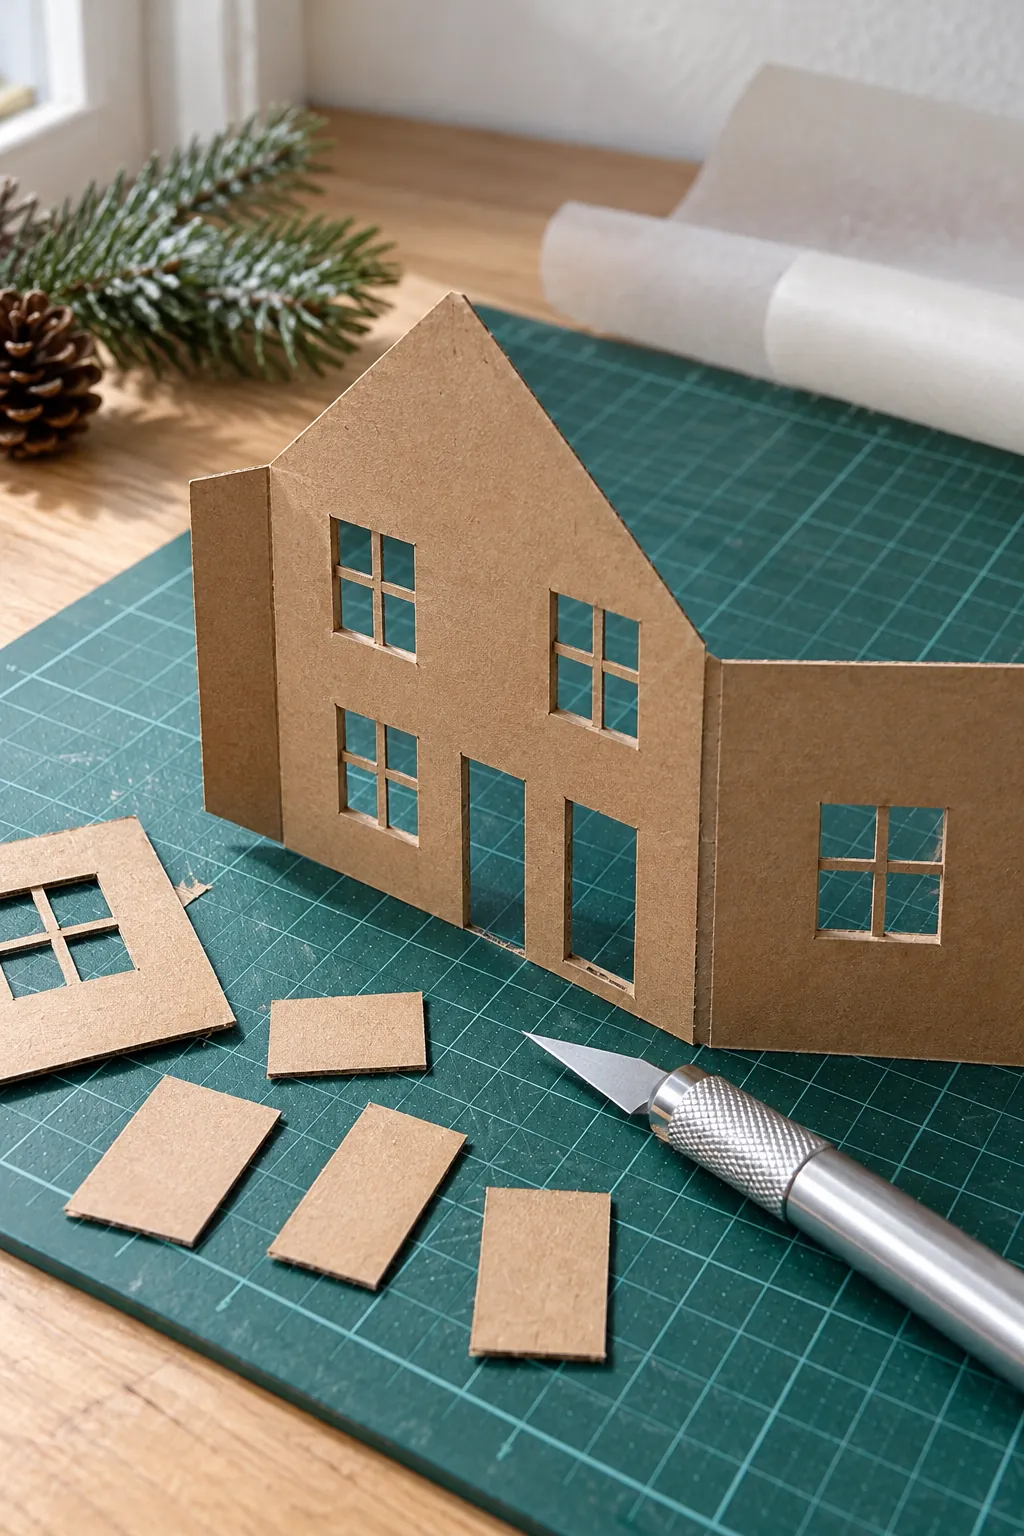
Place the cardboard on a cutting mat and use several light knife passes instead of one hard cut. Turn the piece as needed so the blade always moves away from your supporting hand. A fresh blade makes clean window corners and reduces torn paper fibers.
Pierce the center of each opening first, then work outward toward the drawn edge. Save small rectangles for shutters, signs, steps, or chimney caps. If a narrow wall section bends, glue a slim scrap behind it and let it dry flat before assembly.
Assemble Square Walls and Strong Roofs
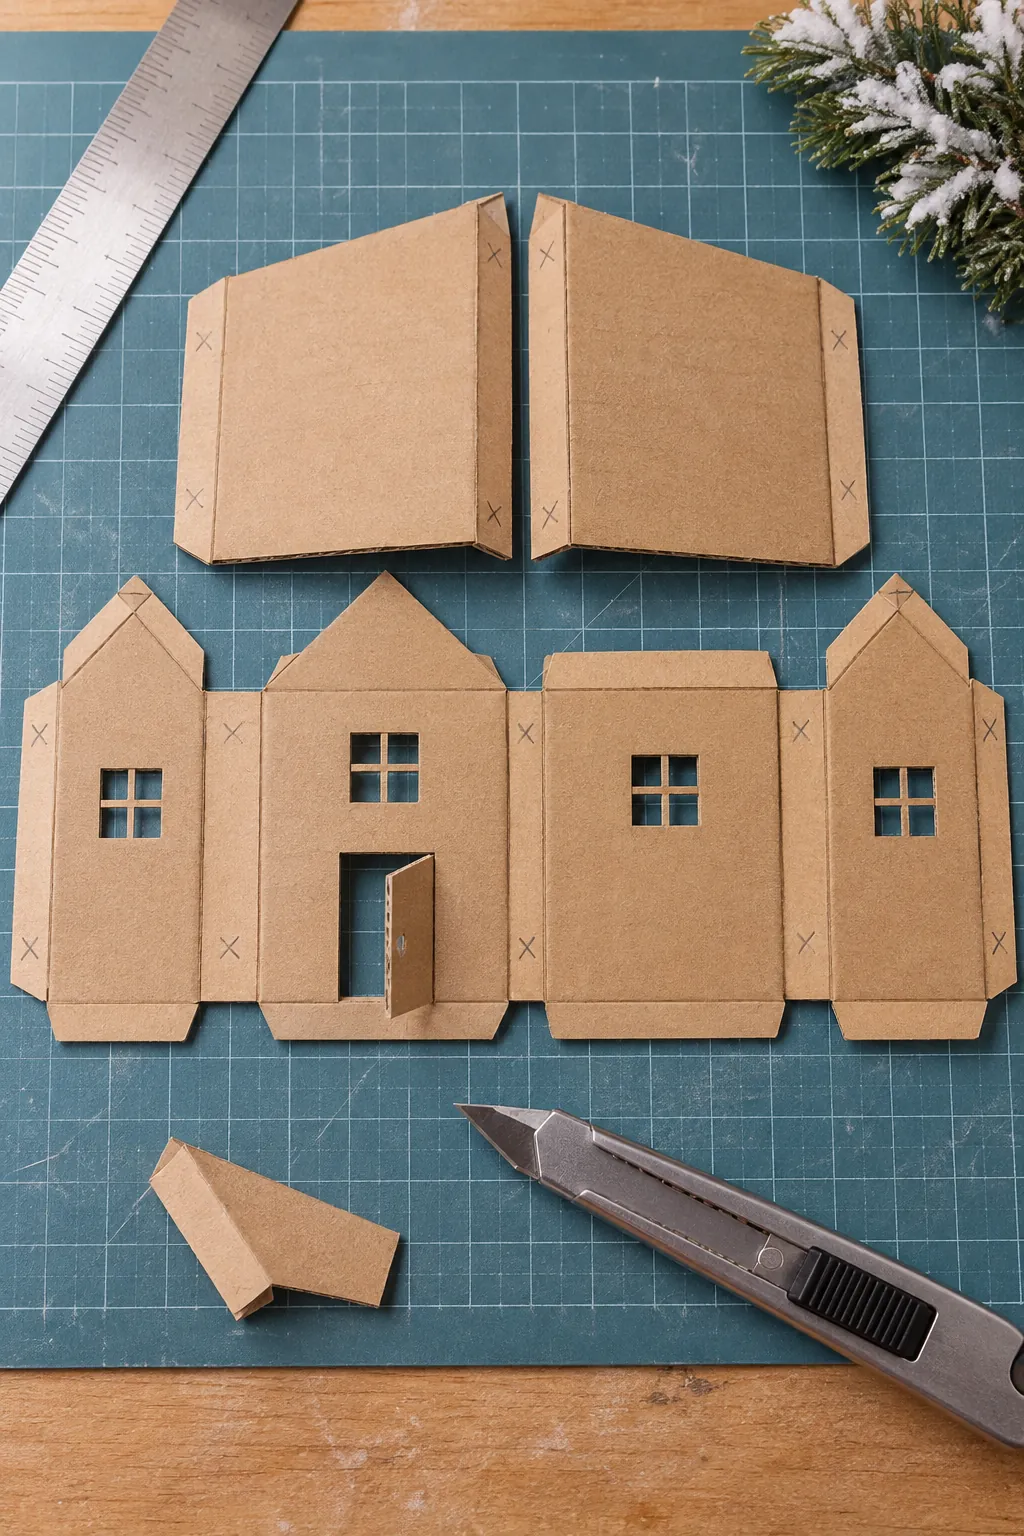
Score fold lines lightly on the printed side, then bend each tab against a ruler. Glue one corner at a time and hold it against a small square block until the bond sets. Add narrow interior braces at the floor line if the building still flexes.
Cut roof panels slightly wider than the walls so they form believable eaves. Join the two roof halves along the ridge with a paper hinge on the inside, then test the fit before adding glue to the walls. A removable roof makes later lighting and repairs much easier.
Paint and Add Recycled Architectural Details
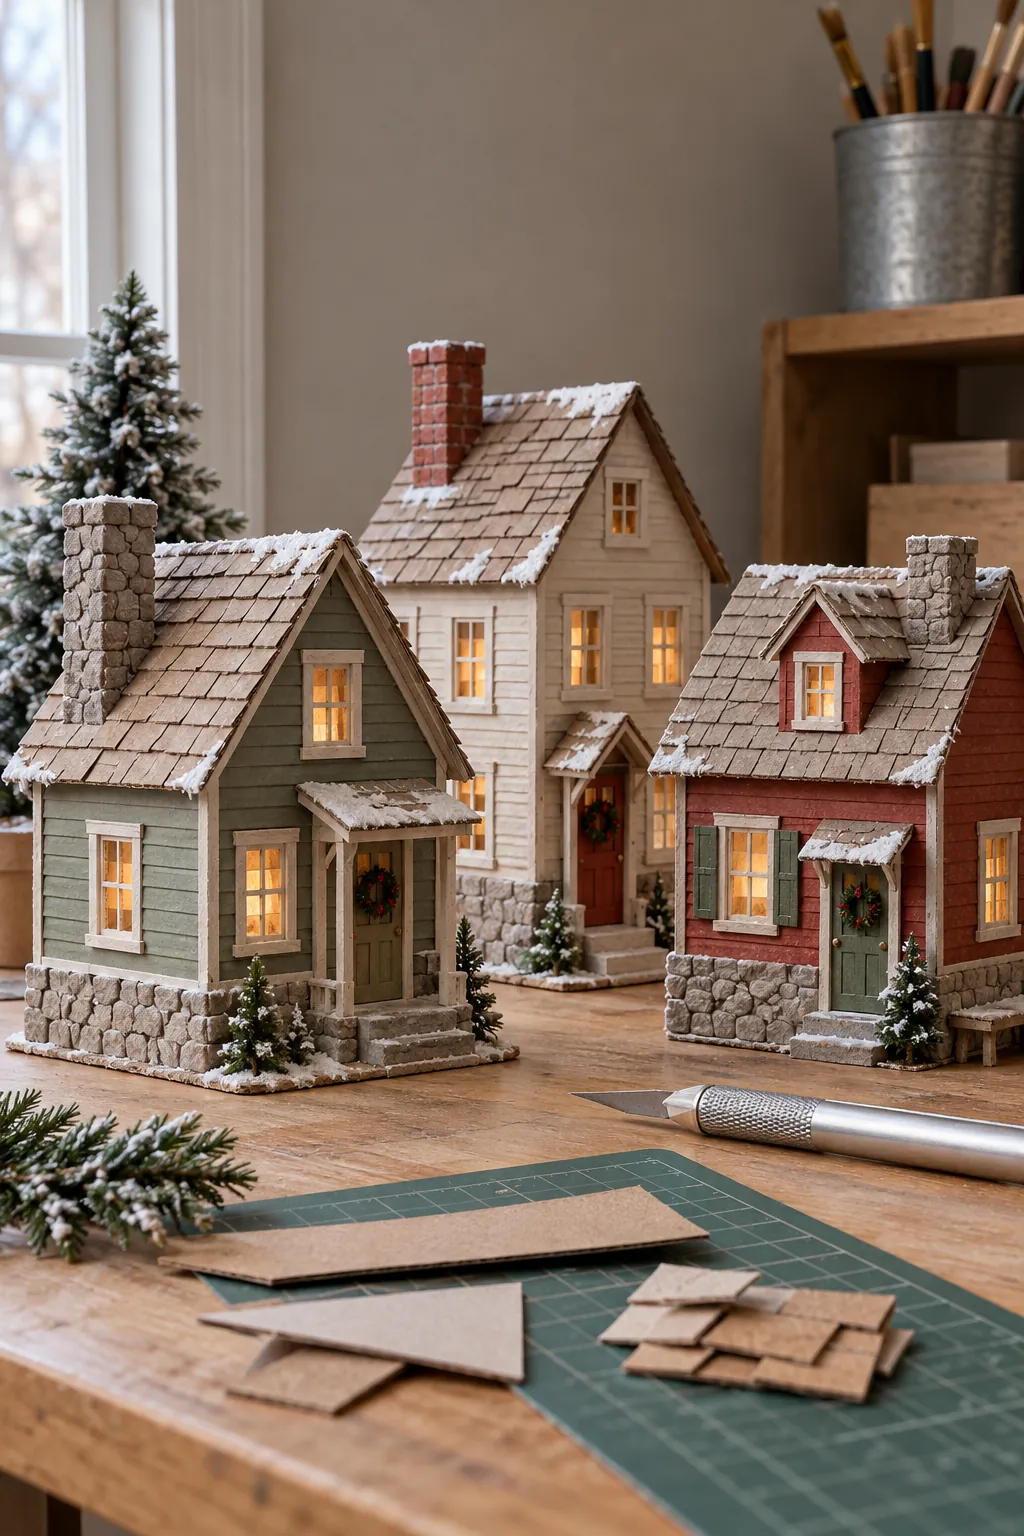
Seal printed packaging with a thin coat of white craft paint before applying the final color. Use muted cream, brick red, sage, gray, and warm brown so the buildings share one winter palette. Let every coat dry fully, since wet cardboard can bow if paint gathers on one side.
Create siding from narrow paper strips, roof shingles from overlapping card rectangles, and stone bases from torn egg carton paper. Corrugated packaging can become a ribbed metal roof when its texture is fine enough for the chosen scale. Apply distressing sparingly at corners and steps, where real wear would occur.
Add Safe Interior Light
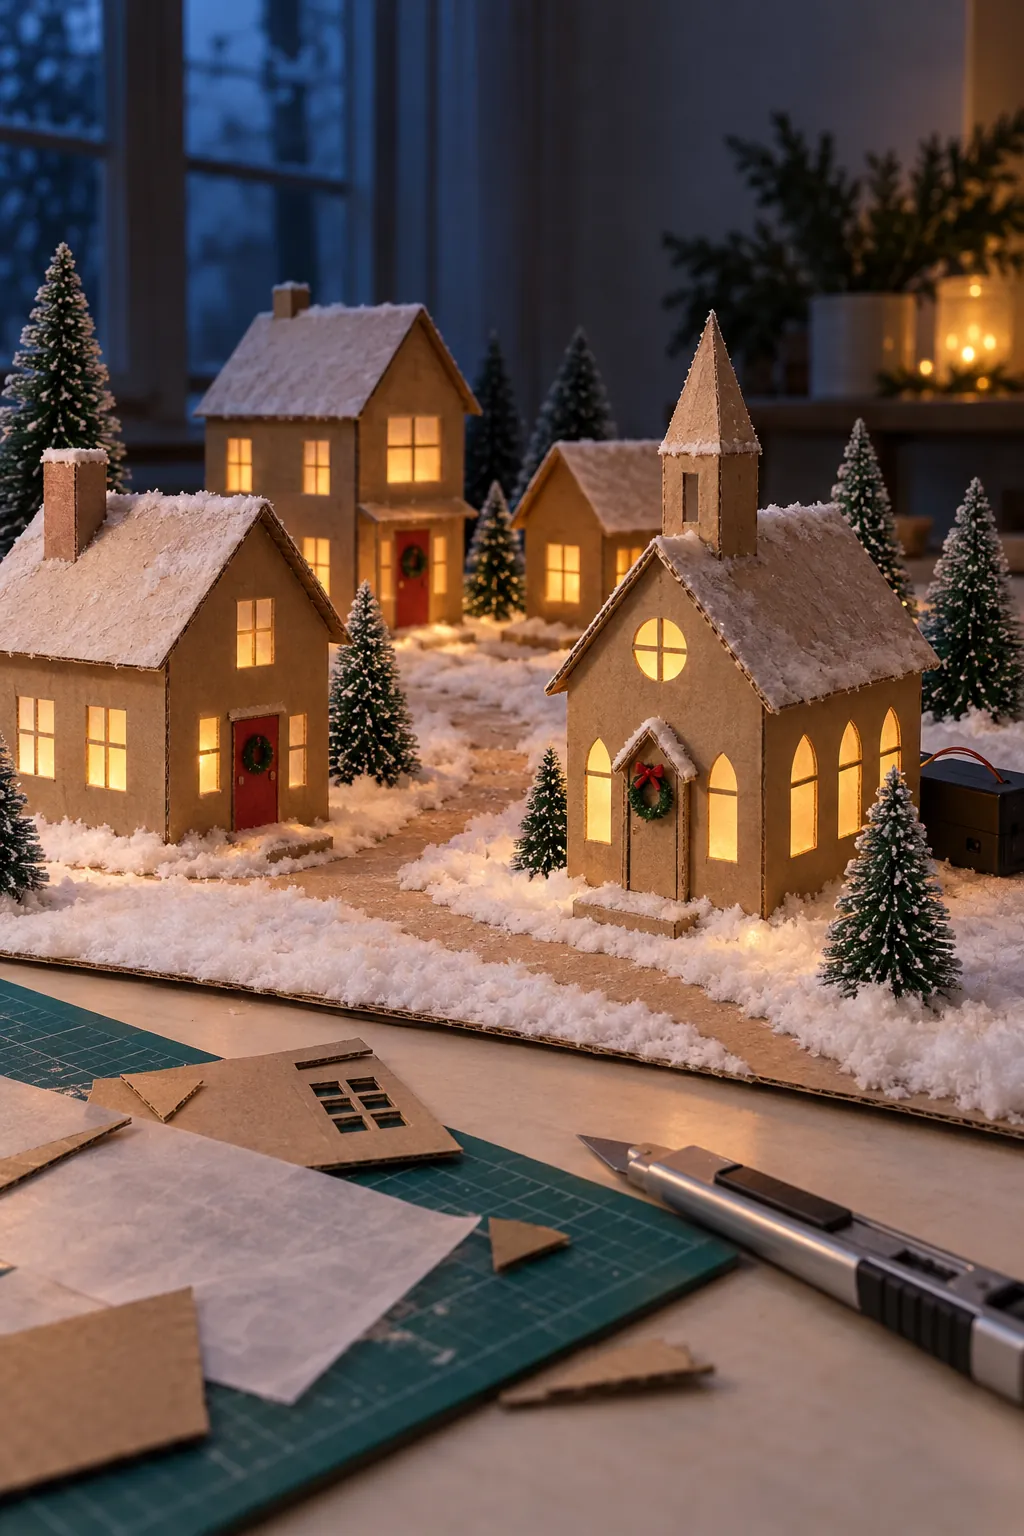
Use cool running battery lights made for crafts, never a candle or a bulb that becomes hot. Line windows with tracing paper to hide the light source and create a soft glow. Cut a small opening in the back wall for the wire or battery switch so the front stays tidy.
Test the lights for several minutes before closing the roof. Keep the battery holder outside the cardboard shell and make it easy to reach. One warm point of light in each building usually looks more believable than a dense string of bright lamps.
Arrange the Snow Village
Place the tallest building near the back and turn smaller houses slightly so the scene does not read as one flat row. Leave open paths between structures and repeat a few miniature Christmas decorations, such as tiny wreaths, bottle brush trees, and simple lamp posts. Use loose cotton batting or removable craft snow around the bases rather than gluing thick snow over every surface.
Step back and check whether each facade remains visible. Remove any tree or ornament that hides a doorway, window, or roof shape. The finished miniature holiday village will feel richer when the buildings, light, and open space share equal importance.