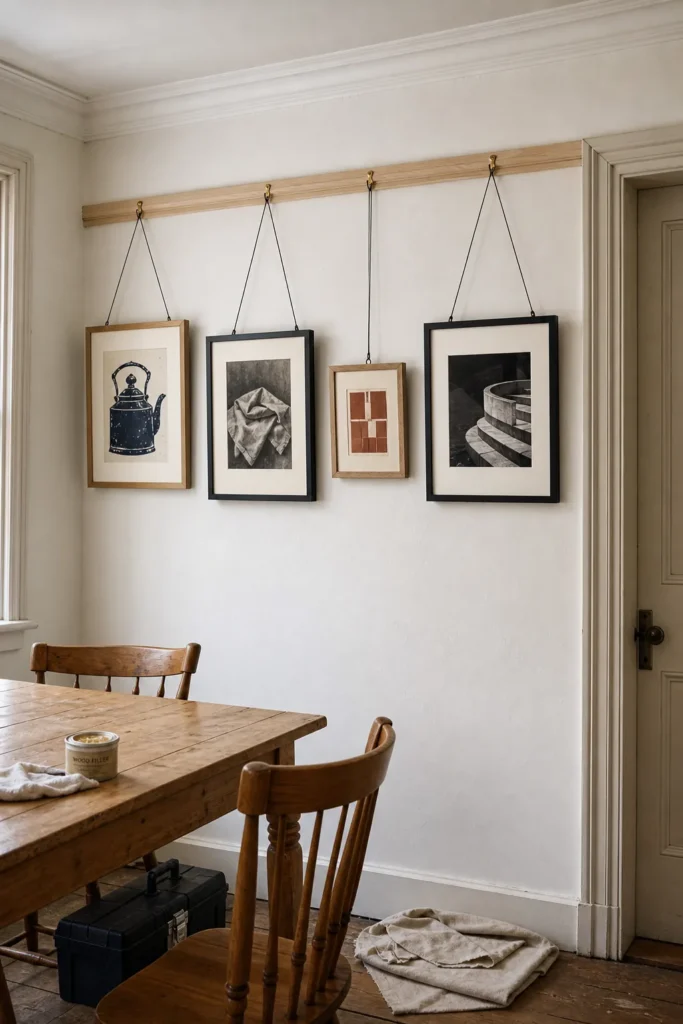
DIY Picture Rail: A Safe, Practical Step-by-Step Guide
A DIY picture rail can save an old plaster wall from dozens of future holes, but only if the moulding is functional and the fixings carry the load. The most common mistake is treating it like decorative trim: choosing a profile that hooks cannot grip, attaching it with short brads, then asking it to support a changing gallery.
This guide builds the rail as a small structural system. The moulding, wall fixing, hook, cord, frame hardware, and artwork each need an appropriate load rating. Wall construction varies, so identify yours before buying fasteners; for uncertain masonry, drywall, or lath-and-plaster conditions, ask a qualified tradesperson to specify the fixing.
Choose a profile that a hook can actually grip
Traditional picture-rail moulding has a rounded or undercut upper edge that accepts a purpose-made hook. Take your intended hook to the timber merchant and test the fit. The hook should seat fully without rocking, scraping the wall, or relying on paint buildup for purchase. Match the rail’s scale to nearby door and window trim, and buy one continuous length for each wall where practical.
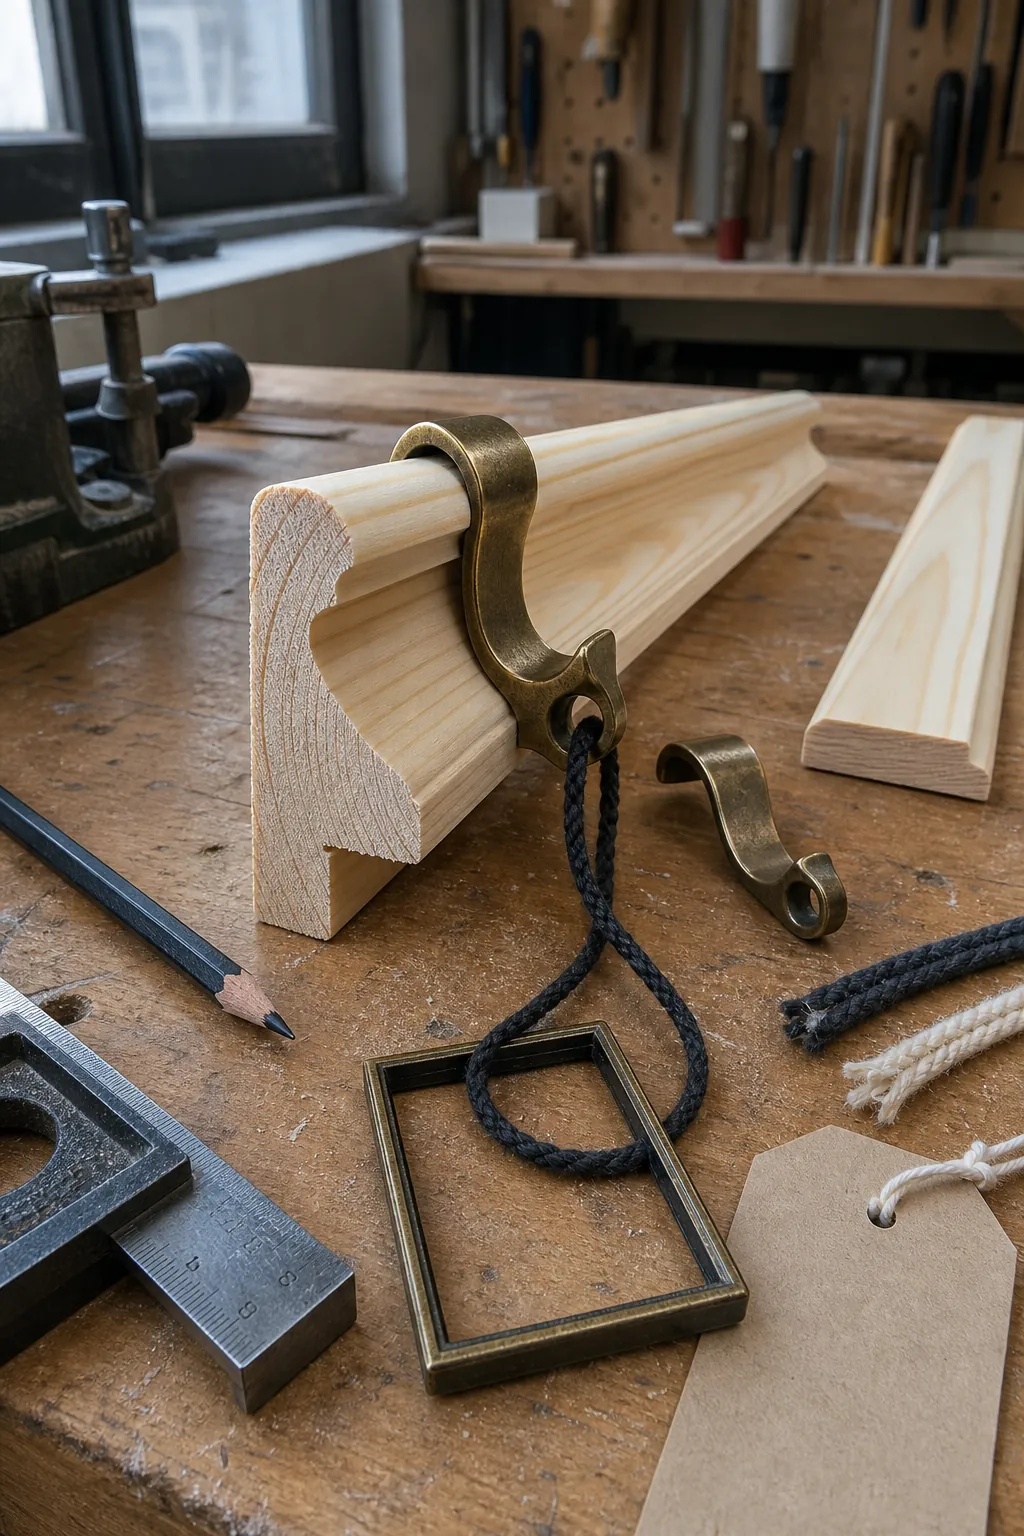
Set a level line that respects the room
Do not blindly measure down from a ceiling that may wander. Compare the proposed rail with door casings, window heads, crown moulding, and the art height below. Painter’s tape gives a useful full-room preview. Once the position looks right, establish one true level datum with a laser or long spirit level and transfer it around corners.
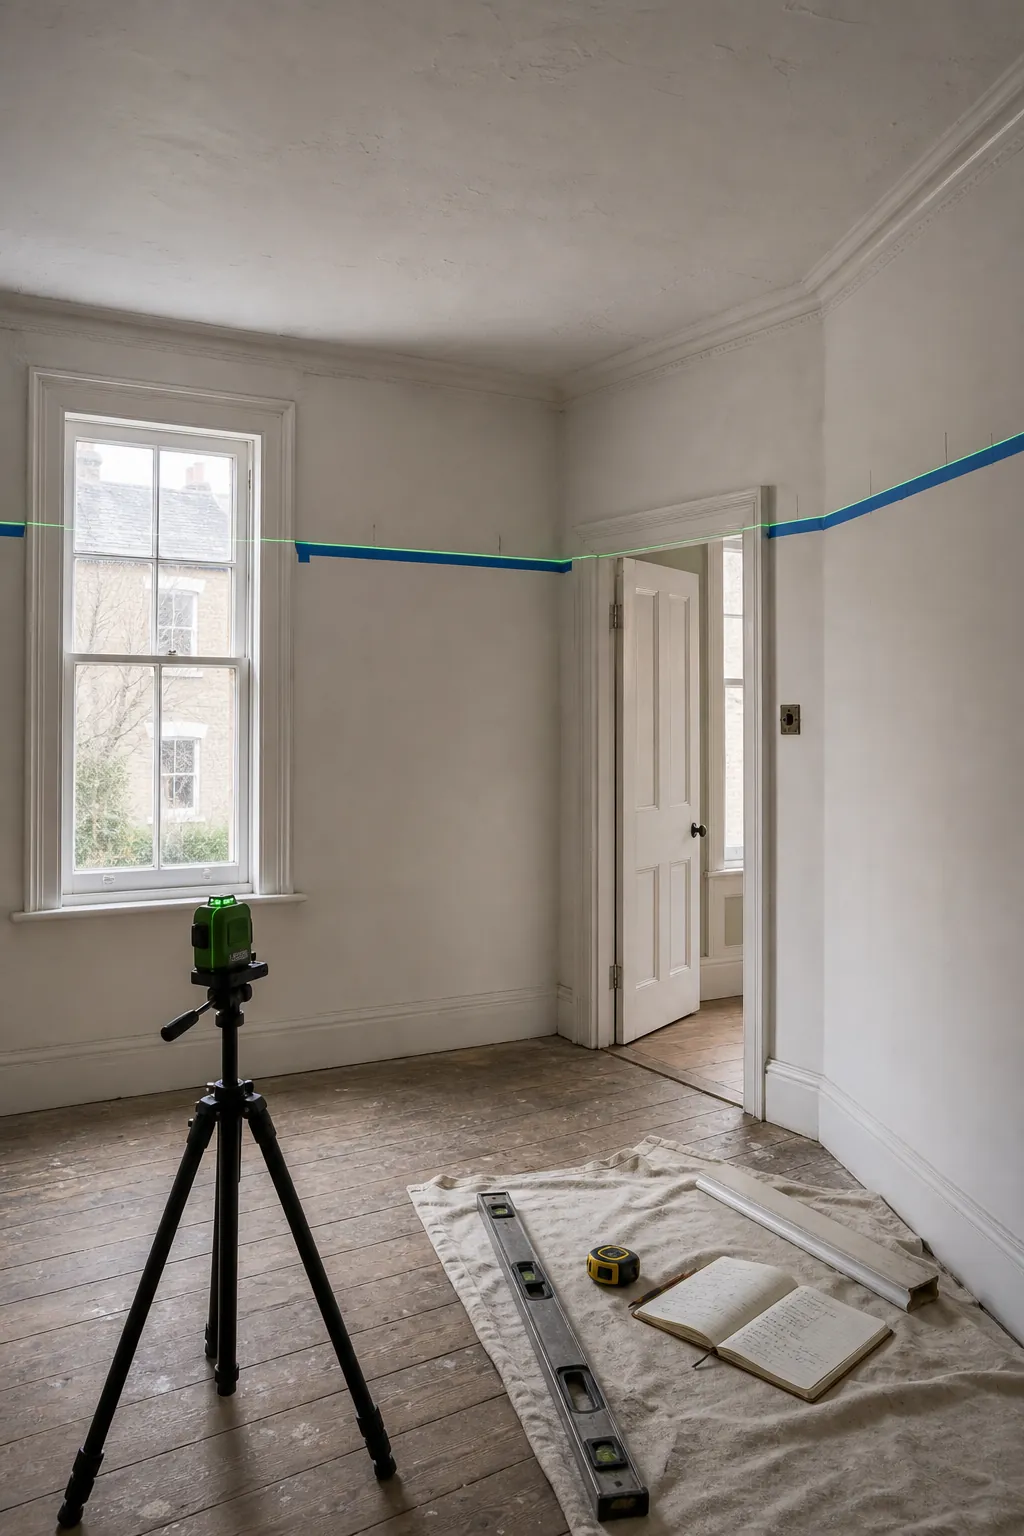
Locate structure and plan every fixing
Find studs or other suitable structure and mark them above the installation line where the marks remain visible. Old plaster and lath can be much thicker than expected, which is why a short brad may never reach timber. Use the fastener type and length appropriate to the verified wall build-up, rail thickness, and intended load. Scan for wiring and pipes before drilling, and use pilot holes where they reduce splitting or plaster disturbance.
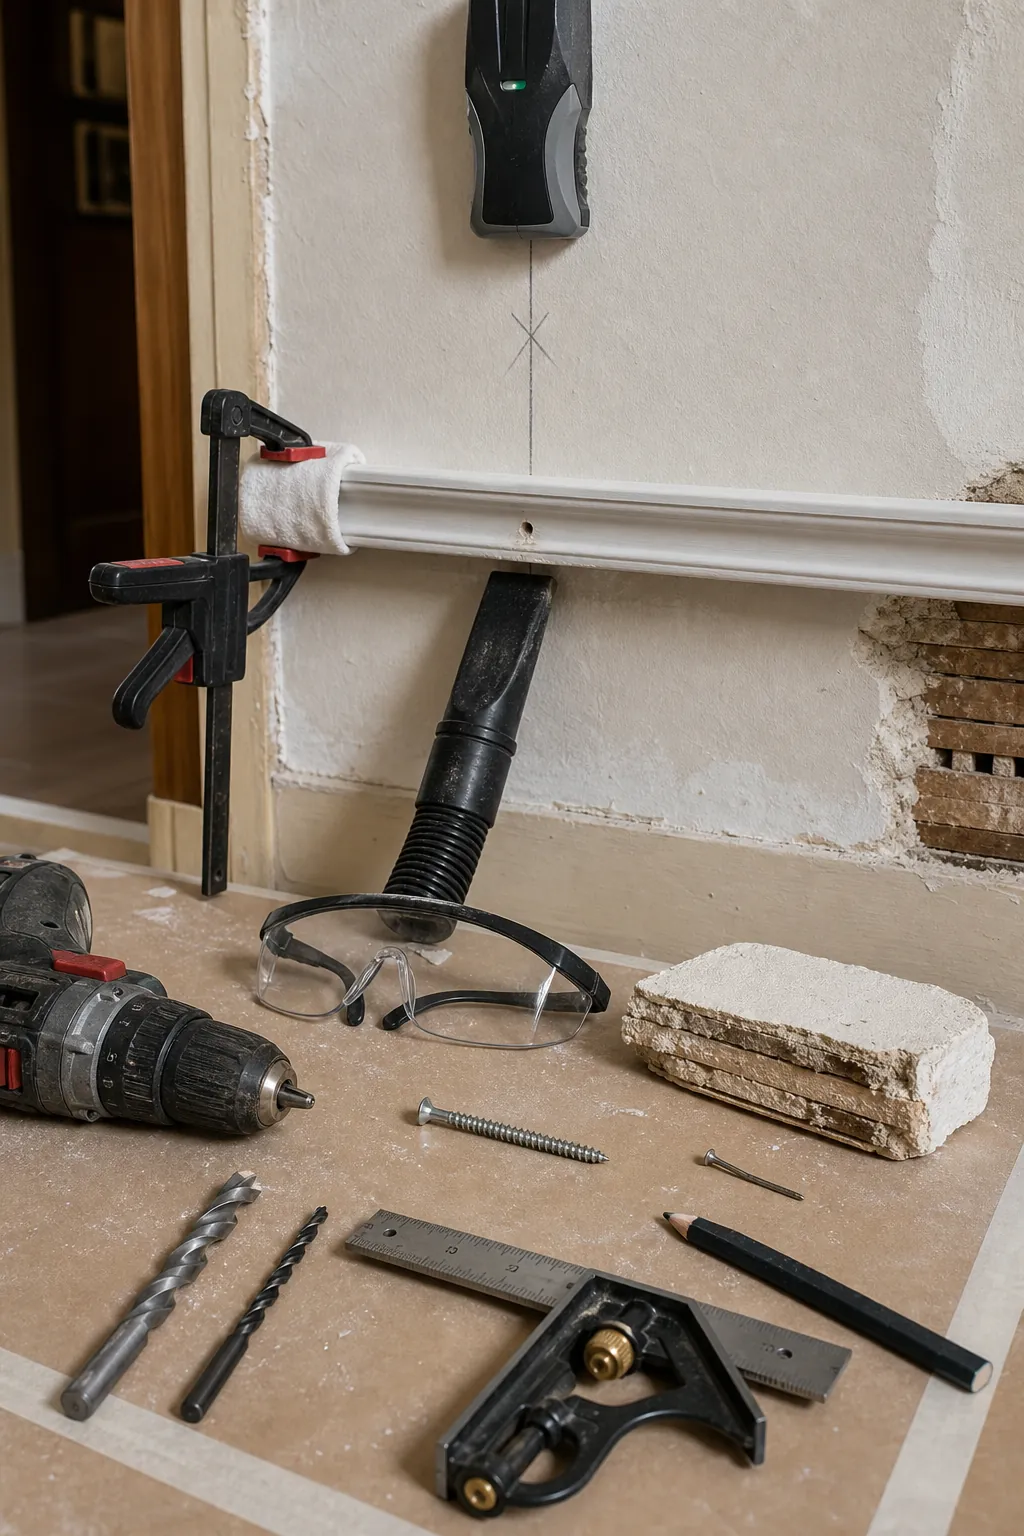
Cut corners and joints before fastening
Start with the longest wall. Cope or miter inside corners according to the profile and your skill level; cut external miters before trimming the final length because the long point projects beyond the wall. Dry-fit every piece, label its position, and correct gaps at the bench. On long runs, place a scarf joint over structure instead of butting two square ends in open wall space.
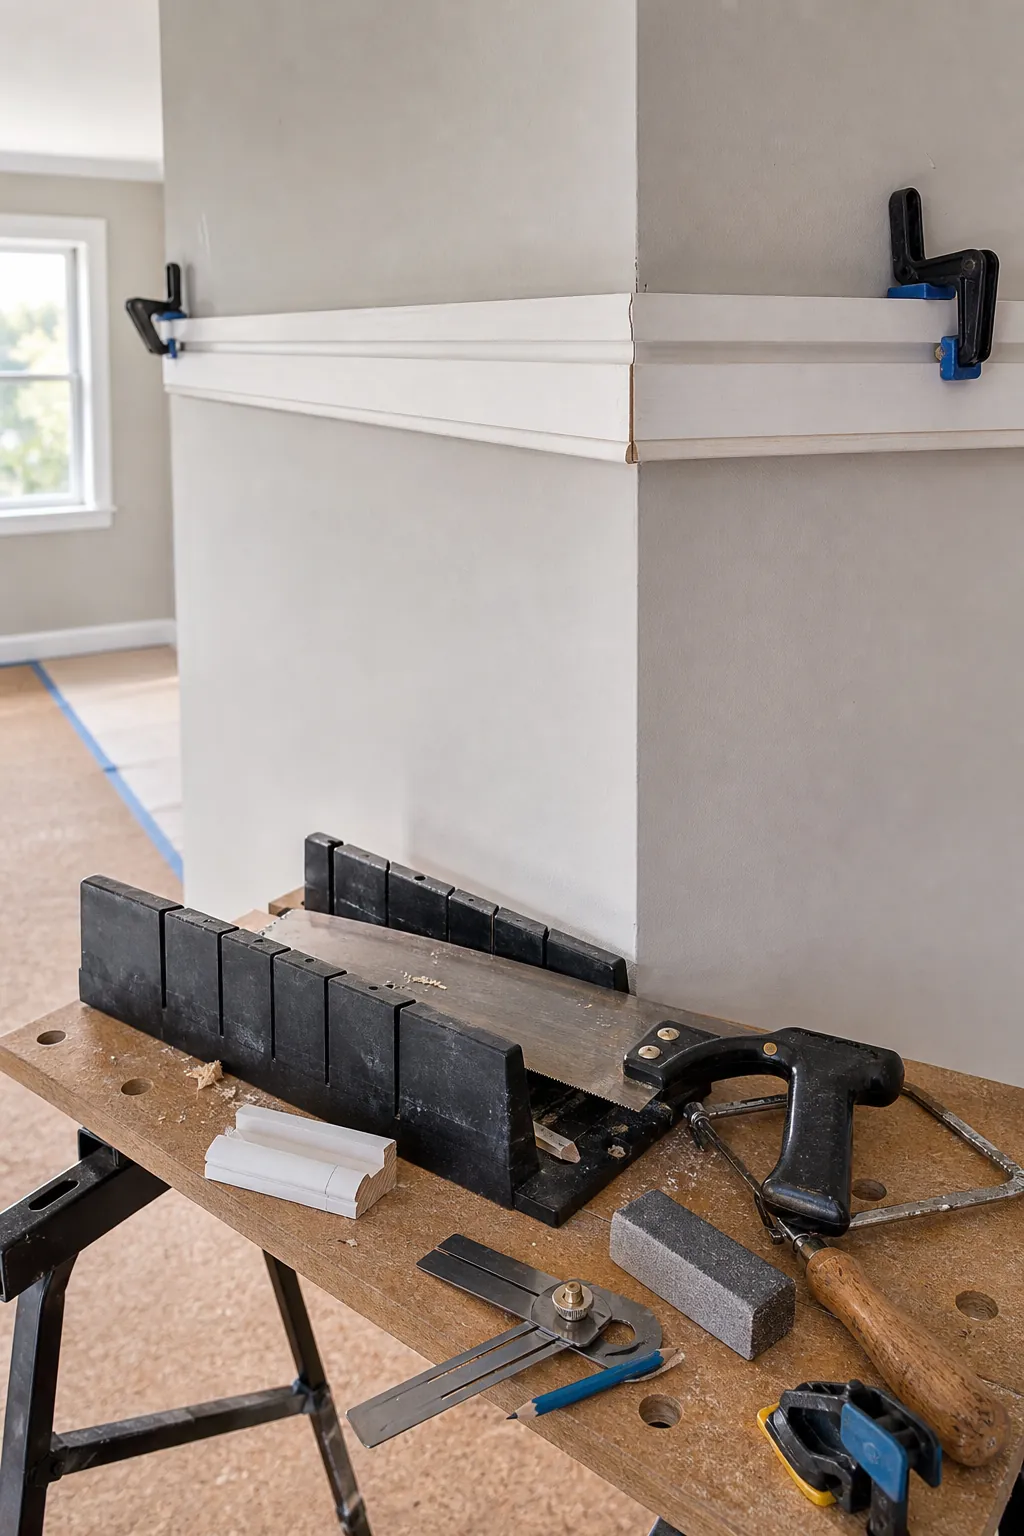
Fasten, fill, caulk, and paint in the right order
Prime bare timber before installation, especially the back and cut ends. Fasten the rail along the level line without crushing the profile. Set fastener heads, fill only the holes and true defects, then use a fine paintable caulk at the wall edge where appropriate. Keep the top hook channel clean—layers of filler or caulk there can turn a functional rail into decorative moulding. Sand, spot-prime, and apply a durable finish coat.
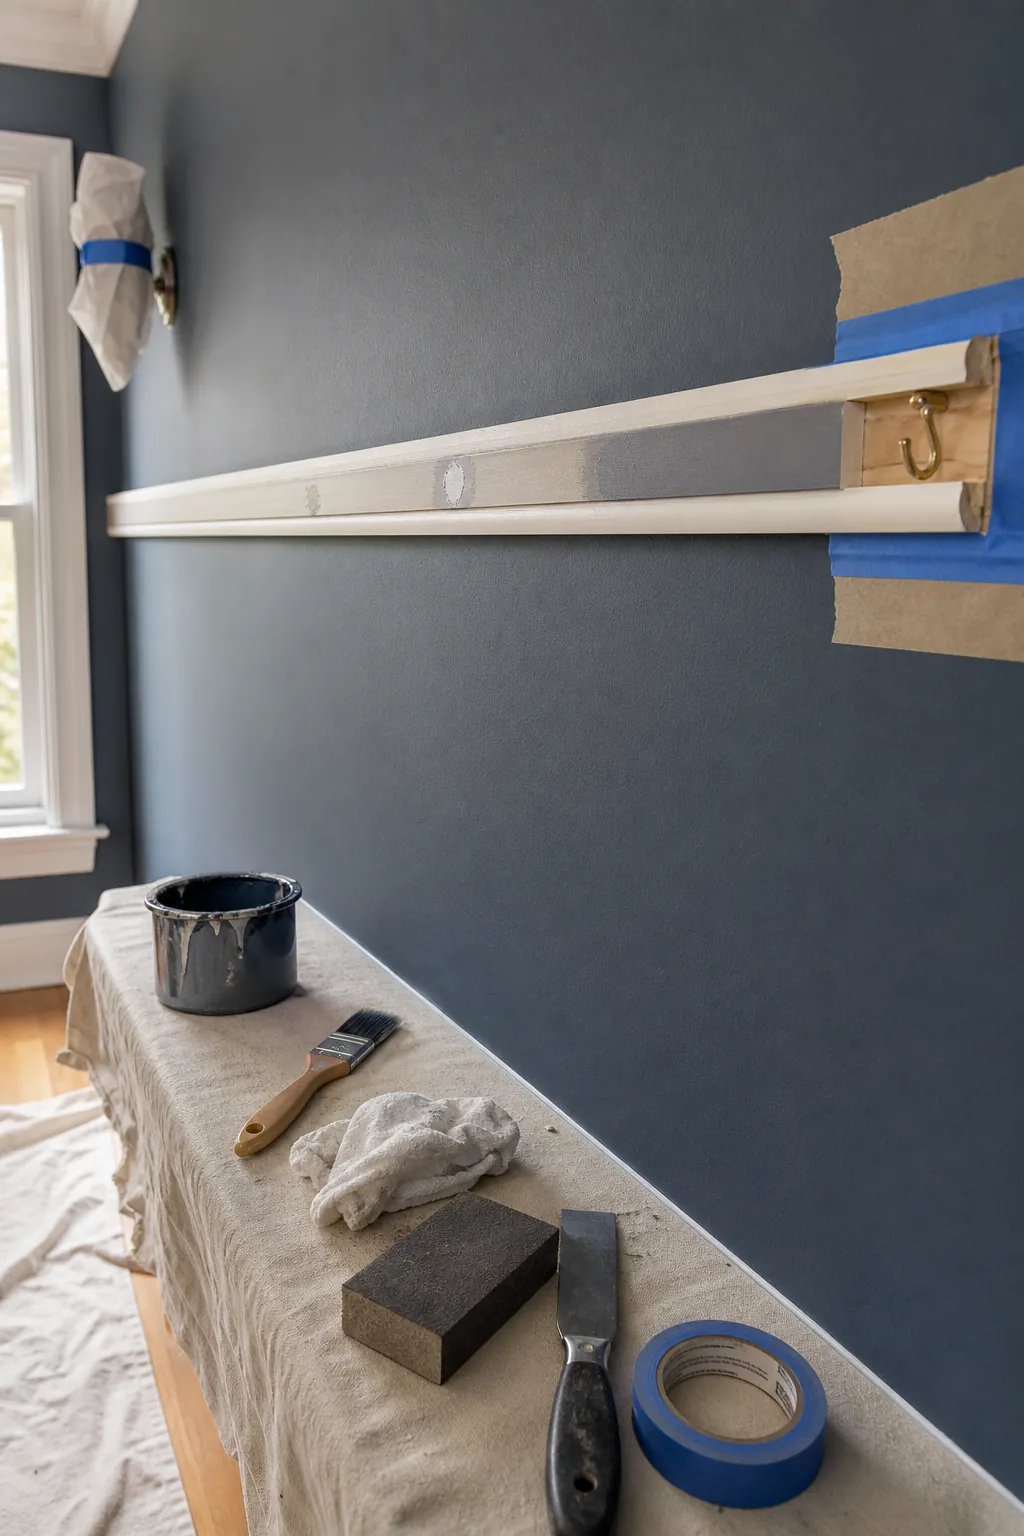
Test the system before styling the wall
Let paint cure, then seat the correct hooks and test a conservative load while the area below is clear. Inspect the rail for movement, the hook for full engagement, and the cord or chain for stable attachment to the frame. Two drops help wider frames sit level. Start with lightweight art, keep heavy mirrors or valuable pieces on a separately engineered solution, and never exceed the lowest rating in the system.
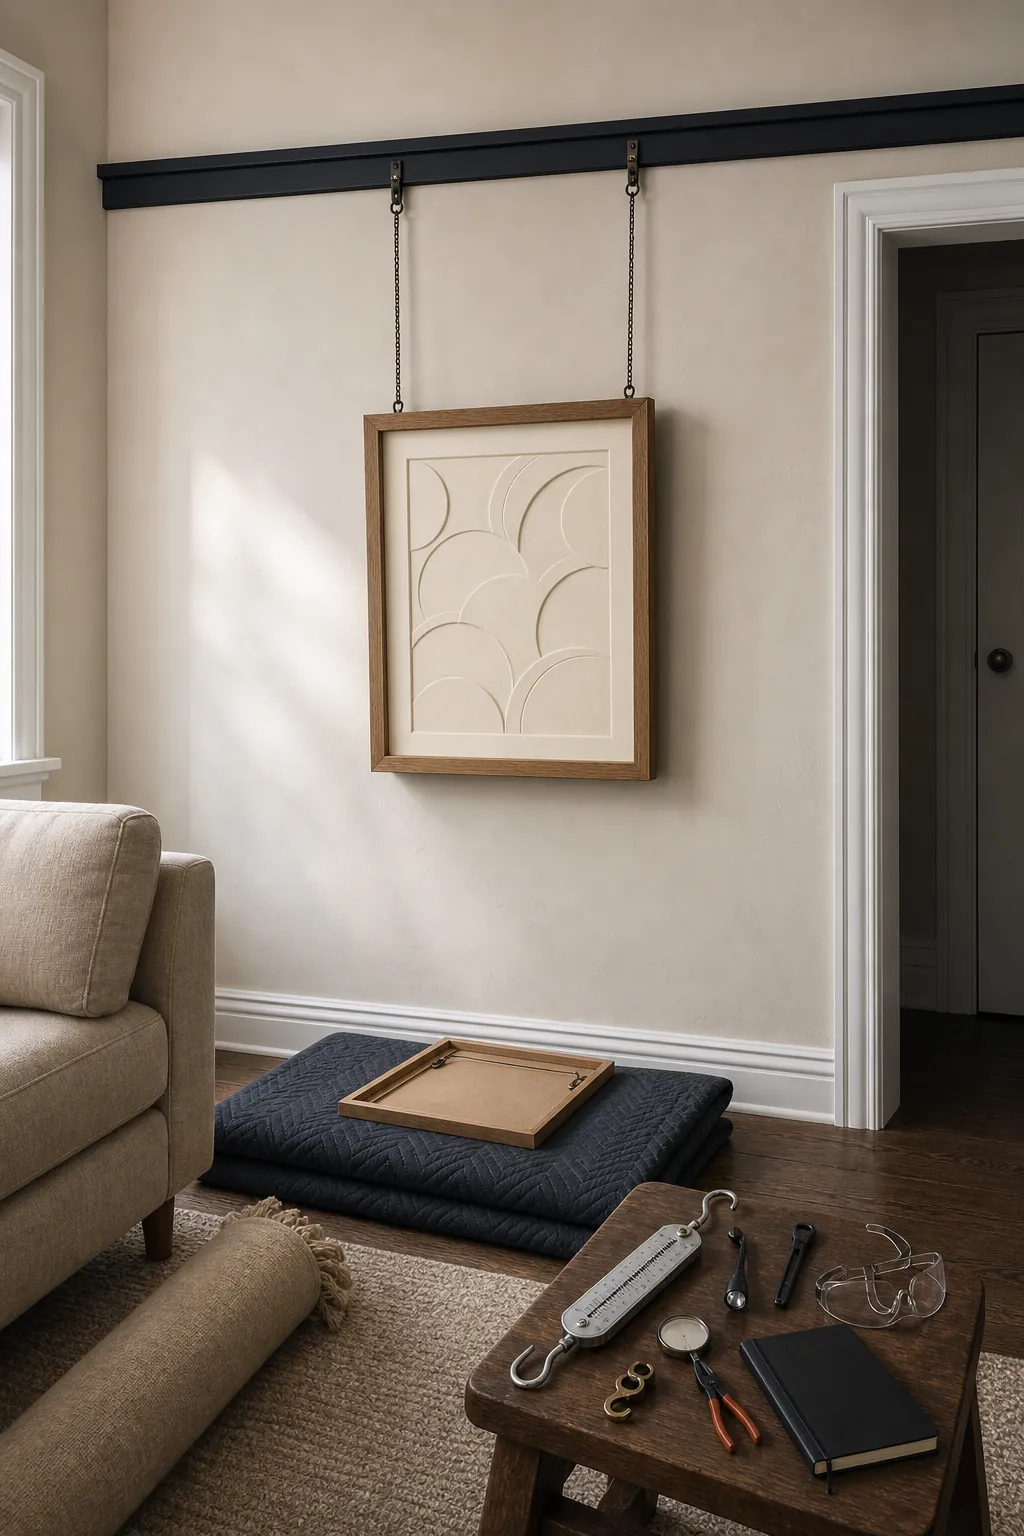
After the test, lay frames on the floor before cutting cords. Aim for an artwork center near comfortable viewing height, then adjust for furniture and room scale. A few deliberate drops look cleaner than cords covering every section of wall. The payoff is not just a period detail—it is a display that can change repeatedly while the original wall stays intact.