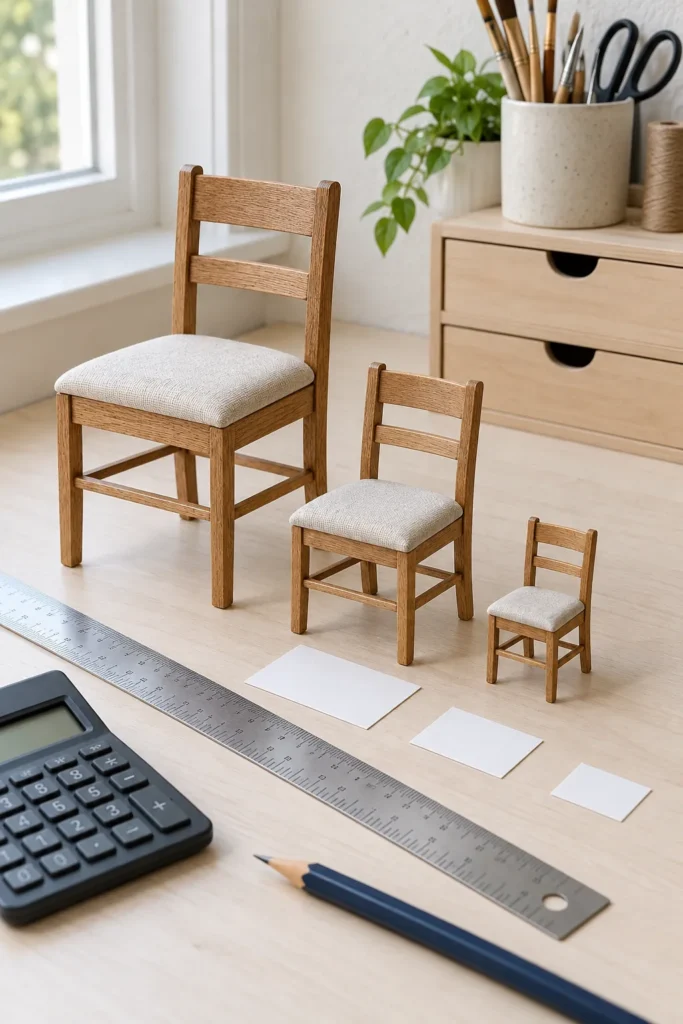
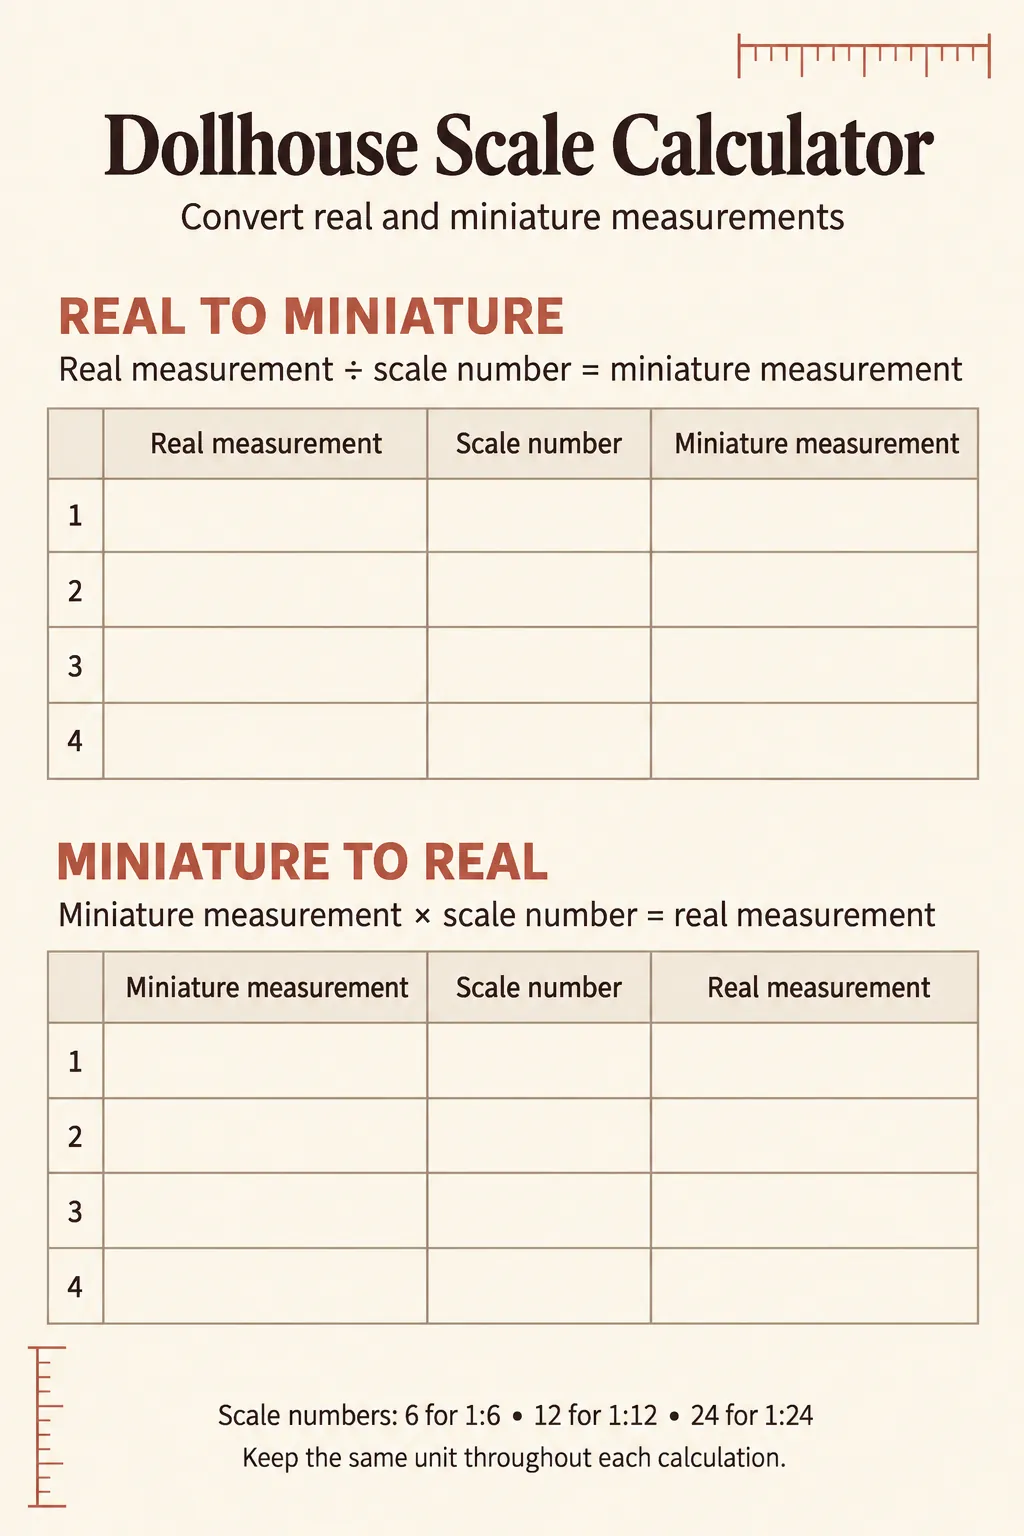
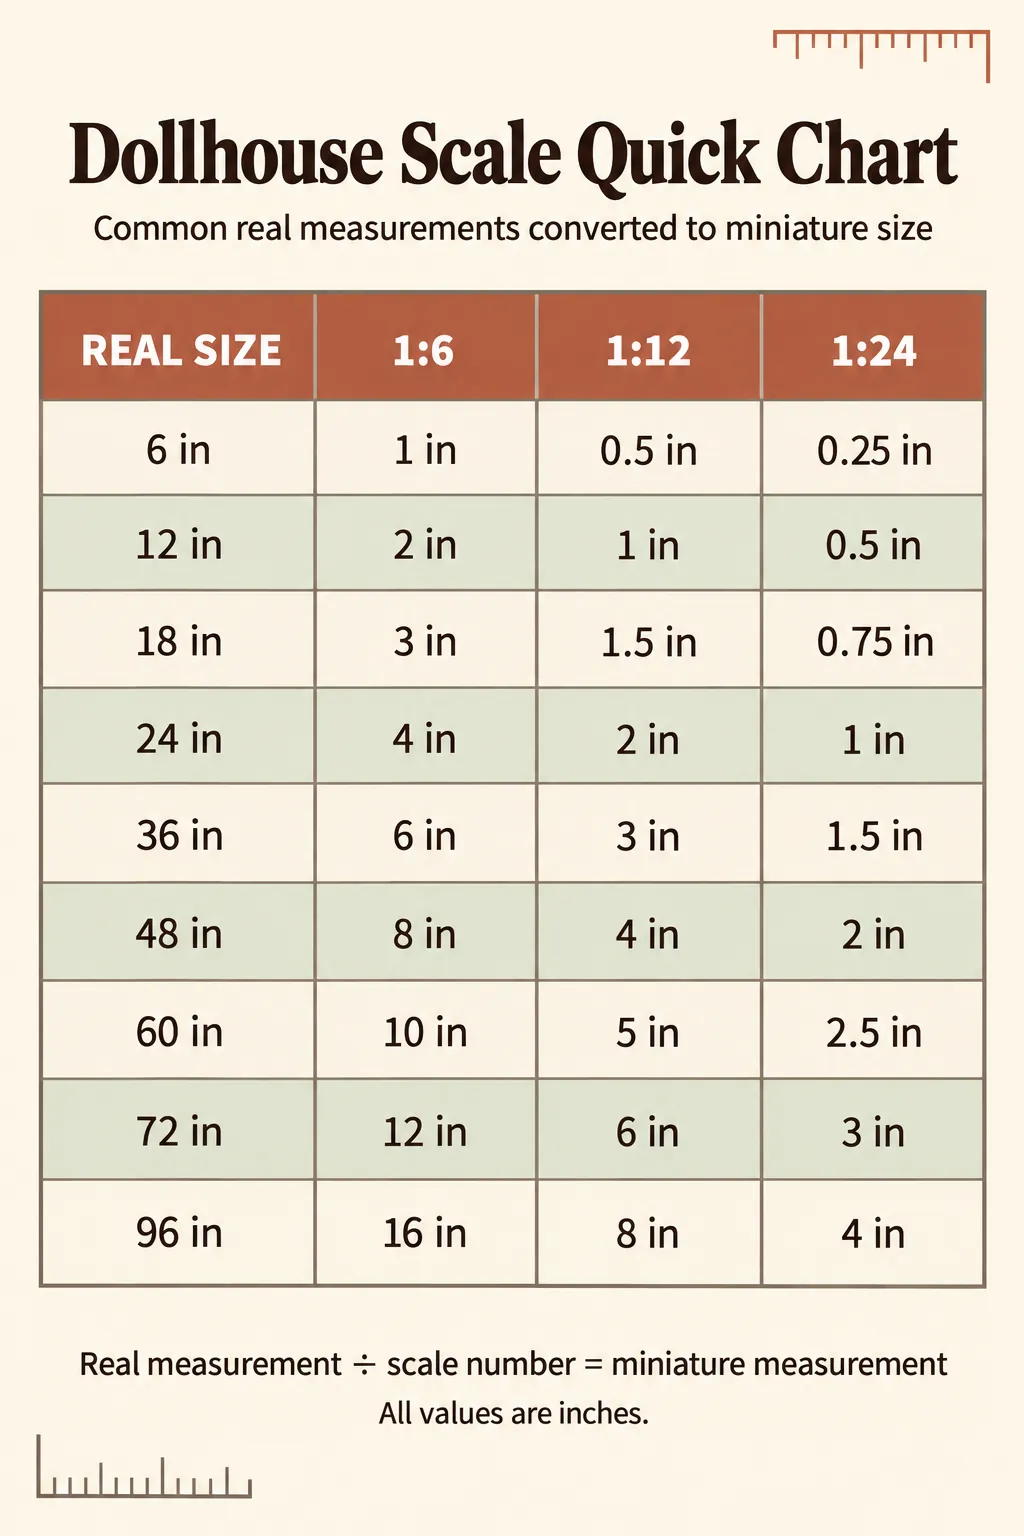
This dollhouse scale calculator turns real measurements into miniature dimensions for 1:6, 1:12, and 1:24 projects. The printable worksheet handles measurements in either direction, and the quick chart gives common conversions without extra arithmetic.
Click either preview to open the full size image, or use its download button to open it in a new tab. Save the image from that tab, then print it when you plan furniture, rooms, doors, windows, or accessories.
Printable dollhouse scale calculator
The first page gives you both formulas. Use the upper half when you know a real measurement and need the miniature size. Use the lower half when you have a miniature object and want to estimate its full size equivalent.
Download high-resolution printable
Printable quick conversion chart
The second page converts common real sizes from six inches through ninety six inches. It is useful when you need a fast 1:12 inch converter, a 1:24 measurement chart, or a 1:6 reference while you work.
Download high-resolution printable
The scale formula
To convert a real measurement to miniature size, divide by the scale number. For 1:12, divide by twelve. For 1:24, divide by twenty four. For 1:6, divide by six.
For example, a real door that is eighty four inches high becomes seven inches high in 1:12 because eighty four divided by twelve equals seven. The same door becomes three and one half inches high in 1:24, or fourteen inches high in 1:6.
To work backward, multiply the miniature measurement by the scale number. A five inch 1:12 table represents a real table that is sixty inches long because five multiplied by twelve equals sixty.
Keep the units consistent
Convert every dimension to one unit before you divide. If the real measurement is six feet four inches, change it to seventy six inches first. Then divide seventy six by your scale number. Do not divide the feet and inches separately unless you convert the results carefully.
The formula also works with millimeters and centimeters. A real table that is one hundred eighty centimeters long becomes fifteen centimeters in 1:12. Keep centimeters throughout that calculation. The scale ratio does not require inches.
How to handle fractions
Many scaled furniture dimensions end in a fraction. Keep the decimal while you plan, then round only when you know the material and tool you will use. A result of 1.1667 inches is about one and one sixth inches. If your ruler does not show sixths, use the nearest practical mark or convert the result to millimeters.
Do not round every part independently at the start of a large build. Small changes can accumulate across cabinets, floorboards, stairs, or wall panels. Record the exact result on the worksheet, then choose the build measurement once for all repeated pieces.
Useful reference measurements
A standard eight foot ceiling is ninety six real inches. It becomes sixteen inches in 1:6, eight inches in 1:12, and four inches in 1:24. A six foot person is seventy two real inches. That becomes twelve inches, six inches, or three inches in the same three scales.
These references help you identify an unknown dollhouse. Measure a main floor ceiling. A room near eight inches high is often 1:12. A room near four inches high is often 1:24. Treat this as a clue, not final proof, because older houses and play sets may use unusual proportions.
Measure the object, not only its category
Real chairs, tables, doors, and beds do not have one universal size. Measure the actual item you want to copy, or find a reliable real product dimension. Convert width, depth, and height separately. This gives you a more convincing scaled furniture dimension than a single generic number.
Before cutting expensive material, make a paper or card mockup. Place it in the miniature room and check clearance around doors, windows, and other furniture. The arithmetic can be correct while the object still feels too large for a compact room.
Printing tips
- Open the full size image before saving or printing.
- Use portrait orientation and keep the whole page visible.
- Choose fit to page if your printer tries to crop the edges.
- Print the worksheet again for each project or place it in a clear sleeve and use a dry erase pen.
- Keep the quick chart near your cutting mat for common conversions.