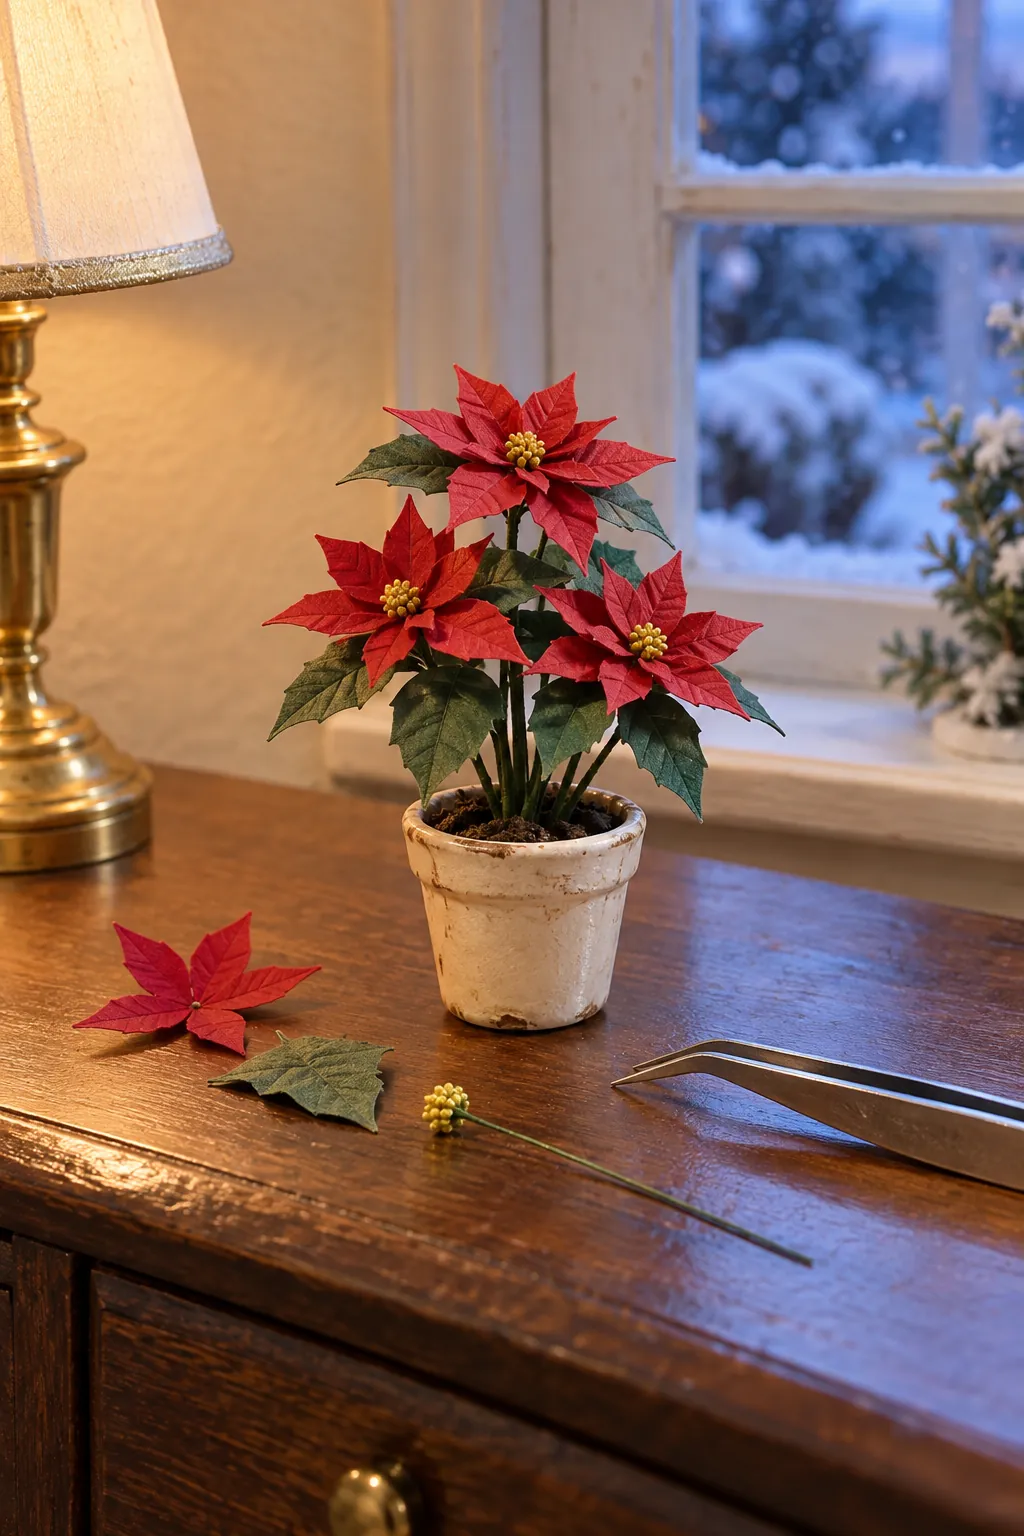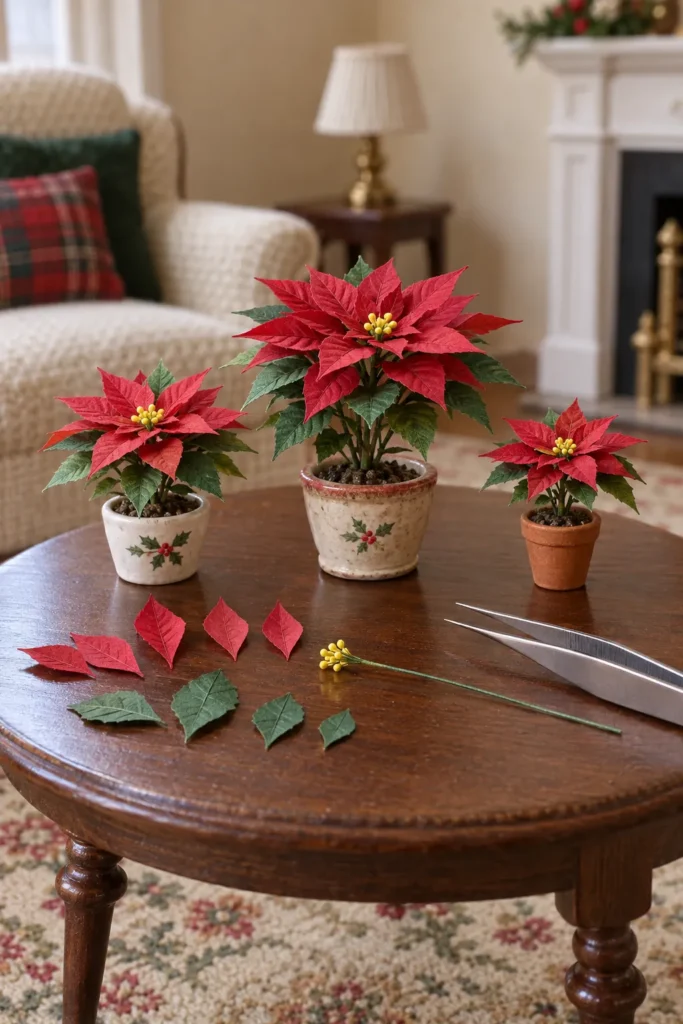
A convincing miniature poinsettia depends more on proportion than on the number of petals. Thin paper, narrow pointed shapes, and a compact center create a plant that fits one to twelve scale. Build one test flower before cutting a full batch, because a small change in leaf length can alter the whole plant.
Gather Fine Paper and Small Tools
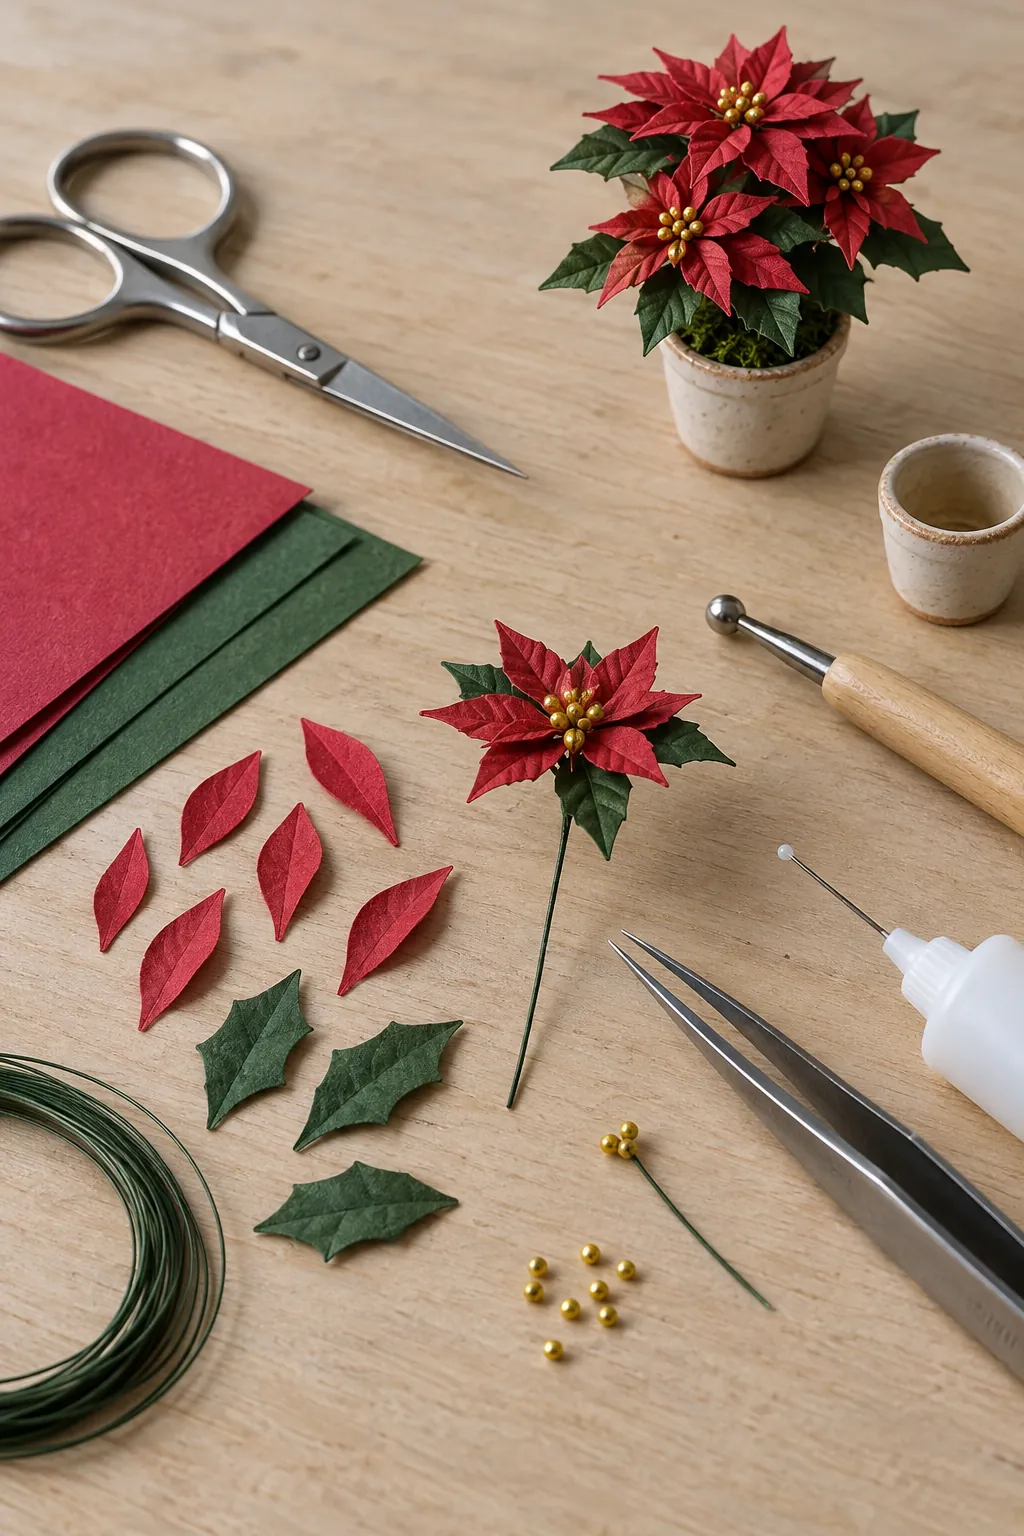
Use thin red and green paper that holds a crease without becoming bulky. You will also need fine scissors, a blunt shaping tool, tweezers, paper glue, fine green wire, yellow micro beads or tiny paper dots, and a small dollhouse flower pot. A foam pad or folded cloth gives each leaf room to curve while you shape it.
Choose matte paper rather than shiny card, since reflected light can make the plant look plastic. Test the glue on a scrap and use the smallest applicator available. A pin can transfer enough adhesive for one tiny bract.
Cut Red Bracts and Green Leaves
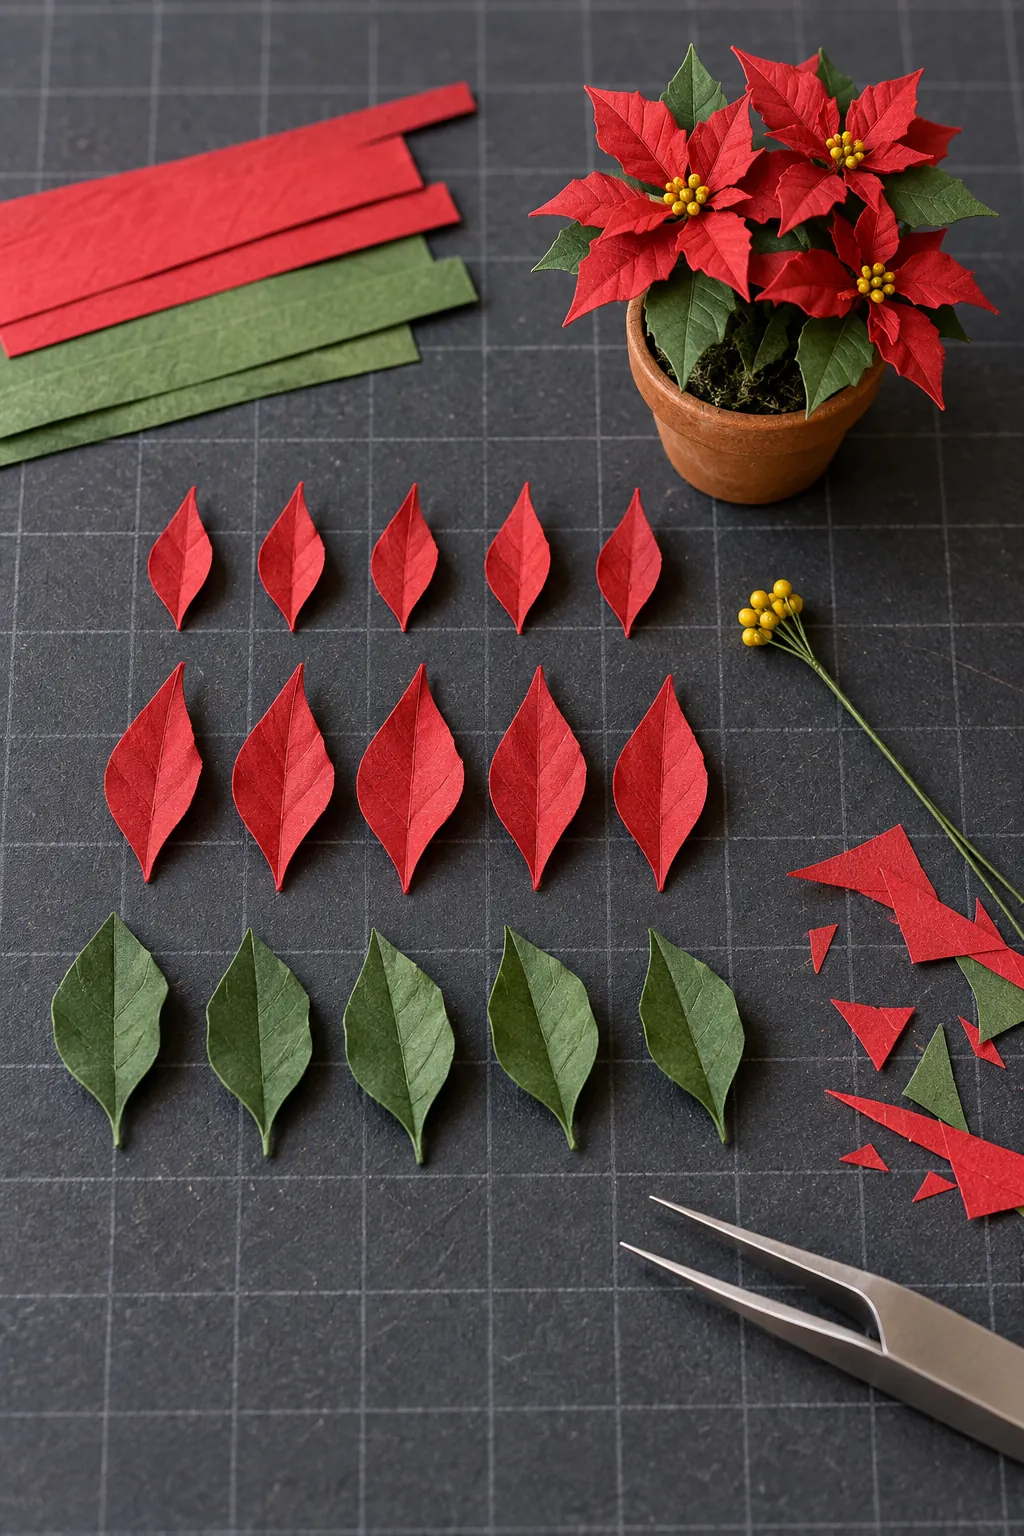
Cut narrow pointed ovals rather than rounded flower petals. Make five small red bracts, five medium red bracts, and five slightly larger green leaves for one full plant. Keep the largest pieces modest so the finished flower does not hide the pot.
Fold a strip of paper and cut two matching shapes at once when consistency matters. Vary the tips slightly after unfolding so the plant does not look stamped. Keep all scraps until assembly, because the smallest pieces can become useful center details.
Shape Each Leaf
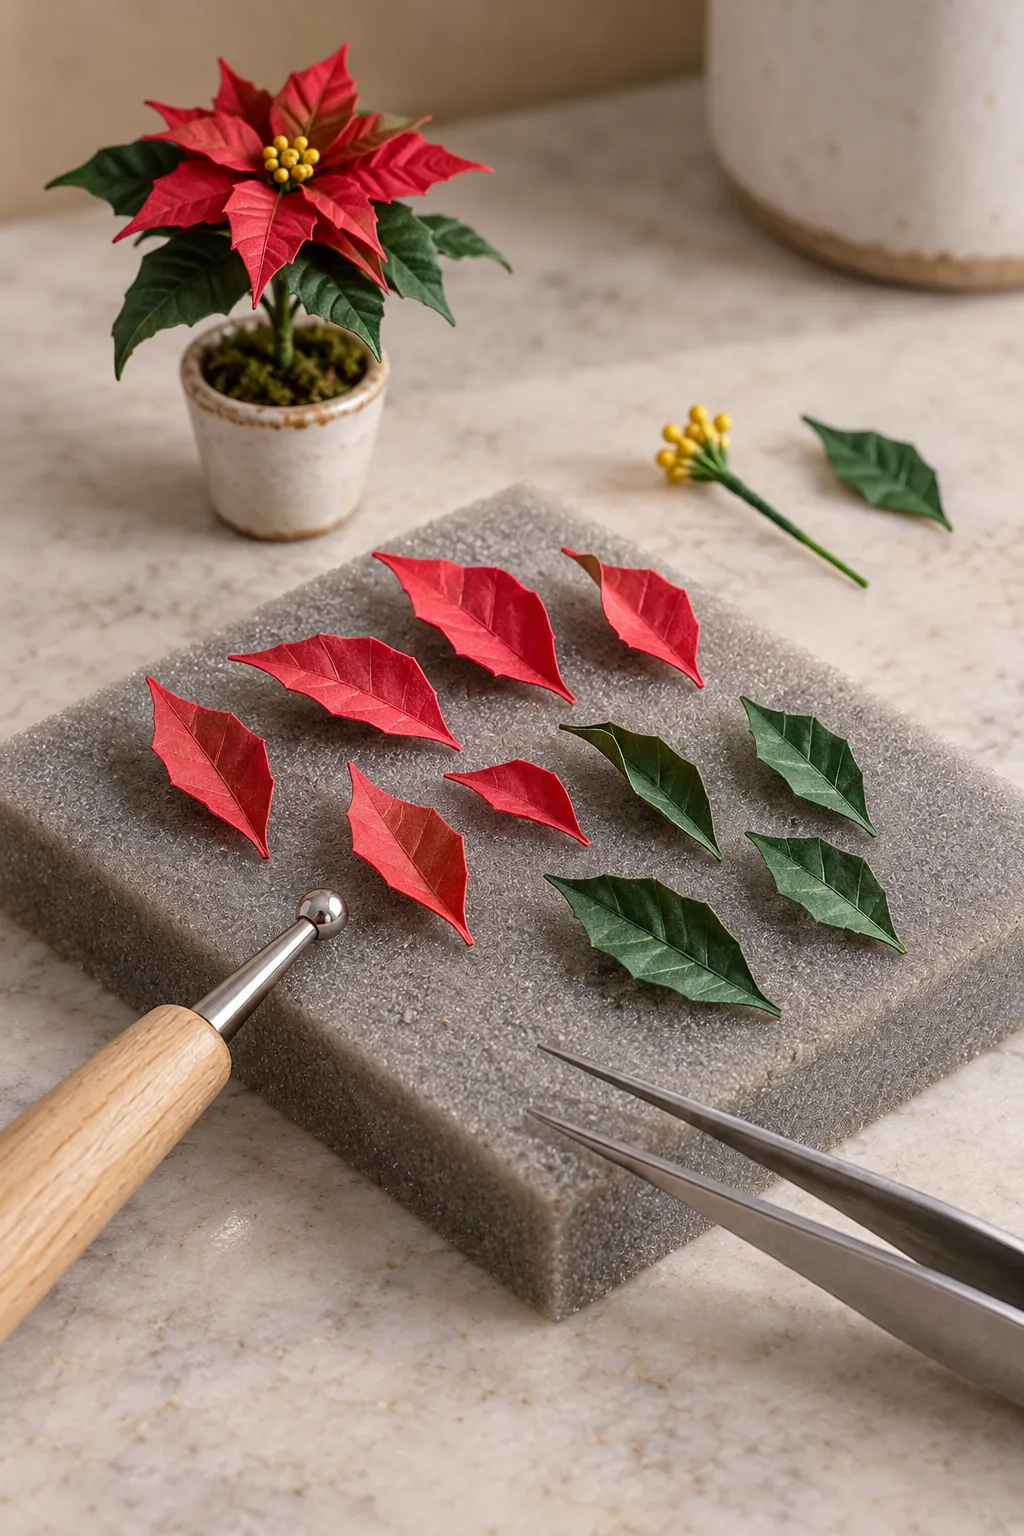
Place one paper shape on the foam pad and draw the blunt tool from its base toward the tip. Press a shallow center vein, then curve both sides upward with tweezers. Repeat with different pressure so the leaves share a form without becoming identical.
Add two or three faint side veins only if the paper is large enough to show them cleanly. Avoid hard scoring that tears the surface or creates a bright white line. The red poinsettia leaves should cup gently toward the center rather than lie flat like a star.
Make the Tiny Flower Center
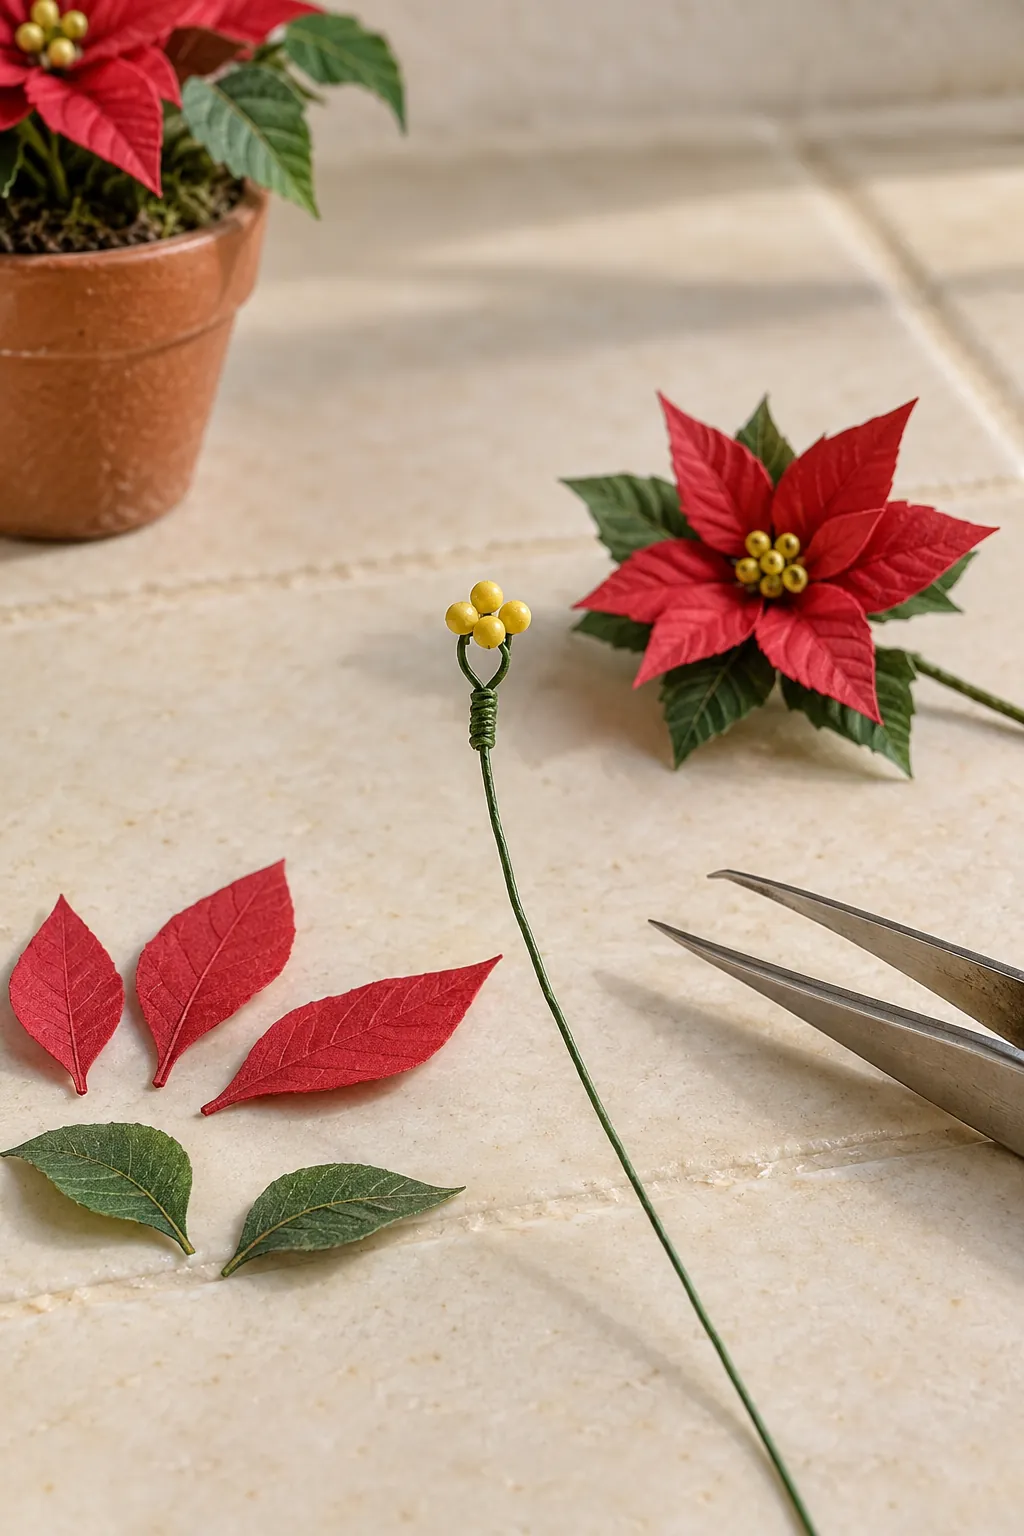
Twist a short piece of fine green wire into a small loop at one end. Add three to five yellow micro beads or tiny yellow paper dots around the loop with pin sized glue spots. Keep the cluster compact, because a large center can make the plant resemble a daisy.
Let the center dry before adding any leaves. Touch visible wire with green paint if its finish is too bright. Check the cluster from the side as well as from above so the yellow pieces do not form one tall lump.
Layer the Poinsettia Flower
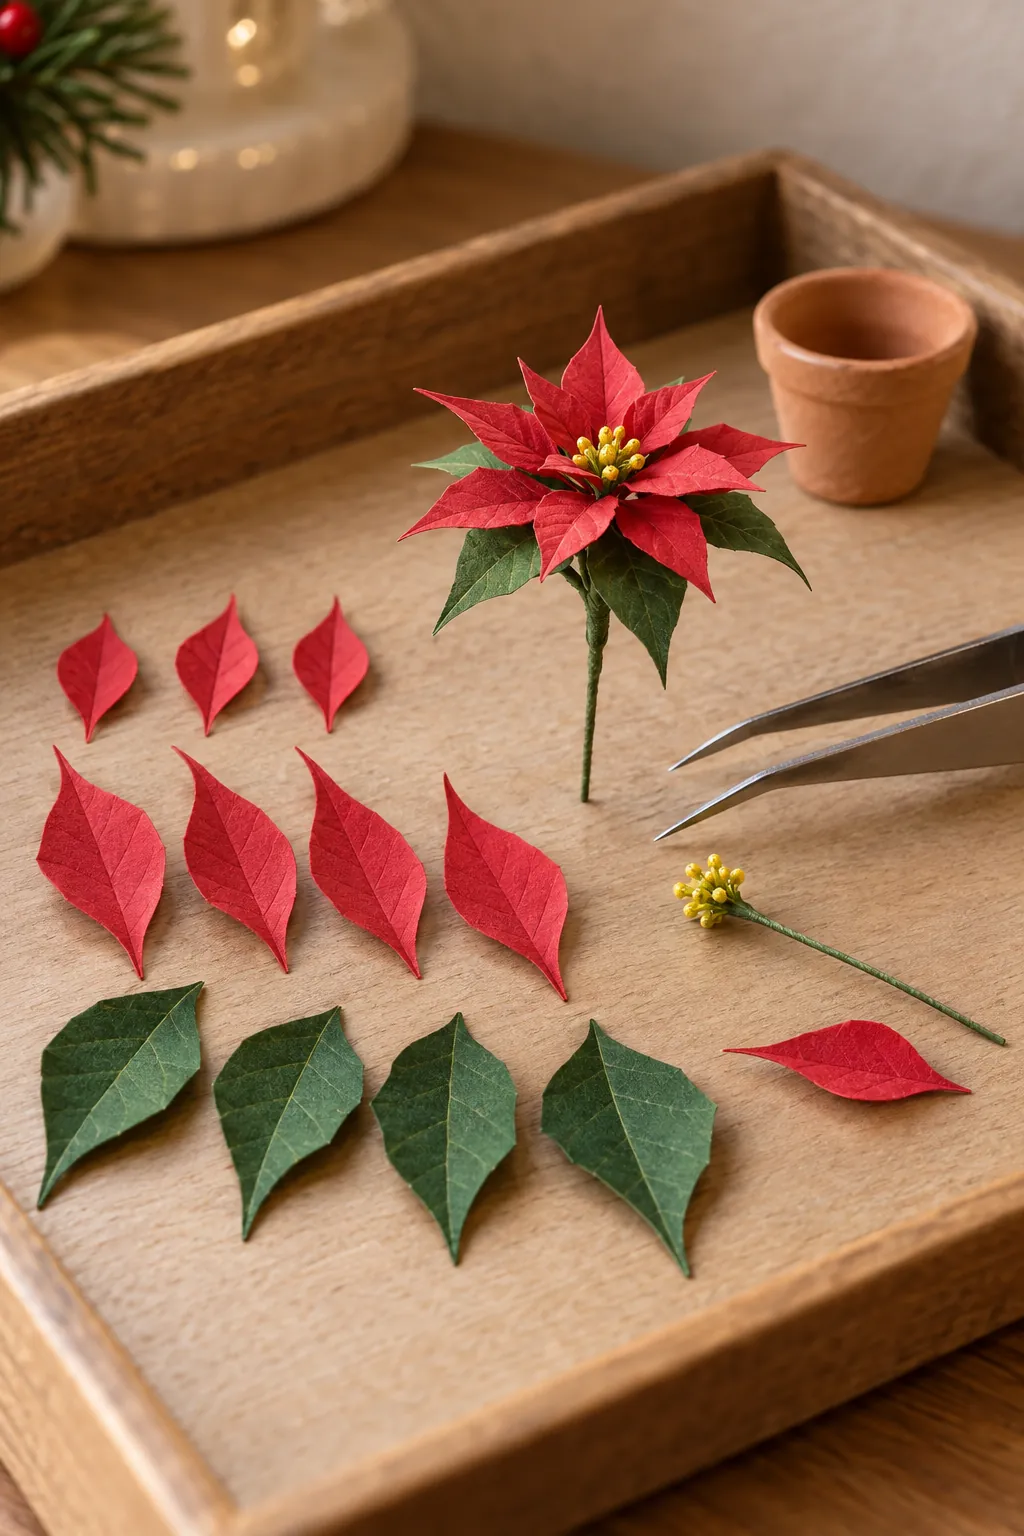
Glue the smallest red bracts around the center, spacing them like a loose spiral rather than a perfect ring. Add the medium red layer beneath it and rotate the new pieces so they fill the gaps. Finish with green leaves lower on the stem, allowing a few to point outward.
Hold each piece with tweezers until the glue grips. Remove any adhesive bead that squeezes onto the visible surface. Turn the flower between additions and keep the final profile shallow enough to resemble a living plant.
Plant and Display the Poinsettia
Fill a tiny dollhouse flower pot with a small plug of air dry clay or firm foam, then insert the wire stem. Cover the filler with fine brown paper crumbs or dark flocking and trim the stem until the lowest green leaves sit just above the rim. Add one or three flowers depending on the pot width, but keep open space between them.
Place the finished mini Christmas plant on a kitchen table, mantel, porch step, or bedroom dresser. Use removable wax beneath the pot if the scene may be moved. Store spare flowers in a shallow box so the curved miniature poinsettia leaves are not crushed.