
How to Make Wall Decals Stick Better and Last Longer
When wall decals will not stay up, the instinct is to hunt for a stronger glue. That is often the wrong fix. A decal lasts because its adhesive makes broad, even contact with a clean, dry, smooth, stable surface—not because you forced a failing edge down with permanent adhesive.
The same distinction protects your paint. A decal can cling perfectly to a weak topcoat and still pull that paint off later. Before installing or repairing anything, check the wall, the paint, the room conditions, and the decal itself. This guide shows you how to make wall decals stick better while keeping removal as predictable as possible.
Start by diagnosing why the wall decal is not sticking
Look closely at the failure pattern. One lifted corner usually points to incomplete pressure, a curled decal, or contamination at that spot. Lifting along an entire edge can indicate texture, dust, moisture, or tension from stretching the vinyl. A decal that falls off as one clean sheet may be incompatible with the paint finish or surface. If paint comes away with the decal, the weak link is likely the paint system beneath it—not the decal adhesive.
- Dust or grease: common near ceilings, vents, kitchens, doors, and children’s rooms.
- Fresh or weak paint: paint can feel dry before it is fully cured, and poorly bonded paint can detach under a removable adhesive.
- Texture: orange peel, knockdown, brick, and rough plaster leave air gaps beneath flat vinyl.
- Moisture or temperature swings: condensation, high humidity, cold walls, and direct heat can undermine contact.
- Installation stress: stretched vinyl, trapped bubbles, repeated repositioning, or touching the adhesive can weaken the bond.
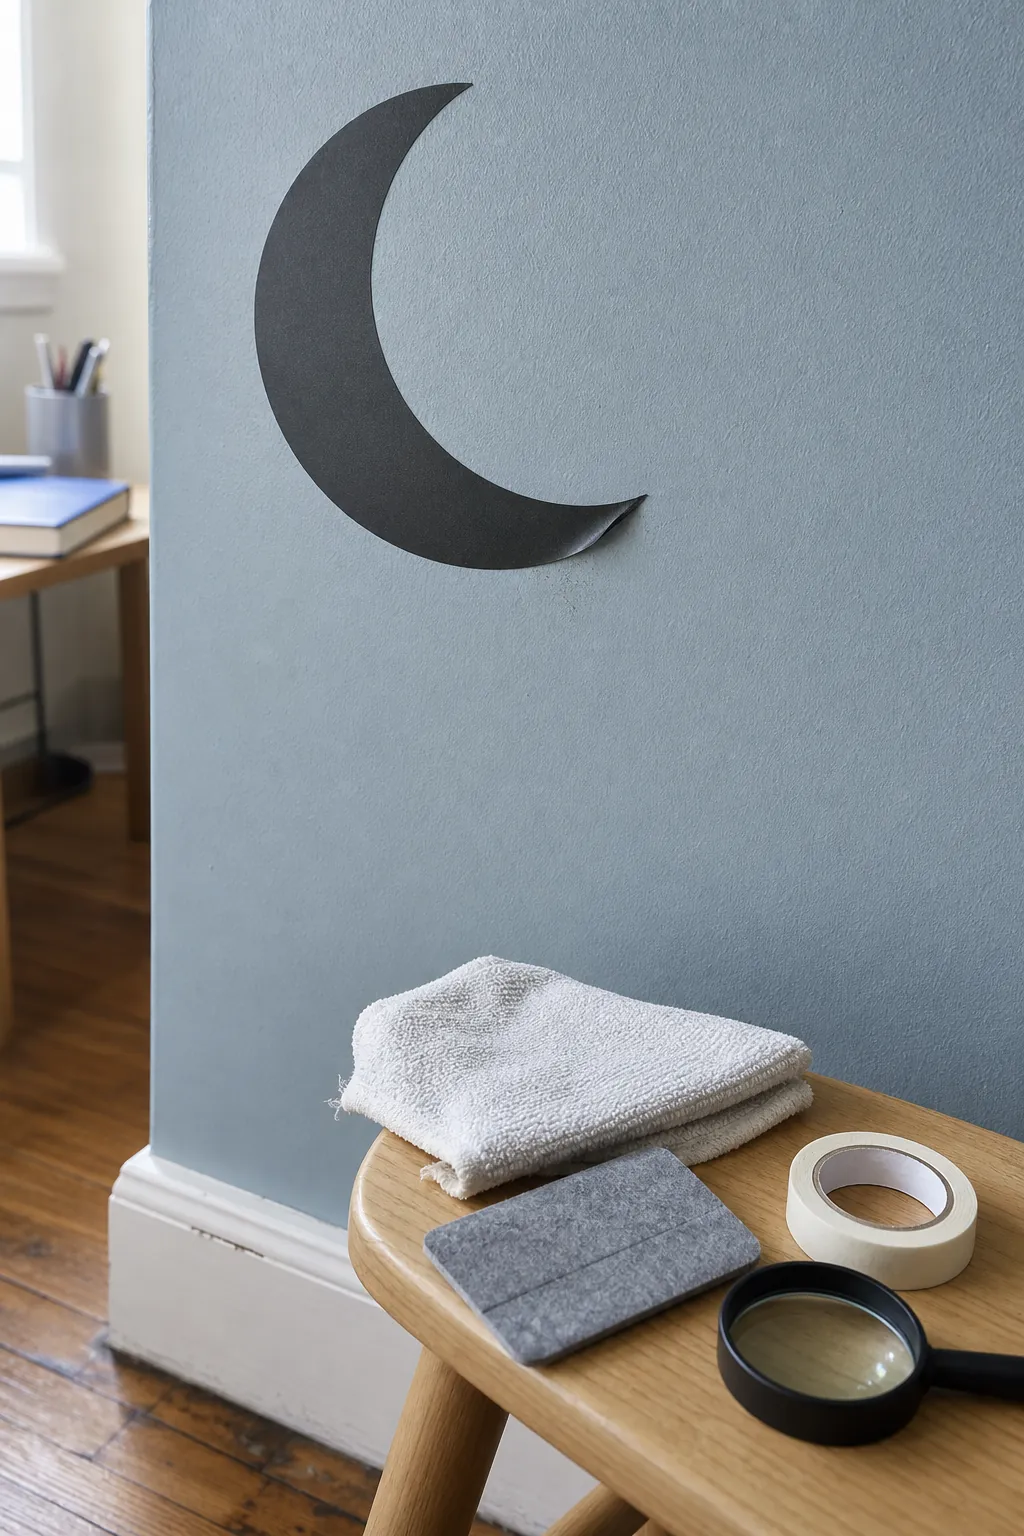
Let new paint cure before applying decals
“Dry to the touch” is not the same as cured. Water and solvents continue leaving a paint film after the surface stops feeling wet. Applying a decal too soon can trap that process, reduce adhesion, stain the decal, or pull soft paint away during repositioning.
Follow the paint manufacturer’s full cure time, not a universal internet rule. Cure time changes with paint chemistry, coat thickness, ventilation, humidity, and temperature. If you do not know which paint was used, wait conservatively and test a discreet area. A test is especially important on matte, low-VOC, stain-resistant, or specialty finishes, because decal performance varies by the exact paint-and-vinyl combination.
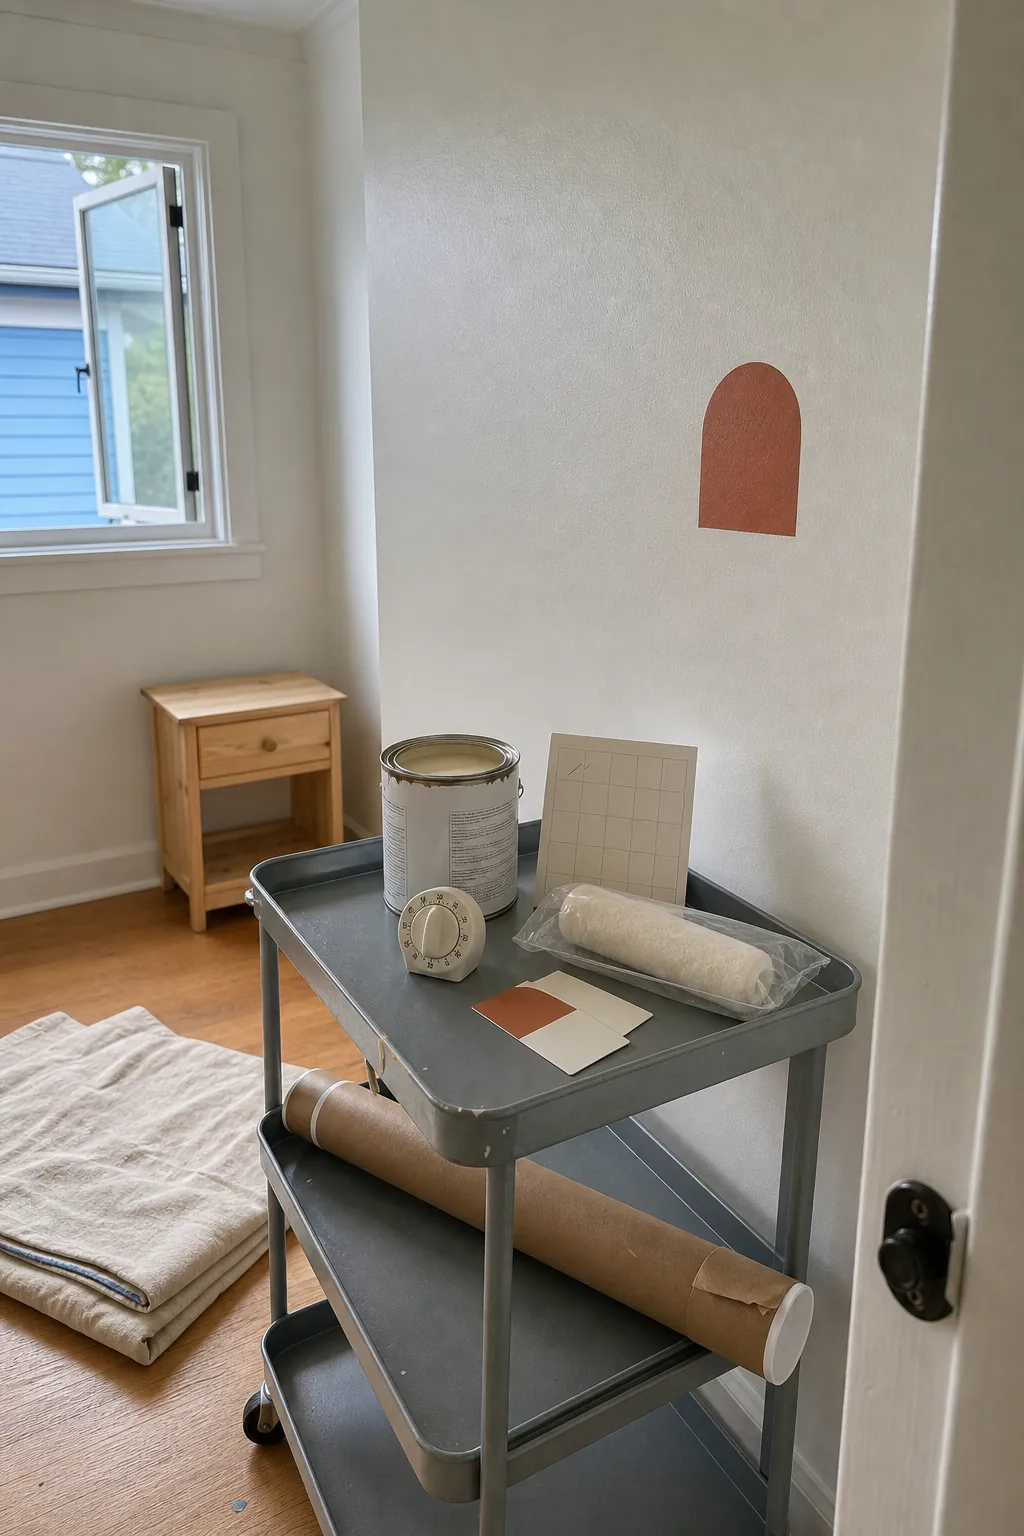
Clean the wall without leaving a slippery residue
Even a tidy wall collects invisible contaminants. Dust settles along ceiling lines and corners. Cooking aerosols travel farther than expected. Polishes, fragranced cleaners, and some wipes leave a film that feels smooth but blocks adhesive contact.
Start with a dry microfiber cloth. If the decal maker allows damp cleaning, use a small amount of mild soap in water, wipe the area, then remove any soap residue with a clean damp cloth. Avoid soaking drywall or seams. Let the wall become completely dry before installation—longer in a humid room. Do not assume rubbing alcohol, degreaser, or a household spray is safe for every finish; spot-test any cleaner and follow both the paint and decal manufacturers’ directions.
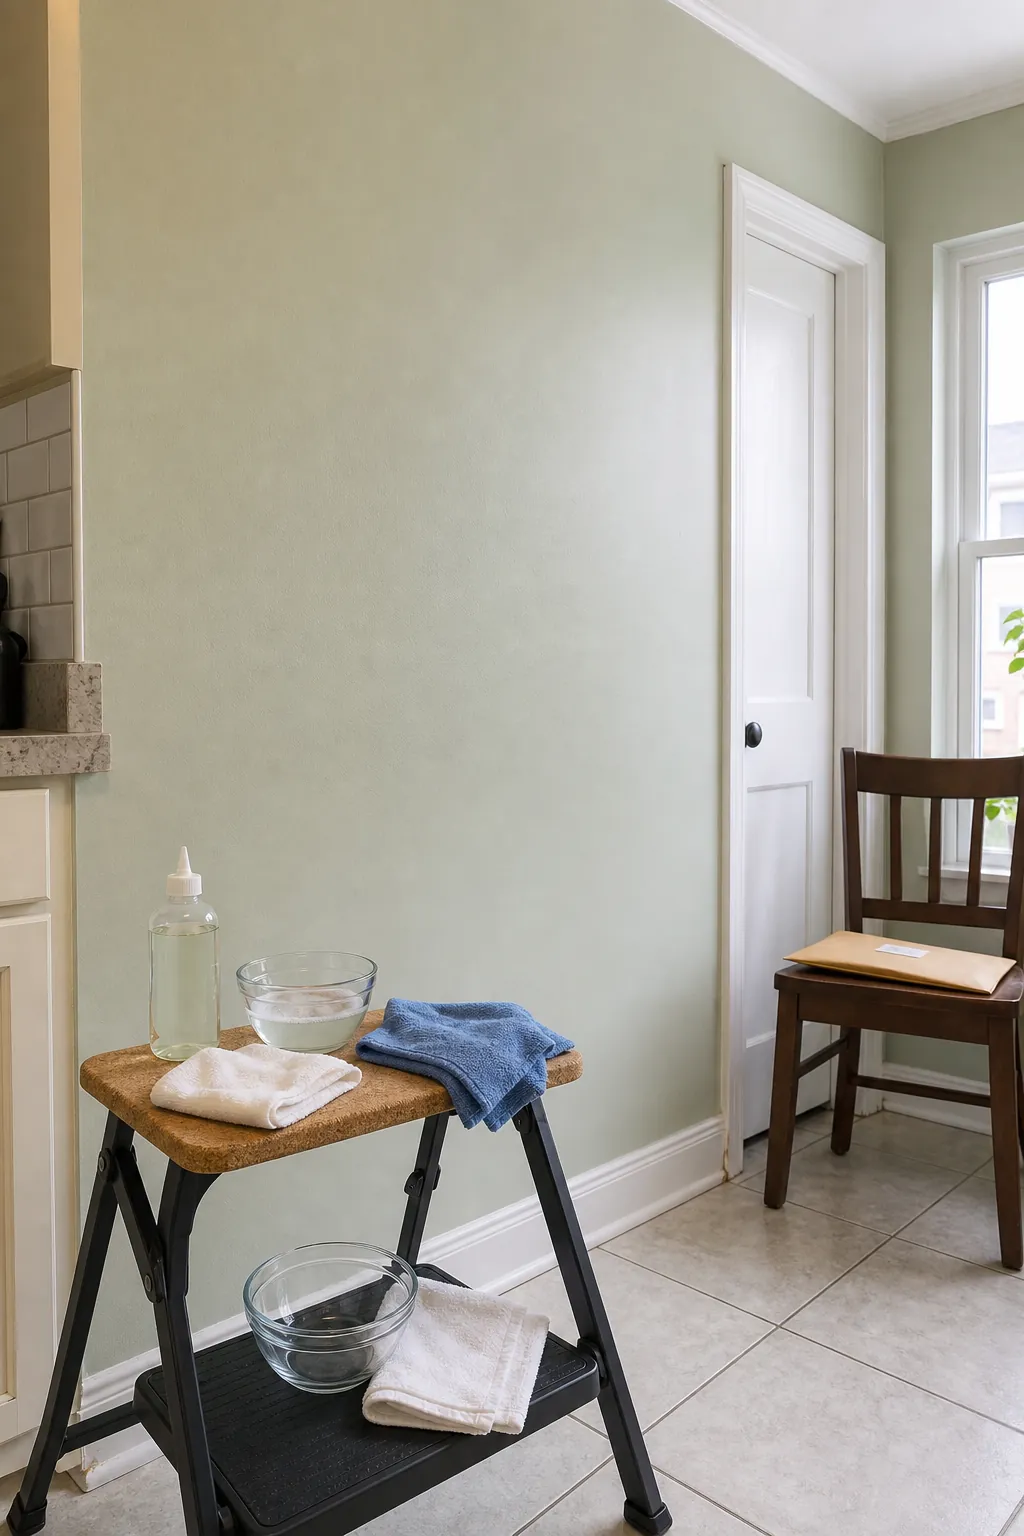
Test the surface and the decal together
The best surface for decals is generally smooth, clean, dry, sound, and relatively nonporous. Smooth painted drywall, glass, sealed metal, and some finished doors often give the adhesive more contact area than textured plaster, raw wood, brick, fabric, or dusty masonry. But “smooth” alone does not guarantee success. Silicone additives, stain-resistant coatings, chalky paint, and weak primer layers can all change the result.
Use a spare sample or a small piece from the waste border. Press it onto an inconspicuous spot, leave it for the decal maker’s suggested test period, and inspect for lifting, discoloration, or paint transfer. Then remove it slowly at a low angle. A successful test checks both installation and removal. If the sample will not bond, choose a decal rated for that surface or move the design; if it pulls paint, adding stronger adhesive would increase the risk.
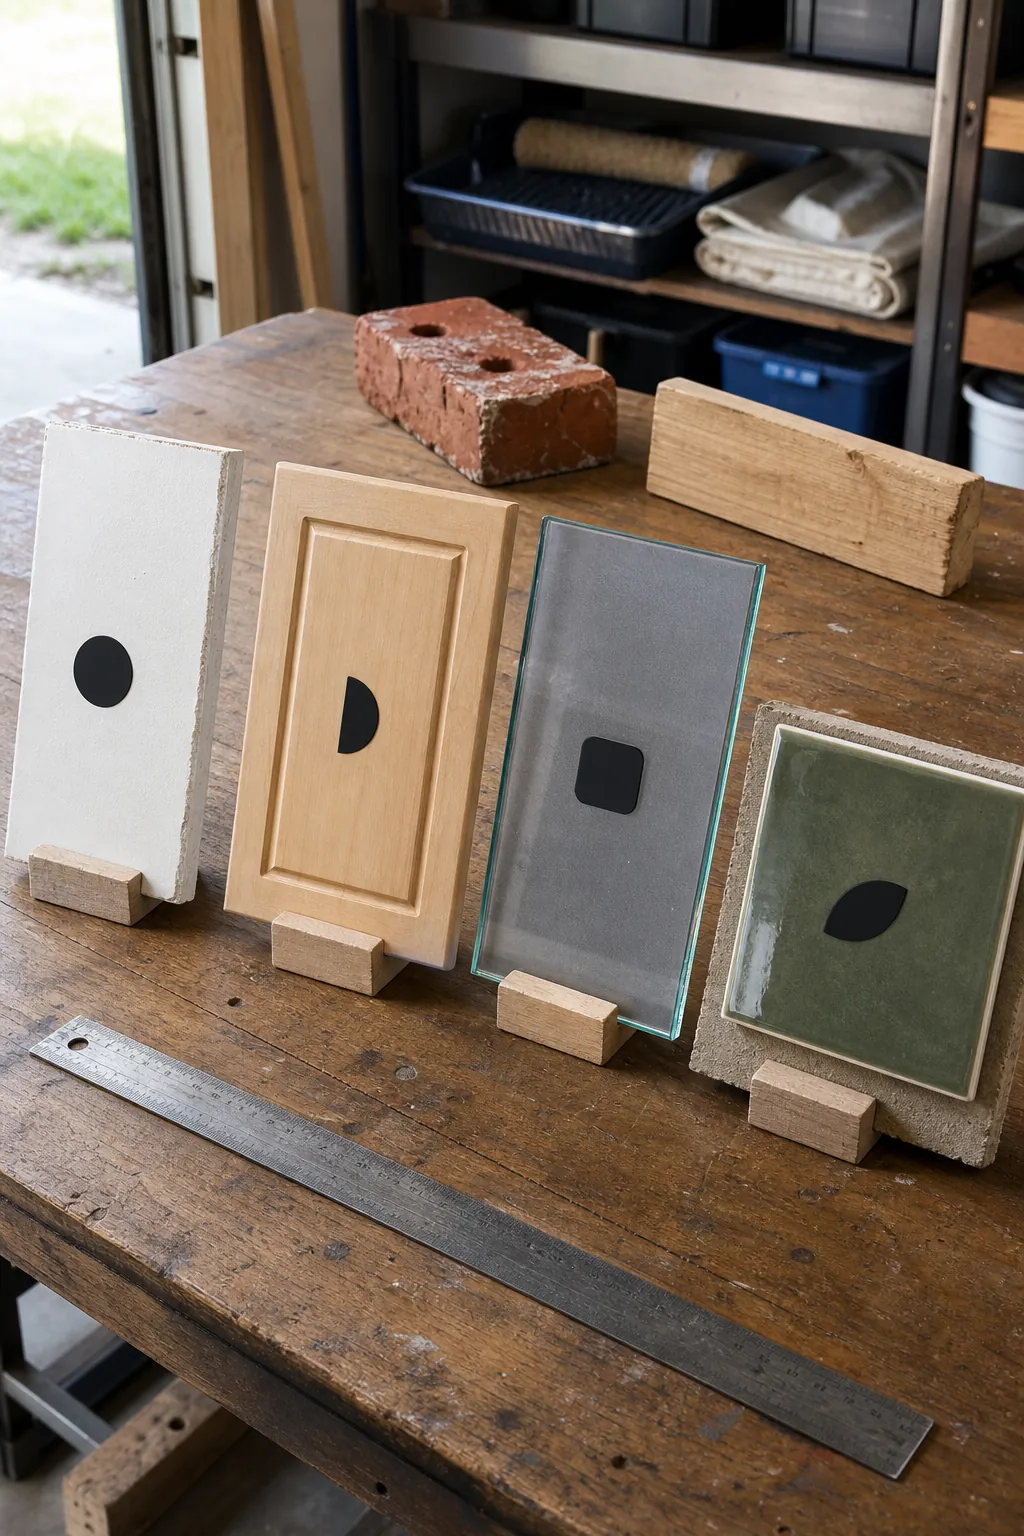
Apply slowly and build full adhesive contact
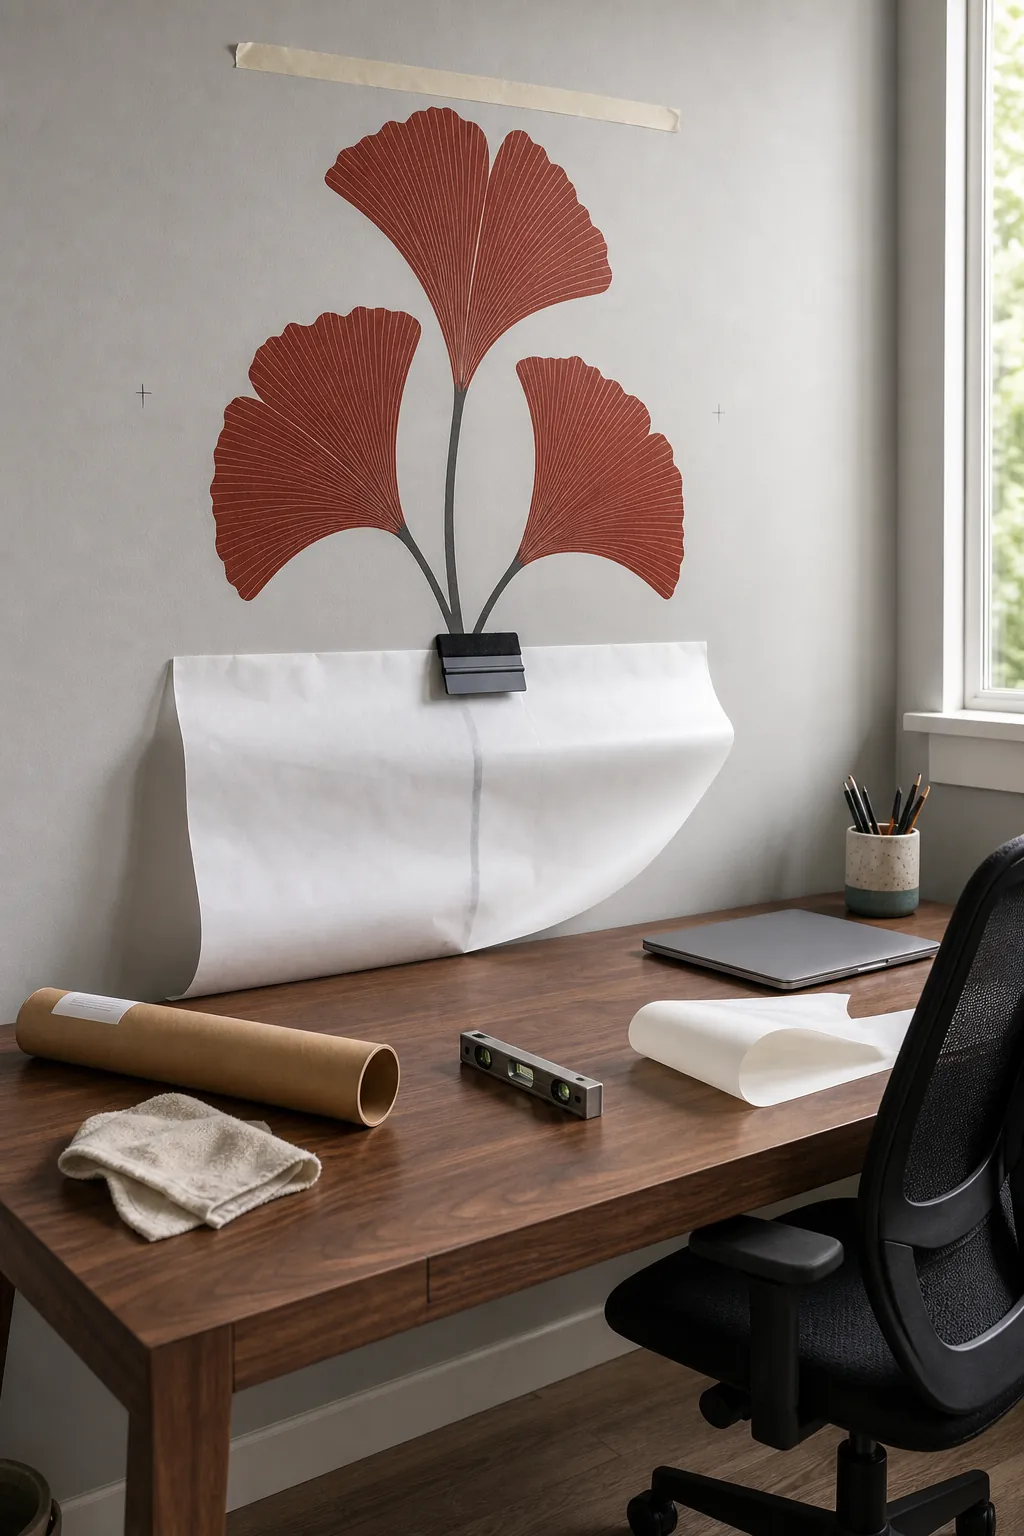
Bring the decal and the room to a moderate, stable temperature. Cold vinyl can stay stiff; excessive heat can make it stretchy. Mark a level reference without pressing tape onto a questionable finish. Position the decal, peel back only part of the liner, and anchor a small section first.
Working from the center outward, use a felt-edged squeegee or a clean cloth-wrapped card to press overlapping strokes across the design. The goal is not brute force; it is consistent contact without trapped air or stretched vinyl. For transfer-tape designs, burnish the graphic, wait if the instructions call for it, then peel the transfer layer back against itself rather than pulling outward. Finish by pressing the perimeter and narrow points individually.
Fix peeling edges without turning a removable decal permanent
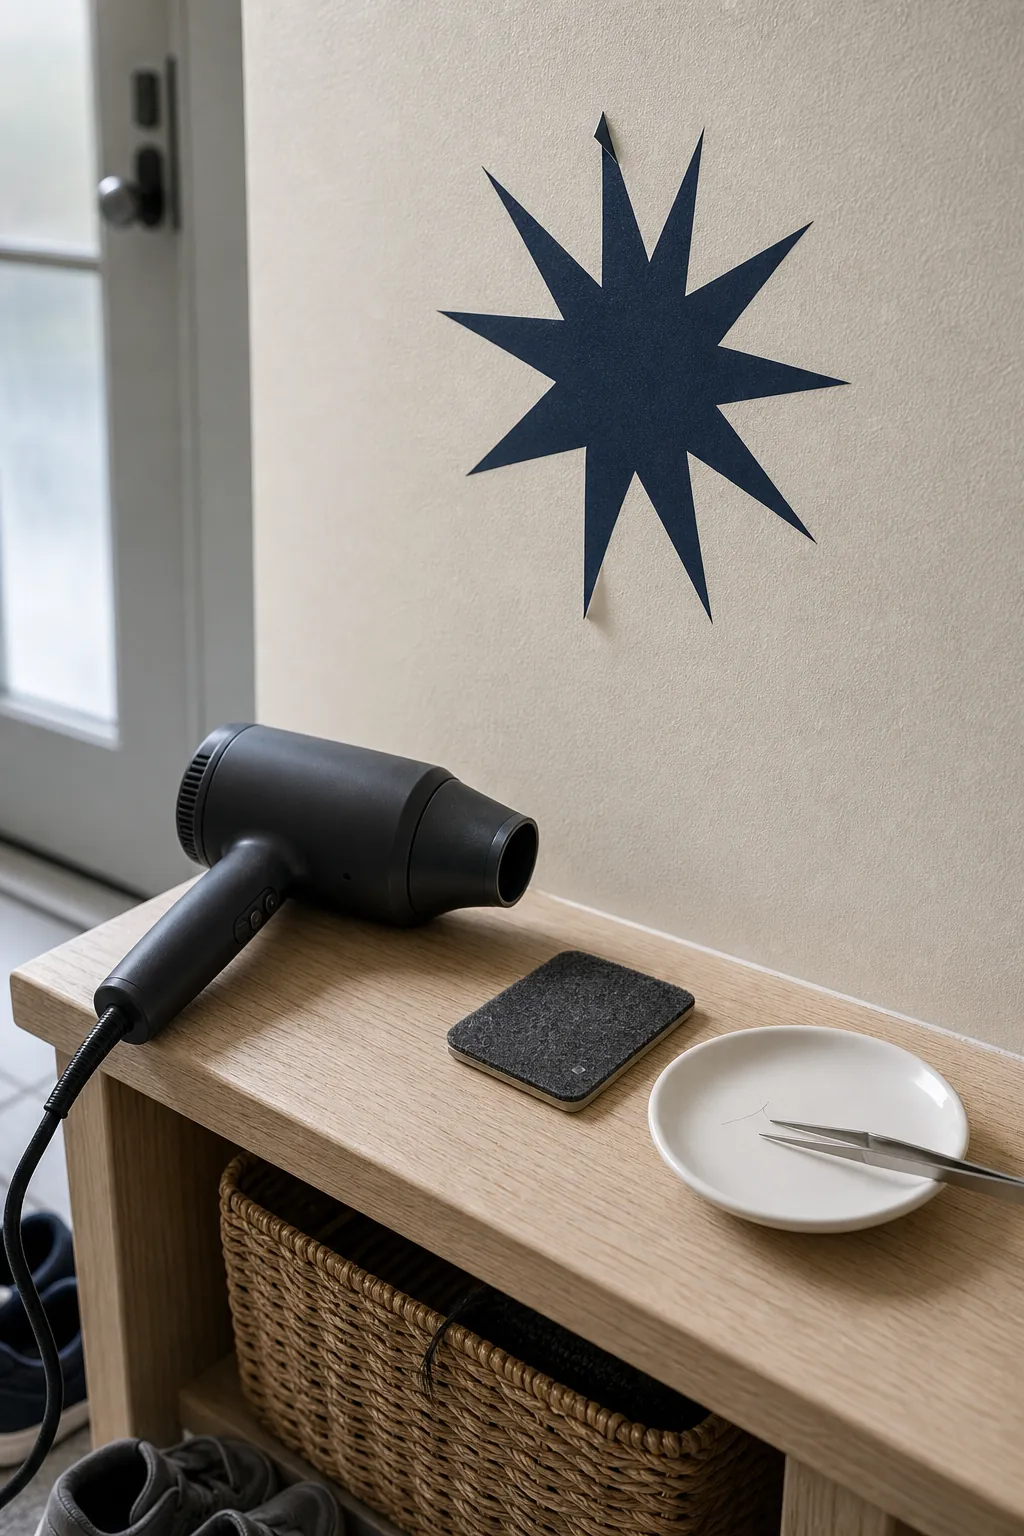
For a small lifted edge, stop and inspect before pressing it back. A grain of dust, a crease, or moisture under the vinyl will remain a problem. If the manufacturer permits it, lift only enough to remove the contaminant with clean tweezers or a dry lint-free cloth. Let any dampness disappear, then warm the vinyl gently from a distance and press it with a soft cloth. Keep heat low; too much can stretch vinyl, soften paint, or change the finish.
Avoid super glue, spray adhesive, hot glue, and aggressive double-sided tape. They can stain vinyl, telegraph through thin graphics, and make wall damage much more likely. If the same edge lifts again, trim a tiny damaged tip only when the design allows, replace that piece, or accept that the surface and decal are incompatible. A reversible failure is better than a permanent repair that removes the wall finish.

Protect the decal after installation
Give a newly installed decal time to settle without touching or washing it. Keep furniture, curtains, toys, and vacuum attachments from rubbing its edges. In kitchens and bathrooms, control steam and condensation with ventilation; in sunny rooms, understand that prolonged UV exposure can fade printing and age both vinyl and adhesive. Avoid placing ordinary indoor decals beside radiators, stove heat, leaky windows, or air vents that create constant temperature swings.
For wall decal maintenance, dust lightly with a soft dry cloth and inspect narrow tips before they become large lifted areas. Do not scrub, saturate, or use solvent cleaners unless the manufacturer specifically approves them. How long wall decals last depends on the product, wall system, environment, and handling, so treat a lifespan claim as a product-specific estimate—not a promise for every room.
The durable approach is simple: match the decal to a tested surface, wait for cured paint, clean without residue, apply patient pressure, and leave the edges undisturbed. If those conditions are not available, relocating the decal is usually safer than forcing adhesion. The best installation is the one that still looks intentional months later and can eventually come down without an unpleasant surprise.