How to Plan a Gallery Wall on the Floor Before Hanging
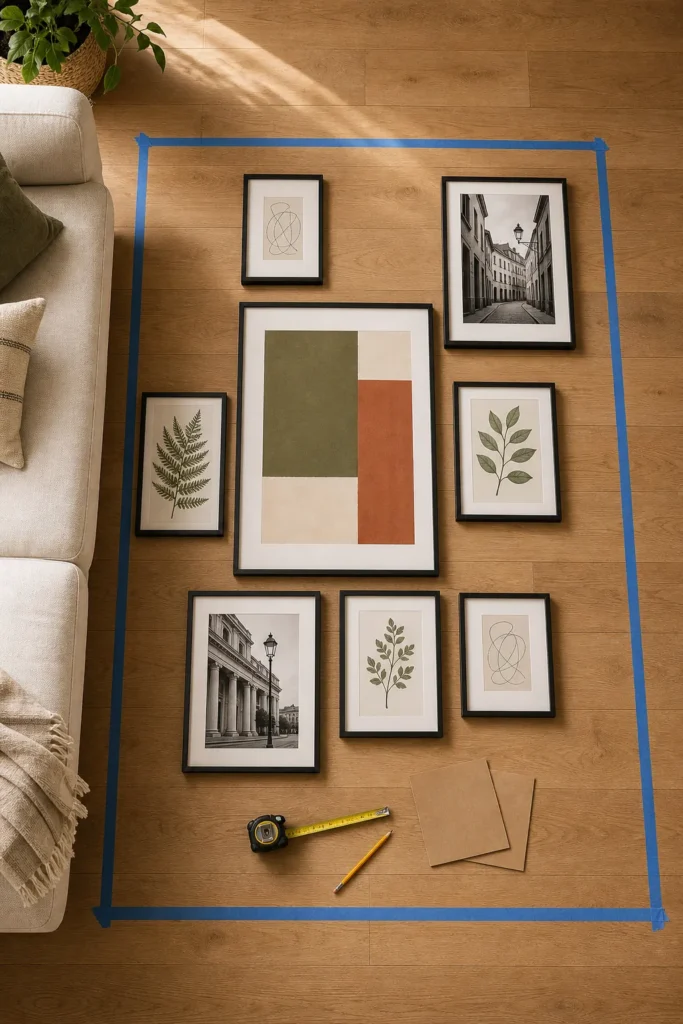
The easiest gallery wall hanging hack is to stop planning on the wall. Plan the gallery wall on the floor first, at full scale, where you can move frames around without patching holes or peeling tape off paint.
This method works because most gallery wall planning problems are proportion problems. A layout can look balanced in your head, then feel crowded, lopsided, or too small once the frames are near each other. The floor lets you test the gallery wall arrangement before the commitment stage.
Use this step-by-step process if you want to know how to hang gallery wall frames with less guessing: measure the wall, tape the same boundary on the floor, arrange the frames, photograph the layout, transfer it to paper templates, then hang from the largest piece outward.
Measure The Wall Before You Move Any Frames
Start with the exact wall area you want the finished gallery to occupy. If the gallery will sit above a sofa, bed, console, or bench, measure the furniture width first. A finished gallery wall usually feels best when it is about two-thirds to three-quarters as wide as the furniture below it. If the gallery is in a hallway, measure the open stretch of wall and decide where the arrangement should begin and end.
Write down the target width and height. Then mark that shape on the wall with painter’s tape. You are not placing frames yet. You are only deciding the outer boundary so the picture arrangement ideas stay inside one planned footprint.
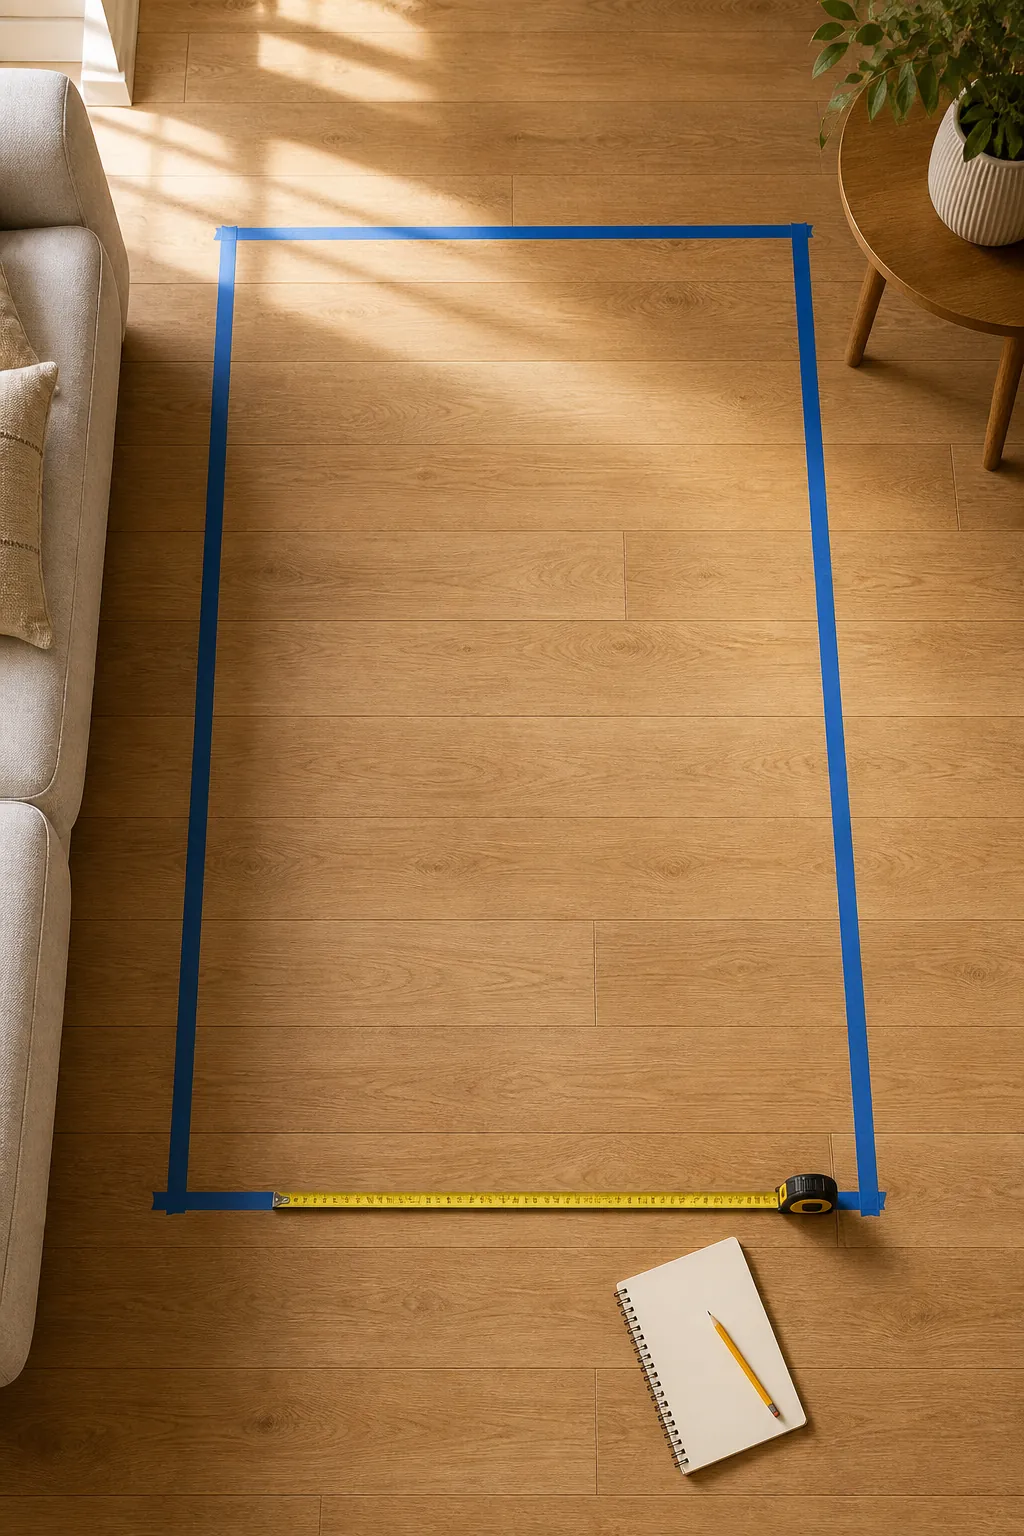
This boundary matters more than beginners expect. Without it, frames slowly drift apart and the whole wall starts to look like scattered pieces instead of one gallery wall layout.
Recreate The Wall Boundary On The Floor
Next, use painter’s tape to create the same rectangle on the floor. If the wall space is 60 inches wide and 42 inches tall, tape a 60 by 42 inch area on the floor. This gives you a full-scale planning zone. You can now arrange frames exactly as they will relate to each other on the wall.
Put the largest frame down first. This is the anchor. Most layouts become easier once one piece has a clear job. Then add the medium frames, using them to balance the anchor. Save the smallest frames for the gaps.
Keep The Gaps Consistent
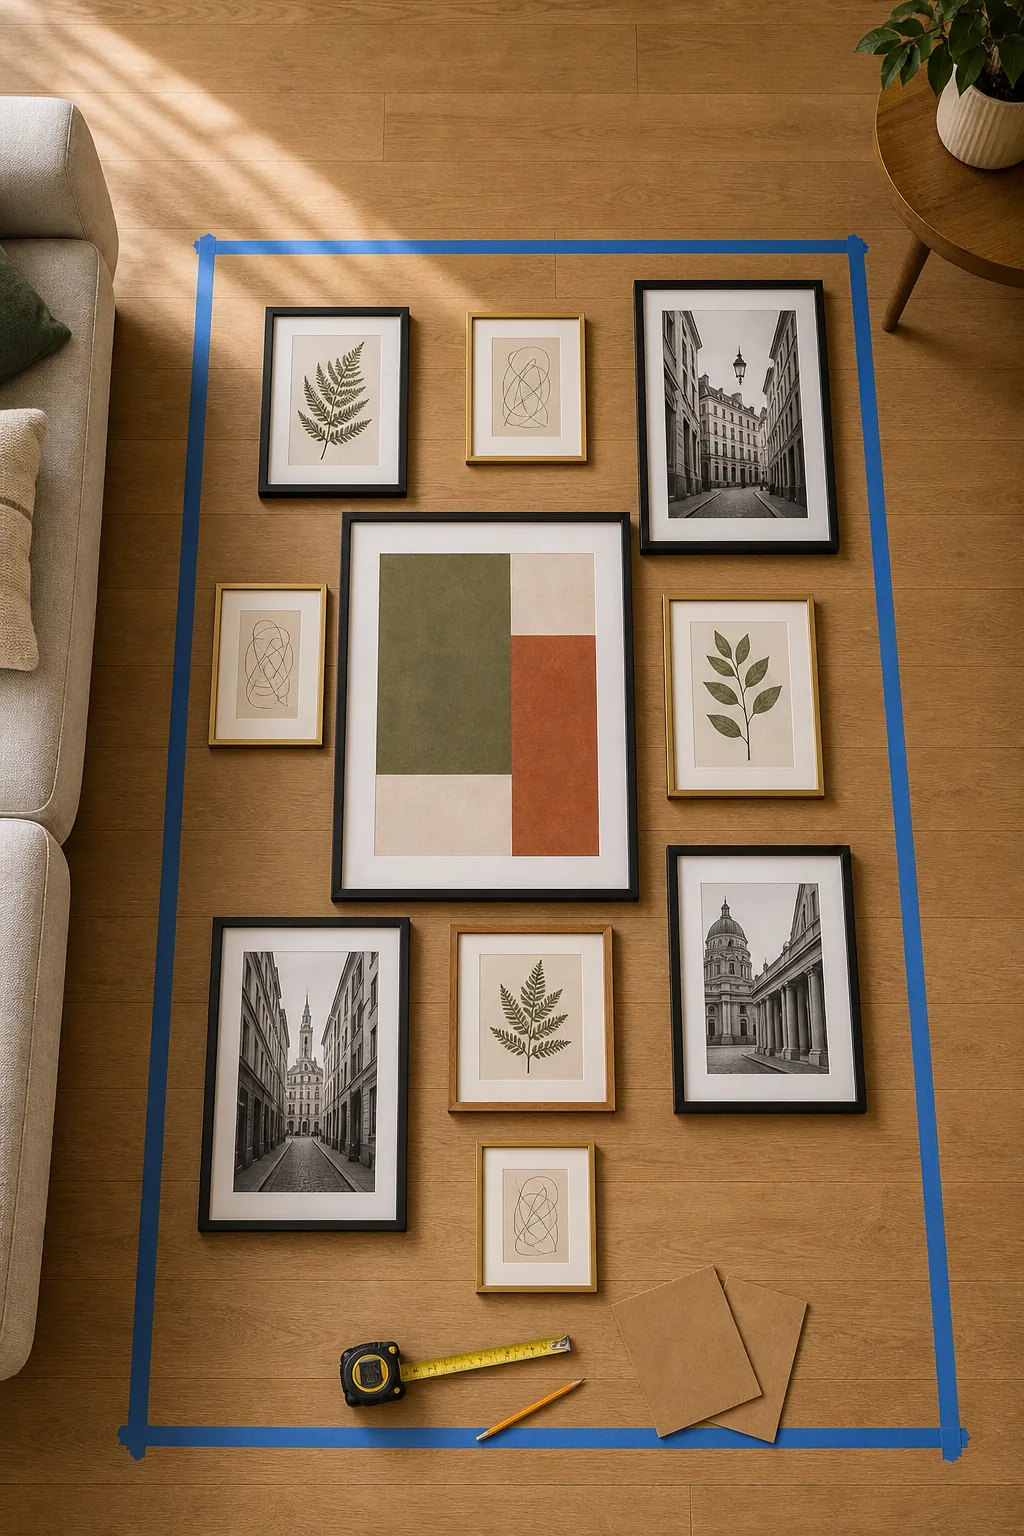
Most beginner gallery walls look better with 2 to 3 inches between frames. A tighter gap makes small arrangements feel connected. A wider gap can work for larger frames, but it must stay consistent. Choose one spacing rule and stick with it.
Cut a small piece of cardboard to your chosen gap. Use it as a spacer while the frames are on the floor. This simple gallery wall hanging hack is faster than checking every opening with a tape measure, and it keeps the final wall from feeling jumpy.
Photograph Every Version Before You Decide
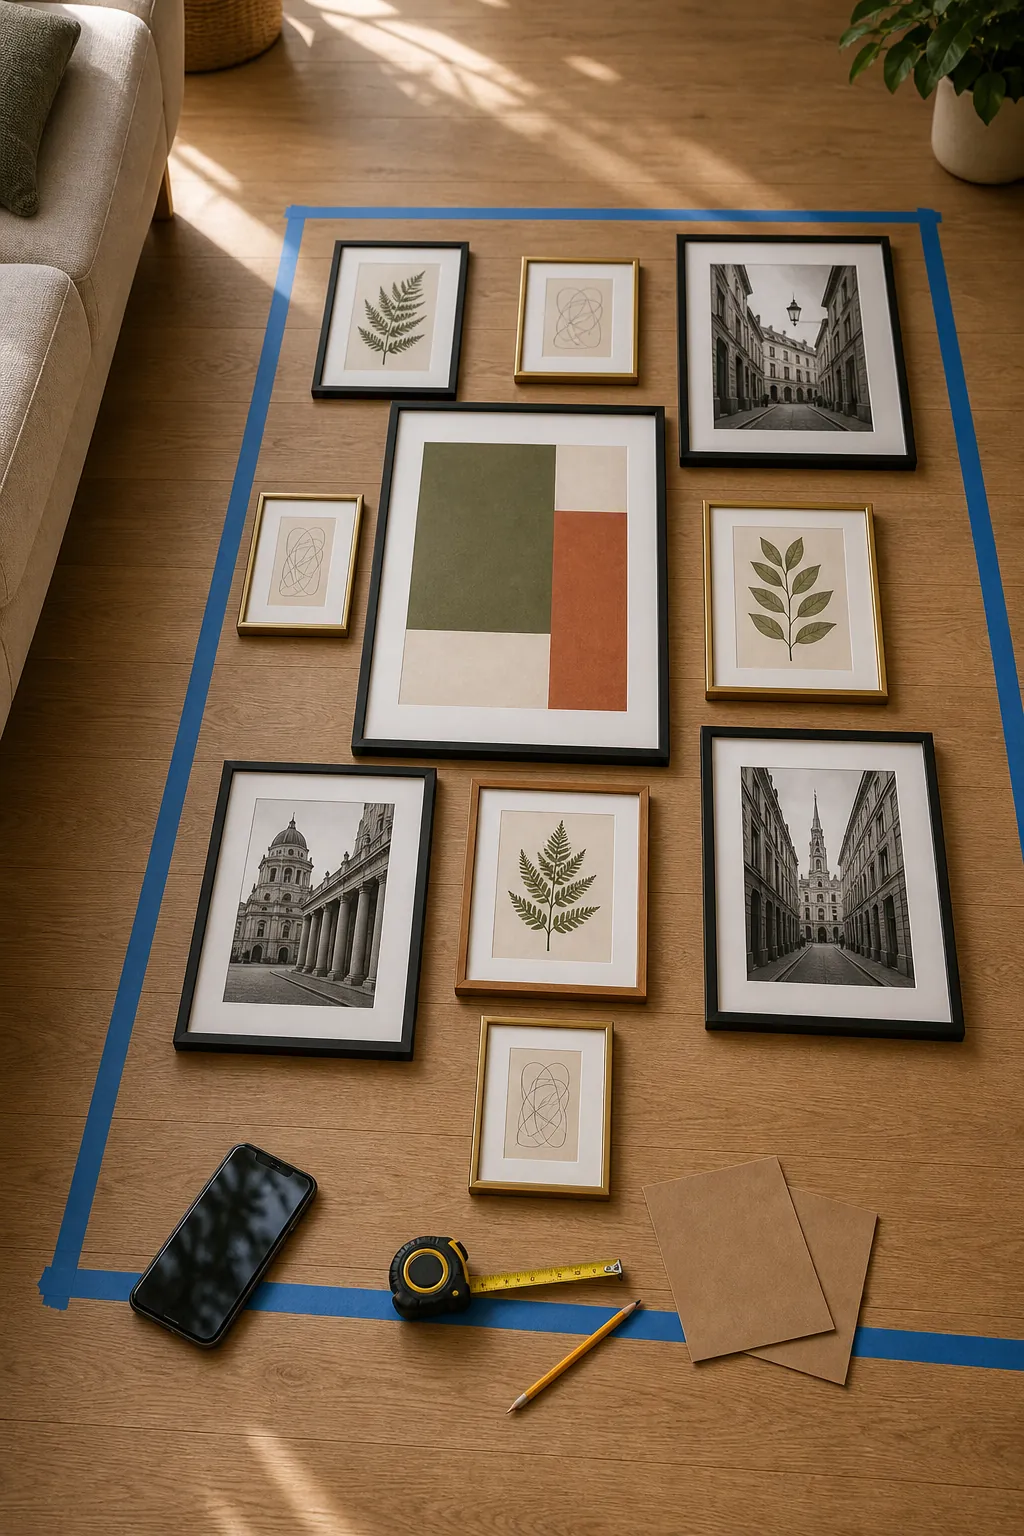
When you think a gallery wall arrangement is working, take a photo from straight above. Then make one change and take another photo. The camera makes balance issues easier to see. If all the dark frames are on one side, the photo will show it. If the layout has a hole in the center, the photo will show that too.
Try at least three versions before choosing. Move a medium frame across the layout. Rotate one horizontal piece. Swap two small frames. A few minutes of floor planning can save a wall full of extra holes.
Balance Size, Color, And Visual Weight
Planning on the floor is not only about frame size. It also helps you balance visual weight. A black frame feels heavier than a pale wood frame. A high-contrast photo feels stronger than a soft line drawing. A large white mat can make a frame feel calmer than the same frame filled edge to edge.
Spread the heavy pieces around the layout instead of stacking them in one corner. Repeat at least one element, such as black frames, oak frames, botanical prints, or warm color accents. Repetition is what makes mixed picture arrangement ideas feel intentional.
Turn The Floor Layout Into Paper Templates
Once the floor arrangement looks right, make a paper template gallery wall plan. Trace each frame onto kraft paper, builder paper, or taped-together printer paper. Cut out each shape. Mark the top edge and the hanging point on every paper piece.
Transfer the templates to the wall inside your painter tape boundary. Step back. Look from the doorway, the sofa, or the hallway approach. This is the moment to adjust height and spacing, because paper is easy to move and frames are not.
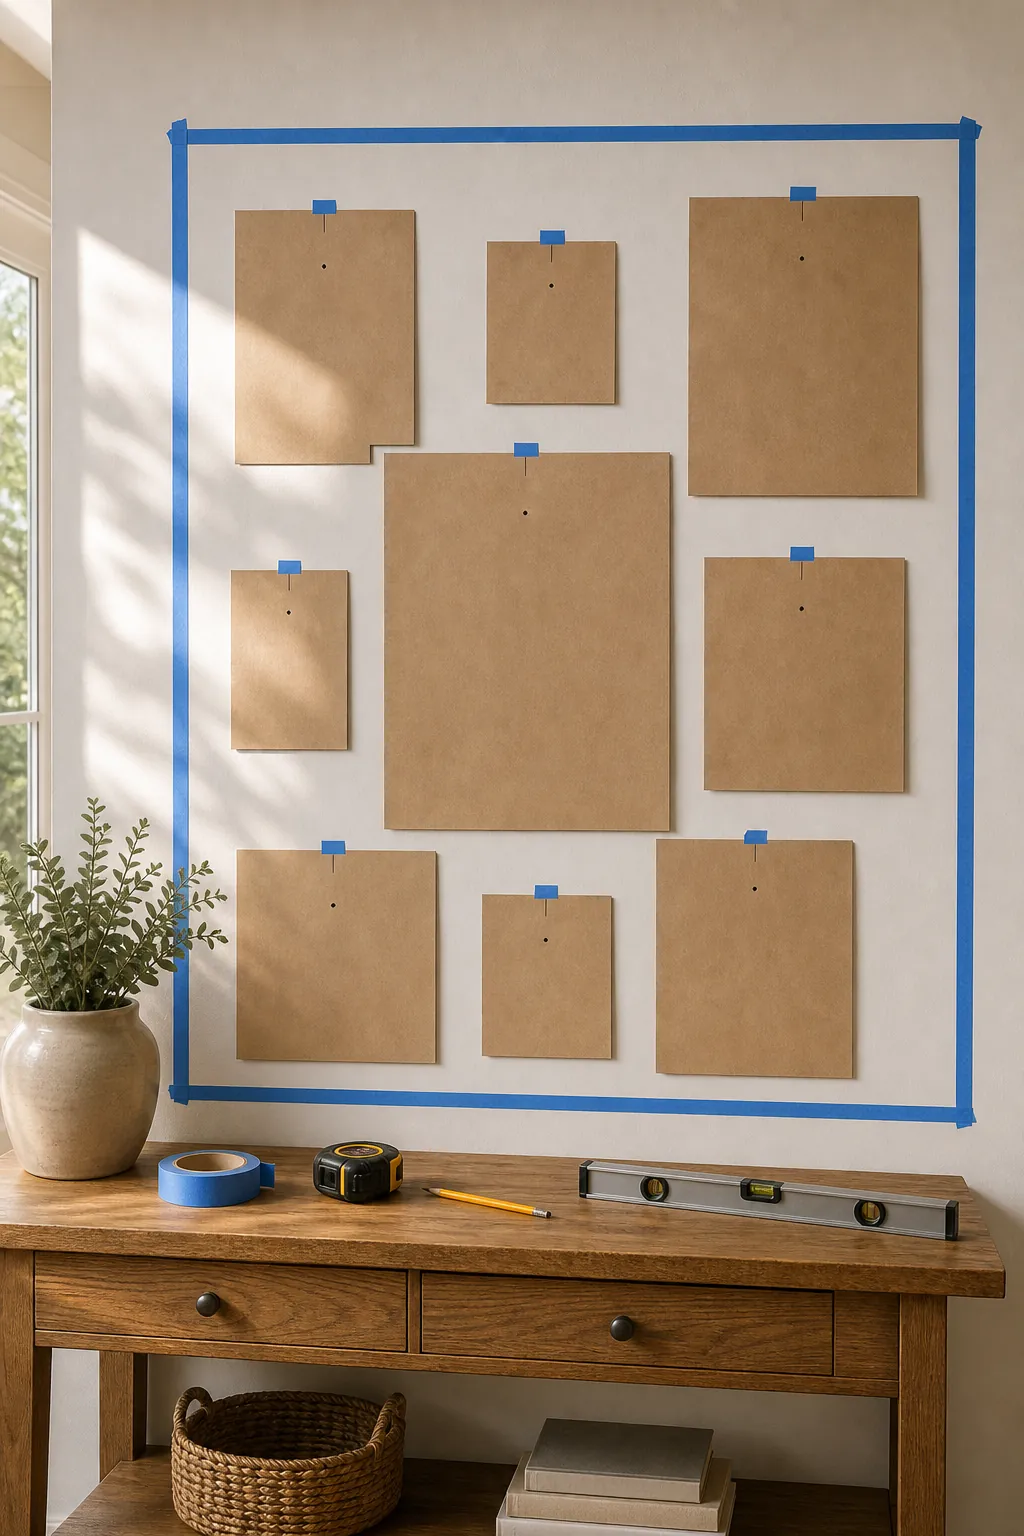
Mark Hardware Before Removing Templates
Do not pull all the paper down at once. Use each template as a hanging guide. If a frame hangs from a sawtooth hanger, measure from the top of the frame to the hanger point and mark that same spot on the template. If it uses wire, pull the wire taut before measuring. This avoids the classic mistake of hanging frames lower than expected.
Use a level, but do not rely on the level alone. A gallery wall can be technically level and still look wrong if the spacing shifts. Keep checking the relationship between neighboring frames as you go.
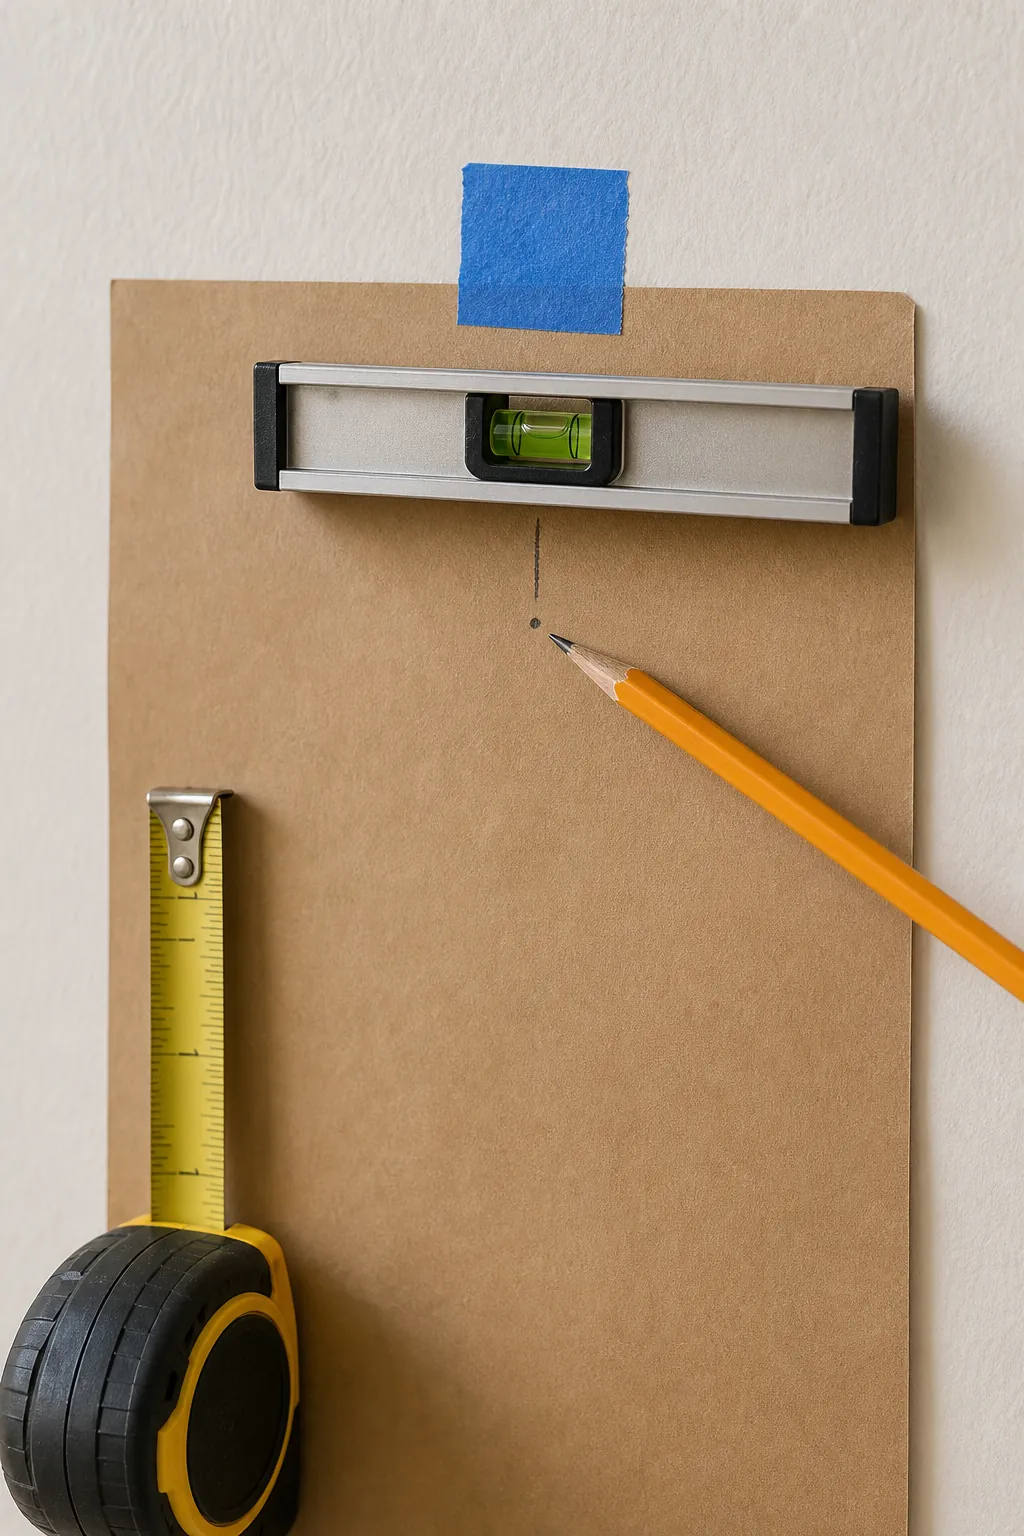
Hang From The Anchor Outward
Hang the largest or most important frame first. Then work outward, one template at a time. After each frame goes up, check it against the paper pieces still on the wall. This keeps the gallery wall planning intact instead of letting small errors compound across the arrangement.
If a frame is slightly off, fix it immediately. Waiting until the whole wall is complete makes every correction harder. The goal is not perfection at the first nail. The goal is a controlled process where each decision is easy to verify.
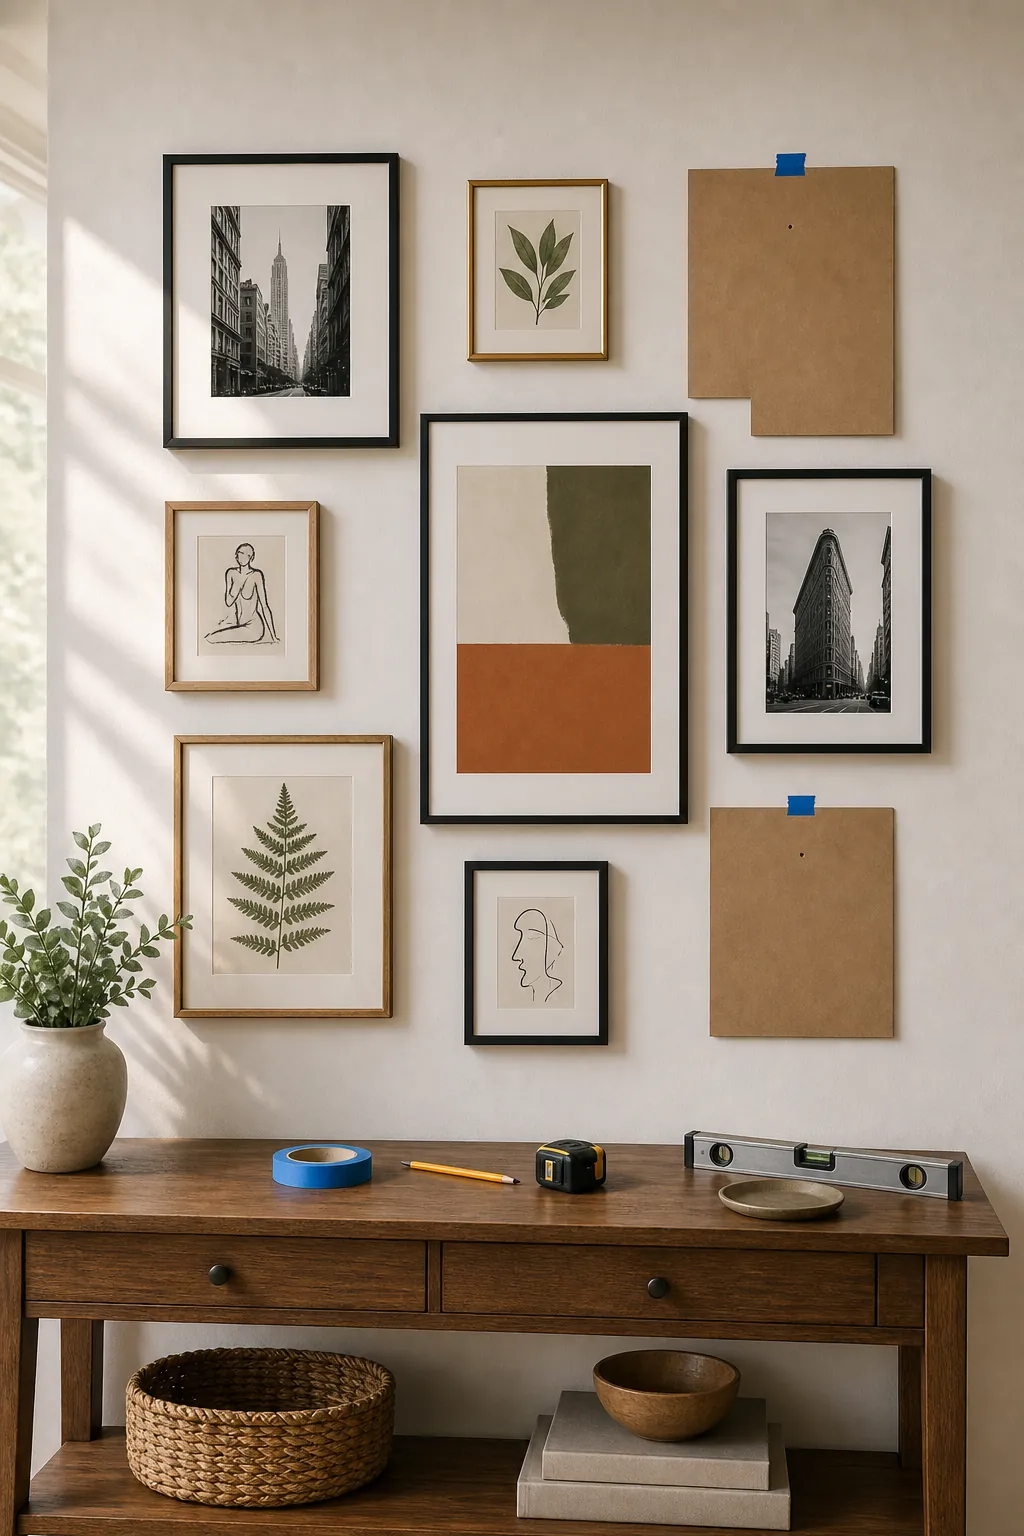
Quick Floor Planning Checklist
- Measure the wall area and tape the outer boundary.
- Recreate that boundary on the floor at full scale.
- Place the anchor frame first, then balance it with medium frames.
- Use a cardboard spacer to keep 2 to 3 inch gaps consistent.
- Photograph each arrangement before choosing the final version.
- Transfer the layout with paper templates before hanging.
The floor method works because it makes the invisible parts of a gallery wall visible: the boundary, the gaps, the weight, and the rhythm. Once those are solved, hanging the frames becomes a sequence instead of a guess.